• Post Reply Bookmark Topic Watch Topic
  • New Topic
permaculture forums growies critters building homesteading energy monies kitchen purity ungarbage community wilderness fiber arts art permaculture artisans regional education skip experiences global resources cider press projects digital market permies.com pie forums private forums all forums
this forum made possible by our volunteer staff, including ...
master stewards:
  • Nancy Reading
  • Carla Burke
  • r ranson
  • John F Dean
  • paul wheaton
  • Pearl Sutton
stewards:
  • Jay Angler
  • Liv Smith
  • Leigh Tate
master gardeners:
  • Christopher Weeks
  • Timothy Norton
gardeners:
  • thomas rubino
  • Jeremy VanGelder
  • Maieshe Ljin

Help needed: how to fix this little ol' greenhouse

 
pollinator
Posts: 330
Location: Southern Finland zone 5
109
2
goat fungi tiny house books homestead
  • Likes 4
  • Mark post as helpful
  • send pies
    Number of slices to send:
    Optional 'thank-you' note:
  • Quote
  • Report post to moderator
Please help

I am not what anyone would call "a handy-woman" and that is putting it mildly

What is broken is the part of the roof that you are looking at The other side is good, it was repaired two years ago. The original panels were replaced with greenhouse plastic film and it works alright.
I don't heat this greenhouse. There is a rocket mass heater inside but it was not that well done and it leaks. But it's okay. I just use composting manure to heat the greenhouse and occasionally some electric heating cable right under the sensitive plants.

I don't know what the best method would be. Which tools to use?  I don't think I can keep the roof vents. They are too difficult for me to repair. And they are not absolutely necessary either, as there are roof vents on the other side and they are in good condition.
This is not a very sunny spot, it is in the spring time, but once the leaves come to the tree on the south side of this greenhouse (a big oak) it sort of takes care of the over-heating problem.


IMG_20200218_154425.jpg
greenhouse with broken roof
 
Nina Jay
pollinator
Posts: 330
Location: Southern Finland zone 5
109
2
goat fungi tiny house books homestead
  • Likes 4
  • Mark post as helpful
  • send pies
    Number of slices to send:
    Optional 'thank-you' note:
  • Quote
  • Report post to moderator
Okay so maybe I answer my own question or at least the first one
How to get started?
A friend of a friend dropped by and gave one helpful suggestion: attach the polyethylene greenhouse plastic to a plank first. On the ground Then try and see if you can lift it up and attach it to the structure somehow.
Tools I have & know how to use:
- screwdriver
- hammer
- the thing that shots staples and that construction workers use.
- drill (if I can change the right drill bit onto it,  that is  Always a challenge, but my kids sometimes help )
- saw (well, in theory at least and if absolutely necessary)

I am afraid to climb up and lean onto the structure (the greenhouse framework, wood, homemade)
It seems sturdy and my friend agreed that it is sturdy and should last.
However, he did NOT recommend that I lean onto it, whilst trying to staple things to it.

I am grateful for ANY and ALL suggestions, helpful hints or just words of encouragement

 
Posts: 8924
Location: Ozarks zone 7 alluvial, clay/loam with few rocks 50" yearly rain
2401
4
  • Likes 5
  • Mark post as helpful
  • send pies
    Number of slices to send:
    Optional 'thank-you' note:
  • Quote
  • Report post to moderator
Nina, I'm not someone to advise on the repair but thought I would mention using a free standing step ladder to avoid leaning on the structure.  It doesn't look very tall?
 
Nina Jay
pollinator
Posts: 330
Location: Southern Finland zone 5
109
2
goat fungi tiny house books homestead
  • Mark post as helpful
  • send pies
    Number of slices to send:
    Optional 'thank-you' note:
  • Quote
  • Report post to moderator
My measurements are always rough estimates But here they are. Outer measurements of the whole greenhouse, that is.

Height (peak): 2.3 m (7.5 ft)
Length: 5.5 m ( 18 ft)
Width: 2.4 m (7.9 ft)
 
Nina Jay
pollinator
Posts: 330
Location: Southern Finland zone 5
109
2
goat fungi tiny house books homestead
  • Likes 2
  • Mark post as helpful
  • send pies
    Number of slices to send:
    Optional 'thank-you' note:
  • Quote
  • Report post to moderator
A more personal piece of info.
My ex-husband built this greenhouse, using a shop-bought structure as a basis. It had to be reinforced after the first winter. He did that too.
Now he is busy enjoying his new city life and is no longer interested in farm stuff.
We are on okay terms. But I still feel I don't want to ask for help from our mutual friends. It might not feel nice to him. The break up was last year. Time has a way of healing these things, but it is still early days in some respect.
 
pollinator
Posts: 4715
Location: Zones 2-4 Wyoming and 4-5 Colorado
492
3
hugelkultur forest garden fungi books bee greening the desert
  • Likes 1
  • Mark post as helpful
  • send pies
    Number of slices to send:
    Optional 'thank-you' note:
  • Quote
  • Report post to moderator
Hello Nina, Can you help me understand a bit more about what you are repairing? Are you taking off the whole roof?

In the picture it looks like there is a panel missing on the left of the pictures, is that what you want to fix?

It looks like there is wood along the top , peak, of the roof ? Is the whole greenhouse built with a wooden frame ?

If you place a ladder inside of the greenhouse and climb up under the vents, can you open them from below? Are they hinged at the top, screwed into that peak wood somehow?  Do you have a ladder to use?

 
Nina Jay
pollinator
Posts: 330
Location: Southern Finland zone 5
109
2
goat fungi tiny house books homestead
  • Mark post as helpful
  • send pies
    Number of slices to send:
    Optional 'thank-you' note:
  • Quote
  • Report post to moderator
Hello Miles! Thank you for the questions.
I guess first and foremost I'm trying to figure what would be the sensible plan here.


This greenhouse is reasonably good shape otherwise. The part (half) of the roof that one sees in the picture is the one in need of urgent repairs. One panel is beyond repair (missing = I threw it out already).
The other roof panels visible in the picture are not in good shape either and I want to replace them with something.


[P.S. I was always the one who grew the veggies. My ex helped with potatoes and grains but the vegetable garden was mostly my job and the greenhouses too. We had two but the other greenhouse is "long gone" :-) ]


pollinator
Posts: 1596
Location: Root, New York
318
forest garden foraging trees fiber arts building medical herbs
  • Likes 3
  • Mark post as helpful
  • send pies
    Number of slices to send:
    Optional 'thank-you' note:
  • Quote
  • Report post to moderator
well a fairly quick and cheap option would be to get a roll of greenhouse plastic film, although cheap is relative and i dont know what your local options are....here it would be 40 -60 bucks or so...for a full roll of a large sheet of greenhouse film.  unfortunately these things are meant to be continually replaced, UV will eventually break down plastic. but a fresh roll of greenhouse film should last 4-6 years or so.

and yeah thats the way i have done it, wrap the sheet around a big heavy log and then unroll it over the structure, with the end still wrapped around the log and holding down the weight on the side. then use a lot of rope to further secure it. o yeah and duct tape!

a nicer and more expensive option would be to purchase new panels, although, not much more expensive, it looks like you only need a few. they come in standard sizes and are available at a lot of places here...and mail order. then it should be a simple matter of measuyring to see what size you need... popping out the old ones and putting the new fresh ones in...not that hard anyway.

a third option would be to replace them with something else, take out what you have there and then redo it all... replace with...whatever you want... though that may be more than you are into right now. but sometimes you can scrounge bits of that wavy plastic stuff for free, or bits of smaller pieces of plastic film and you could potentially piece together something from that....just covering each spot with a smaller plastic sheet/ or rigid plastic panels if you can find them.
 
pollinator
Posts: 174
13
  • Likes 4
  • Mark post as helpful
  • send pies
    Number of slices to send:
    Optional 'thank-you' note:
  • Quote
  • Report post to moderator
The general design looks a lot like our big greenhouse which used to be a dairy barn.  We even did the same thing stuffing the insulation in the peak of the roof.  Not that it did much good.  We even painted a lot of the wood inside the GH white so that the wood would reflect the light.  I don't think that helped much either.  I would just replace the twin wall on the roof, the vertical walls in the front look pretty good.  The aluminum retainers you can just re use.   It won't be that expensive.  It looks like there are a couple of outlets for when it gets two hot in the greenhouse.  Looks like the warm air is going to escape pretty easily with those.  We never got that complicated we just hard fastened a piece of twin wall in the openings and then took them off towards the end of May.  It means you have to go up on the roof twice a year.  Take them off in the Spring and put them back on in the Fall.  Our greens would survive the winter with a plastic layer directly above the growing beds.  Right about now they would start to grow again.  Johnny's has something called solawrap that I thought I might use if we were to replace all of our panels.  Greenhouse is 110' long.  But we just sold the farm so I cannot tell you if that would work.
 
Nina Jay
pollinator
Posts: 330
Location: Southern Finland zone 5
109
2
goat fungi tiny house books homestead
  • Likes 1
  • Mark post as helpful
  • send pies
    Number of slices to send:
    Optional 'thank-you' note:
  • Quote
  • Report post to moderator
Thank you so much, Leila and Ed!

I really appreciate your thoughtful suggestions.

I think I'm kinda done with panels... I've struggled so much with them. They seem to fly about in every storm, no matter what I try to use to secure them. And they are quite brittle, at least the ones I have. Maybe there are better quality versions available that I do not know about.

I already have some left-over greenhouse film so I think I'm going to go with that and possibly buy some more, if necessary. Attaching it to the structure is my next worry...  

As Ed mentioned, the vertical wall is okay and it is not that critical in terms of light intensity. The barn wall (not shown) blocks the sun on this side anyway.

But how to attach the plastic to the frame....?

I am not that worried about heat escaping this structure.
As I use composting manure for heating, I am more concerned with proper ventilation: the water vapour and the initial volatile nitrous compounds before I get the C:N ratio correct and the composting really takes off.
And for really cold nights, I sometimes use fleece to cover the seedlings if they are already planted. If not, I just carry them to the barn for the night.

 
leila hamaya
pollinator
Posts: 1596
Location: Root, New York
318
forest garden foraging trees fiber arts building medical herbs
  • Likes 2
  • Mark post as helpful
  • send pies
    Number of slices to send:
    Optional 'thank-you' note:
  • Quote
  • Report post to moderator
yeah it can be easier if you have the whole long roll, if it goes over the whole structure it's easier to secure it....with the ends wrapped around logs/boards holding it down at each end. for me thats where the rope and duct tape comes in. it's not necessarily pretty though ! but it does work, especially lots of rope tying it all together.

and hard to say without really looking at it, but it looks like there's some wood there, and your idea of using a staple gun is pretty good. if there's not enough there to use you could add some pieces to staple / duct tape on there.

you could even build a frame or 3, cover these with your plastic scraps ( maybe even both sides) and then put the whole thing in there. that sounds a bit complicated, but actually i think it would be easier to do that....or at least as easy....where you had whatever "frame" you were going to use all set up on the ground and then put up the whole thing.
...could be as simple as 4 boards screwed together in a big rectangle, wrapped with your plastic (wrap both sides and it could be a nice double layer with insulating airspace in between) then put the whole piece up there, using a drill/screws/ etc.

well those are some thoughts. another idea, which would change the nature of it...but since you seem to say this side doesnt get much light (the north side?) you could just get a huge piece of plywood and drill that into it...cover the whole space in one big piece of plywood....
 
Posts: 40
Location: Virginia
34
forest garden building homestead
  • Mark post as helpful
  • send pies
    Number of slices to send:
    Optional 'thank-you' note:
  • Quote
  • Report post to moderator
An alternative to the plastic sheeting is polycarbonate sheets, which are a more rigid clear plastic (from the side it looks like cardboard but it is made of plastic).  Because of their rigidity they can be cut to the size you need with a saw or a stout razor blade and can be screwed into the existing frame in the same manner that the other panels are attached.  They last longer and will resist the snow load better than regular greenhouse sheeting but are more expensive.  As for instillation, I guess it comes down to how much you trust the frame... You'd have to get on the roof, more than likely, to secure whatever you pick into the greenhouse's frame.  Since it survives the snow it should be fine but you'll have a better idea of the frame's structural integrity than I could even try to guess.
 
gardener
Posts: 1908
Location: Longbranch, WA Mild wet winter dry climate change now hot summer
466
3
goat tiny house rabbit wofati chicken solar
  • Mark post as helpful
  • send pies
    Number of slices to send:
    Optional 'thank-you' note:
  • Quote
  • Report post to moderator
There is a limited capacity for this community to help you from a distance.  Try to find a local gardening community where you can help them with their projects and they can help you with yours. There is probably someone that is good with a saw and a drill but does not have the staple gun. The roll of greenhouse cover may be too much for one but just right for two.
 
Posts: 576
Location: Richwood, West Virginia
12
  • Likes 2
  • Mark post as helpful
  • send pies
    Number of slices to send:
    Optional 'thank-you' note:
  • Quote
  • Report post to moderator


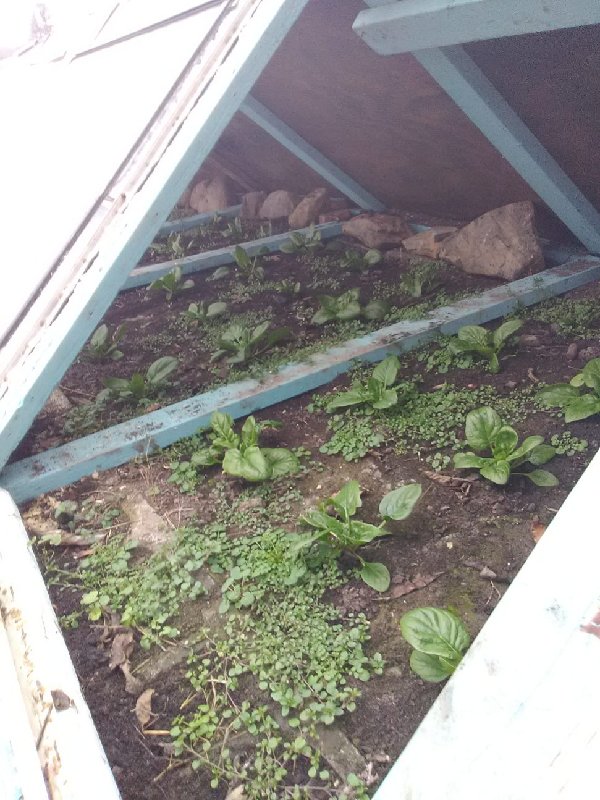
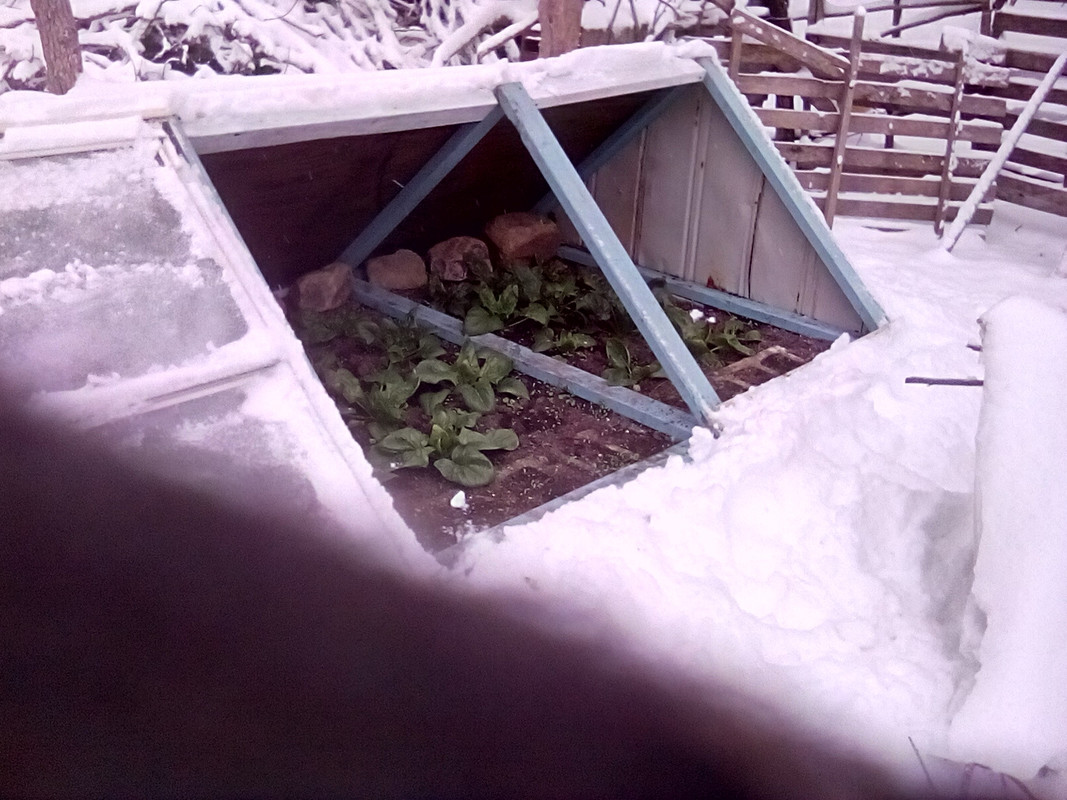
You might consider dismantling the aging structure and re-using the glass panels. The drawbacks to my idea is the added materials needed.
First I laid 42 concrete blocks to make a base 24' long by 4' wide, and then I fabricated 'A' frames with 3 exterior plywood panels along the back and windows picked up for free.

All the materials were free and now I am enjoying spinach and radishes in February in zone 5 in this 96 sq' unheated cold frame.
The yellow stuff around the bottom is sawdust to insulate the exterior of the blocks.

A month ago


March 6
 
Posts: 2
  • Likes 1
  • Mark post as helpful
  • send pies
    Number of slices to send:
    Optional 'thank-you' note:
  • Quote
  • Report post to moderator
I think the easiest way would be to remove all the panels, vents and the plastic on the other half of the roof. Then get a piece of greenhouse plastic that will fit over your entire roof (measure the length of the greenhouse x the length of each roof half from peak to where the roof meets the wall) make sure to leave at least a few inches excess on your plastic to give you room to adjust. Then on a NOT WINDY day, get a friend or 2 to help place the plastic: use a broom or stand on a ladder to get your front edge up on top of the roof from one of the ends. Drape it down the sides so that each of you can grasp an edge from either side. Pull your plastic over to the other end, like making a bed. You might need a third friend to stand inside the greenhouse to poke it up with a broom to keep it from getting snagged. Then staple all the edges to the frame. You do not need to staple anywhere else. After, you will want to nail thin strips of wood over your edges to prevent the wind from catching the plastic and tearing it through the staples. Done!  This is how I have done my greenhouse roofs. Good luck.
 
Posts: 314
Location: USDA Zone 7a
29
books food preservation wood heat
  • Mark post as helpful
  • send pies
    Number of slices to send:
    Optional 'thank-you' note:
  • Quote
  • Report post to moderator
I can only see one picture showing the roof and 1 missing panel.  The polycarbonate panels are better insulating than plastic by far.  If they are intact i would leave them in place.  You do need to cut the tree above the structure to prevent all the debris from collecting on the roof and clogging channels an creating moss and gunk.  Your vents are offset, but that's probably the best they can fit due to the wood they were attached to and the way they were set in place.  Unless you want to rebuild the whole roof, I'd just try to seal around them to close the gap on the 3 sides and prevent heat from escaping in winter.  You could replace the missing panel with plastic if there's a way to attach it to a frame (maybe stapled to a wood surround.  Otherwise if you could pick up a polycarb panel just drop that in place.  Not sure why your panels "fly out of place" unless you haven't fastened them down properly with wire clips or with screws.  Not sure what the broken 1X2 wooden rail is on top of the panels.  Maybe to hold them from flying off?  Having anything on top is going to impede cleaning off the roof and letting snow slide off.  Hope you get it repaired to be functional again.  It's a nice sized space with lots of potential.
 
Posts: 207
Location: Washington DC area (zone 7a)
27
forest garden trees medical herbs building seed greening the desert
  • Likes 1
  • Mark post as helpful
  • send pies
    Number of slices to send:
    Optional 'thank-you' note:
  • Quote
  • Report post to moderator
Nina, can you take some more pictures for us?  In particular I am interested in seeing how the panels were attached to what appears to be aluminum rails.  Please take pictures of the one that has the missing panel as well as the panel that is in the best shape.  That will give us an idea of how it was put together as well as what we are starting from.

Also, I have never been to Finland and do not know how your agricultural services work, but there is in many countries professional agricultural agents who are there to help with problems, and make sure that things never become problems.  In your case you could ask them who he would recommend to help answer your questions.  I wild also call/email the greenhouse staff at the nearest university that has an agricultural, horticultural, plant biology/ecology, or landscape ecology department.  If they are within normal commuting distance they might know people that you could either hire to fix it, or would at least stop by and look at it.  

Other than that I would suggest reaching out to your nearest HackerSapce (see the maps here: https://wiki.hackerspaces.org/Finland).  This is just the kind of thing that some local fixit person would think is cool...

Hope this helps.
 
When all four tires fall off your canoe, how many tiny ads does it take to build a doghouse?
Established homestead property 4 sale east of Austin TX
https://permies.com/t/259023/Established-homestead-property-sale-east
reply
    Bookmark Topic Watch Topic
  • New Topic