Cassie, if I could give out apples, I would return to this page for 30 days with a yummy apple just for you! Here are the results of my google seraching and rabbit chasing adventure you sent me on. Thank you!
========================
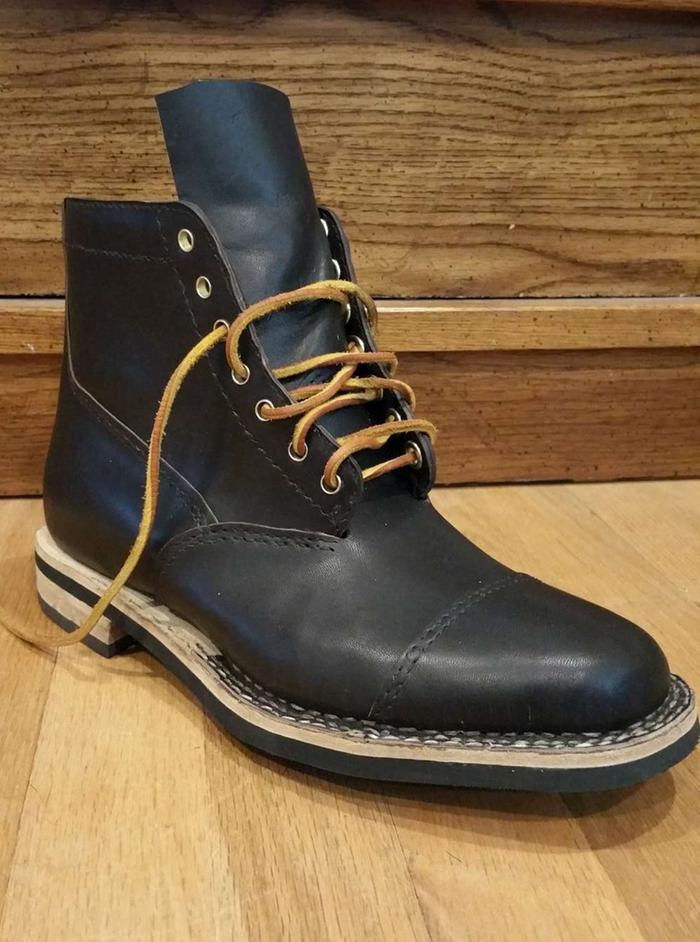
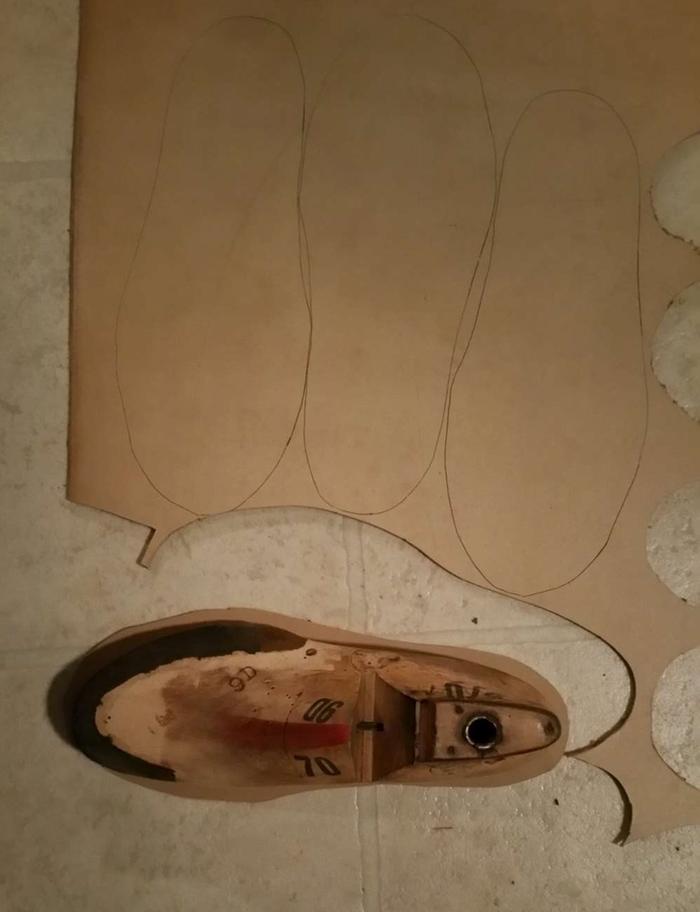
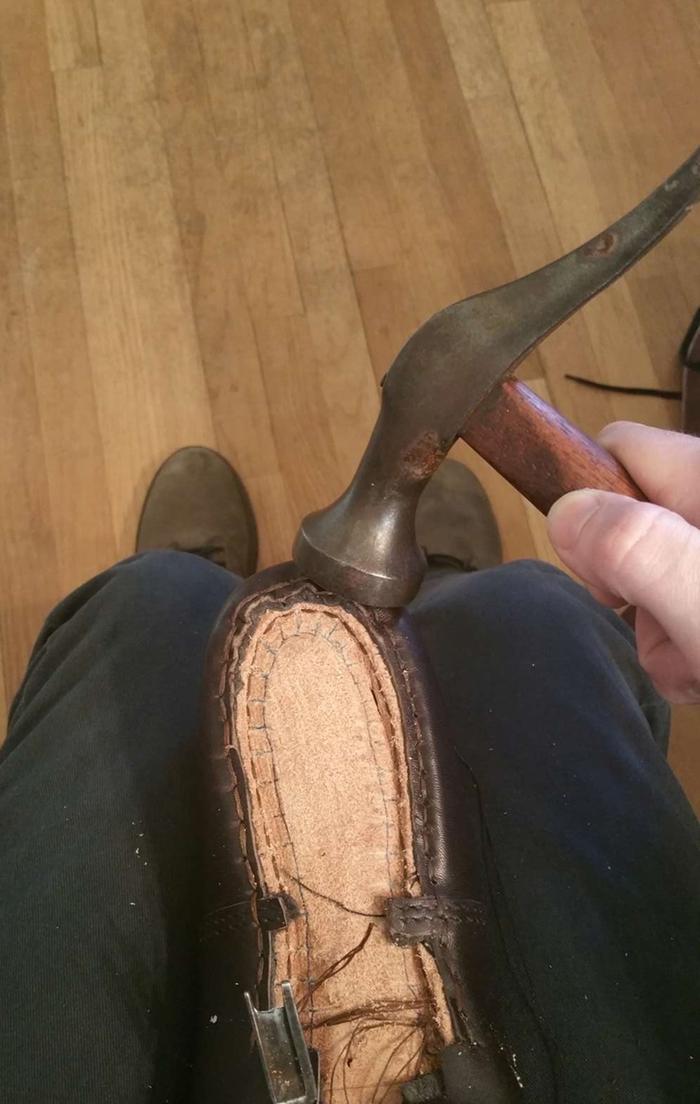
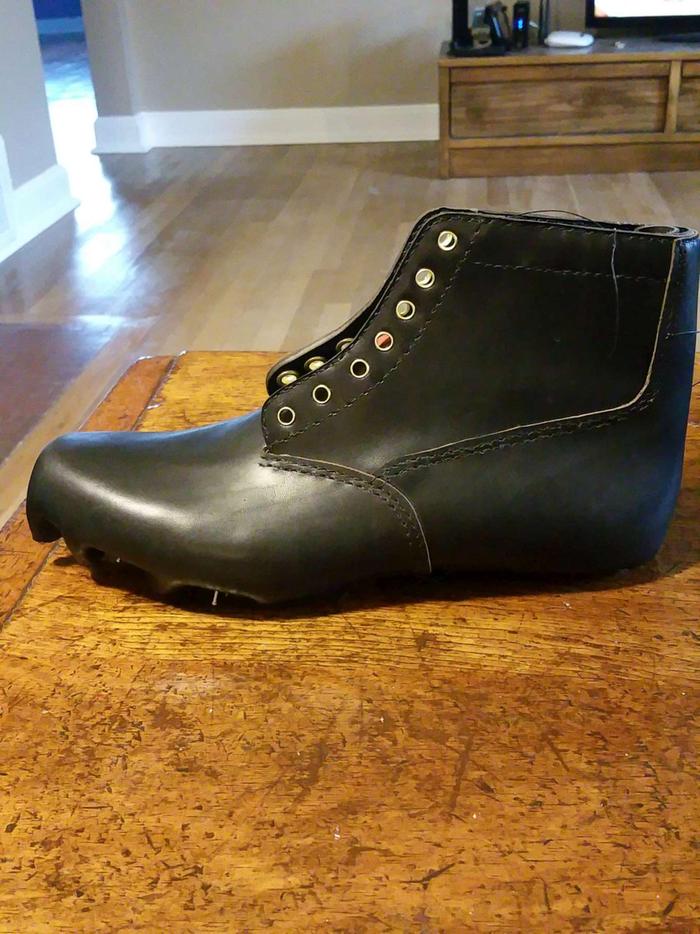
Useful comments gleaned from from the posts about the boots on reddit
https://www.reddit.com/r/DIY/comments/3hj7hk/how_i_made_a_pair_of_boots_by_hand/
CONSTRUCTION/ TOOL COSTS
[–]rk5n[S] 58 points 5 days ago
Basic tools were under $50. Lasts were $20 used of course, $5 knife, $10 awl, $10 stitching wheel, $5 needles. You can skip the creaser (used to mark the lines) and sub regular pliers and hammer for the lasting pliers. I have about $200-300 in tools not including the 5 in 1 but you can make do without all of them.
Leather is expensive and I used 4 types.
Upper is chromexcel which was $4 a sq ft. Used about 5 sq ft
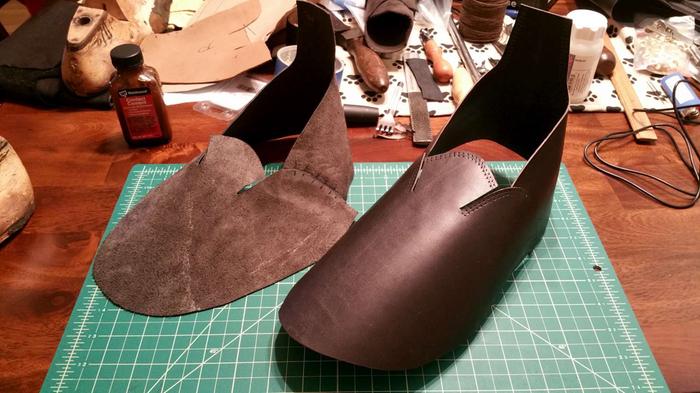
Lining is nubuck horsehide, $1.50 sq ft, I used about 5 sq ft
Insole is 10oz veg tan, maybe $8 sq ft, I used 1 sq ft
Sole is a 9 oz soling bend. Total cost of the bend was $90 and I can make soles for about 8 pairs from it.
Of course you can't buy all this leather by the sq ft, but it's a good approximation since I'll use the leftover leather for other projects.
====================
POINTS ON IMPROVING CONSTRUCTION
[–]Seraphus 16 points 5 days ago
Nicely done OP, a few things:
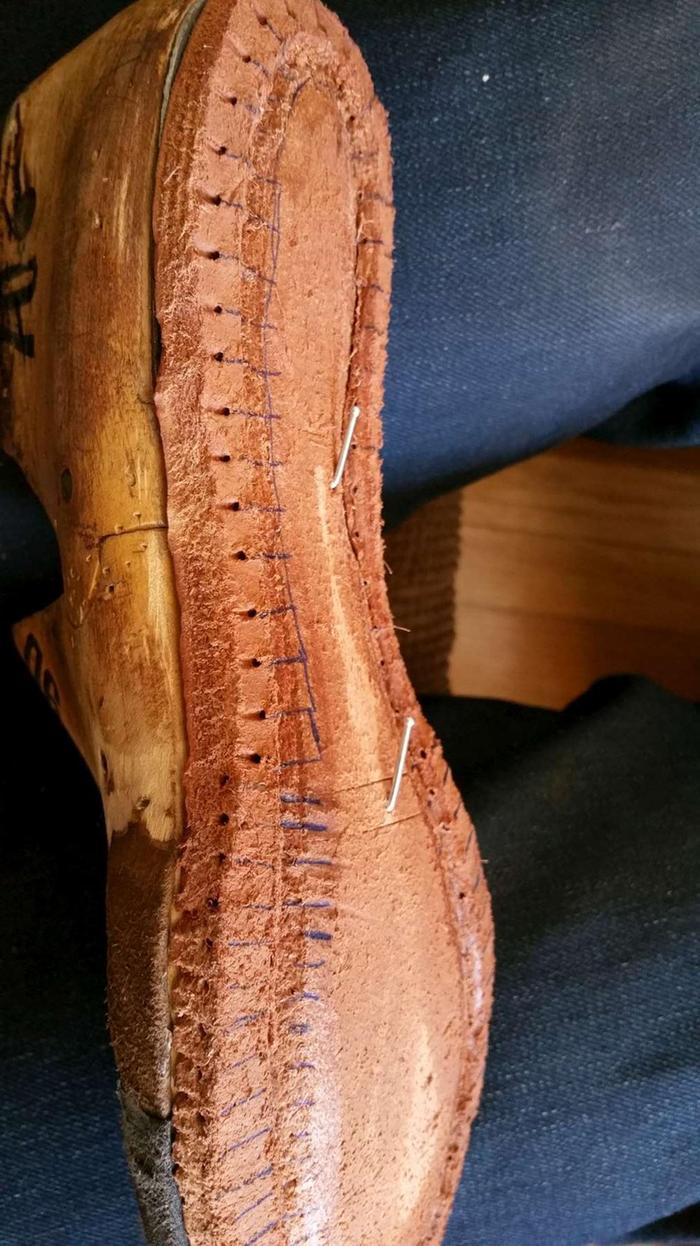
1) The channel you cut is too wide and, even though you filled it, it will impact the longevity of the boot.
2) Seems like you're not using prime or super prime grade leather for the soles, this will also impact the longevity (and comfort) of the boots.
3) Finish the edges. Either seal them with clear wax, or use colored edging to do it. This will ensure the soles have no exposed raw leather since that leather can rot if it comes into contact with water.
4) A heat gun will do wonders for you when it comes to cementing the leather.
5) Thanks for posting this, I was super excited to see it.
My father is a cobbler and shoemaker and I used to spend a lot of my summers with him. He's been doing this for over 30 years and it's how he put food on our table after we moved to the USA.
[–]rk5n[S] 8 points 5 days ago
Thanks for the reply.
1) The channel is about half of the insole thickness deep. There are some spots where I accidentally went a little too deep though.
2) Do you mean the midsole? It's a sole bend which is compressed leather and about 9oz thick. It's crazy how stiff it is, I highly doubt they'll degrade quicker than anything else.
3) I used gum tragacanth and an edge iron to burnish the edges of the sole, but I wasn't happy with how much it darkened. So I stripped it off. The edges of the sole bend are very tight as is. I didn't mention it in the album but I went over the soles with glass to smooth them out after sanding
4) I still have yet to experiment with a heat gun on the glue, tips?
[–]Seraphus 5 points 5 days ago*
For the midsoles, they're all pretty stiff, but I've seen first hand the difference it makes when you spend a little extra for the better stuff. For a one-off it may not be too bad, especially for someone that knows how to properly care for their shoes. But there's a brand called Italy Prime that makes midsoles that are insanely durable.
For the heat gun, what I've seen my father do is leave the glue to dry (warm, dry place) and then reheat with either heat-lamps (there is a mechanism with heat lamps and fans with a timer so he throws them in there while he works on other things) or using a heat gun at the right distance (about 8 inches away I think) to re-activate the glue. This gives it a stronger bond. There's also an aerosol activator he sprays on if he needs it to be extra heavy-duty (like military grade stuff) but I'm not sure if everyone has access to that.
**********************************************************************************
I found free downloads of books about shoe making. Free. At this site. They let me download it without paying a membership fee.
http://thehcc.org/
Description:
Golding Vol. I, This is a digitalization of volume I of Golding's eight volume set. It consists of two sections written by different shoemaking authorities of the early 20th century. The first section, Pattern Cutting and Making, is a comprehensive exploration of pattern making. Subjects dealt with include making formes, constructing standards for men's, women's and children's shoes, allowances for making and closing and many other significant subjects. The second section, The Making of Lasts, covers last-making from hand carving bespoke lasts to the manufacture of lasts and the different styles of lasts. There is also a chapter on the requisite tools needed for hand carving lasts. Additionally, Section II delves into various methods of sizing lasts and co-ordinating lasts and shoe patterns. Volume I is probably the most useful and comprehensive of all the eight volume set...especially to bespoke shoe makers. The digitalization is in .pdf format and requires that the reader have a copy (free) of Adobe Acrobat Reader on their computer. Golding's Volume I may be downloaded at your pleasure and saved. Expect a download time of 15-20 minutes on dial up. If Golding opens up in your browser you may need to save it to your harddisk to access it later on. Click here to download Golding Volume I (3,783kb)
================================================
Lisa Sorrell bootmaker
http://www.customboots.net/_public_html/Home_page.html
She sells supplies, gives workshops, and YOU TUBES for us cash shy dreamers!
https://www.youtube.com/user/customboots
========================================
Currently active shoe making blog since 2008 http://carreducker.blogspot.com/
========================
AMAZON search for old wood lasts
http://www.ebay.com/bhp/antique-shoe-last?_trksid=p2045573.m2388
New plastic lasts. Pricey!
http://shoe-last-shop.com/
================================
Yay, shoes!

 5
5




 2
2


 1
1


 1
1


