It's been 11 months since my last update. Once again, quite a lot to share.
We are occupying the addition! It is 3*F outside and it is cozy! We are dry! I'm not sure how well it would have gone to spend another winter with 4 of us holed up in 300 sq feet for the winter, so we are VERY. THANKFUL. for the expanded living space.
Things that have been completed since my last post, with
italicized comments on what I'd do differently in hindsight.
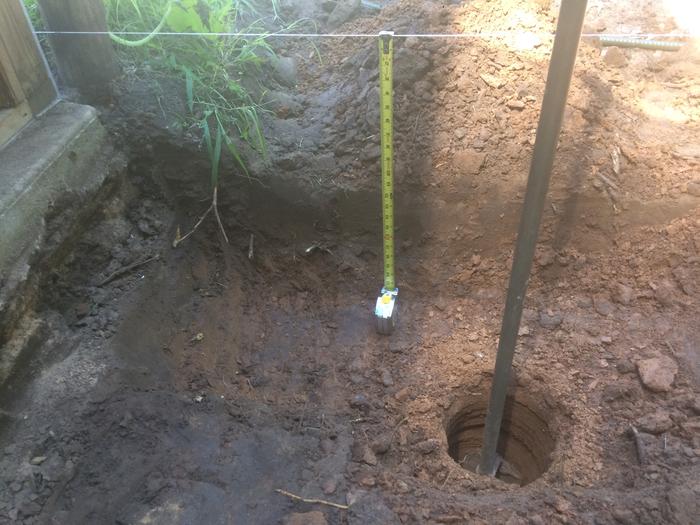
1. Stem wall went up, using 70-year-old cinder blocks from old, demo'd outbuildings. Big, heavy blocks my progenitors made from locally mined cement and sand from our creek. Stem wall retains a short berm, putting our finished floor height about 24 inches below grade.
If I didn't already have these blocks, next time I will probably use local stone from the nearby Flint Hills.
2. SIP walls went up - 7.5 inch thick, clad in OSB. This was a big compromise from our ideals, which steer us away from both polystyrene and processed wood products, for both health and ecological reasons.
If I could do it again, I'd have gone ahead and used straw bales. It is pretty near impossible in my area to source organic, so I was hoping to grow my own wheat and bail my own straw, but (I'm almost ashamed to say) expedience prevailed. I don't endorse OSB/Polystyrene SIP - but in the name of up-cycling and saving waste from a landfill, it is the way I went this time. More on that, philosophically, in another post.
3. Windows and doors on all 3 new walls. So much light! All windows and doors from Habitat for Humanity Restore.


4. Packed road-base foundation went in over gravel.
If I had it to do over again, I'd consider using our site-harvested sand.
6. Cob Sub Floor went in.


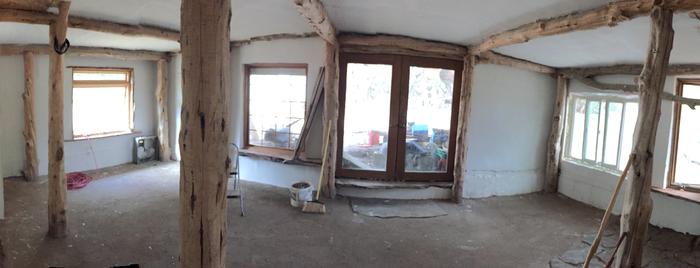


7. Finishing insulating with loose sheeps’ wool filling. This was my first time trying a suet fermentation, and it worked great! Again, worthy of another thread at some point.


5. Interior walls and cieling plastered with standard 90-minute-set gypsum plaster. This was an interesting development, probably worthy of its own post. Here's the cliff's notes - I pursued lime-based plasters, but determined they don't play well with wood due to eventual dry-rot, catastrophic with intrinsic structural pieces like SIP. Granted, it is also a no-no to apply gypsum plaster directly to OSB, for a number of very good reasons:
i. the moisture can infiltrate the wood particles and cause separating, flaking, mold, or rot. Exacerbated by impermeable poly on the inside.
ii. the plaster doesn't have enough grip to stay on the wall.
So, I debated going to the time and expense of installing wood or metal lath. While I was debating, I did several rounds of testing with off-cut SIP to see what would actually happen. Turns out, this particular batch of OSB for these SIPs may be the exception - all plaster tests dried well, didn't flake, and keyed adequately to the OSB surface.
I WOULD NOT RECOMMEND THIS. But it worked this time, so hey. Where I plastered some of the older OSB cladding on the original Cottage wall, there was some bubbling and separation - minor - but that gave me a great comparison to how disastrous this would be with most OSB.
If I had this to do again, it would have been site-harvested cob on straw or slipstraw, coated with lime-casein paint or similar. I may still paint the gypsum with lime-casein when I get around to it, but the pure white gypsum's pretty nice in the meantime.
6. Flagstone bathroom floor laid, mortared with lime-sand-clay.
7. Lime-earthern floor laid. I went for a lime-enhanced floor because I loved the idea of a shorter cure time required by typical earthen floor cured with linseed oil. And I had first-hand experience of the headaches inducing off gassing the
can come from linseed-cured floor.
Allerton Abbey had very similar woes along the way to its currently, beautiful state.
I did a test patch, which came out beautifully - perfect actually. It was something like this, by volume:
-1 part slaked hydrated type N lime (slaked about 3 weeks)
-3 parts sand from our driveway (which comes from our creekbed. It happens to be well-graded, semi-sharp sand.)
-1 part beautiful black mystery clay from our creek. Had some sand mixed in.
-1/4 part crushed, sifted sheep manure. Beautiful, finely chopped straw.
It was so beautiful that I scheduled helpers to come mix while I laid the rest of the floor the following week. What followed was a tiring week of heartbreak, attempting to control the curing process as I watched hairline cracks spread over the entire surface of the floor. I mean, talk about a gut-punching learning experience. And I made it worse trying to smooth them out as it cured. I have spent heaps of time wondering what factors cause this to come out so different than the test batch. What I have come up with is that hydrated lime can vary drastically from one batch to another, and also does not age well at all. I would say I am 70% sure it was the lime, which came from a different source from the test batch. The other possibilities are: inconsistent mixing ratio, too much water in the mix, moving too fast to be able to compact well. Anyway, we are living with it as it is for now, and maybe in the spring I'll take a square at a time and lay a new finish coat of clay or lime-clay. This one has no "if I had to do it again," because it's just one of those things. I think if the whole floor had laid as well as the test patch, I'd be ecstatic.

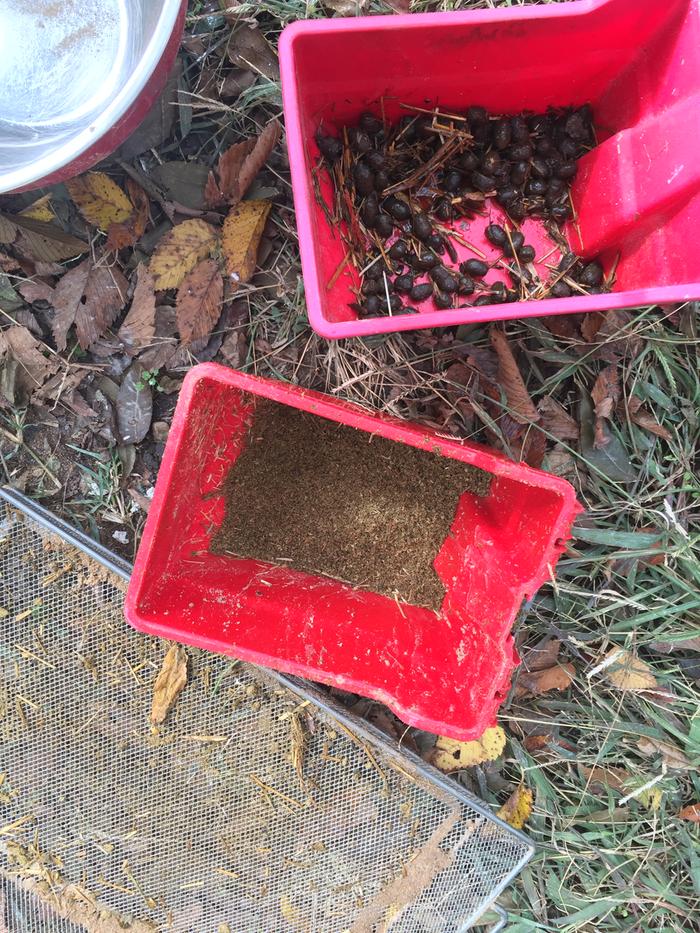


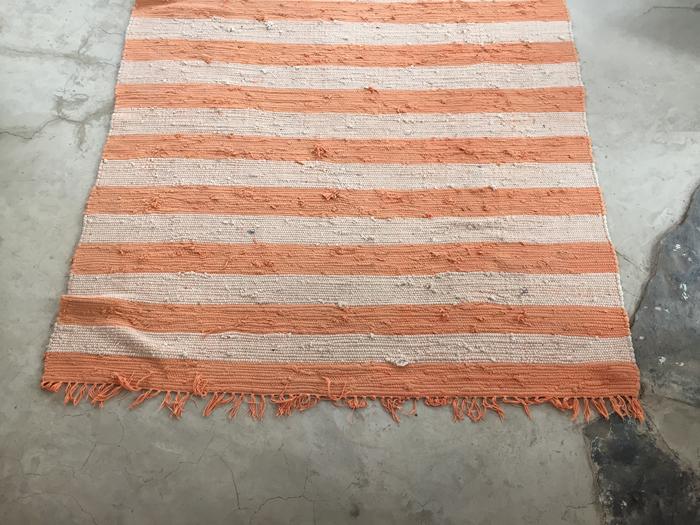
8. Lots of minor shovel earthworks outside to convince water to do what I want.
9. Lots of site-hewn Cedar trim work.


Now here is probably the number 1 thing I've learned. It is often said around here that mixing modalities doesn't often go very well. I think that's right. I hope this is the last project I do on our farm with so much compromise regarding natural v conventional modalities.
The number 2 thing I've learned is to just go ahead and do it. Do the best you can, make as many mistakes as you have to. The building may or may not perform as I desire over the next
100 50 20 10 years, but listen -
I am the work in progress. And the next one will be so much better and go so much more smoothly.
The number 3 thing is - it is not a bad idea to gorge yourself on all the natural building endeavors at Wheaton Labs and beyond. If it weren't for
the Berm Shed Youtube Videos, I would not have used rebar, butt-and-pass style roundwood timber framing, and this would have probably been a lame-ol stick frame. Would I do it again? Maybe. On sheds and outbuildings, absolutely. On another residence, I'd like to think I'll take the time resources to do some nicer joinery.
But hey, this worked. It worked fast. And I pretty much built it with an electric chainsaw, power drill, ratchet straps, and hand tools. Using 75+% site-harvested materials, with most of the balance consisting of reclaimed/upcycled materials. And 95% by myself. (related - number 4 thing I hope I learned - ask for more help.)
I think if someone were to ask me what they should do to start thinking about undertaking a project like this, I'd recommend visiting Wheaton Labs, taking a tour, staying for a while. Short of that, hit up the
Wheaton Labs Tour Movie
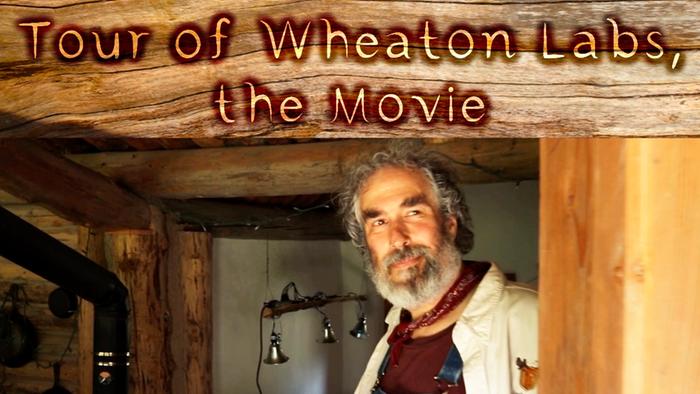
to get some exposure. A lot of really excellent people contributed to all the structures, gardens, and tech shown, as well as in the movie itself. Worth it ten times over.

 3
3


 3
3


 3
3


 4
4


 3
3


 2
2


 1
1


 1
1


 3
3


 1
1


 4
4


 1
1


 4
4


 2
2


 to get some exposure. A lot of really excellent people contributed to all the structures, gardens, and tech shown, as well as in the movie itself. Worth it ten times over.


