|

|
|
|
|

|

|

|

|

|


 8
8


Blog: 5 Acres & A Dream
Books: Kikobian Books | Permies Digital Market

Skill verified by gir bot")

Skill verified by Ash Jackson")

Skill verified by Mike Haasl")

Skill verified by jordan barton")

Skill verified by Mike Haasl")

Skill verified by Mike Haasl")

Skill verified by Nicole Alderman") 7
7
My tree nursery: https://mountaintimefarm.com/
14
8
7
Eino Kenttä wrote:
I have never tried a retort-type method, seems overly complicated for turning "waste" into char.
A build too cool to miss:Mike's GreenhouseA great example:Joseph's Garden
All the soil info you'll ever need:
Redhawk's excellent soil-building series

Skill verified by Ash Jackson") 8
8
Blog: 5 Acres & A Dream
Books: Kikobian Books | Permies Digital Market
9
8


Carbon Negative Stove plans available at:
https://www.carbonconsciouscreations.com
6
Eino Kenttä wrote:
I have never tried a retort-type method, seems overly complicated for turning "waste" into char.
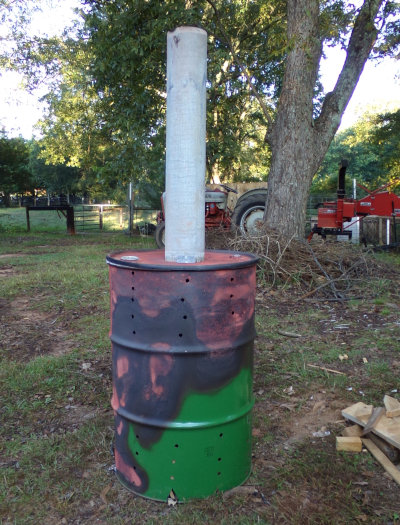
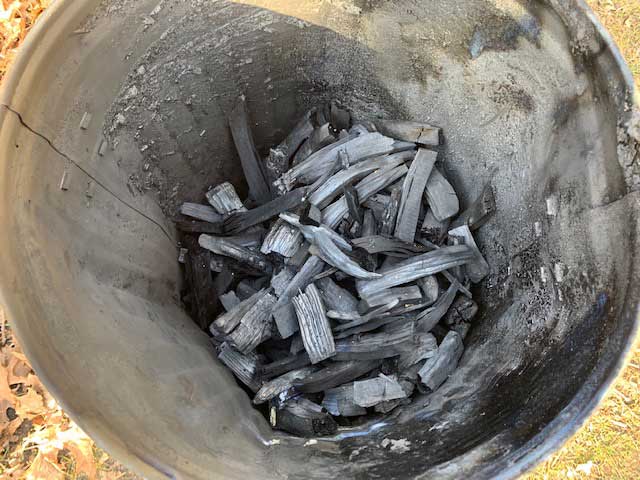
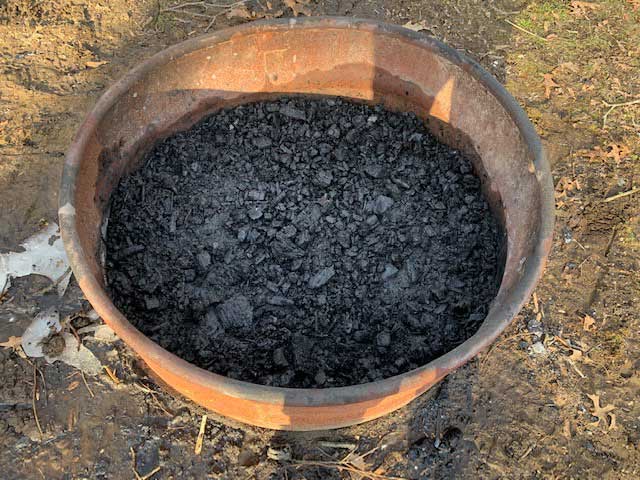
I admit to not really understanding this. I just fill a 35 gal barrel with wood, put it upside down into a 55 gal barrel, fill the gap between barrels with wood, and light it. That's all there is to it.
6
4
I wonder how the numbers work out on total percentage of the carbon retained in the biochar, retort vs trench? I suppose retort wins by a lot if you only count the feedstock that actually turns into char, but if you count the fuel as well? My guess would be retort wins anyways... Anyone aware of any research done on this? Or have a hunch? Sorry if this has been answered elsewhere...
Carbon Negative Stove plans available at:
https://www.carbonconsciouscreations.com
3
Check out Redhawk's soil series: https://permies.com/wiki/redhawk-soil


 3
3

Skill verified by Opalyn Rose")

Skill verified by Opalyn Rose")

Skill verified by Mike Barkley") 4
4
John Suavecito wrote:This was the video that convinced me that I could really do this. I mostly follow their plan, but have some minor adjustments.
Martijn Macaopino wrote:
I wonder how the numbers work out on total percentage of the carbon retained in the biochar, retort vs trench? I suppose retort wins by a lot if you only count the feedstock that actually turns into char, but if you count the fuel as well? My guess would be retort wins anyways... Anyone aware of any research done on this? Or have a hunch? Sorry if this has been answered elsewhere..."
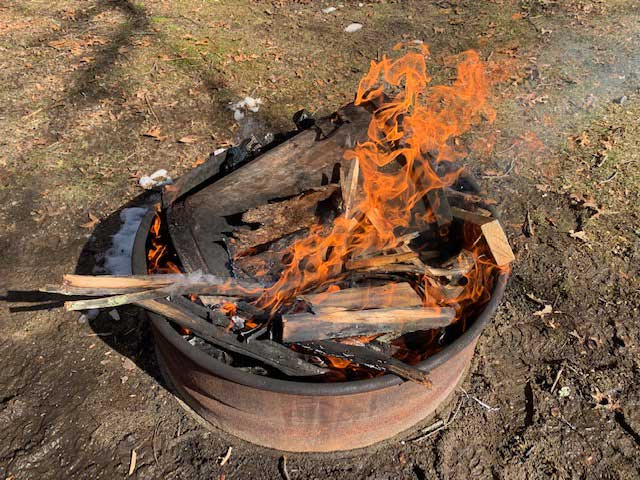
The 30(35) gallon in 55 gallon barrel in barrel method is highly inefficient because 20-25 gallons of biomass are burned down to ashes in an attempt to pyrolize 30-35 gallons of material and its not uncommon for people to fail to achieve full pyrolysis because this method is tricky to get right consistently.
With a pit or trench burn only a minor portion of the feedstock turns to ashes so it's much more efficient.
And like you mentioned cutting branches to fit inside the barrels is a lot of work as well which further adds to the inefficiency.
Blog: 5 Acres & A Dream
Books: Kikobian Books | Permies Digital Market
5
Leigh Tate wrote:
One thing that's coming to mind as I read all these interesting comments, is that what's "best" will depend in part on one's source materials and what's acceptable in terms of the time and work necessary to use the system. For example, we have volumes of waste and deadfall wood here, so fuel isn't an issue. But I can see that it would be for someone who has to source it.
One thing I don't see addressed often with the open methods, is the release of the wood gases into the atmosphere, as opposed to burning them with a gasifier type of biochar maker. How much are they adding to the greenhouse / pollution problem? Or are they? It seems that ought to be part of the efficiency equation.
Carbon Negative Stove plans available at:
https://www.carbonconsciouscreations.com
2
Check out Redhawk's soil series: https://permies.com/wiki/redhawk-soil
4


 5
5


It is a privilege to live, work and play in the traditional territory of the Salish People.
Now drop and give me 52... ~ Come Join the permies Shoecamp! ~ All about Permies, including Tutorials ---
Twenty bucks off the homesteading bundle for the next 72 hours!

Skill verified by Mike Haasl") 4
9
4
9
Check out Redhawk's soil series: https://permies.com/wiki/redhawk-soil
3


 7
6
7
6
This is all just my opinion based on a flawed memory
6
Check out Redhawk's soil series: https://permies.com/wiki/redhawk-soil
5
This is all just my opinion based on a flawed memory
6
4
2
Leigh Tate wrote:
One thing I don't see addressed often with the open methods, is the release of the wood gases into the atmosphere, as opposed to burning them with a gasifier type of biochar maker. How much are they adding to the greenhouse / pollution problem? Or are they? It seems that ought to be part of the efficiency equation.
6
8
5
![[Thumbnail for Biochar-stove-w-chimney.jpg]](/t/170471/a/229534/Biochar-stove-w-chimney.jpg "Filename: Biochar-stove-w-chimney.jpg
Description:")
Check out Redhawk's soil series: https://permies.com/wiki/redhawk-soil
1
Check out Redhawk's soil series: https://permies.com/wiki/redhawk-soil
3
4
Check out Redhawk's soil series: https://permies.com/wiki/redhawk-soil
6


Zone 6, 45 inches precipitation, hard clay soil
9

|
Curse your sudden but inevitable betrayal! And this tiny ad too!
Workee-job sucks? Quit and live the permaculture way in Montana
https://wheaton-labs.com/bootcamp
|