|

|
|
|
|

|

|

|

|
.png)
|


 12
12


![[Thumbnail for 5a_Smaller-Burntunnel.jpg]](/t/257726/a/240959/5a_Smaller-Burntunnel.jpg "Filename: 5a_Smaller-Burntunnel.jpg
Description:")

![[Thumbnail for 7_Half-brick-base.jpg]](/t/257726/a/240961/7_Half-brick-base.jpg "Filename: 7_Half-brick-base.jpg
Description:")
![[Thumbnail for 8_Burn-tunnel.jpg]](/t/257726/a/240962/8_Burn-tunnel.jpg "Filename: 8_Burn-tunnel.jpg
Description:")
![[Thumbnail for 9_Burn-tunnel-insulated.jpg]](/t/257726/a/240963/9_Burn-tunnel-insulated.jpg "Filename: 9_Burn-tunnel-insulated.jpg
Description:")
![[Thumbnail for 10_Burn-tunnel-insulated_with-Cobb.jpg]](/t/257726/a/240964/10_Burn-tunnel-insulated_with-Cobb.jpg "Filename: 10_Burn-tunnel-insulated_with-Cobb.jpg
Description:")
Proudly presenting RocketMassHeaters.com
A good starting point to all RMH research
How Permies.com works
12
 )
)
![[Thumbnail for 11_riser-built.jpg]](/t/257726/a/241230/11_riser-built.jpg "Filename: 11_riser-built.jpg
Description:")
![[Thumbnail for 12_riser-insulated.jpg]](/t/257726/a/241231/12_riser-insulated.jpg "Filename: 12_riser-insulated.jpg
Description:")
![[Thumbnail for 13_oven-assembly.jpg]](/t/257726/a/241232/13_oven-assembly.jpg "Filename: 13_oven-assembly.jpg
Description:")
![[Thumbnail for 14_oven-installed.jpg]](/t/257726/a/241233/14_oven-installed.jpg "Filename: 14_oven-installed.jpg
Description:")
Proudly presenting RocketMassHeaters.com
A good starting point to all RMH research
How Permies.com works
8
11

Proudly presenting RocketMassHeaters.com
A good starting point to all RMH research
How Permies.com works
13

Proudly presenting RocketMassHeaters.com
A good starting point to all RMH research
How Permies.com works
8
Where there is Liberty, there is Christ!
8
9
Proudly presenting RocketMassHeaters.com
A good starting point to all RMH research
How Permies.com works
7
Where there is Liberty, there is Christ!
7
Proudly presenting RocketMassHeaters.com
A good starting point to all RMH research
How Permies.com works
5
7
sow…reap…compost…repeat
9

Proudly presenting RocketMassHeaters.com
A good starting point to all RMH research
How Permies.com works
7

Proudly presenting RocketMassHeaters.com
A good starting point to all RMH research
How Permies.com works
5
Proudly presenting RocketMassHeaters.com
A good starting point to all RMH research
How Permies.com works


 2
2
Benjamin Dinkel wrote:Hi fellow permies.
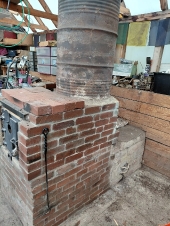
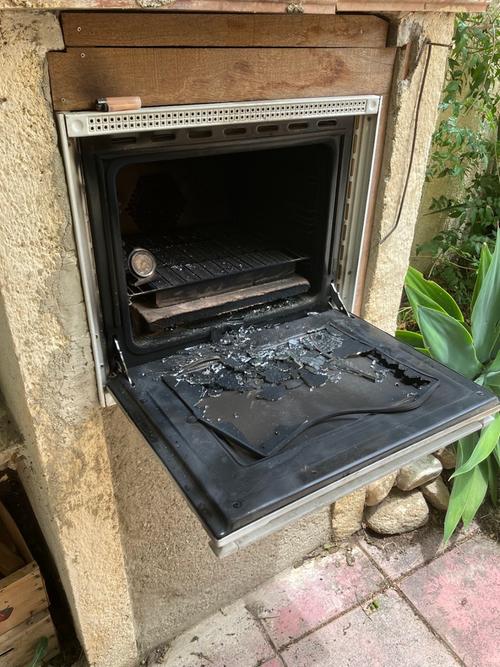
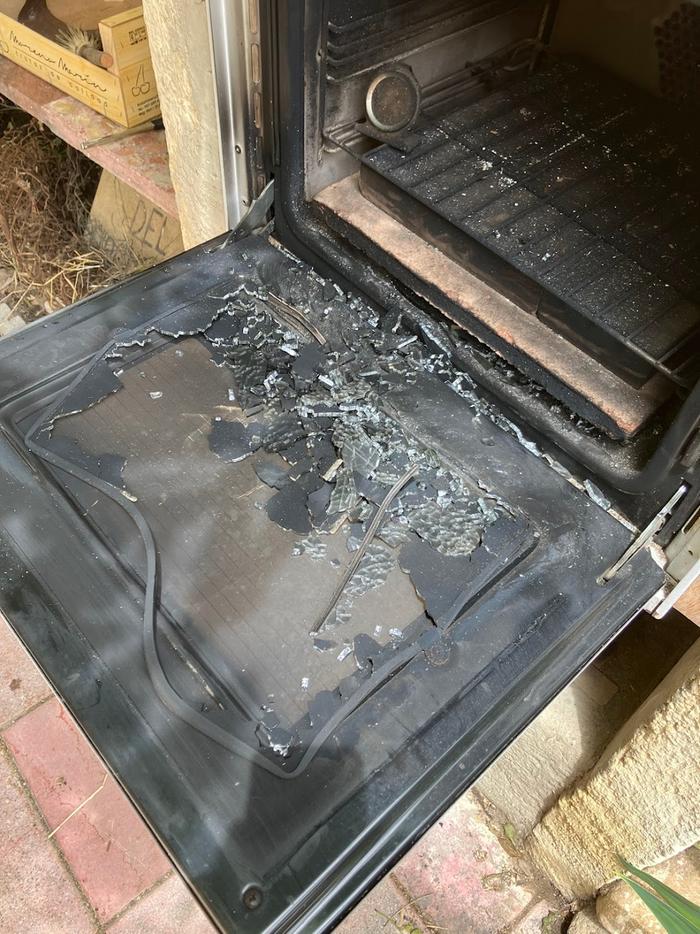
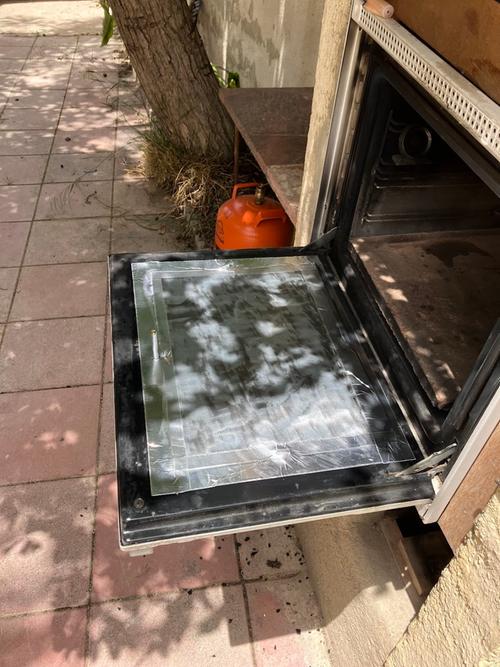
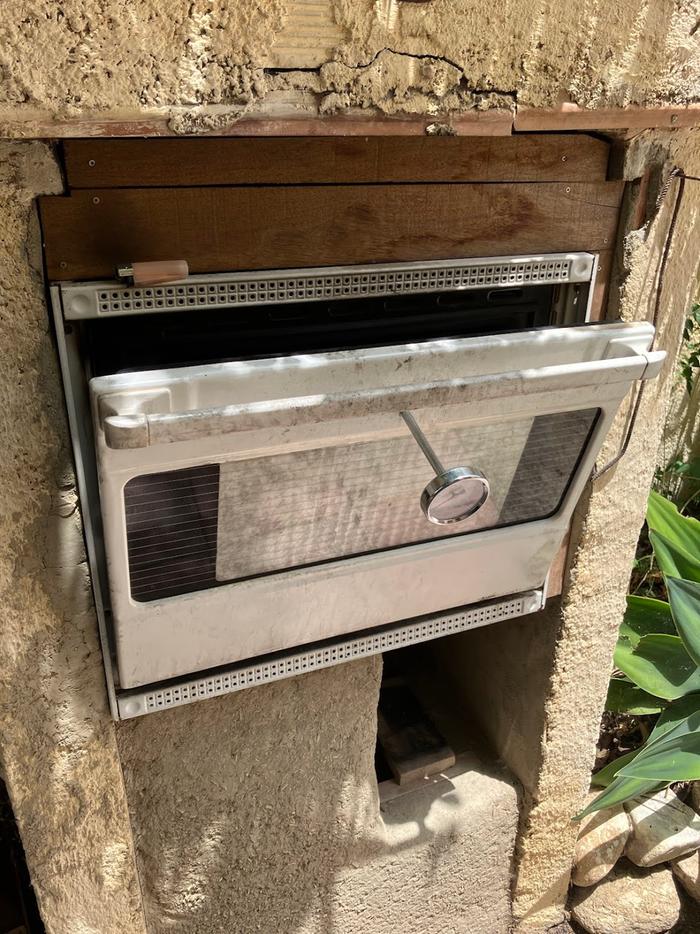
I decided to build a bread oven in an existing BBQ-site, using firebricks for the core and a salvaged electric oven as the oven part.
Here's a video of the first burn after dry stacking the J-Tube:
No smoke, I was quite content.
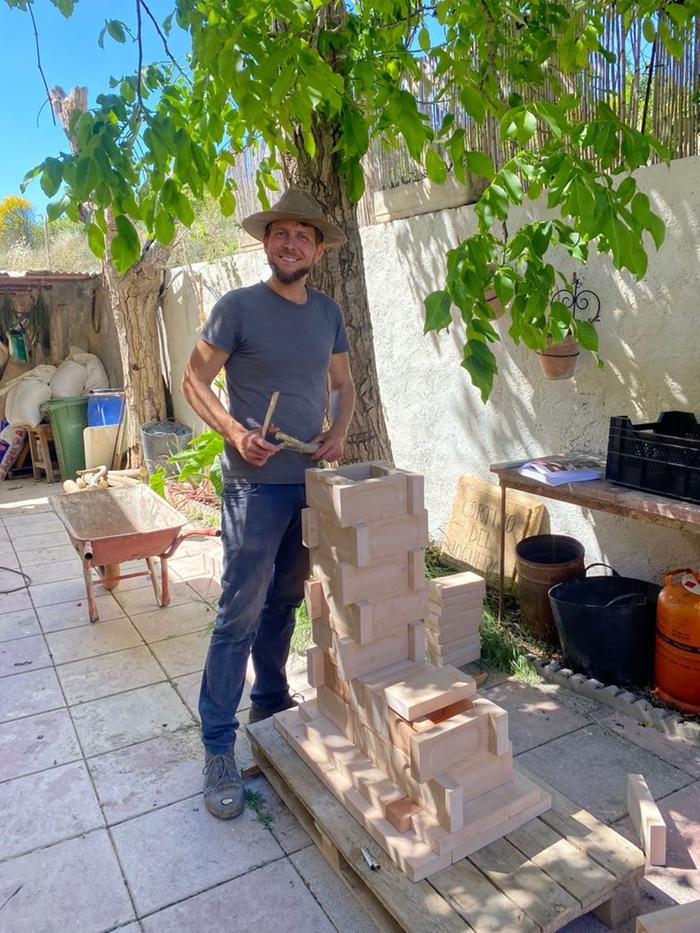
I then tried to make the whole setup a bit smaller and stacked it again, this time using the energy to cook some lentil soup.
I'll keep adding to this post as the construction continues.
Changing one thing, no matter how tiny, is still change
3
Proudly presenting RocketMassHeaters.com
A good starting point to all RMH research
How Permies.com works
2
Changing one thing, no matter how tiny, is still change
2
For me it's the other way around. If you're not sure, the lovely people here help you. And double check what you're doing.Sarah Joubert wrote:I suppose I just don't feel confident enough to post it. If people start asking technical questions I'll be lost as I literaly just followed the plans!
The oven sits at about 80 cm from the floor. 10cm foundation and then 70cm riser.Sarah Joubert wrote:What's the height of the door of the oven when it's open?
What do you mean by initial? It should be around 70cm.Sarah Joubert wrote:What was the height on your initial riser?
When I use small, dry wood I have a tiny bit of smoke in the beginning and then none after 5 mins of burning. Not enough smoke to alarm anyone. Where I am barbecues are allowed (on a 10x10m concrete patch), so no problem using an outdoor oven. Maybe a 5 minute riser, like this one, with Morgan Super Wool would get smokeless even faster.Sarah Joubert wrote:I need something that is very efficient and burns clear because if anyone sees a plume of smoke in my area, they will get the bombers out before my bread in even in the oven!
That sounds cool! You can always partially build the J into the ground, or raise the floor around it.Sarah Joubert wrote:I want to add a separate j tube with the double ring cast iron plate that came with the stove front for frying/boiling etc.
Out the back with a 90 degree elbow, then straight up. I need to figure out a little top to prevent leaves and rain to fall in.Sarah Joubert wrote:You vented your oven straight out the back, did you go up and add a chiney pipe or did you vent it facing down?
In this case it's just RockWool, lana de roca, sold in sheets. I do have some Morgan Super Wool now, but for the outside of the burn channel and riser like I built in this case RockWool is good enough. It's not in contact with the flames.Sarah Joubert wrote:BTW, what is the insulation you used called in Spanish, how is it sold, by the roll or sheet?
More than happy to do that in the forum!Sarah Joubert wrote:Share successes, experiences and especially our failures. Yeah, all things relevant to our corner of the world.
Proudly presenting RocketMassHeaters.com
A good starting point to all RMH research
How Permies.com works
3
Changing one thing, no matter how tiny, is still change
4
Proudly presenting RocketMassHeaters.com
A good starting point to all RMH research
How Permies.com works
5
Proudly presenting RocketMassHeaters.com
A good starting point to all RMH research
How Permies.com works
2
Changing one thing, no matter how tiny, is still change
1
Proudly presenting RocketMassHeaters.com
A good starting point to all RMH research
How Permies.com works
Proudly presenting RocketMassHeaters.com
A good starting point to all RMH research
How Permies.com works

| I agree. Here's the link: http://stoves2.com |