|

|
|
|
|

|

|

|

|

|
 11
11


Don't let perfect be the enemy of good.
5
"People may doubt what you say, but they will believe what you do."
2
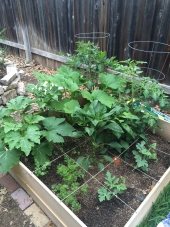
 I would think that using more but smaller pots would work well until the soil is more easily dug. The 'soil' on top of my buried wood beds is basically just two or three feet of mulch (we have no soil), so burying the pots won't be a problem.
4
I would think that using more but smaller pots would work well until the soil is more easily dug. The 'soil' on top of my buried wood beds is basically just two or three feet of mulch (we have no soil), so burying the pots won't be a problem.
4
What size pots did you use?
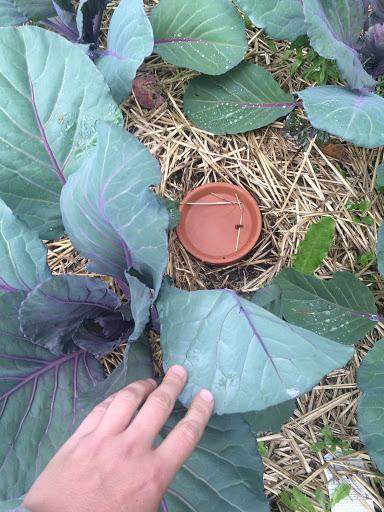

How did you water them and how often
How is burrying the pots less work than using drip?
And, for someone looking to get something going on a hugelkultur bed but doesn't want to run line on a bed, I bet this would be a good option to get a plant up and running.
If you want to try another experiment, take a clay pot, turn it upside down and silicone it on top of another of the same size.
Don't let perfect be the enemy of good.
1
3
Don't let perfect be the enemy of good.
1
1
Don't let perfect be the enemy of good.
2
 I will really need some hard evidence to convince the man that all that expensive irrigation stuff isn't necessary. I'm watering the garden by hand this year anyway, and only have the two 4x40' beds right now. But the others are in the works, so I want to have the experiment well underway when the time comes to assess our water needs for the garden.
1
I will really need some hard evidence to convince the man that all that expensive irrigation stuff isn't necessary. I'm watering the garden by hand this year anyway, and only have the two 4x40' beds right now. But the others are in the works, so I want to have the experiment well underway when the time comes to assess our water needs for the garden.
1


Don't let perfect be the enemy of good.


 1
3
1
3
Don't let perfect be the enemy of good.
1
 5
5
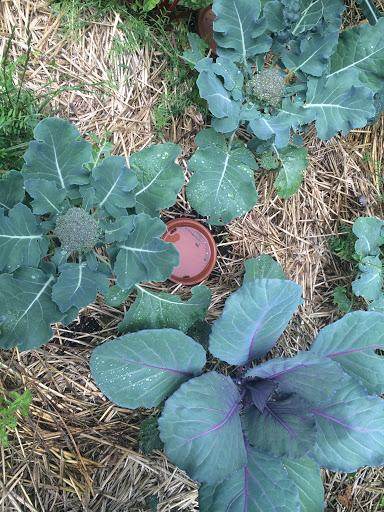
 Plant 4 melon seeds equidistantly around clay water jar.
For more information about old-fashioned biological agriculture please visit: www.agriculturesolutions.wordpress.com -or- www.worldagriculturesolutions.com -or- send your questions to: Agriculture Solutions, 413 Cedar Drive, Moon Township, Pennsylvania, 15108 USA -- or -- send an e-mail to: Eric Koperek = erickoperek@gmail.com
3

Don't let perfect be the enemy of good.
2

|
"How many licks ..." - I think all of this dog's research starts with these words. Tasty tiny ad:
grow your own garden and build your own home, in Montana, for free-ish
https://wheaton-labs.com/bootcamp
|