I figured you guys may be interested in seeing what my greenhouse looks like right now!


"Emily," I hear you saying as you clutch your forehead, "why do you have a gigantic squash plant growing in there?"
In my defense, it
volunteered. And then it was so vigorous and productive that I couldn't possibly refuse to let it stay, now could I?
"And what about all those
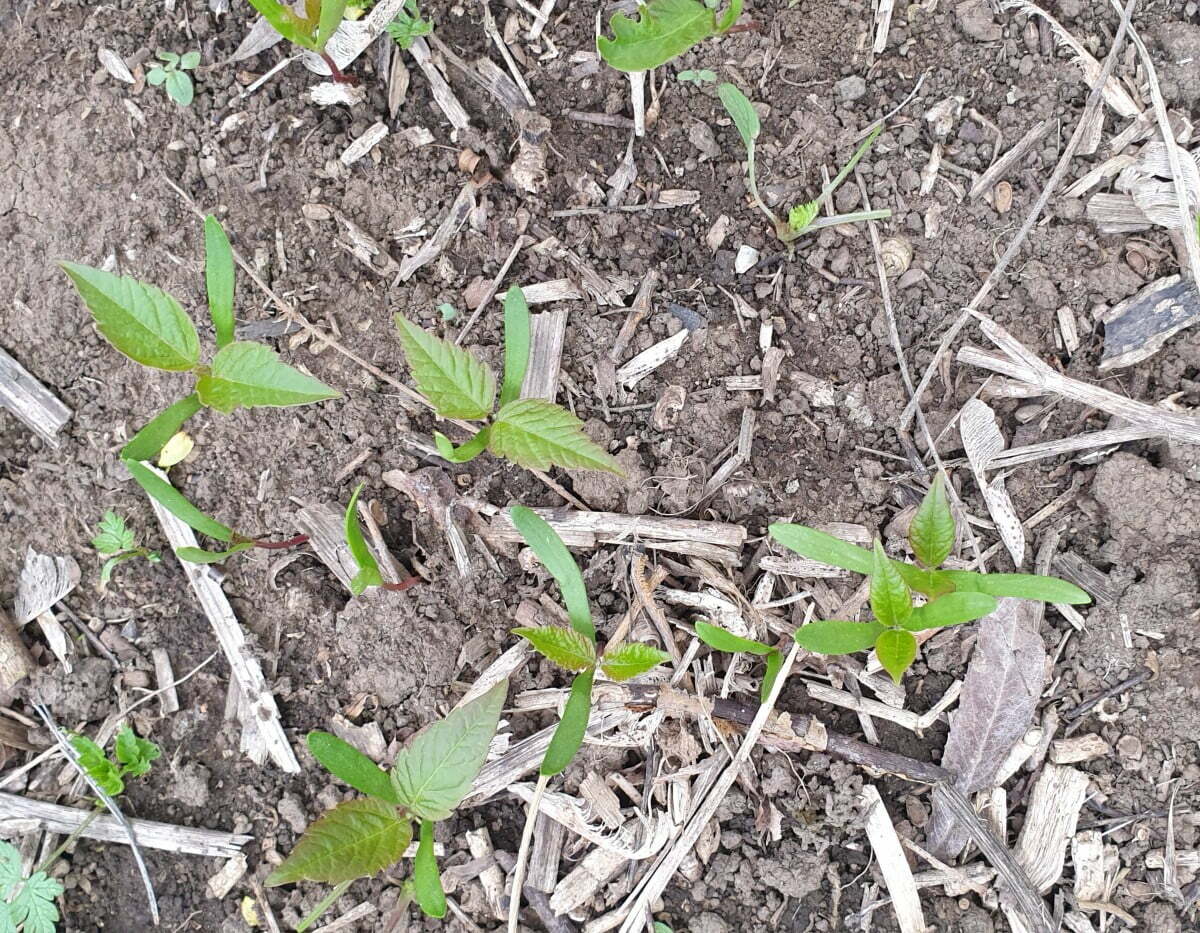
other cucurbit seedlings?"
(Ahem.) Well, see, they didn't sprout until our August rain came, at which time it would've been too late for them to ripen a first fruit before our first frost date, so . . . I transplanted them next to the tropical trees. Why not, right?

Here's a rundown on all the equipment I have in there.
I bought the metal frame on Amazon last year for about $160, including sales tax. It came with a plastic cover, which I used all last year; it was very flimsy and fell apart by the time summer came. Our high UV baked it to shreds.
Now, I assumed that would happen, so I was okay with it. I considered the frame worth $160 all on its own. It's very sturdy, and I expect it to last for a long time.
Because I needed to buy new plastic this year, I decided to buy a sheet that was much bigger than I needed. Because, you see . . . (steeples fingers) . . . this allowed me to be greedy and lay claim to some of the area *around* that frame to fit in more tropical trees. Great idea, right?

I bought a 25-foot by 40-foot sheet of greenhouse plastic that is thick, high-quality, and supposed to last for four years. I'm not sure if it will manage that in our super high UV; I hope so. It cost $92, including the sales tax.
There's the frame for a small mini greenhouse I bought a few years ago. It's pretty flimsy, but it still works okay. So I figured I'd make it an outer wall. It's next to a compost pile made out of four pallets zip-tied together.
The other thing you see made out of wood was our children's old bunk beds. They've gotten too big for them, so I figured I'd see if they work as a shelf in the greenhouse to store equipment. An actual shelf would have worked better, but I had the old bunk beds on hand, so I used them.
There are three IBC totes on the north side of the greenhouse, forming a wall of thermal mass. I call those rain tanks. Take a wild guess what I fill them with!

There are two more rain tanks inside the greenhouse. One is sort of invisible in the picture because I twisty tied the vigorous maxima squash's stems up the side, and it happily grew up and across the top and is dangling down the back side. I may see if I can twisty tie the vines to grow up over the ceiling and dangle down fruit through the winter. 'Cause why not?
Actually, I'd really like to have *some* vine growing across the ceiling over the winter. My suspicion is that that will serve as extra insulation to keep my tropical trees warm. I would rather it be something tropical, but I'll happily experiment with whatever I have on hand. Hence, cucurbit sprouts all over the place. I'm kind of using them like pioneer species. They grow so well here that I may as well use them that way.

I collect rainwater from my house, and then haul it out to the greenhouse in 5-gallon buckets. Yes, this takes a lot of time and is fairly cumbersome. On the other hand, it's a great workout and weight-lifting routine. I fill up the rain tanks inside the greenhouse first, then the rain tanks outside the greenhouse. By the time they're all full, we will be hitting our coldest temperatures of the year, around late January through late February. So the thermal mass (which keeps the temperature higher) continually increases as the temperatures continually decrease, which is ideal.
I may add some insulation on the north side of the greenhouse, but I'd really rather
grow the insulation in the form of vines. Much cheaper and more convenient. I leaned a bunch of cardboard on the north side last year, and it may or may not have served as extra insulation, but I found a huge black widow nesting in that nice warm, dry cardboard niche last December, so . . . no more cardboard in the greenhouse for the winter!
I have some solar panels inside the greenhouse, so I can charge power stations in the winter. The solar panels are fully waterproof, but the power stations aren't, so it makes sense to keep them inside the greenhouse.
Oh, and I have some lights that charge by connected solar panels during the day and automatically turn on at night. They run for about four hours until the battery runs out. I don't know if those lights help the plants or not (my guess is that they probably make little difference), but they make it more convenient for me to visit the greenhouse in the evening, since the sky tends to get dark by around 6pm in the winter.
All of that can keep the greenhouse consistently 20 degrees warmer inside than outside. However, that's not enough to keep it from freezing when we hit 7 degrees (the lowest temperature it usually ever hits here, and it only hits that temperature for one or two nights out of the year in late February). For those nights, I need to somehow get another 5 degrees of warmth in there.
Last year, my solution was technology. On the coldest nights of the winter, I hooked a ceramic heat emitter ($7) up to a lamp ($10), which was hooked up to a thermostatically controlled outlet that automatically turned on when the temperature hit 32 degrees ($10), which was hooked up to a power station ($250), which was hooked up to a solar panel ($160). That was sufficient!
But this year, I'm going to be sneaky. With extra covered space to play with, I now have a compost pile in the greenhouse. I am thinking that will generate some extra heat, perhaps enough to make the technology unnecessary.
I also have a second place for compost: a black trash can with a lid on it. That is my "death trap" compost bin. It's mostly full of apples that are infested with coddling moths and apple maggots. It also has seeds from any grocery store fruits I ate that weren't very good (so I don't want their offspring to volunteer out of the compost pile), and occasionally stuff like large weeds that have gone to seed. It is currently full, so I need another one.
At some point, hopefully this winter, I will finally finish building a fire pit, so I can make biochar. Then everything in the "death trap" compost will get converted to biochar. Muah ha ha! Since I can't burn them yet, I figure I may as well keep all that stuff confined in a space with a tight-fitting lid. And why not stick that in the greenhouse, while I'm at it? It seems to stay consistently warm, even when the weather is chilly, so I'm sure it's generating a little extra warmth while the rotten fruit and bug larvae are composting. If that works out well, I may very well continue to do that every year.
That's my greenhouse setup so far!
Does anyone else have any cool greenhouse ideas?


 There are two more rain tanks inside the greenhouse. One is sort of invisible in the picture because I twisty tied the vigorous maxima squash's stems up the side, and it happily grew up and across the top and is dangling down the back side. I may see if I can twisty tie the vines to grow up over the ceiling and dangle down fruit through the winter. 'Cause why not?


