Justin Rhodes 45 minute video tour of wheaton labs basecamp
will be released to subscribers in:
soon!
Burra Maluca wrote:
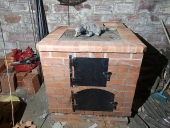
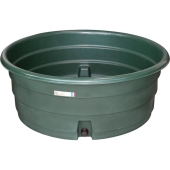
Connie Graham wrote:What I'm stuck on is connecting the tanks so I can gravity feed them for topping up ... As in the type of fittings that will allow me to connect pipes/hoses between them - I don't know what to look for or what kind of seals etc.
I just went up to the terrace above the house to take some photos in case they help.
If you need more technical info I'll have to twist Austin's arm to reply when he gets home but I'm hoping the photos will help you a bit.

Mark Reed wrote:In my opinion the better half is sometimes right and in this case, I would have to agree. If you have the land and the finances for a septic system, it will almost certainly make your life easier and more comfortable. If the issue is toxic chemicals and the like getting into the rivers, all you have to do is not dispose of them in the drain, better yet don't buy them in the first place and you can also still pee outside if your so inclined. Pretty much the same rules as for a willow feeder, or so I assume without all the hauling, breathing and storing of feces or sourcing an ongoing supply of sawdust.