I've never read this, it was fun, and sadly true. I work at a Co-op, and we sell chicks several months out of the year. There's so many times I wish I could refuse to sell them. With the Internet, and most people owning a cellphone there's no excuse for going into something blind, especially a living creature.
I have to admit I got our chickens because they hatched them in my daughter's kindergarten class. I didn't know squat about raising chickens. It was 20+ years ago. We may have had a computer, but it wasn't like it is now. I bought a book, and read it cover to cover. My dad also helped me because he had chickens growing up.
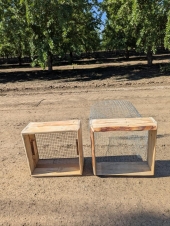
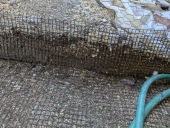
It always amazes me how much people spend on a chicken coop. We have one in the store right now that's $1200.00, it's the smallest coop I've ever seen, but it comes with some fencing... ok. I was very lucky my father-in-law built my coop out of old pipes he welded together to build the frame, I'm sure it will last a lot longer than I will. We wired chicken wire to the frame, used an old door that came in the barn when we bought the house. He put 2 holes in each end of a 2x4 and Hung it from the ceiling as roosting bars and I built nesting boxes with a bunch of scrap wood. Basically the only cost was the chicken wire, and it worked for a very long time. I have made modifications a few times in the last 5 or 6 years, mostly because I wanted to, not because I had to. It's been a great coop.
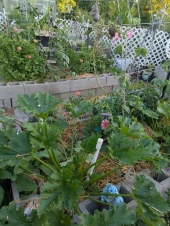
I have learned a lot about chickens over the years. We don't eat them, I just don't have it in me(I'm not against others doing it, I think it's great to know what your food is being fed, and how it's cared for, I just can't do it) I enjoy having great eggs. I enjoy my chickens, and don't mind caring for them when the stop laying. I feed chicken food I know is fresh made in our co-op mill, I also feed fermented grains once a day, and they get lots of stuff from the garden. They have their own fenced in yard. I used to let them out every day we live between orchards. After loosing 2 entire flocks to dogs, I stopped letting them out. Now they only get let out if I'm going to be around to keep an eye on them. Lucky the yard is a good size, and they seem happy.