Chokri Hizem

+ Follow
since Aug 22, 2019
Merit badge: bb list bbv list
For More
Apples and Likes
Apples
Total received
In last 30 days
0
Forums and Threads

Recent posts by Chokri Hizem

Have you ever taken a moment to stroll through your local farmer's market, where the air is filled with a medley of enticing scents and the vibrant colors of fresh produce catch your eye? Amongst the kaleidoscope of fruits and vegetables, those earthy, deep-hued beets stand out, their rich tones reminiscent of the fertile soil from which they spring. As you admire their beauty, have you ever found yourself thinking, "I wish I could grow those myself and enjoy their rich flavor right from my own garden"? Well, let me share some delightful news with you—guess what? You absolutely can! And the best part is that you don’t need to own sprawling acres of land to make this dream a reality. Whether you have a tiny balcony, a small backyard, or even just a sunny windowsill, you can cultivate your own patch of this vibrant produce.

Growing beetroot in charming terracotta containers is not only a rewarding and fulfilling undertaking but also an accessible project that allows you to experience the joy of homegrown freshness right at your doorstep. Picture this: as you tenderly care for your vibrant beetroot, you are nurturing life and cultivating a beautiful connection with nature, creating a delightful atmosphere in your garden or balcony. With just a few essential steps, you can transform ordinary spaces into a bountiful haven, making this gardening activity both enjoyable and satisfying for gardeners of all experience levels. Visualize yourself harvesting those rich, earthy roots, knowing that you’ve played an integral role in bringing this nutritious vegetable from seed to plate—all from the comfort of your own home!

One of the coolest and most fascinating aspects about beetroot, that delightful and vibrant vegetable we often enjoy in salads and various dishes, is the intriguing nature of what we commonly refer to as a "seed." Contrary to what one might typically assume, this so-called seed is not a singular entity but rather a compact cluster, which actually contains multiple seeds nestled together. This remarkable characteristic means that within each of these clusters lies the exciting potential for two, three, or even more seedlings to sprout and grow! Imagine the abundance that each little cluster can provide, transforming a single planting into a thriving group of beetroot plants, each contributing its own unique flavor and nutritional benefits to our meals. Isn’t it amazing how something so small can hold such potential for growth and nourishment?

Growing organic beetroot in a lovely terra-cotta container is not only a delightful and engaging activity, but it also offers a simple approach to enjoying fresh, nutrient-rich produce right from your own home. Imagine the satisfaction of harvesting vibrant, earthy beetroots that you’ve nurtured from tiny seeds, all while enhancing your gardening skills and knowledge. It’s a fantastic way to reconnect with nature, enjoy the process, and savor the rewards of your labor—plus, there’s nothing quite like the taste of freshly picked vegetables!

✨ Want to read more: 👉 How to Grow Beetroot in Terra-Cotta Containers
✨ Want to grow your own sweet, vibrant beetroot even if you don’t have a garden? 🌿 In this video, I’ll show you step-by-step how to grow healthy beetroot in beautiful terra-cotta containers—from choosing the right pot to mixing the perfect soil blend with composted chicken manure 🐓🌱. It’s easier than you think and super rewarding!


Happy Organic Gardening!


Coral Aloe. With its unique rosette of fleshy, coral-colored leaves and delicate tubular flowers not only enhances your indoor or outdoor space but also provides a rewarding gardening experience.


Coral Aloe, with its strikingly beautiful appearance, is a succulent that never fails to catch the eye. Its vibrant hues of pink, orange, and red create a stunning display in any garden or indoor space. This resilient plant is a true gem, able to thrive in a wide range of environments, from dry deserts to humid climates.


Perfect for busy individuals or those new to gardening, Coral Aloe requires minimal attention and care, making it an ideal choice for people with limited time or experience. Its adaptability to various conditions, including neglect or inconsistent watering, makes it a popular option for plant lovers seeking a low-maintenance addition to their collection. Whether placed on a sunny windowsill or in a shaded corner, this versatile succulent will flourish and add a touch of beauty to any space.


Propagating Coral Aloe is not just about expanding your plant collection; it's about nurturing life and witnessing growth firsthand. Each new pup you propagate offers an opportunity to share your passion for gardening with friends and family, or even gift them beautiful plants!
Want to read more: How to Propagate Coral Aloe from Pups
Want to Watch the Video: How to Propagate Coral Aloe: Simple and Rewarding🪴
 

Embark on a journey into the delightful world of sweet potato slips with our comprehensive guide! From understanding what sweet potato slips are to planting, caring for, harvesting, and enjoying them in delicious recipes, this blog covers everything you need to know to cultivate your own sweet potato bounty.

What are Sweet Potato Slips?

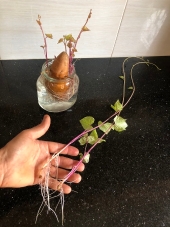
Understanding sweet potato slips is an essential aspect of successfully growing sweet potatoes. With their importance in the cultivation process, it is crucial to have a firm grasp of what sweet potato slips are and how they contribute to the growth of these delicious tubers. Sweet potato slips refer to the small, individual plants that are grown from the sprouts of a mature sweet potato. These slips are essentially young, developing plants that can be separated from the parent sweet potato and transplanted into soil to continue their growth. Acting as propagated offspring, sweet potato slips enable growers to reproduce specific varieties of sweet potatoes, maintain desired traits, and effectively expand their crop. By allowing the propagation of sweet potatoes, slips serve as the starting point for the growth cycle, transforming a single sweet potato into multiple productive plants. Understanding and diligently taking care of sweet potato slips ensure a successful and bountiful harvest.

While sweet potatoes can be grown from seeds, slips are a more common method of propagation due to their reliability and ease of use.


Sprouting Sweet Potato Slips at Home

Embarking on the journey of sprouting sweet potato slips requires attention to detail and a touch of patience. Here's what you need to know to unleash the magic of sprouting from organic sweet potatoes:

Step-by-Step Instructions

Selection: Choose healthy, cured sweet potatoes free from damage or disease.
Cutting: Cut the sweet potatoes into halves or quarters, ensuring each piece contains at least one eye or bud.
Submersion: Submerge the cut sweet potato pieces in water, ensuring the eyes are fully covered.
Placement: Position the container in a warm, sunny location, such as a windowsill or greenhouse.
Observation: Monitor the submerged sweet potato pieces for signs of sprouting, typically within 2-4 weeks.
Transplantation: Once slips emerge and reach approximately 6-8 inches in length, carefully remove them from the sweet potato pieces and transplant them into pots or the garden soil.


Prepare to go on an adventure that will tantalize your taste buds and nourish your soul! Join us as we celebrate the joy of growing, harvesting, and enjoying nature's sweet bounty right in your own backyard! Whether you are an experienced gardener or a novice enthusiast, this blog post is your go-to resource for discovering the secrets of sweet potato slips!

Read more: Unlocking The Secrets of Sweet Potato Slips: A Beginner's Guide to Successful Gardening

Watch: Sweet Potato Magic: Grow Abunbant Slips with this Simple Trick!
How to Harden Off Seedlings ?


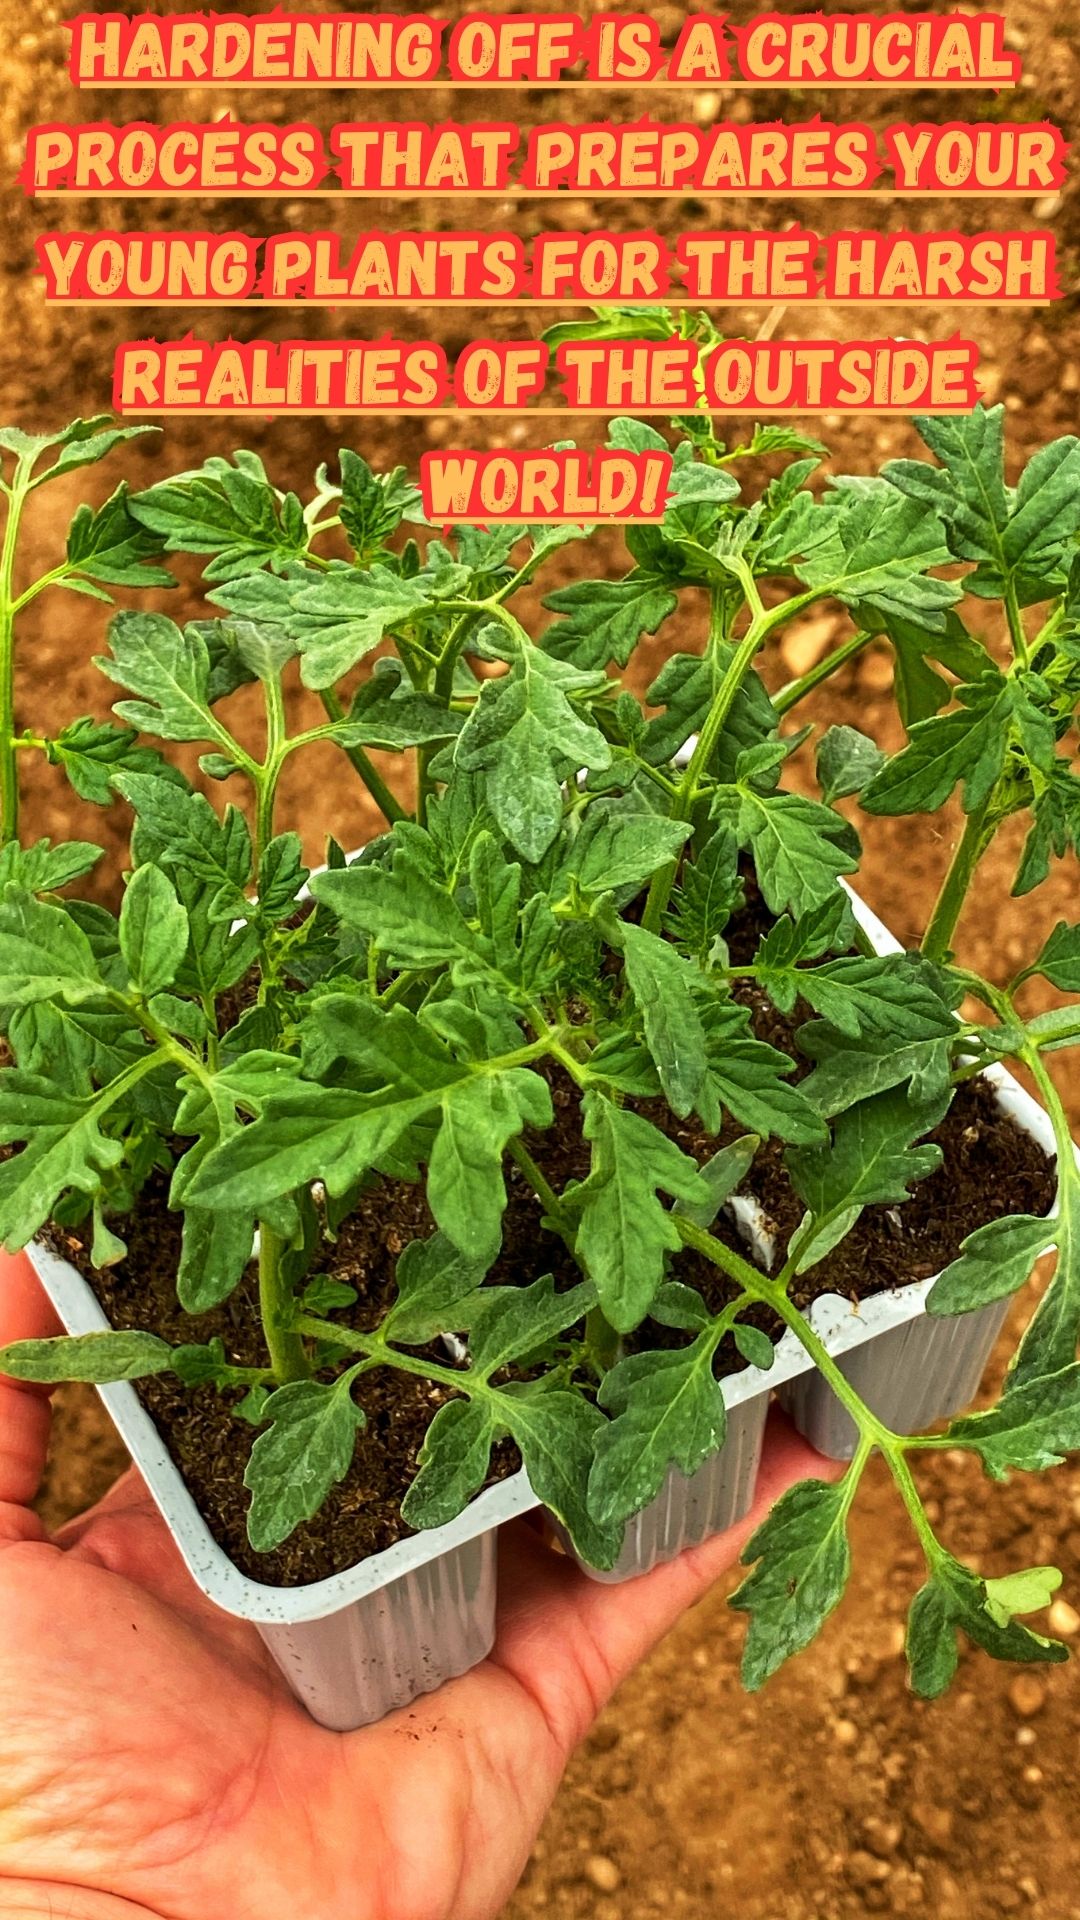
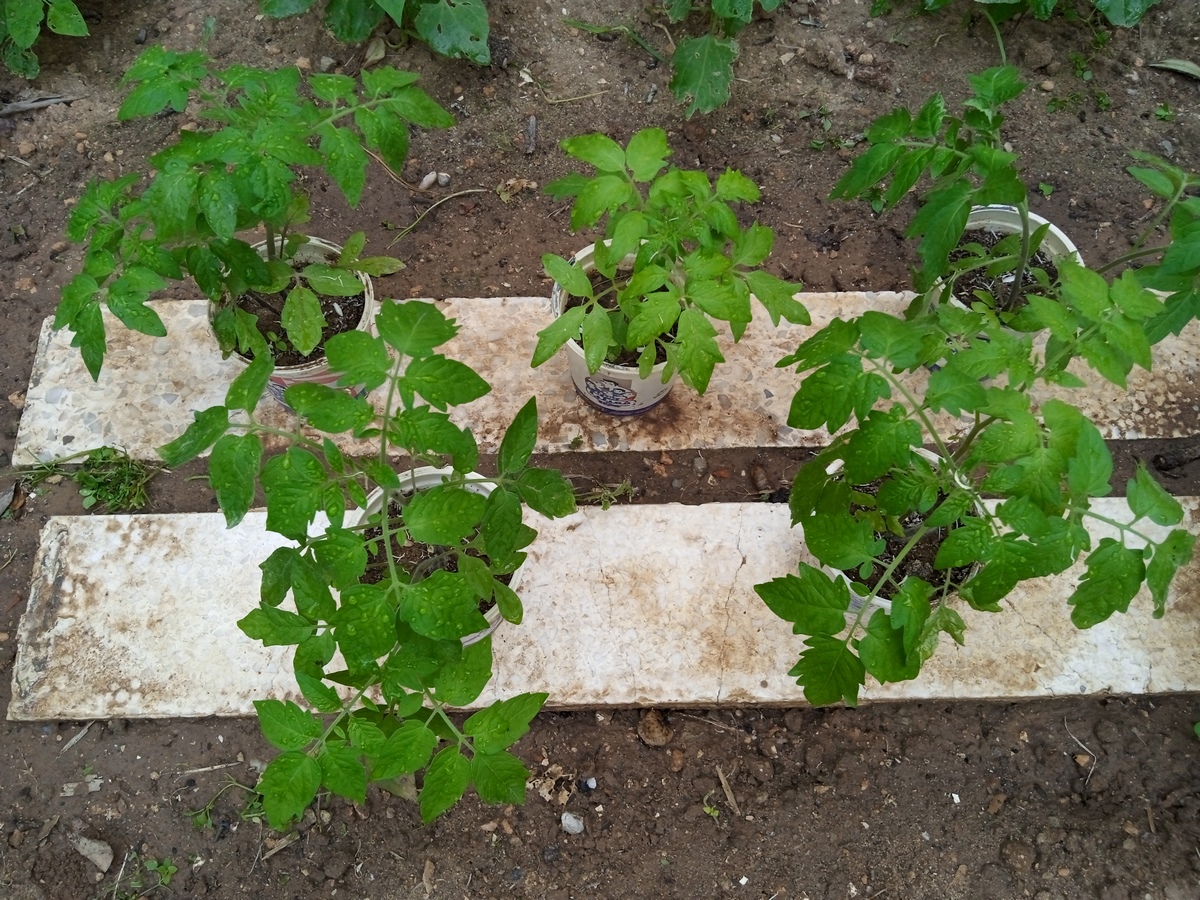
Hardening off seedlings is the process of gradually acclimating your young plants to the outdoor environment before transplanting them into your garden. Grown indoors, seedlings are shielded from harsh weather conditions such as temperature swings, wind, and direct sunlight. By progressively introducing these elements, you can help them develop more resilient stems and leaves, as well as an increased capacity to tolerate environmental stressors.


Why is hardening off seedlings important?

Hardening off is an essential step in the gardening process that significantly increases the chances of seedling survival and overall plant health. When seedlings are abruptly moved from a controlled indoor environment to the outdoor garden, they may go into shock and struggle to adapt. By hardening off your seedlings, you are giving them time to adjust gradually, reducing the risk of transplant shock and ensuring a smoother transition to their new outdoor home.


Successfully hardening off seedlings is a vital step in the journey of a gardener…keep reading!
How to Harden Off Seedlings
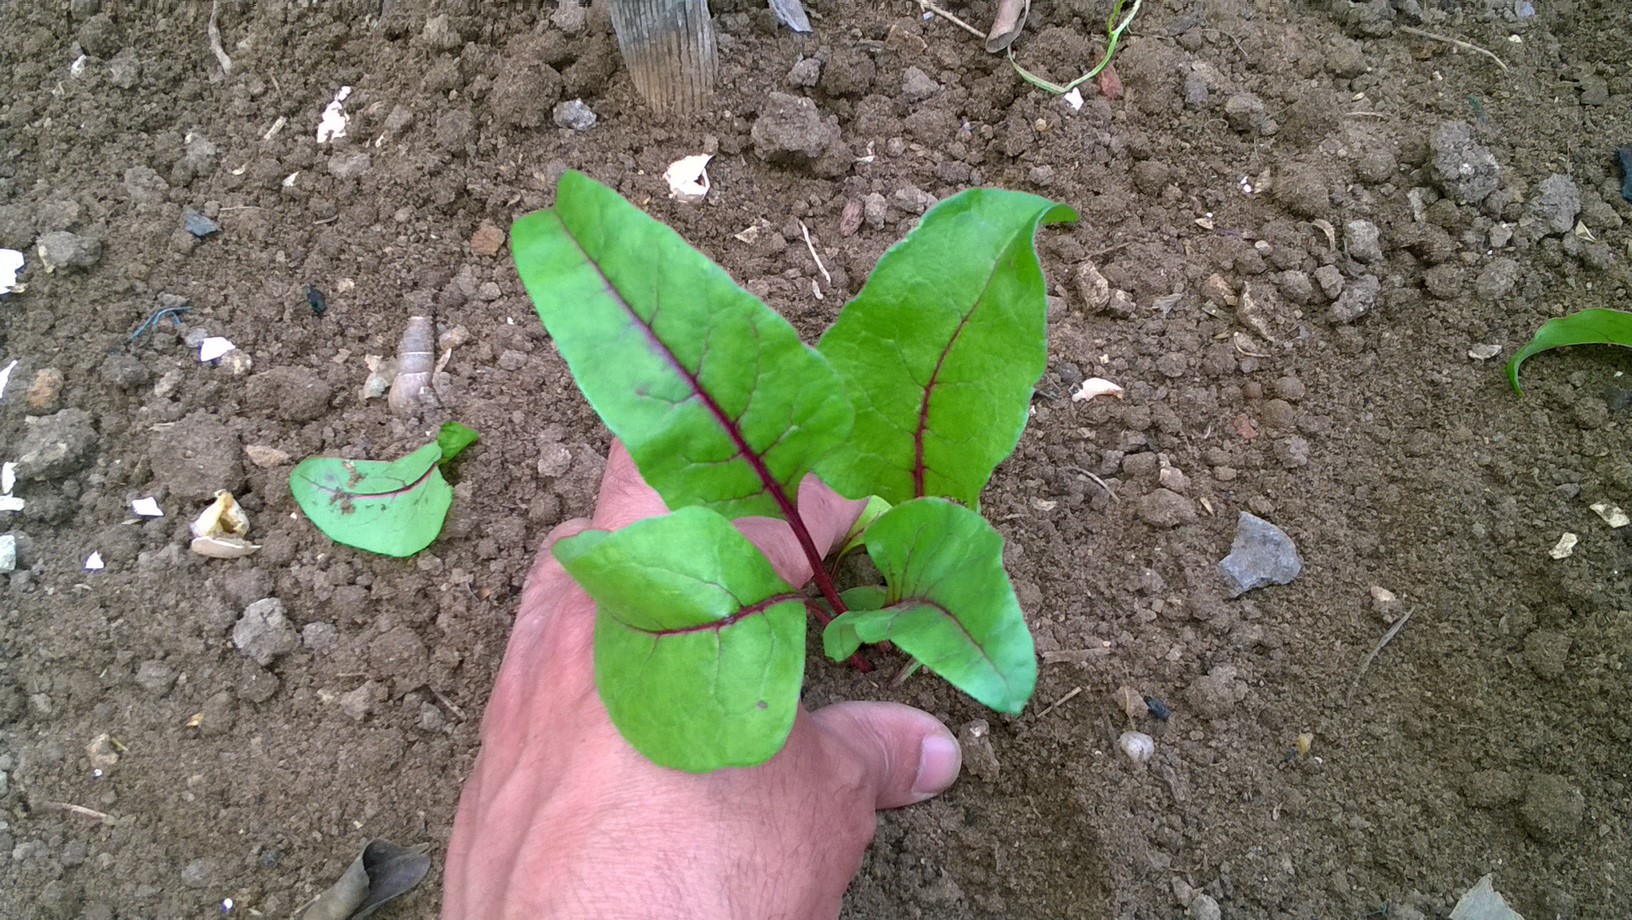
Know How To Grow Beetroots 🌱🌿

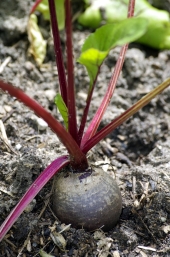
Beetroots are probably the most appreciated vegetables by most gardeners. You can plant beets in early to late fall for a winter harvest. So grow them and enjoy all the healthy benefits that they can offer!


Beetroots are high in magnesium and manganese, with some vitamin C.


The leaf, leaf stalks, and roots of beetroot plants are edible. The leaves are high in vitamin A and minerals including calcium, iron, potassium, and magnesium. The leaves of beetroot plants can be used in salads but are more often prepared as a cooked green, or in soups.


Want To Read: Know The Health Benefits Of Beetroot Leaves


Beetroot is one of the easiest vegetables you can grow, it is a cool-season crop and grow well in the cool temperatures!


Grow your own and enjoy all its benefits!!!
Want To Read: How To Grow Beetroot  🌱🌿

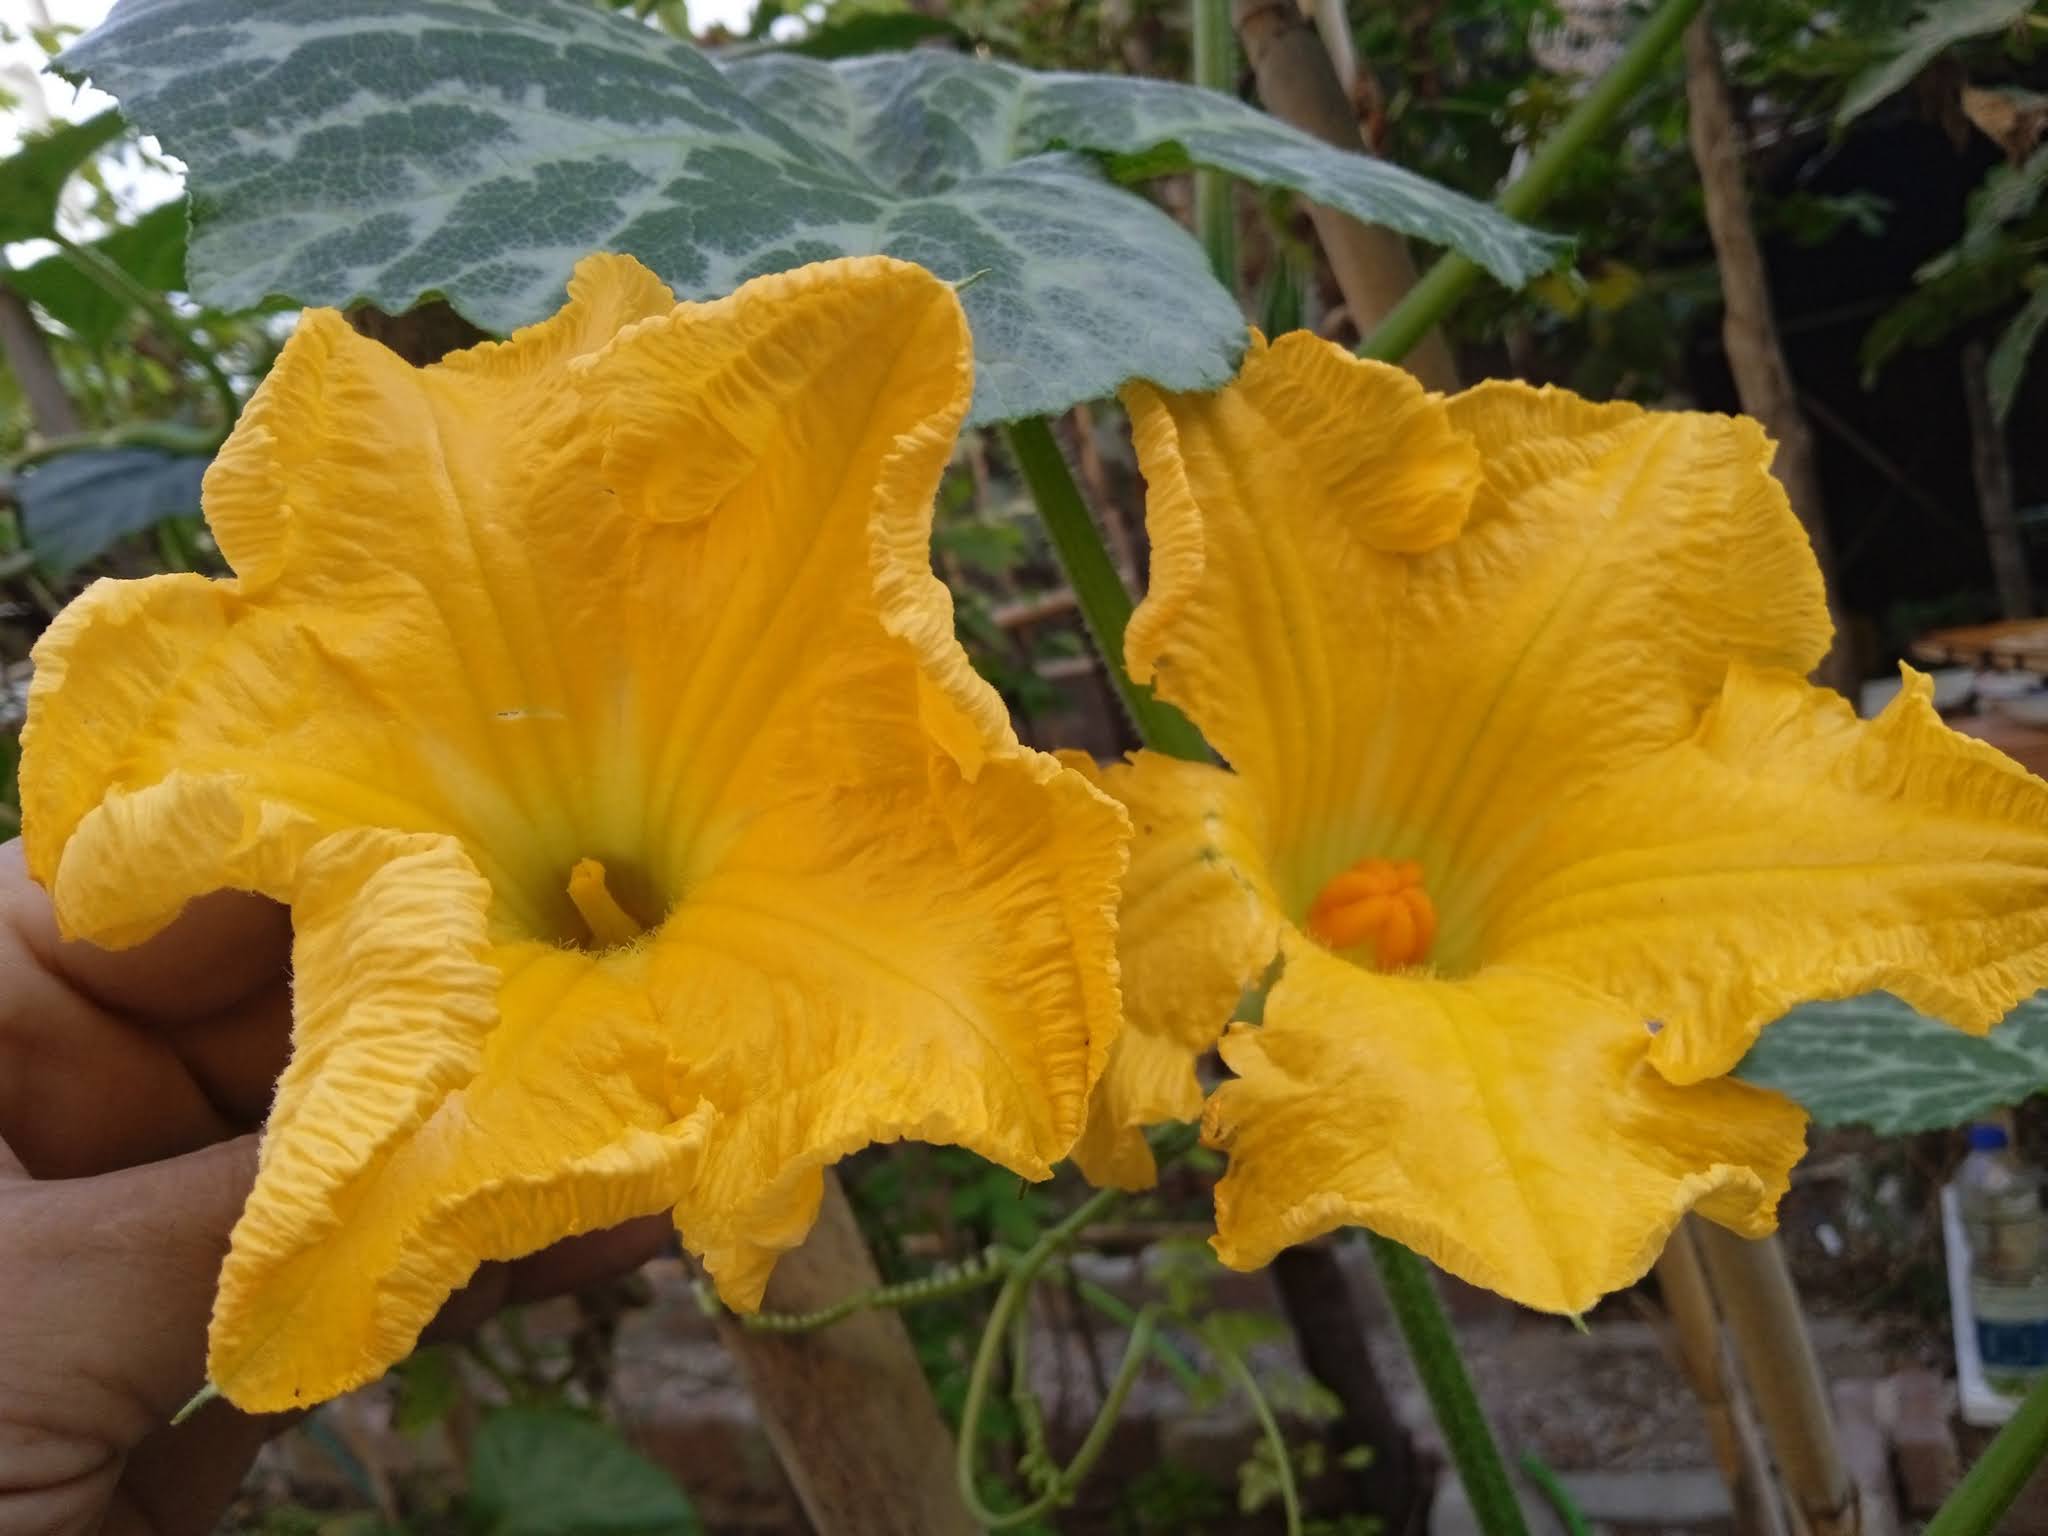
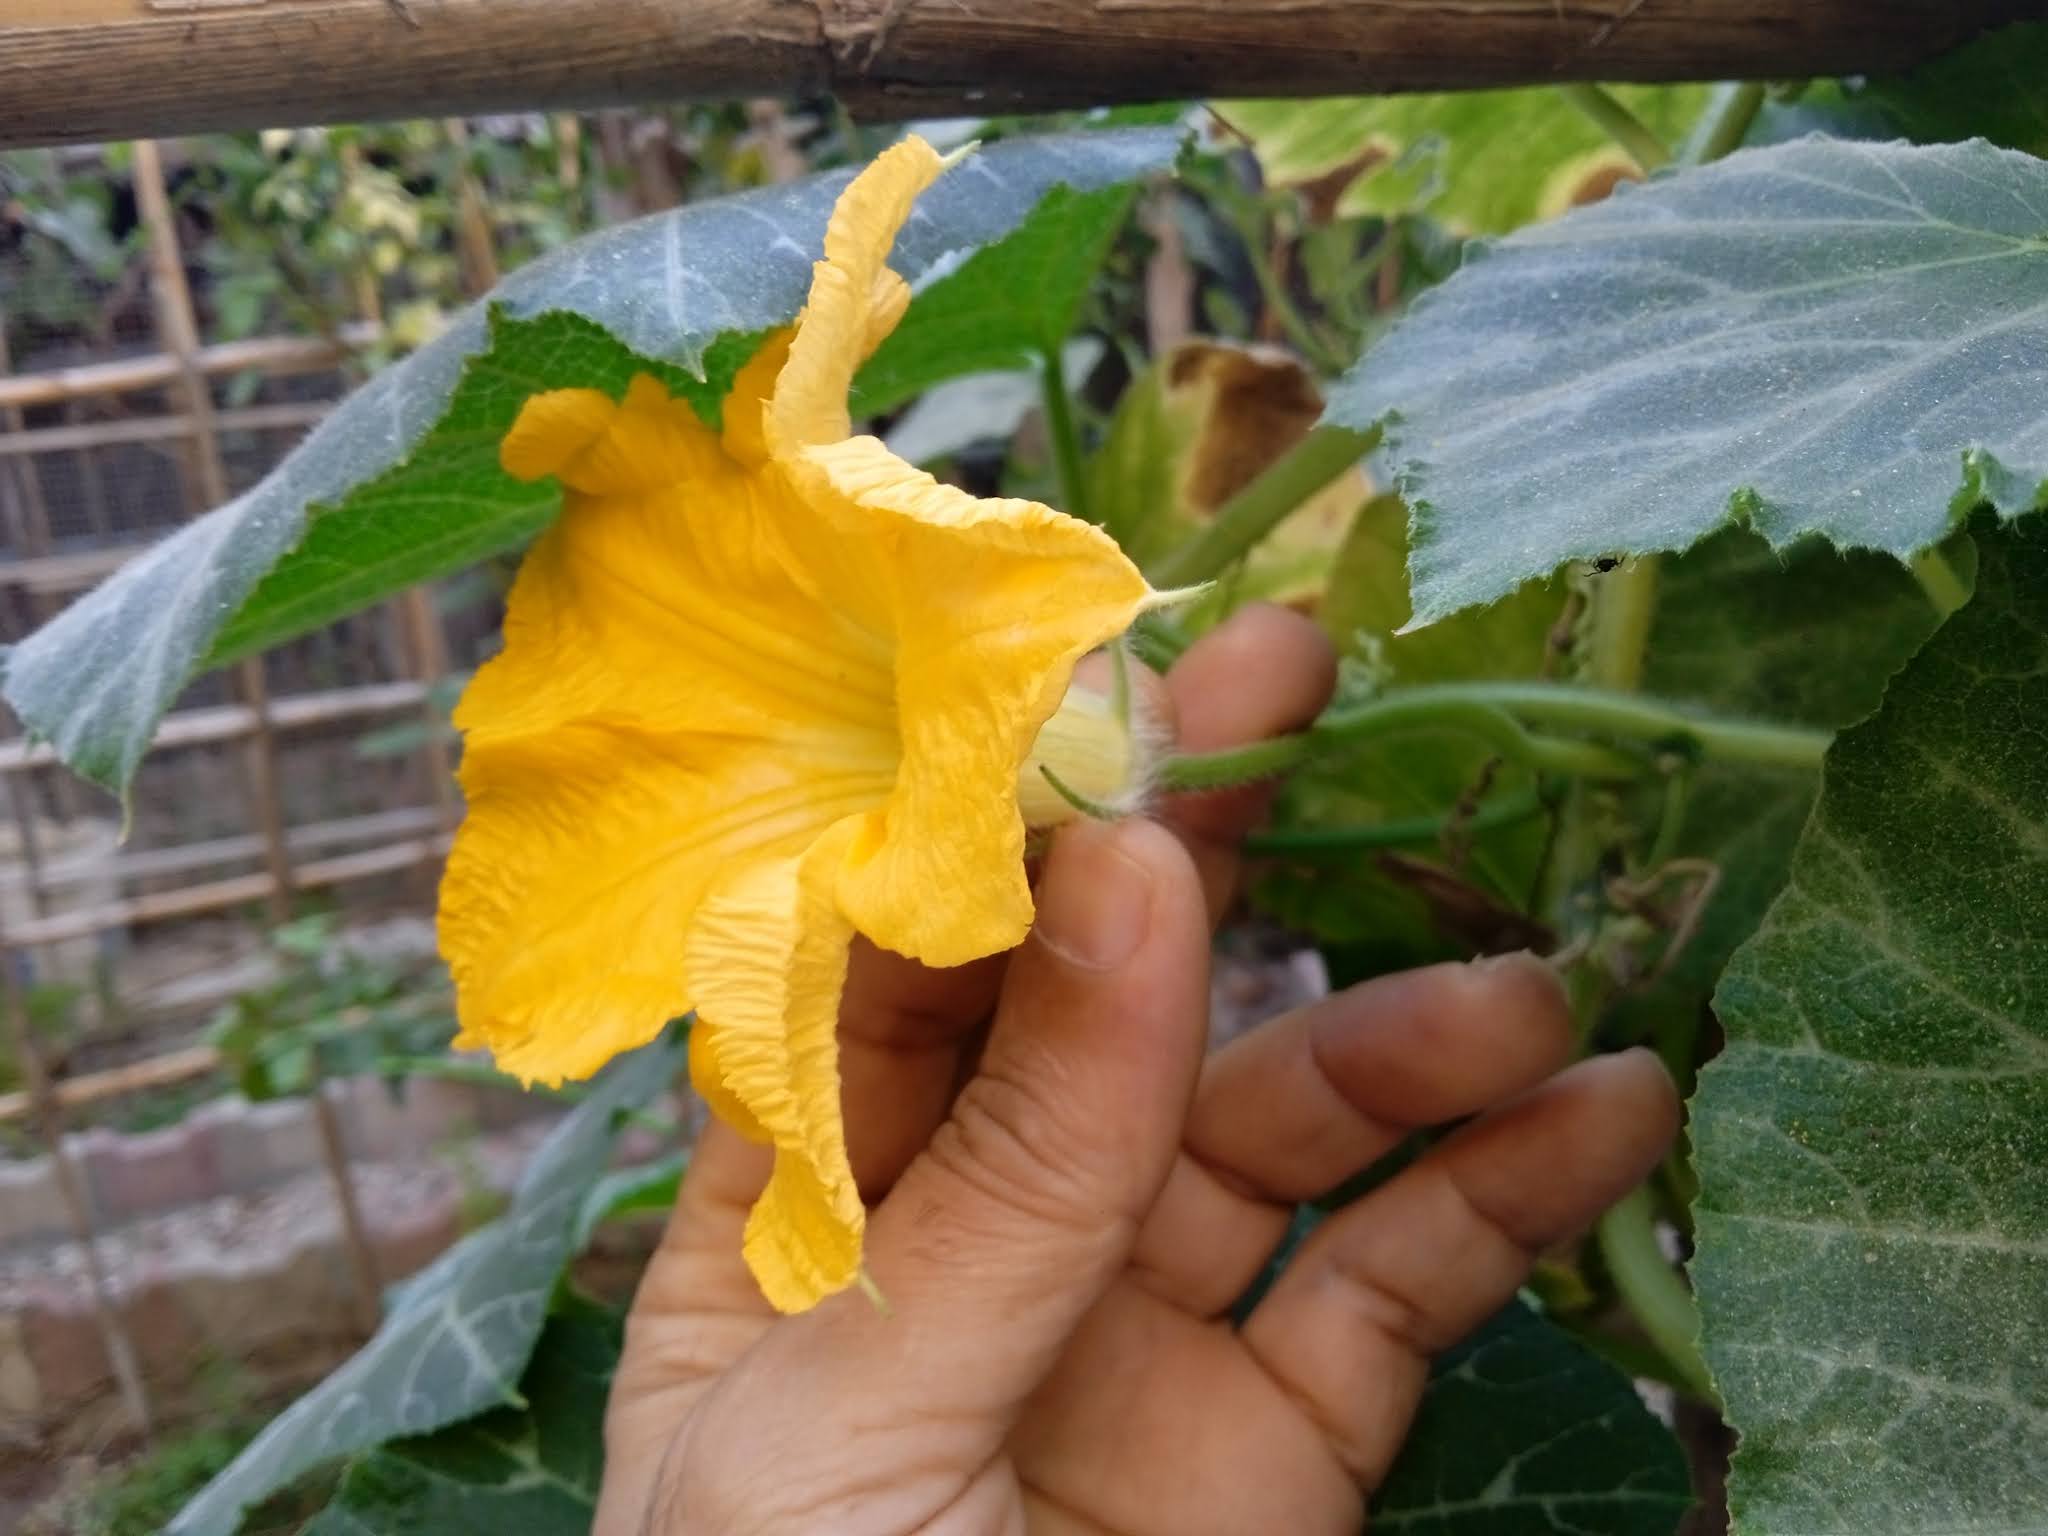
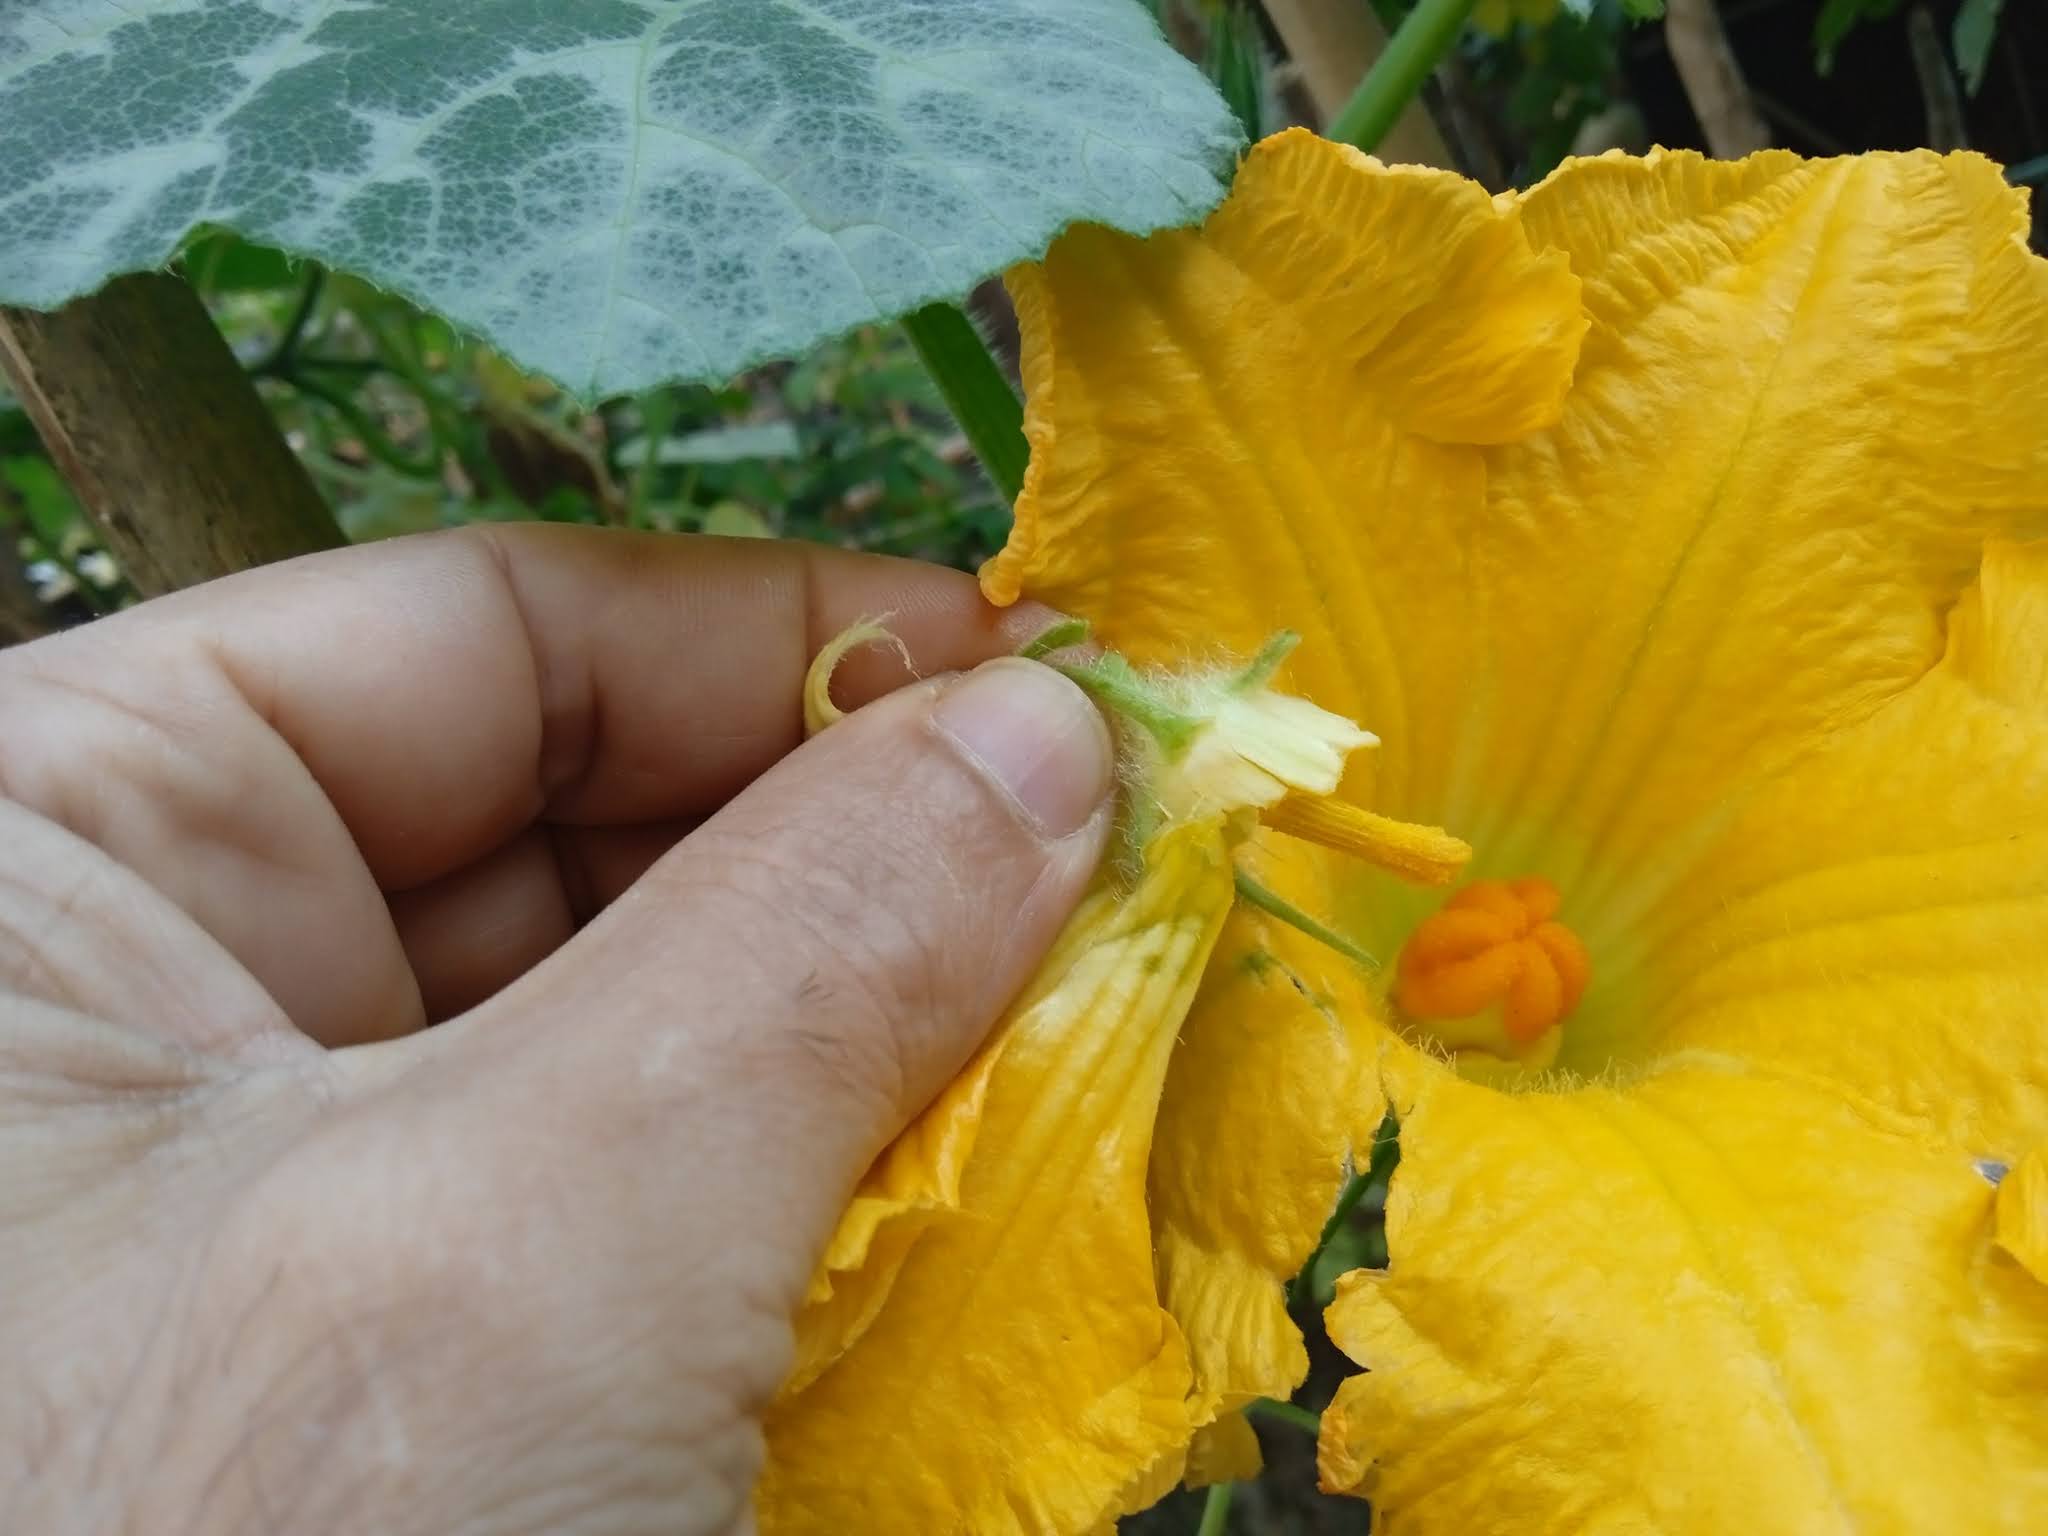
When pollination isn’t happening naturally in your garden, it’s up to you to transfer that pollen by hand pollinating female flowers. There are lots of easy ways to transfer pollen from flower to flower, but the most important thing to remember is that the pollen needs to move from the male flower to the female flower.

The best time to transfer pollen is during the bright daylight hours early in the morning, when the flowers are naturally open. Squash flowers open early in the morning and close in the evening, so don't miss your chance!

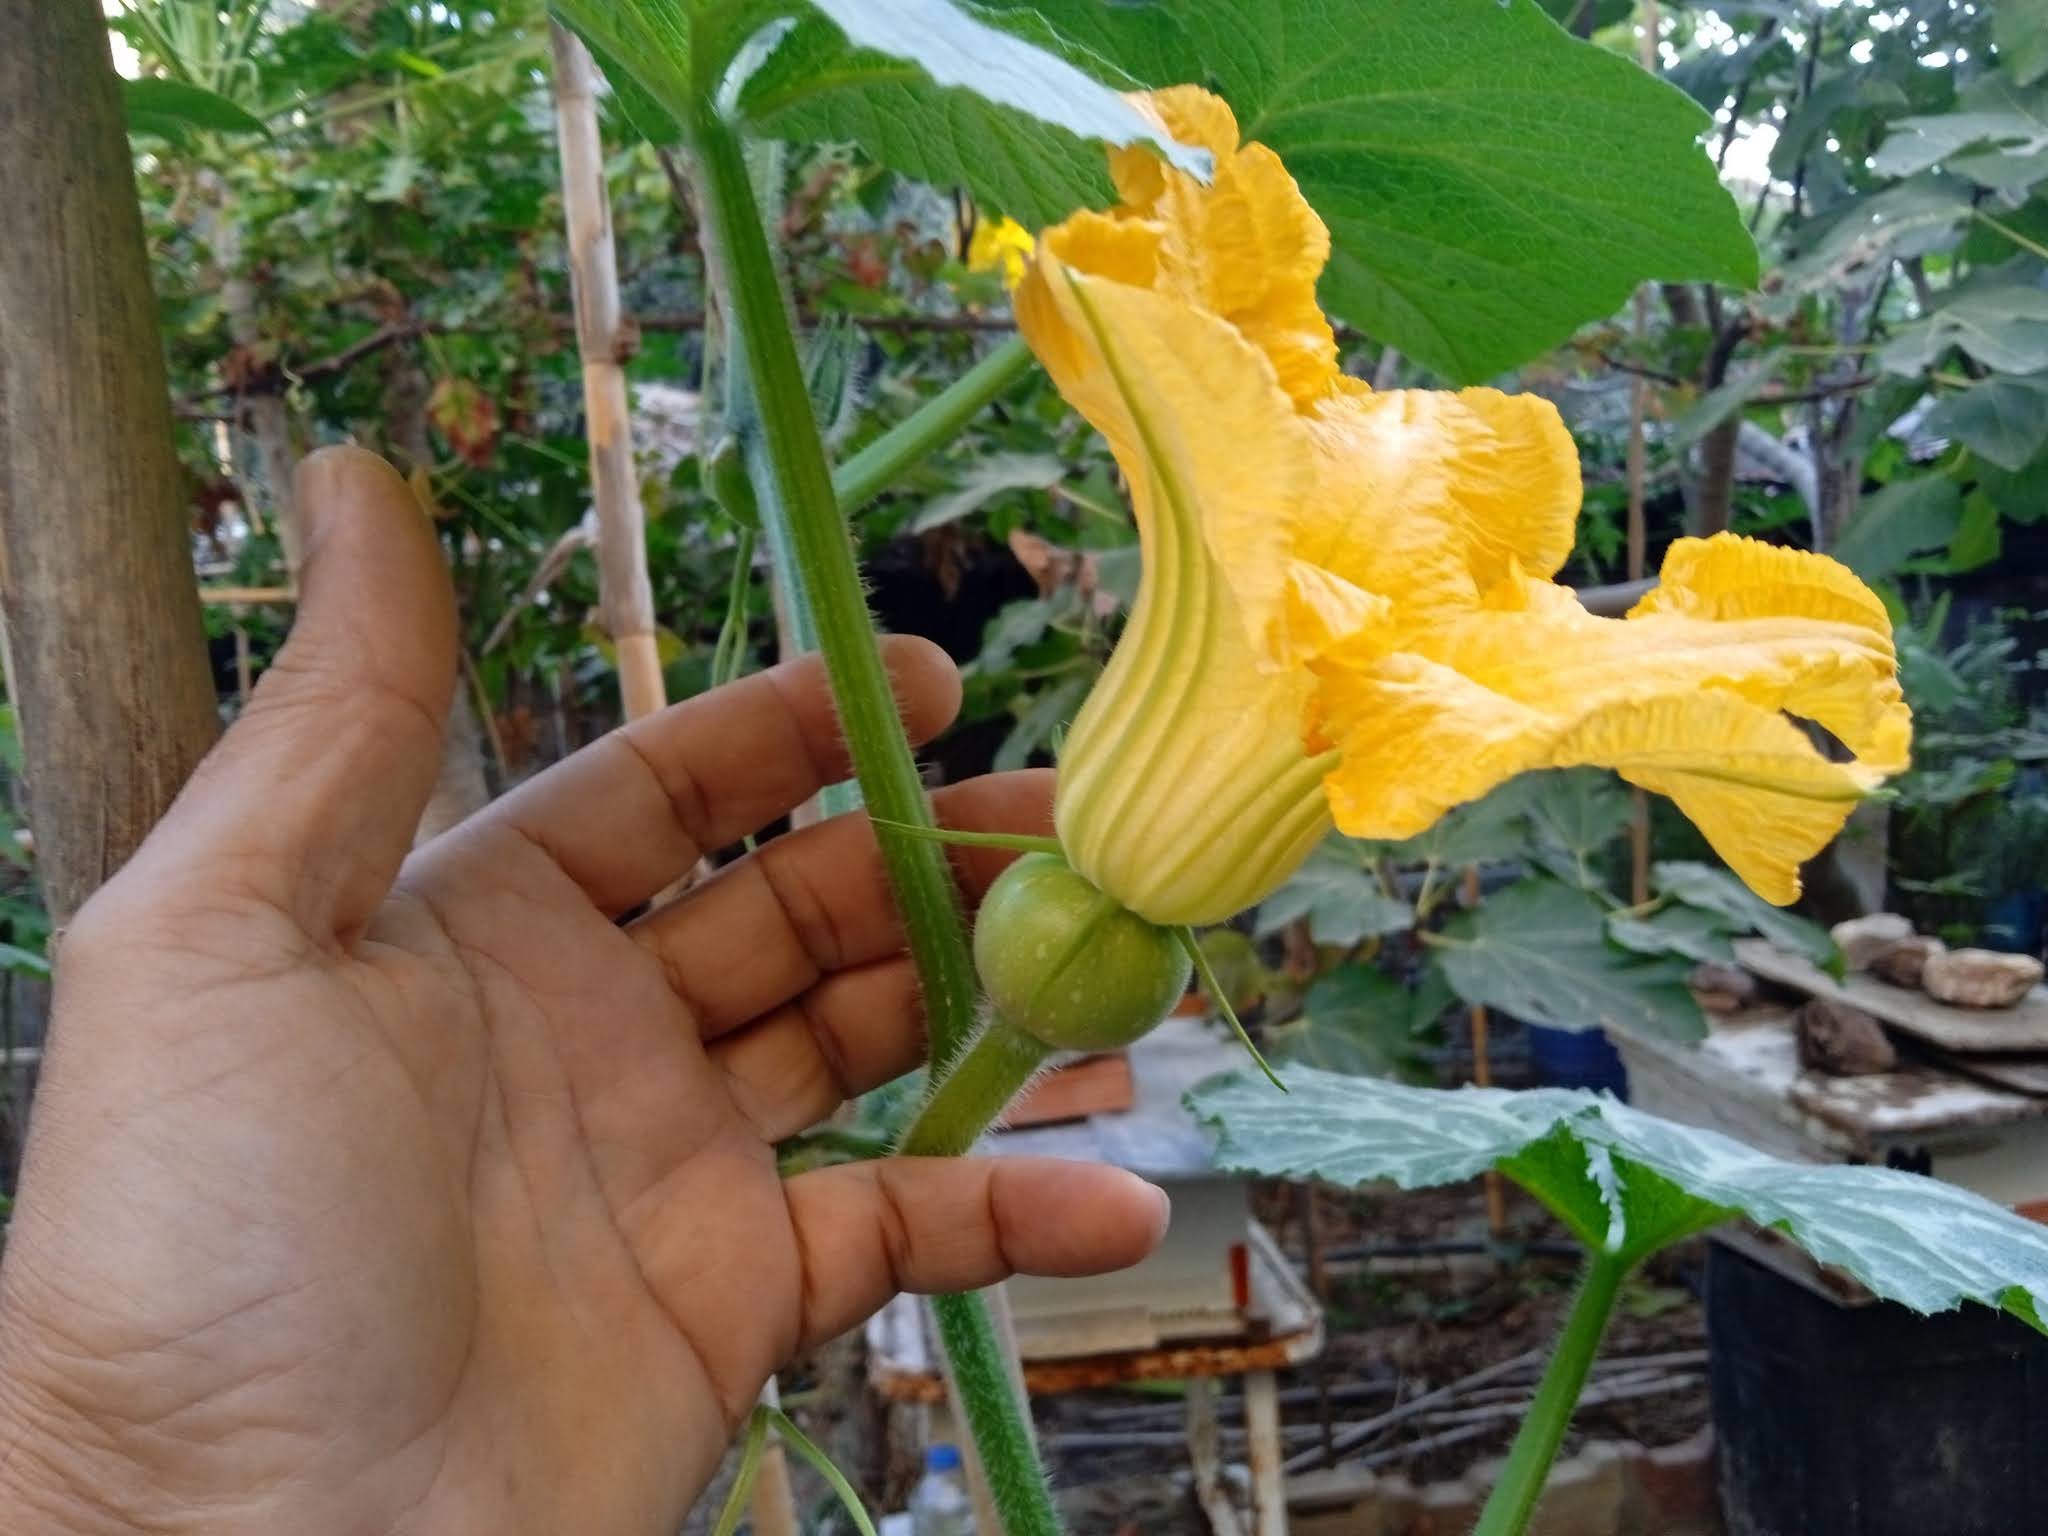
A female squash flower is most easily identified by the little immature squash fruit that is attached at the base of the flower.

When you look at the flowers, you’ll see a stigma inside the flower. There is a raised orange structure in the center of the stigma and that is where you will apply the pollen when you perform hand pollinating.

To hand pollinate a female flower, simply take a male anther and touch it to the female stigma a couple of times, as if brushing paint. This will be enough to pollinate the stigma, which will then produce squash. You should repeat this step with every new female flower every day, so you’ll get as many squash from your plant as possible. After you hand pollinate the female squash, the flower will close up in the evening and remain closed for two days.

If you have succeeded in pollination, the flower will wilt and fall off, but the miniature squash will remain on the stem. This tiny squash will swell in size until it’s ready for harvest, and you’ll finally be able to enjoy the fruits of your labor!
Watch How to Hand Pollinate Squash Flowers

Now that you know that hand pollination, squash flowers, requires no special skills or tools. All you have to do is be able to identify male and female flowers, and apply these simple tasks on your squash plants, this is very easy to do!
Hand Pollinating Squash Flowers
Loquat trees are tropical fruit trees that are beloved by many gardeners, the tree can grow up to 25 feet in height, and produce a sweet, tangy fruit that is delicious when eaten fresh or made into jams. Starting Loquat from seeds indoors is easy.

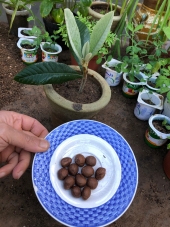
If you want to grow a loquat tree from fruit you already have, you need to start by pulling the seeds out of the fruit. Most loquats have three to five seeds in them.

Loquat seeds are fairly large and brown, and wont need to be stratified or scored them like some other seeds do. simply dry them for a couple of days and they are ready for planting. Another option for loquat seeds is to purchase them.  

After planting the seeds. Germination time is about 30 days. So be patient and expect to wait several years for the tree to bear fruit.

If your goal is to get fruit from the tree, you're going to have to wait a while. Fruit may arrive as early as 4 to 5 years after planting. You can even plant this amazing tree in a container and grow it as a beautiful houseplant.

Want to read: Starting Loquat Trees From Seeds Indoors


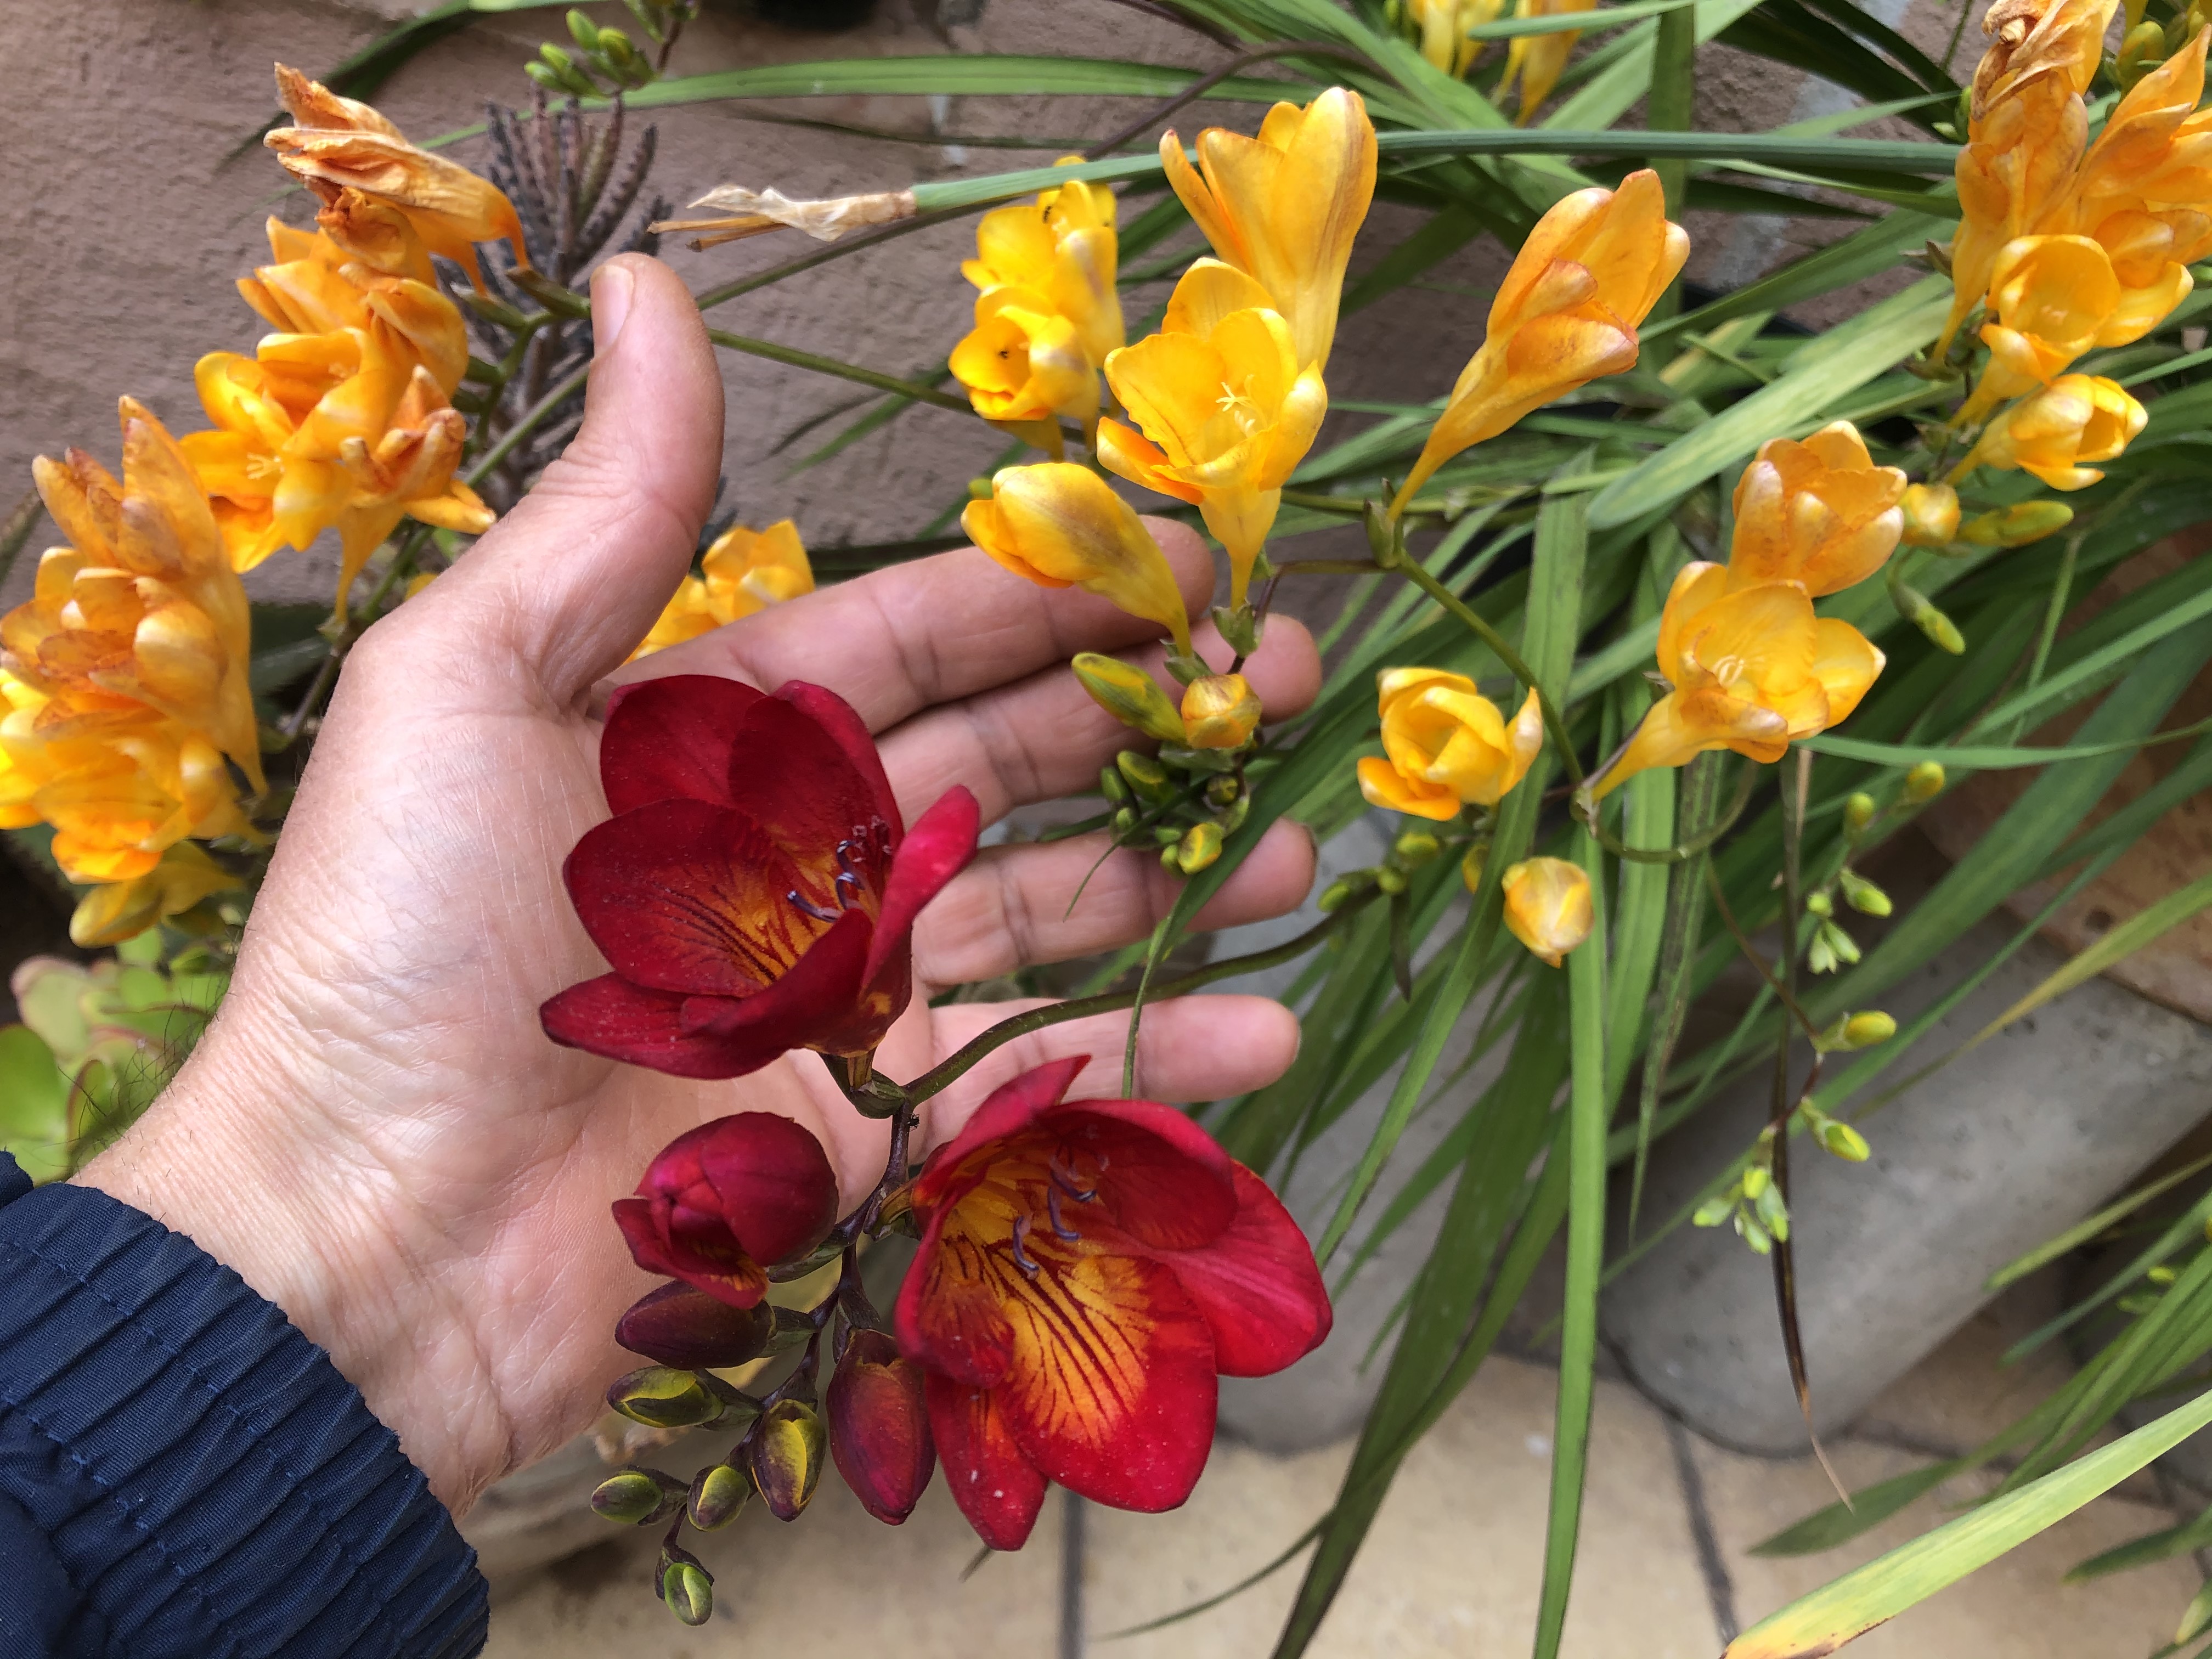
Growing freesia from prepared bulbs increases your success with getting beautiful blooming flowers.


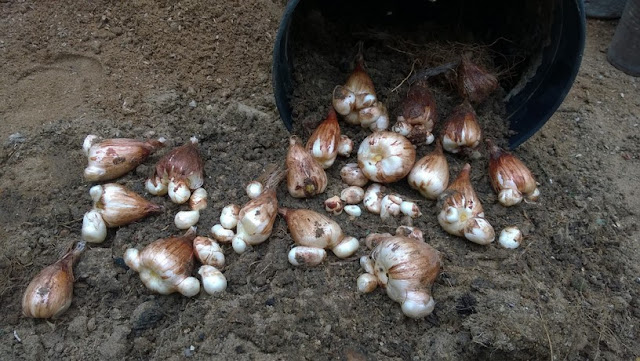
If you want to know when and how to collect freesia flower bulbs, and what is the proper way to store them and increases your success?


keep reading as i will teach you all my tips step by step! When And How To Collect Freesia Flower Bulbs


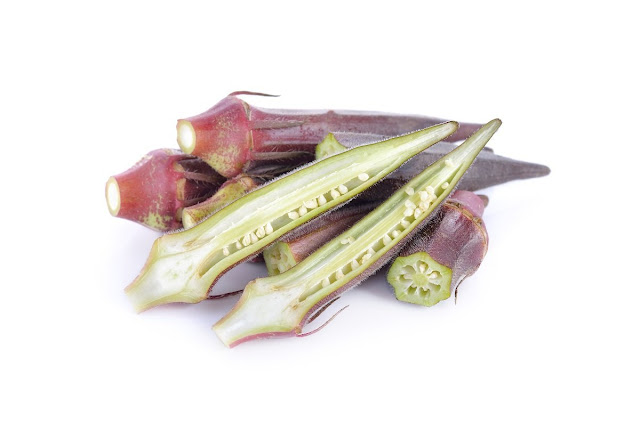
Okra is a popular health food due to its high fiber, vitamin C, and folate content. Okra is also high in antioxidants and is a good source of calcium and potassium. These plants are beautiful so they make an ideal edible landscape plant, too. Some varieties have colorful red leaves and pods.


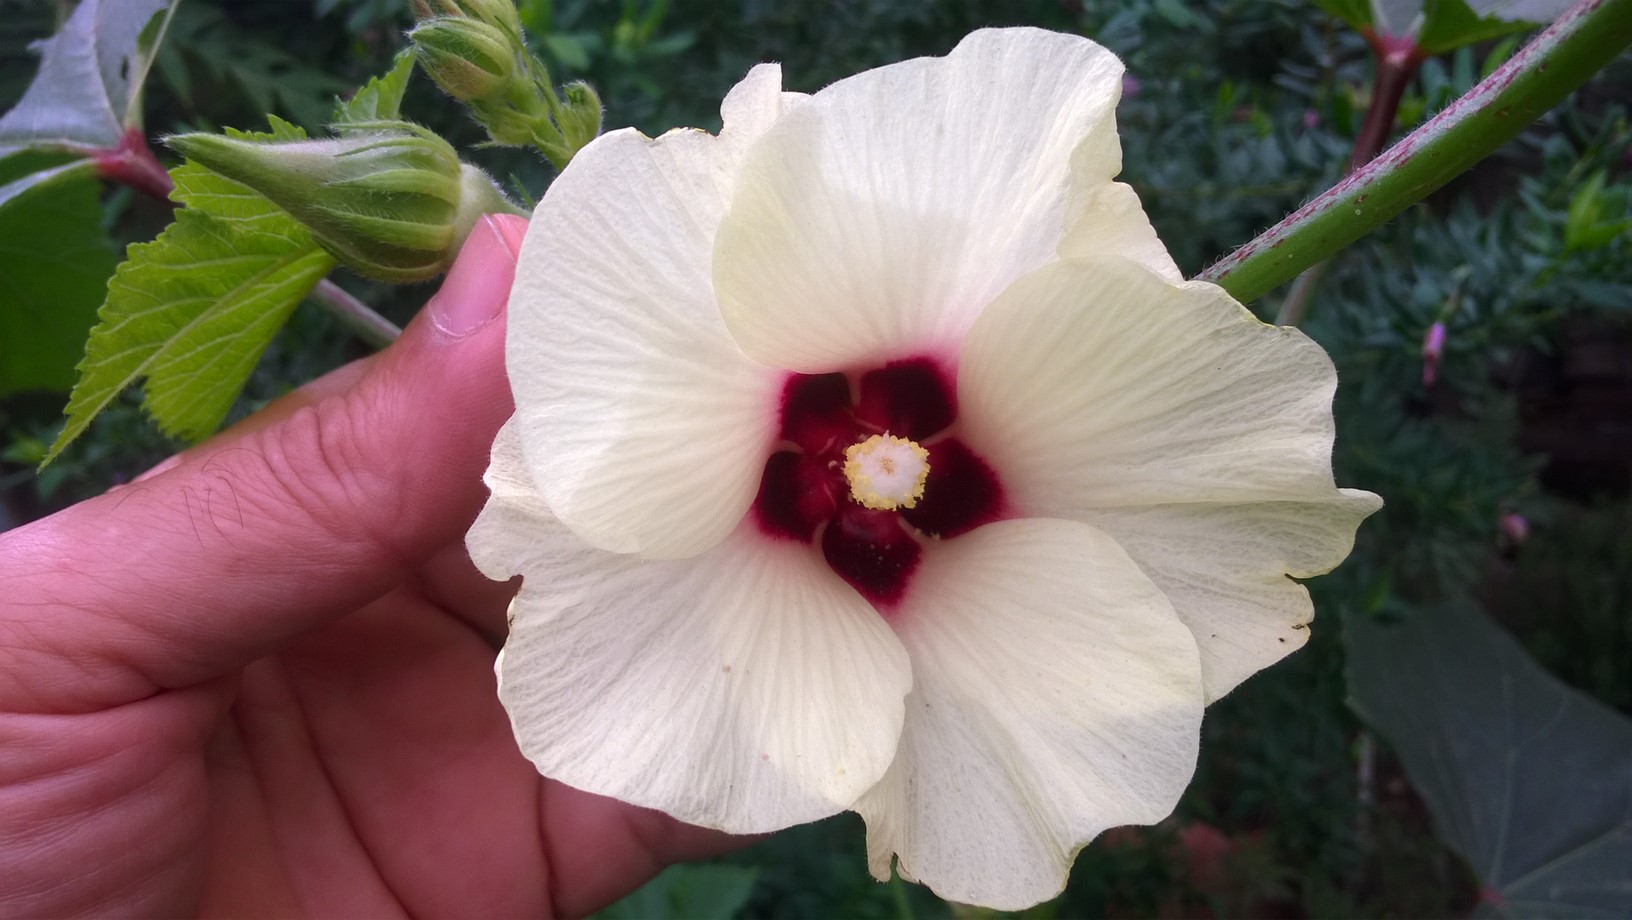
Okra (Hibiscus esculentus), known in many English-speaking countries as ladies' fingers or ochro, is a flowering plant in the mallow family related to hollyhocks, rose of Sharon and hibiscus . It is valued for its edible green seed pods.


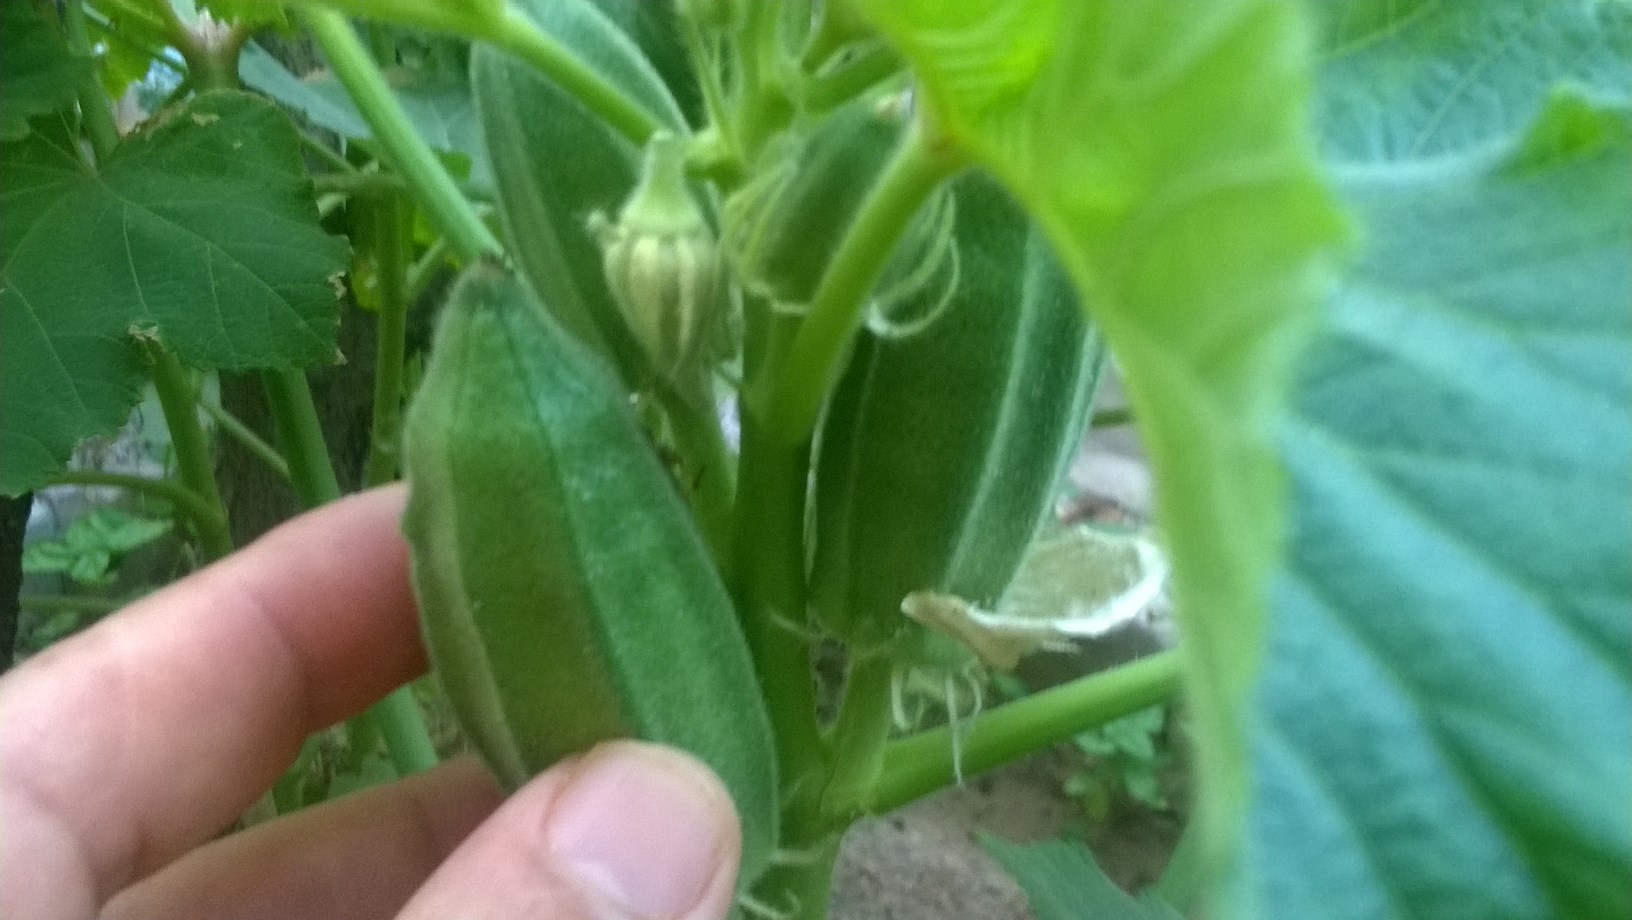
This amazing plant is grown for its edible fruit pods. The fruits are harvested when immature and eaten as a vegetable.


Okra can be grown in almost any region, but before adding it to your vegetable garden. Follow carefully all my tips for growing fantastic okra in your garden!
HOW TO GROW OKRA