Steve Golemboski-Byrne

+ Follow
since Jun 01, 2013
Merit badge: bb list bbv list
For More
Apples and Likes
Apples
Total received
In last 30 days
0
Forums and Threads

Recent posts by Steve Golemboski-Byrne

We made the fasica boards at the edge a couple of inches higher than the surface behind, and then put some gravel around the edge, about 3 or 4" wide. At the corners there's a hole drilled and the rubber membrane pushed down into it, with a bit of 1" pipe pushed into the hole. The water finds the gravel 'drain', and gets directed to the corners where it can run down and we can do something useful with it. Until we get some root structure in the soil, then its going to be prone to washing toward the lowest point, so until then its just a case of keeping an eye on it and repairing. Even coming into winter, that bare earth won't be bare for long, and once there's growth up there it will all stay where we want it to.
I was wondering the same, but as all my cleanouts are on 'T' pieces, there's a good couple of inches behind each one where a disc of rockwool board will fit without interfering with the airflow. I figured on threading a little loop of wire through each so that they can be pulled out easily. Judging by the feel of the caps, temperatures will be well within the limits of the rockwool, and it should be enough to prevent the caps getting too hot.
10 years ago
Latest update - I was tending to see wood at the back of the feed tube (ie furthest away from the tunnel) burn up and smoke; adding a tile here to make the feed tube a little smaller (1") cured the problem and I get a more even burn. Whether this will change as the bench continues to dry I don't know, but small alterations in the sizes do seem to make a big difference generally.
10 years ago
Been drying our cob now for 3 days, and performance seems to be improving slowly. I'm getting a *lot* of condensate accumulating at the point where the flue turns and rises vertically, and still plenty of steam at the output. Barrel top temperatures are 550 F today, and slowly climbing - it reaches 400 very quickly, and then an hour to 500, and it'll get to 600 in a while.
Still a little smokeback at the feed tube if I don't keep an eye on it. Basically anything that is at the back of the feed tube, away from the tunnel, seems to be burning cooler than the rest, is burning up the fuel, and the draw is sufficient to pull the smoke back down into the feed tube. I'm tempted to try a tile in the end of the feed tube to reduce the size a little and see if this cures the problem, but I'm aware that drying the cob is probably causing unusual performance generally.
Oddly today I noticed that the surface of the bench seems less warm than previously, for the same given time of burn, but perhaps this is because the cob is dryer.
Does my barrel temperature sound reasonable for a fresh build? Once it is lit and settled down, I am finding that it behaves better with slightly thicker wood. I'm burning hardwood - beech and ash once lit, and using good dry spruce to light with.
I'm spending more time than is probably healthy, feeding, watching and listening to the rmh, it really is an amazing thing..
10 years ago
With the chambered treebog type toilet, the chamber is about 1m x 1m x 1m, and has straw lined walls formed with chicken wire. Ideally you have 2 chambers, so you use one for a year or two, then swap to the other, and wait until the first has composted down before using the compost. In practice the 2 chamber one has never filled up or needed emptying yet. It doesn't have a separator, but willow planted immediately around it takes up any moisture. The growth rate is phenomenal.
In all the loos I pictured we just put in a little sawdust with each use, and so far this has kept odour at bay. The problem is always with the pee, especially if its tanked for any reason. Useful as it is, a lot of designs simply head it off to a soakaway pit to avoid the problem.
10 years ago
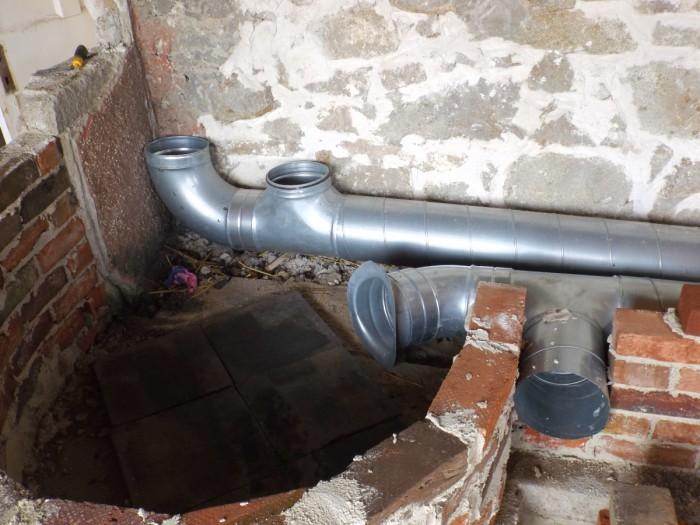
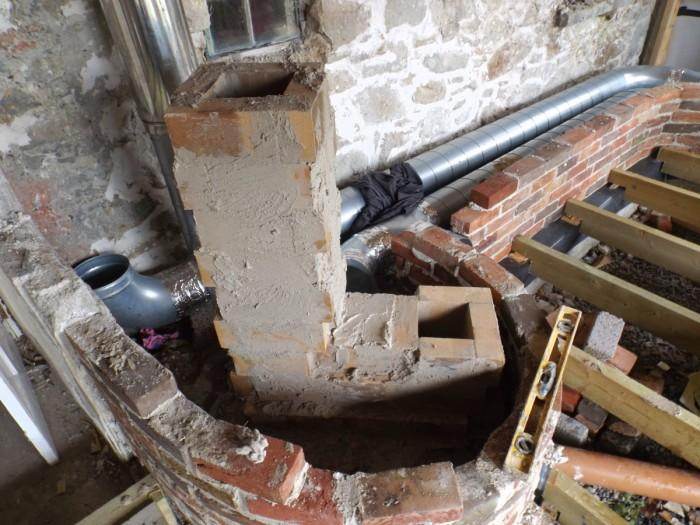
Here's some more pics. First the ducting, which is 8" spiral duct - this was relatively inexpensive, but sturdy, and the joints are good. We screwed and taped them with foil tape. In the pic, the outlets are - from left to right - cleanout; vertical exhaust; opening to bottom of barrel, and cleanout.


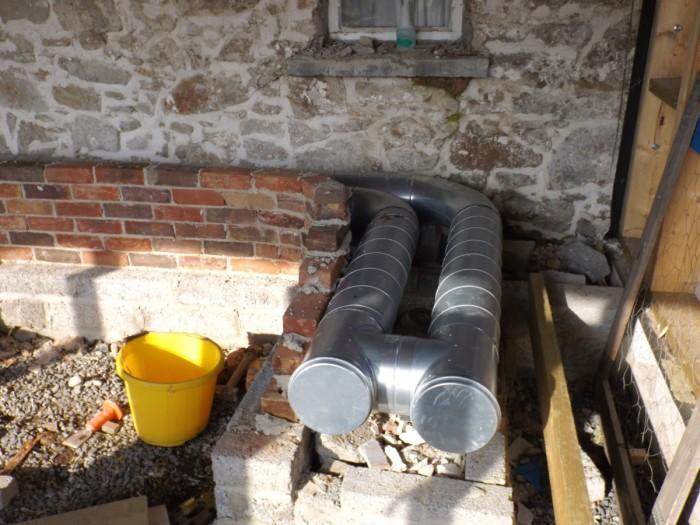
Cleanouts at the far end of the bench


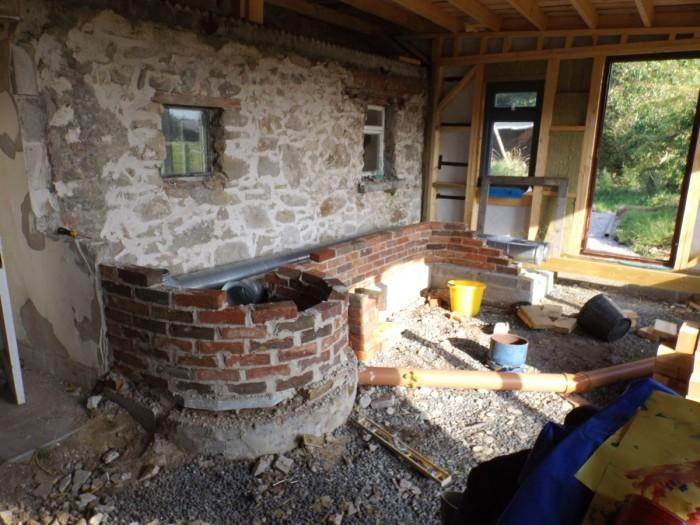
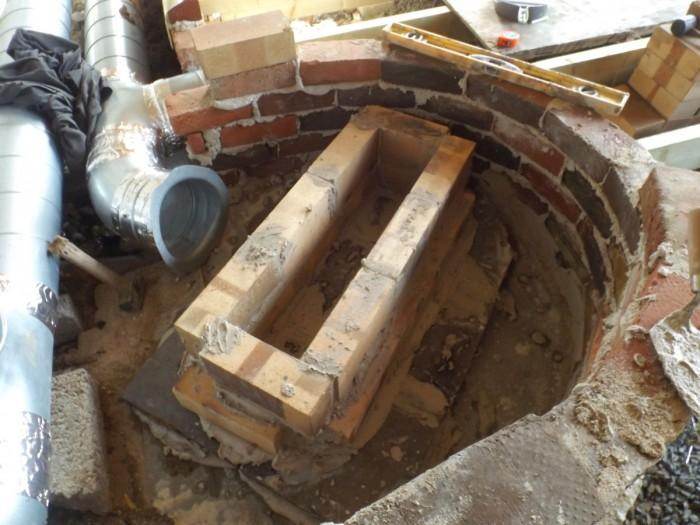
Building the burner from firebrick, sitting on a base of clay hearth tiles.


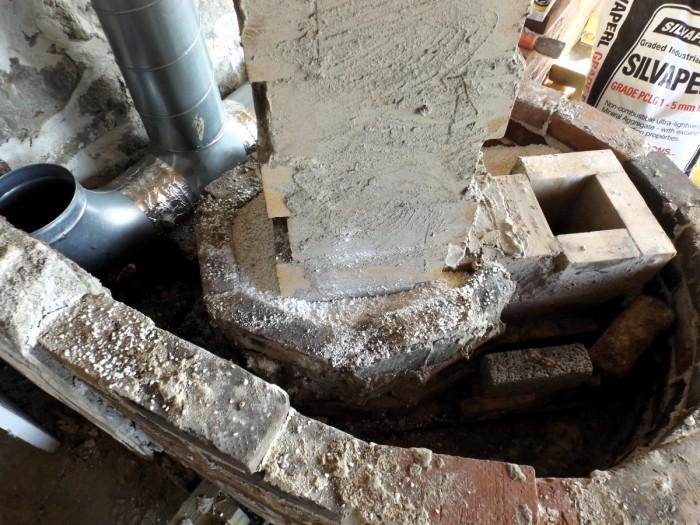
Brick built up to support the riser surround, and the barrel. Filled with perlite.


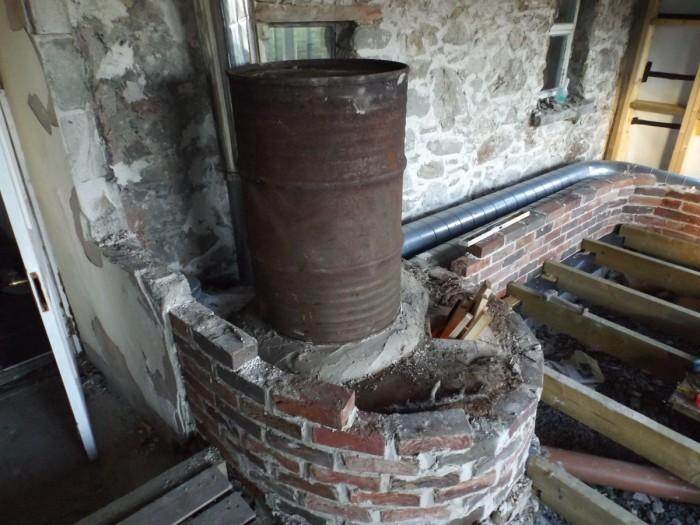
annoyingly I omitted to take pictures of the riser with its water tank surround on, so the next image is of the barrel on, and test firing.


and the rest of the pictures are in the original post. Hope these are useful. I tried to follow the instructions and dimensions in 'Rocket Mass Heaters' by Ianto Evans.


10 years ago
Allen, I posted details of the build and green roof in the timber frame section of the build forum - here
10 years ago
We've a couple of composting toilets here, one in the house, one outside. Both were built into existing spaces so no chance for chambers etc. We seperate urine and solids, compost the solids in a series of bins, and put the pee on our compost heaps. Both require emptying, the house one more often as the tanks are smaller - weekly - and the outside one less often - monthly. The inside one needs a vent (which it will get soon), and the outside one is well ventilated enough to not need one. The preformed plastic separators are easy to fit and work well.

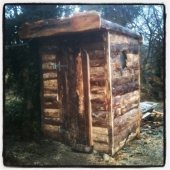
Here's the outside one -


and a couple of others that we built at our last place - both treebog type designs with a large chamber below


and a twin chamber design, that we planted willow around and which is now completely concealed. Here it is without -


There's a complete build sequence here - Composting Toilets


10 years ago
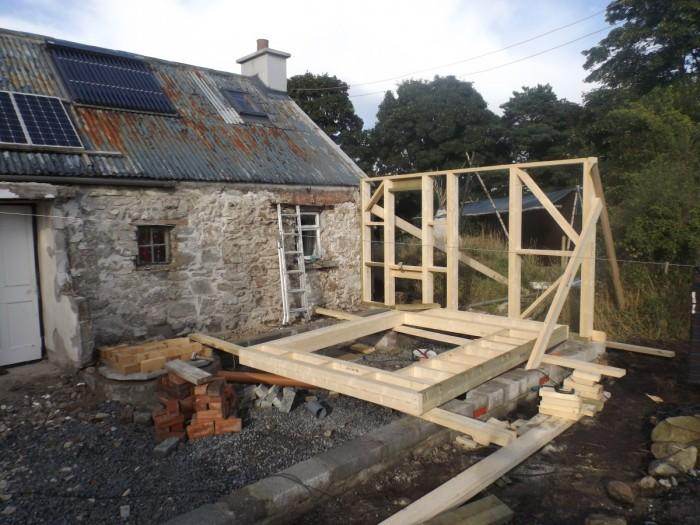
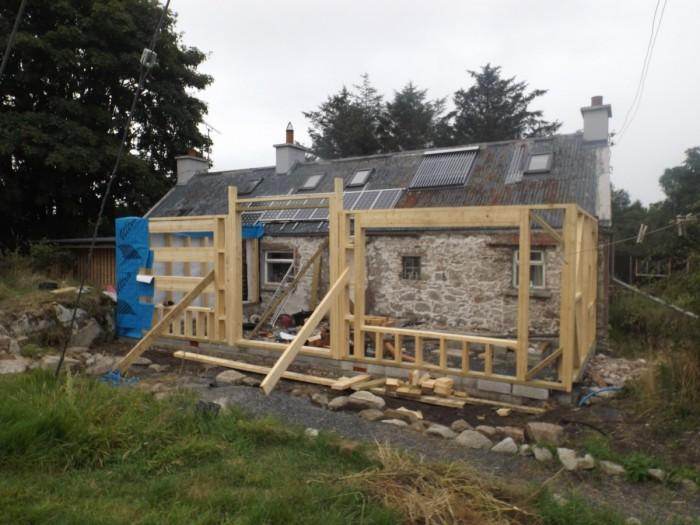
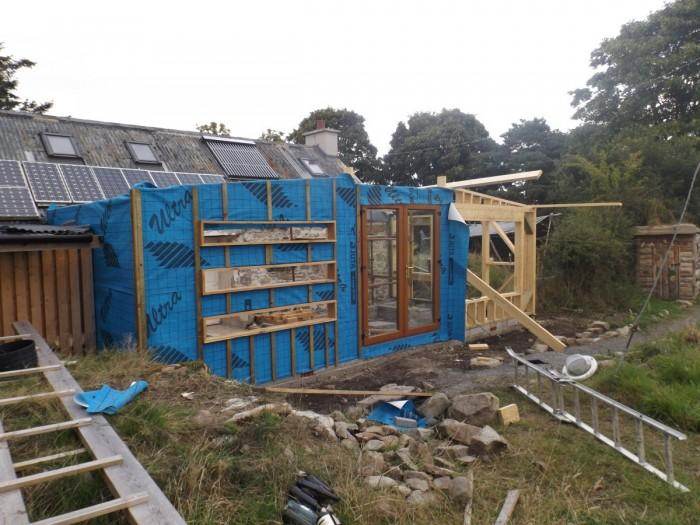
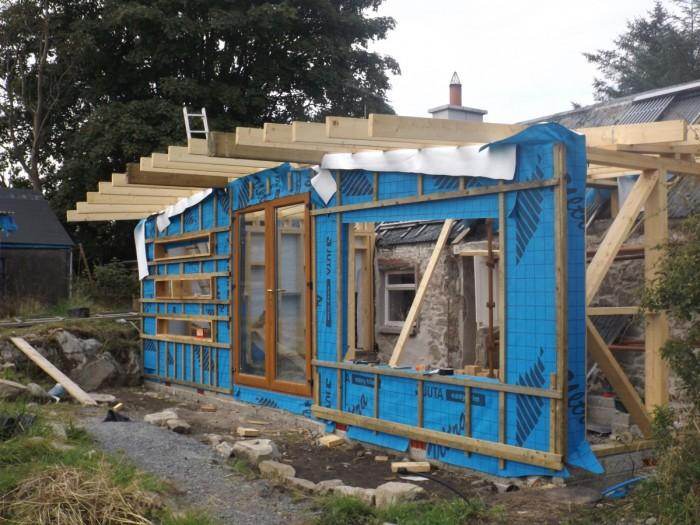
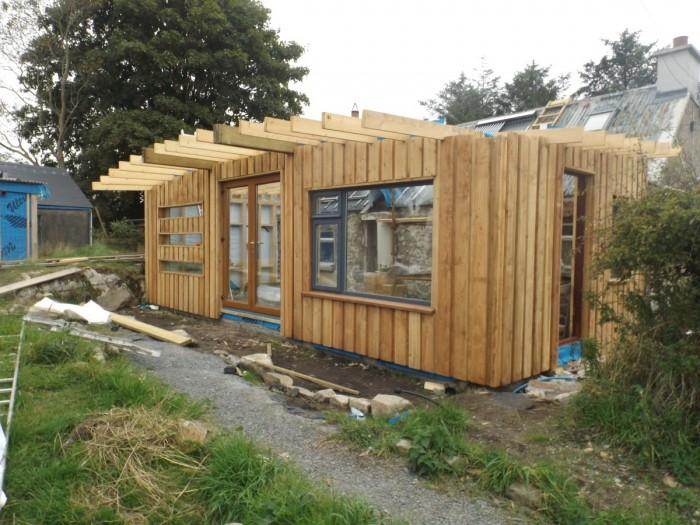
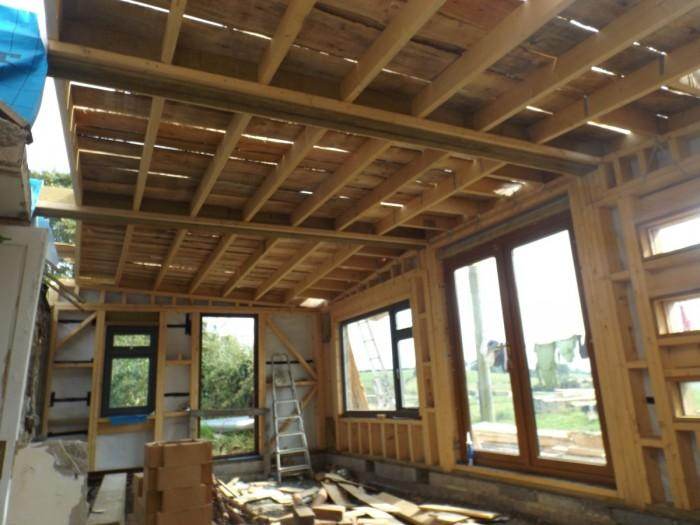
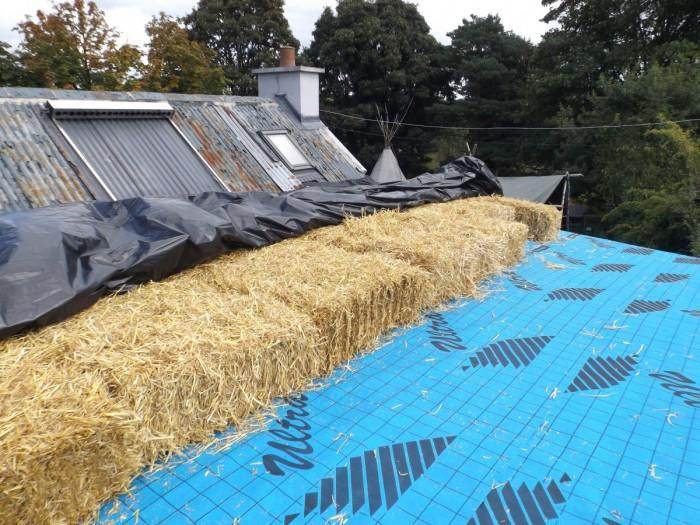
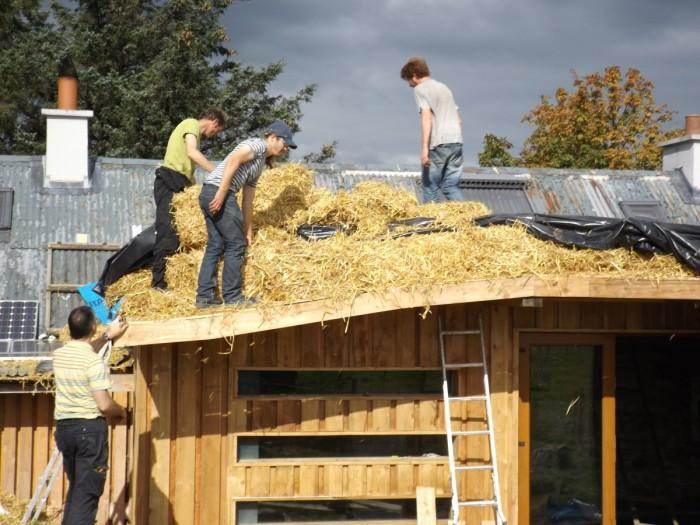
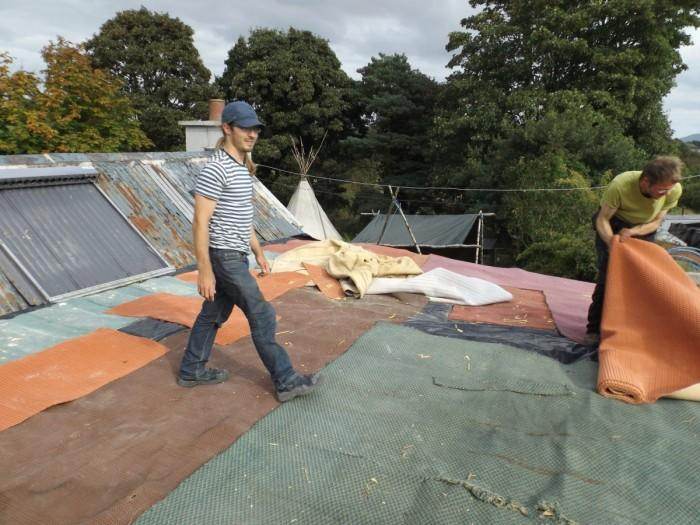
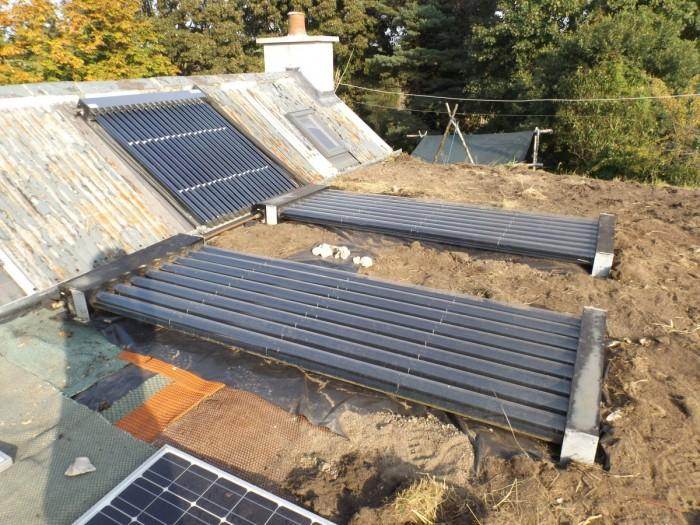
Here's a build we did this summer, that came about as a result of a crowdfunding campaign to build a teaching space at the back of our stone cottage. The frame is a mix of milled spruce and larch, with a larch cladding. The roof is a strawbale insulated, membrane covered green roof that uses a mix of turves and loose soil. The whole roof is designed to channel water down to the two front corners where it can be collected. The 6x2 frame is first insulated with a variety of leftovers from other projects, and will have non loadbearing strawbale on the inside which we'll earth plaster. Warmth comes courtesy of a rocket mass heater, although the build faces south so we'll get some passive solar gain, even here in Northern Ireland.


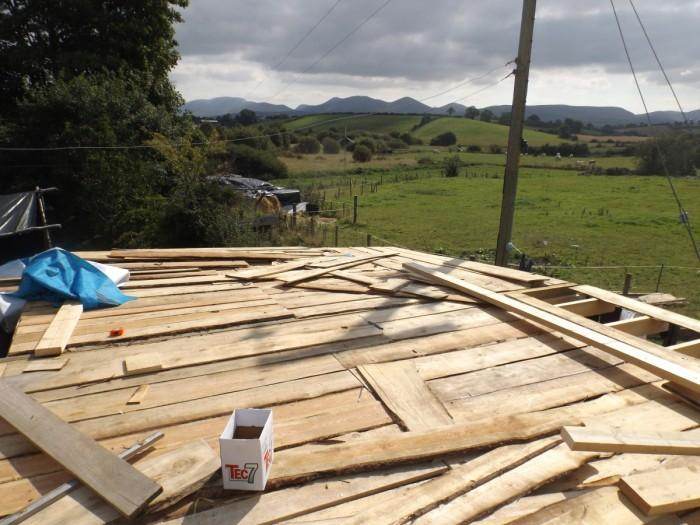
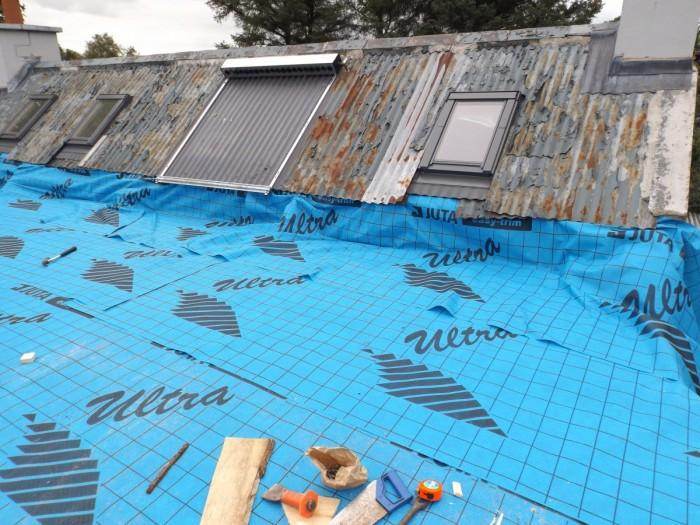
The roof has a lot of layers, starting with sarking boards made from sawmill skins, then a breather membrane, on top of that are 90 bales of straw, then a 1.2mm butyl membrane, 2 layers of silage sheet (just in case), a good layer of old carpet, and then soil, which is approx 3 inches thick. The edges of the roof have a slight gutter formed by the fascia sticking up a couple of inches, behind which is coarse gravel.

The strip windows are made from sheets of bulletproof glass that came from a local bank that was being stripped out, and all the rest of the windows and doors were destined for landfill. When we're done there will be a front deck below the overhang.

and here's the build sequence -


The riser has 2 inches max of perlite around it - less at the corners of the brick; and there's 2 inches of room around the inner riser cylinder and the outer oil drum. 2 inches above the riser ( I had to jack the barrel up a little once the riser was built to give enough clearance. I've just experimented with setting some tiles so that the feed tube is a bit taller, and now that I've added some larger wood and the fire is going, I am getting less smokeback, and the smoke is getting drawn back down into the feed. Just as well, as it smoked like a bugger when I first lit it.
10 years ago