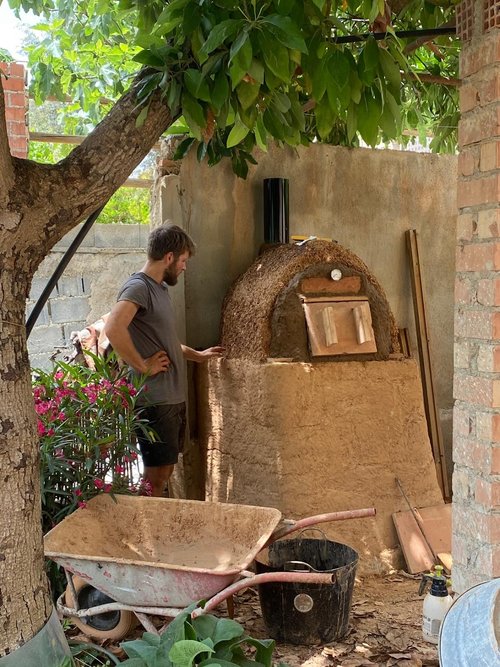
For a while now I've been pondering a BBR for my home.
I want to build a 6" BBR with a bell, possibly as a bench.
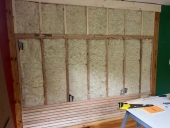
I really like some of the features of the
7 inch batch box rocket mass heater in the woodshop at wheaton labs such as:
gravity plunge doorno metal bracing used, but cob holds the core together
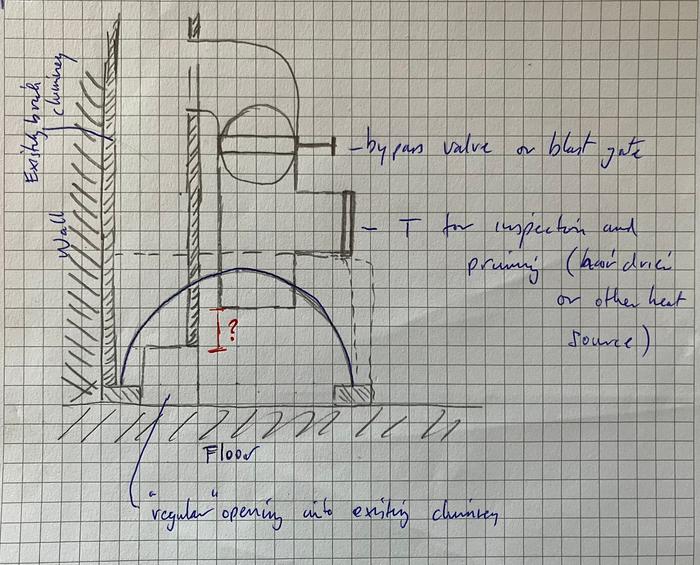
I'm wondering whether the plunge door could be implemented on a "Shorty core" if the necessary air channels are built into the frame it leans against.
I like that the Shorty doesn't rely on the secondary air channel that needs replacement.
Could the "cob" bracing work on a shorty core? Or are we entering weird experimental ground here?
Thanks in advance fellow RMH enthusiasts