Hey, Permies folks!
It's raining here today, which has briefly paused production on my project, thus giving me a window of opportunity to share what I'm working on with everybody.
First, let me explain that I'm a young adult, so in the realm of natural building, I'm a wee bit intimidated to share amongst the experts here, but I also wonder if my project will inspire those non-experts like me, so I'm sharing.
I've an older brother who is experienced in carpentry and building, and my family and I have tackled two natural buildings before, so I'm not completely without skill or help and I'll admit that these two things gave me the gumption to attempt this project.
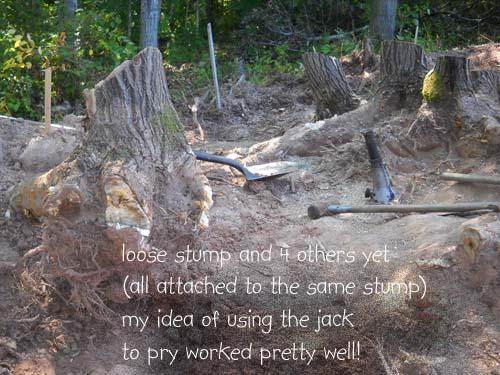
Anyway, I got full of inspiration--knew I wanted it round and curvy--picked a building site on the wooded ravine edge of my parents garden, and went out there with a shovel to start digging out tree stumps.
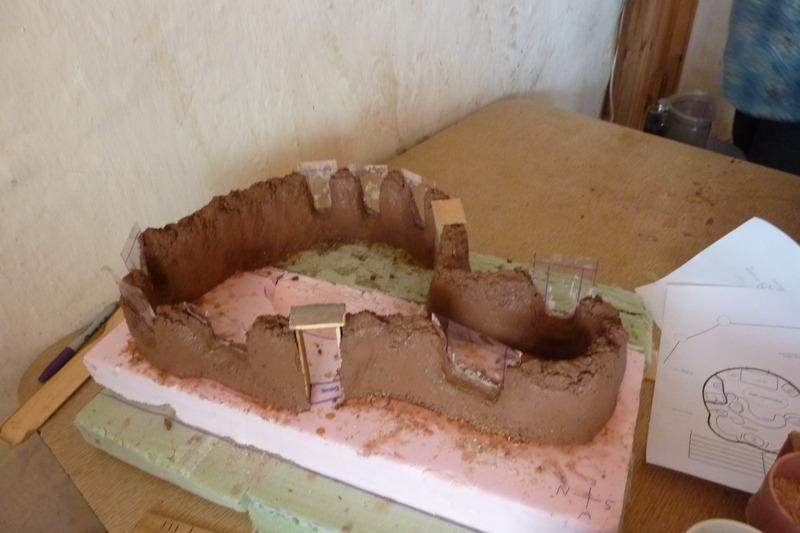
That winter I trekked out to the site in 4 feet of snow every few days to chart the path of the winter sun, picking my window placements and trees that I wanted to remove for more wintertime sunlight. I designed my little studio, researching the unfamiliar techniques (such as a reciprocal frame roof) and flushing out my blue prints with a scale model made out of (what else?) cob. It's not perfectly to scale and actually hasn't proven useful in any way, but it was fun to make, and winter is long (yeah, I was just bored and excited!)

This project did little for me other than increase my love and admiration of cob and excitement for the project! Well, and produce an impressively strong dollhouse made of mud.
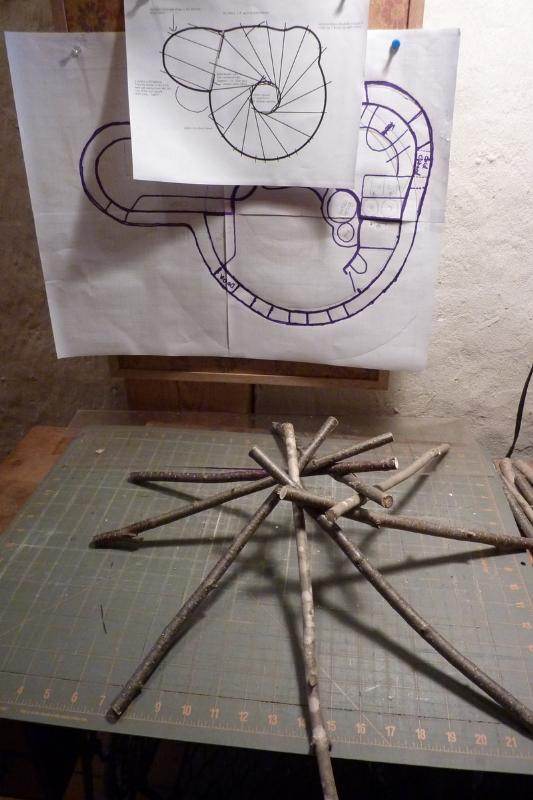
Playing around with sticks and wowing myself at the ingenuity of the reciprocal frame design (whoever came up with that is freaking amazing!)
Like the model, my blueprints were all but discarded when I actually started digging. Mostly because I was on a bit of a nature high, spending that much time by myself in the woods, and it was more important for me to give my favorite ash tree another two feet of space than to stick to my original plan. And, as I would come around the various corners, I would be inspired to move around as the soil and landscape directed my shovel. Not too drastically, (I had to keep my roof in mind) just a lot more than someone with a backhoe and dogmatic blueprints would be able to.

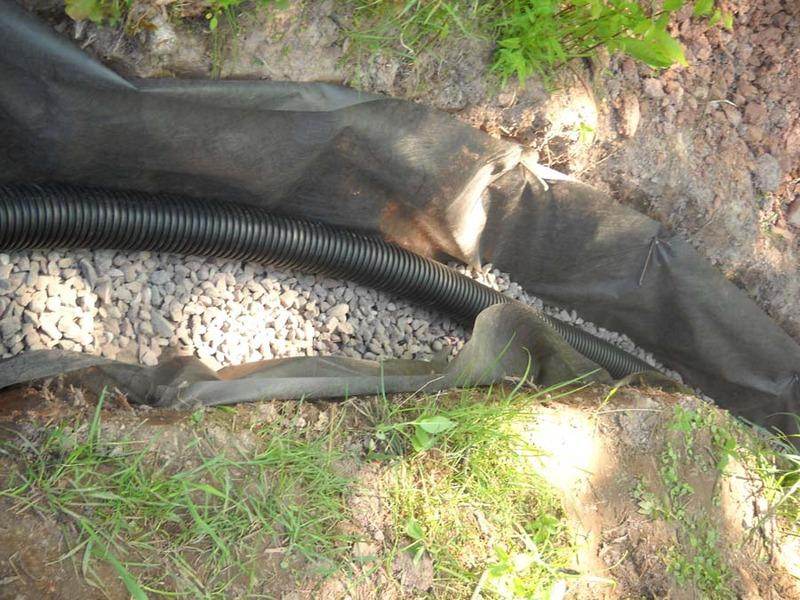
I dug a runoff trench at the lowest point and tamped the whole thing to slope there.
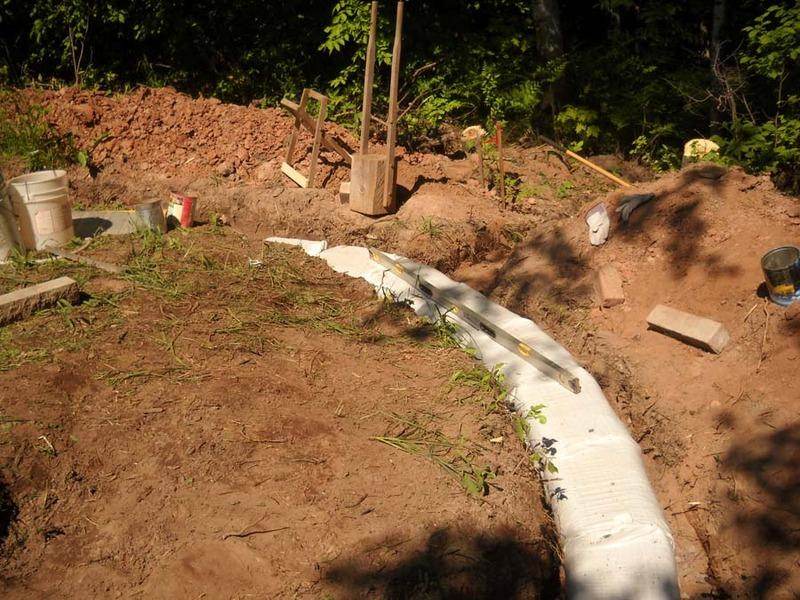
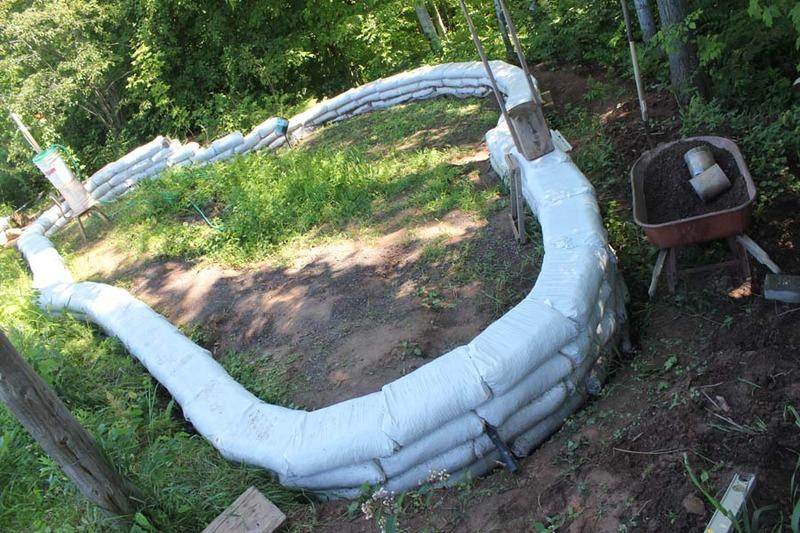
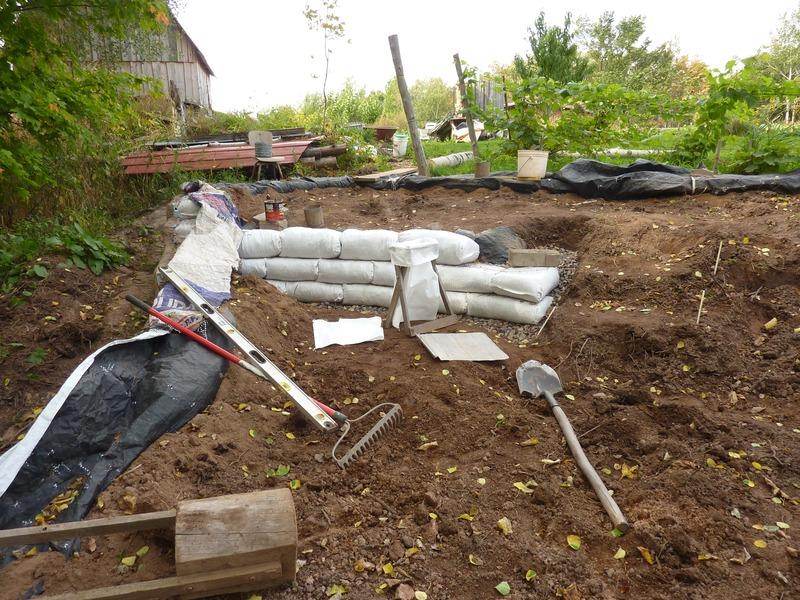
I chose earth bags for my foundation after we used them as the stem wall on our barn project. I liked that they worked up fast, were small enough for one person to do (yet extremely solid once tamped) and I imagined them working well and being pretty adjusting to my curvy foundation trench. (Spoiler: I was right.

)
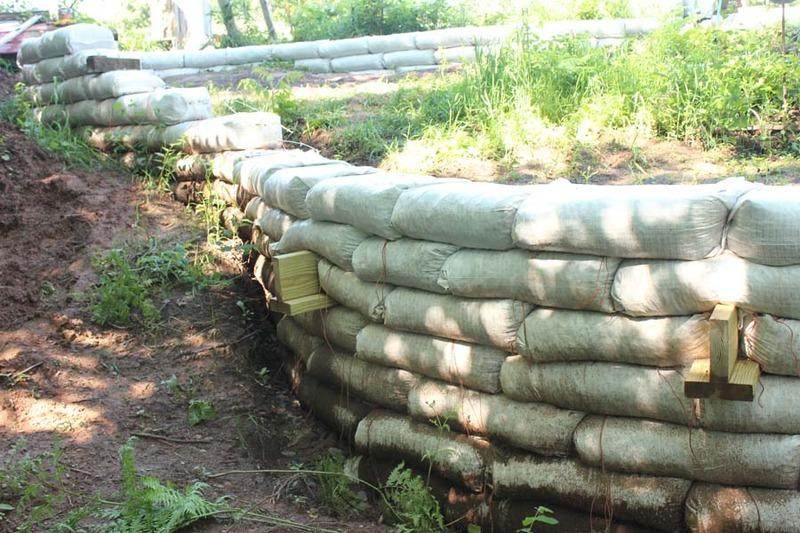
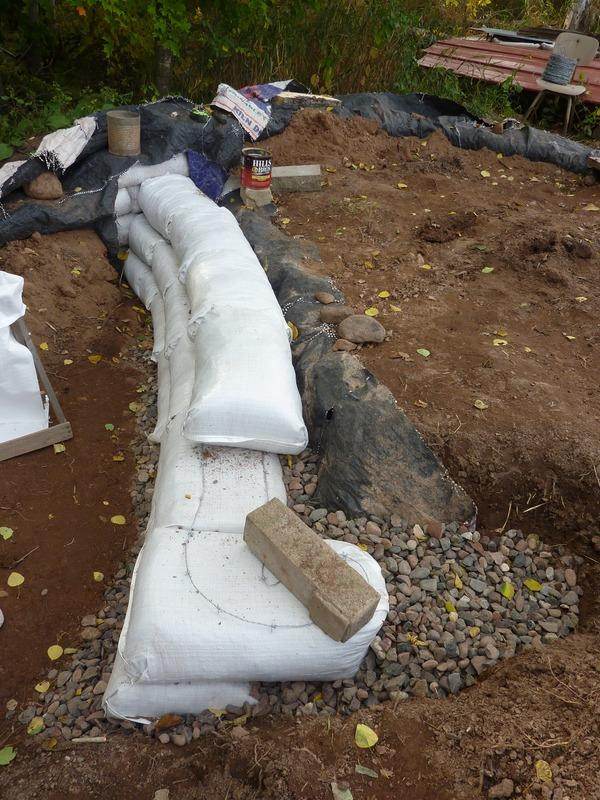
For the first few layers of bags (until we were at ground level) I used gravel. Once we were at the grade, I started mixing clay back into it, which extended the mix and tamped out even harder.
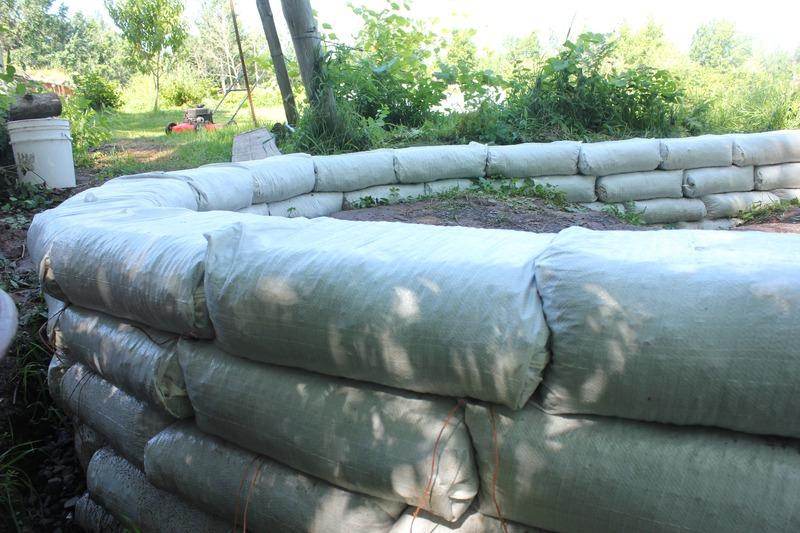
I slowly worked the bags up the sides of my grade, adding more gravel between layers as I climbed back up. I stuck green treated supports amongst the bags, planning ahead for my future back porch.
On my own, I averaged a meager 12 bags or so a day, but I still finished after a few months.
Free-flowing and curvy!
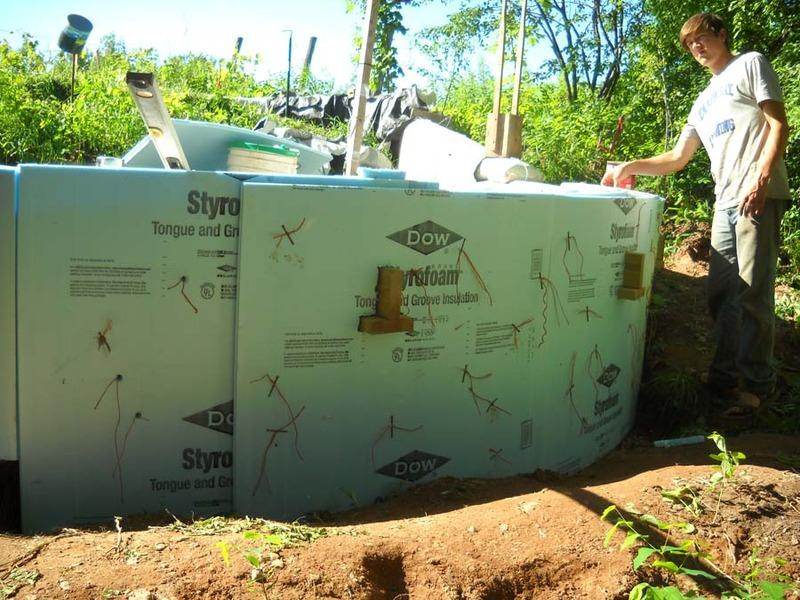
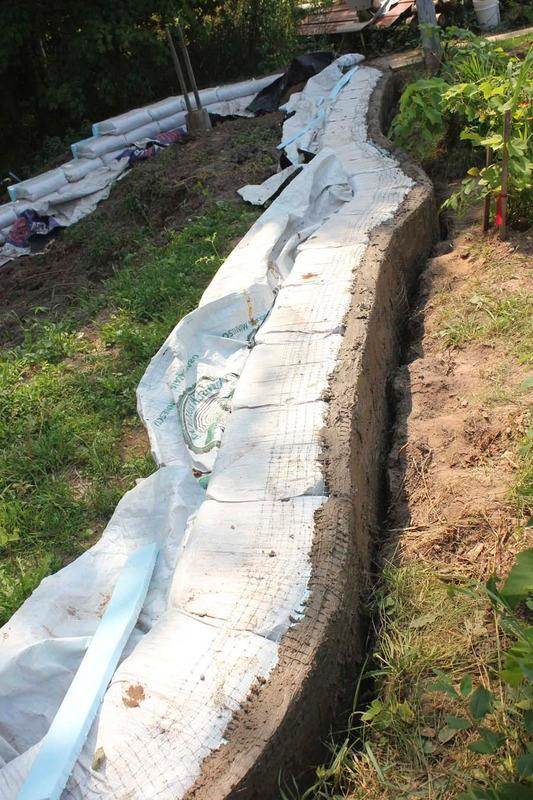
I got help insulating the foundation. We used two layers of 1" foam so that it wrapped to the bends better. We tied the insulation against to the foundation with strings that I had been attaching to the barbed wire (between the earth bag layers) as I went along (thinking ahead there!). We poked hooks through the insulation to pull the strings through and then tied them to scrap nails, pulling the insulation up against the bags.
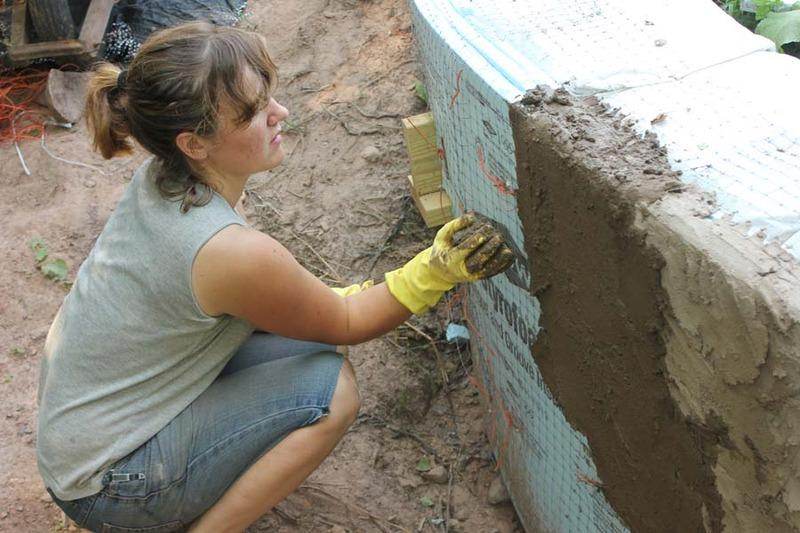
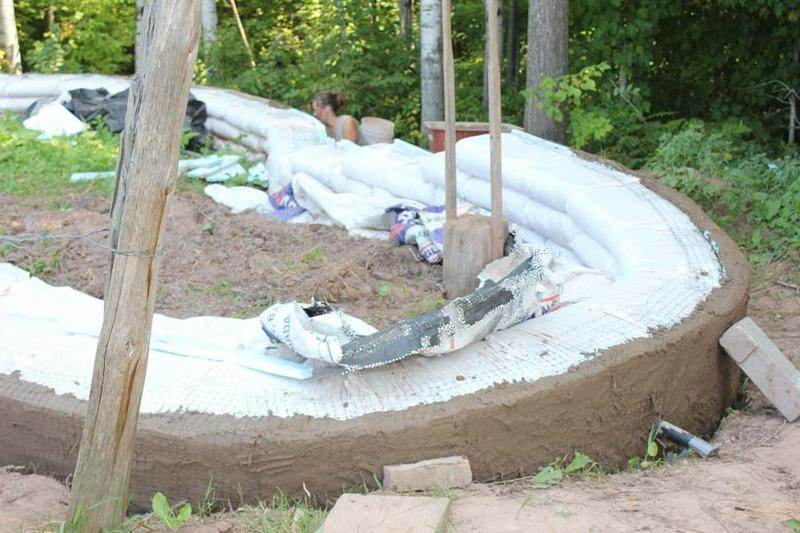
I then attached a netting (like chicken wire but cheaper) to the foundation and plastered it with two layers of cement.
This is the scratch coat, the second one my sister kindly troweled beautifully.
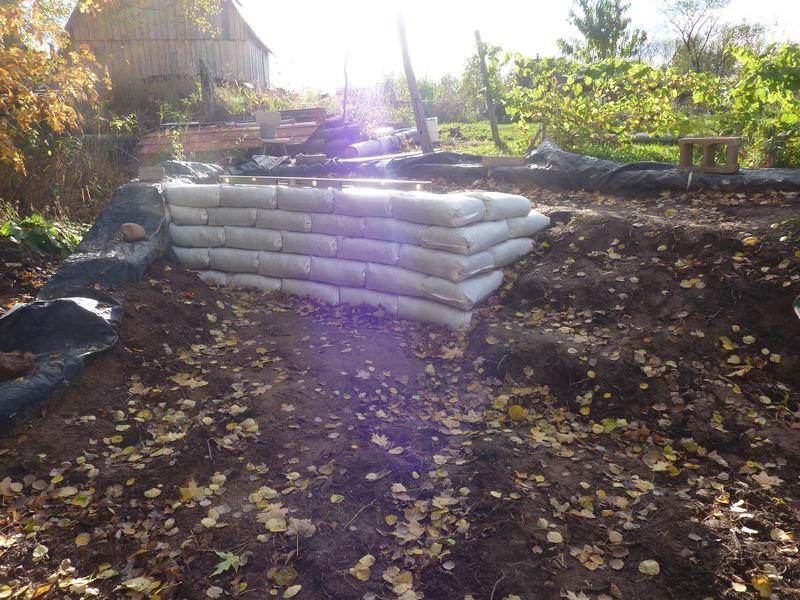
Late in fall, I quick pulled my earth bag tools back out and made a few little retaining walls inside the foundation, distinguishing my two interior levels.
I elbowed this one back into the upper level, acting as a mini buttress to help strengthen it. I also very subtly angled the wall towards the grade and also gave it a bit of a bend, both with the intention of aiding in its overall strength.
I was proud to have built this wall in only a few days. Everything takes longer than you'd expect when it comes to building. Thankfully, I'm in a comfortable position in my life that allows me to build at my own pace, spurred on more by my own impatience than anything else!
Once again, my plans were only referenced vaguely in the back of my mind as I built. These walls were game changers to the interior design that I just had to go with. You try to plan ahead as much as possible, but at some point, you just do it, even when it's different than you'd originally planned....
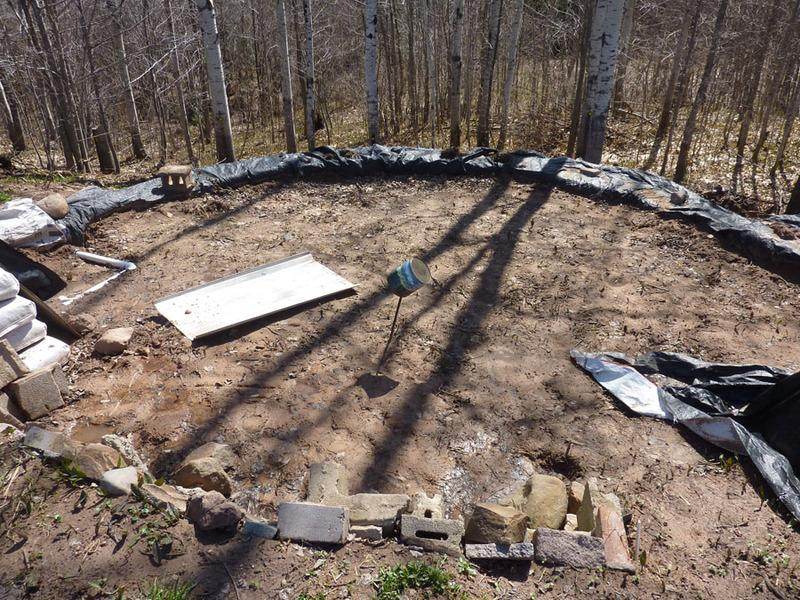
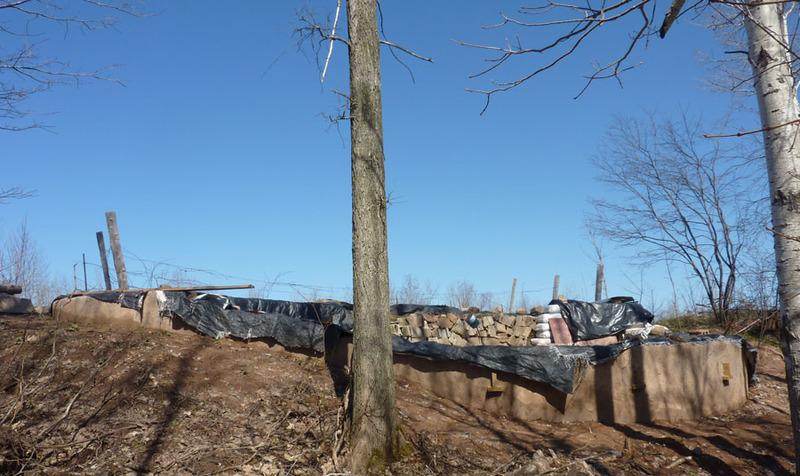
This is how the foundation/site was looking spring of 2014:
Tarps covered the tops of my earth bags, shielding them from unnecessary exposure to sunlight over the winter.
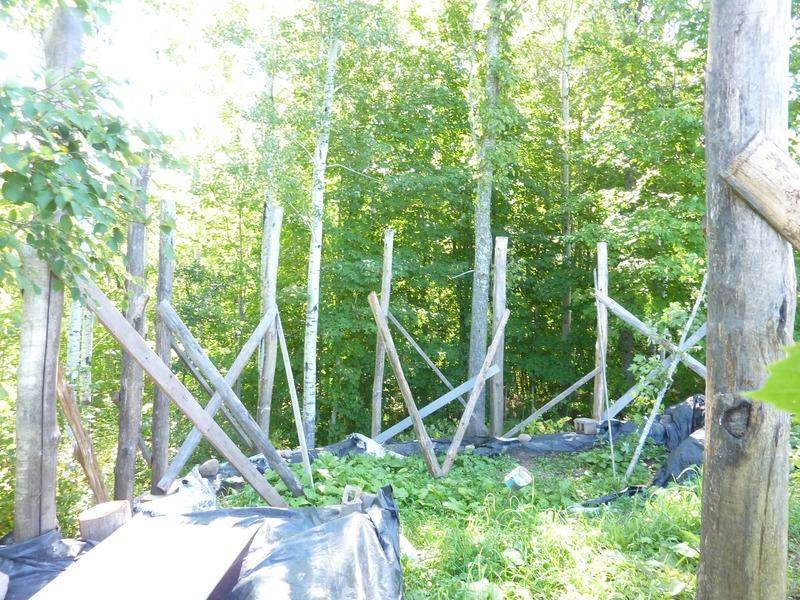
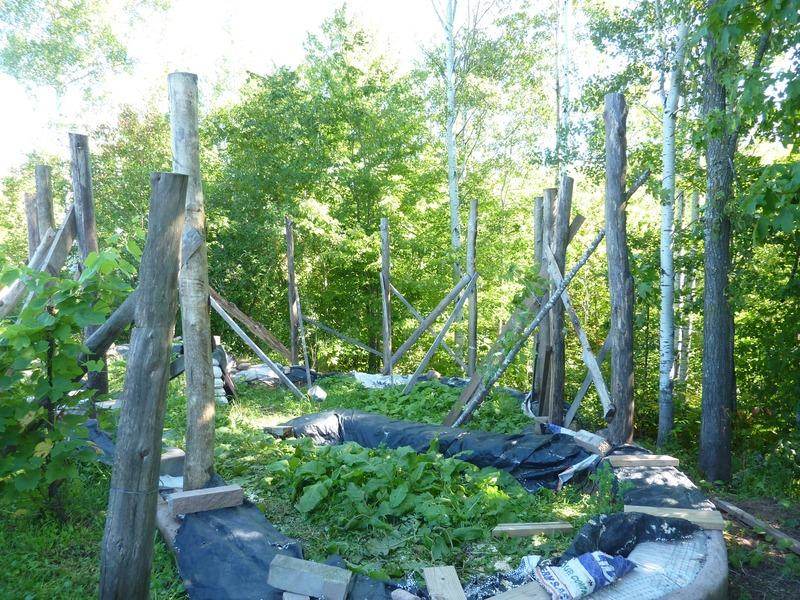
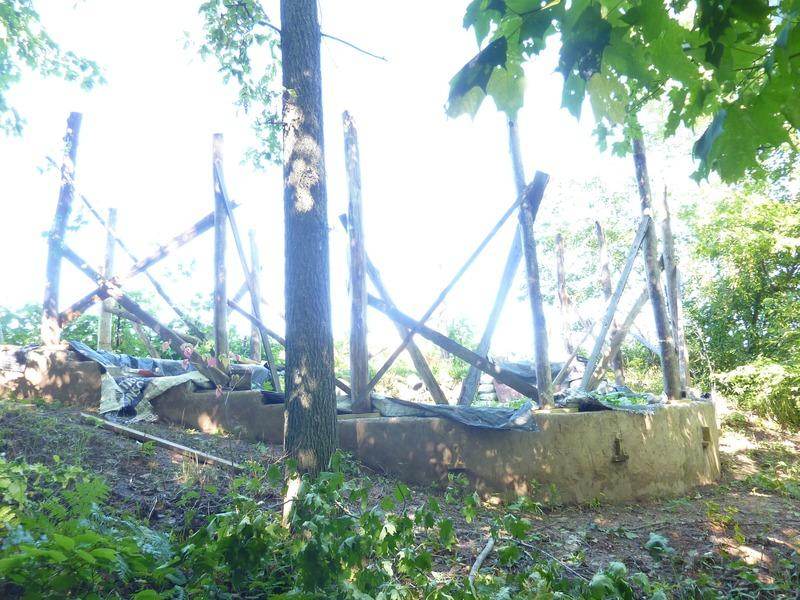
I started putting posts up in late summer.
We used the poplar trees we had taken down to clear the site, so they were now two years dry.
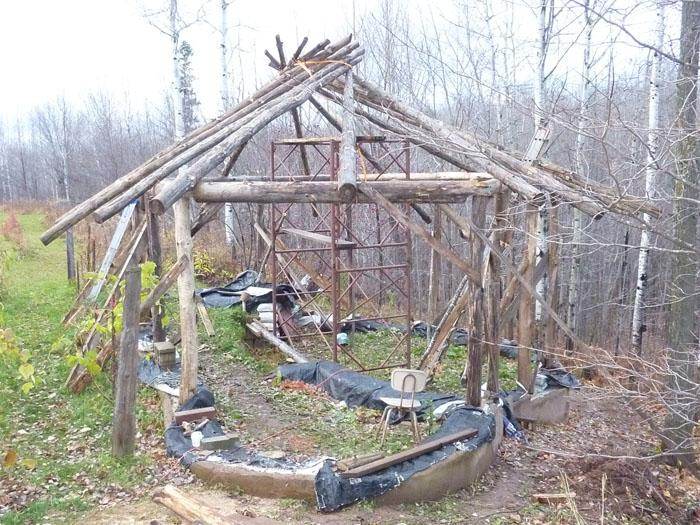
Since this 'timber frame' was going to be buried in the walls, I wasn’t concerned with the aesthetics of it.
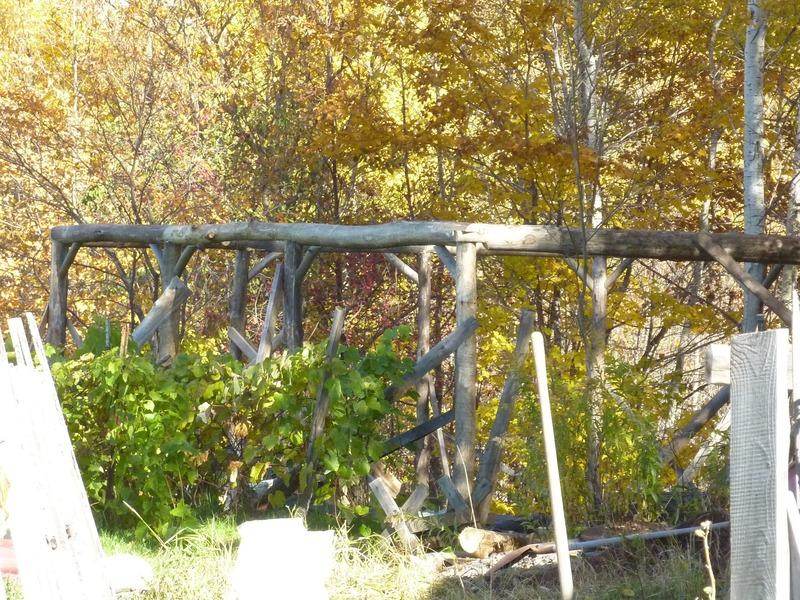
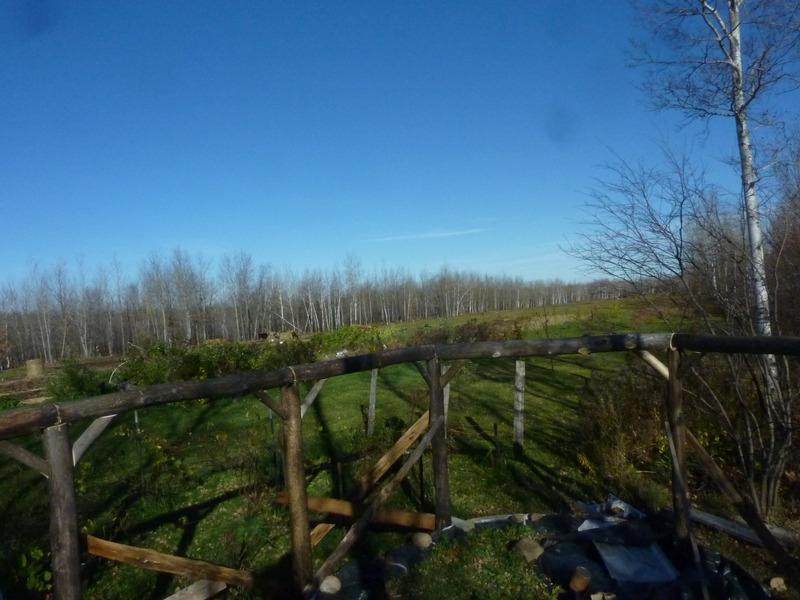
Beams tie everything together.
After that, I was on my own again to drill and pound 12" rebar spikes down into the top of the posts.
I discovered two things while doing this: 1) Two-year dry poplar is
haaaard.
2) I don't like heights and had to wonder at the tall design of my ceiling!
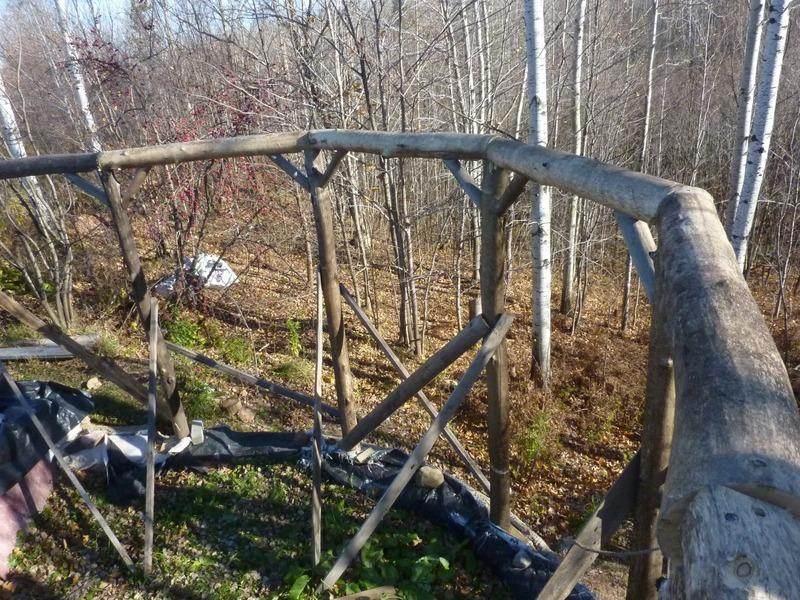
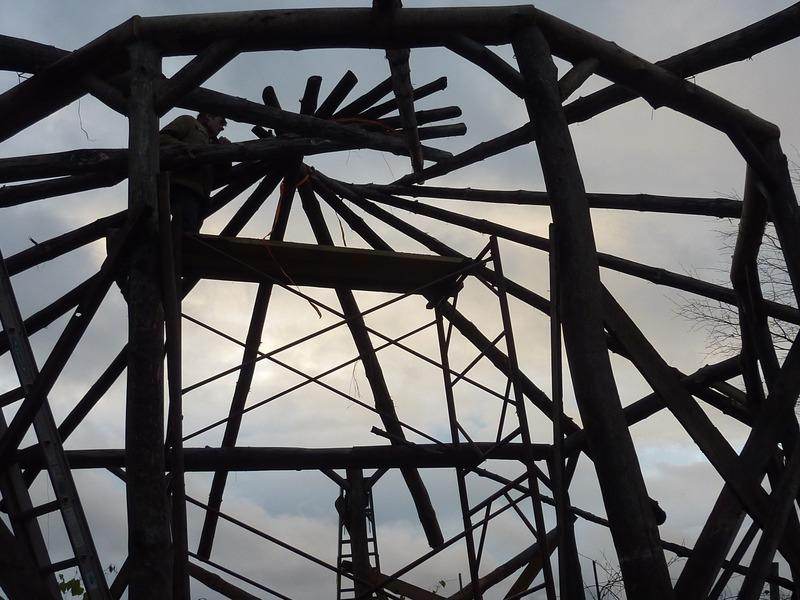
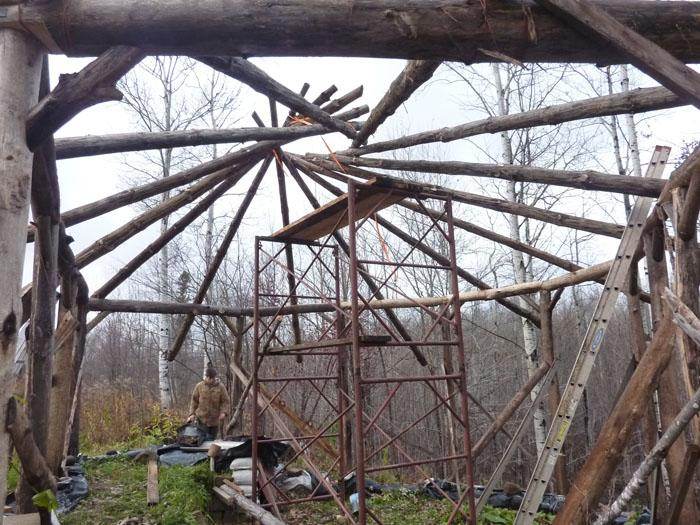
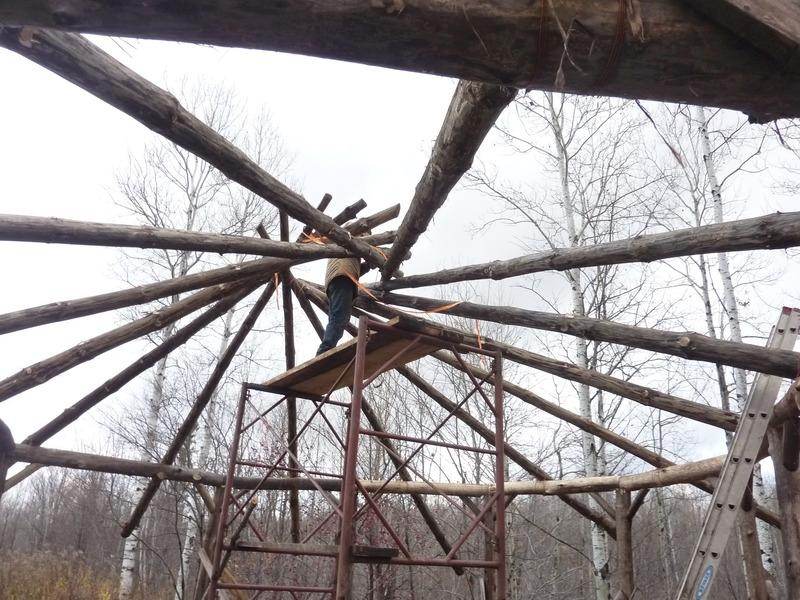
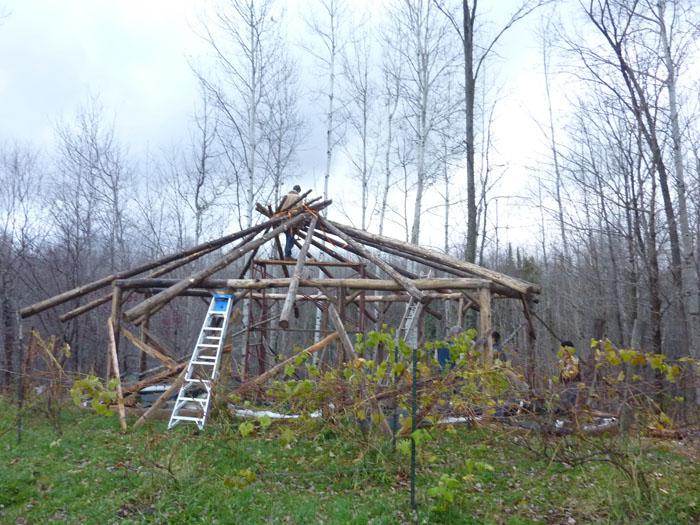
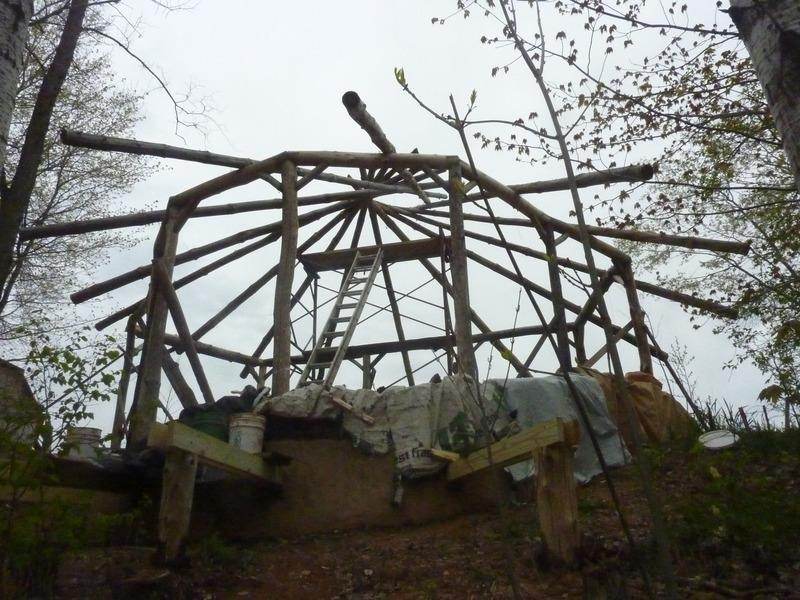
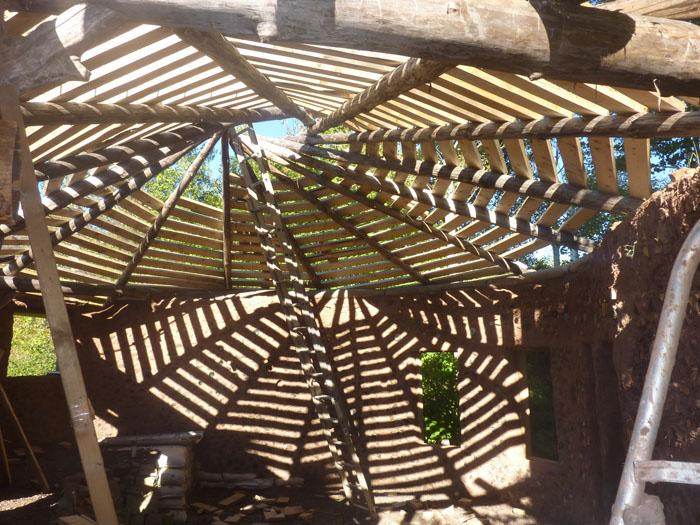
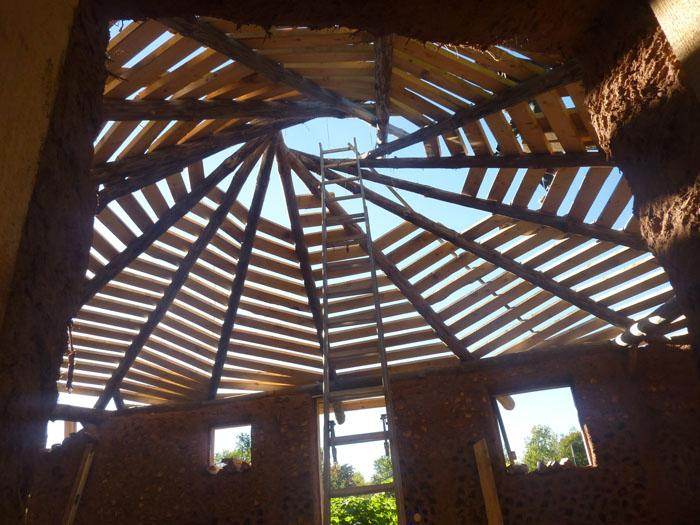
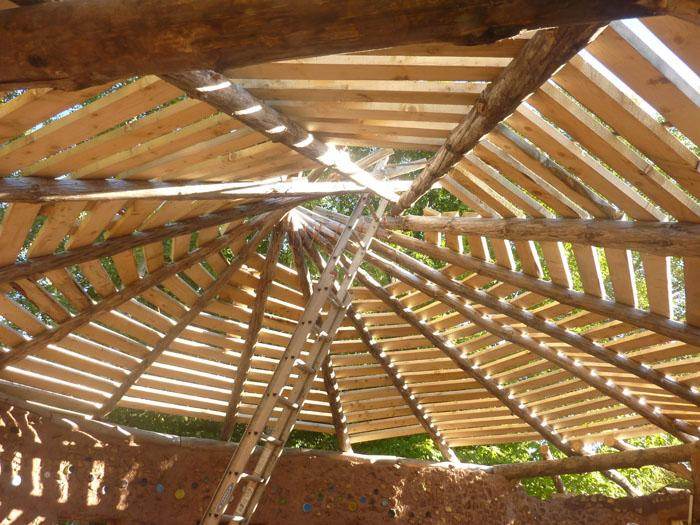
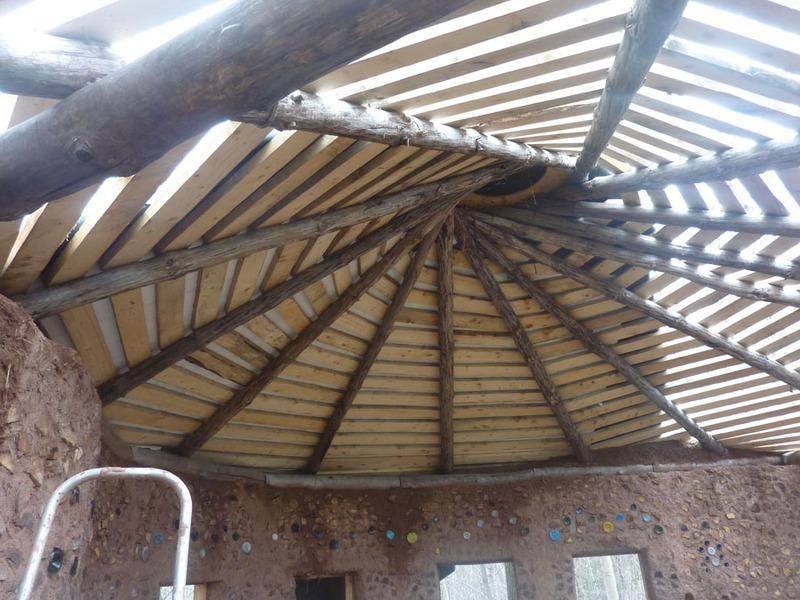
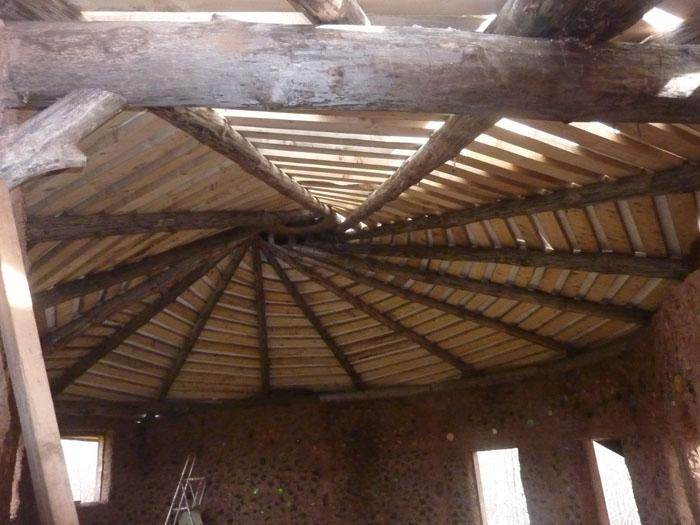
Then, on a cold rainy day in fall, I dragged my brother out there to help me (okay fine, I was helping him!) put up the rafters in the reciprocal frame design.
The rafters were surprisingly light, as the two of us were able to mange this task without help.
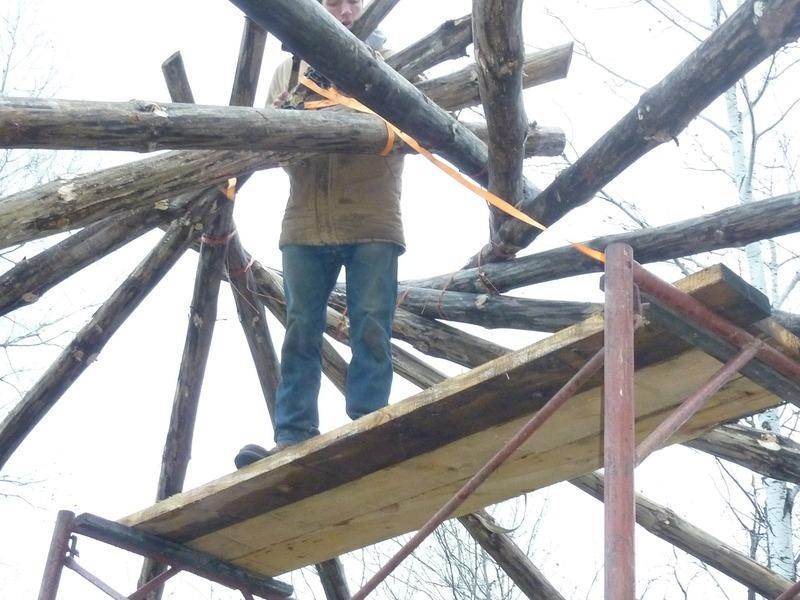
We got them up in a day, just tying as we went along and then spiking rebar and 6" nails around the top.
When the last rafter came up a little shy of it's neighbor, we had the idea to ratchet them together before dropping the charlie stick.
It was a momentous day for sure...
In spring I pounded yet more rebar through the ends of the rafters and into the even harder (seeming) lengthwise grain of the poplar beams.
I also traveled bit to gather more building supplies, including the 45 mil (pond liner) plastic membrane and some foam insulation for the roof. I was bummed when the lumber I ordered to sheath the roof took a lot longer than I had anticipated to arrive, so instead of starting with the roof as I’d planned, I decided to (finally!!!) start cobbing!
The first two batches of cob went on May 7th.
The road restrictions prevented a load of sand from being delivered (for making cob) so we were hauling sand up from our creek beds for the first two weeks (not gonna lie--that killed!)
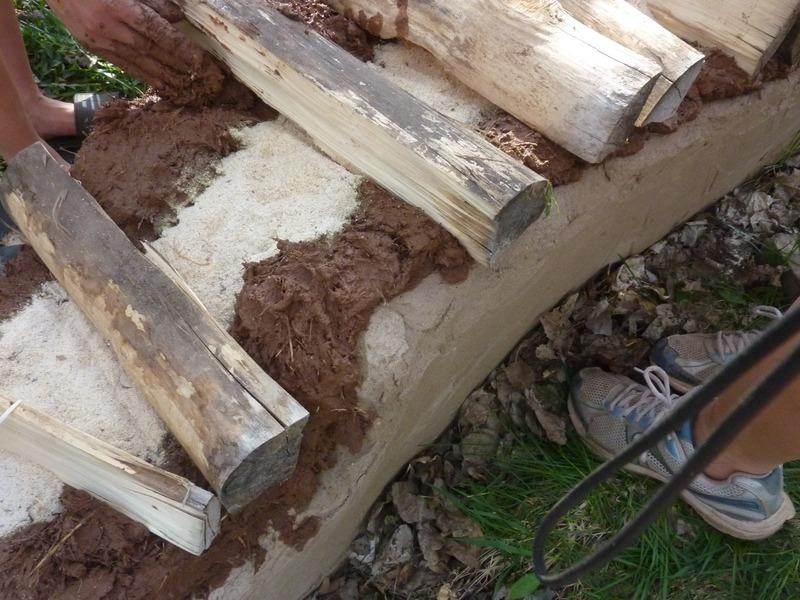
Stomping the first batch of cob.
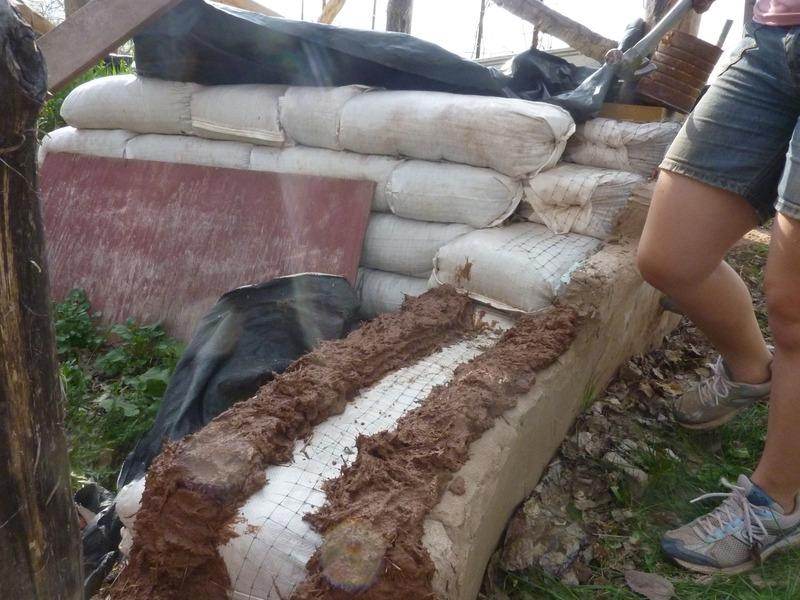
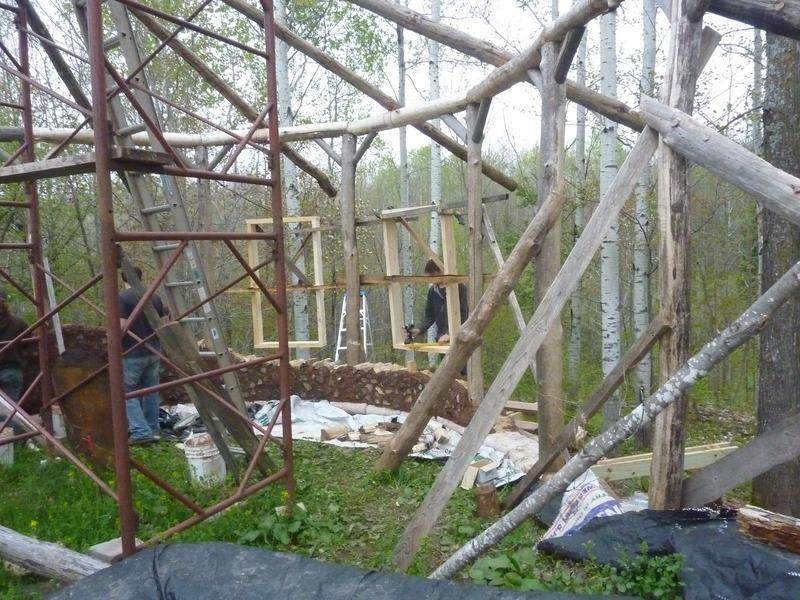
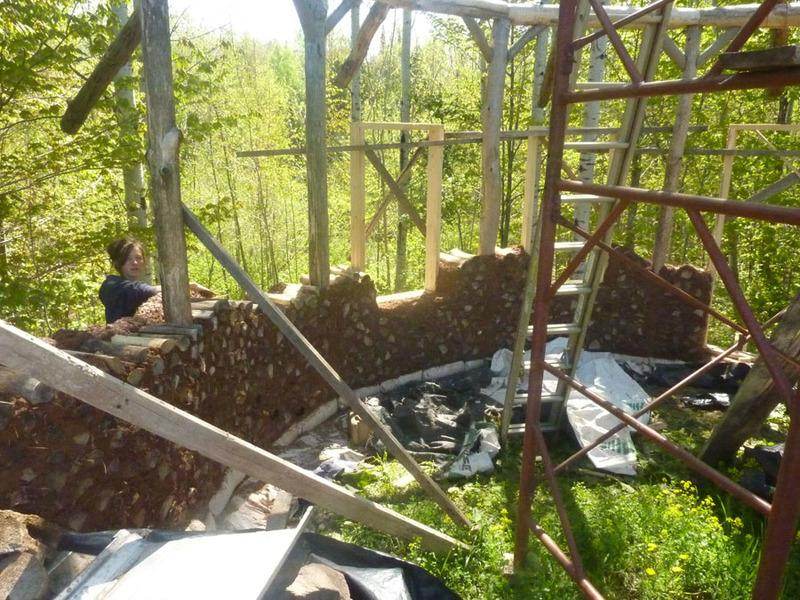
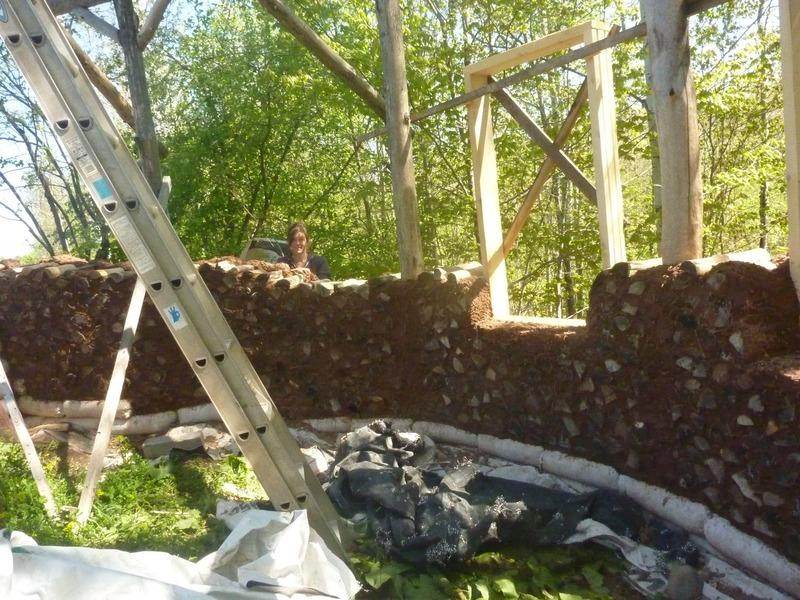
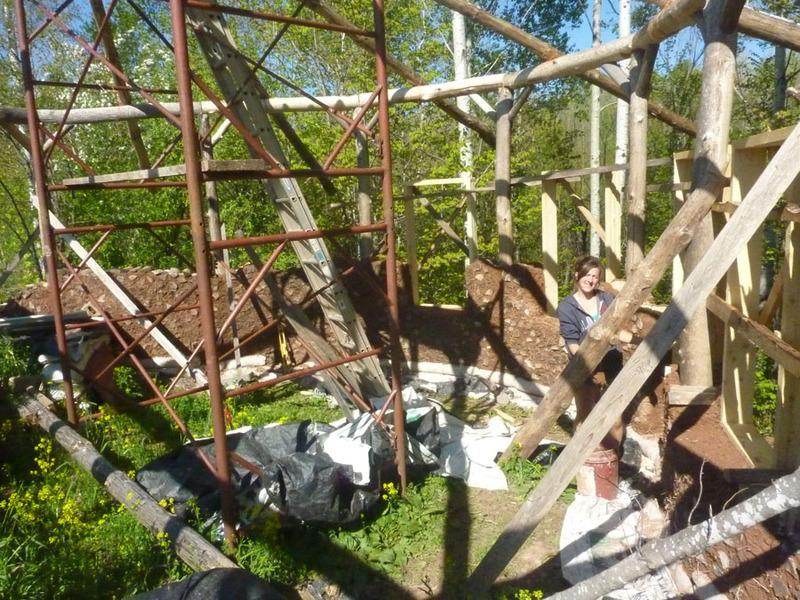
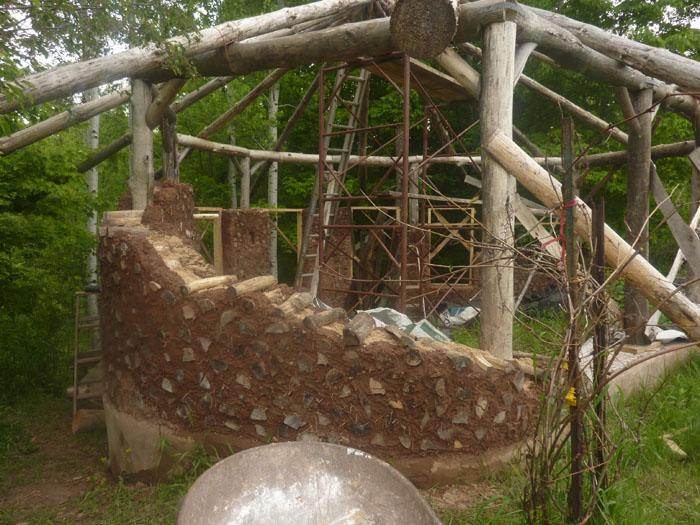
Since the logs primary goal is holding the two (interior and exterior) cob walls together, I'm crisscrossing the longs at soft angles, especially around the posts.
The method we're going after is quick and dirty and then, after a season to dry, I'll come back and completely plaster over the interior and exterior.
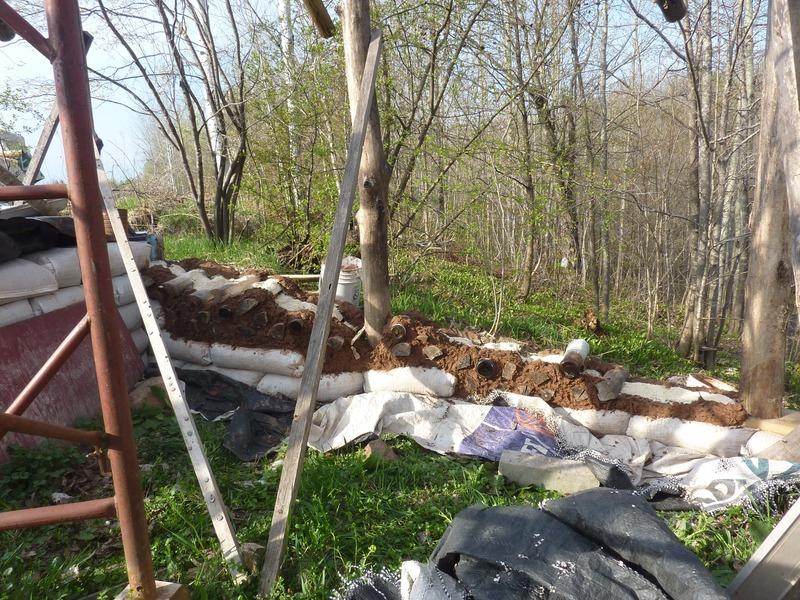
This is the first two batches.
One of the cons to walls before roof is a lot of tarp covering at any chance of rain.
I got my cedar porch posts sunk with the help of strong determined siblings chopping through tree roots for me.
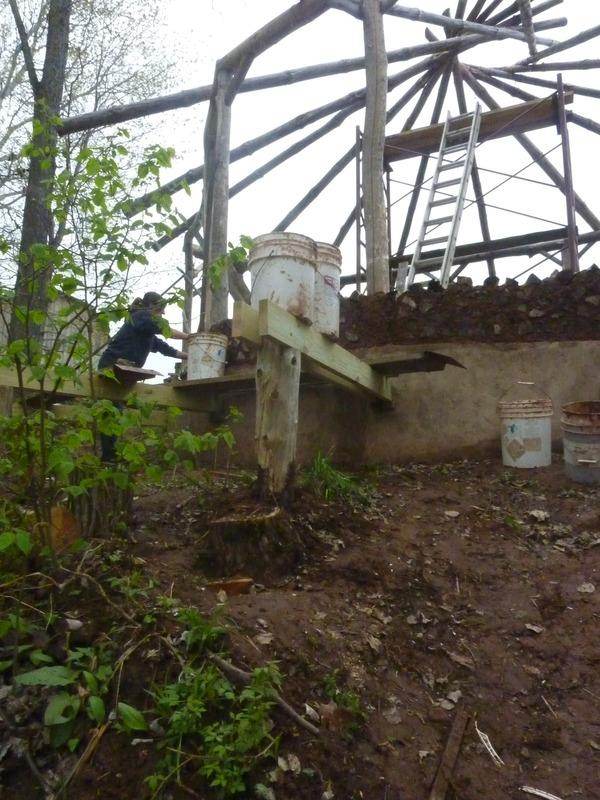
I needed them sooner than I realized to access the back wall. I've since thrown some trusses and temporary sheathing so we can safely use ladders around the back.
As we make our way around, it's like I'm seeing the curves of my foundation for the first time all over again.
Yay curvy walls.

After the initial excitement wore off, it's pretty much settled into the routine of me and sister working. She's faster and better at cobbing than I am, and I'm so grateful for her.

When the weather is good, we can easily manage about 6 batches. A batch takes maybe a little under an hour, not counting splitting wood, mixing sawdust, chopping straw, soaking clay and so on.
**
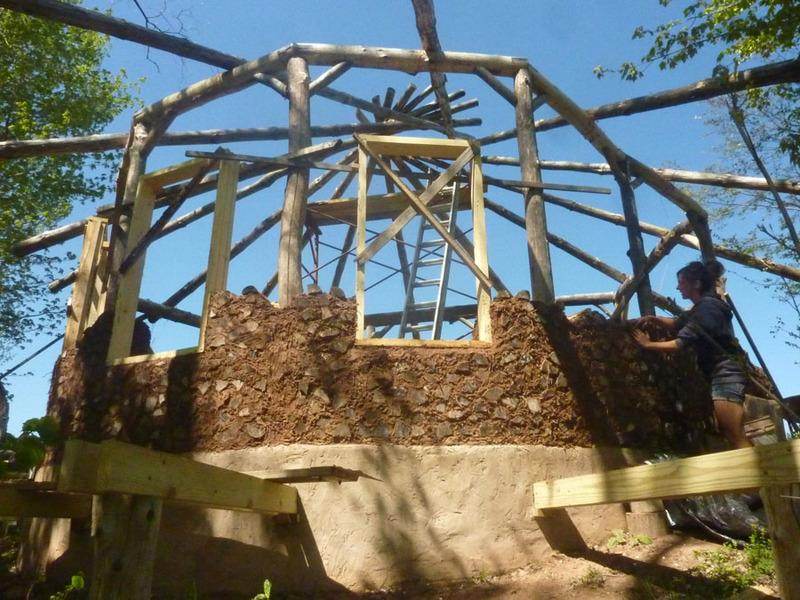
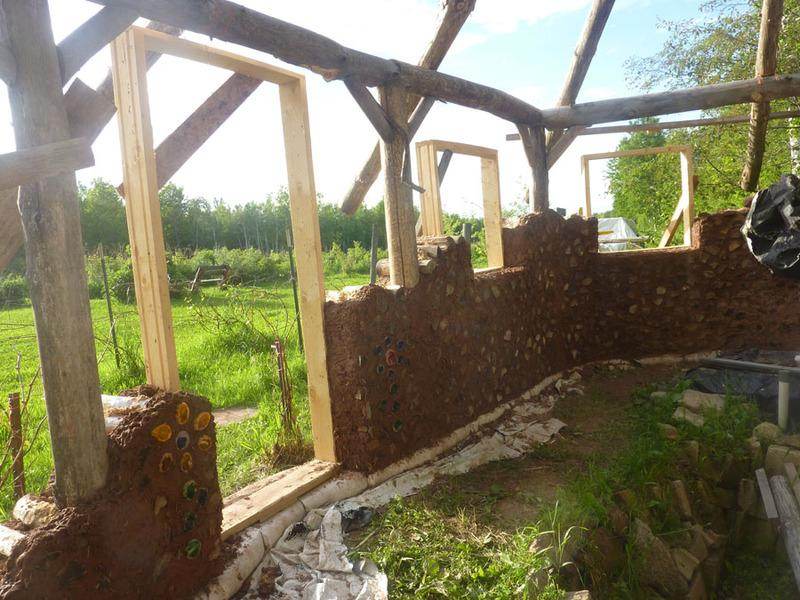
We were ready for our first window frames after just a week or so of two girls cobbing. (bragging rights?

)
Note the back door on the far right, leading out to the back porch.
The morning of a work day.
This is also as far as we got before the sand was delivered, so everything you see on the wall was mixed with sand hauled up the ravine from our creek bed. The clay is also right next to the site, leftover from when my family dug a root cellar a few years past. It's nice to have the building materials gleaned from right around you, BUT, that being said, I had no complaints when the sand was finally delivered!
The evening of that same work day. Note the increased height on the window frames.
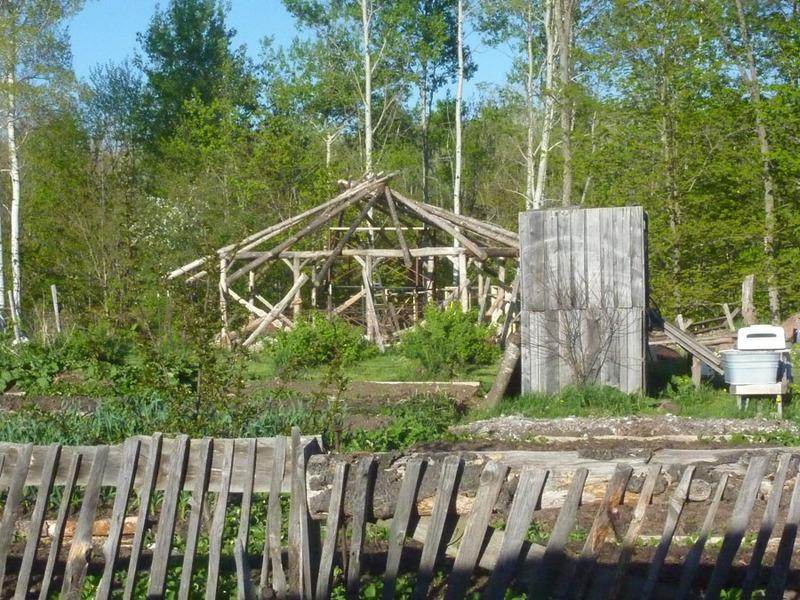
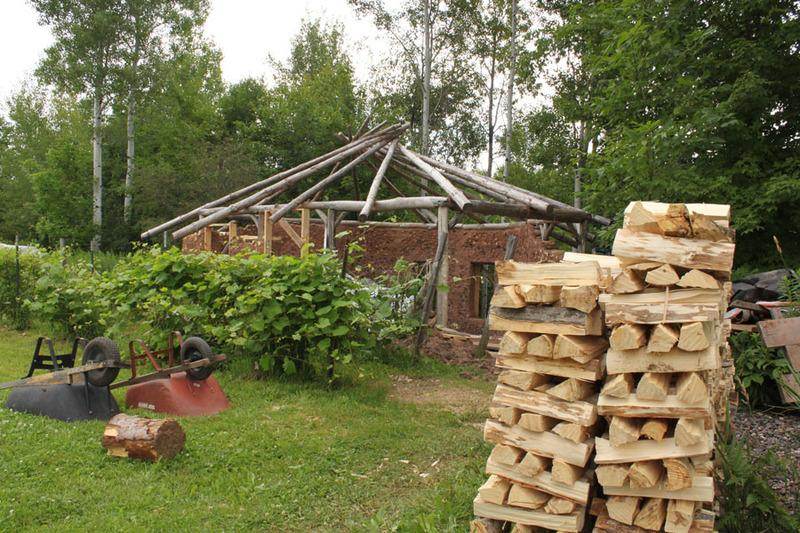
View from the garden.
The goal is to finish cobbing in Aug and start on the roof, weather and bugs permitting. I'm not at all rushed though, so it's a variable goal. Anxious as I am to finish, these beautiful cobbing days have been among the most peaceful and happiest of my life, so I don't really want them to pass too quickly.

Update:
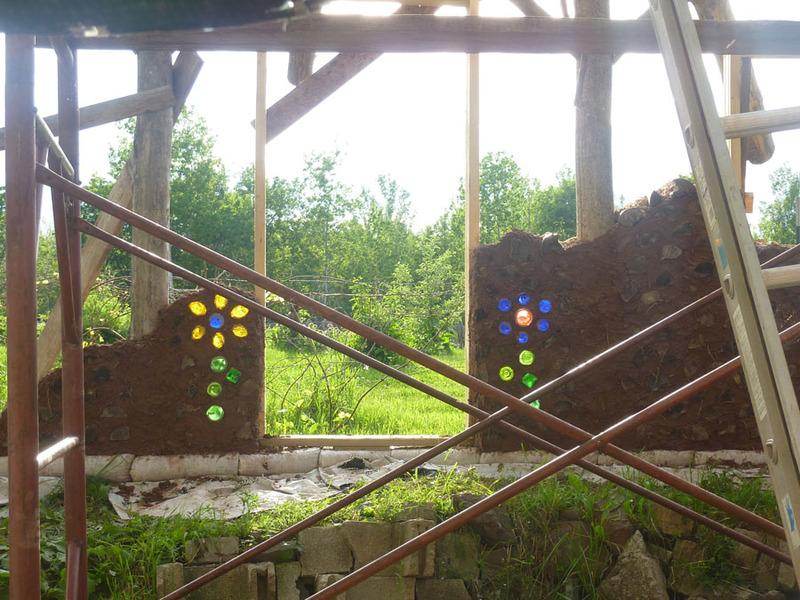
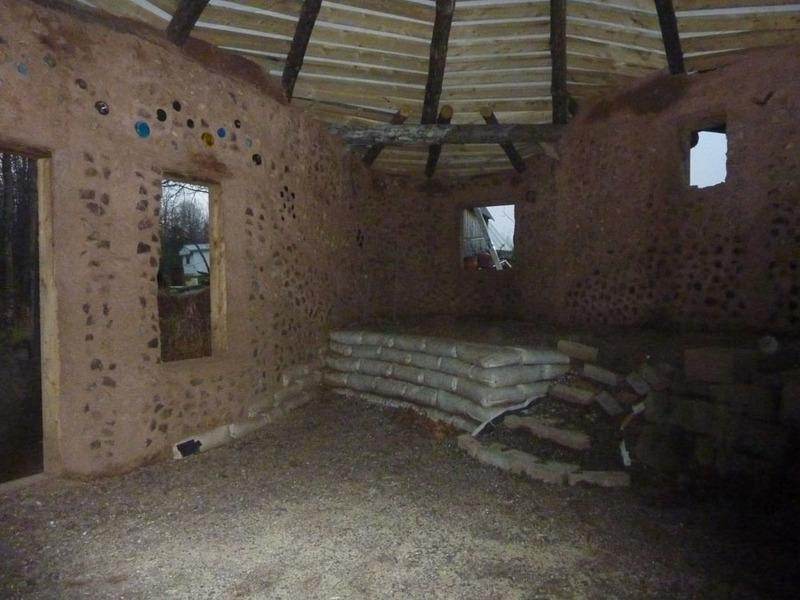
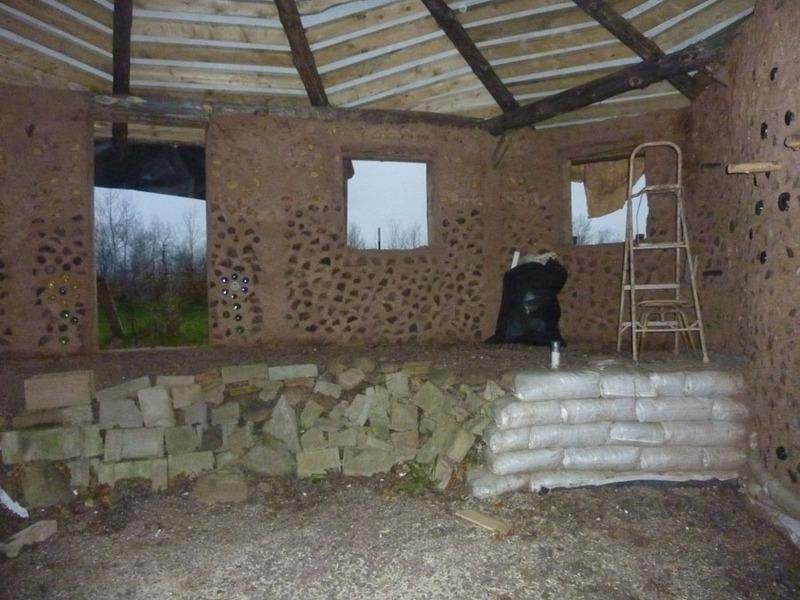
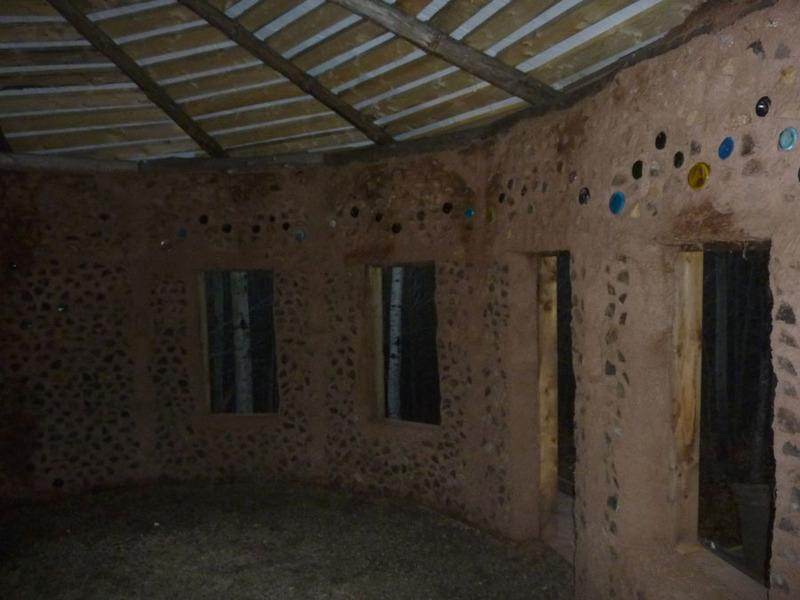
Bottle art in the walls.
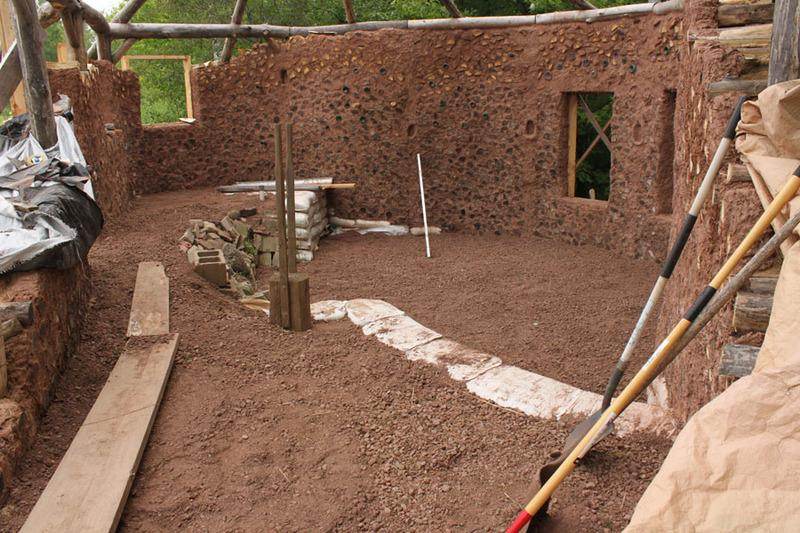
Plastic and gravel in the floor.
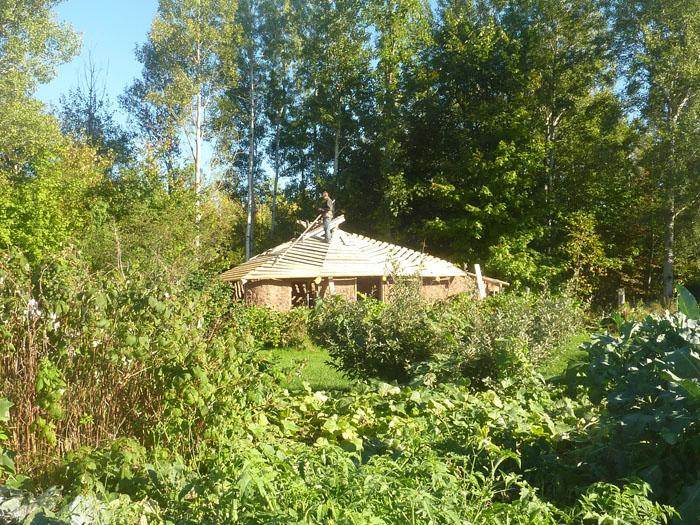
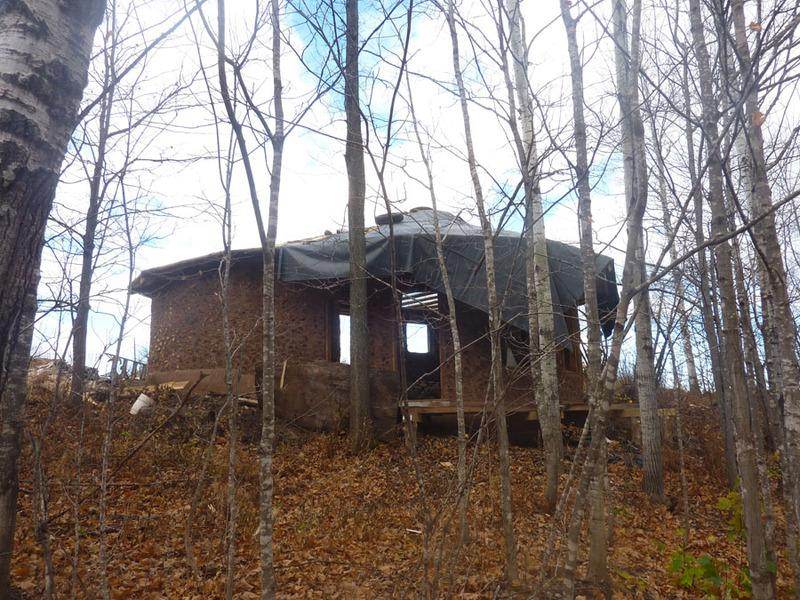
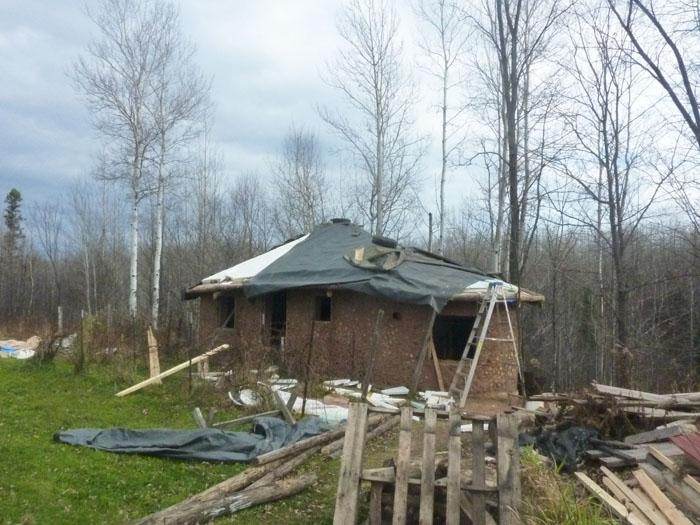
Here's where we're at the the beginning of Oct.
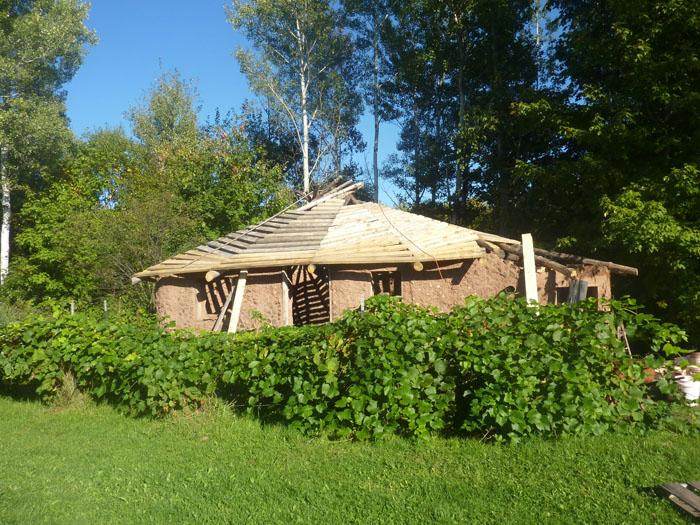
Still planning on finishing the sod roof (man that sheathing job takes time!) and buttoning her up better before the snow flies.
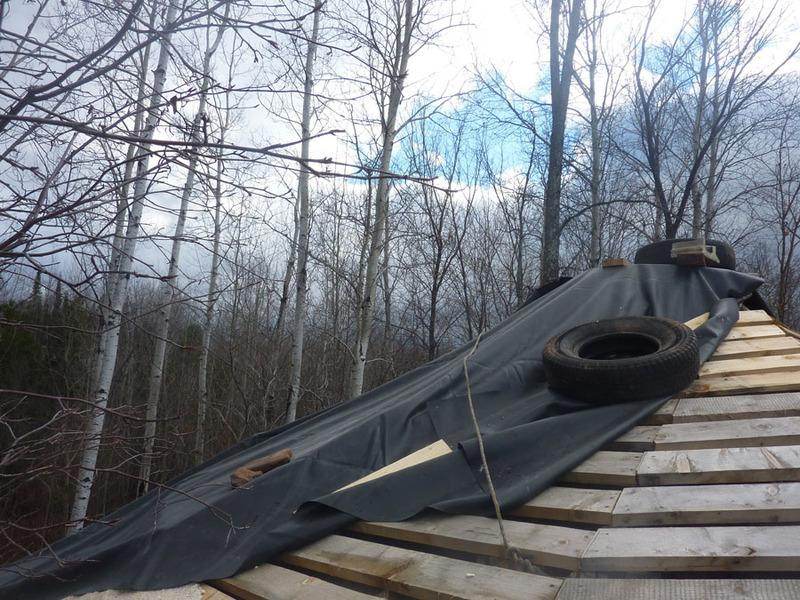
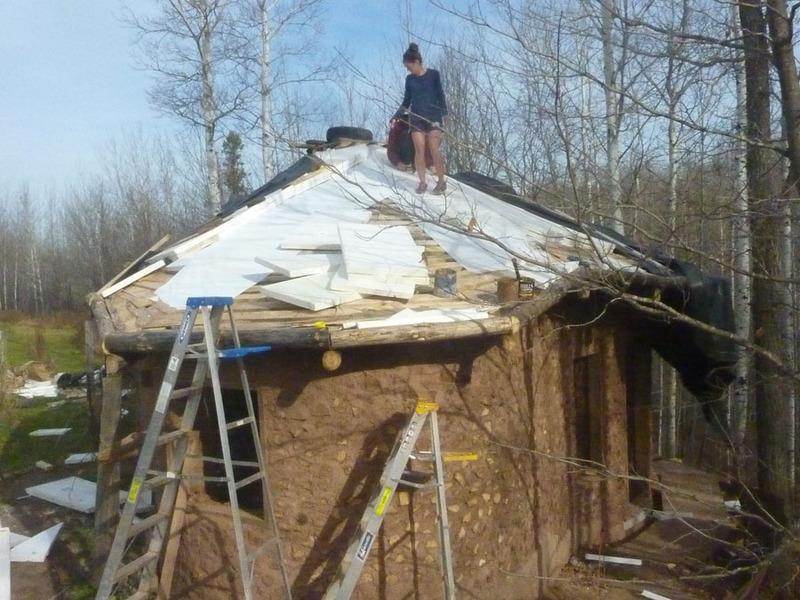
After a few very challenging weeks, I finally got my roof insulated with foam and covered with pond liners. I still have to stitch them together to make it perfectly water tight.
I put down white paper first, just for aesthetics so you don't see the foam through the gaps on the ceiling.
The gaps made the roofer lighter and, obviously, cheaper.
This is where I'm going to leave off this project for the winter. Next year I will plaster completely over the walls and lay my floor.




 )
)




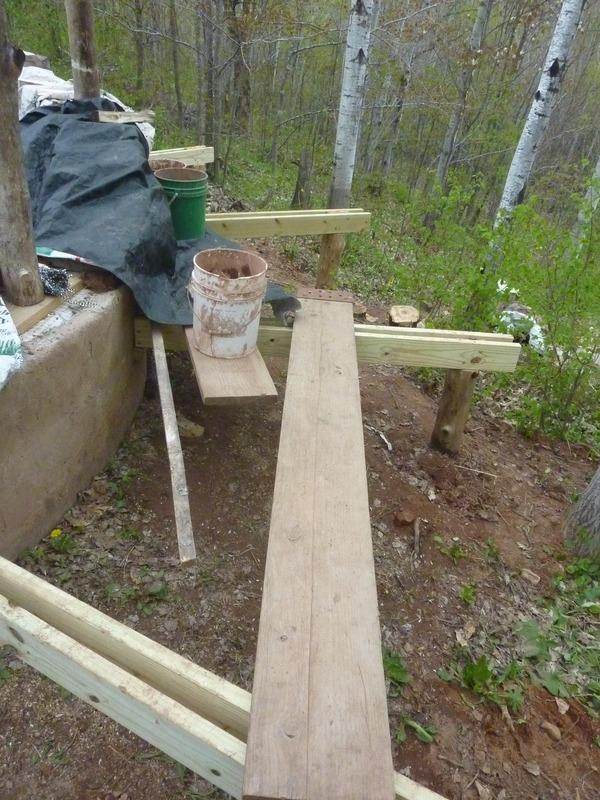
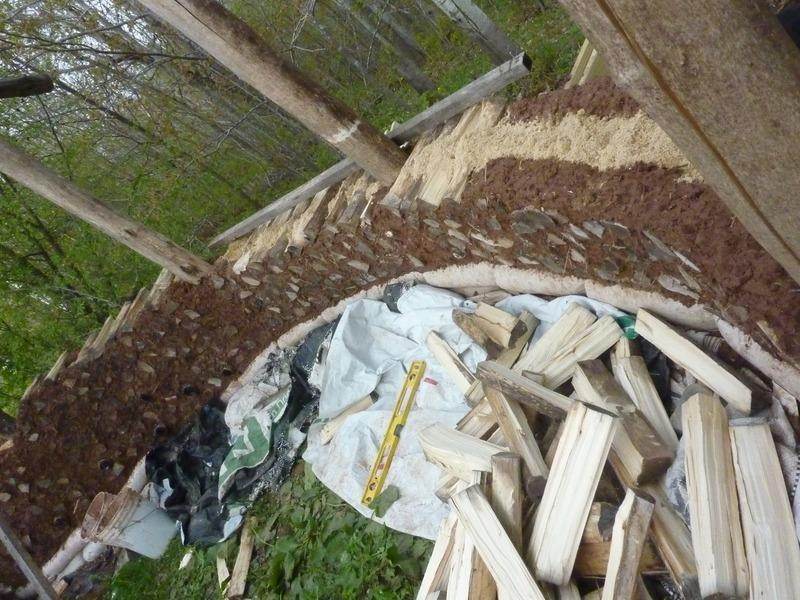

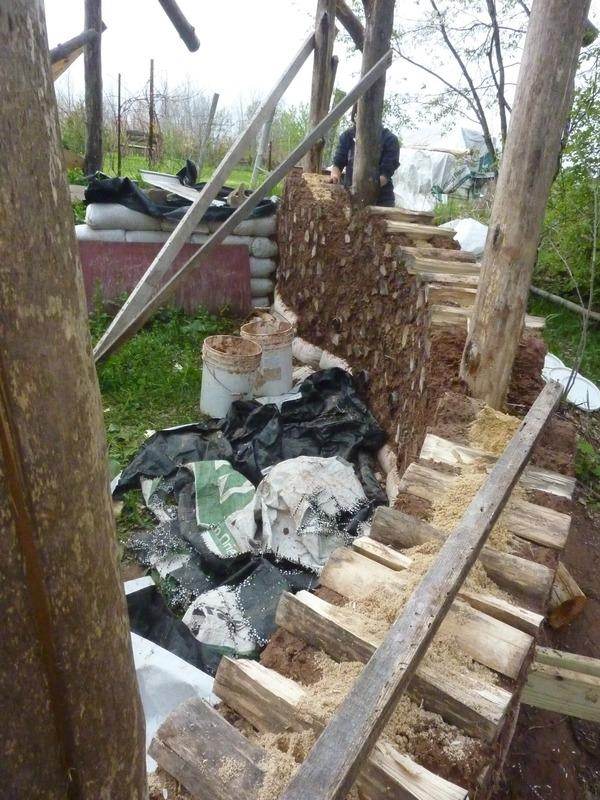
 When the weather is good, we can easily manage about 6 batches. A batch takes maybe a little under an hour, not counting splitting wood, mixing sawdust, chopping straw, soaking clay and so on.
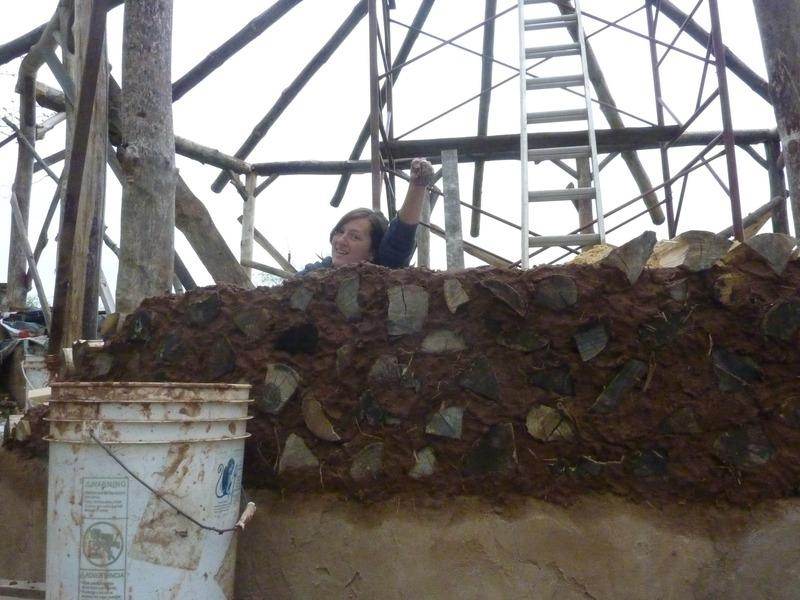
 )
)





 And with another burn like that, I worry my walls might give out and the roof of my stove could come down.


 Natural plasters on the inside. I was considering using lime on the outside, but we've plastered over a portion of our cobwood home (outside) without lime and it's holding up really well so now I'm more open to the idea of doing natural clay outside as well. I'll keep an eye on it over the winter and see how the snow treats it before I decide.
 I know the U.P. is quite a hike for those of you under the bridge,
  but if anyone is in the area, feel free to get in touch with us. We have a big farm, a lot of cool projects going on and a desire to meet and assist like minded people in any way we can.