So two months ago now I asked about repairing a lawnmower handle in
this post. I got a lot of helpful advice! Afterwards I got right to it. I cut the tubing so it slid down about 1.5" (3.8cm) on one end and 2.5" (6.3cm) on the other. Doing this spreads the stress out onto fresh steel and evens things out too. I thought about doing a butt weld with similar size tubing, but Mike explained why that not might be a great idea.
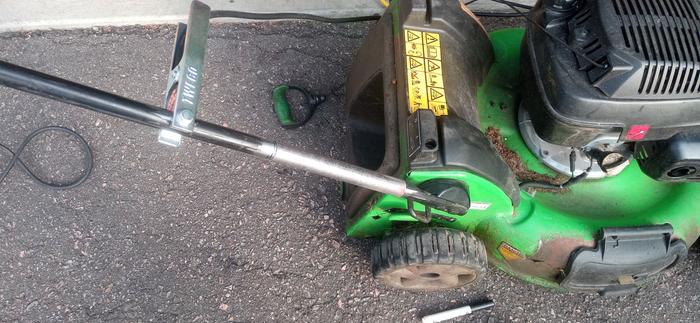
Here is the gap I had to cover.

Here is the tubing I used as the sleeve, or 'scab' as my carpenter friend called it.

Here is it all fitted up. Note how both sides are even. I measured from the top of the handle down to a bottom bolt on both sides, and adjusted until the measurements were the exact same. That way I knew it was even.*Edit* I just realized you can't see both sides of the handle. You'll just have to take my word for it. Also take note of how the ground is connected close to where the weld will be, and it is clamped on clean steel. Always make sure you have a good ground!

Then I got zapping. I forget exact settings, but I think I was around 13.5V and 85 IPM (inches per minute). Nice low setting that ran perfectly on my 120V 15A breaker in the garage. I tested on a scrap piece of the tubing before doing the actual weld. Always do this if possible! It allows you to fine tune settings without messing up your actual weld and saves a lot of headaches.
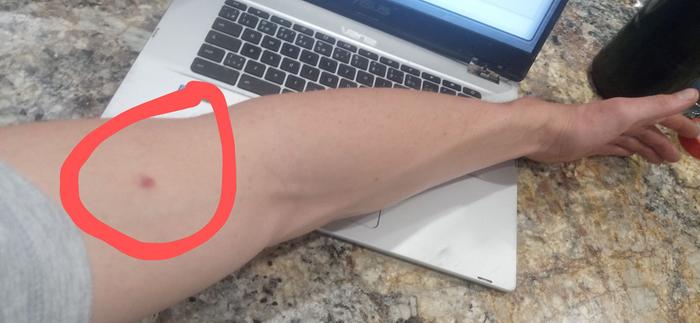
The welding was challenging, but I got it done. The lawnmower had some gas in it, but had no leaks in it as far as I could tell. I ended up welding the handle in place, and I didn't want to flip it over to weld the bottom in case there was any sort of leak or crack in the gas cap. So I did some overhead fluxcore! I did about 4 welds on each end, as I couldn't work my way all the way around the tube smoothly. I got a burn on my arm. Spatter landed on my arm, and because my arm was totally parallel with the ground and bent, it didn't bounce off. Instead it burned through my long sleeve, then into my arm. Ow!! It is all healed up fine but there is still a little scar there.

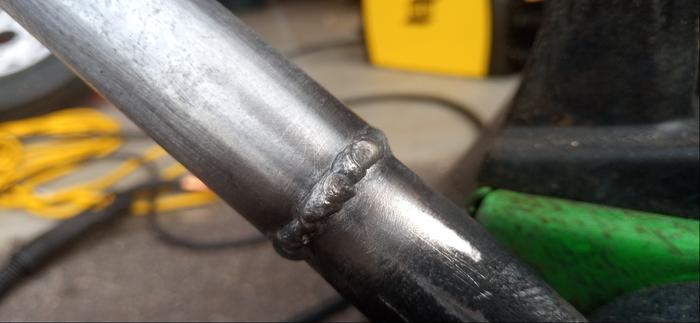
Here is one of the welds, followed by the partially ground down joint.


And here is it all painted. Not bad for a hobbyist with a flux core welder!

Also Pearl I offered to do both sides, but he needed the mower going ASAP so I ended up just doing the one. If the other side breaks, then he knows who to bring it to!


