• Post Reply Bookmark Topic Watch Topic
  • New Topic
permaculture forums growies critters building homesteading energy monies kitchen purity ungarbage community wilderness fiber arts art permaculture artisans regional education skip experiences global resources cider press projects digital market permies.com pie forums private forums all forums
this forum made possible by our volunteer staff, including ...
master stewards:
  • Carla Burke
  • Anne Miller
  • Nancy Reading
  • John F Dean
  • r ransom
  • paul wheaton
  • Timothy Norton
stewards:
  • Jay Angler
  • Pearl Sutton
  • Andrés Bernal
master gardeners:
  • Christopher Weeks
gardeners:
  • M Ljin
  • Thekla McDaniels
  • May Lotito

Yoghurt without fail - share your tips for making thick tasty yoghurt here

 
gardener & author
Posts: 3732
Location: Tasmania
2384
9
homeschooling goat forest garden fungi foraging trees cooking food preservation pig wood heat homestead
  • Likes 16
  • Mark post as helpful
  • send pies
    Number of slices to send:
    Optional 'thank-you' note:
  • Quote
  • Report post to moderator
I just posted this up on my blog and thought I would share it here too. I'm interested to hear if other Permies have other good tips for ways to keep yoghurt warm while culturing, ways to keep the culture alive through many batches, and other tips for making yoghurt without fail.

I really like yoghurt, I make it from goats milk and eat it for breakfast every morning.


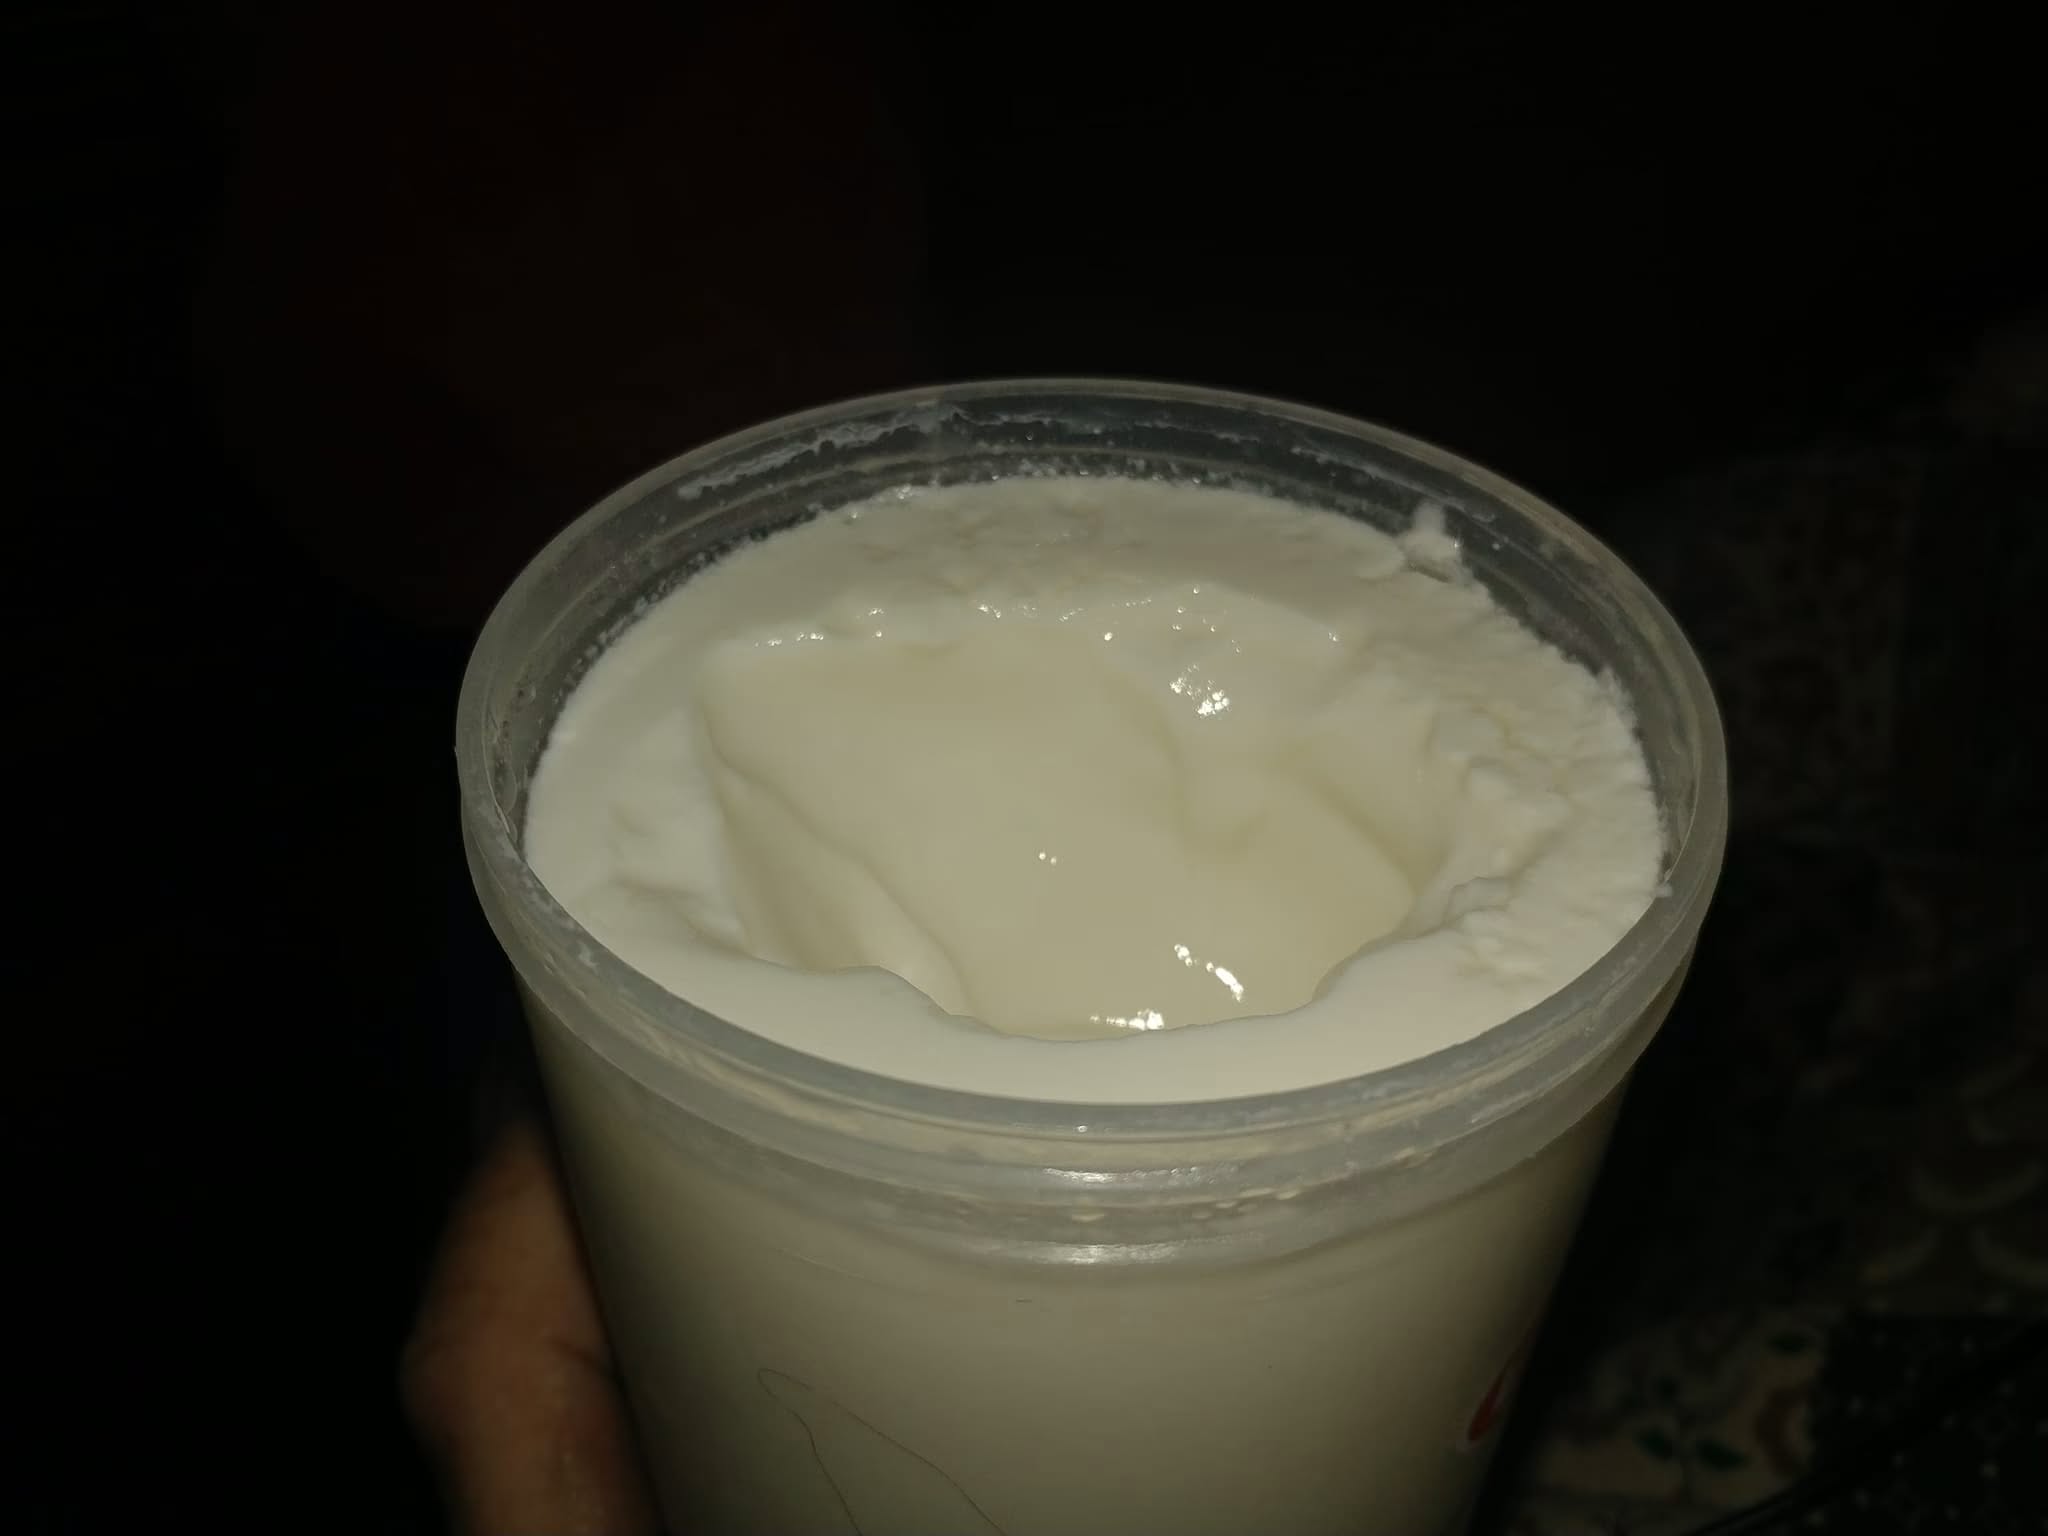
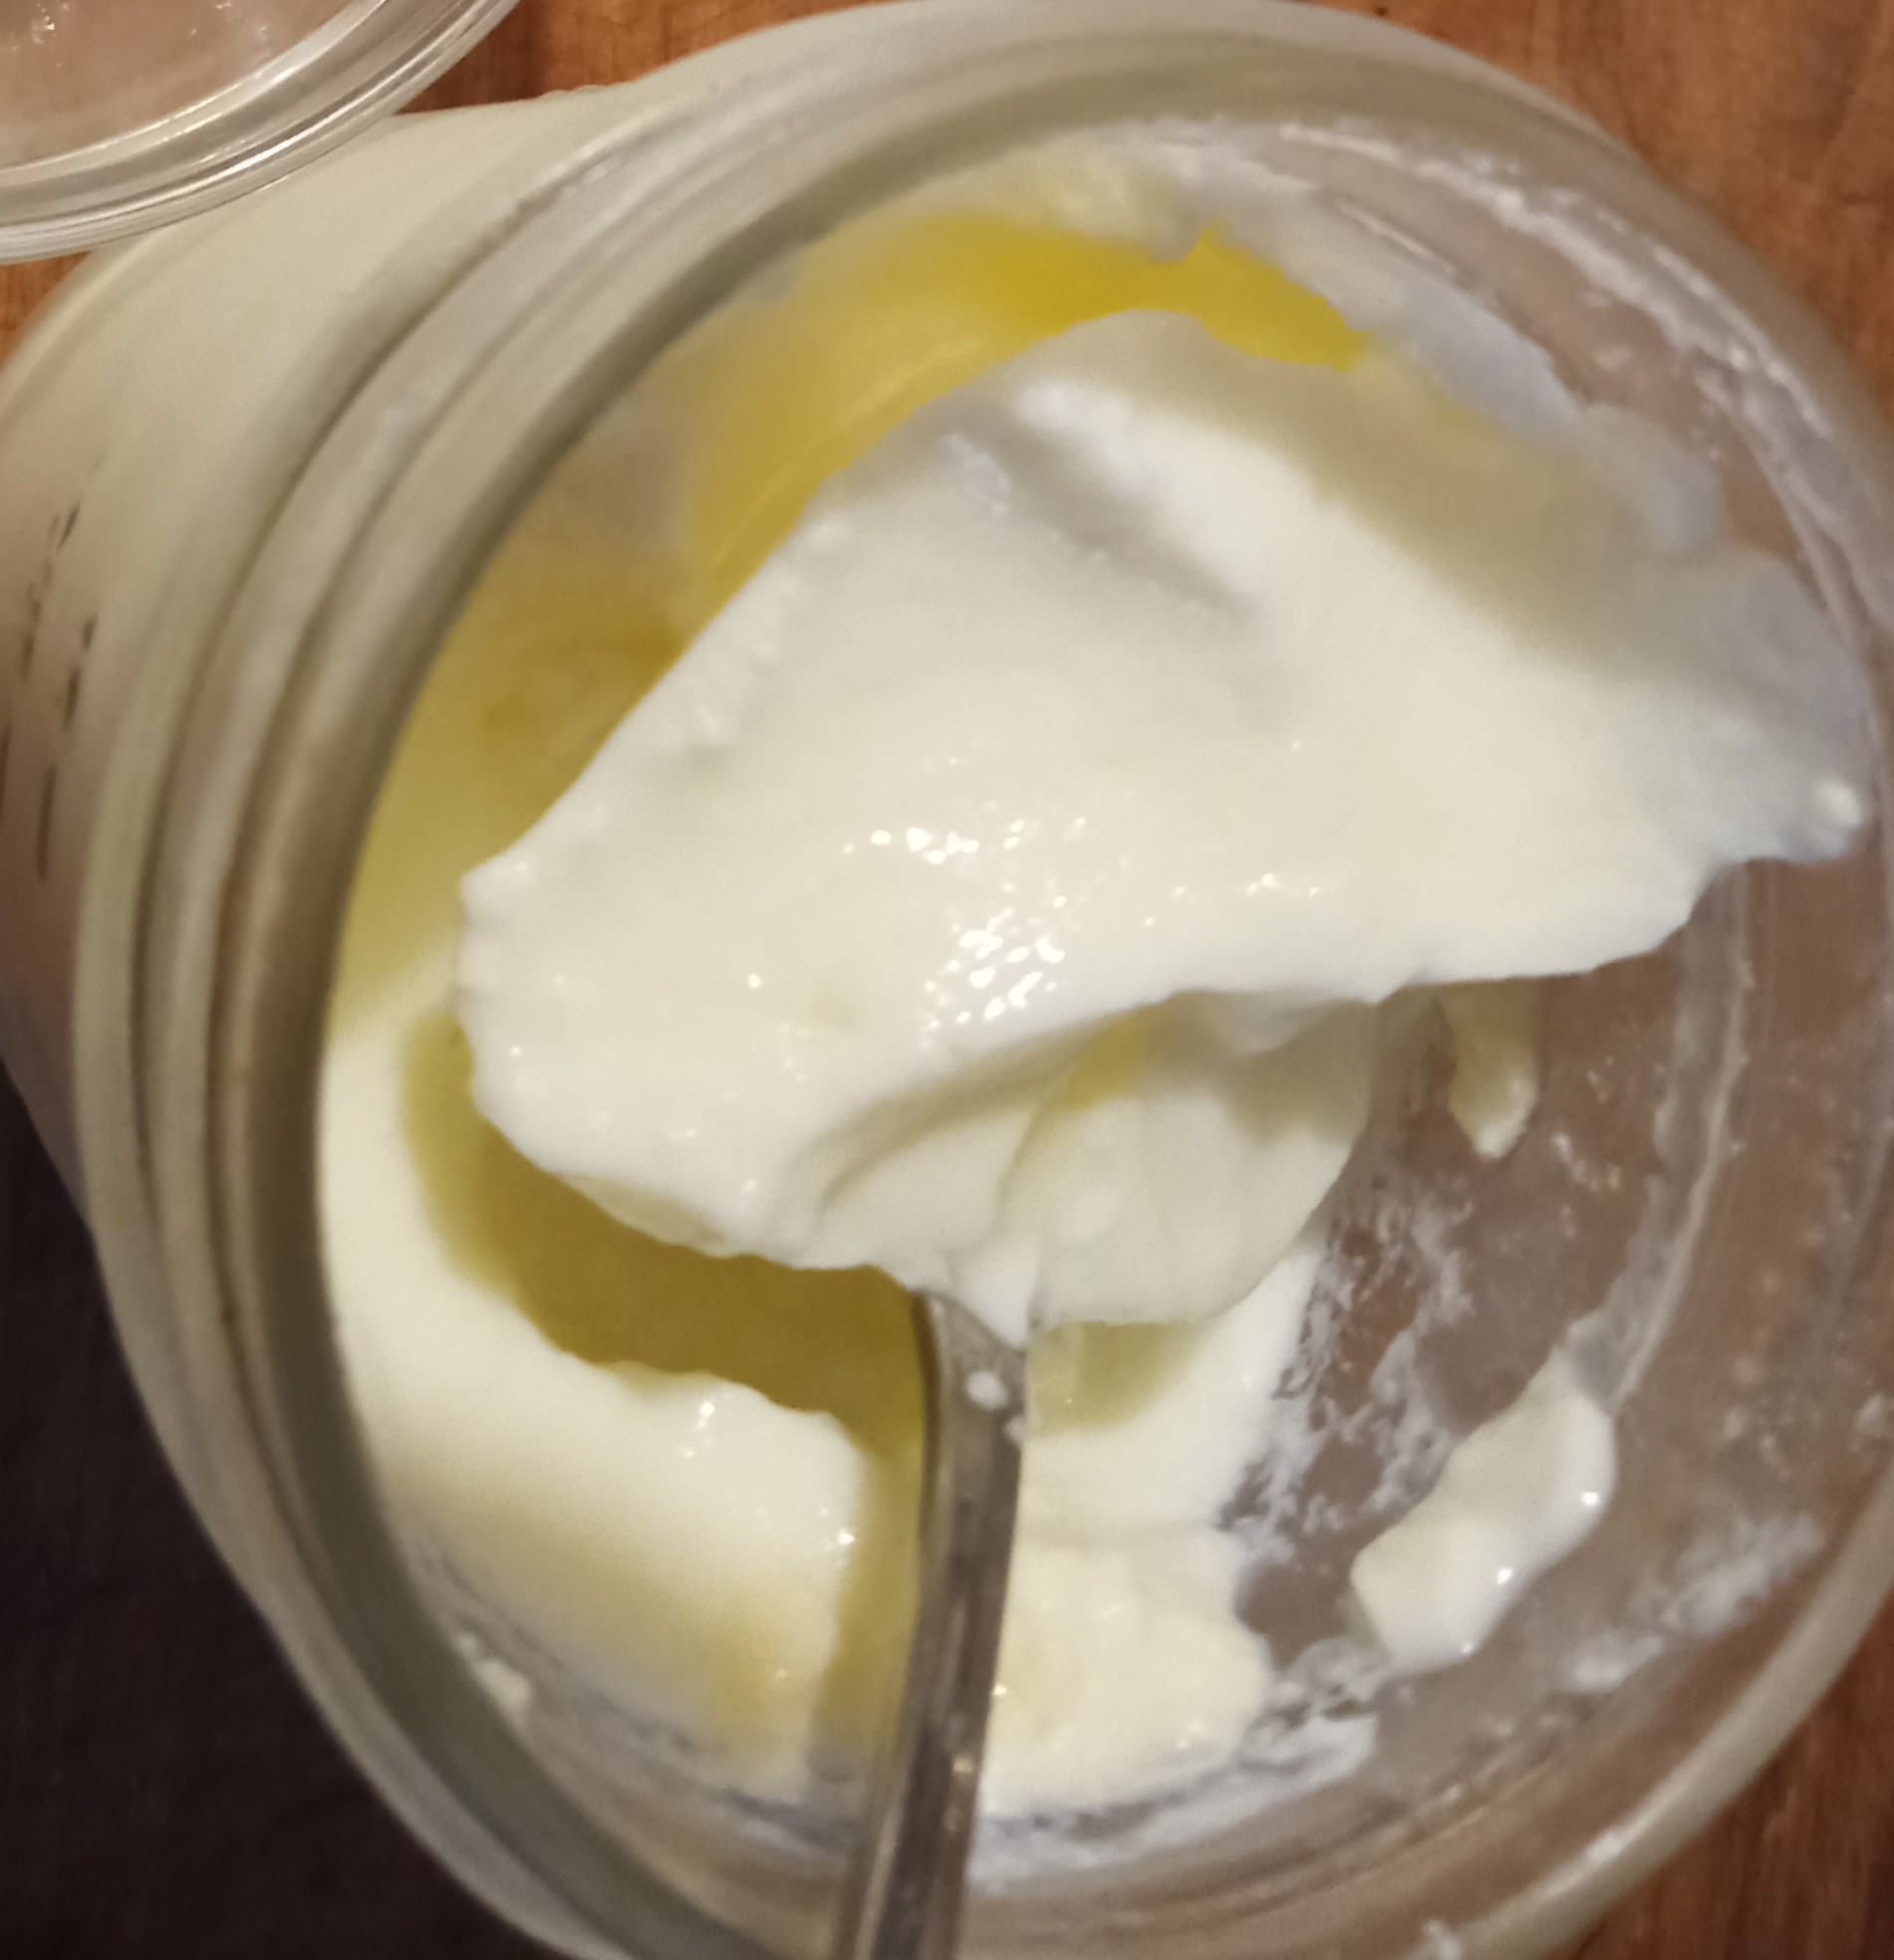
This is some of my yoghurt, keeping warm in a pot of water at the edge of the woodstove.

Yoghurt without fail
Yoghurt with a taste similar to what we might find in a grocery shop was something I gave up on for a long time. I made only room temperature viili for years, thinking that a good Greek or Bulgarian style of yoghurt was beyond me. At some point I decided I preferred the taste of this style of yoghurt enough to find ways to make it work, and now I make yoghurts far tastier and healthier than anything I can find for sale. In this article you’ll find my recipe, along with extra tips to make really good yoghurt every time.

How to make yoghurt
Heat milk in a saucepan until it reaches 82ºC (180ºF) or higher, hold it at or above that temperature for half an hour, if possible, and then let it cool to around 40ºC (104ºF).

Pour into jars, then stir through around 5 tablespoons (75ml) of yoghurt for every quart (litre) of milk.

Keep your culturing yoghurt at 40ºC (104ºF) for the next 6 hours or more (I find that 12 to 18 hours is best).

How to keep yoghurt warm during culturing
A couple of ways to keep yoghurt warm are:
• fermenting it in an insulated food jar such as a thermos.
• surrounding a normal jar with hot water in an esky (cooler) or on the edge of a woodstove dying down for the night.

I use the latter method, as it means I don’t have to mess around with transferring yoghurt from one jar to another once it’s ready - I culture it in the same jar that I use for storage.

There are special non-electric insulated yoghurt fermenters available, where you fill it with hot water, place your jar of yoghurt inside, seal, and leave to culture, but I find the size of these limiting, as they will only hold a specific size of jar, and from my experience they aren't that great at keeping the heat in.

There are also electrical gadgets, such as Instant pot and specialty yoghurt makers, but I avoid relying on electricity as much as possible so these are not things I have tried.

• In real life, the temperature does tend to drop over time, so it’s sometimes easier to start culturing it at a slightly higher temperature (up to 46ºC or 115ºF), and leave it culturing for twelve hours or more rather than six. Some of the helpful yoghurt bacteria will still be active in the lower temperatures, and the heat-loving bacteria will still have some time to grow during the earlier, warmer stages of culturing.

In winter I leave my yoghurt jar overnight in a pot of warm water on the edge of the woodstove as it cools down, and then refill the pot with hot tap water in the morning to give it more time to culture at high temperatures. I find that yoghurt tastes the best after around 18 hours of culturing in this way during winter.


Tips for making thick yoghurt
• Experiment with using milk from different animals or different sources. One of the goats here gives very creamy milk that makes excellent thick yoghurt, my other goats give milk that makes a thinner yoghurt. If I were mixing all the milk together I would not have noticed this. Full fat cows milk generally makes lovely thick yoghurt, and milk from a Jersey cow or other cow that gives extra creamy milk will make even thicker, lovelier yoghurt.

• Winter milk makes thicker yoghurt than summer milk. Sometimes it helps to just accept that winter is the time for thick yoghurt and in summer you might want to stain it through cheesecloth if you want it to be thicker.

• Yoghurt will be thicker if it is first heated above 82ºC (180ºF), and then left to cool to the culturing temperature. If you can heat it up slowly, or hold it at the goal temperature for half an hour, this will help to create thicker yoghurt. The high temperature changes the protein structures in the milk, to help create a thicker yoghurt.

• Allowing the milk to cool down and then reheating to 82ºC also can help make for thicker yoghurt.

• You can evaporate some of the liquid out of the milk, by leaving the pot on the heat with the lid off once it’s reached temperature – just observe the level of the milk you start off with, and then remove and allow the pot to cool once it’s reduced by ¼ to ½.

• For thick Greek yoghurt, allow your yoghurt to continue culturing at warm room temperature until the whey begins to separate. Pour it into cheesecloth and allow the curds to continue dripping whey until it’s as thick as you’d like it to be, anywhere between two and twelve hours.


Tips for reliable yoghurt culturing
• Yoghurt is best made at least once per week, to keep the culture fresh. It is worth keeping a small amount of yoghurt tucked away in the freezer, just in case your yoghurt gets contaminated or abandoned.

• Cultures that contain acidophilus seem to be more reliable home kitchen conditions

• If in doubt, add more yoghurt to start it off, rather than less. Some recipes advise using only two tablespoons for a litre (quart) of milk, but I always use 5 tablespoons and it doesn’t hurt it, it just makes the milk get colonised more quickly while the temperature is warm.

• To keep your yoghurt culture as active and pure as possible and avoid having to buy new culture, it’s a good idea to keep everything as sterile as possible: Heat and cool your milk in a pot with the lid on, heat-sterilise your jars, don’t leave them open to the air any longer than you have to, and be very careful with any jar of yoghurt that you’ll be using as a starter for your next batch - pour the yoghurt out rather than reaching in with a spoon (unless the spoon is heat sterilised). For even better results, make an extra smaller jar of yoghurt that you can use as your culture, and then it doesn’t matter what happens to your jar of eating yoghurt.

 
pollinator
Posts: 102
Location: South Central Alaska Zone 4a/b
35
  • Likes 9
  • Mark post as helpful
  • send pies
    Number of slices to send:
    Optional 'thank-you' note:
  • Quote
  • Report post to moderator
Thanks for all these yogurt tips! I’m wondering if you can give some insight for a new yogurt maker.

I started making yogurt at home a few months ago because my husband is on the GAPS diet. At first I was using store bought organic ultra-pasteurized milk because that’s what I could get. It made a nice thick creamy yogurt. I just switched to a low temp Vat Pasturized milk. It makes a thinner yogurt. I am trying to avoid “denaturing” the proteins by heating the milk before hand, but we do prefer a thicker yogurt. In about a month we will be able to get raw milk from a local farmer, and I would really like to avoid cooking it. So my question is- is there a way to get a thicker yogurt with out scalding the milk? I know we can strain it, but I also know that the whey has many beneficial microbes and other properties, and I don’t have an alternative use for it, so hate to strain it off. Is there any chance my starter will adjust to the new “alive” milk? Or is heating the milk the key for thicker yogurt?

If anyone has any other ideas on how to get thick yogurt from raw or low temp pasturized milk, I’d love to hear it.
 
Posts: 2
1
2
  • Likes 12
  • Mark post as helpful
  • send pies
    Number of slices to send:
    Optional 'thank-you' note:
  • Quote
  • Report post to moderator
Years ago, when I bought some sourdough cultures from Sourdough International, I built their suggested fermenter: a styrofoam cooler fitted with a light on a dimmer switch. I use a 25 watt incandescent bulb. Make the light brighter for warmer, dimmer for less warm. I poked a food thermometer through the side of the cooler to gauge the temp inside. I have used the same contraption for proofing bread and culturing yogurt for 10 years, and haven’t replaced the bulb yet

Thickness usually does come from heating the milk enough to denature some of the protein. I wonder if you could supplement your milk with powdered milk or liquid cream to get it thicker. You might also try food grade calcium chloride, which is used in cheese making.

Good luck with your endeavors!

Scott
 
pollinator
Posts: 1658
Location: Zone 6b
250
goat forest garden foraging chicken writing wood heat
  • Likes 11
  • Mark post as helpful
  • send pies
    Number of slices to send:
    Optional 'thank-you' note:
  • Quote
  • Report post to moderator
I've milked goats for most of the last forty years, and tried many times to make home-made yogurt.  I never liked my results until I started making it in an InstantPot.  However, I do have a non-electric insulated pot (a Tiger pot, I think it's called -- it's the modern equivalent of a haybox cooker.  You bring food up to temperature, put it in the pot, clamp the lid on, and it stays hot for hours like a thermos).  I'm thinking about trying a batch of yogurt in that.  Kefir is much easier to make, though, and easier to keep going long-term without buying new culture periodically.
 
master pollinator
Posts: 5527
Location: Due to winter mortality, I stubbornly state, zone 7a Tennessee
2533
7
forest garden foraging books food preservation cooking fiber arts bee medical herbs
  • Likes 10
  • Mark post as helpful
  • send pies
    Number of slices to send:
    Optional 'thank-you' note:
  • Quote
  • Report post to moderator
Once upon a time when I had access to raw cow milk I would make yogurt, sour cream and cultured buttermilk. For thicker yogurt, David Frankhauser suggests using 4 Tbl powdered milk added to the milk before scalding. It works, though still not as firm as store bought. I never tried the cheeses.

David Frankhouser's Cheese Page.
 
Posts: 16
Location: Germany 7a
2
  • Likes 11
  • Mark post as helpful
  • send pies
    Number of slices to send:
    Optional 'thank-you' note:
  • Quote
  • Report post to moderator
Hello Kate Downham,

I also regularly make yoghurt myself. I use cow's milk, but the principle is the same.
I keep the milk warm in a thermal container. If you are interested, you can have a look at my blog. At the bottom left of the page is the button to translate from German to English/Spanish.

 
Kate Downham
gardener & author
Posts: 3732
Location: Tasmania
2384
9
homeschooling goat forest garden fungi foraging trees cooking food preservation pig wood heat homestead
  • Likes 6
  • Mark post as helpful
  • send pies
    Number of slices to send:
    Optional 'thank-you' note:
  • Quote
  • Report post to moderator

Eloise Rock wrote:Thanks for all these yogurt tips! I’m wondering if you can give some insight for a new yogurt maker.

I started making yogurt at home a few months ago because my husband is on the GAPS diet. At first I was using store bought organic ultra-pasteurized milk because that’s what I could get. It made a nice thick creamy yogurt. I just switched to a low temp Vat Pasturized milk. It makes a thinner yogurt. I am trying to avoid “denaturing” the proteins by heating the milk before hand, but we do prefer a thicker yogurt. In about a month we will be able to get raw milk from a local farmer, and I would really like to avoid cooking it. So my question is- is there a way to get a thicker yogurt with out scalding the milk? I know we can strain it, but I also know that the whey has many beneficial microbes and other properties, and I don’t have an alternative use for it, so hate to strain it off. Is there any chance my starter will adjust to the new “alive” milk? Or is heating the milk the key for thicker yogurt?

If anyone has any other ideas on how to get thick yogurt from raw or low temp pasturized milk, I’d love to hear it.


It's the heating that changes the protein structure and makes it thick. For raw yoghurt, what you could do would be to culture it for longer, so that if you remove a spoonful, whey will start showing, and then strain it through cheesecloth until it's as thick as you'd like it to be.

Raw milk will add some different cultures of its own, so after a while it may not taste as yoghurt-y, but it will be very healthy!

Also another reason milk gets heated for yoghurt is to keep the culture true - if you keep re-culturing with raw yoghurt, eventually it will be the raw milk cultures that are culturing it and not the original yoghurt ones.
 
Posts: 52
14
  • Likes 7
  • Mark post as helpful
  • send pies
    Number of slices to send:
    Optional 'thank-you' note:
  • Quote
  • Report post to moderator
I have been making yogurt for years (I'm 86) and here is what I do:

1 - Rinse a 4 to 6 quart stainless steel pot or Dutch oven with lid.
2 - Pour in 1 gallon of whole milk and insert a candy thermometer.
3 - Bring the milk to about 200F, do not let it boil.
4 - Remove from heat, let milk cool to about 110-120 and while it is cooling I take a carton of ready made yogurt (purchased, I use unflavored Greek-style yogurt). Put about 1/2-3/4 cup in a bowl and let it come to room temperature.
5 - When the milk has cooled,  I stir about 1/2-3/4 cup of the still warm milk into the purchased yogurt to dilute the milk and warm it a bit.
6 - Stir the diluted yogurt into the cooled milk in the pot, mix well using a whisk.
7 - Cover the pot and place it the oven with the oven light on and leave it there until the next morning. (I plan to make yogurt tomorrow, at the moment I am making applesauce using the yogurt pot.)
8 - Take the pot out of the oven, uncover it and enjoy. The yogurt is so thick that a tablespoon will stand straight up. Works every time.
 
out to pasture
Posts: 13515
Location: Portugal
4802
goat dog duck forest garden foraging wofati composting toilet bee solar rocket stoves greening the desert
  • Likes 4
  • Mark post as helpful
  • send pies
    Number of slices to send:
    Optional 'thank-you' note:
  • Quote
  • Report post to moderator
I use an EasiYo yogurt maker which I found second-hand.

It's meant to be used with expensive sachets of starter powder mixed with water, but I use milk and a dollop of the previous batch of yogurt.

I also swapped out the plastic container that it came with for a glass jar the right size (I had to buy it, but it came filled with sausages...). The jar is filled cold then hot water is put in the Easiyo container to supply the heat. Which is why it's so easy - just put the kettle on while you put the milk and starter in the jar and shake to mix.


These days I use UHT milk as a rule and, because the milk has been pre-heated, it makes the most incredible thick yogurt. Sometimes a neighbour lets me have goats milk if he has surplus and is short of cash and feels like walking over with it. It makes delicious yogurt but is much runnier than the UHT, more like pouring-cream. Which is awesome in its own right but not the sort of thing you can stand a spoon up in.

I'm attaching a photo of my first batch of yogurt, which was made in the plastic container as I hadn't bought the glass replacement yet.
easiyo-yogurt.jpeg
[Thumbnail for easiyo-yogurt.jpeg]
 
Posts: 10917
Location: a temperate, clay/loam spot on planet earth, the universe
4164
4
  • Likes 3
  • Mark post as helpful
  • send pies
    Number of slices to send:
    Optional 'thank-you' note:
  • Quote
  • Report post to moderator
We've had a source for wonderful fresh raw cow milk for years now so with a gallon a week I make five widemouth pints of whole milk yogurt and the rest we drink.

I fill the widemouth jars to a half inch of the top, close with reused canning tips and rings and set in a kettle of water to a depth of the milk.
Then heat to at least 165F to pasteurize and sometimes up to 180F if Ii forget to check.
I remove the jars when up to temp and allow to cool to 100F.
Then add one full tablespoon yogurt to each jar from last weeks batch.
I then relid the jars and shake 30 or 40 seconds, and set in our dehydrator set at 105F for 6 or 7 hours.
I've never had a failed batch and it's pretty custard like and delicious.

I used to only heat to 105F or 110F....it was really good also but I learned that it might be wandering away from the yogurt strain I was using, so I started heating to 165 to pasteurize since I was sharing with others.
IMG_20261104_063616_343-2.jpg
yogurt
yogurt
 
Posts: 38
11
  • Likes 3
  • Mark post as helpful
  • send pies
    Number of slices to send:
    Optional 'thank-you' note:
  • Quote
  • Report post to moderator
Dear All,

As Turkish people we eat yoghurt on a daily basis. As a fermentation enthusiast myself, I have been making yoghurt for my family for more than 20 years now. Making yoghurt is basically in our family culture. I can say that most of the detailed information here is kind of too much -- no need to overcomplicate a simple subject. Having said that I've my own blog post about making yoghurt at home. You can visit it to see my take on the subject: https://itsybitsylittlefarm.blogspot.com/2020/09/making-yogurt-at-home.html

Basically, I simply boil raw milk on a large pan (we make yoghurt from 1-2 gallons of milk usually). You can also use pasteurized milk if you can't find raw. Let it cool to a temperature that is warm to the touch. It shouldn't be too hot or too cold. But no need for a thermometer. You should be able to dip your finger knuckle in it and keep there for 5-6 seconds without feeling too hot. Then simply pour 1-2 tablespoons of yoghurt from the previous batch. Do not mix too much. Cover the pan with a loose lid so the vapor can escape during fermentation. Put it in a place where it can stay undisturbed for about 5-6 hours (I usually put it inside the oven without turning on the oven!). You can cover it with a blanket for it to keep the warmth. After this resting period, put the yoghurt to the refrigerator and ideally don't touch it for 24 hours. This will make it harder. And that's it -- no need for sanitization or extra hygiene. Just use common sense.

By the way, if you can find Jersey cows' milk, your yoghurt will definitely be harder (and will have more fat content -- more delicious). Not to mention buffalo milk -- it is the gold standard. Regular cow milk also works well but will not be as thick as the jersey one. Goat milk also works but expect it to be looser.

Oguz
gift
 
Diego Footer on Permaculture Based Homesteads - from the Eat Your Dirt Summit
will be released to subscribers in: soon!
reply
    Bookmark Topic Watch Topic
  • New Topic