|

|
|
|
|

|

|

|

|

|


The ultimate goal of farming is not the growing of crops, but the cultivation and perfection of human beings. - Masanobu Fukuoka
Scott Alexander wrote:
It's been 3 days... have you taken the sand out yet? if not, your thermal battery layer shrunk more than the sand form would allow...
 )
)
Scott Alexander wrote:
Soil is correct, the foundation must be pretty solid, but, unless you are on very shaky ground, and/or there has been much settling of the earth that it sits on, I wouldn't be concerned about the stability of the foundation. This is an issue that most likely wouldn't show up for a couple months, and would only get worse.
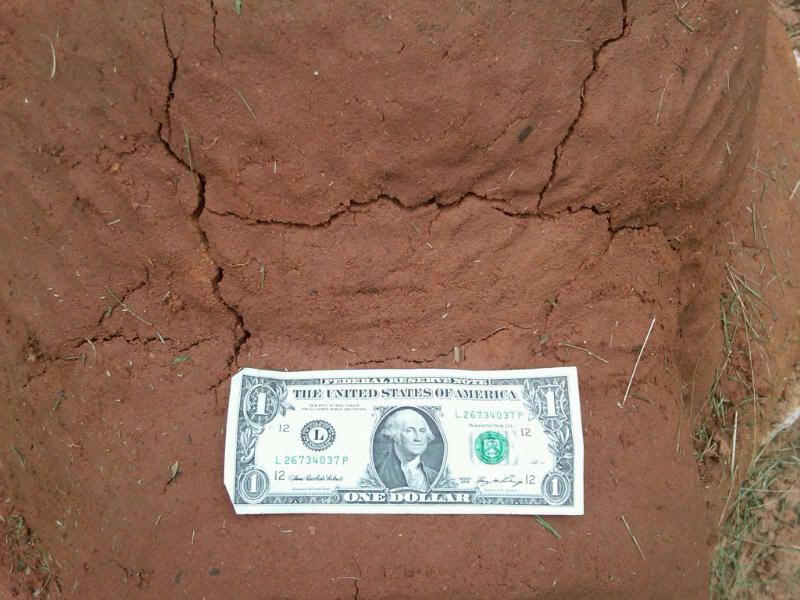
Ardilla is also correct, you need to ensure that the sand/clay ratio is correct. In fact that was my first thought, but then I wrote my reply with the assumption that the original poster actually read Kiko's book and followed his instructions on how to determine the correct sand/clay ratio ... it totally possible that this is why there is cracking in the oven.
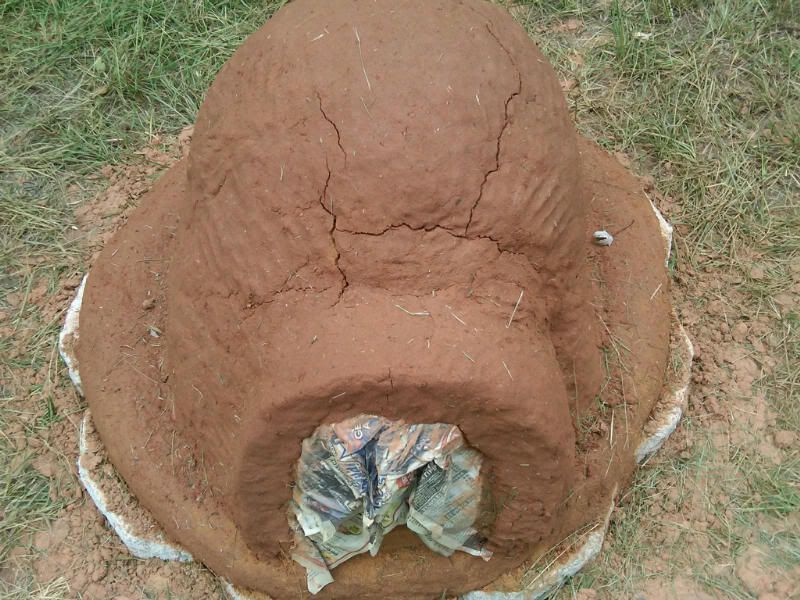
My reply was taken from a conversation with Kiko about when to remove the sand. When you remove the sand is dependent on how wet your mud was. The correct answer is, "when the roof of your dome will support itself" when, exactly, that is becomes a difficult question that relys heavily on how wet your material was when you put it on. And what makes the question tricky is that if you take out the sand too soon, you get a collapse, if you wait too long there may be cracking from the shrinkage (because as clay drys, it shrinks). One thing to keep in mind with this delema is that the insulation layer helps give a little extra structure to help keep the dome up
Do you need to start over? I don't know, you havn't posted a picture of what you have NOW. do you think it would collapse if you cleared the sand? if so, it would probably be best to start over. If you do start over and you think that the mixture was correct, it can be re-constituted (just add water

Need more info?
Ernie and Erica
Wood burning stoves, Rocket Mass Heaters, DIY,
Stove plans, Boat plans, General permiculture information, Arts and crafts, Fire science, Find it at www.ernieanderica.info
Rocketstoves, cob, ferrocement, strawbale, all make the world go round.
Projects, plans, resources - now on the Permies.com digital marketplace.
Try the Everything Combo as a reference guide.

|
Happiness is not a goal ... it's a by-product of a life well lived - Eleanor Roosevelt. Tiny ad:
It's a bit like "run away to the circus" but for gardeners
https://wheaton-labs.com/bootcamp
|