Five acres, two little ones, one awesome husband, 12 ducks (give or take), and a bunch of fruit trees and garden beds. In her spare time, Nicole likes to knit, paint, draw, teach kids, make fairies & dragons, philosophize, and read fantasy. She doesn't HAVE spare time, but does like to fantasize about it!
Thank you, Anne ♥. One of the class teachers mentioned how, if a fire happened, the first things she'd be grabbing were her and her kids' nature journals. They have like 6 years of nature journals full of beautiful memories.
I have a copy of my great-great-great grandfather's diary from when he traveled up to Alaska during the Klondike Gold Rush. Reading it really brought the past to life and connected me to my family.
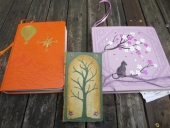
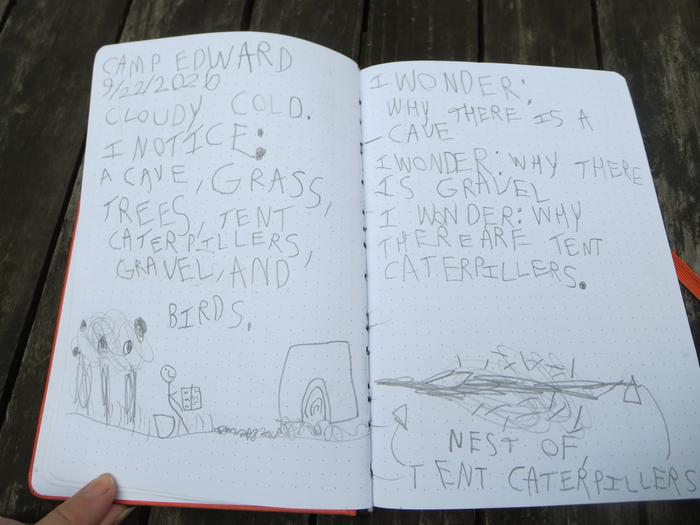
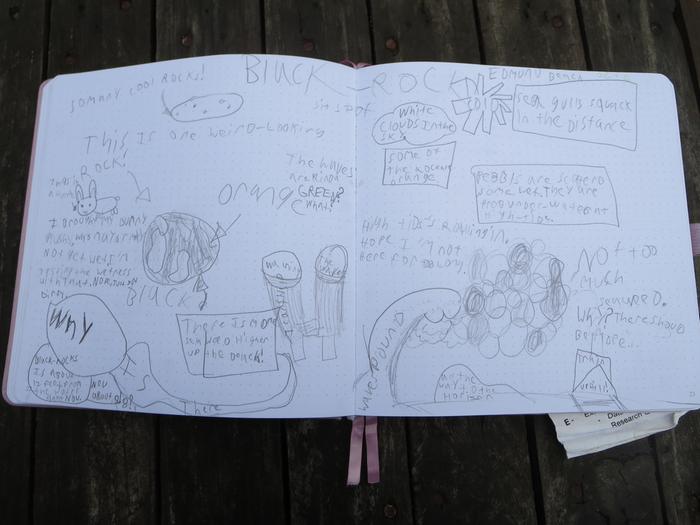
I thought I'd share some of my kids' and my journal entries. This is a great way to get kids noticing their world, and also get reluctant artists and writers to see a reason for writing.
My reluctant writer wrote quite a bit!
My creative artist/writer had a lot of fun making her journal page be fun and artistic.
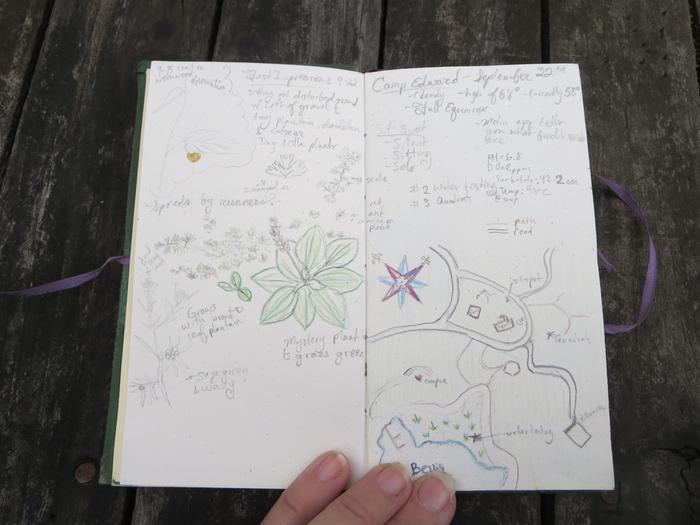
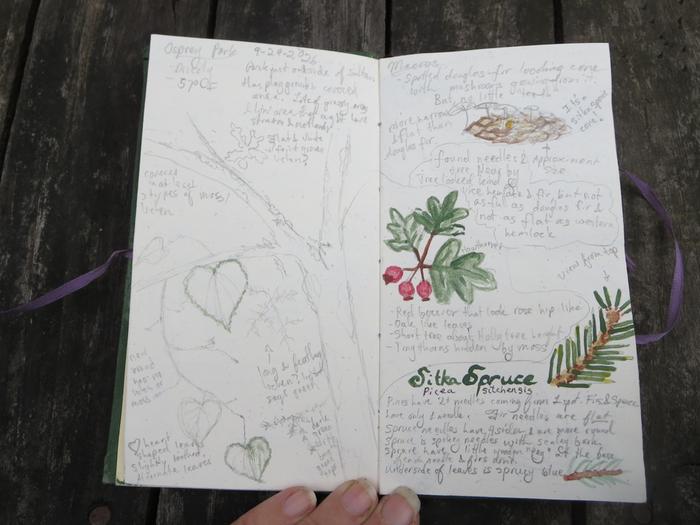
This was our first field trip, and so my first entry. We learned about using meta data--like maps and temperature--in our journal entries
The next week was rather fun, because I finally spotted my first hawthorn! And, I learned how to distinguish Douglas firs from Sitka spruce! One of the students found a cone with mushrooms growing out of it. They thought it was a Douglas fir, but it didn't have the little "bracts" coming out of it. I took as many notes as possible about the tree and plant, and identified it when we got back to school! Then I found out that the trees I'd planted thinking they were doug firs were actually sitka spruce!
I wish I'd recorded more info about the tree on the left. It was covered in moss & lichen, with alternate slightly-serrated heart-shaped leaves. But, I ended up spending most of my time helping my son with his journal since it was raining.
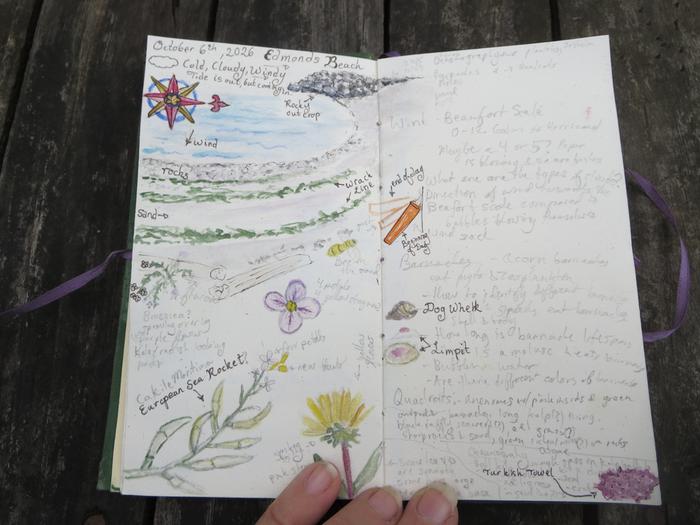
The next week, we went to the beach, and I learned about Turkish towel seaweed, identified European sea rocket (a brassica! I didn't try eating it, though. It probably had dog pee), and I learned about the Beaufort wind scale.
I had fun painting and inking parts of this page when I got home. I took a few pictures with my camera while I was at the beach so I could identify stuff better and paint them better.
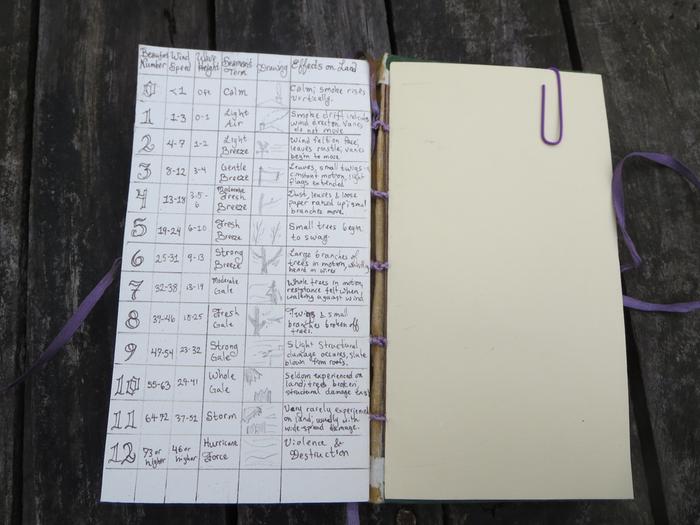
I thought the Beaufort wind scale was facinating and super handy, so I transcribed it into the back of my journal!
I've always kind of wondered what wind speeds were happing outside. Now I have a way, using just what I see and feel!
Here's the video we watched about the Beaufort wind scale:
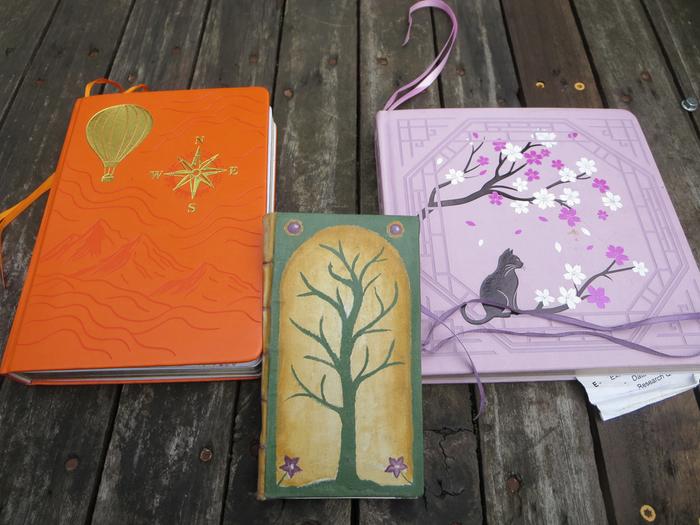
My kids are in a sort of environmental studies/forest school class. A large part of the class is keeping nature journals to observe the world around them and write down things they notice, wonder, and learn. I couldn't resist joining in on the fun!
Step 2: Learn about "sit spots" and how to nature journal. A sit spot is a place you pick out to sit quietly for at least 15 minutes and write down what you notice, wonder, and realize. The things you document can help you identify stuff later on! My kids teachers have 4 rules for sit spots. They should be: silent, solo, sitting and safe (you might not sit if it's raining!).
These are some of the videos my kids have watched to learn about sit spots & nature journaling:
You can pick a sit spot at your own property to continually observe the same area all year round:
Step 3: Start journaling! You can journal at your own place, to see how thing change all year round. You can visit other places to learn about more plants. I'm kind of surprised at how much I've learned in just three weeks of nature journaling. I've found and identified my first Hawthorne, realized trees I thought were Douglas Firs were actually Sitka Spruces, and the Beaufort scale for identifying wind speeds.
It's also a really fun way to engage your creative mind and have an excuse/reason to draw and paint. But, if you don't like art, you can just use words and numbers to record what you're noticing.
My son was in a cooking class, and the instructor had the kids peeling potatoes. Apparently, his reaction of "What? Why?!" was so intense that she thought he'd never seen a peeler before.
Nope. The kid has peeled copious amounts of carrots with a carrot peeler. And, according to him, that was the exact same tool they were using to peel potatoes. But, we've never peeled potatoes. Carrots are quick and easy to peel and the flavor is greatly improved by peeling (if they're store-bought carrots). But, I've never wasted time peeling a potato. We just scrub them, cut off any green/brown/eye spots, and cook them.
Hi Stephen!
The dailyish freebies are for things that are for sale in the Digital Market but can be unlocked by those subscribed to the Dailyish Newsletter. It looks like your app is already free (which is pretty cool!). As such, another moderator moved it out of the Digital Market to the advertising forum.
I think it's super cool that you're offering it for free to the public, but that means it's not a good fit for our Dailyish Freebies program. Here's a few options:
(1) Offer the app for sale here on permies, and then we can turn it into a Dailyish Freebie.
It looks like some staff members here on permies are also not getting their emails, and they also have yahoo. We're trying to figure out what went wrong. Adding us to your contact list might help, though!
Sometimes Yahoo and Outlook/Hotmail like to decide all permies emails are spam. And, they take this to the next level and never even let the permies emails make it through.
Usually when this happens, Hotmail blocks permies at the same time as Yahoo does, but I'm still getting emails.
Maybe try adding permies@permies.com to your contact list and see if that helps?
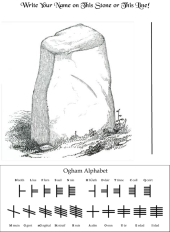
I just uploaded a newer PDF version, because I realized for some reason I had "Irish" be the answer to "What language was Ogham written in." I think "Celtic" makes more sense, and the answer is now on the first page. I also realized there's a symbol for "st," so "stick" and "stone" Ogham words now use that symbol instead of an S and T.
It's a great book! I was a bit underwhelmed by their medieval book--most of the ideas weren't historically accurate or that inspiring. But, the classical kids book had a lot better info and ideas!



 Five acres, two little ones, one awesome husband, 12 ducks (give or take), and a bunch of fruit trees and garden beds. In her spare time, Nicole likes to knit, paint, draw, teach kids, make fairies & dragons, philosophize, and read fantasy. She doesn't HAVE spare time, but does like to fantasize about it!