Pamela Smith

+ Follow
since Jan 11, 2015
Merit badge: bb list bbv list
For More
Apples and Likes
Apples
Total received
In last 30 days
0
Forums and Threads

Recent posts by Pamela Smith

Congratulations to the 4 lucky winners,
Annie Davies
Jennie Little
Kate Downham
Gail Jardin
Time for more cooking, enjoy.
4 years ago

Anne Miller wrote:A couple of years ago I stumble across some bake ware at a gift shop that I fell in love with.  I only bought the pie pan as I thought it was a little expensive.  It was $5.00 and it now sells for $13.00.  Later I looked back at the receipt to find the name: Granite Ware

Here is the link for it on Amazon:
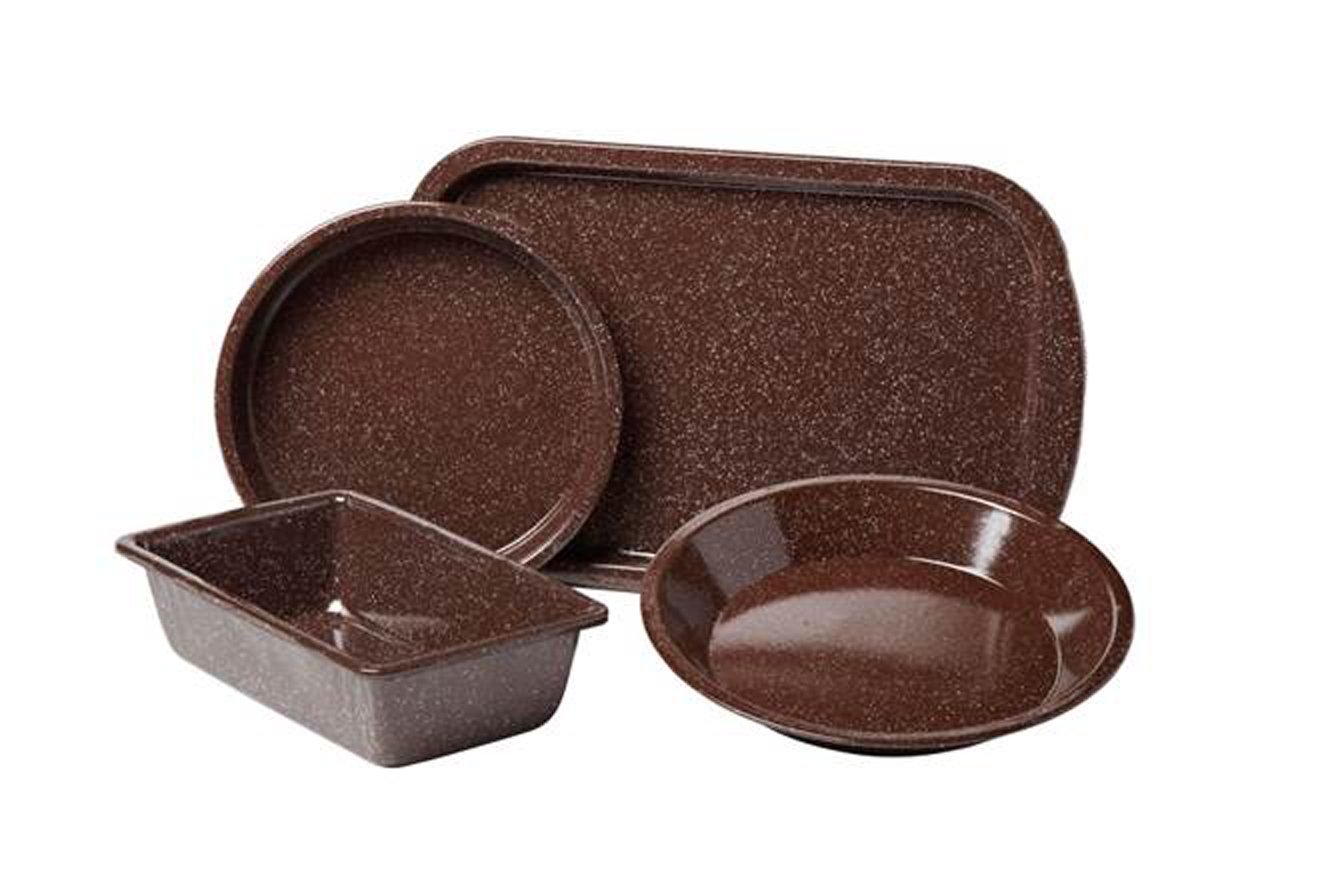


Amazon Link for Granite Ware


I always research everything, I found there were concerns of lead and cadmium in some porcelain products and I did not get a straight answer for the graniteware so I went to a Canadian amazon, I am Canadian and found the true graniteware product. (There are lots of products that claim graniteware.) They clearly state the following "Carbon steel core provides excellent heat distribution, Naturally non-stick porcelain enamel surface
No PTFE, PFOA or harsh metals are used,Dishwasher and metal utensil safe"

This looks like an amazing product. I found all pieces were individul and mentioned sizes so you should get what you are buying.  Here is the Canadian link I used to get info. It is not an affiliate link, just a google link.

https://www.amazon.ca/Granite-Ware-0624-4-8-Inch-Browning/dp/B004ZKSQA2/ref=sr_1_16?keywords=granite+ware&qid=1576085663&sr=8-16

4 years ago
I saw a comment about aluminum, I have not used that for any kind of cooking or baking. There is much information out there to show what aluminum cooking and baking does to one's health. I like the options of steel and stoneware personally.

I like Jill's suggestion of stoneware I will look into that for my new purchase. For years I used heavy-duty steel bakeware. It was worth the price. Mine has lasted 20 years and now needs to be replaced due to a roommate misusing them, sigh. At least with stoneware, a person can not damage the pan unless they drop it.

A good quality steel pan is very forgiving and cleans up well. A green scotch pad can clean them easily. Of course, I use mine as a baking sheet only for cookies, flatbread cheese melts, pizzas etc. I use glassware/pyrex for pies and cakes.

When I was on my homestead I would use the steel baking sheet on my woodstove with no warping issues. Of course, you do not want a high heat. A person can also put a cooking rack under the pan. I actually cooked like that for the first 2 years. After the stove got hot and cooled a bit, I use a laser temperature gun to check the heat on top of the stove. I would aim for the top of the stove to be around 350-400F. Place my baking cooling rack than my baking pan on top, or fry pan and put a cover over the whole thing. This would mimic an oven. It would bake cookies so nicely.

The photo is a picture of my baking sheet. You can see how the pan turned black on the sides. The roommate used steel wool and scratched it quite badly.

4 years ago
Welcome, Jill. Your book looks like a delight to read and learn new recipes from. Thank you for the contest. I am sure your book will be well received and successful.
4 years ago

T.J. Stewart wrote:We use both no dig/till and we till, mainly because we don't yet have enough materials to fully go no till on all the areas on our 5 acre property.  I prefer no till.  It mimics nature, which does it best.  There're SOOOO many reasons to grow no till.  No till is AWESOME.  Here's a tip for those wandering about what to do for weeds that pop up though their mulch.  I like to use cardboard (free from most area stores) or newspaper if I have it.  I cover the weeds with it and add more mulch on top of the cardboard/newspaper to hold it down.  The weeds have no chance at coming back in that spot... at least not that season.  LOVE no till.  :)


Just a point of interest on the paper and cardboard. I posted about my first year and how I had to eventually till. Here is what was not shared. That first year I laid down paper and cardboard then the hay, about 4 inches thick or more. The winter snow, which was over 2 feet during the winter months, was not enough moisture come spring to dampen, break down the paper and cardboard. Yes, you can build if available, a foot high of mulch, compost etc to grow in ( like the eden method) but the best results even if you do that is when you lay down paper/cardboard is too soak it completely. Even though I had about 4 inches or so of hay on top, yet the paper and cardboard was so dry come spring, when I was ready to plant, weeds were still coming up from everywhere. Pushing the cardboard up, finding a hole to grow through, etc. If the paper is soaked and kept soaked it will actually break down and suppress the weeds in the interim. It will also become part of the soil eventually. If you do plant later it will be easy to make a hole and plant in it.  Since TJ had success maybe it was the type of mulch that was used? finer and hold moisture better?  I used hay and did not keep the cardboard saturated/damp to suppress. For me, all I know is I really had to soak the paper and keep it soaked to be successful to suppress weeds. Anyway, just something to think about if you use paper and cardboard.

Oh for a question that might come up. I did the best I could to over lap so that did not provide cracks for weeds. When everything was done in the fall there was no green, earth, soil to be seen.
5 years ago
I was against tilling. As mentioned it destroys the natural base, disturbs the undergrowth. Destroys the air pockets for everythig to thrive. BUT I discovered that the rototiller has its place. I moved onto land that was pure sand but never touched and the ground was rock hard. That first year we had no water. I placed strips of hay on the ground and in hopes the winter snow would be enough. It was not. I tried making holes into it the second year to grow and what a mess and a lot of work. That fall we got a rototiller and tilled in the hay and soften the ground.

After that first go with the rototiller that land was much more workable. A few years passed and in my case cause the ground literally was all sand it was not enough to hold water or provide the nutrients I wanted. The ex finally made beds for me. I dug a foot below, added wood mulch to hold water.and soaked the beds. Then added alfalfa hay, compost and the sandy soil I dug up. I added lots of organic nutrients and a very thick layer of alfalfa hay mulch on top. By the second year, there was very little to do. Each bed consisted of companion plants. Some annuals some perennials. There should not be a need for amendments for awhile. A thick layer of hay mulch on top means a few things. Keep the soil from drying out to fast. Adds nutrients as it breaks down. Weeding is so easy. The weeds just pull out and no tools required. I spent maybe a half-hour every summer weeding? The only true weeds were vines. Almost every so-called weed I harvested for food.

I would trim plants once they went to seed and only left those that I wanted to self-seed. Self-seed was not letting the seeds drop on their own. I would watch carefully and when the seeds were ready I would gather them for myself as extras and then drop some of them at the base of the plant. This way the wind seldom got them. Also, self-seeding is amazing because they always grow faster than whenever you think you need to sow seeds. There are so many perennial plants that grow so well in Canada. From herbs, fruit, and vegetables. I did not need to seed much on my own and I learned I really did not need to transplant either. Plants are stronger and more productive when planted right in the ground from seed.
5 years ago
Thank you for putting together your book Darrell Frey. We need information that can assist people to see how easy permaculture is. Thank you for the opportunity to win one as well. Much success on your book.
5 years ago
Hello, Kickstarter is under a different email then I use here so when I log in with this account it says oops. Do I have to make a new account under my Kickstarter email to get into the forum and collect or should I just change my email here? I also use my real last name and here i have not.
5 years ago
Out of season, I buy lettuce or spinach in plastic containers. It is all that is sold out where I live especially when you choose organic. I keep those containers and store them until I need them. They are perfect for reusing/upcycling. They are excellent for storage of most anything that needs a container, toys, pencils and pens, crayons, craft supplies etc. I especially keep the plastic containers for all the veggies that need to be in the fridge. I find that the vegetables last longer. My lettuce left in a damp cloth or bowl, on the shelf even in the bottom of the fridge last but a couple days, they shrivel up, go whoosy but in the plastic containers a week or longer.

I do not know how to resize the photos, sorry. The container you see here has my lamb's quarters, kale and red oak lettuce from my garden.
5 years ago
Pamela, I agree, I know the Fokin hoe would be so much better. It is such a versatile tool. I have been wanting this tool but have not got around to ordering since I was in the process of moving. I had a scythe but it does not work well even when sharpened plus this being sharpened on all sides makes it so versatile. To have a tool that has so many uses instead of one tool for one thing would be awesome especially right now with limited space to store tools.

I have known Yuri for a long time and watched him build his business. He only sells quality. Even though I am currently not on my homestead it would make quick and easy work here in town for my yard and garden especially since I do a no till garden and prefer to use this instead of mowing.

For those who have not seen this wonderful tool in action here is a 1 min video.

https://www.facebook.com/eco.minded.club/videos/400594584069765/


5 years ago