|

|
|
|
|
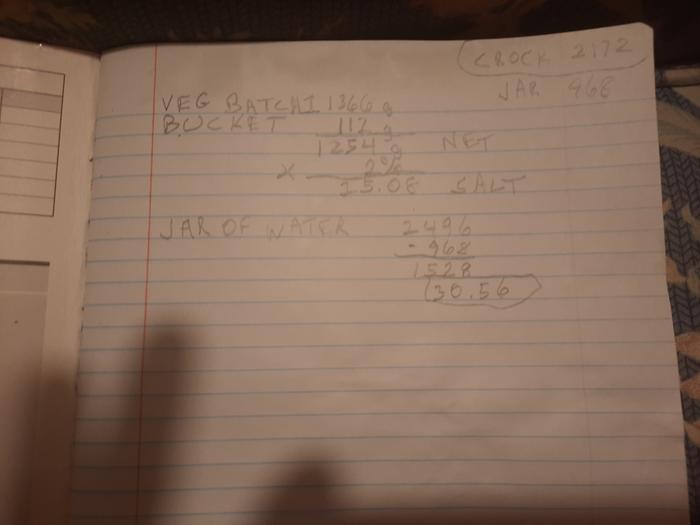
Jay Angler wrote:Moral of the story: Document, document, document - do not rely of human memories, or human
uncommon sense.

Nicole Alderman wrote:My husband euthanized many a fish with clove oil. It paralyzes their breathing muscles and they slowly--but relatively painlessly--die. To this day, I associate the smell with dead fish, and struggle to add it to my pumpkin pies...
Christopher Weeks wrote:With regard to Kahm, I invented a way of removing it that I think is better than any of the usual suspects. Put your crock in the sink, and very slowly run cool water into it on one side... Allow it to fill and run over. The Kahm floats pretty well and runs out with the surplus water...
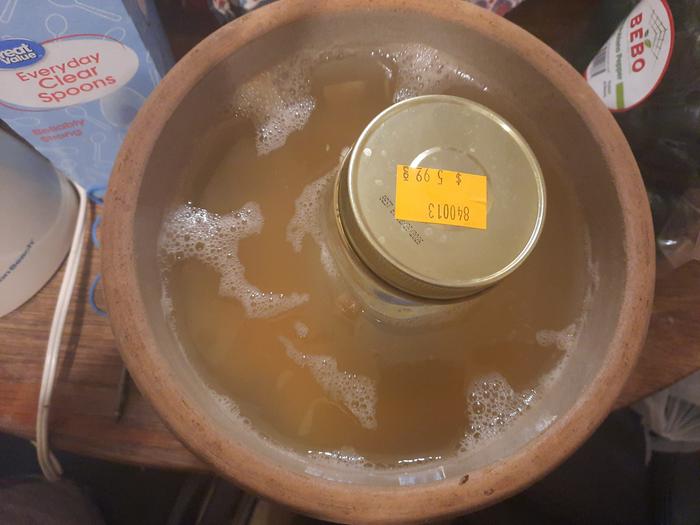
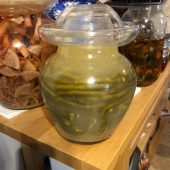
Tereza Okava wrote:1) the white stuff is probably Kahm yeast. don't worry about it.
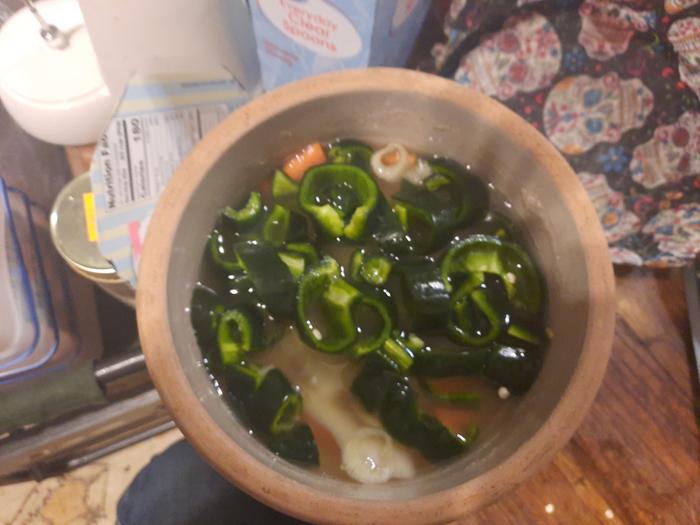
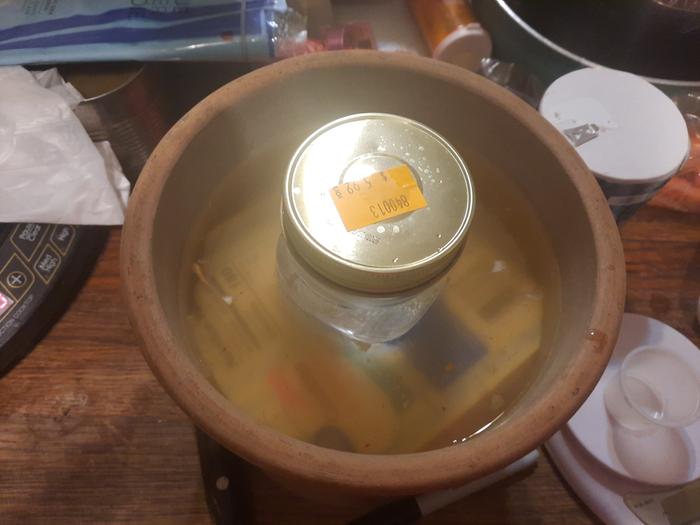
Tereza Okava wrote:2) do you have a weight? a river stone you've boiled, a plate, a clean plastic bag full of water. I often take a cabbage leaf and then throw any of those things on top of it. this will keep your stuff from floating and stop mold.