• Post Reply Bookmark Topic Watch Topic
  • New Topic
permaculture forums growies critters building homesteading energy monies kitchen purity ungarbage community wilderness fiber arts art permaculture artisans regional education skip experiences global resources cider press projects digital market permies.com pie forums private forums all forums
this forum made possible by our volunteer staff, including ...
master stewards:
  • Nancy Reading
  • Carla Burke
  • r ranson
  • John F Dean
  • paul wheaton
  • Pearl Sutton
stewards:
  • Jay Angler
  • Liv Smith
  • Leigh Tate
master gardeners:
  • Christopher Weeks
  • Timothy Norton
gardeners:
  • thomas rubino
  • Jeremy VanGelder
  • Maieshe Ljin

Welding a broken tooth on a saw with an arc welder using a little known technique

 
gardener
Posts: 3132
2095
  • Likes 13
  • Mark post as helpful
  • send pies
    Number of slices to send:
    Optional 'thank-you' note:
  • Quote
  • Report post to moderator
The arc welder revolutionized welding. It placed welding in the realm of the average person who did not have much money or training. Today, however, it is often seen as an antiquated method, only good for welding rusty old farm implements. With proper technique and equipment, an arc welder is still a viable tool today.

I recently came across a single person cross-cut saw in rather good shape, except for a broken tooth right in the middle. Most people would say it is impossible to weld something so thin with an arc welder, that you "need" a TIG welder for such a job. Well, the TIG welder is out of gas, and this presents an opportunity to try something different.
The offending tooth
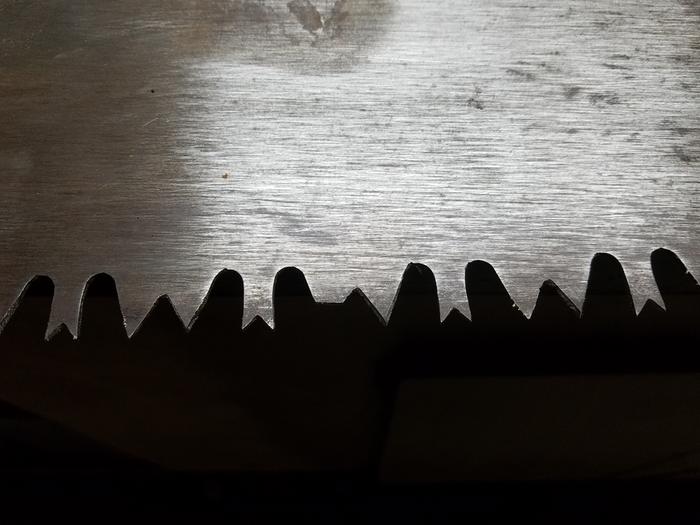


This tooth on the far back edge isn't doing any work back there.
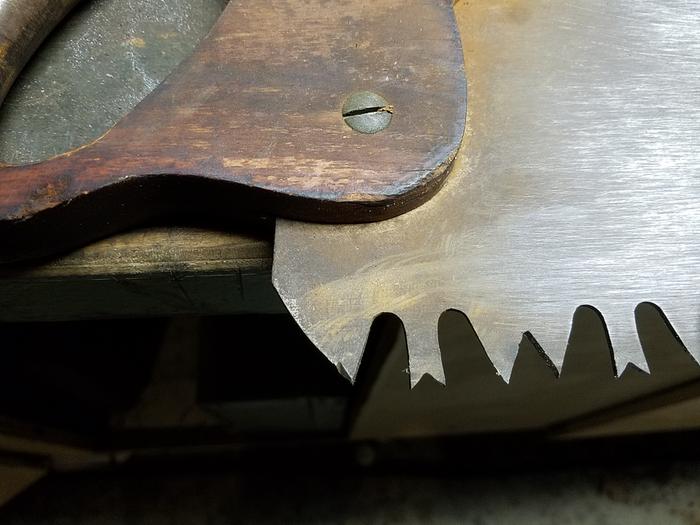


I've never sawed a saw before.
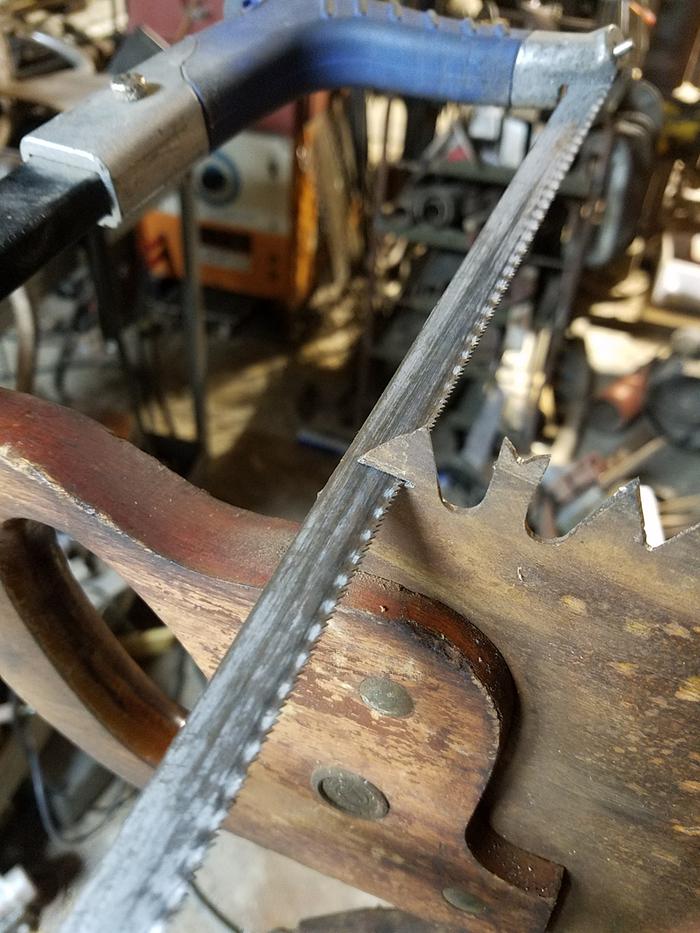


The secret is copper. Copper has a high melting point and absorbs heat much faster than steel. It provides a base for the molten steel to pool on while it solidifies. The rod used is a 1/16" 7014. The welder is set to 45 amps on DC reverse polarity for shallow penetration.
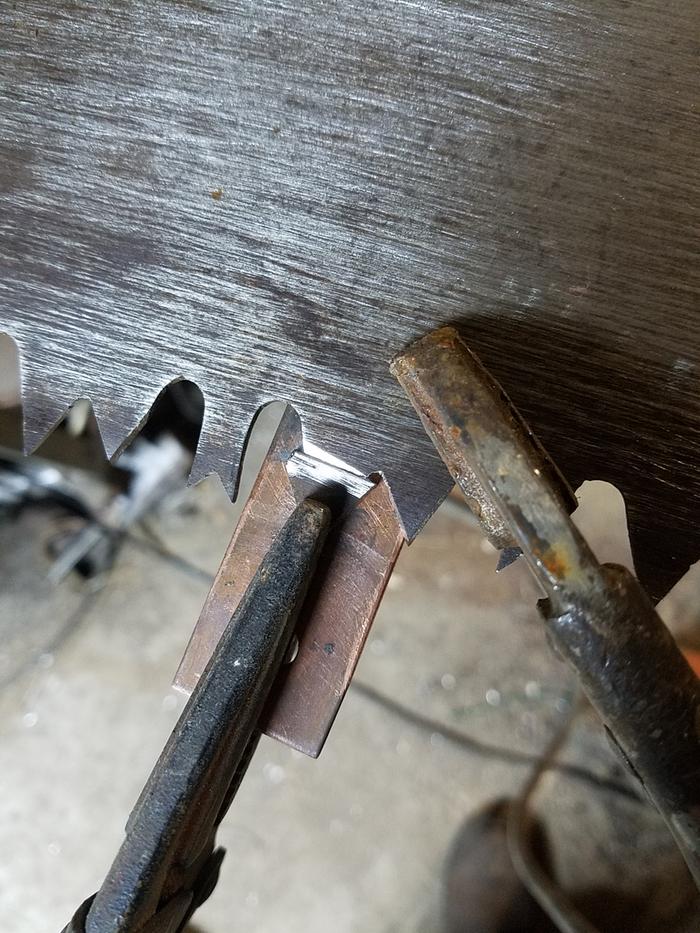


The first side welded and partially ground down so the copper strip will lay flush against it for welding the other side.
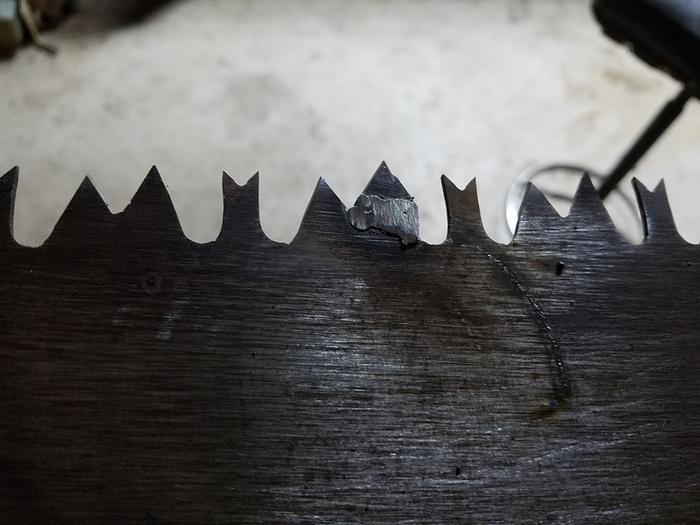


The other side.
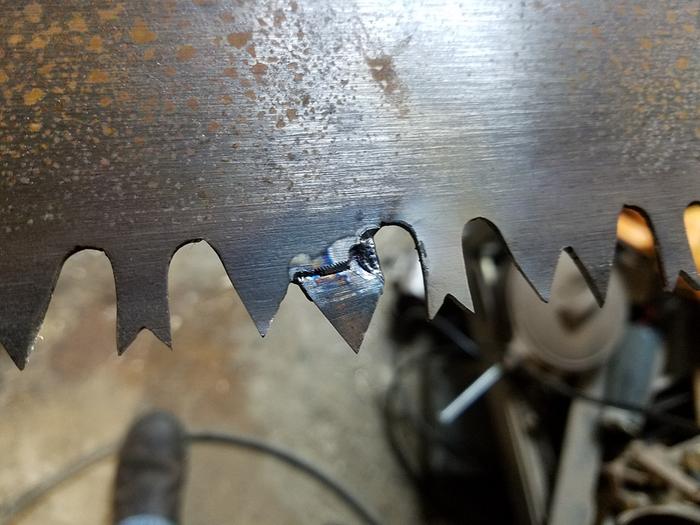


First pass. Remember cleanliness is next to godliness, especially in extreme situations like this. Be sure to clean the weld well between passes. Make sure the weld penetrates the joint fully. The second pass can be bolder than the first due to the extra mass added on the first pass.
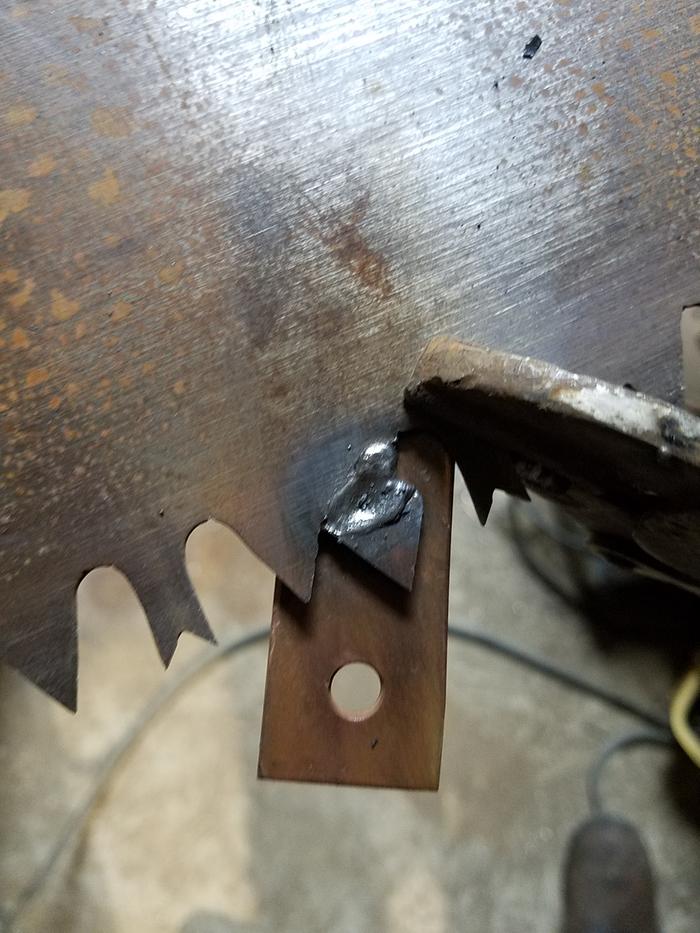


Second pass.
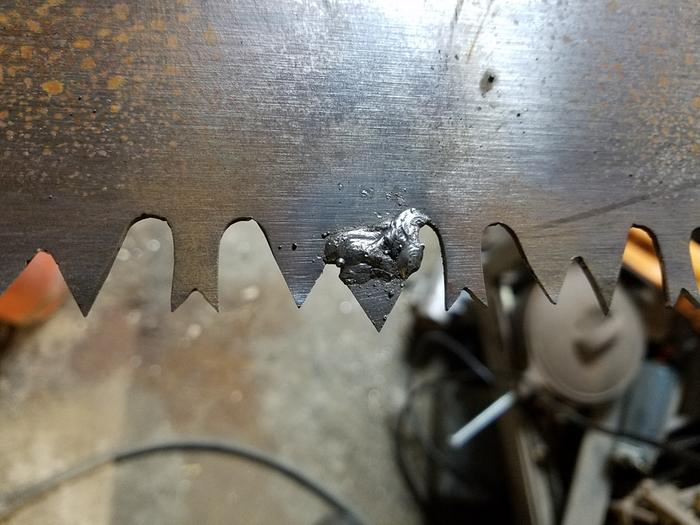


Ground flush with angle grinder and partially ground to profile.
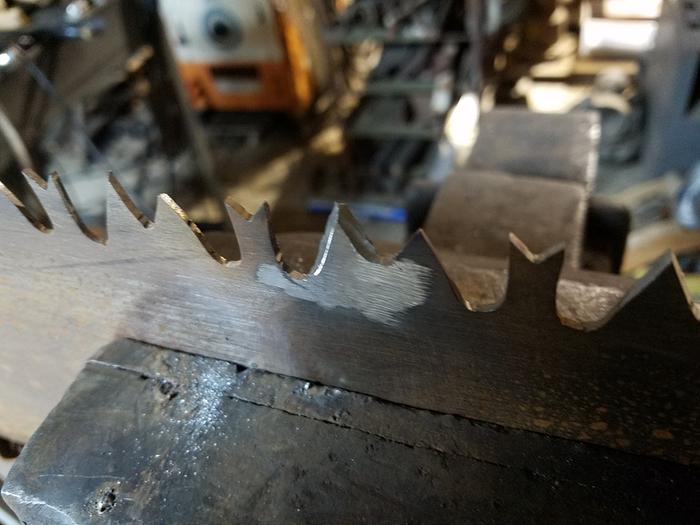


Fully profiled, set, sharpened, and done.


This is by no means a beginner project, but this proves it is perfectly practical. The weld is small enough and the copper conductive enough that it did not heat much of the area around the weld. Even the temper of the adjoining tooth was not ruined. I believe the alloy of the tooth is tough enough to function as-is. It is definitely a bit softer, but saw teeth are not particularly hard anyway. It may dull a little quicker than the rest, but at least it is there. If it proves too soft, I may try to harden it later.
 
Posts: 19
4
foraging medical herbs wood heat
  • Likes 3
  • Mark post as helpful
  • send pies
    Number of slices to send:
    Optional 'thank-you' note:
  • Quote
  • Report post to moderator
Excellent idea using that copper as a heat sink!

...I have an old heavy flint knapping tool with a round, copper head that would probably work great for curved surfaces if needed :)
 
Jordan Holland
gardener
Posts: 3132
2095
  • Mark post as helpful
  • send pies
    Number of slices to send:
    Optional 'thank-you' note:
  • Quote
  • Report post to moderator

Brian Kuhl wrote:Excellent idea using that copper as a heat sink!

...I have an old heavy flint knapping tool with a round, copper head that would probably work great for curved surfaces if needed :)


It could work! They actually make a tool called a "spoon" which is a handle with a slightly curved plate of copper that can be held on the offside of a thin weld. I've been meaning to get one, but have always gotten by with scraps of copper. In this case, a scrap I could clamp to the workpiece was better than a handheld spoon.

The thickness of the copper matters also. The thicker it is, the more heat it can absorb. If it's too thin for the job, it can get hot enough to melt and will stick to the weld. I've used brass in a pinch, but copper is much better.
 
pollinator
Posts: 675
Location: Western Canadian mtn valley, zone 6b, 750mm (30") precip
105
trees composting toilet building solar wood heat ungarbage
  • Likes 1
  • Mark post as helpful
  • send pies
    Number of slices to send:
    Optional 'thank-you' note:
  • Quote
  • Report post to moderator
Jordan, great post. Good job too.  And well illustrated. Thanks.

Jordan Holland wrote:

Brian Kuhl wrote:Excellent idea using that copper as a heat sink!

...I have an old heavy flint knapping tool with a round, copper head that would probably work great for curved surfaces if needed :)


It could work! They actually make a tool called a "spoon" which is a handle with a slightly curved plate of copper that can be held on the offside of a thin weld. I've been meaning to get one, but have always gotten by with scraps of copper. In this case, a scrap I could clamp to the workpiece was better than a handheld spoon.

The thickness of the copper matters also. The thicker it is, the more heat it can absorb. If it's too thin for the job, it can get hot enough to melt and will stick to the weld. I've used brass in a pinch, but copper is much better.


Besides copper scraps... A large, flat thick-copper-bottom cooking pan (inverted) atop your workbench would probably work — if the work piece (saw, or whatever) could balance there, for enough good contact. A lot of larger 2nd-hand stores have old pans of that type.
 
Jordan Holland
gardener
Posts: 3132
2095
  • Mark post as helpful
  • send pies
    Number of slices to send:
    Optional 'thank-you' note:
  • Quote
  • Report post to moderator

Joel Bercardin wrote:
Besides copper scraps... A large, flat thick-copper-bottom cooking pan (inverted) atop your workbench would probably work — if the work piece (saw, or whatever) could balance there, for enough good contact. A lot of larger 2nd-hand stores have old pans of that type.


That's a good idea; you're lucky if you have a lot of copper pots available in your area. Here, they are like gold. The few I see in shops are almost always horribly beaten up, and still command a price so high I can't justify buying them. Maybe some day I'll get lucky...
 
Hey, sticks and stones baby. And maybe a wee mention of my stuff:
A rocket mass heater is the most sustainable way to heat a conventional home
http://woodheat.net
reply
    Bookmark Topic Watch Topic
  • New Topic