|

|
|
|
|
 Five acres, two little ones, one awesome husband, 12 ducks (give or take), and a bunch of fruit trees and garden beds. In her spare time, Nicole likes to knit, paint, draw, teach kids, make fairies & dragons, philosophize, and read fantasy. She doesn't HAVE spare time, but does like to fantasize about it!
Inge Leonora-den Ouden wrote:
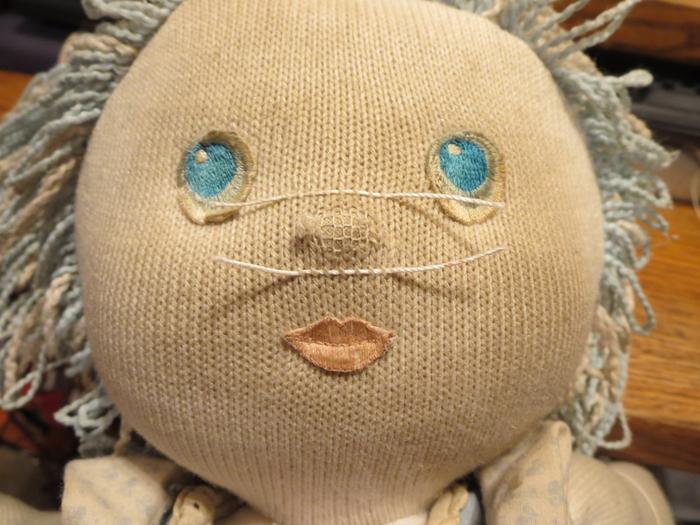
Nicole Alderman wrote:This "Marshmallow Baby" doll was mine when I little, so it's something like 35 years old at this point. I passed it down to my daughter, who loves it a lot. But, it's nose fabric was getting worn away, and my daughter was really distressed.
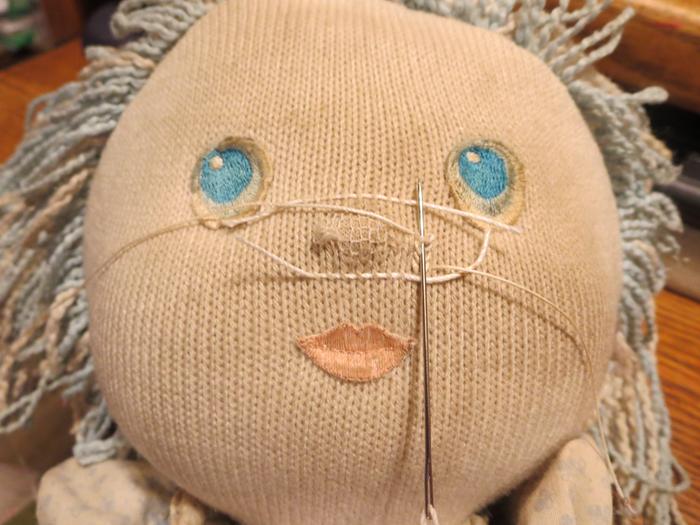
I guess that means it's time to finally learn how to mend knit things!
---
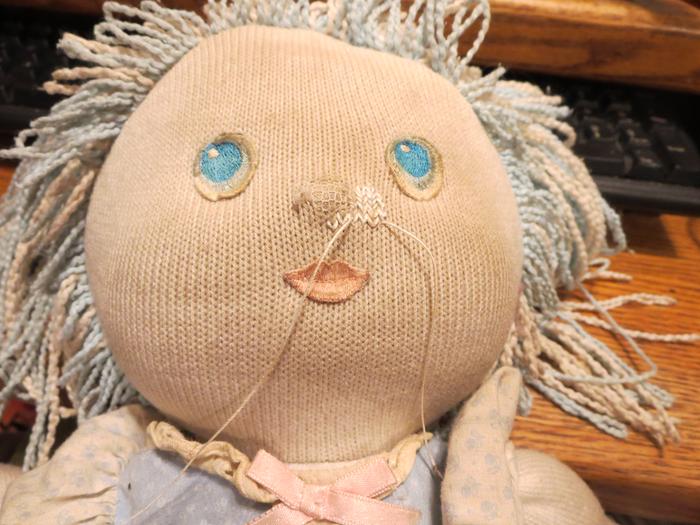
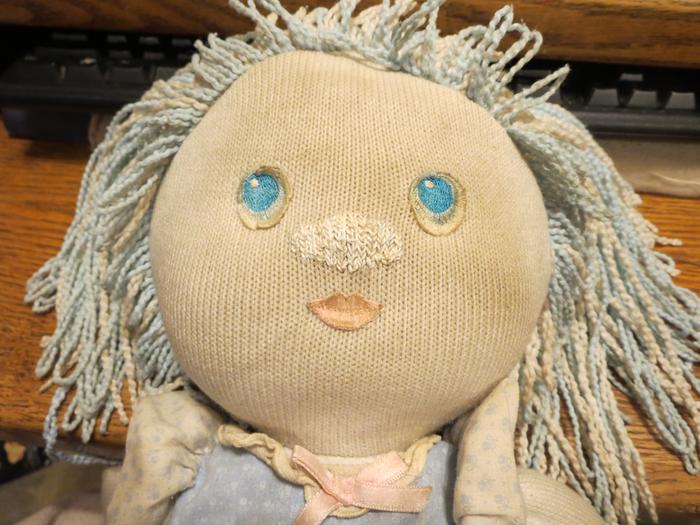
I hope my daughter approves (she's sleeping right now). But, I feel okay with the mending of my favorite childhood doll, so hopefully she will, too. Either way, I finally learned how to embroider and mend knit things, so that's a huge plus!
Hi Nicole,
you forgot to hit the button to submit this as a BB. I would like to approve it!