|

|

|

|

|

|
|
|
|
|
|
|
|

|

|

|

|

|
 15
15


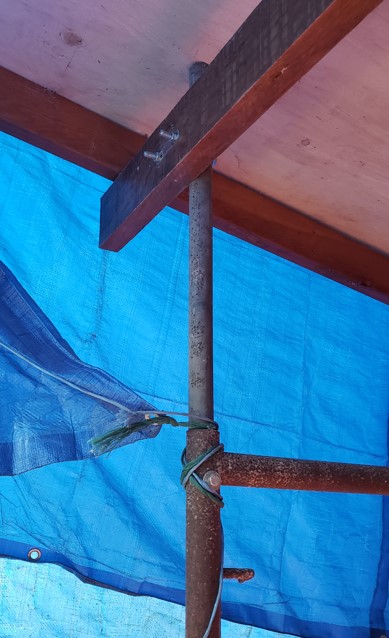
![[Thumbnail for IMG_0276.JPG]](/t/373655/a/290216/IMG_0276.JPG "Filename: IMG_0276.JPG
Description:")
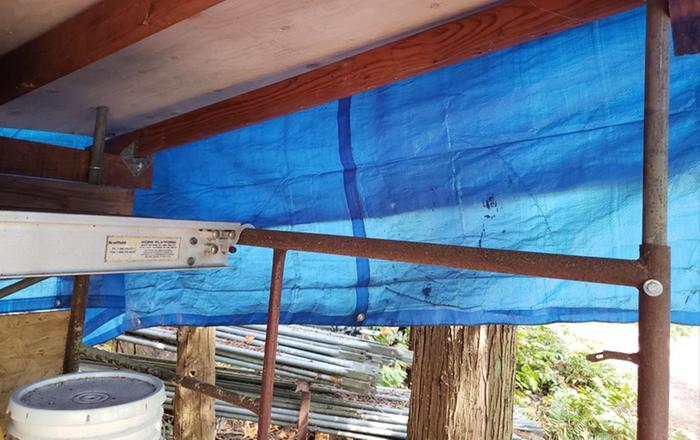
![[Thumbnail for IMG_0277.JPG]](/t/373655/a/290217/IMG_0277.JPG "Filename: IMG_0277.JPG
Description:")
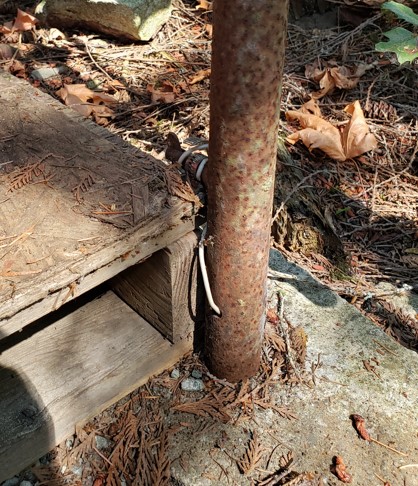
![[Thumbnail for IMG_0279.JPG]](/t/373655/a/290218/IMG_0279.JPG "Filename: IMG_0279.JPG
Description:") 4
4


 2
2
'What we do now echoes in eternity.' Marcus Aurelius
How Permies Works Dr. Redhawk's Epic Soil Series
 2
2
All true wealth is biological.
Lois McMaster Bujold
2
Invasive plants are Earth's way of insisting we notice her medicines. Stephen Herrod Buhner
Everyone learns what works by learning what doesn't work. Stephen Herrod Buhner
2
7
![[Thumbnail for Pallet-Outdoor-workspace.jpg]](/t/373655/a/294649/Pallet-Outdoor-workspace.jpg "Filename: Pallet-Outdoor-workspace.jpg
Description:")
“Not everyone can be a truffle. Most of us are potatoes. And a potato is a very good thing to be.” Massimo Bottura, Never Trust A Skinny Italian Chef
8
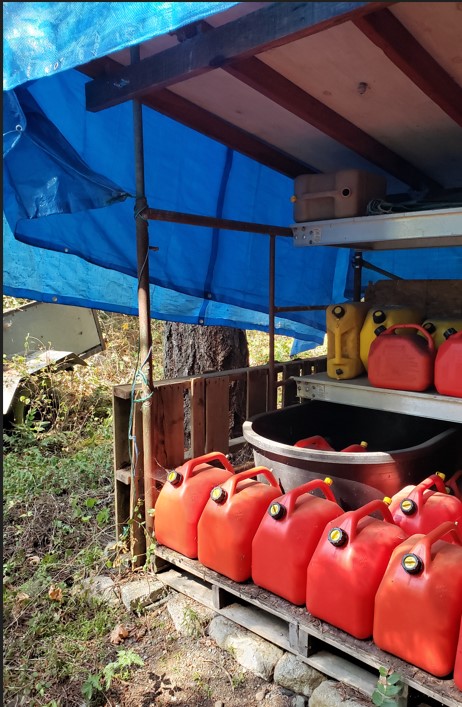
Kara Ann wrote:...I like the way that both the undergirding supports and the top cross pieces have been used, and the integration with the corrugated metal. And I have just gotten a delivery of 100 used pallets, so there is plenty to work with!
Visit Redhawk's soil series: https://permies.com/wiki/redhawk-soil
How permies.com works: https://permies.com/wiki/34193/permies-works-links-threads


 7
7
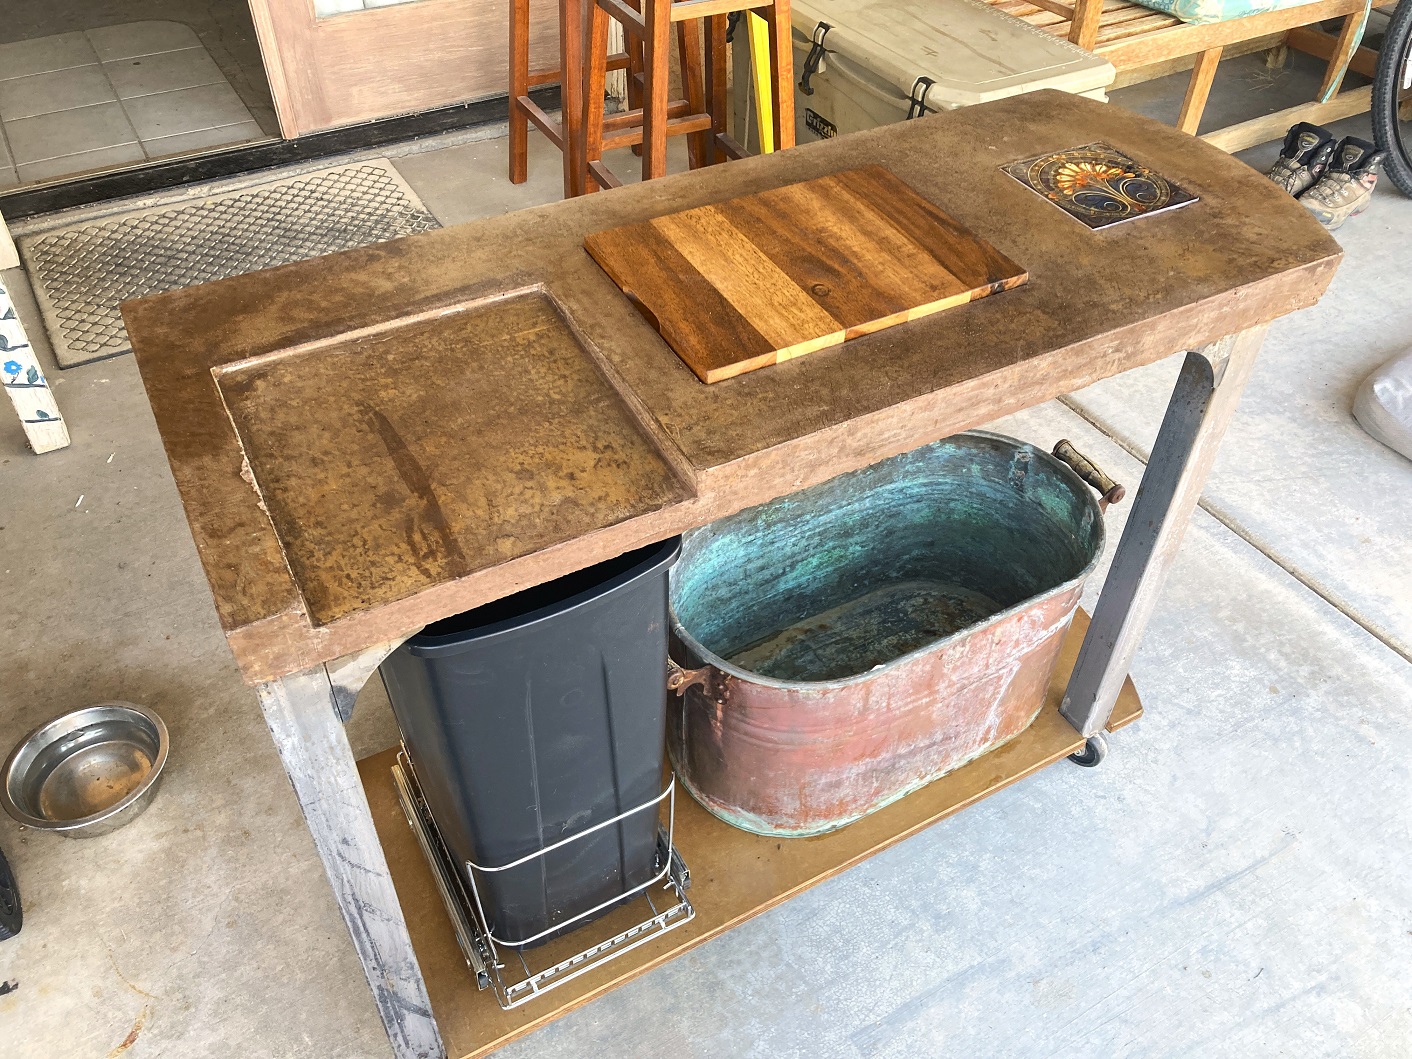
Tommy Bolin wrote:Lil'B is on the petite side and standard kitchen counter heights are uncomfortable for her to work on. We are also pressed for space in both our homes. I decided that a rolling prep table for the kitchen might help us out.
Visit Redhawk's soil series: https://permies.com/wiki/redhawk-soil
How permies.com works: https://permies.com/wiki/34193/permies-works-links-threads


 6
6
Kara, I would want much more roof overhang
![[Thumbnail for scaffold.png]](/t/373655/a/294666/scaffold.png "Filename: scaffold.png
Description:")
“Not everyone can be a truffle. Most of us are potatoes. And a potato is a very good thing to be.” Massimo Bottura, Never Trust A Skinny Italian Chef
4
Easy to cover with a tarp when not in use. But that would not have ANY overhang.
Visit Redhawk's soil series: https://permies.com/wiki/redhawk-soil
How permies.com works: https://permies.com/wiki/34193/permies-works-links-threads
3
“Not everyone can be a truffle. Most of us are potatoes. And a potato is a very good thing to be.” Massimo Bottura, Never Trust A Skinny Italian Chef
6
Visit Redhawk's soil series: https://permies.com/wiki/redhawk-soil
How permies.com works: https://permies.com/wiki/34193/permies-works-links-threads
3
Kara Ann wrote:Tommy - your work is beautiful and inspiring!!
................. I have just gotten a delivery of 100 used pallets, so there is plenty to work with!
Thanks again for the inspiration.
4

|
What do you have in that there bucket? It wouldn't be a tiny ad by any chance ...
the next generation of humanure
https://www.richsoil.com/willow
|