

|

|
|
|
|
B Beeson wrote:A simple but effective remedy would be to reverse the direction of the fan. Positive pressure inside the house will blow air into the RMH and out the chimney.

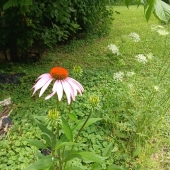
thomas rubino wrote:Here are some new photos from this year.
The three females are thriving, and the one male is plugging along.
Unfortunately, my cuttings did not survive the winter.

thomas rubino wrote:
Do you try to do your own repairs?
Know how to change the timing belt at home yet?

Matthew LeVan wrote:
Nice! Thanks for the quick reply. How about the “frost pocket” problem? I’m in Minnesota where growing season is already short, and was hoping my Hugels could help (not hurt) that!
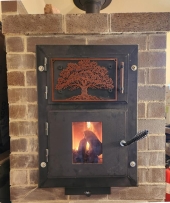
Jackson Bradley wrote:How does this do in the room the heater is in verses the room on the other side of the window? Does one room have higher temp than the other or does it even out well?
thomas rubino wrote:
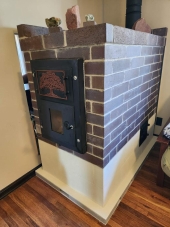
In my opinion, bricks look better, but it's all in the eye of the beholder, and in their wallet!
A stone or tile facing would improve the look.