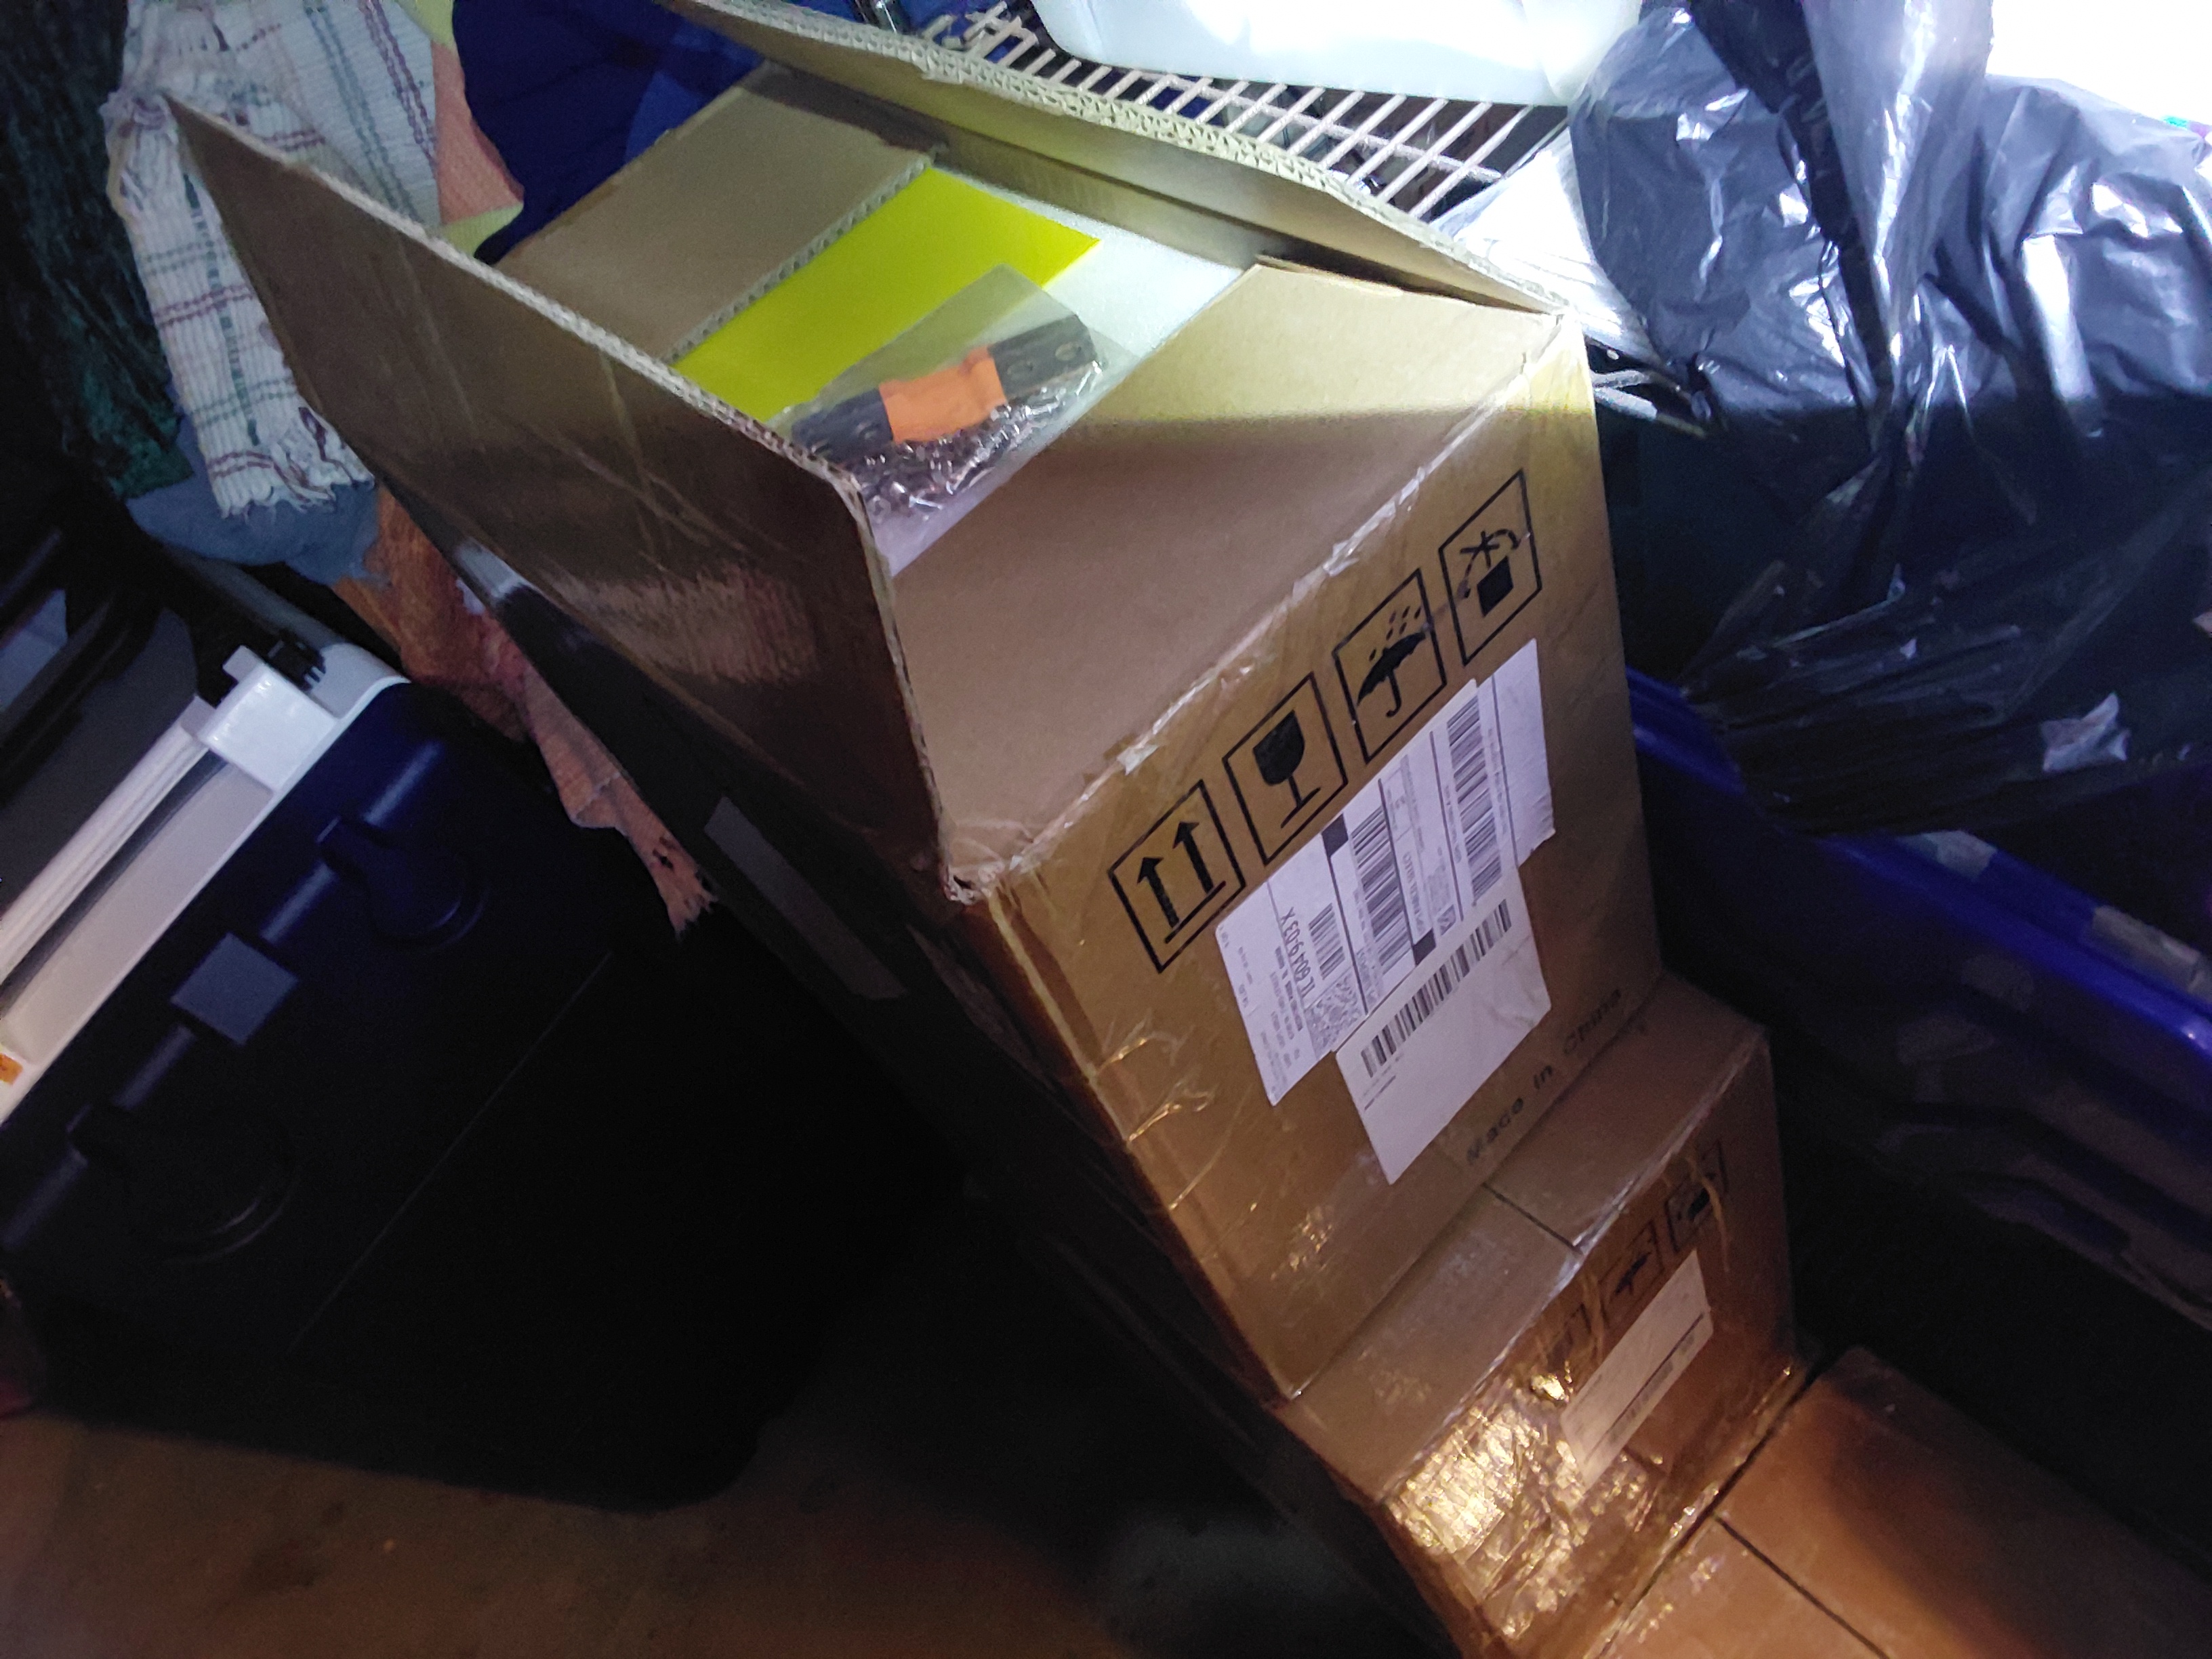
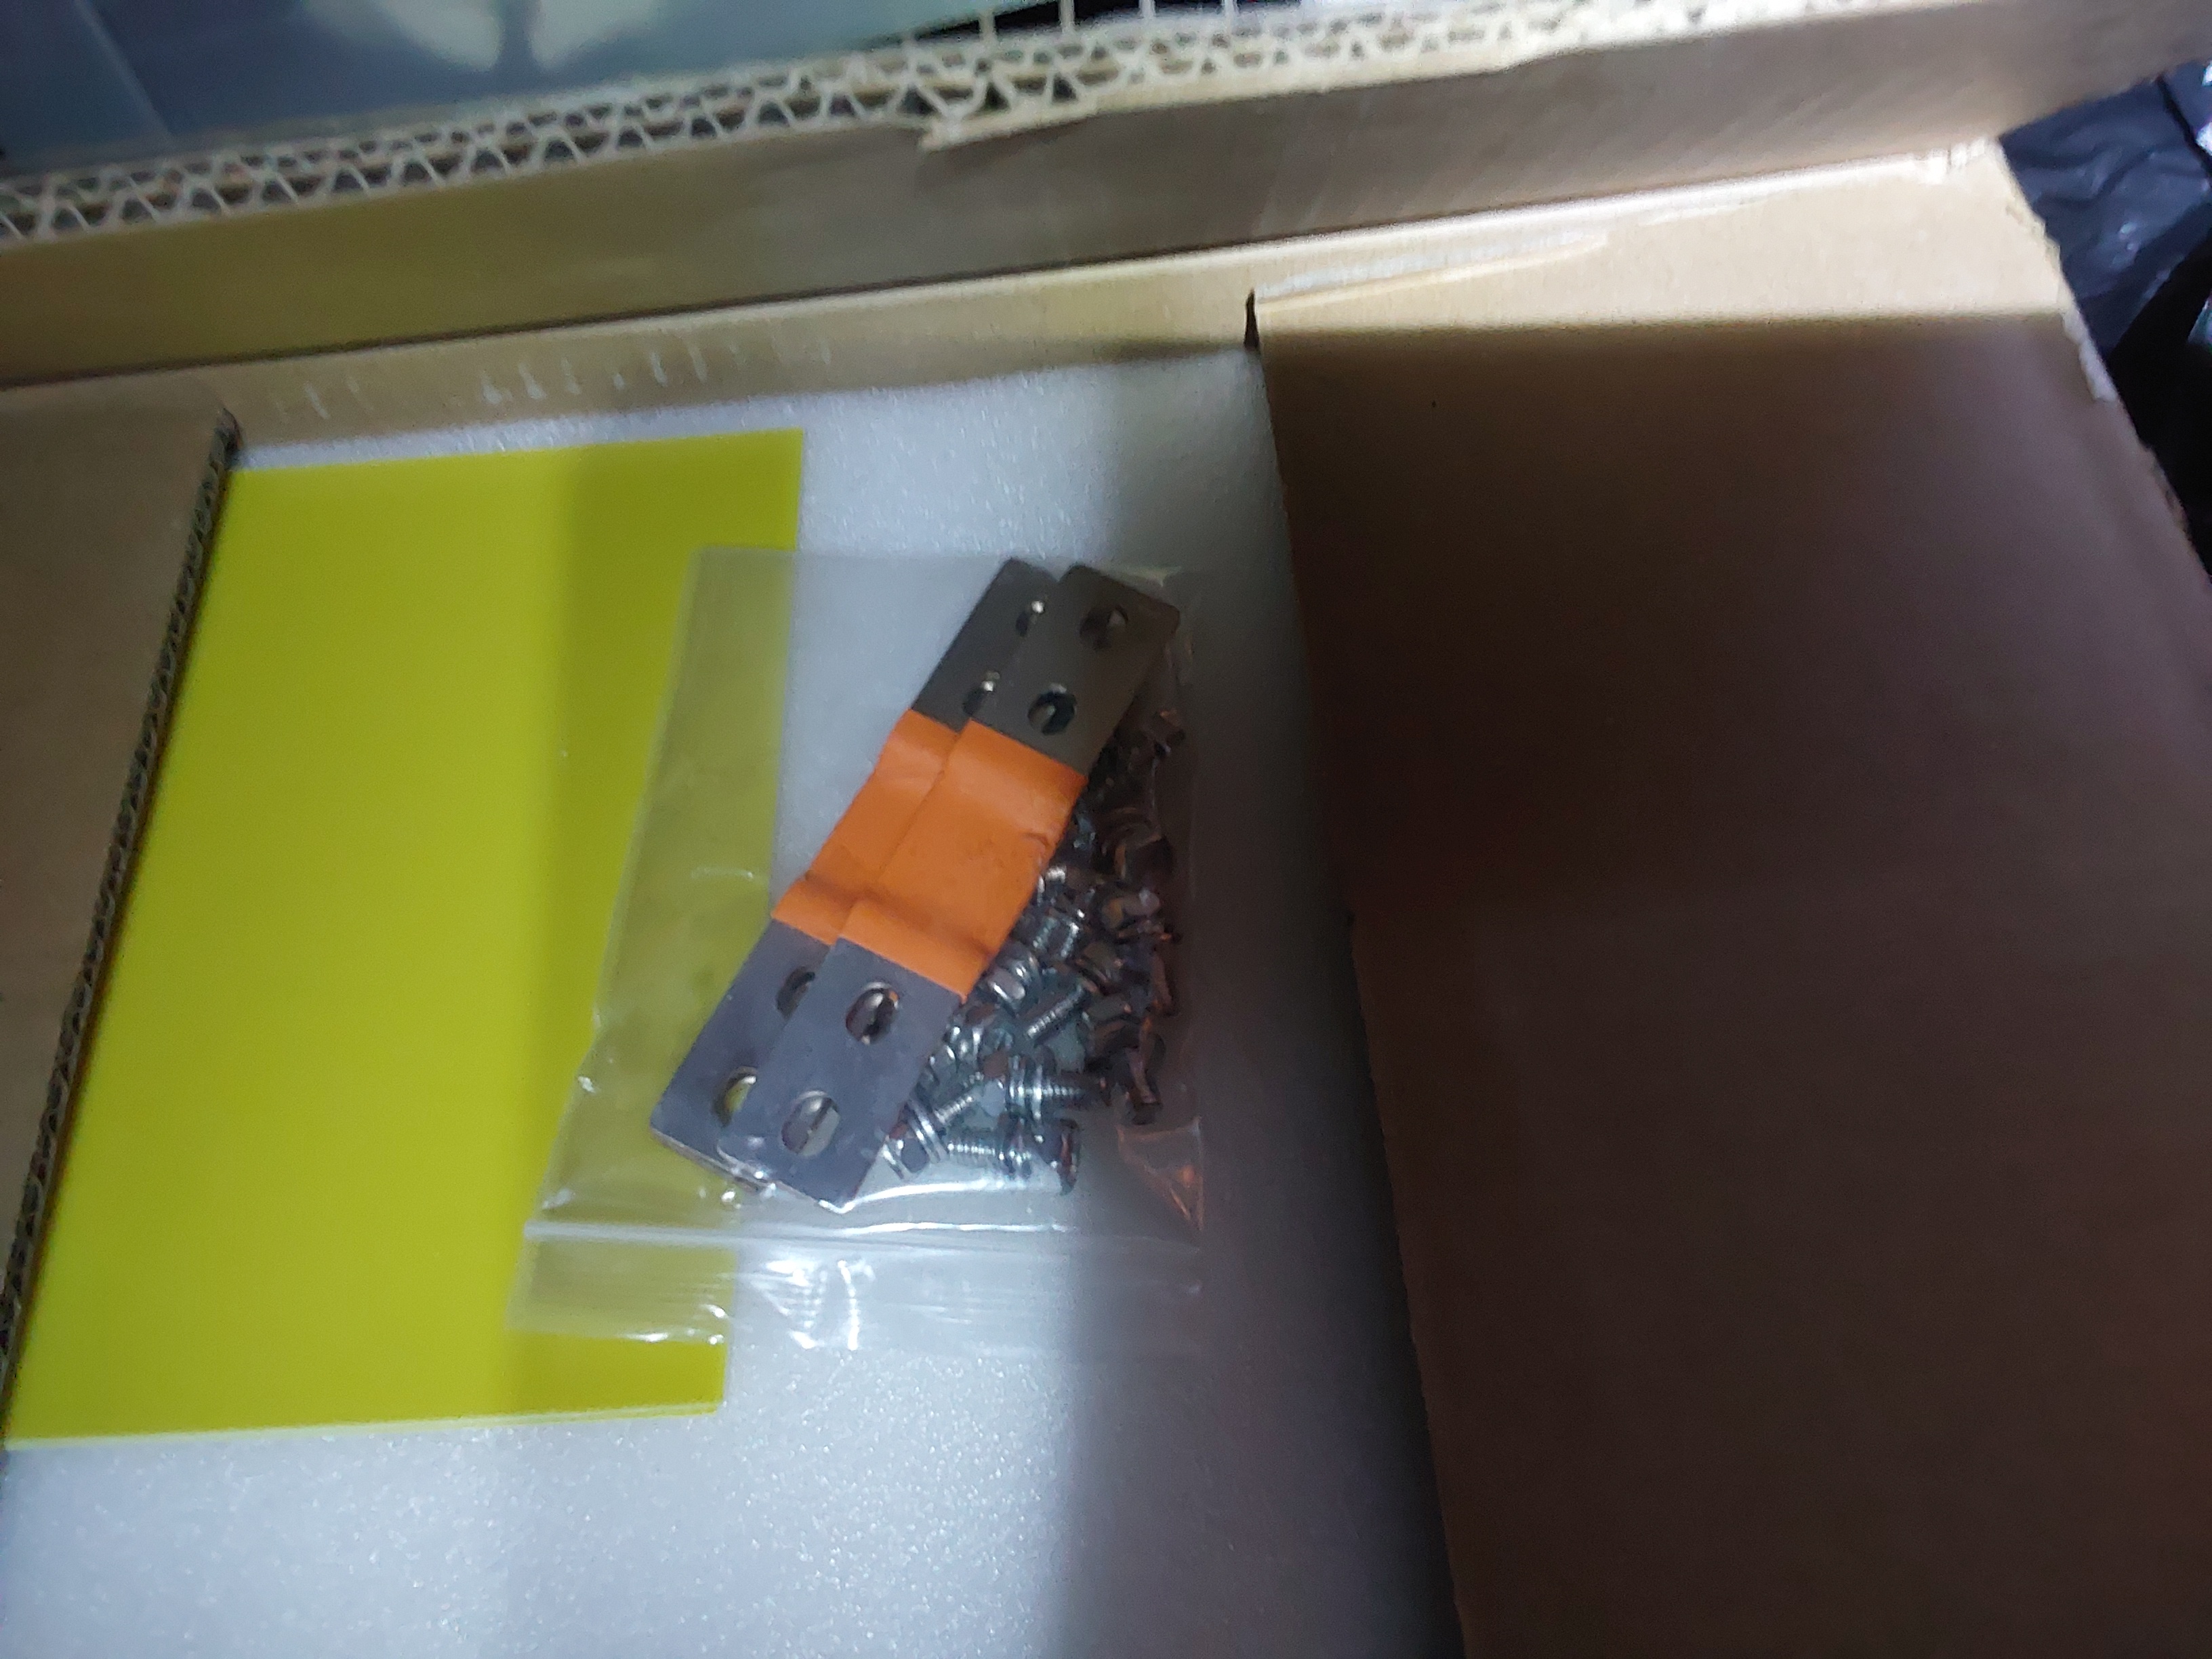
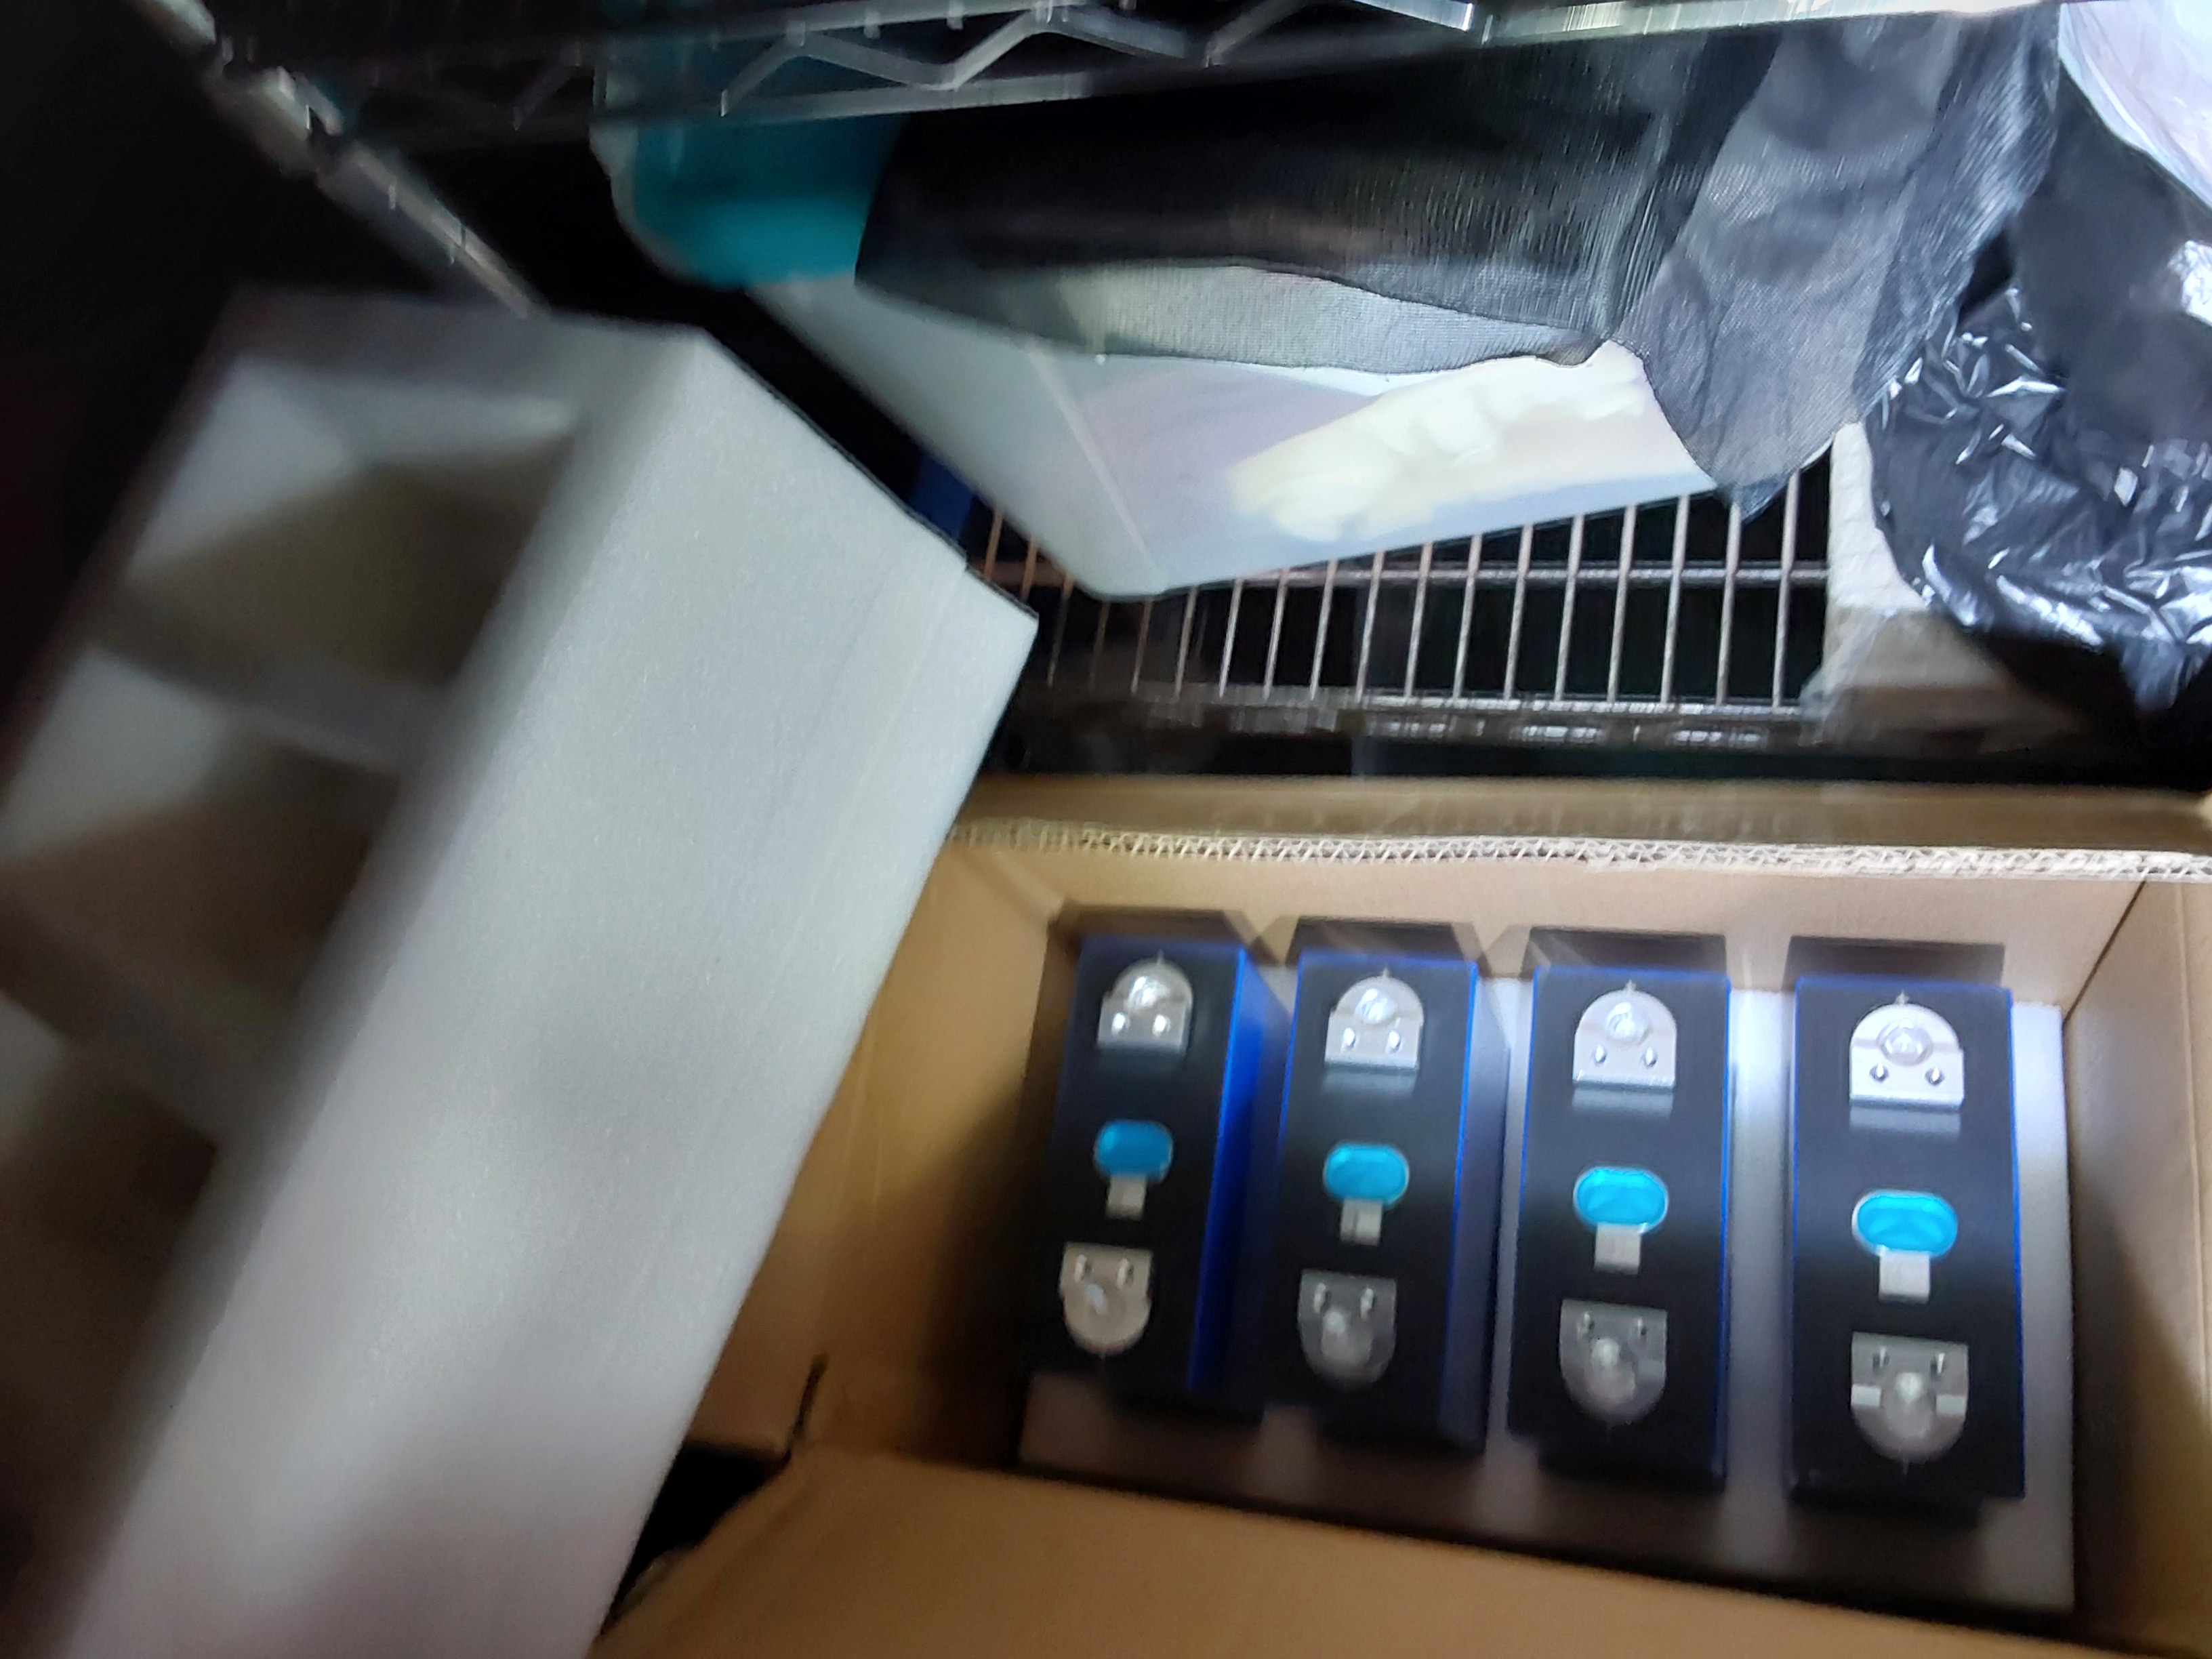
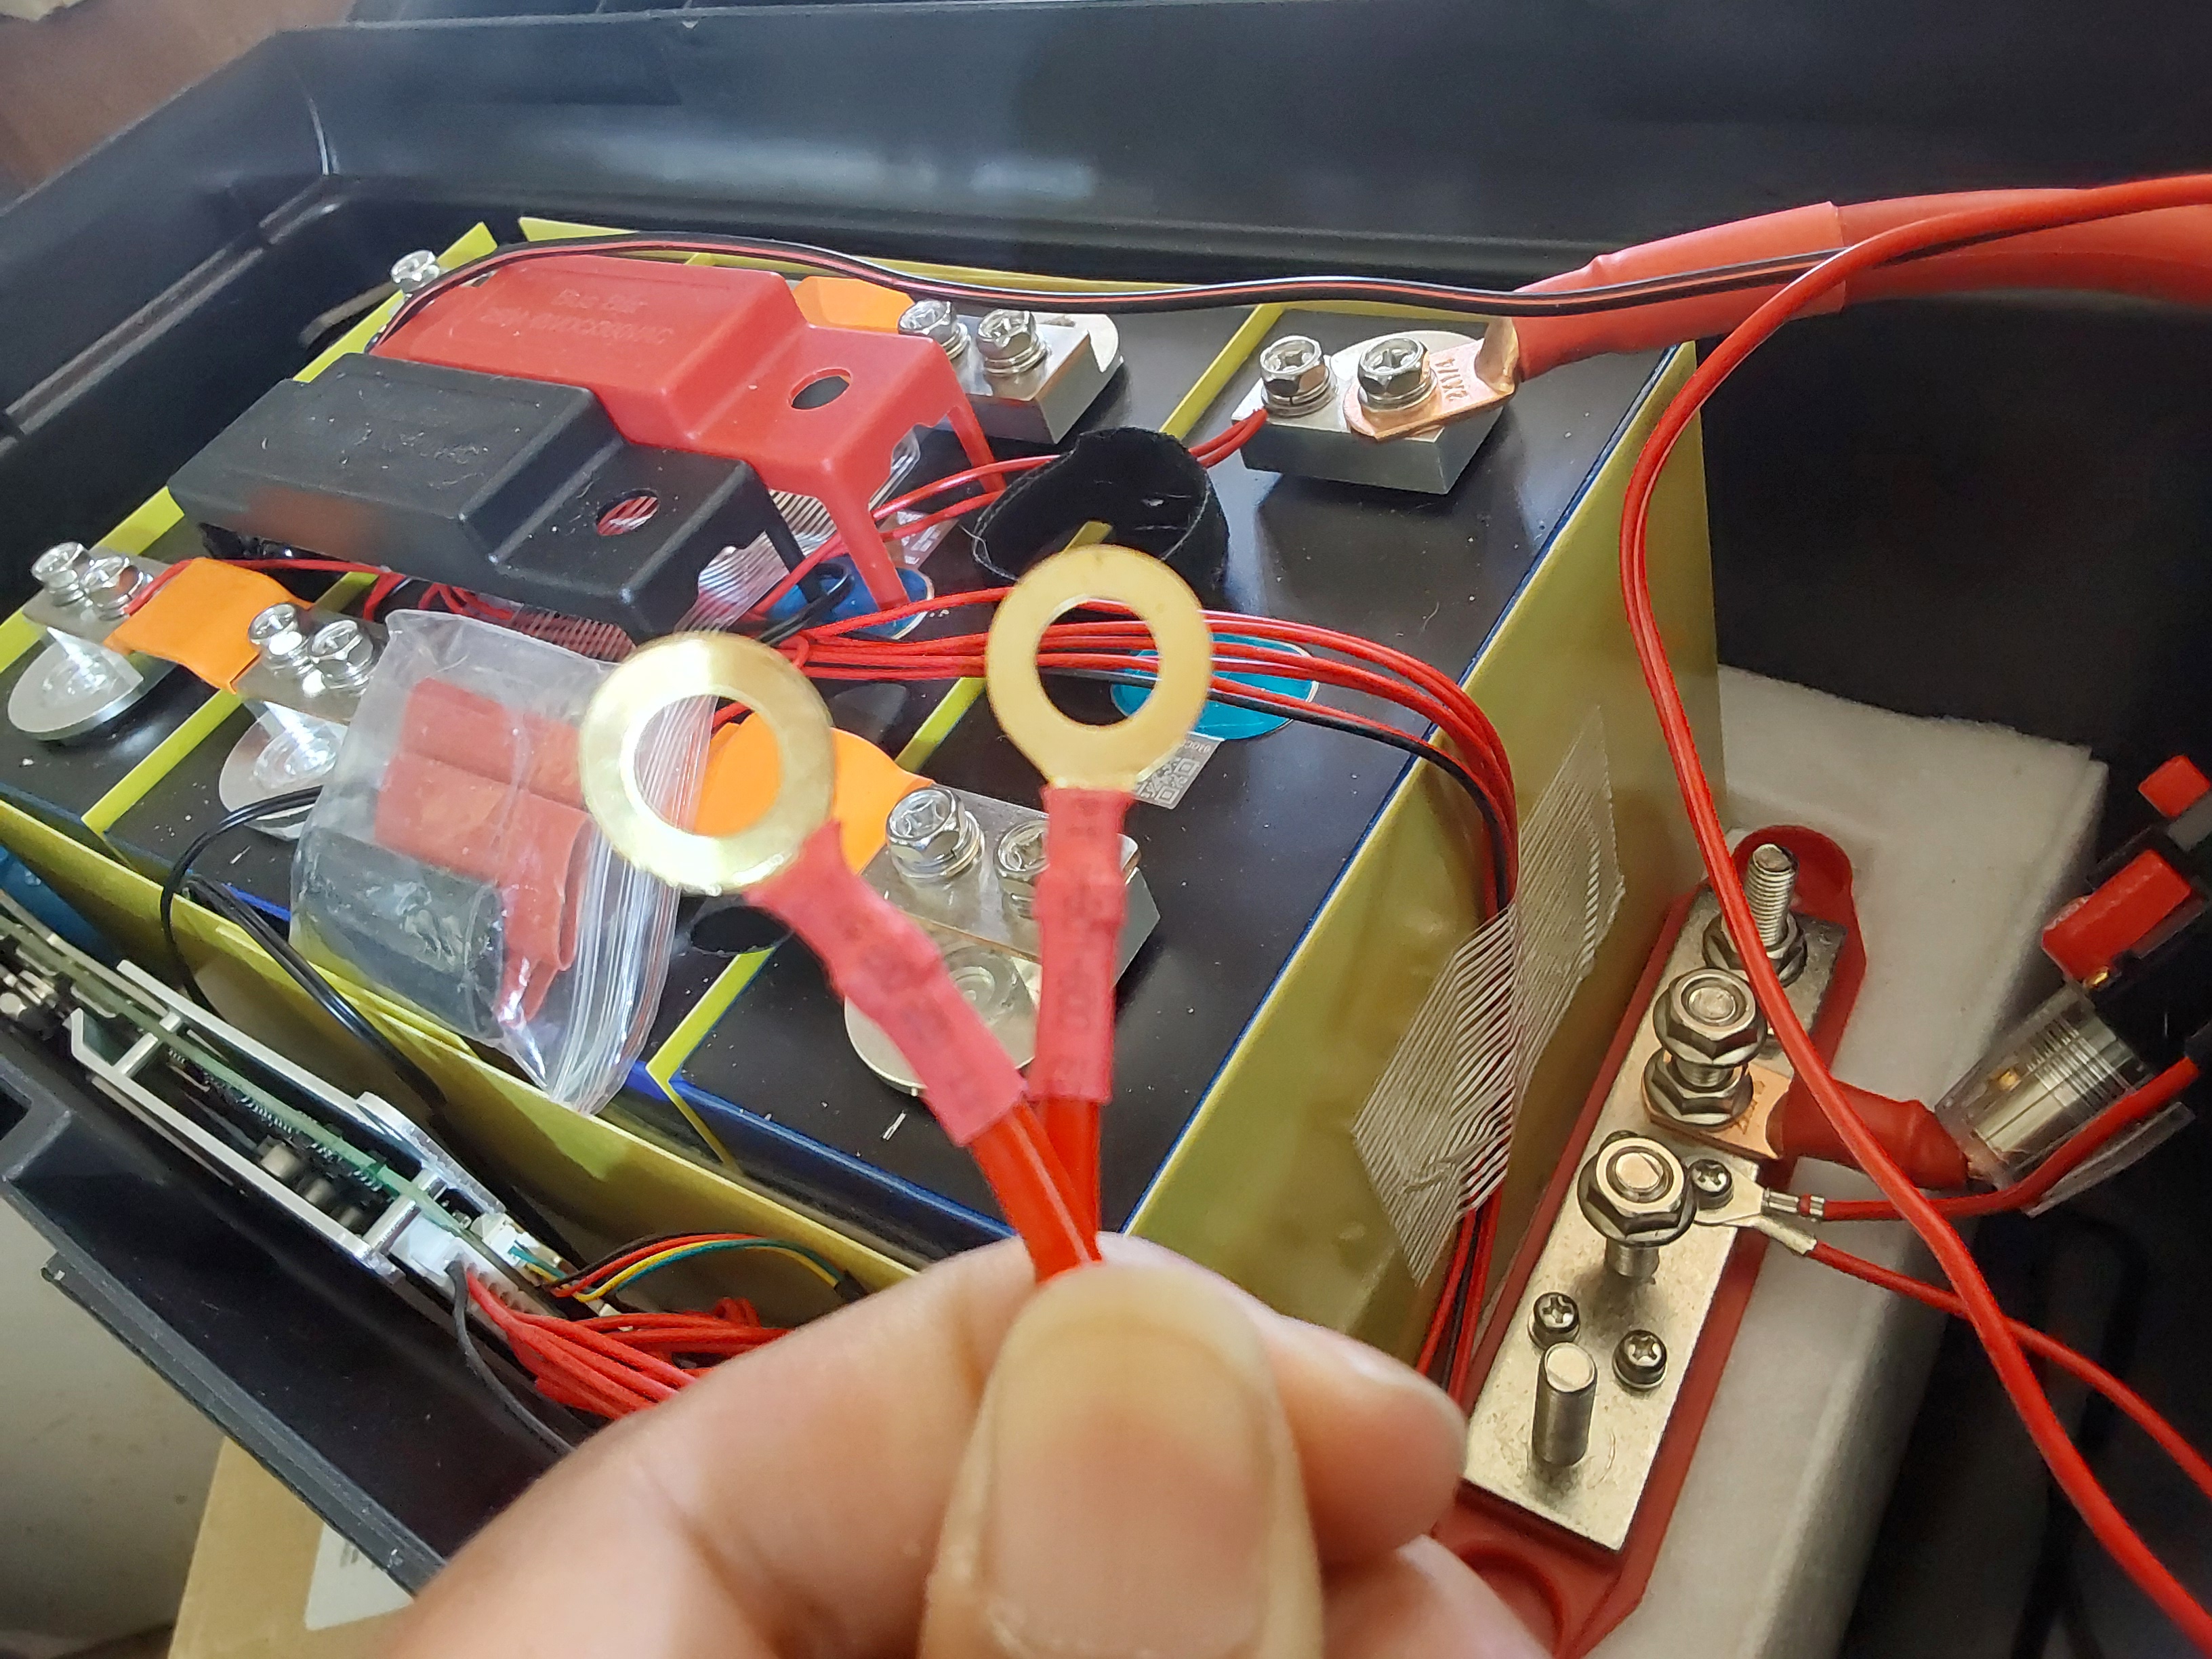
Logically, the next step is to show the container I used to build it in. I ended up using a cheap plastic toolbox from Harbor Freight, that came as the outer box of a nested set of 4 toolboxes. It works so far, but it's less than ideal, because the latches & hinges are the weak points, and this will probably be over 60 lbs when done.
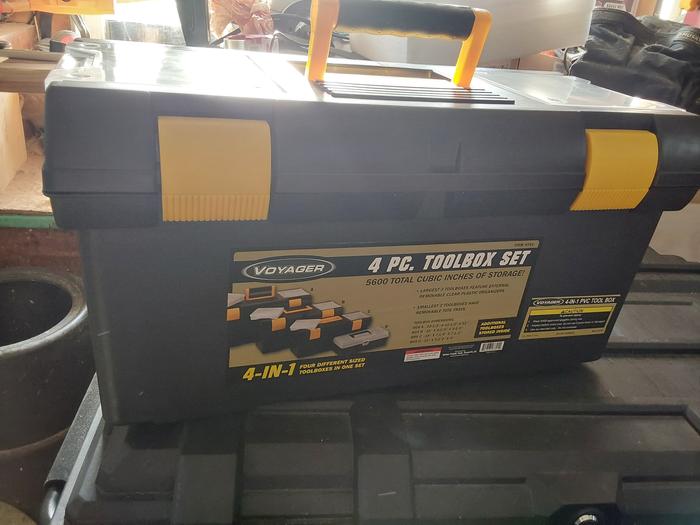
I initially tried putting the batteries at one end.
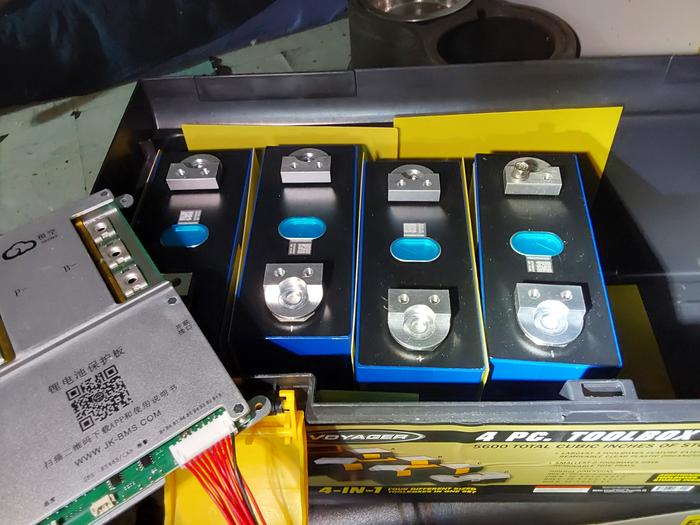
That proved to be too imbalanced to carry with the handle, so they were moved to the center and blocked with some of the close-cell foam packaging they arrived with...
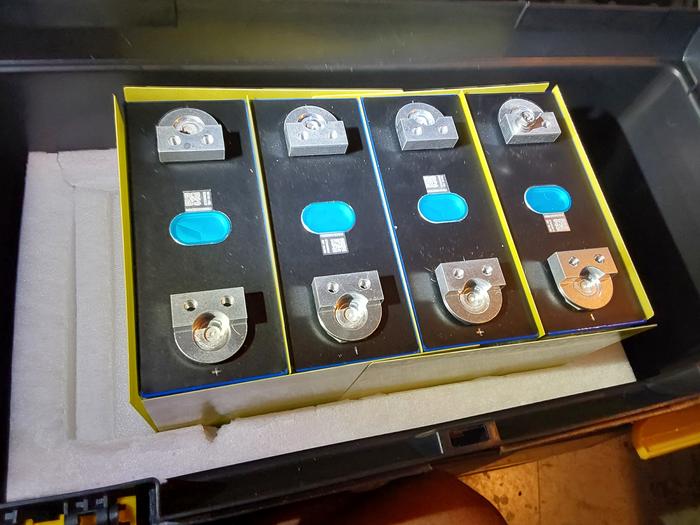
Moving into this box was also in conjunction with switching to a much higher capacity BMS, shown here:
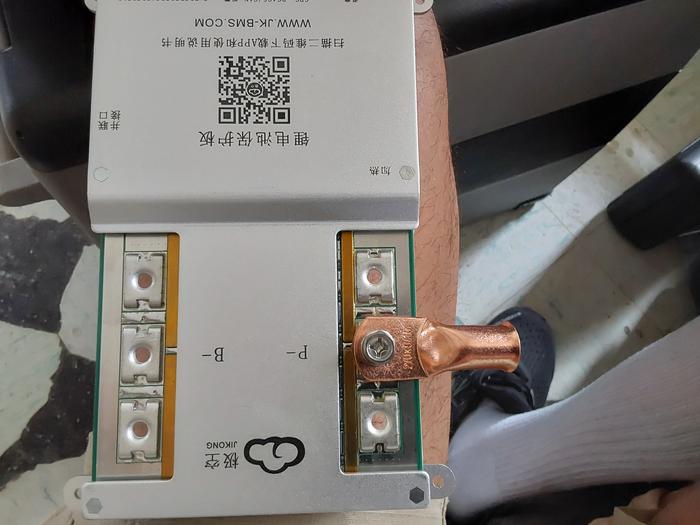
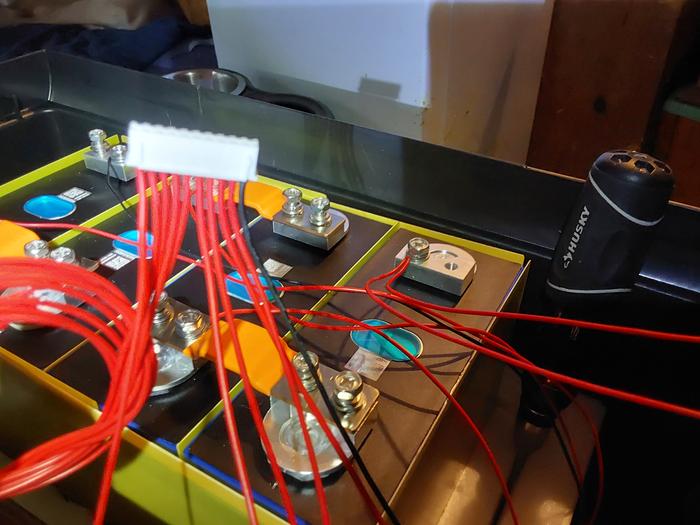
And connecting the balancing/cell sensing wires:
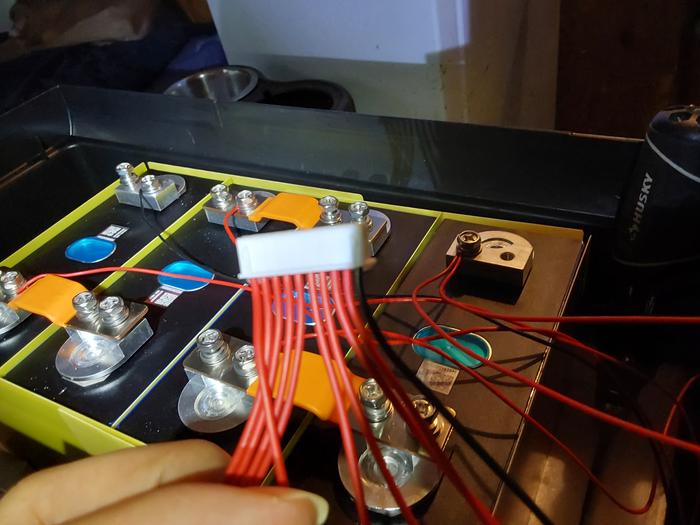
The unused wires can just be coiled up and taped out of the way.
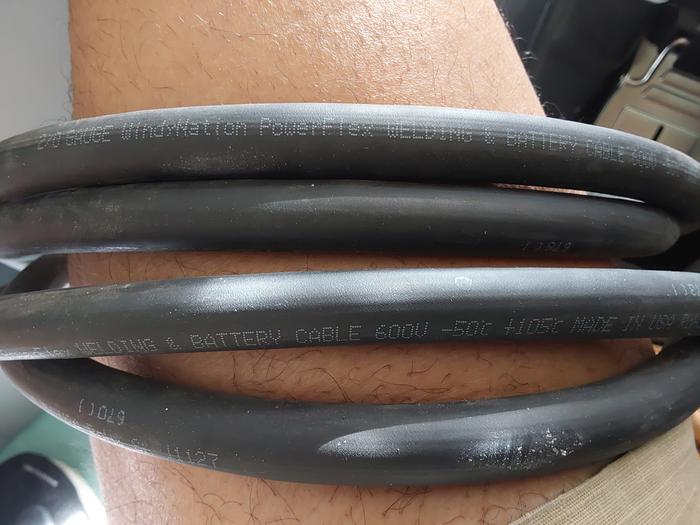
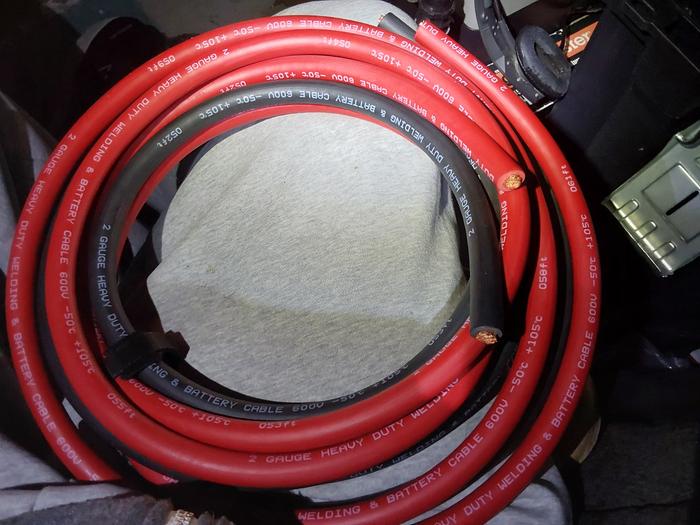
A 300 Amp BMS should have a 300 amp-capable wiring harness and connections! As I'm really not intending to need or use that much raw current, I'll wire for 200 amps, & fuse for less than that. The recommended max normal charging rate is 157 amps for this battery pack, so I can do at least that...
This 2/0 welding cable is rated for over 200 amps, so it should be sufficient, and I have adequate crimps to put on the ends.
My initial mockup included 12 Vdc outlets with USB charging ports, to charge my tablet and mp3 player while working on wiring the BMS and the rest of the system, but I found out the really cheap fuse holders for the USB outlets started melting (
without blowing the fuse!, so I scrambled for a heavier duty fuse and wiring harness for them.
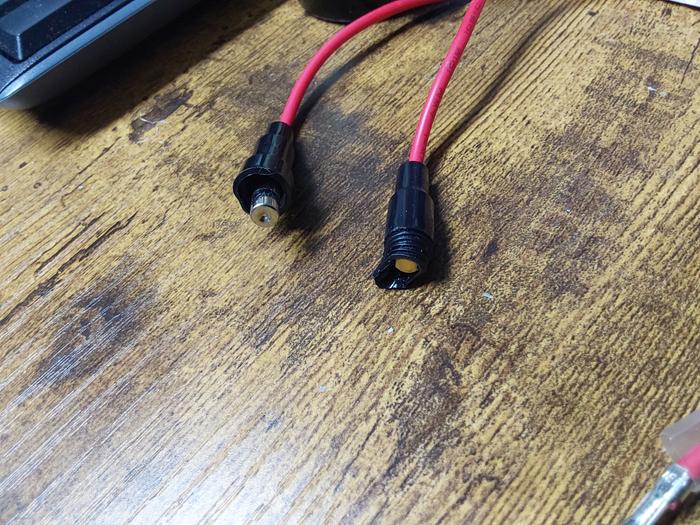
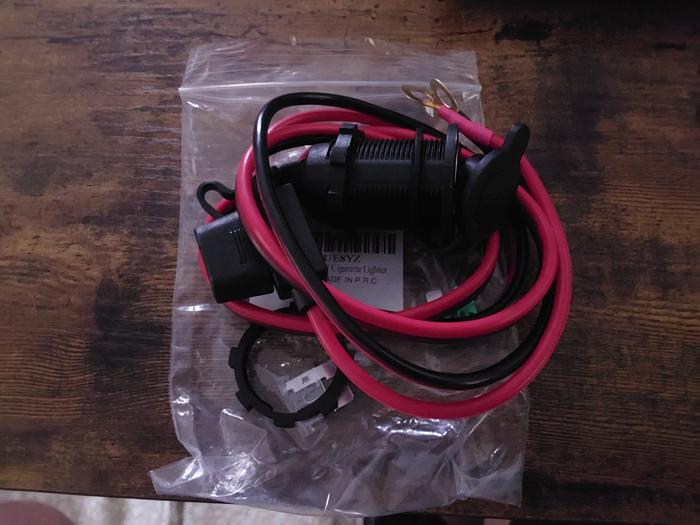
Very heavy-duty 12 Vdc socket, with a 20 amp fuse and 12 gage wire
Public service announcement:
If you are ever tempted to buy & use these cheap breakers from Amazon, under NO circumstances, should you be using 6 AWG wire that these terminal lugs are sized for - if you do, your wire will burn up long before you EVER get to 300 amps.! Use large enough wire to carry 300 amps, or use a smaller breaker rated to protect the size wire you actually are using...
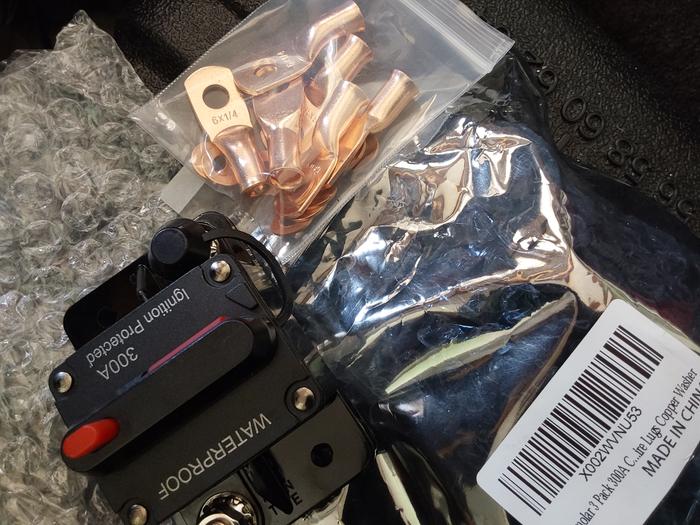
These are what I'm trying to use, but their ports aren't really large enough to support the large enough wire to match their rating without a lot of work & modification.
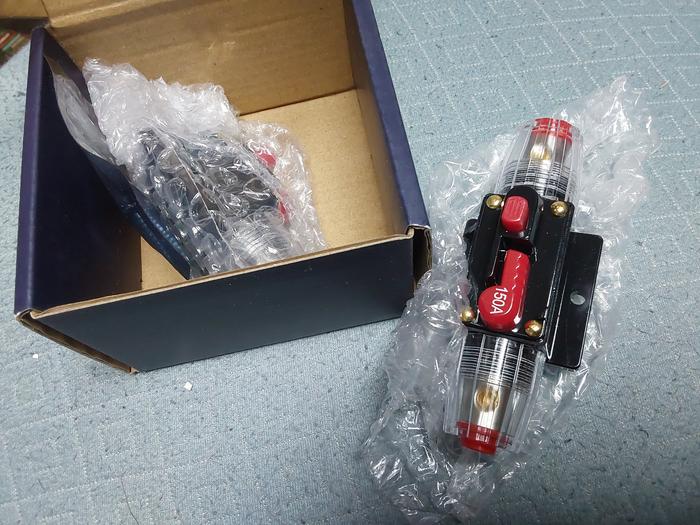
The struggle to fit it is in this post: permies.com/p/3772120
This is one of the solar charge controllers in the system (one of 3), and it's the one I started with:
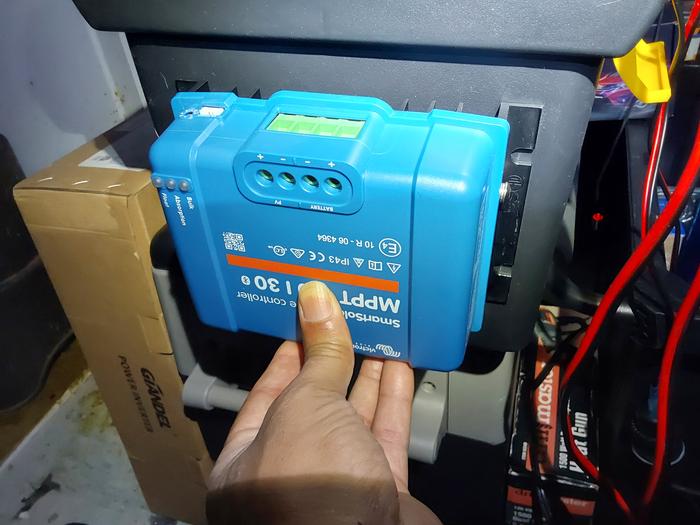
Testing a mockup in the back yard, showed that it didn't generate enough heat to worry about additional ventilation, so it's ended up inside the box now.
The negative buss bar is shown here too, prior to connecting anything to it. The left edge of the 300 amp BMS is toward the bottom right & mostly out of the frame here.
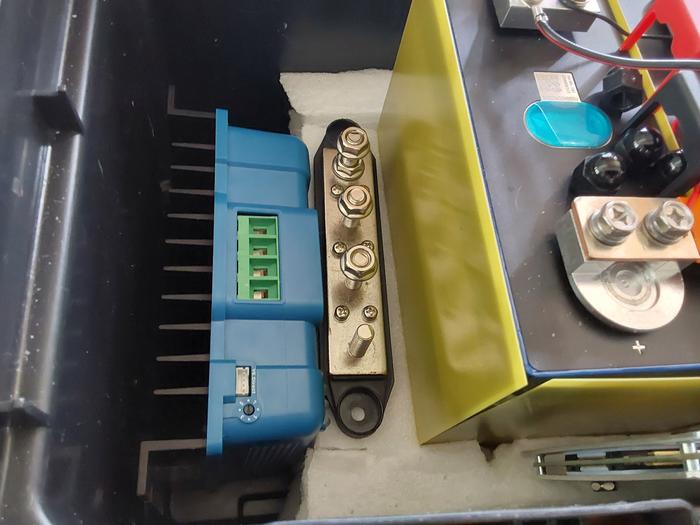
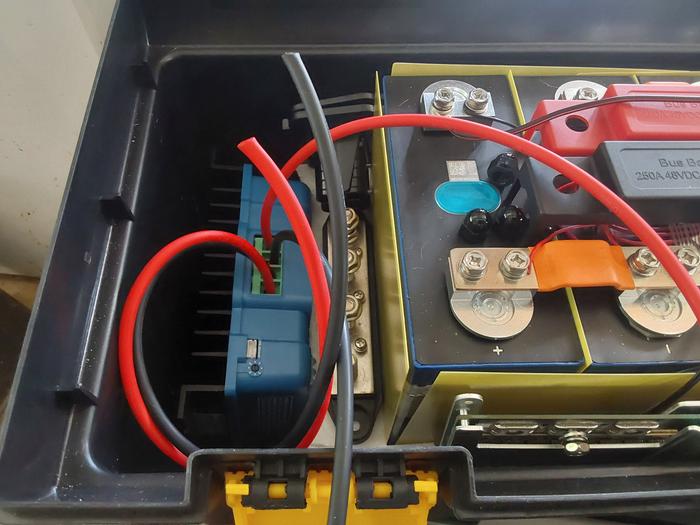
Here's a glimpse of the positive buss Barry, with the 150 amp inline breaker and the 2/0 copper cable connecting to the main battery positive post:
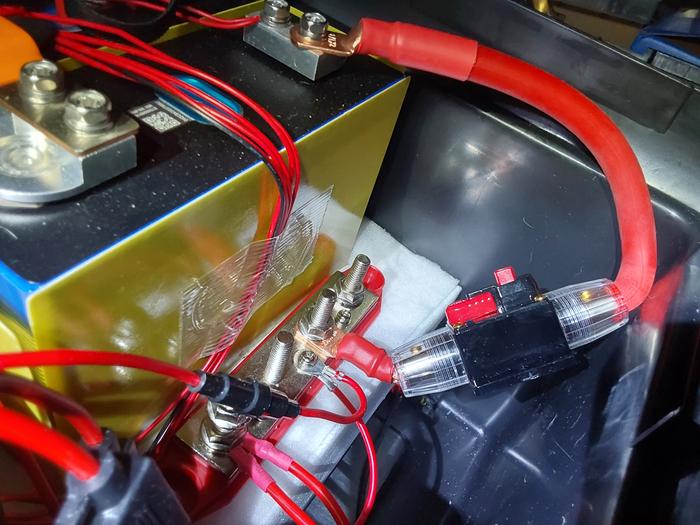
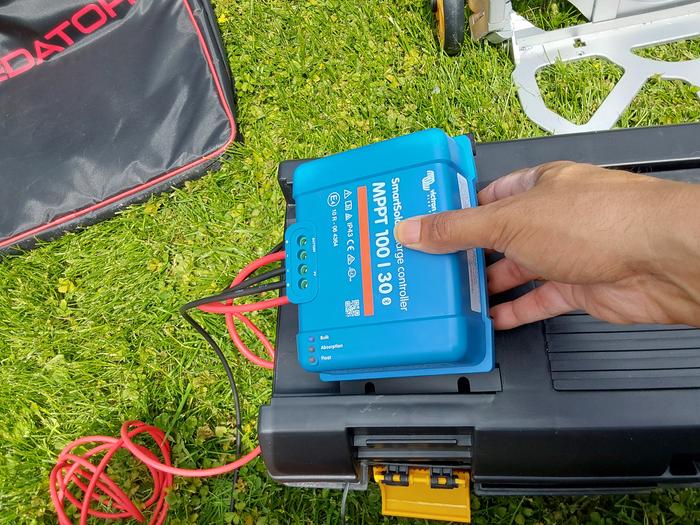
The 100|30 amp Victron in it's final home, working just fine:
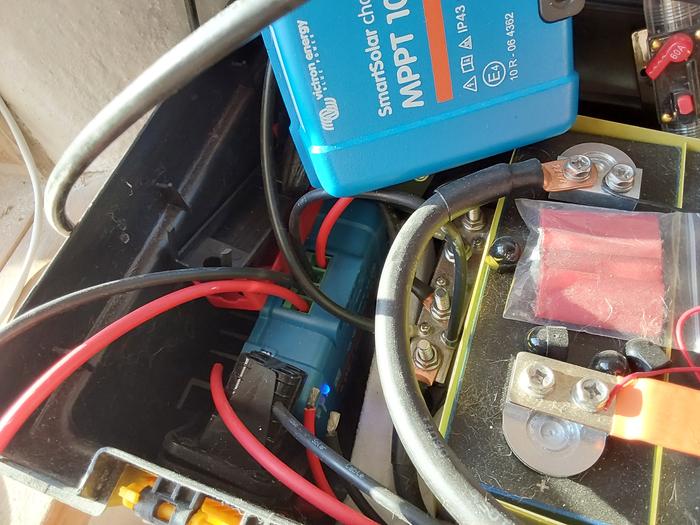
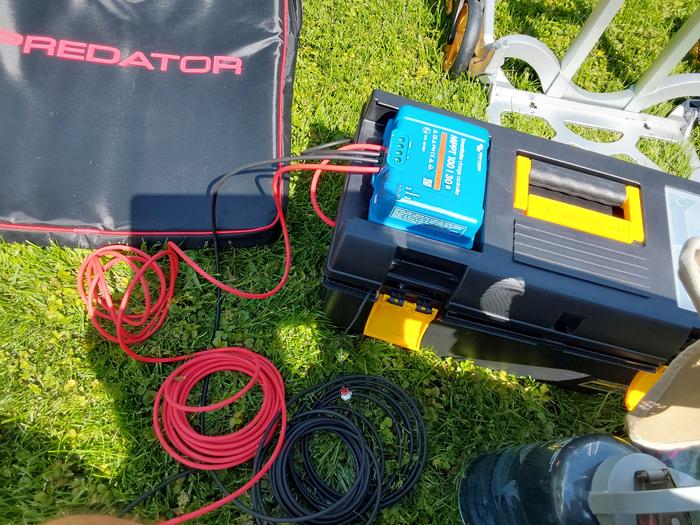
I used 10 gage PV wire for the battery and PV sides of the 30 amp controller because neither of them will ever see more than 30 amps, although the mfg still recommends putting a 40 amp breaker on the battery side... I skipped that for now, but I'll get there eventually?
This is where & what I used for the initial 10 gage PV wire - I just cut off sections of the raw ends as needed to make the shorter connections and saved the rest for connecting to the solar panels later:
10 gage PV wire from Amazon
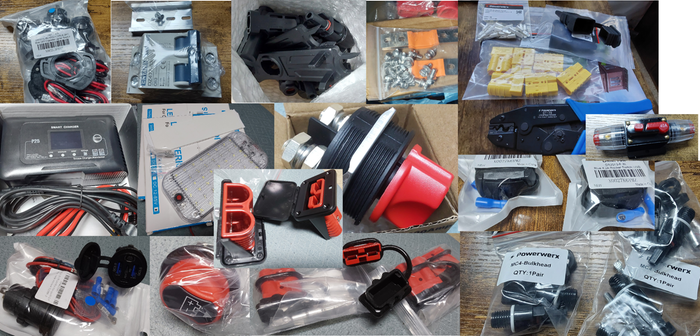
The top right corner shows the original parts before chopping the cable up, and the buss bars are also in this collage too.
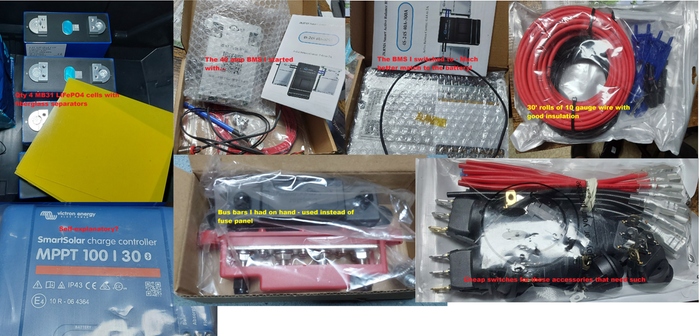
(what's left of the 2 rolls is laying on the toolbox below the pouch that holds a multimeter)
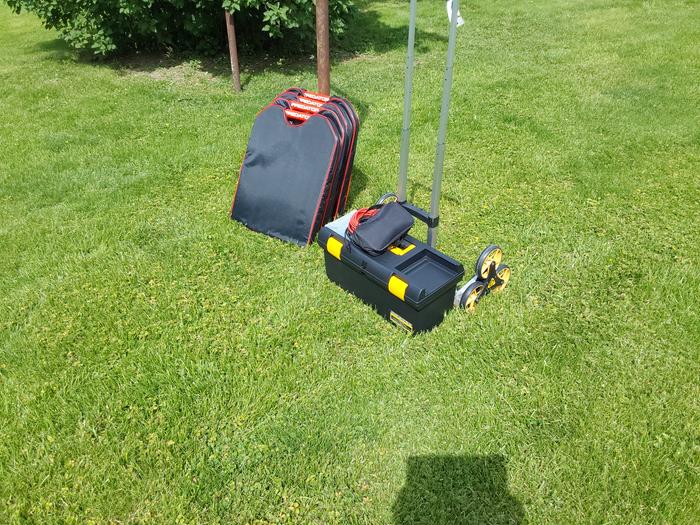
And temporarily connected here:
The 40 amp inline breaker is visible on the far right side of this collage, and the lower left corner shows the USB outlets (which are truly awesome, but don't use the stock wiring that they come with, it will melt...
Best to put spade lugs on your own 12 gage wire with a 20 amp inline fuse...
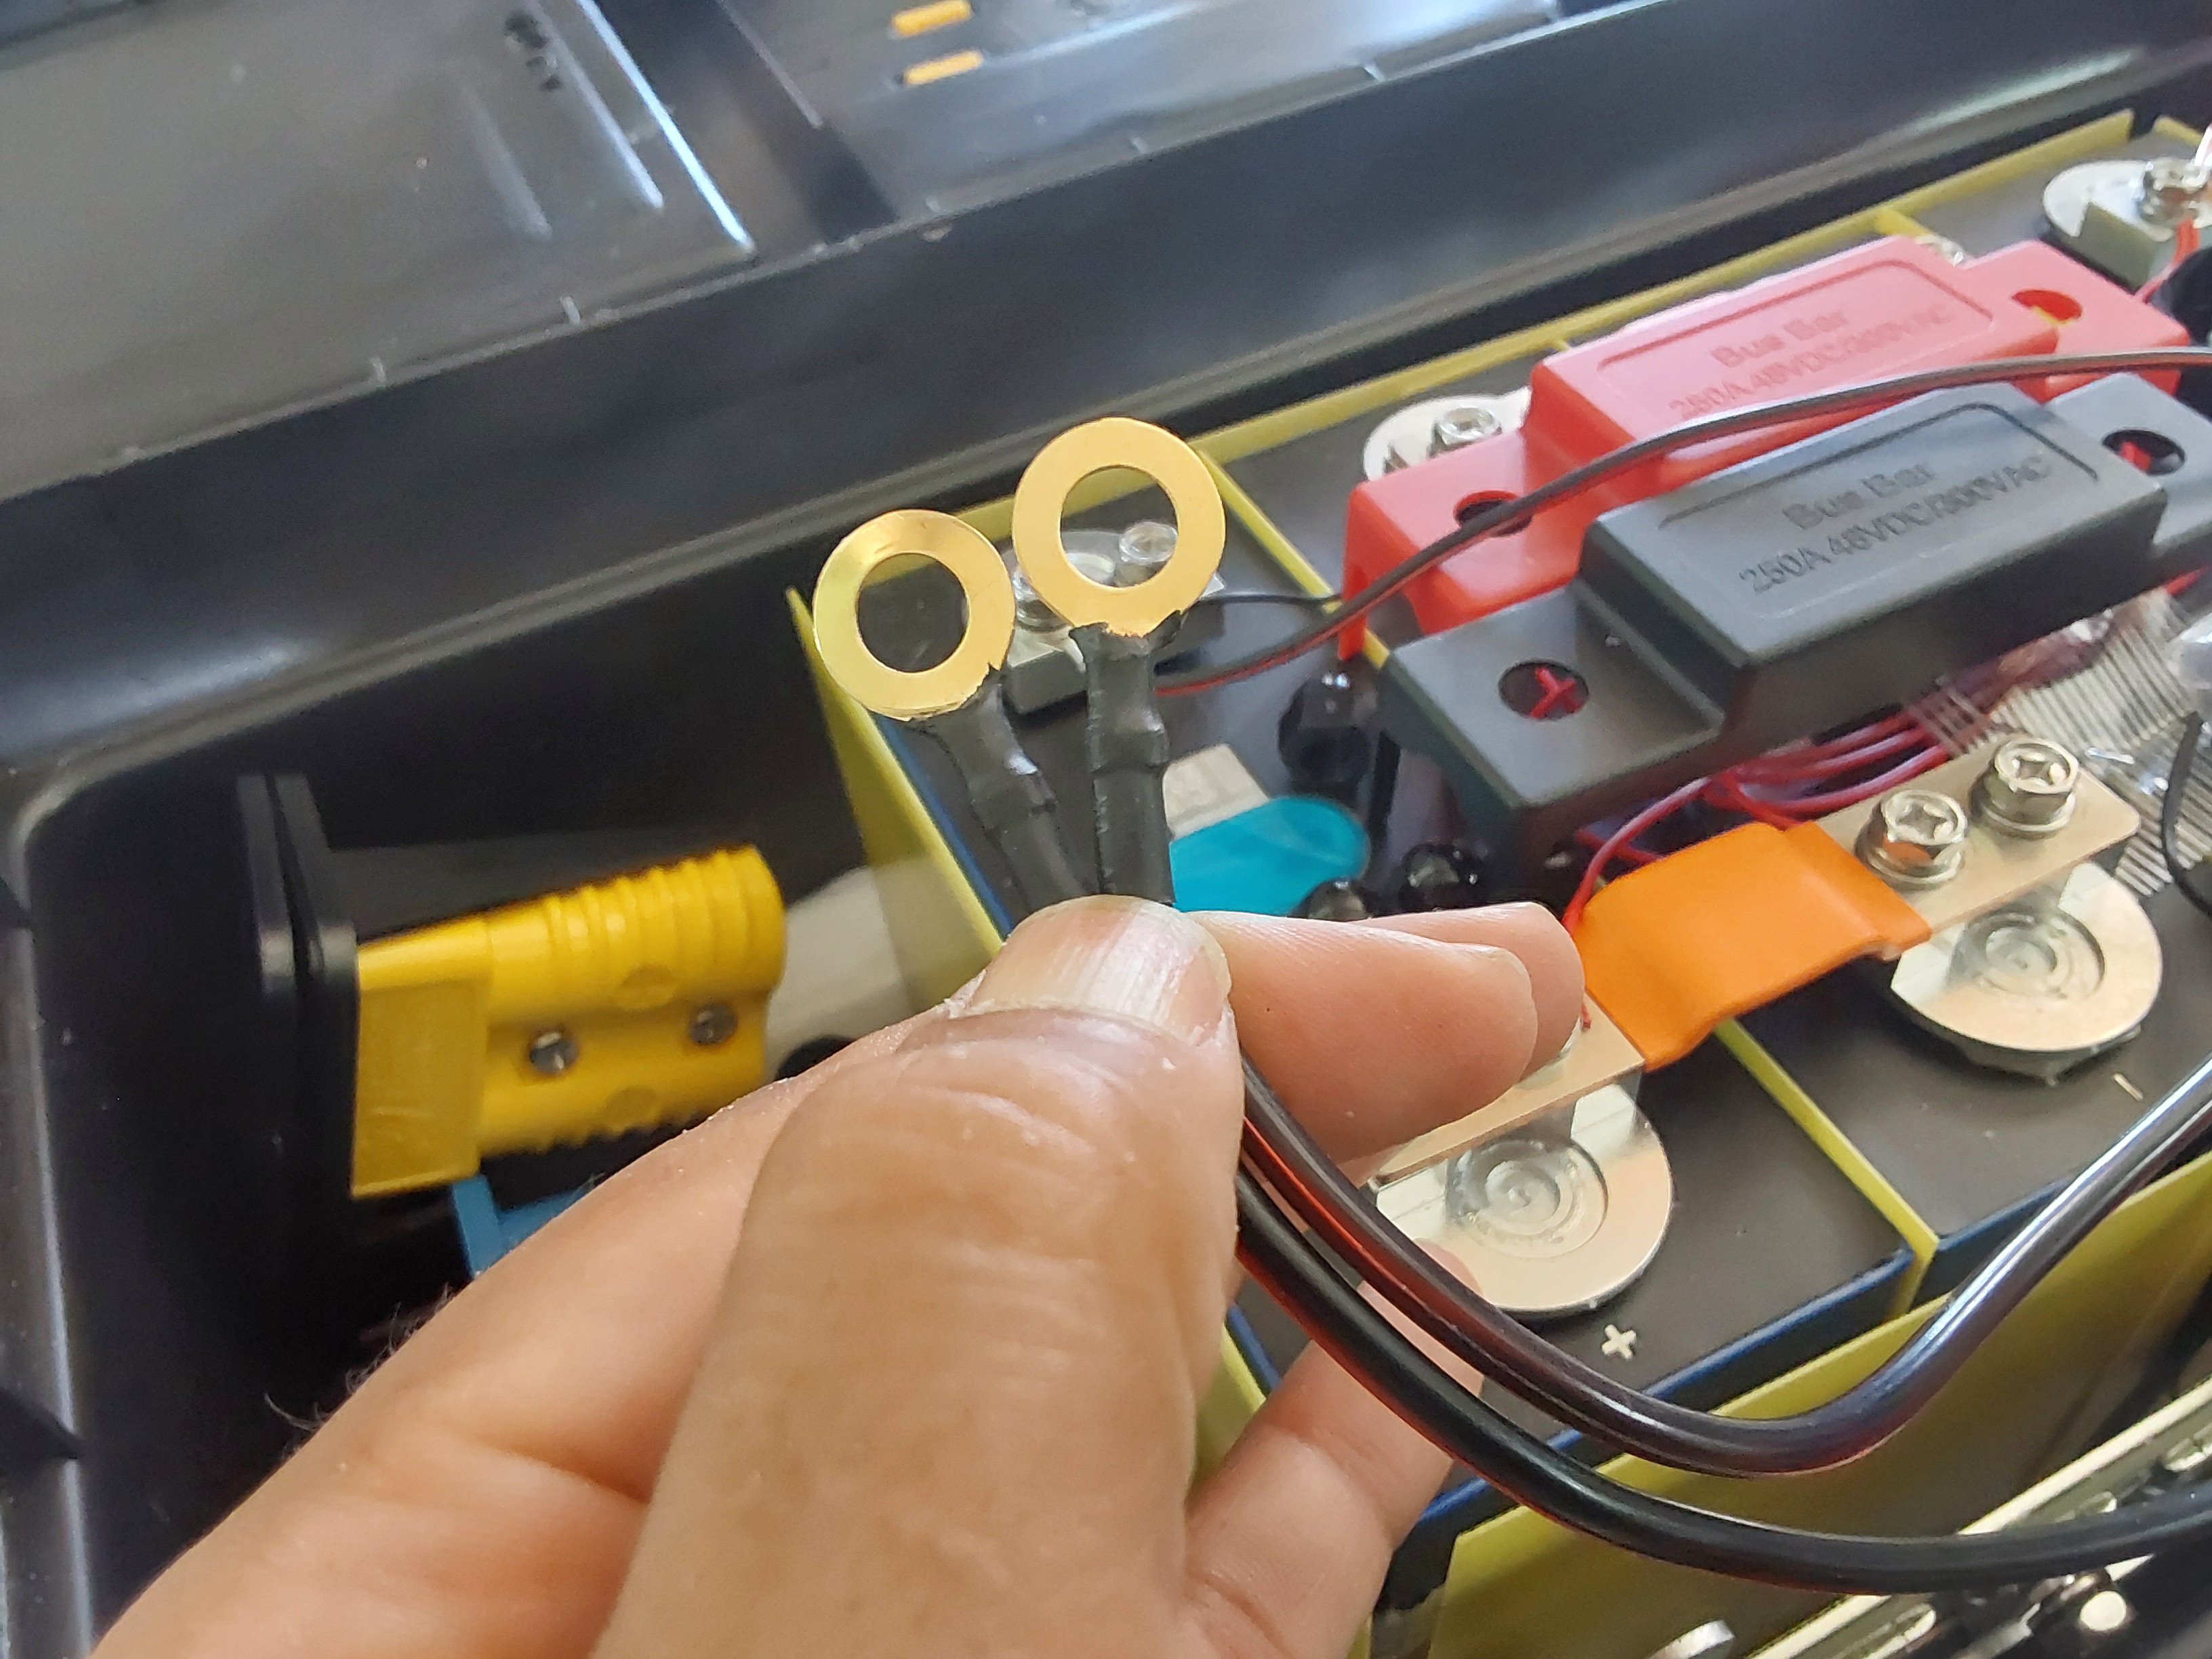
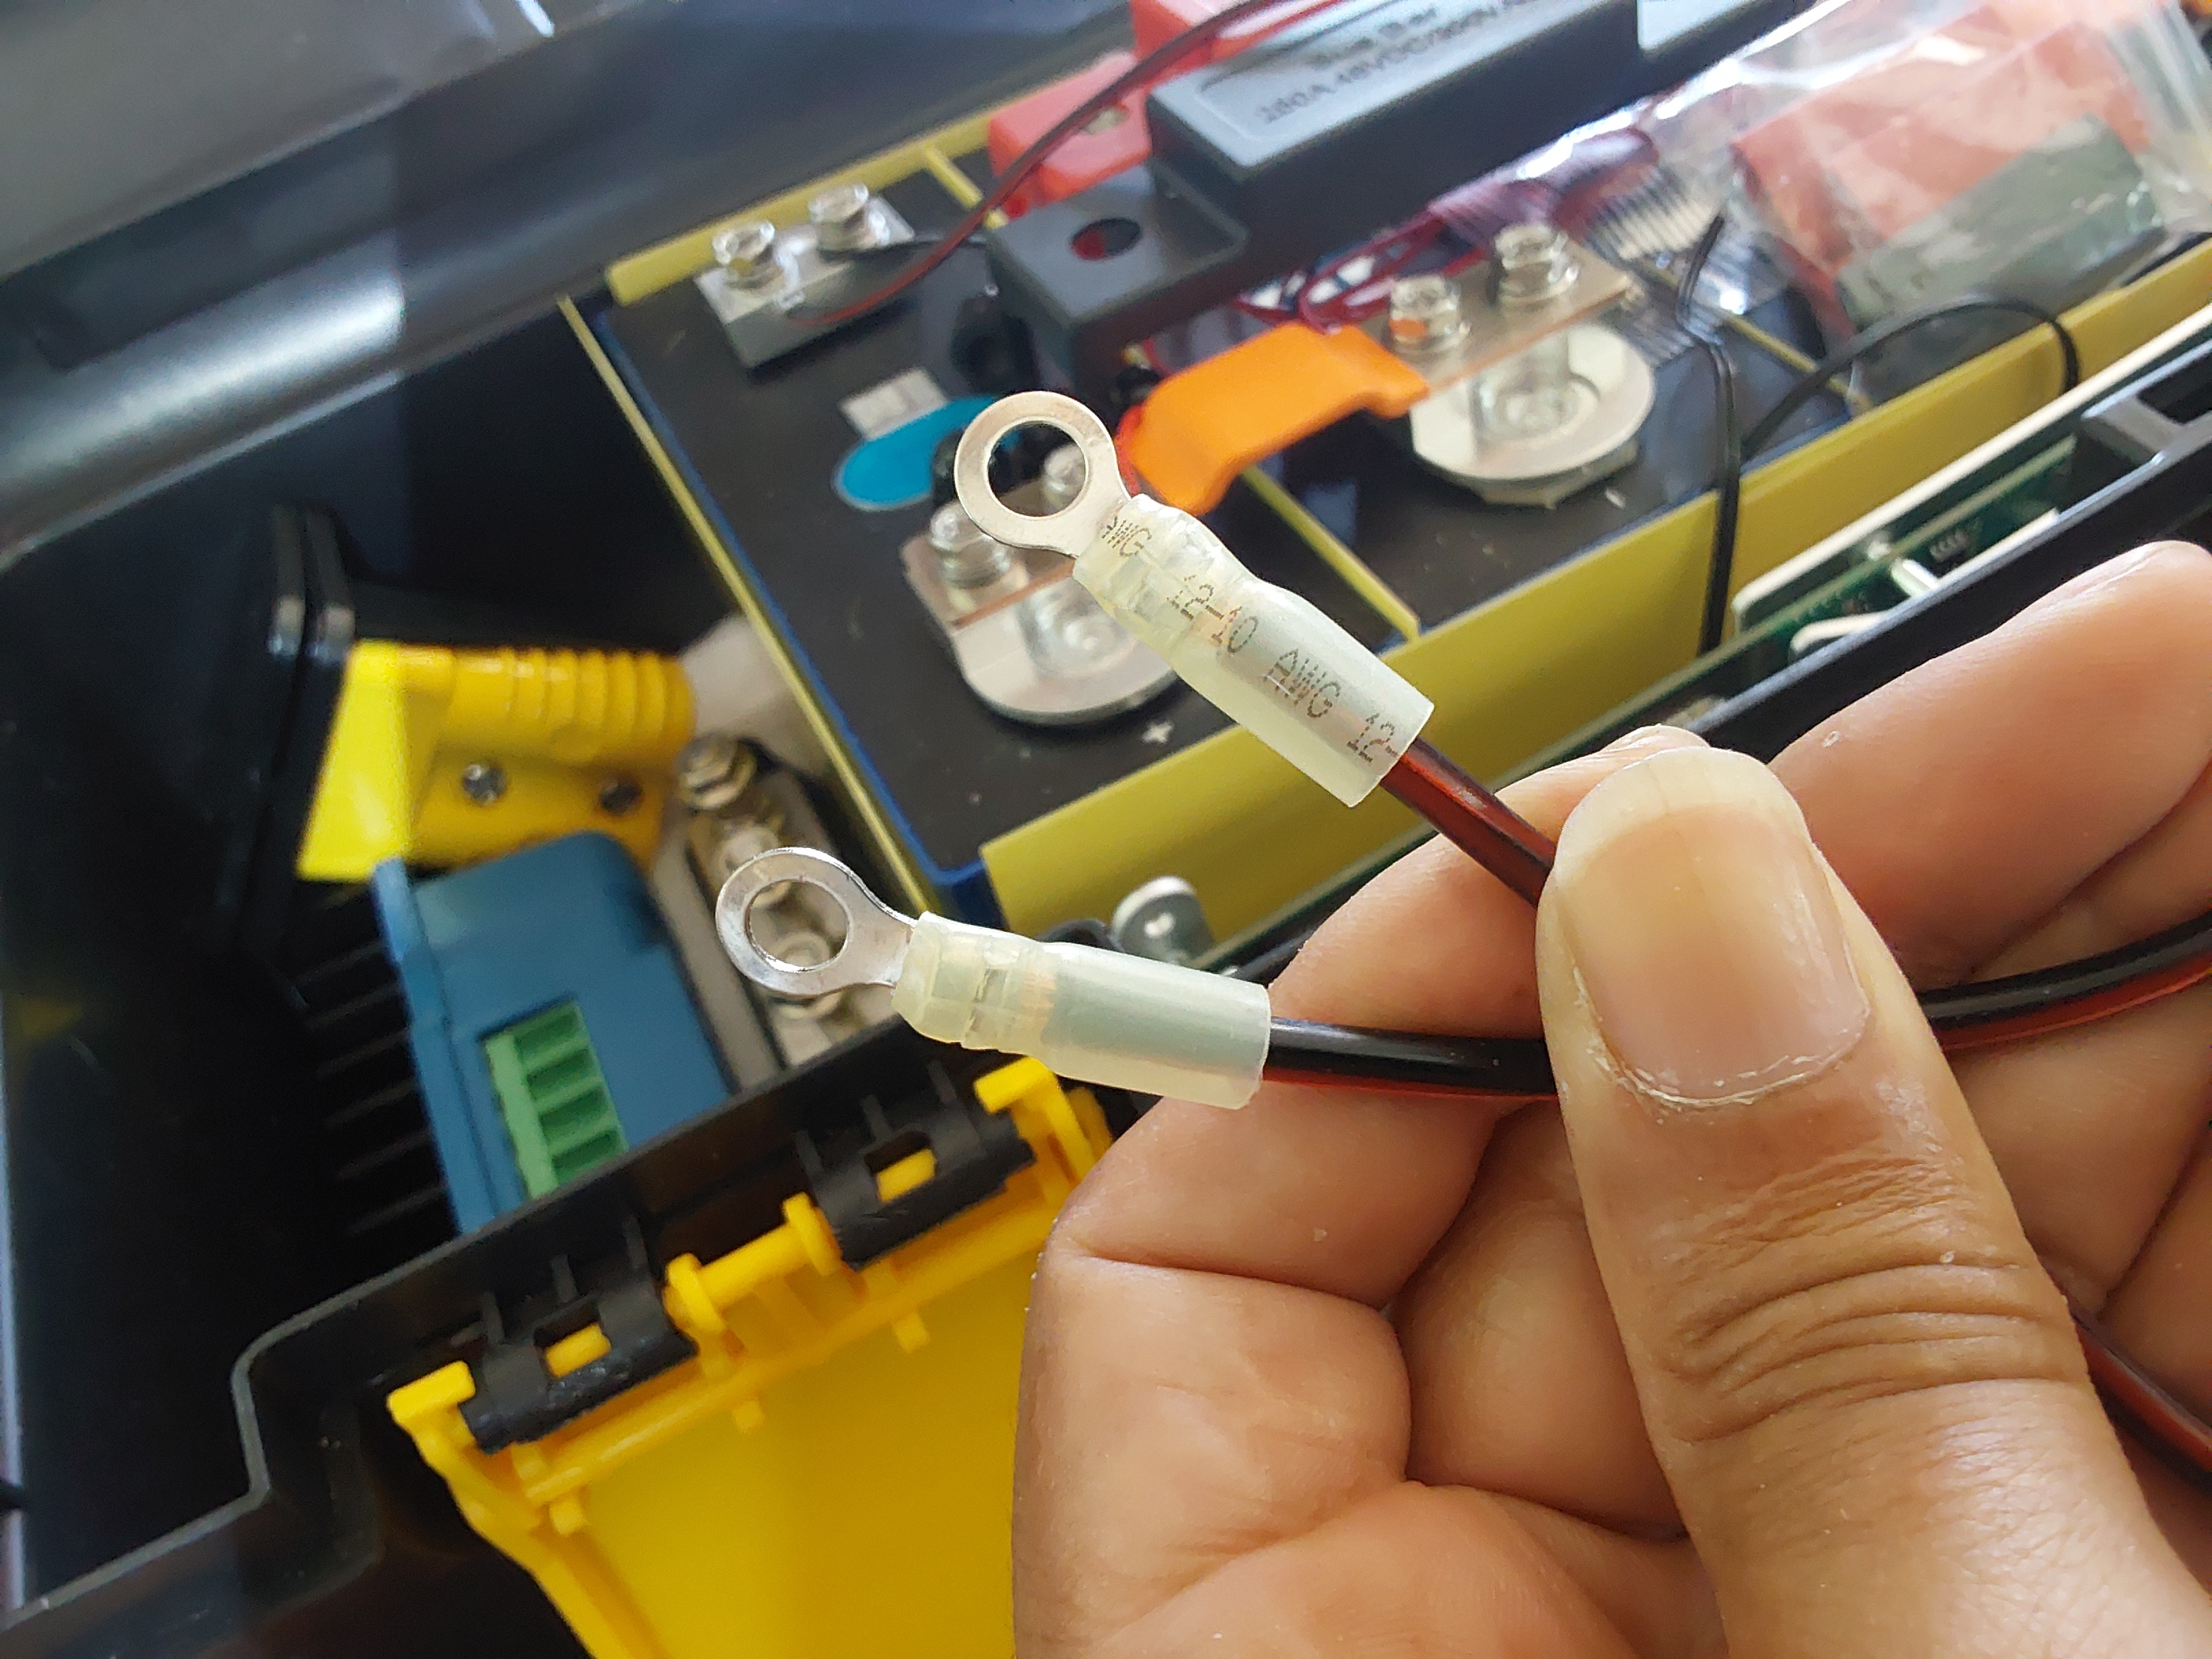
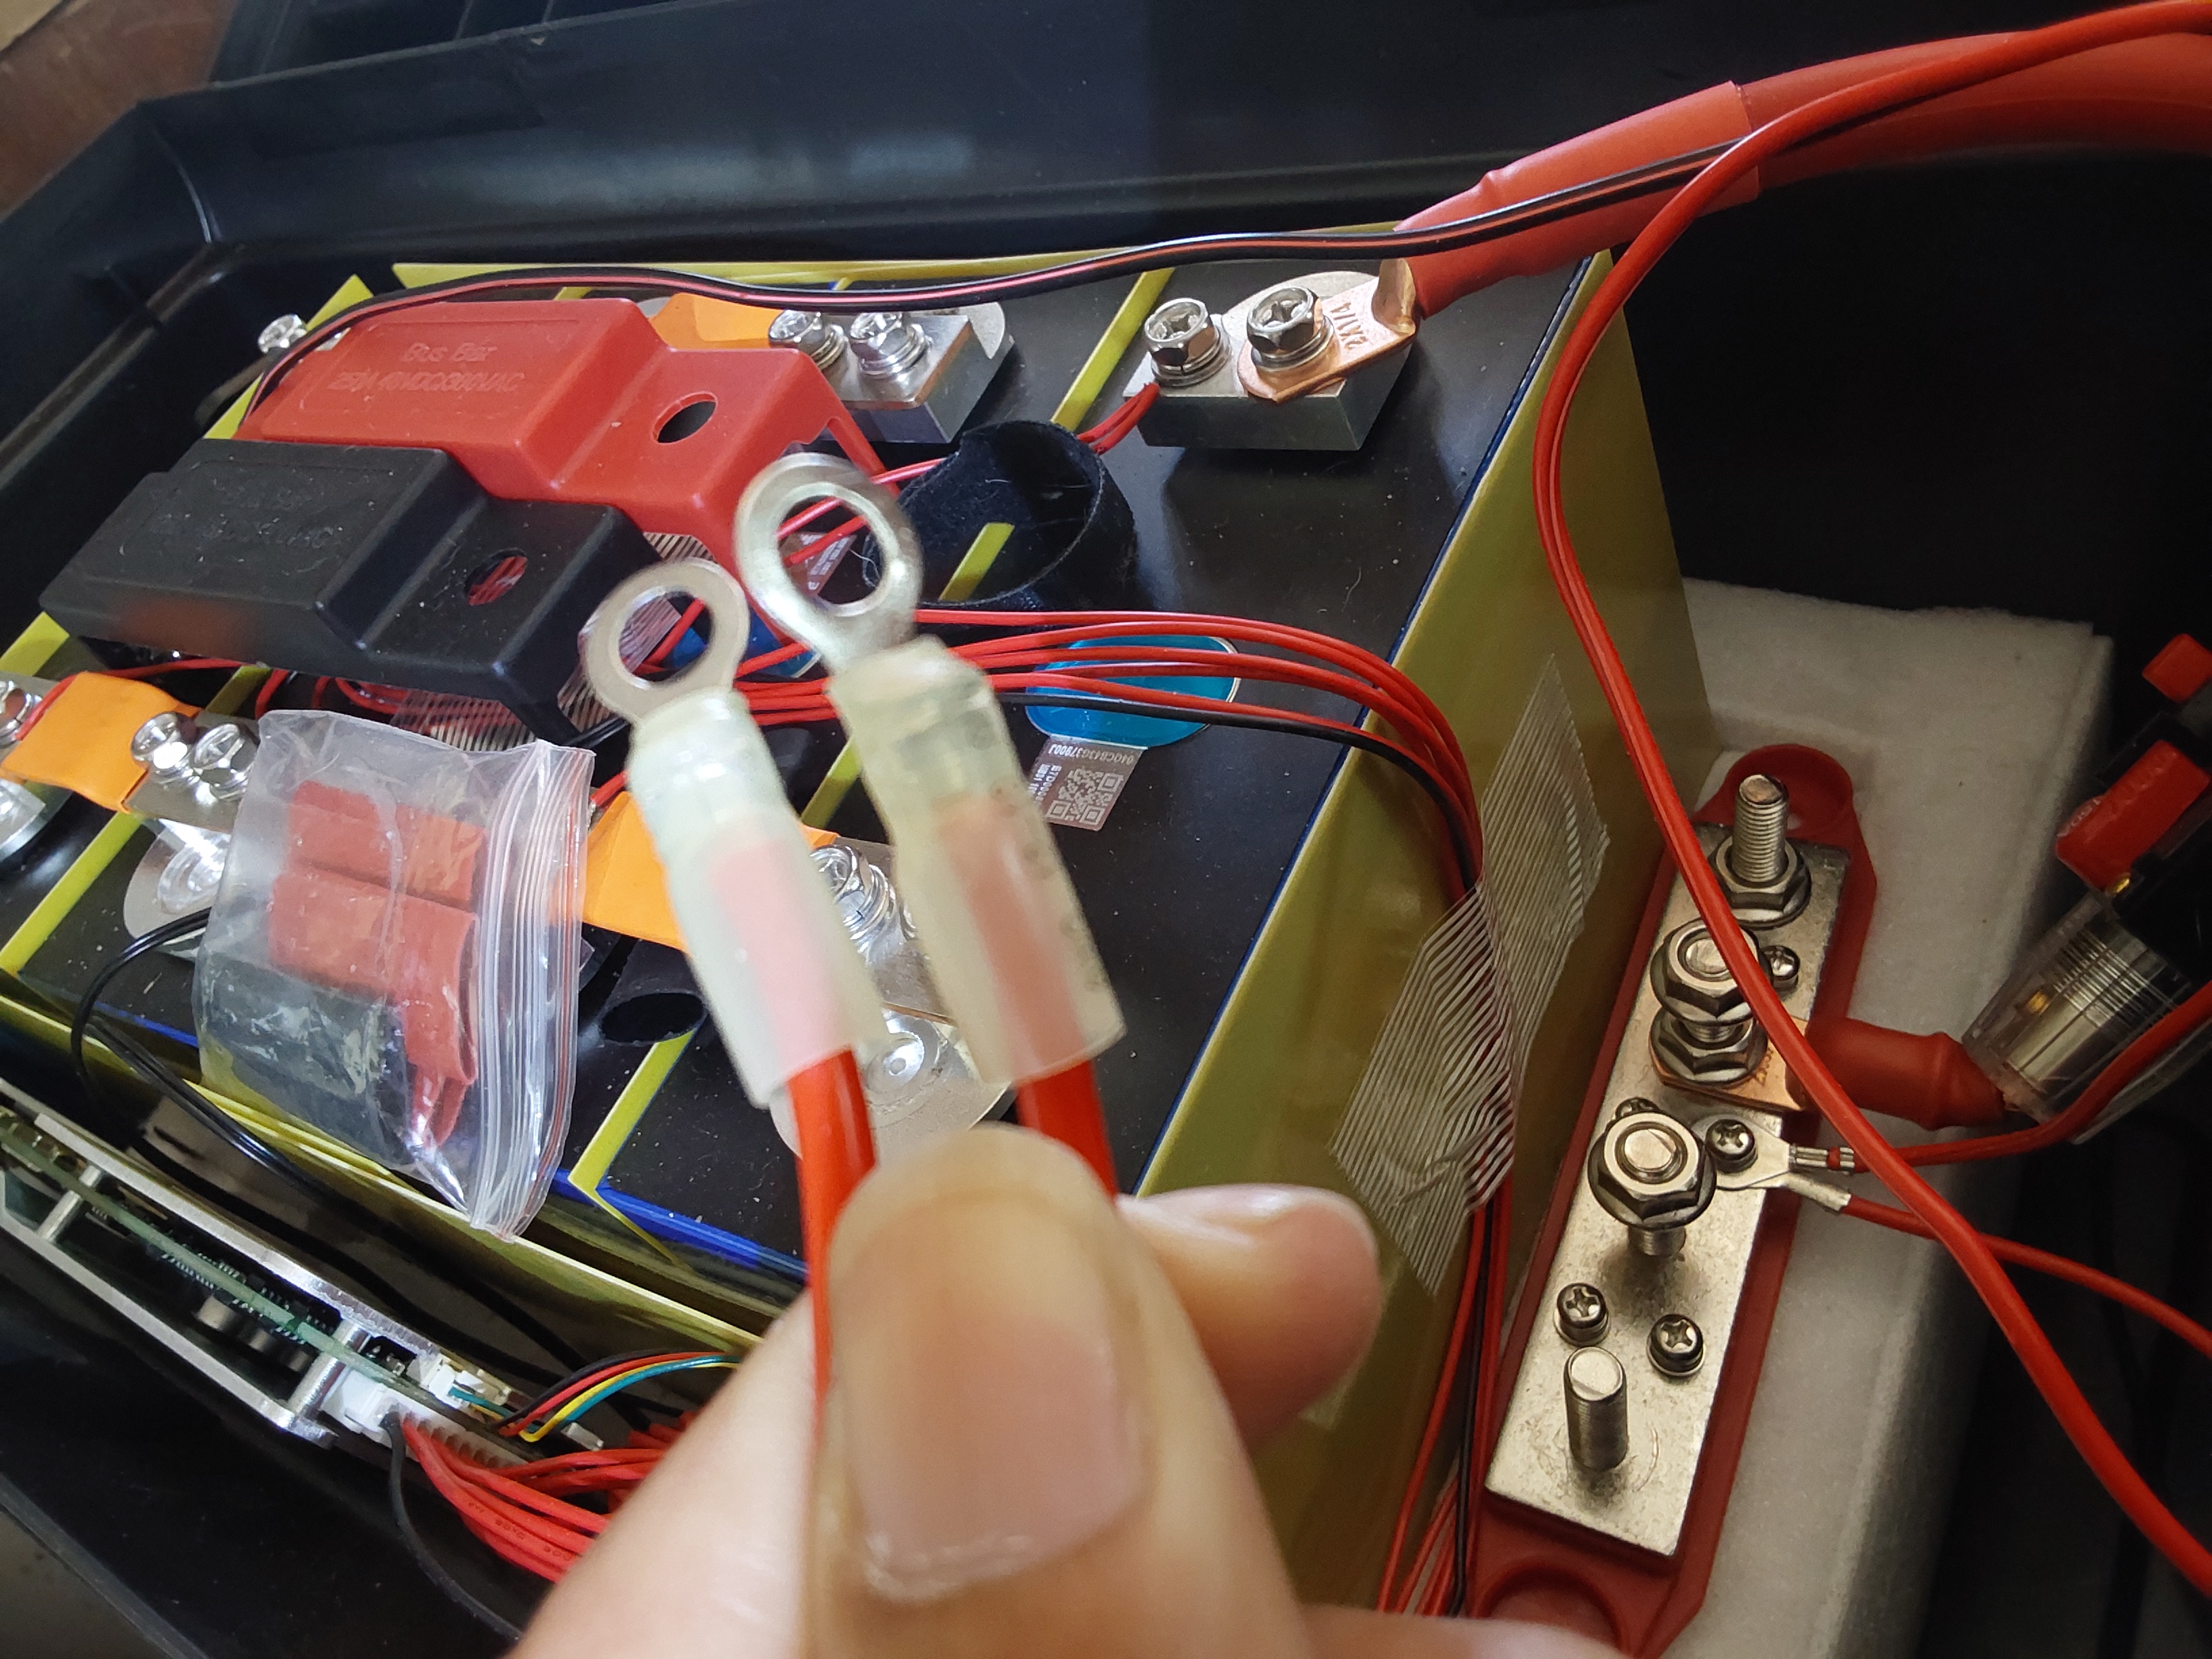
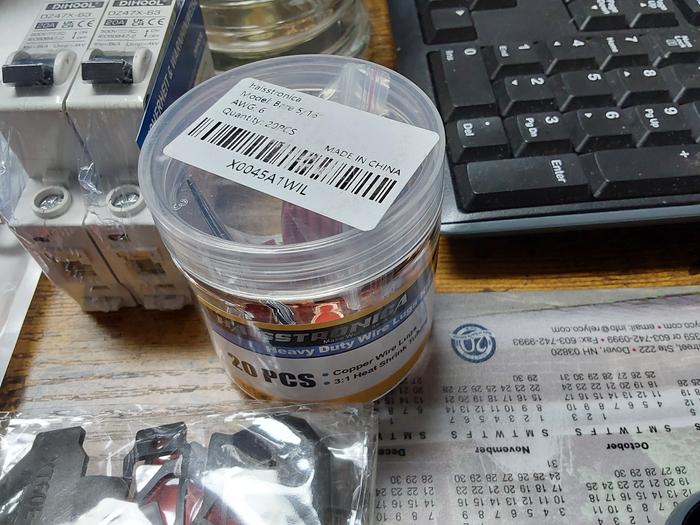
I also replaced the ring terminals on the ends, with smaller ones, because there's no way those wires needed to be connected to a 5/16" lug on the buss bar...
The 6 gage terminal lugs I ended up using on the 6 gage wire, when needed (for 50-amp connections to the buss bars from the 50-amp controllers):











 5