• Post Reply Bookmark Topic Watch Topic
  • New Topic
permaculture forums growies critters building homesteading energy monies kitchen purity ungarbage community wilderness fiber arts art permaculture artisans regional education skip experiences global resources cider press projects digital market permies.com pie forums private forums all forums
this forum made possible by our volunteer staff, including ...
master stewards:
  • Carla Burke
  • Nancy Reading
  • John F Dean
  • r ranson
  • Jay Angler
  • paul wheaton
stewards:
  • Pearl Sutton
  • Leigh Tate
  • Devaka Cooray
master gardeners:
  • Christopher Weeks
  • Timothy Norton
gardeners:
  • thomas rubino
  • Matt McSpadden
  • Jeremy VanGelder

Aslan Core Gets a Mass (Image Heavy)

 
Rocket Scientist
Posts: 4530
Location: Upstate NY, zone 5
576
5
  • Mark post as helpful
  • send pies
    Number of slices to send:
    Optional 'thank-you' note:
  • Quote
  • Report post to moderator
If your wood rack is 4' x 4' with one layer of stove length wood, that would be 1/6th of a cord. Sounds much better for wood usage

Beautiful build... I hope you can find a way to add more mass. I might make a bell tower at/on the far end of the bench. Another possibility would be a thin bell between first barrel and wall. If you made that with a concave front, it could be deep enough for airflow yet not take up space you could use. As thickness would be an issue, maybe a sheetmetal liner for airtightness with one layer of brick around it for mass.
 
Glenn Herbert
Rocket Scientist
Posts: 4530
Location: Upstate NY, zone 5
576
5
  • Mark post as helpful
  • send pies
    Number of slices to send:
    Optional 'thank-you' note:
  • Quote
  • Report post to moderator
I made a feed tube liner of similar 1/8" steel, but with a top plate a couple inches wide that keeps the assembly from buckling. Secondary air flows around the liner for preheating and to cool the feed top, then enters the burn tunnel through the P-channel space behind the liner. I can cover the whole feed and the P-channel blasts just enough air to burn the load to ash. The P-channel lip that extends down a couple inches below the rest of the liner does warp from heat and corrodes. I have straightened it on the anvil a couple of times. After five years it is getting close to time to cut off that lip and replace it with a bolted-on replaceable sheetmetal lip.
 
Posts: 65
Location: Dirtling Farm, Jackson County, Oregon
19
  • Likes 2
  • Mark post as helpful
  • send pies
    Number of slices to send:
    Optional 'thank-you' note:
  • Quote
  • Report post to moderator

Glenn Herbert wrote:If your wood rack is 4' x 4' with one layer of stove length wood, that would be 1/6th of a cord. Sounds much better for wood usage

Yes, we figured that out when Luke came with the Testo. 1/6 of a cord lasts us 7-10 days depending on weather. If we were burning oak or madrone only, it should be able to last 2 weeks or more. When I was a kid, we had a 100 year old wood stove that could easily consume 1/6 of a cord PER DAY!!! And even more on many occasions. Our wood box probably held 1/4 of a cord, and with less dense wood, it could go through that in a day, no problem, saying nothing of all the wet wood we burned because we would run out of wood in the middle of the winter and have to go cut more. I vowed I would never do that. Now I use so little wood that I never have to.

Update: Luke came and we ran the Testo for several hours, several different fuels, playing around with some experiments.

Conclusions:
The stove can be very efficient when run correctly, many times we were able to reach under 30 PPM CO for the main burn.

However, any extra air caused spikes in CO.

So I conclude that perhaps the original size feed tube was probably the right one. The bigger one burns hotter and faster, but not consistently.

When we tested, I had just done a full cleaning, so it had very little ash in it. I noted that it is much more volatile when ash free. Perhaps it needs some restriction in the chimney or somewhere which is not affected by ash accumulation.

The mass is definitely too small, which I knew from the beginning, but that's the space I had to fill. My exhaust temperature is most often in the 490-550F region, which means I'm leaving 250F worth of heat on the table. So I'm tentatively planning on adding a second tier to the mass, perhaps even including an oven. I had wanted to use the stove as a bench to sit on, but that may simply not be feasible, especially due to the shape of the bench and space.

Aside from those things, this stove works fantastically, it heats a poorly insulated two story 3800 sf house with an acceptable amount of wood. The ground floor, which we call the basement (we are just barely in the flood plain) is partially uninsulated and has an 18" uninsulated CMU foundation wall around the perimeter, and an uninsulated concrete floor. It is still very leaky and there is one wall which is totally uninsulated.

But, as I am who I am, I am always in pursuit of higher efficiency. I think I'm going to remove my P-channel, as the stove gets plenty of air, and I may reduce my feed tube size, and eventually I plan on converting to a batch box. More mass would be nice for maintaining a constant temperature as well, more constant heat output.

If anyone has any suggestions, I would love to hear them, especially for how to add a second tier to the mass to allow for more heat absorption area and mass heat storage. Should I make a second half barrel bench on top of the first one, or should I make taller bells, maybe bricking in some barrels which stand on top of the existing mass? I would really like to hear some suggestions.
 
Glenn Herbert
Rocket Scientist
Posts: 4530
Location: Upstate NY, zone 5
576
5
  • Likes 1
  • Mark post as helpful
  • send pies
    Number of slices to send:
    Optional 'thank-you' note:
  • Quote
  • Report post to moderator
Since the bench right next to the vertical barrels would be dangerous to sit on anyway, I would make a tall thin bell there, possibly trapezoidal or triangular to use more of the wasted space behind the barrels. A right triangle with the hypotenuse against the wall (with 4" clearance) would give maximum ISA with minimum encroachment on usable bench space.
 
Posts: 77
17
  • Mark post as helpful
  • send pies
    Number of slices to send:
    Optional 'thank-you' note:
  • Quote
  • Report post to moderator
That looks amazing.
 
Rusticator
Posts: 8593
Location: Missouri Ozarks
4560
6
personal care gear foraging hunting rabbit chicken cooking food preservation fiber arts medical herbs homestead
  • Mark post as helpful
  • send pies
    Number of slices to send:
    Optional 'thank-you' note:
  • Quote
  • Report post to moderator
Solomon, this is GREAT!! Do you have any pics of the whole thing, at the current stage?
 
Solomon Parker
Posts: 65
Location: Dirtling Farm, Jackson County, Oregon
19
  • Likes 2
  • Mark post as helpful
  • send pies
    Number of slices to send:
    Optional 'thank-you' note:
  • Quote
  • Report post to moderator

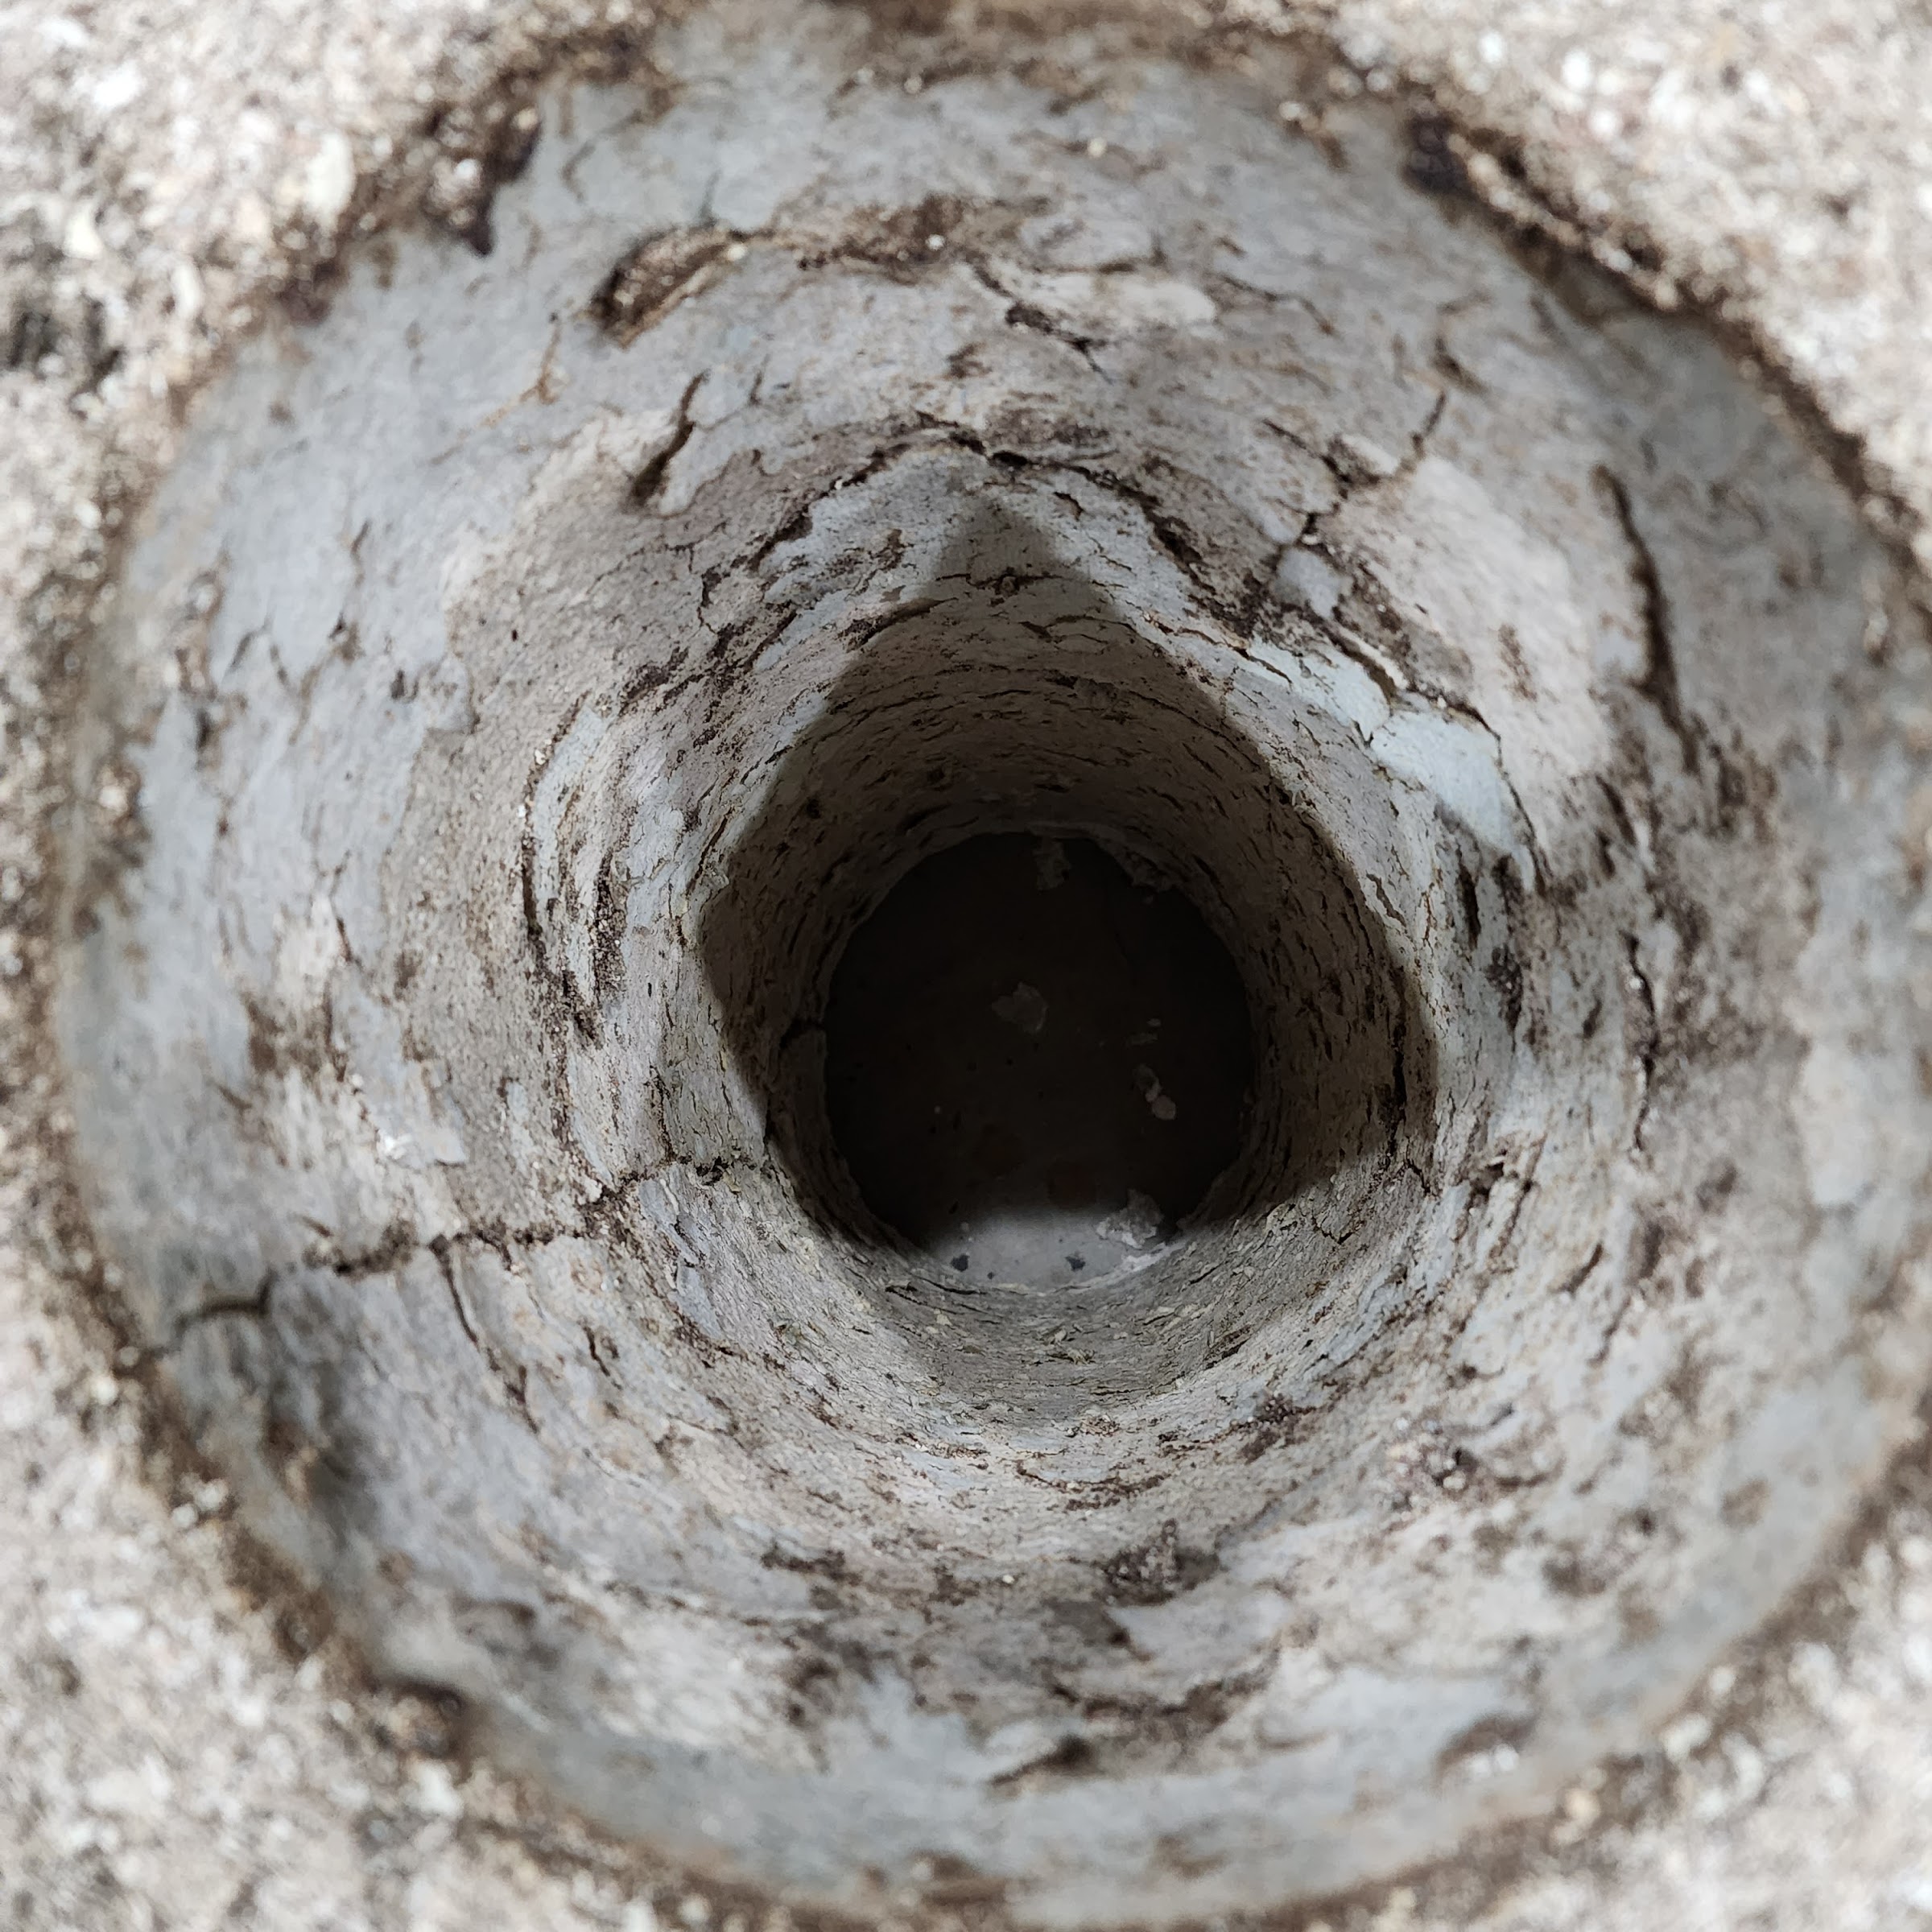
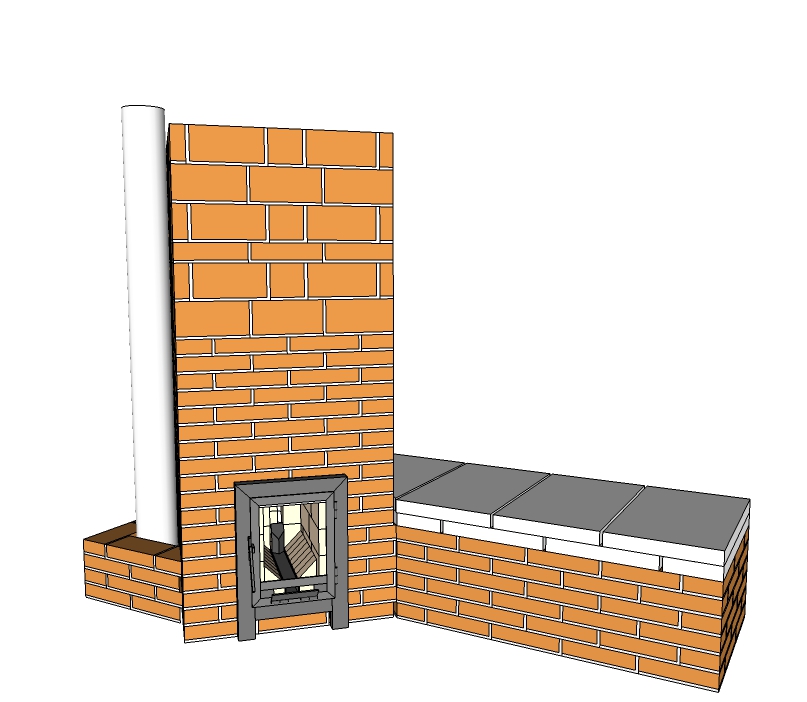
Carla Burke wrote:Solomon, this is GREAT!! Do you have any pics of the whole thing, at the current stage?


It really doesn't look any different now except that it has some black tiles sitting on top of it. We've been using it as is all winter, and have been pretty happy with it. I wish it had more mass so it was more efficient and held more heat, but other than that, it's been great. Been feeding it mostly free wood all winter.

I did recently remove the "P-channel" from the feed tube. As a result, it calmed down a bit, doesn't burn quite so hot or fast. The Testo results led me to believe there was an excess of air. I can't be sure, but I believe it is burning a bit more efficiently now, though slower, so we have to burn longer. But feed times have gone from 15-20 minutes to 30 minutes or better for a good load of dense wood.
 
Carla Burke
Rusticator
Posts: 8593
Location: Missouri Ozarks
4560
6
personal care gear foraging hunting rabbit chicken cooking food preservation fiber arts medical herbs homestead
  • Mark post as helpful
  • send pies
    Number of slices to send:
    Optional 'thank-you' note:
  • Quote
  • Report post to moderator
Thank you - sounds like it's working out well, for you. I'm still exploring ideas, and am very happy to learn as much as possible about all the different types of rmh.
 
Solomon Parker
Posts: 65
Location: Dirtling Farm, Jackson County, Oregon
19
  • Likes 2
  • Mark post as helpful
  • send pies
    Number of slices to send:
    Optional 'thank-you' note:
  • Quote
  • Report post to moderator

Carla Burke wrote:Thank you - sounds like it's working out well, for you. I'm still exploring ideas, and am very happy to learn as much as possible about all the different types of rmh.


That's very good. Remember to seek the views of the experts, read all the books and watch all the videos, and don't trust your own intuition too much until you've built your first one.
 
Solomon Parker
Posts: 65
Location: Dirtling Farm, Jackson County, Oregon
19
  • Likes 1
  • Mark post as helpful
  • send pies
    Number of slices to send:
    Optional 'thank-you' note:
  • Quote
  • Report post to moderator
UPDATE:

Hey all, I haven't posted in a while, but I'm still around.

Just wanted to post an update on how the Aslan Core is performing in the midst of our second full winter.

The short answer is, too well.

So, what's been happening is I cleaned up an old weed growing operation where they used 5" 2x4 and 2x3 blocks as spacers for the racks to dry the weed. They gave me about a cord of these, maybe more, and me, never being one to turn down free firewood, (cured and pre-cut even), took it home and threw it in my wood shed and have been burning it this year.
Now we have switched back to mostly cord wood with smaller supplements of the blocks. I also added firebrick splits to the bottom of the burn chamber to tighten up the cross section and reduce the throttle, temps, and burn rate.

I do remove the screws before burning. I've collected about 5 pounds so far, good quality star drive 3 inch construction screws. It's fantastic because it was free.

The problem is, it burns way too fast and hot and since my thermocouple has been malfunctioning, I didn't catch it. So the inside of the core has been melting away, turning to glass and dripping down. All the ash (yes I mean all) has been getting sucked into the mass where it settles.

So here is the lower two foot section of riser. It is completely glassed. I'm not saying it can't be reused, I might still reuse it. It was only about 7.5" to begin with so now with the melting and added roughness, maybe it's 8" equivalent.


Here is the upper two foot section of riser, not glassed, but definitely overheated. Remember, this stuff was rated to 2300 and on my first test, I tested it to probably 2400F.


Here is the rear section of the burn tunnel and the manifold:

You can see booger colored chunks of melted riser glass around the edges.


Next is the view of down the bench. All of the ash was either being converted to clinker or sucked down into the bench. Previously, about half the ash was staying in the burn tunnel, about half in the manifold and just a little bit was ending up in the bench. This deposition that you see here is only from THIS WINTER'S burns. I cleaned all of this out before the heating season. The whole of last winter only deposited ~1 inch of ash in the bench.


This ash almost looks like volcanic ash more than wood ash. Volcanic ash is what happens when you take red hot rock and squeeze it out through a small orifice at a million billion pounds per square inch.
On the upside, heating has been great, we have heated almost exclusively with this stove. Pretty standard operation, once or twice a day burn for a couple hours, and it heats the whole house, with the help of some blowers and fans to move air around.


So, what to do.

I was already planning on replacing the J-Tube core with a batch box core this coming spring/summer. So I'm not worried about having destroyed the J. I have put a couple things in the system to slow down the gas flow and put a throttle on this thing. It seems to have worked, so I hope that holds together for the rest of the winter. If it doesn't, then I buy some more heater buddies and heat with propane until I can get the new stove rebuilt.

Given how it turned out, which you've seen in this thread, I'm thinking instead of just replacing the core, I'm going to tear down the whole thing and start from scratch and build a large masonry heater with a batchbox core. I want it to fit in the corner better since sitting on the bench never really worked. It would be much better for the floor space in the room and would look more conventional and presentable. This will give me the opportunity to make some adjustments using the experience I now have, to build a machine which is more serviceable, more durable, and easier to operate.

I'm going to do almost exactly what Peter (and friends) did in his "Mallorca" build, except scaled up to 8".


Character is the architect of achievements - Mark Twain / tiny ad
GAMCOD 2025: 200 square feet; Zero degrees F or colder; calories cheap and easy
https://permies.com/wiki/270034/GAMCOD-square-feet-degrees-colder
reply
    Bookmark Topic Watch Topic
  • New Topic