posted 6 years ago
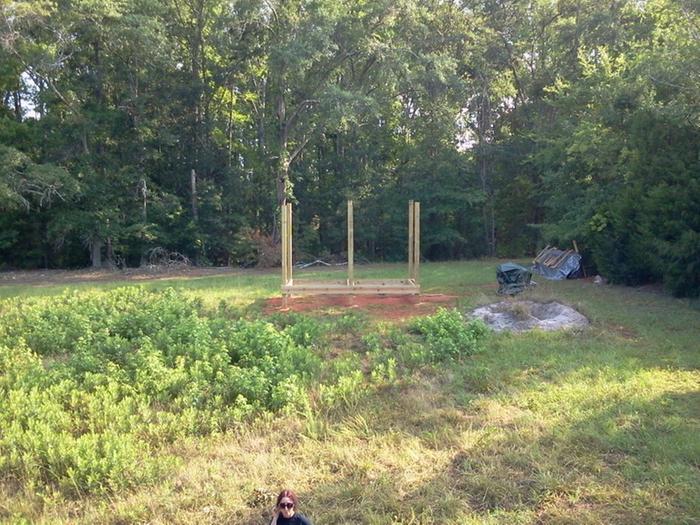
Timberframes are great works of art when built correctly. I’d hate to go through all the work of building one only to hide the structure inside a wall. My opinion is that the insulation and siding, both interior and exterior, should go outside of the frame so it is exposed to the interior. I know that this poses some additional challenge since you are using round timber instead of square. If it were mine to do, I would probably take some dimensional lumber and scribe fit a board to the exterior side of your frame, then insulate in between. You will probably end up framing in the whole wall so start in one corner and pick a point of reference on the corner of your first scribed boards and stick with it. Make that board plumb from that reference point. Then do the other corner on the same wall. Use some masons string along the 2 corner boards and scribe every post along the way. For the space between the posts, frame it in too but you won’t need to scribe anything, just make the 2x framing material flush with the outside edge of the scribed boards (your masons line). Then you can insulate in the framing, with most of the insulation on the exterior side of the timbers. Use a vapor barrier on the interior side of the building and some sort of house wrap outside before you close it in with siding. DONT forget to insulate your corners and rim joists! If you really want to make it tight, use Building Envelope Sealant instead of staples to adhere the vapor barrier, but it’s a messy petroleum product, so you may not want to.
Some issues you will face with using green beams are shrinking and checking. Depending on the species, your beams will shrink up to 3/4” or more per foot of diameter once dry. But, they shrink very little in length. If you frame to the exterior of the timbers, then most, if not all of your insulation will not be affected by this shrinkage. You will however see the shrink along every log if you do your interior siding in the first couple of years. One way to manage this is to go ahead and put on your interior siding and then scribe fit a piece of trim along each log. Pin it with some finish nails and in a few years when the logs are done shrinking, pull them off and move them over to hide the gap. If you frame in between the logs, then you will develop air leaks between the log posts and the insulation as they shrink, which may take several years to be fully dry. The best way I can think of to mitigate that if you do chose to frame in between the posts would be to leave a gap between post and stud and fill that space with some sort of resilient insulation that will expand as the post shrinks. Fiberglass or rockwool would do. Pack it in the gap at first, it’ll expand as the post shrinks.
There’s nothing you can do to prevent checking altogether , but you can slow it down and direct it a little. On the exterior side of each log, if you make a saw kerf an inch or 2 deep that runs the entire length of the log, any checks that develop are more likely to form there on the outside of the log and not on the interior side. Also, once you get a roof on the thing those logs are going to do a lot more drying. Running a humidifier inside the building for a year or two once enclosed will help. Running a wood stove will invite more checks though. The key to slowing checking is to slow the rate of drying.
To extend your roof overhang without having to get too structural with your double insulating walls, simply extend your roof purlins. Does your design run the purlins beyond the frame, or do they terminate at the outside posts? It’s more common for log cabin to have purlins that extend way out beyond the walls, but a lot of timberframes have the purlins and rafters end at the posts and beams that support them. Then the roof gets framed over sized in dimensional lumber like a regular house. I prefer to extend my purlins all the way out to the gable ends.
T-


 1
1


![[Download JARMEN-RESIDENCE_2020-03-28-(1).pdf]](https://permies.com/templates/default/betaview/images/download-attachment.gif)