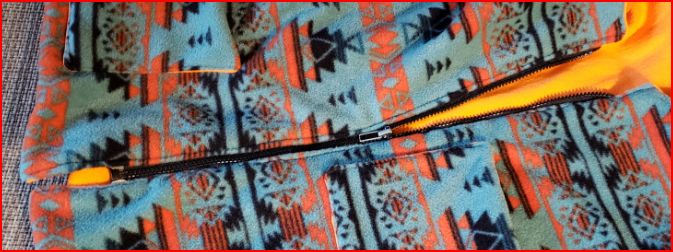
There didn't seem to be a basic tutorial on how to install a zipper here in the sewing forum, so I thought I'd take pictures as I did so yesterday and people can add their comments and experiences and tips to make zippers less scary!
My example is of installing a salvaged separating zipper into a vest made for me by a friend. She didn't have a zipper to use, but she had leftover fabric and figured she had just
enough to make me a vest, as I'm on the small size.
1st - normally, I'd try to put the zipper in at the beginning, but since sometimes zippers fail before the jacket/vest does, learning to do it in an already sewn object is useful.
2nd - I needed to pin the zipper carefully between the open edges of the vest. Since I'm quite short waisted, I started the zipper a little up from the bottom edge so it's more comfortable sitting or climbing ladders. The goal is to try to get the two bottom edges of the zipper to line up perfectly. This isn't easy in slightly stretchy material, but I tried.
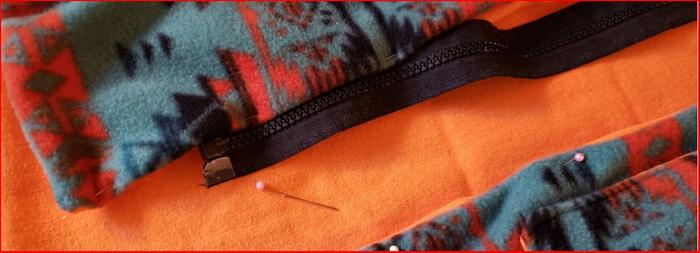
3rd - I find that the only good way for me to get a zipper in right is to baste it first by hand. Pins distort the fabric and make it much harder to keep things straight and pretty.
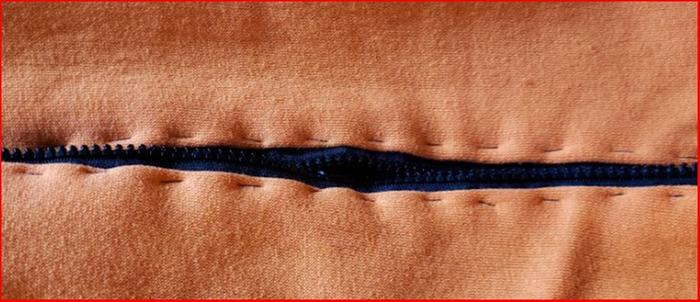
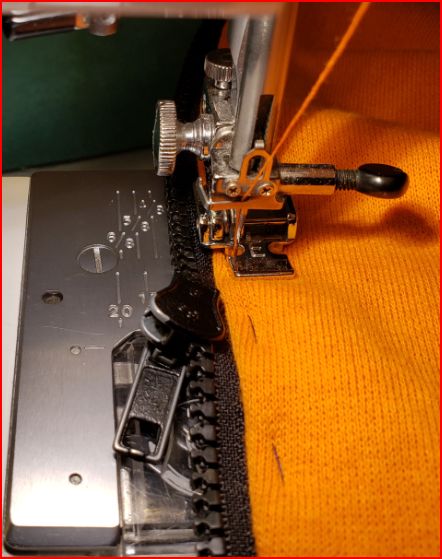
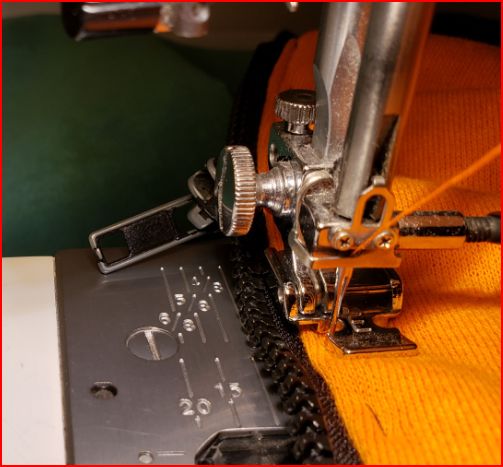
4th - It is really important to try to sew from the bottom of the zipper to the top on both sides. My machine has a really cool zipper foot that can shift from the right side to the left, so I can not only sew from the bottom, I can actually do it from the same side of the fabric as well. I was actually able to use black
thread on the bottom, and orange thread on the top to match the two colours of the vest.
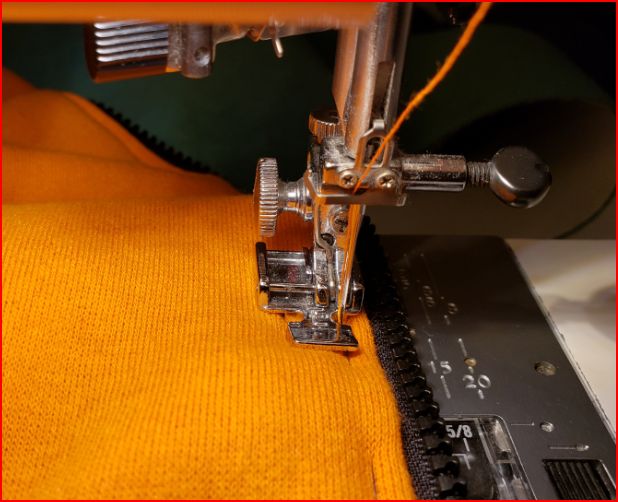
5th - The left side had the zipper slider on it. When I approach the slider, I put the needle down, lift the presser foot, slide the slider to the area I've already sewn, then put the presser foot back down (that last step is *really * important - don't forget to put it down or a mess will ensue!) With the needle down, the fabric won't shift, so you won't get out of line or miss a stitch.
6th - Enjoy a job well done! I didn't get the bottom matched perfectly, but the zipper's in and works.
