Hello all. Some of you may know me from the Frybrid Forum. I'm the guy who invented the SBC pump. Since inventing it, hundreds of folks have built their own pumps using my simple plans. A couple folks out there have even put these pumps into production and are selling them commercially. I'm very proud of my little contribution to the alternate fuels community and I'm happy that I've been able to help so many folks out there.
Unfortunately, the Frybrid Forum will be shutting down at the end of this month, and I'd hate to think this information would be lost, so I'm moving it here. Everyone and anyone is free to use these open source plans. Enjoy

How to turn a car-engines oil pump into a veg-oil pump for cheap.
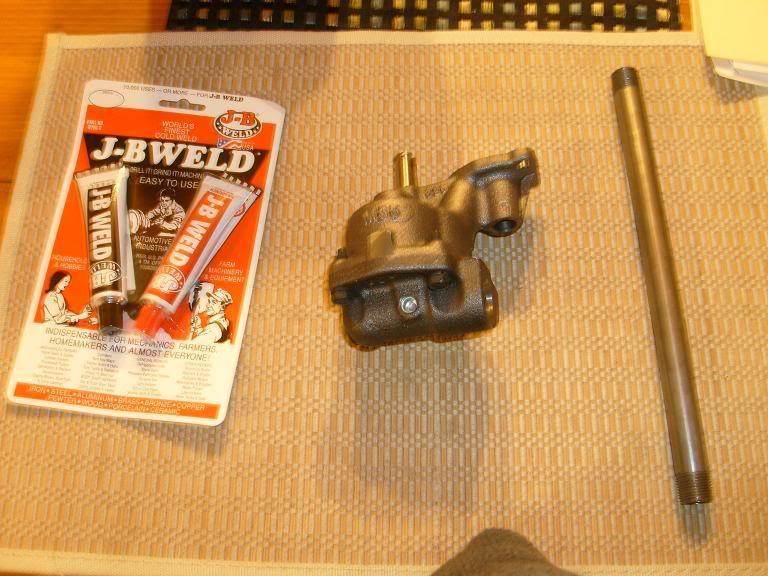
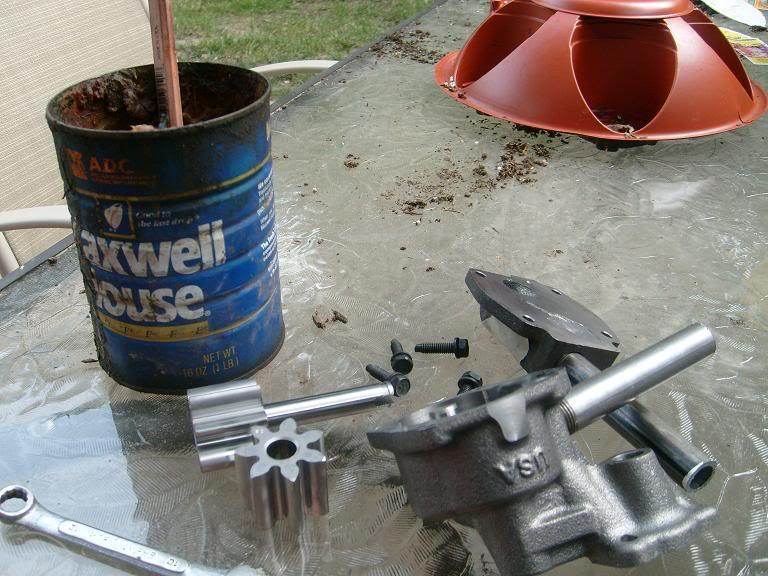
Here are the raw materials used:
1 small block chevy oil pump from autozone @ $15.88 [tax included]
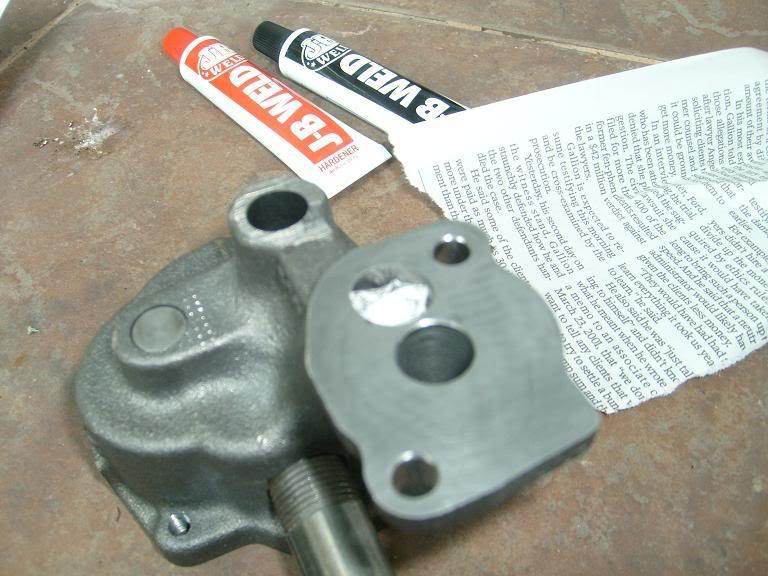
1 package of J.B. Weld available anywhere @ $4.23 [tax included]
1 section of 3/8 I.D. pipe from home-depot @ $3.17 [tax included]
[I used a 10 inch section. Your needs may vary]
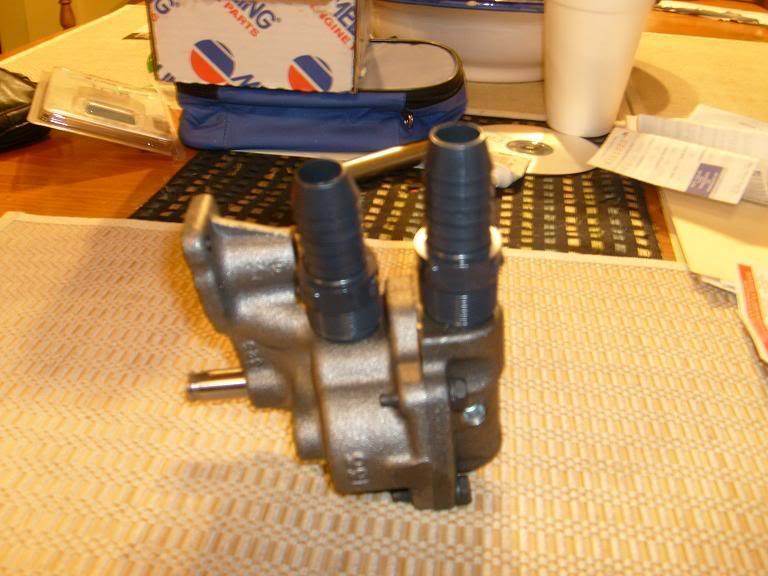
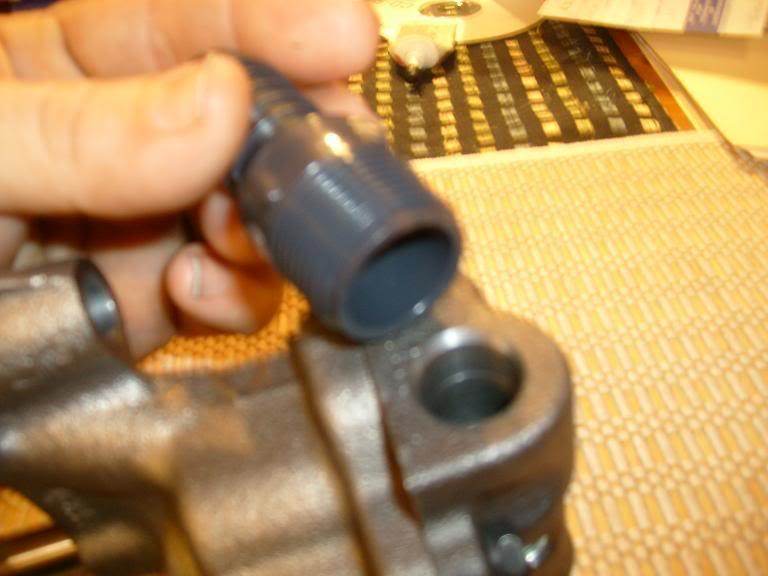
At first, I was going to use these 3/4 inch screw in barb adaptors that I got from Lowes for $0.88 cents each, but upon closer inspection, it was revealed that there was not enough "meat" in the oil pumps casing to support drilling a hole this large.
Building the pump:
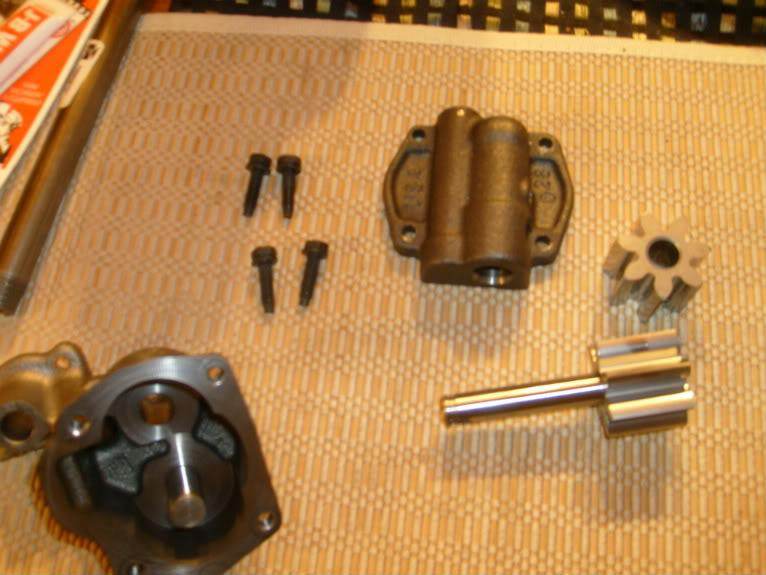
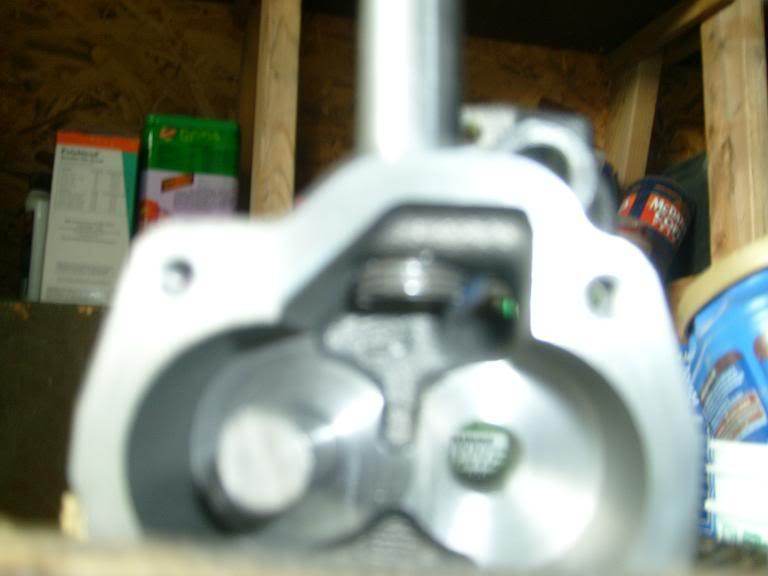
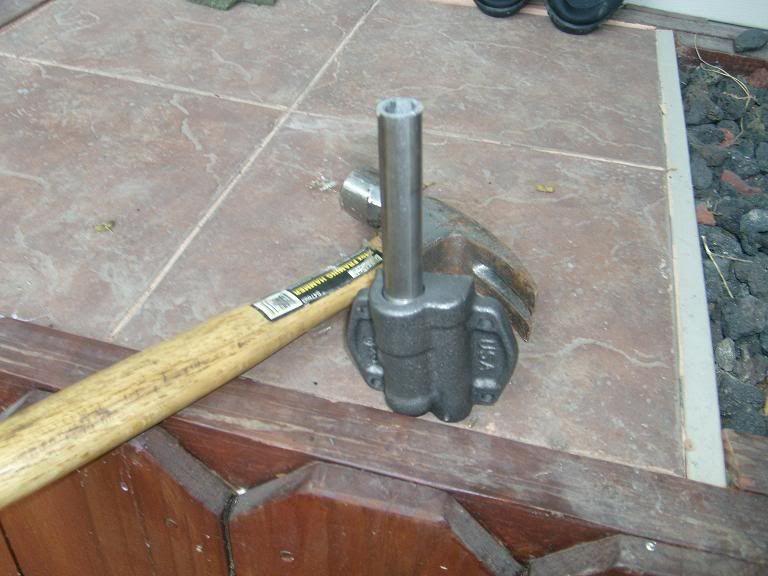
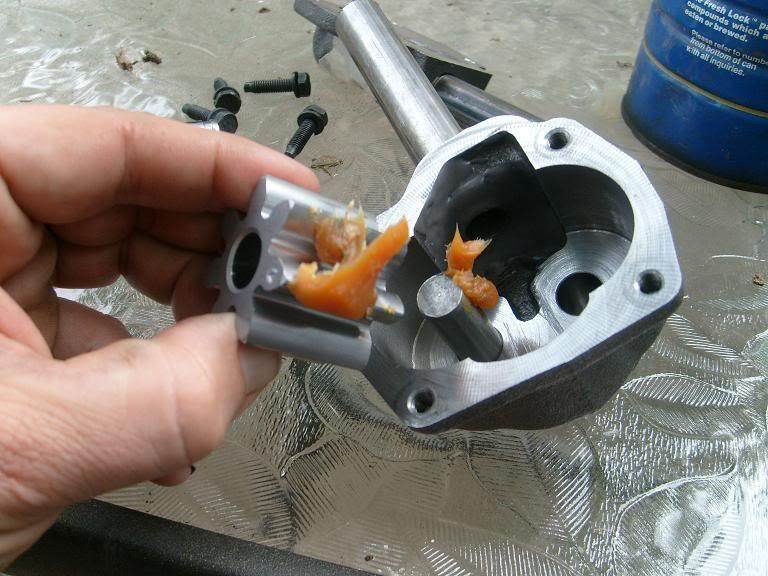
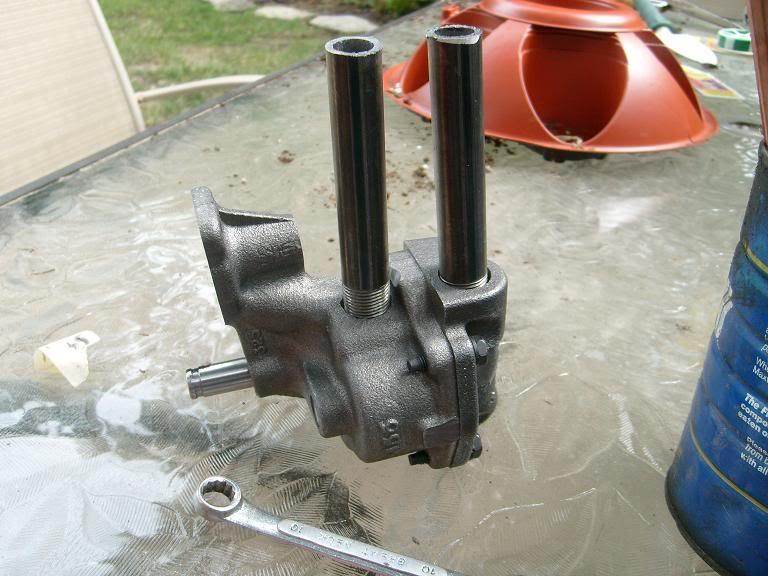
Step one, dis-assemble the sbc oil pump by removing the 4 10mm bolts that hold the housing together. Remove all internal components, as shown
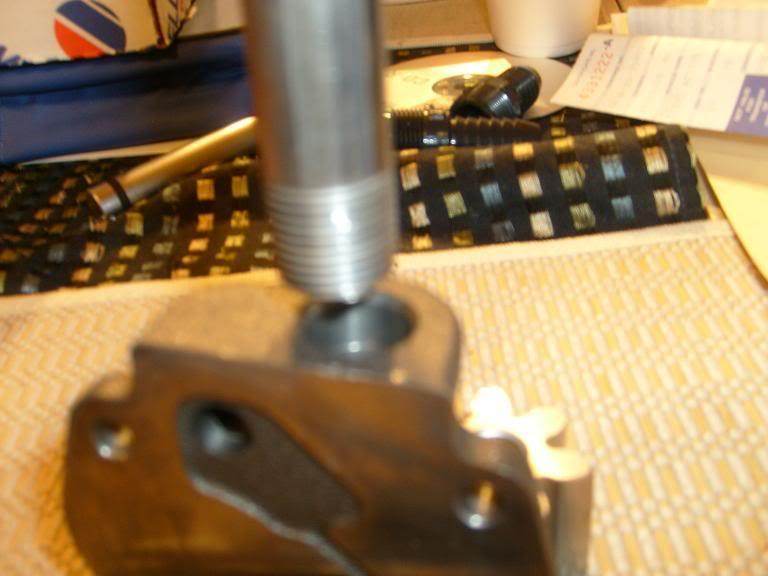
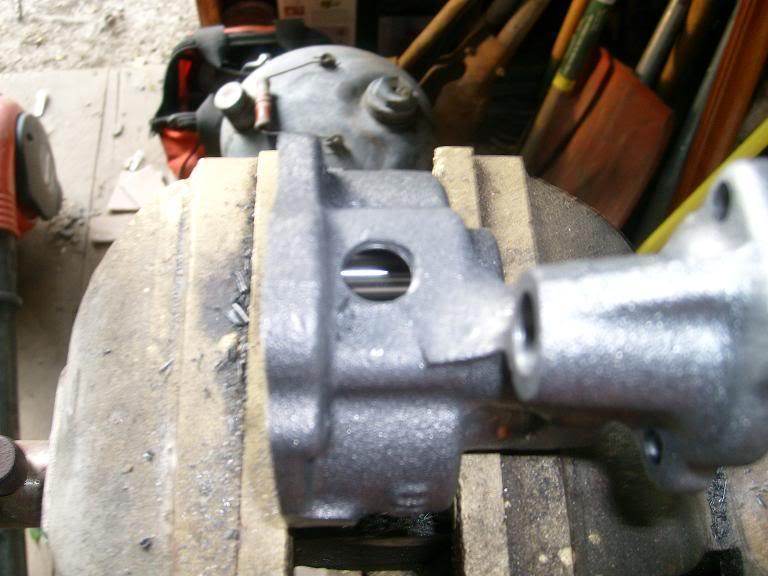
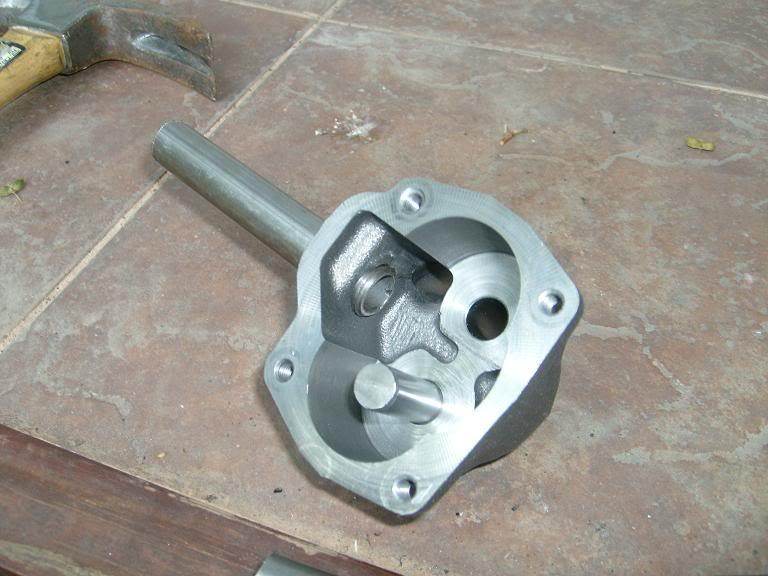
The 3/8 iron water pipe is pretty darn close to the size of the existing opening for the oil pumps intake, but it will have to be slightly enlarged to fit properly.
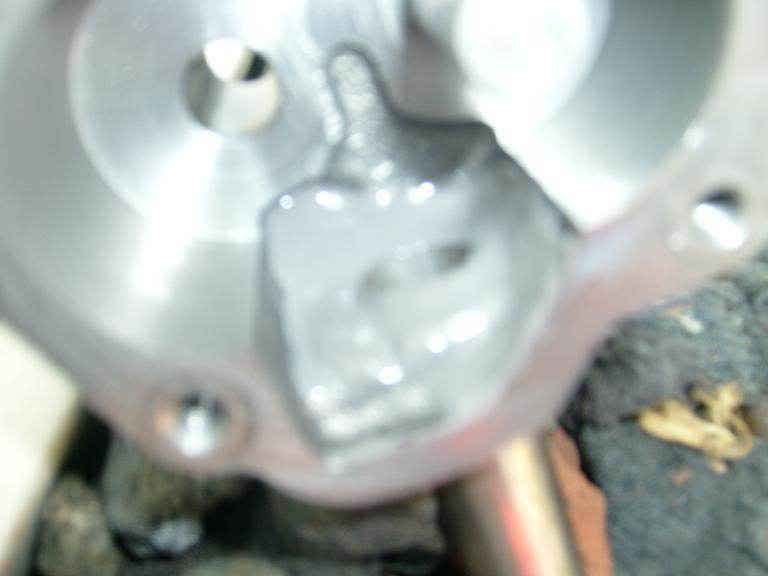
This is where the "new" outlet for the pump will be. This hole will have to be drilled right into the side of the casing.
Start by clamping the base of the oil pump into a bench vise. Get the largest drill bit you can get your hands on that's capable of cutting metal. This one I'm using is 1/2 inch. Start drilling down to enlarge the inlet opening untill the iron pipe fits into it.
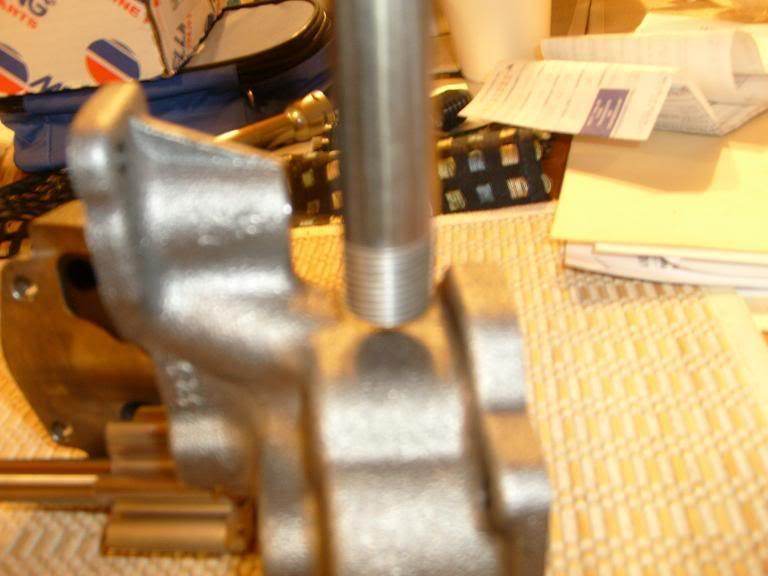
It only took about 40 seconds to "woller" out the hole untill the pipe fit. I stopped when about 1/3 of an inch of it would fit down in there.
Whoops!!! I made a mistake! I got a little too carried away with the drill bit, and drilled thru the factory installed plug for the pump bypass. No big deal, we'll fix it later... Just lucky we caught it early.
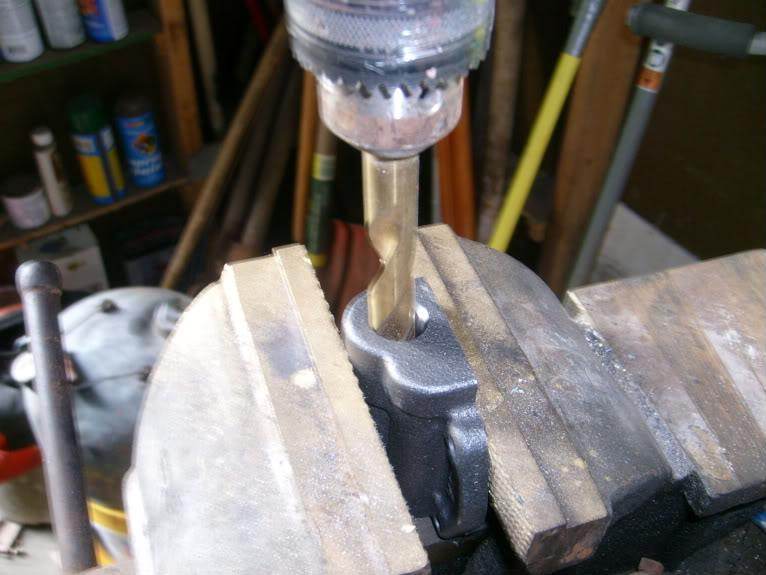
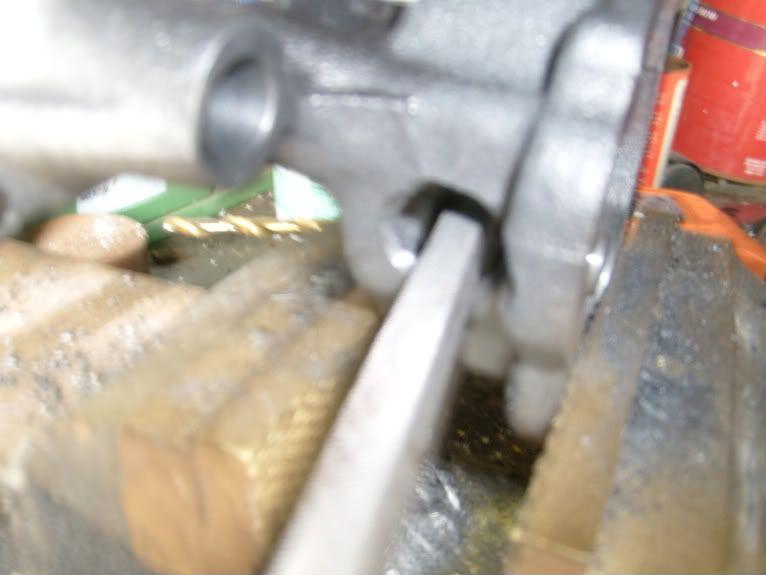
Now we have to drill the hole for the new outlet, right smack in the middle of the case. Clamp it into the vice and drill away. It's really surprising how easily a good drill bit goes thru cast iron.
Once thru, work the drill bit back and forth to enlarge the hole to fit the 3/8 pipe... But dont go too far.
Do the final work with a rasp. I got it soo close, that I was actually able to screw the threaded pipe into the hole I had just made... Yes, I am that good! LOL
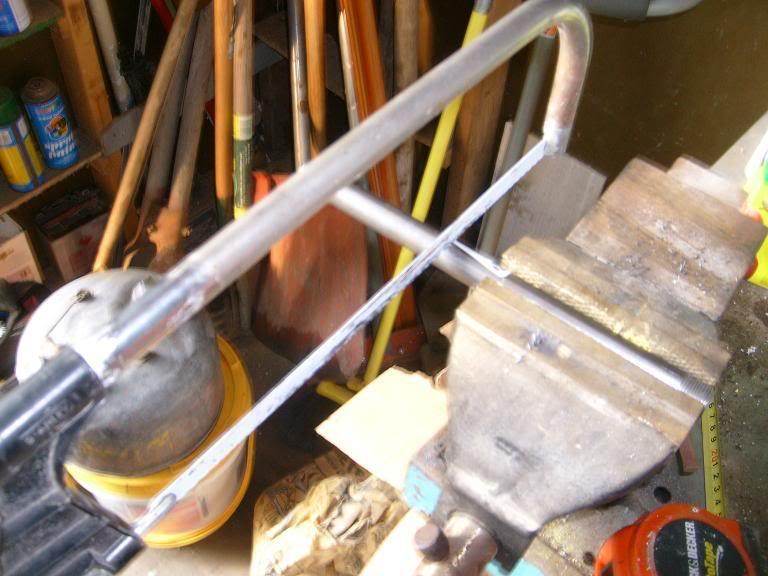
Now were gonna cut our 10 inch piece of 3/8 pipe into 3 sections. You will need a small piece about 1 1/2 inches long to connect the pump to an electric motor later. The other 2 pieces are a hair over 4 inches long each.
Here are all of out "modified" pieces. Time for some assembly...
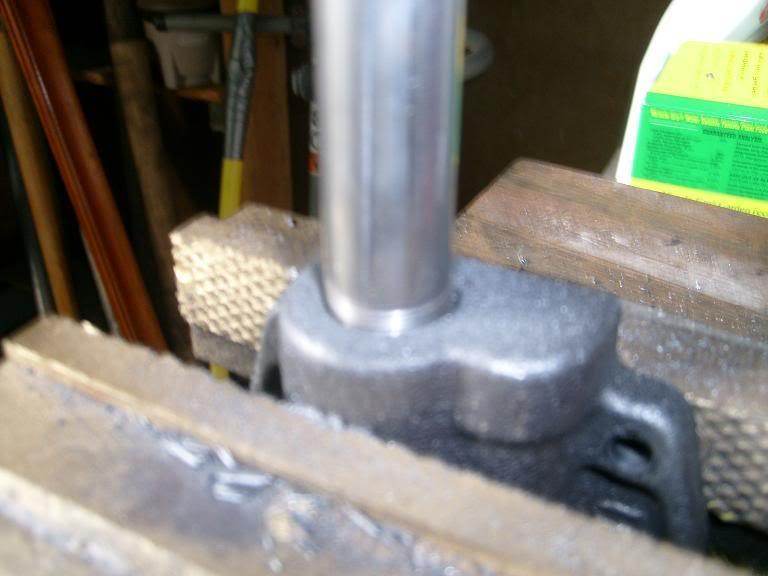
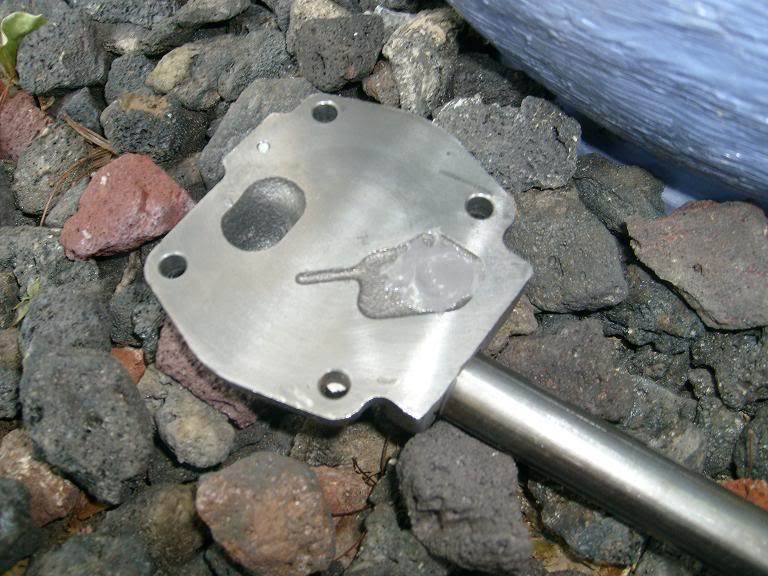
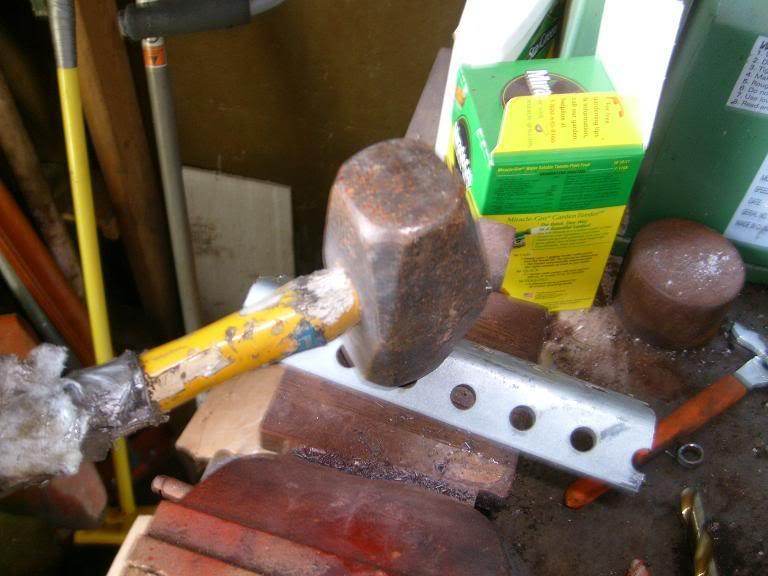
Use a hammer to drive the pipe into the base plate. I finally got all the threads to dis-appear down into the hole,,, but keep in mind that cast iron can crack if you abuse it too hard... Just make sure it's down in there good and snug.
Screw/insert the second section of 3/8 pipe into the pump sase as shown, then wad up some newspaper and stuff it into the factory outlet hole, as shown.
Keep the paper wad up as close to the top of the hole as posible so you can get a good ammount of J.B. Weld into the inside of it, so it seals up good and solid.
Mix up some J.B.[about a teaspoon, or 1/4 of the tubes], and fill the factory outlet hole, then sculpt and smooth it around the threads of the 3/8 pipe to form a good seal, as well as to hold it in place. A pop-sickle stick makes an excellent sculpting tool, plus it's a nice treat on a hot summers day.
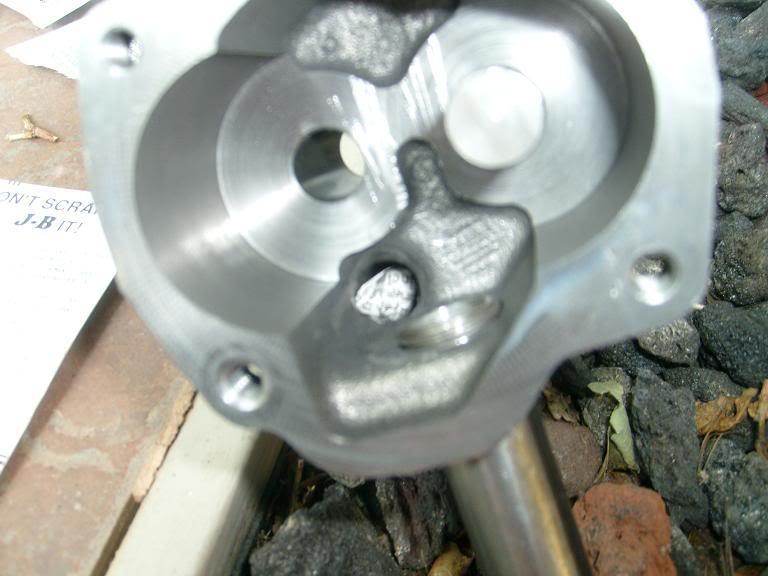
The small piece of tape is holding a small dollup of J.B. in the hole I accidently drilled out earlier. The repair came out perfect!!!
Notice I'm using the gravel pieces to "hold" the pump parts at the perfect angles to keep the J.B. from running.
Here, I use a dollup of J.B. to seal off [and eliminate] the factory bypass, so this pump will be capable of generating over 100 psi if I push it hard enough!
Let the parts sit for a couple hours untill the first batch of J.B. firms up.
Time for re-assembly. The coffee can is full of heavy axle grease. I'v found that if you coat the main shaft with heavy grease, it eliminates the "weeping" that a lot of people complain about.
All re-assembled, bolts installed.
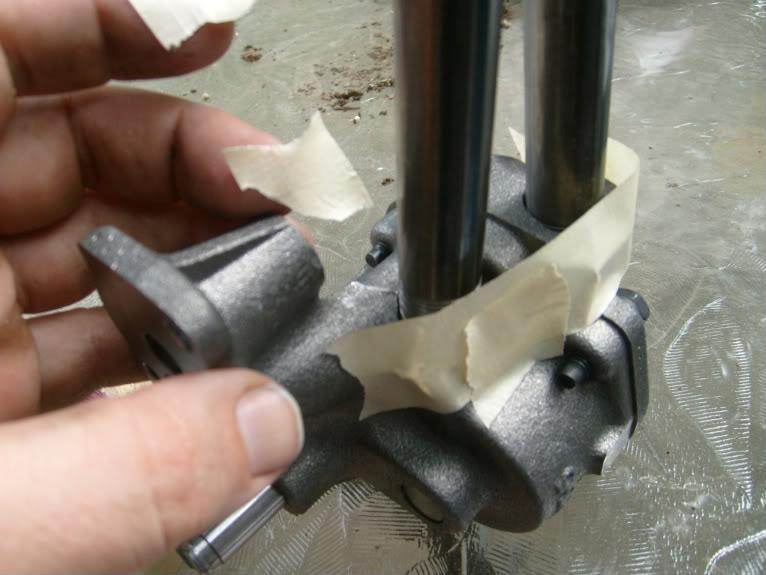
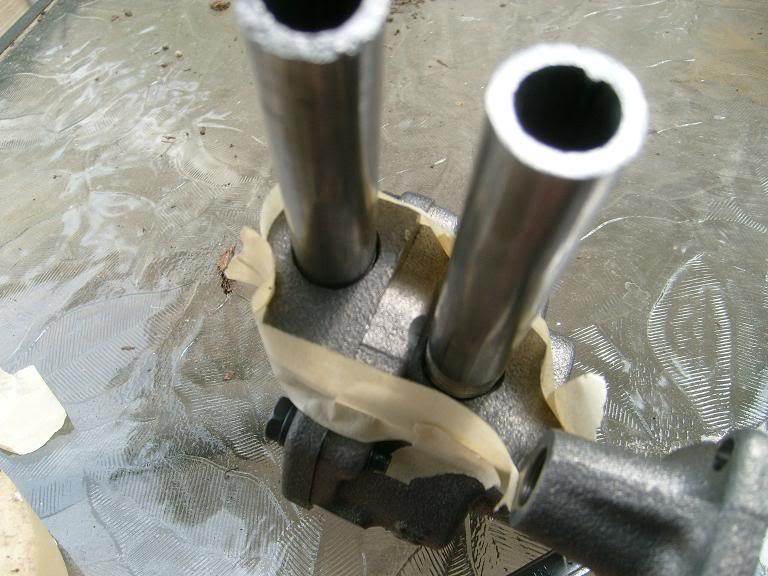
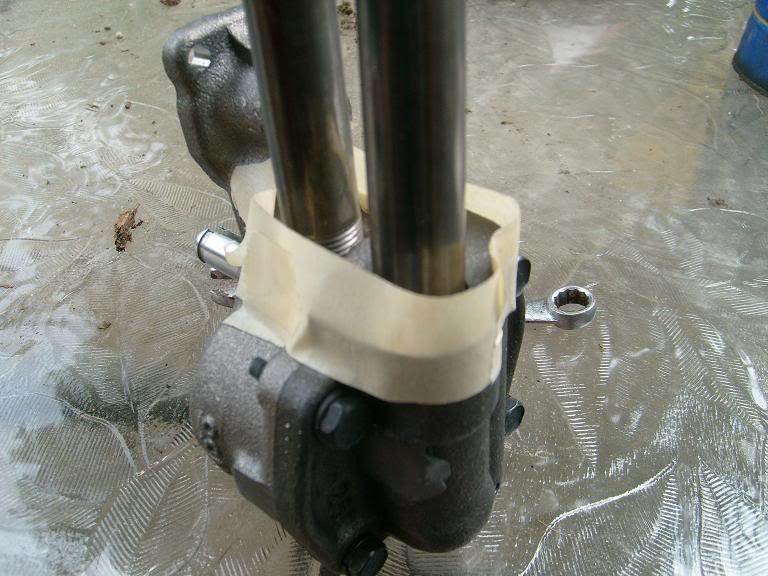
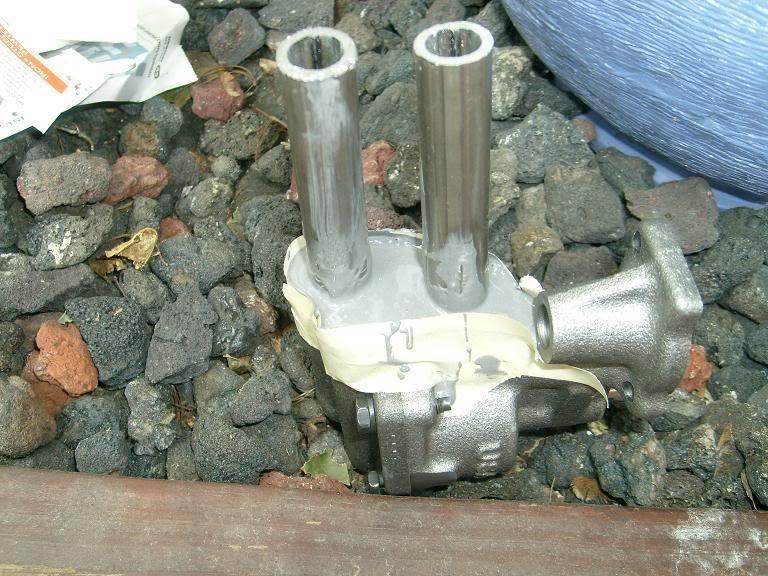
Now use masking tape to form a "dam" around the to pieces of pipe. Were going to completely encase them in J.B. weld.
Mix up the remainder of J.B., and pour it into the cavity, completely sealing the pipes we have installed.
Allow a couple hours for it to set, then remove the tape.
Just to make it look nice, I now use a rasp to smooth the flash from the J.B.
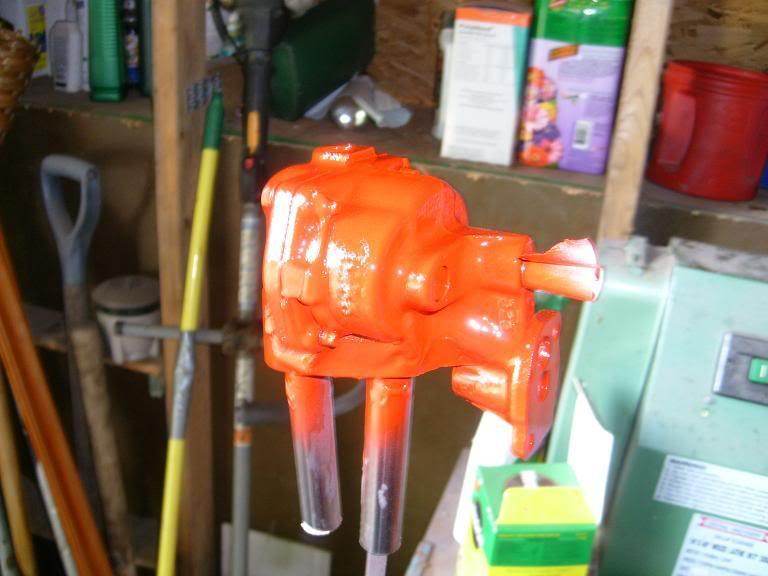
How about a fresh coat of paint? Hmmm... Fire engine red sounds good! Not nessecary, but I do it anyway.
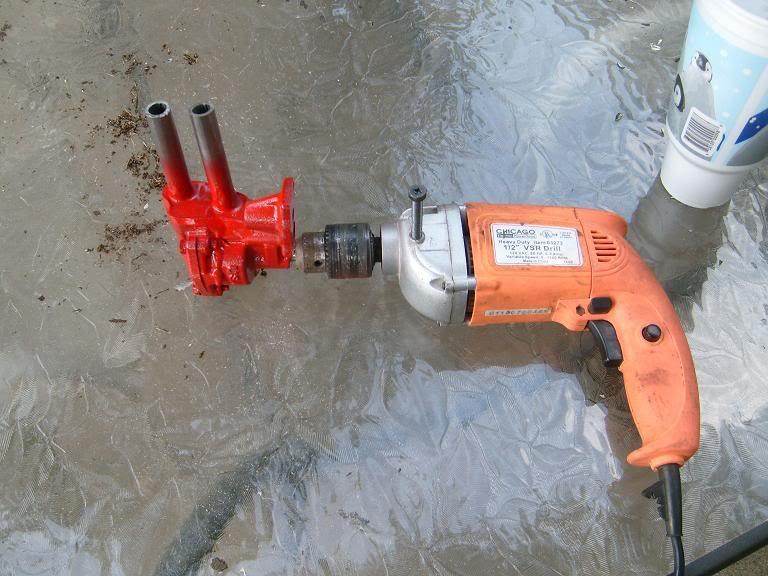
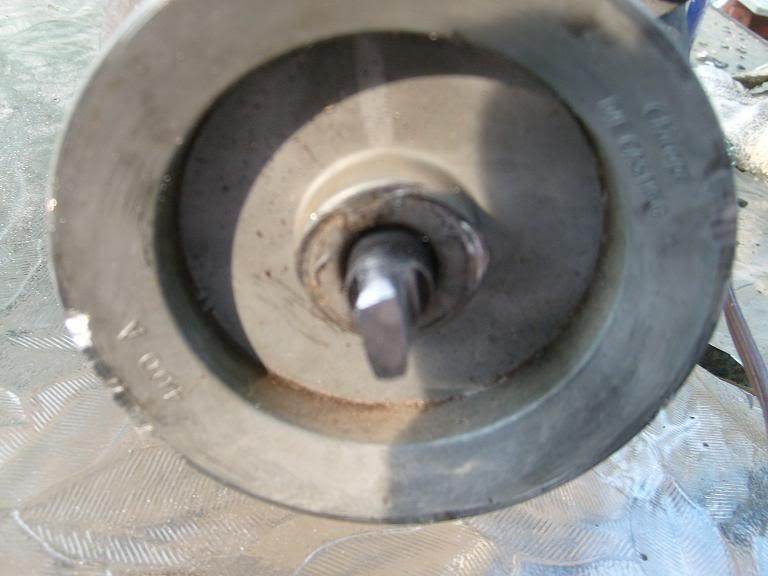
The 1/2 inch shaft fits perfectly into this $31 harbor freight 1/2 drill it's capable of spinning at 1000 rpm.
Harbor freight also sells this $29 hammer drill, that appears to have the same motor, and is capable of spinning up to 2400 rpm. If your buting new, I'd go for this one!!!
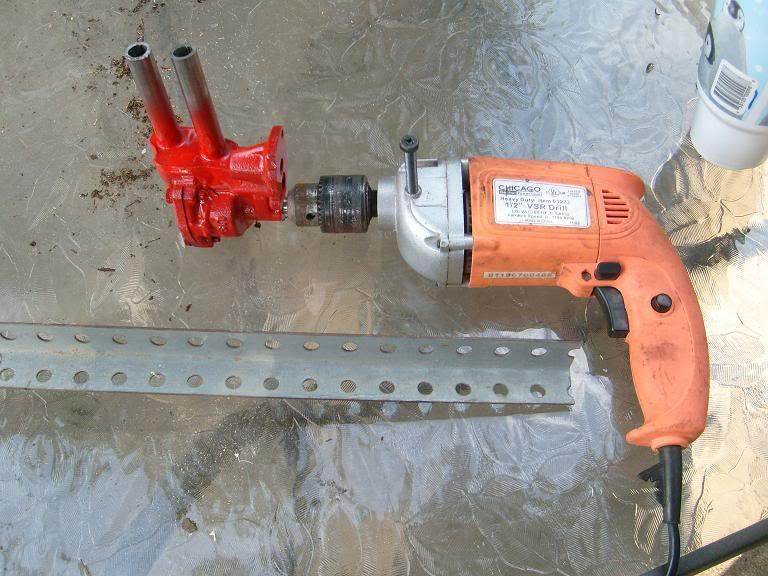
Found a scrap piece of "L" bracket, or plumbers bracket... I think we can make a nice mounting bracket out of some of this...
Cut off a few inches of it, and hammer it flat.
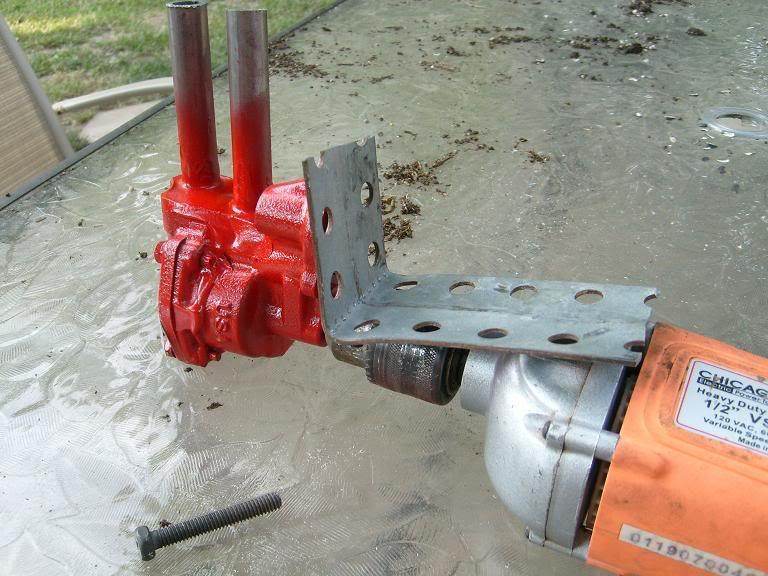
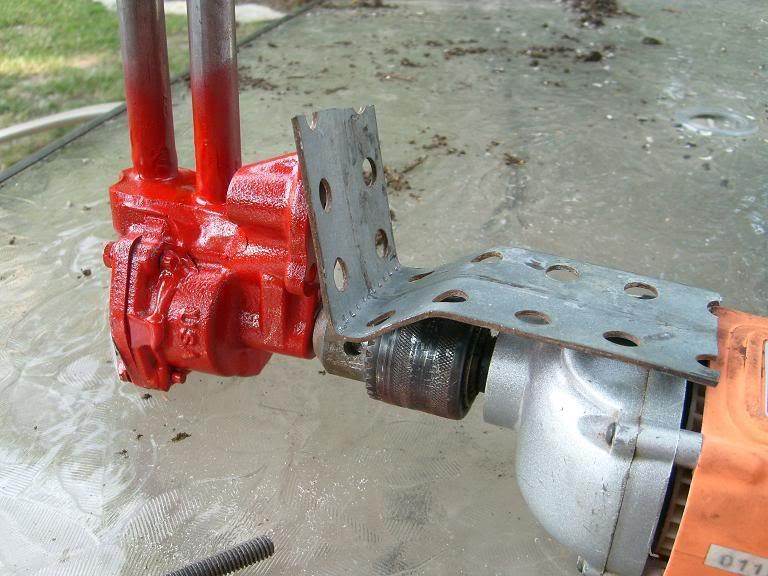
Make a couple bends in it, and trial fit...
Perfection!!!
Time to test it out.
One full cubie of used VO "liberated" from the Italian restaurant down the street. I's actualy pretty nice looking stuff.
Standard 5/8 heater hose is cheap. 12 feet of it was $19 at the mom and pop auto store down the block.
On your mark, get set,,,, GO!
Nice flow, especially for only 1000 rpm. The drill never slowed down or showed any signs that it was stressed. No excess heat comming off the engine.
The full cubie took axactly 1 minute and 12 seconds to empty. The pump started as "dry",,, keep in mind these are self priming. I'd call that a solid 4 gpm.
Nice..... But I want more.
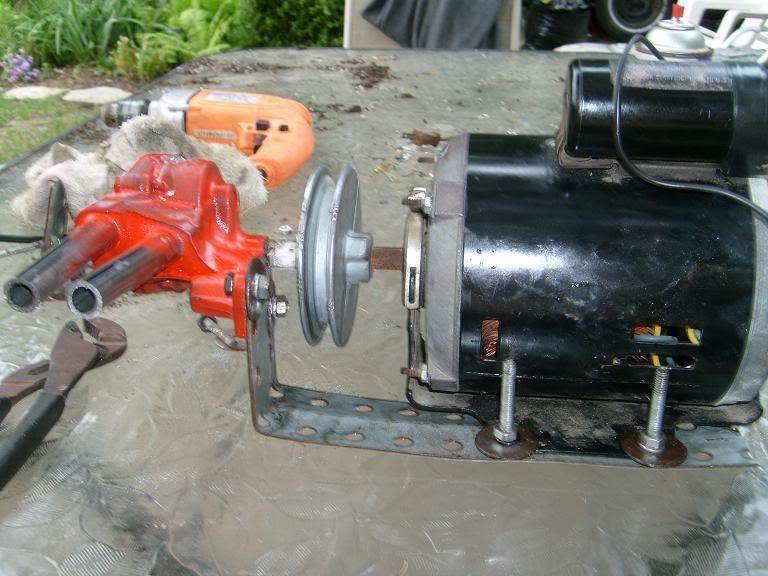
We scrounged this electric motor from a gas clothes dryer that was sitting in a garbage pile, so it was free. It's old, but it works perfectly.
It needs an electical cord. This old extension cord will do the trick. Crimp on some terminals, and it's good to go!
The end of the shaft was already slotted, about 20 minutes with a belt sander and a rasp made it the perfect size to mate up with the slot in the end of the oil pump shaft.
Another bracket fabricated from the scrap piece of L-bracket, a couple nuts and bolts...
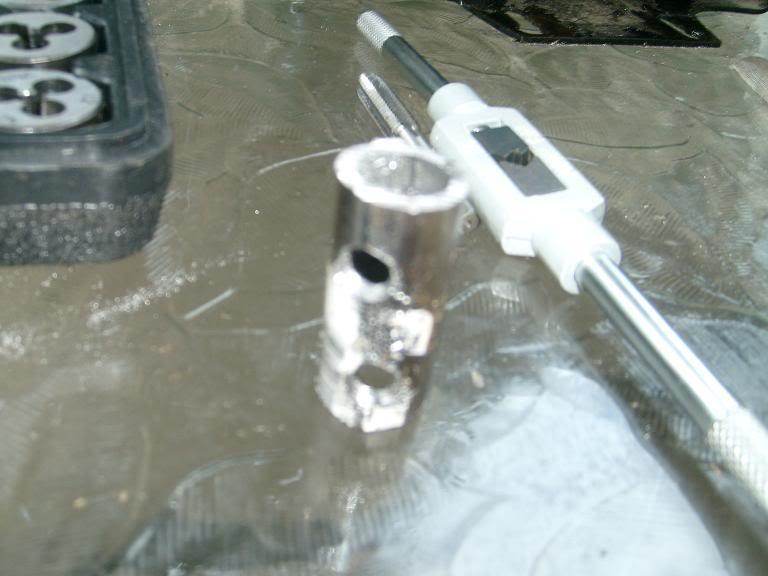
The 1 1/2 inch piece of tubing we saved from our original piece of 3/8 pipe comes into play here. Drilled and tapped it for some set screws, but ended up not using them. It was good and snug as is, and the bracket held it perfectly.
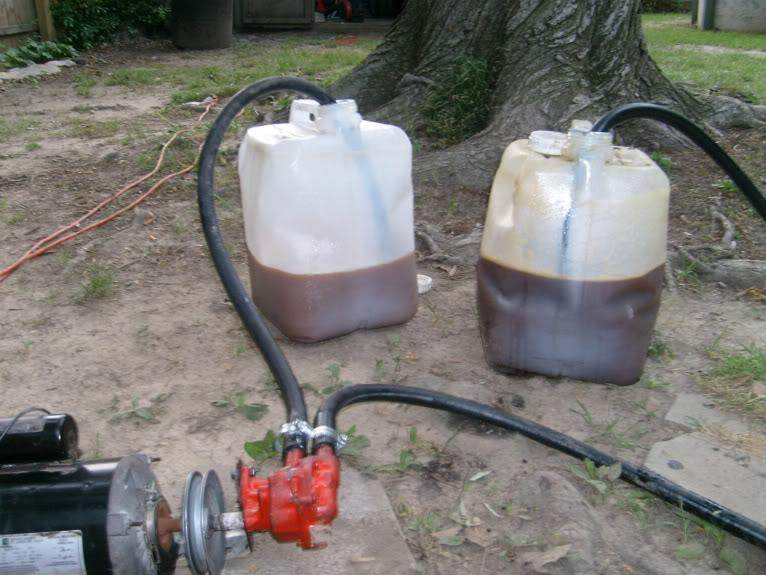
Ok, now let's test it at 1/2 hp and 1700 rpm's...
Full cubie took 43 seconds. Flow was much better. That works out to about 6-7 gpm of flow @ 1700 rpm.
What was nice about this setup over the drill is how quiet it is. Only a slight hum from the motor, and a buzz from the pump. From about 20 feet away, you cant even hear it running! The sound of the VO splashing into the empty cubie was louder than the pump/motor!
When it was on the drill, it sounded like,,, well, a drill...
Total expenses are as follows:
$15.88- chevy oil pump
$4.23- J.B. Weld
$3.17- 10 inch piece of 3/8 water pipe
-------------
$23.28- total to construct pump
Add to that...
$29.99- New drill from H.F.
-----------------------
$53.27- for 4 plus GPM. If it can spin up to it's advertised 2400 rpm, it should be able to flow about 11 GPM
Or,
A free electric motor from a junk washer or [gas] dryer, and if you scrounge up some junk parts to assemble it all, you can move 7 GPM at up to 100 psi, that's self priming for the grand total of $23.28
If you get a good cordless drill, it could be mobile for under $60, but dont expect a lot of battery life. It would probably start to drain down after about 6 or 7 minutes... Still, you could move quite a bit of VO in that ammount of time.
Soooo... What are you waiting for??? Go make one of your own!!!


.png)


 4
4