• Post Reply Bookmark Topic Watch Topic
  • New Topic
permaculture forums growies critters building homesteading energy monies kitchen purity ungarbage community wilderness fiber arts art permaculture artisans regional education skip experiences global resources cider press projects digital market permies.com pie forums private forums all forums
this forum made possible by our volunteer staff, including ...
master stewards:
  • Carla Burke
  • Nancy Reading
  • r ranson
  • John F Dean
  • Timothy Norton
  • paul wheaton
  • Jay Angler
stewards:
  • Pearl Sutton
  • Anne Miller
  • Tereza Okava
master gardeners:
  • Christopher Weeks
gardeners:
  • M Ljin
  • Matt McSpadden
  • Megan Palmer

Instructor Notes for Guiding Make Adobe Bricks

 
gardener
Posts: 1578
Location: Washington State
991
7
forest garden trees rabbit earthworks composting toilet fiber arts sheep wood heat woodworking rocket stoves homestead
  • Likes 1
  • Mark post as helpful
  • send pies
    Number of slices to send:
    Optional 'thank-you' note:
  • Quote
  • Report post to moderator
Scheduling Notes:
This project is generally completed in the area north of the shop/classroom.  
2022 Note: one person completed the BB and several people made a few bricks and the project was completed in under 2 hours.

Preparation (before event):
  • Clay - Hydrated or soaking


  • Gather (Boots or Participants):
  • Tarp and hydrated clay
  • Form for Bricks
  • Sand from Arackas in 5-gallon Buckets
  • Organic Straw - can be cut
  • Water - 4- or 5-gallon containers/jugs/buckets
  • Bucket with 1-2 gallons of water for rinsing hands and feet while making cob

  • .

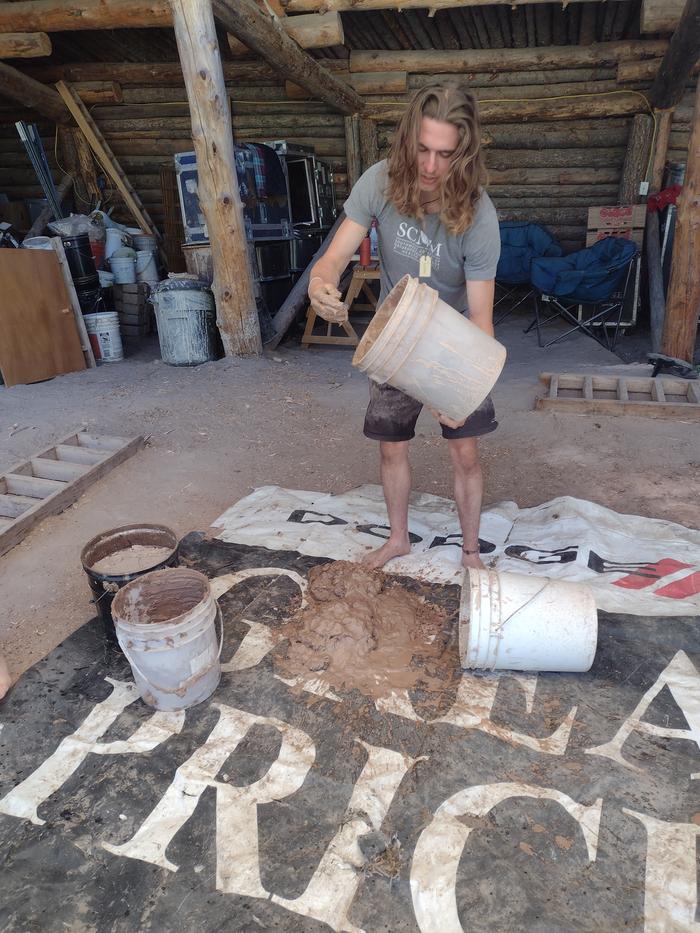
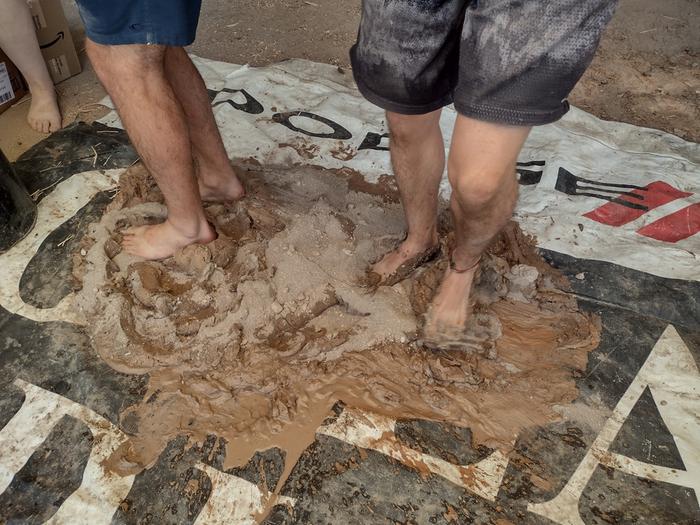
    Mix COB
  • 4 gallons of hydrated clay (not clay slip)
  • 3-4 gallons of sand
  • mix well and adjust moisture and sand/clay content
  • add straw and mix well


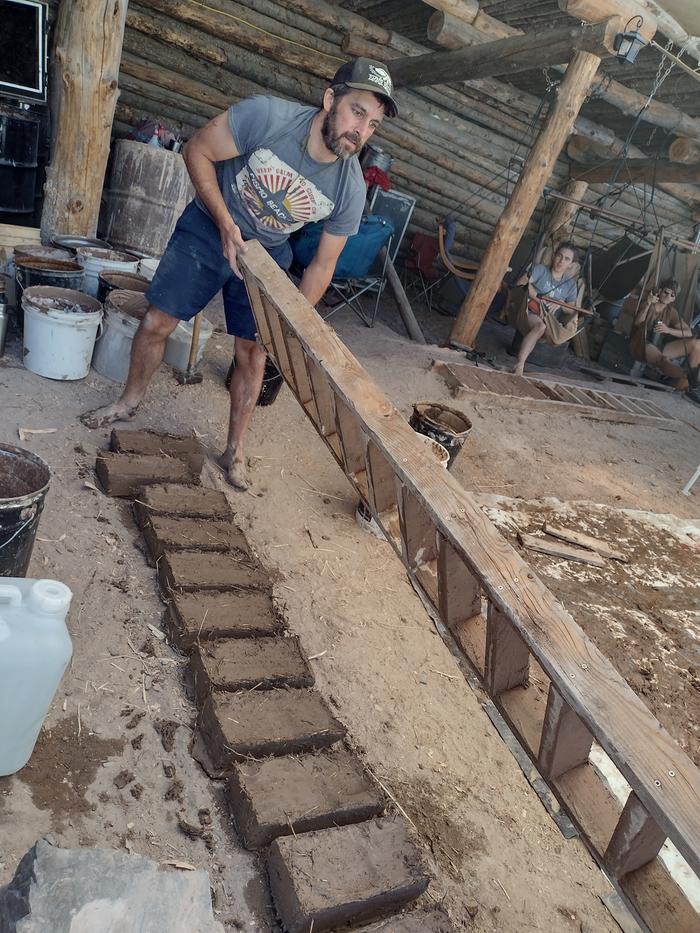
  • Prepare the form and make bricks
  • place on level(ish) ground and fill in with sand so the bricks will not protrude out the bottom of the form
  • get the form wet!
  • throw handfuls of COB into form to eliminate air pockets
  • use a screed board to level the top
  • remove any material from the top of the form
  • after the last brick has set for about 15 minutes, lift/shake the form and allow bricks to settle to the ground
  • after several hours, turn the bricks on their sides and get the finial photo


  •  
    pollinator
    Posts: 5744
    Location: Bendigo , Australia
    521
    plumbing earthworks bee building homestead greening the desert
    • Mark post as helpful
    • send pies
      Number of slices to send:
      Optional 'thank-you' note:
    • Quote
    • Report post to moderator
    great set if instructions.
    I have seen handles fitted to the ends of the mould so you can slip your hand under and lift the mould.
    Just like wheelbarrow handle shapes.
    In real life the pudding hole might be the start of a post or an excavation area.
    Often to soil removed fro foundations is good and can be piled and covered to prevent drying.
     
    Do or do not. There is no try. --Yoda ... this tiny ad thinks Yoda is a dumbass:
    The new purple deck of permaculture playing cards
    https://www.kickstarter.com/projects/paulwheaton/garden-cards
    reply
      Bookmark Topic Watch Topic
    • New Topic