|

|
|
|
|

|

|

|

|

|
 27
27


~Permies FAQ ~ Dragons, Fairies and even a Mini-Paul! ~ You Know You're a Permie When...~ All About Permies, including tutorials ~Herbal Hugel Spiral of Randomness!~Tricks to Keep the Dirt from Sliding off a Hugel~List of Cascadia Bloggers and Facebook Pages!~

Skill verified by gir bot")

Skill verified by Mike Haasl")

Skill verified by paul wheaton")

Skill verified by Mike Haasl")

Skill verified by r ransom")

Skill verified by Mike Haasl")

Skill verified by Mike Haasl")

Skill verified by Mike Haasl") 6
6

Skill verified by gir bot")

Skill verified by Mike Haasl")

Skill verified by Ash Jackson") 8
8
~Permies FAQ ~ Dragons, Fairies and even a Mini-Paul! ~ You Know You're a Permie When...~ All About Permies, including tutorials ~Herbal Hugel Spiral of Randomness!~Tricks to Keep the Dirt from Sliding off a Hugel~List of Cascadia Bloggers and Facebook Pages!~
7
8
~Permies FAQ ~ Dragons, Fairies and even a Mini-Paul! ~ You Know You're a Permie When...~ All About Permies, including tutorials ~Herbal Hugel Spiral of Randomness!~Tricks to Keep the Dirt from Sliding off a Hugel~List of Cascadia Bloggers and Facebook Pages!~
7
")


~Permies FAQ ~ Dragons, Fairies and even a Mini-Paul! ~ You Know You're a Permie When...~ All About Permies, including tutorials ~Herbal Hugel Spiral of Randomness!~Tricks to Keep the Dirt from Sliding off a Hugel~List of Cascadia Bloggers and Facebook Pages!~
6
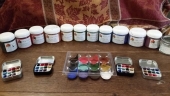
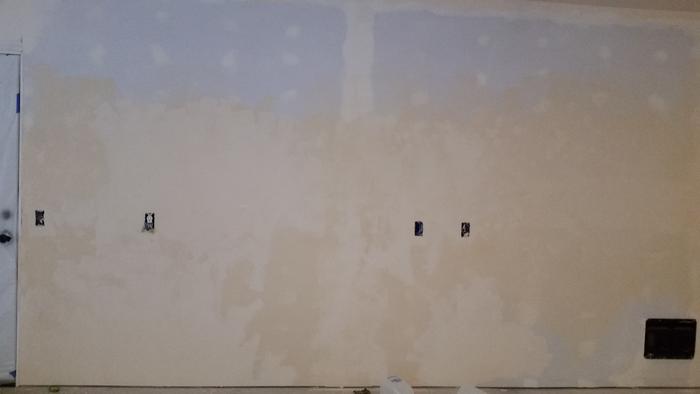
The milk paint, even though it has lime, doesn't make that opaque of a color. It's very thin and drippy, too. You could add either kaolin clay &/or calcium powder to the paint for more opacity. This is the calcium powder I used: Duda Energy Calcium Carbonate. It makes a nice chalky white. The kaolin clay is a bit more creamy, and it also makes the paint a lot thicker. Milk paint is usually quite runny, and the clay helps make it apply without too much dripping or coats.
~Permies FAQ ~ Dragons, Fairies and even a Mini-Paul! ~ You Know You're a Permie When...~ All About Permies, including tutorials ~Herbal Hugel Spiral of Randomness!~Tricks to Keep the Dirt from Sliding off a Hugel~List of Cascadia Bloggers and Facebook Pages!~
4
You should never forget that every creature has its purpose in the cycle of nature and can also be very important to humans. Sepp Holzer's Permaculture
7
~Permies FAQ ~ Dragons, Fairies and even a Mini-Paul! ~ You Know You're a Permie When...~ All About Permies, including tutorials ~Herbal Hugel Spiral of Randomness!~Tricks to Keep the Dirt from Sliding off a Hugel~List of Cascadia Bloggers and Facebook Pages!~
2
Nicole Alderman wrote:(I have no idea if A2 vs A1 casein makes a difference). I don't think plant-based milks have casein, so they probably won't work in the same way.
I don't know if other proteins will be sticky and strong in the same way that casein is. Gum arabic might help add to the stickiness of non-dairy milk paint, but I really haven't tested that much (I've only used small amounts of gum arabic with my pre-made milk paint powder from Real Milk paint when I wanted to use those pigments for painting watercolor pictures. It didn't seem to do anything negative, but I also only used it in tiny amounts).
You should never forget that every creature has its purpose in the cycle of nature and can also be very important to humans. Sepp Holzer's Permaculture
5
~Permies FAQ ~ Dragons, Fairies and even a Mini-Paul! ~ You Know You're a Permie When...~ All About Permies, including tutorials ~Herbal Hugel Spiral of Randomness!~Tricks to Keep the Dirt from Sliding off a Hugel~List of Cascadia Bloggers and Facebook Pages!~
2


 3
3

Skill verified by Alexandra Malecki")

Skill verified by Opalyn Rose")

Skill verified by Opalyn Rose") 5
5
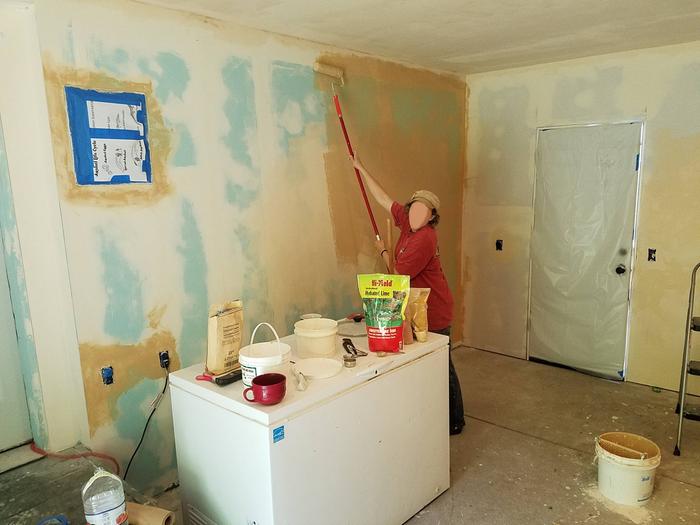
Laura Trovillion wrote:I have a few questions about your project! How much paint did your listed quantities end up making? I will be attempting to make a significant quantity later this spring, and I am trying to figure out quantities.
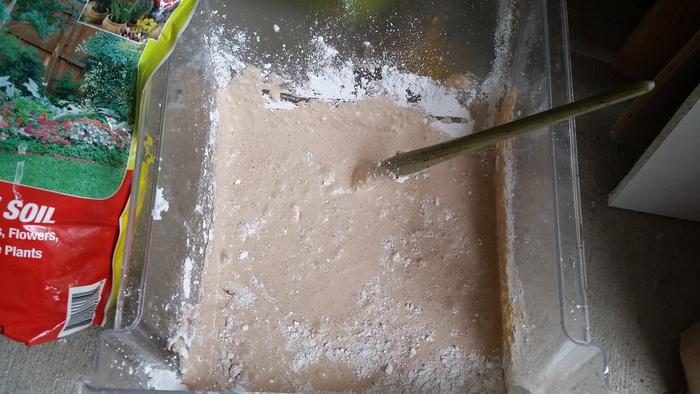
I am only adding Kaolin clay as a filler and as a "white" pigment for ceilings. The price of pigments is forcing me to be judicious in my color choices!
Did you roll it, brush it or both? I was wondering about how it might work in a paint sprayer, any thoughts?
I was wondering about how it might work in a paint sprayer, any thoughts?
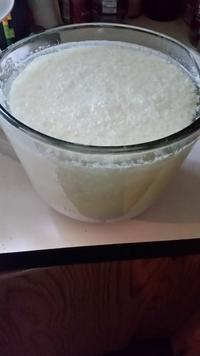
You mentioned both vinegar and citric acid to make curds, was one significantly better than the other?
Any suggestions on what you would do differently next time?
~Permies FAQ ~ Dragons, Fairies and even a Mini-Paul! ~ You Know You're a Permie When...~ All About Permies, including tutorials ~Herbal Hugel Spiral of Randomness!~Tricks to Keep the Dirt from Sliding off a Hugel~List of Cascadia Bloggers and Facebook Pages!~
4

|
passwords must contain 14 characters, a number, punctuation, a small bird, a bit of cheese and a tiny ad.
building a permaculture community with hands on permaculture
https://wheaton-labs.com/bootcamp
|