|

|
|
|
|

|

|

|

|

|
 25
25


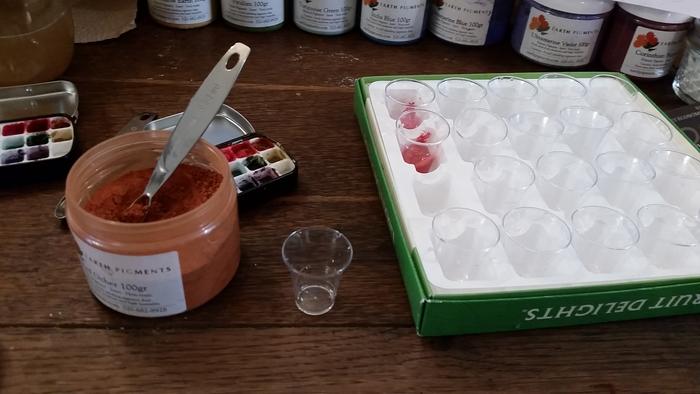
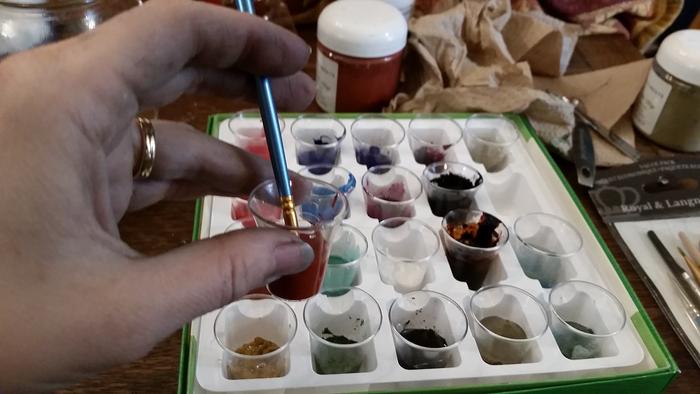
The amount of pigment to use will vary depending upon the color. Start with a ratio of 1 part Gum/Honey to 1 part pigment paste and adjust as necessary. Mix all the ingredients and work them on a glass plate using a paint spatula. Your goal is to obtain a paste with a thick, creamy consistency. Some pigments will incorporate easier than others. Smoothest mixtures of watercolors can be obtained by mulling your final paint with a glass and muller such as our [Muller Paint Making Set] Test your final watercolors on appropriate paper by wetting them with the brush and painting a swatch down the paper. You should not see any micro-bursting of pigment particles, or clumps of unincorporated pigment.


~Permies FAQ ~ Dragons, Fairies and even a Mini-Paul! ~ You Know You're a Permie When...~ All About Permies, including tutorials ~Herbal Hugel Spiral of Randomness!~Tricks to Keep the Dirt from Sliding off a Hugel~List of Cascadia Bloggers and Facebook Pages!~

Skill verified by gir bot")

Skill verified by Mike Haasl")

Skill verified by paul wheaton")

Skill verified by Mike Haasl")

Skill verified by r ransom")

Skill verified by Mike Haasl")

Skill verified by Mike Haasl")

Skill verified by Mike Haasl") 8
8

Skill verified by gir bot")

Skill verified by Mike Haasl")

Skill verified by Ash Jackson") 9
9
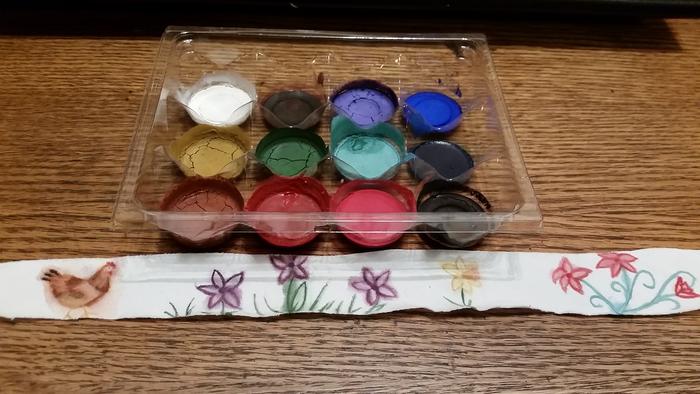
r ranson wrote:That is so cool.
And you made lake pigment too!
Thanks so much for sharing the project with us.
~Permies FAQ ~ Dragons, Fairies and even a Mini-Paul! ~ You Know You're a Permie When...~ All About Permies, including tutorials ~Herbal Hugel Spiral of Randomness!~Tricks to Keep the Dirt from Sliding off a Hugel~List of Cascadia Bloggers and Facebook Pages!~
7
6
5
~Permies FAQ ~ Dragons, Fairies and even a Mini-Paul! ~ You Know You're a Permie When...~ All About Permies, including tutorials ~Herbal Hugel Spiral of Randomness!~Tricks to Keep the Dirt from Sliding off a Hugel~List of Cascadia Bloggers and Facebook Pages!~
5
5
~Permies FAQ ~ Dragons, Fairies and even a Mini-Paul! ~ You Know You're a Permie When...~ All About Permies, including tutorials ~Herbal Hugel Spiral of Randomness!~Tricks to Keep the Dirt from Sliding off a Hugel~List of Cascadia Bloggers and Facebook Pages!~
3


 5
5
Nicole Alderman wrote:Or, will the heat of the iron activate/destroy the gelatin in weird ways?

Skill verified by Alexandra Malecki")

Skill verified by Opalyn Rose")

Skill verified by Opalyn Rose") 5
5
~Permies FAQ ~ Dragons, Fairies and even a Mini-Paul! ~ You Know You're a Permie When...~ All About Permies, including tutorials ~Herbal Hugel Spiral of Randomness!~Tricks to Keep the Dirt from Sliding off a Hugel~List of Cascadia Bloggers and Facebook Pages!~


 7
7
* Follow your curiosity , Do what you Love *
Permaculture page on Simperi website
8


~Permies FAQ ~ Dragons, Fairies and even a Mini-Paul! ~ You Know You're a Permie When...~ All About Permies, including tutorials ~Herbal Hugel Spiral of Randomness!~Tricks to Keep the Dirt from Sliding off a Hugel~List of Cascadia Bloggers and Facebook Pages!~
4
4
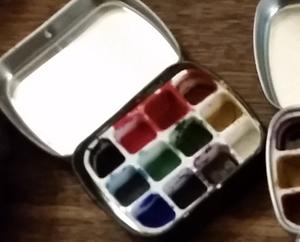
IWhen I first started with not great quality paints, the dried paint keep falling out of the pan. I got fed up and glued them in with the only sticky thing I had at the moment-honey.

~Permies FAQ ~ Dragons, Fairies and even a Mini-Paul! ~ You Know You're a Permie When...~ All About Permies, including tutorials ~Herbal Hugel Spiral of Randomness!~Tricks to Keep the Dirt from Sliding off a Hugel~List of Cascadia Bloggers and Facebook Pages!~
4
6


~Permies FAQ ~ Dragons, Fairies and even a Mini-Paul! ~ You Know You're a Permie When...~ All About Permies, including tutorials ~Herbal Hugel Spiral of Randomness!~Tricks to Keep the Dirt from Sliding off a Hugel~List of Cascadia Bloggers and Facebook Pages!~
2
5
~Permies FAQ ~ Dragons, Fairies and even a Mini-Paul! ~ You Know You're a Permie When...~ All About Permies, including tutorials ~Herbal Hugel Spiral of Randomness!~Tricks to Keep the Dirt from Sliding off a Hugel~List of Cascadia Bloggers and Facebook Pages!~
2

| I agree. Here's the link: http://stoves2.com |