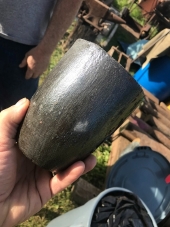
This is my forging process for a typical kitchen knife or chef's knife. Something that looks like this.
.JPG)
If you want to make a different kind of knife, like a small herb chopper, try making an Ulu according to
This process
What you will need:
1. A piece of tool steel approximately 1.5" wide, 6" long, and 1/4" thick. An old flat prybar is a good choice.
2. A forge of some sort to evenly heat the steel.
3. An anvil or anvil-like object.
4. A cross-peen hammer about 2 pounds (1kg) in weight
5. Some tongs to hold the hot steel. Preferably a pair of offset tongs that can grip the steel piece by the edges rather than on the flat faces.
If you are making the Ulu, substitute a piece of a regular crowbar about 1-2 inches long, as long as the crowbar is at least 3/4" in diameter.
If you are saying, "well I don't have a forge or an anvil", wander over to the
Basic backyard forge.
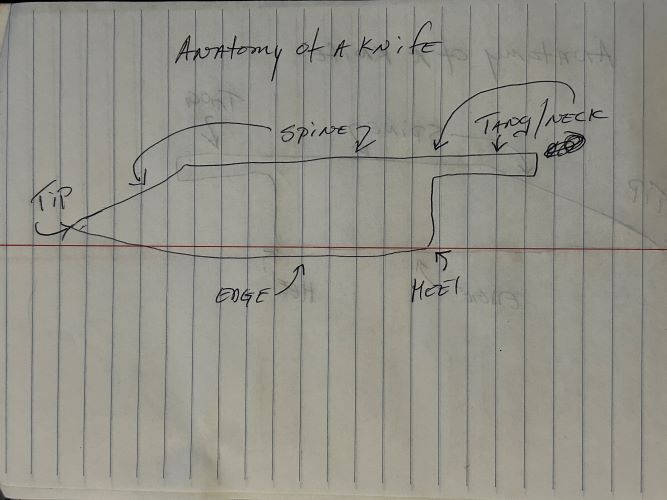
Before we start, let's look at the anatomy of a kitchen knife so you will understand the terms I am using.
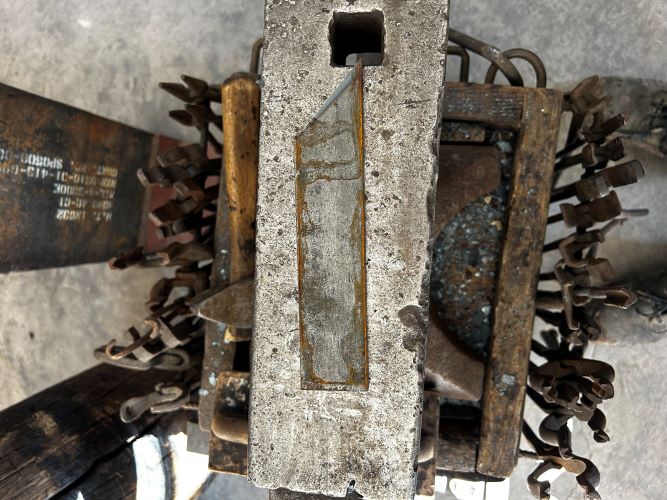
The flat bar is cut so the piece is about 6-inches from square end to the point of a 45-degree angle.
If you want a smaller knife, cut it shorter.
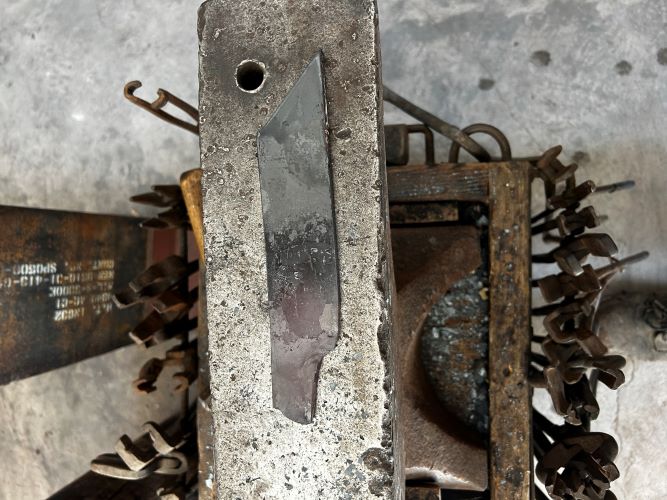
The first step is to narrow down the tang and neck area, so we have someplace easy to grab the steel by the edges with the tongs.
You want the steel hot! It should be bright red or pale orange.
Now heat up the tip area about halfway up the length of the bar and hammer the spine at the tip to flatten it out and make it longer.
This will also thicken the area at the spine. So, you have to take another heat on the steel and lay it on the flat and hammer it down to the starting thickness again.
Go back and forth from hammering the spine down and flattening the thickness out until you have something that looks like this.
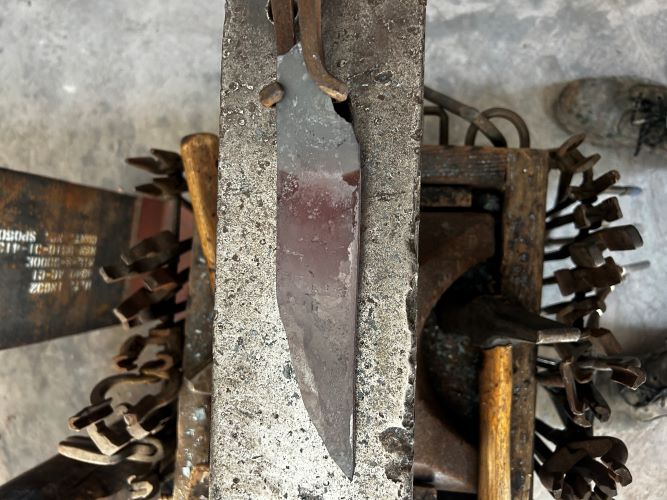
Now grab the steel by the pointy end and heat up the tang and heel area. You will start hammering the heel out using the cross-peen end of the hammer.
Think about the cross peen like a log that you are dropping into a mud puddle. Which way will the mud move? It moves away from the sides of the log. The hot steel is the mud.
Do not hit with all your might. You will end up with divots that you will never get out.
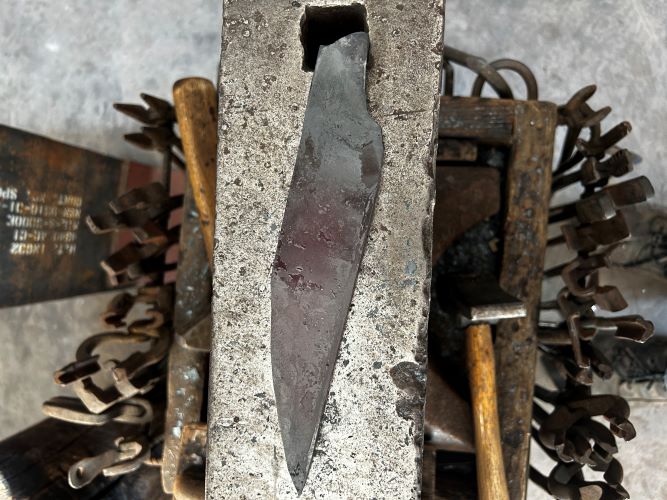
Use a series of firm hits on one side, reheat, hammer the other side equally. Always lay the side of the steel against the anvil face. The heel will move away and backward, pushing the tang area upward.
We will fix that later. You want the heel to be about 2 inches from the spine to the edge. The edge should be about the thickness of a dime.
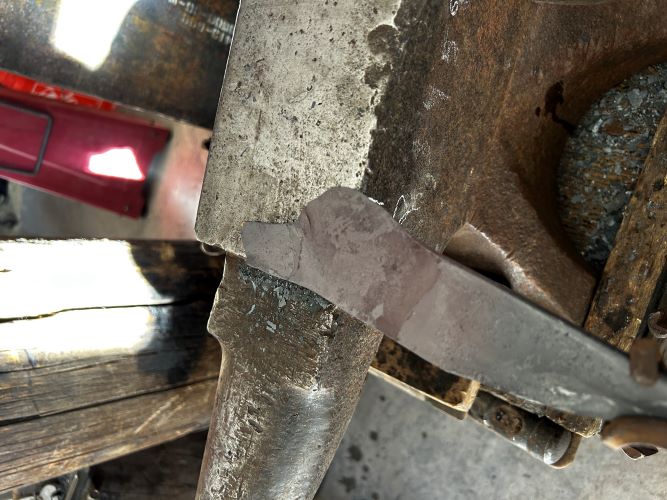
Now start heating and hammering along the edge toward the tip using the regular side of the hammer (not the peen).
Start along the very edge and work up to the spine. Do one area at a time and flip the knife over to hammer the same area on the other side. Count your blows and keep it even on both sides. This will help keep the edge centered.
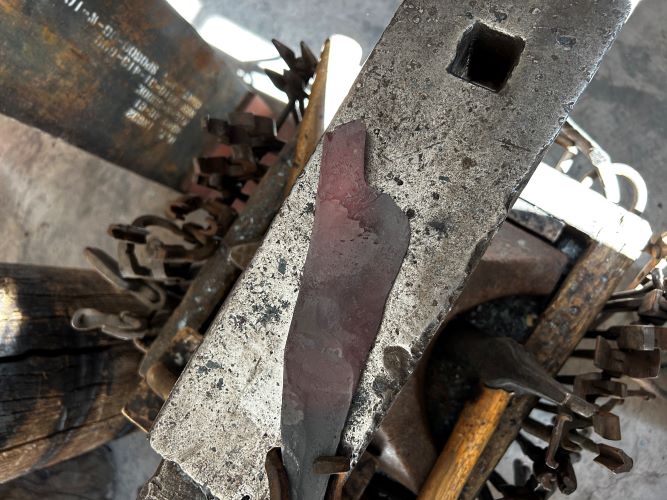
Work the edge all the way to the tip. The tip will start to come up and the spine will curve with it.
Heat the whole blade, lay it flat on the anvil with the point away from you and hammer the spine down to stretch the length. Do both sides.
You want about 8 inches of cutting edge.
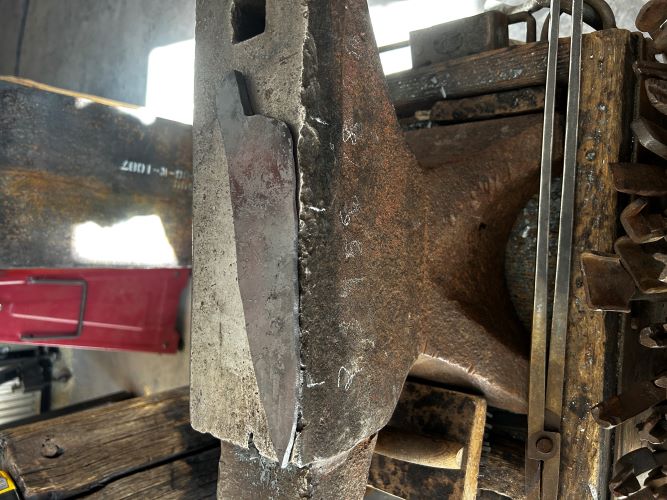
Now let's work on the tang area. Heat up the tang area and grab the pointy end. Hold the knife off the anvil with the edge down and the tang on the anvil face. Hammer the tang down a bit. Flip it over so the spine is on the anvil and the edge is up. Hammer the tang back down until the spine is straight. Don't hit the heel with the hammer!
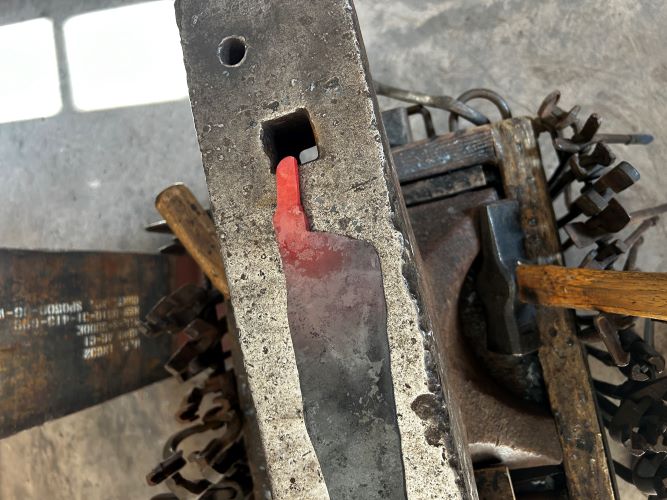
Take another heat and lay the tang on the anvil on the side of the tang. Hammer it out to elongate the tang. Keep repeating this edge/side/edge/side hammering and draw the tang area out to at least 3 inches long.
It should taper from the thickest part of the spine to the end of the tang in both height and thickness. Leave the neck about 1/2-inch tall.
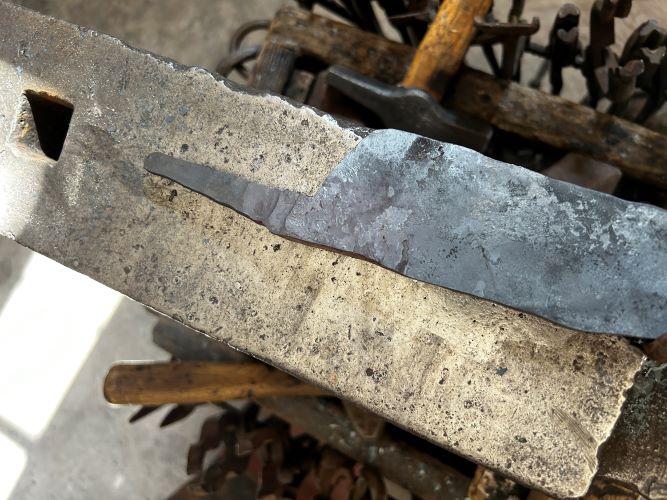
Now we need to planish, flatten, and straighten this out a bit. This is done at a lower heat (solid red) and with softer hits with the flat face of the hammer. You can also use a neoprene hammer with a smooth and flat face.
This is done by heating the whole blade and laying it flat on the anvil face. Light blows with a steel hammer, or fast and hard blows with the neoprene hammer. Get the tang straight and fairly smooth. Eye the spine for straight and the edge and tang for center.
If you have a good vice, heat the blade and put the spine in the vice with the edge up. This will let you see whether the edge is straight and centered. adjust by lightly hitting the hot edge with the hammer.
Eventually, you will end up with something like this.
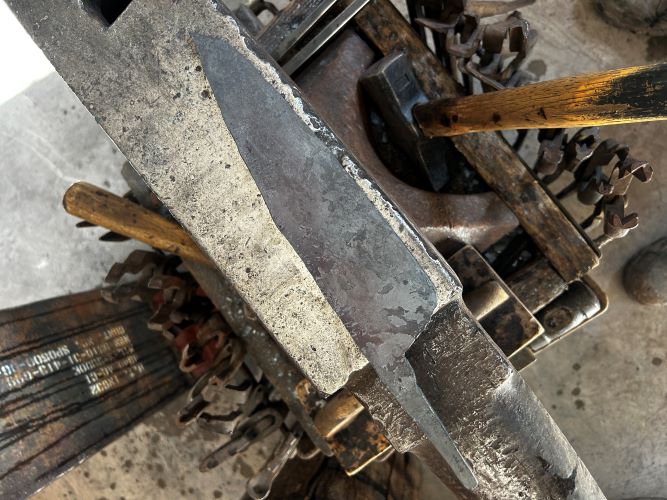
All this heating and beating, puts some serious stress on the steel. The carbide matrix is all wiggy at this point and we need to relax the steel by what we call "normalizing".
This is a series of heating and slow cooling in still air. The heat is supposed to be around 1475 F for most basic knife steels like what the prybar and crowbar are made from.
Most people do not have a way to adequately measure temperature in that range, so here's a couple of neat hacks. Salt melts at 1474 F. Steels like these lose their ability to attract magnets around 1400 F. (you will also need these later)
If you have a small magnet, wrap a wire around it and heat the steel. When the entire blade is a uniform bright red, pull it out and see if the magnet sticks to it. If the magnet attracts, put the blade back in the heat until it doesn't.
If not, lay the blade on a rack to cool until dark. Holding it in a shadowy area until you don't see any more glow. Do this three times.
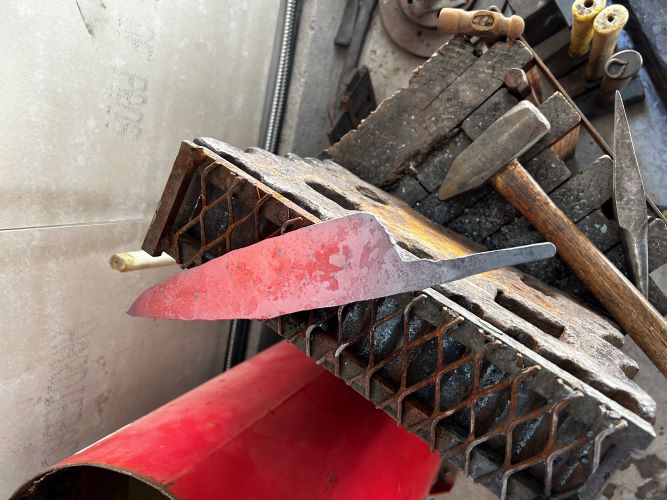
Congratulations! You have just forged a kitchen knife!
Stay tuned for updates on how to grind, harden& temper, and eventually put a handle on this thing.

 11
11


 6
6


 1
1


