• Post Reply Bookmark Topic Watch Topic
  • New Topic
permaculture forums growies critters building homesteading energy monies kitchen purity ungarbage community wilderness fiber arts art permaculture artisans regional education skip experiences global resources cider press projects digital market permies.com pie forums private forums all forums
this forum made possible by our volunteer staff, including ...
master stewards:
  • Carla Burke
  • Nancy Reading
  • John F Dean
  • r ransom
  • paul wheaton
  • Jay Angler
  • Timothy Norton
stewards:
  • Pearl Sutton
  • Tereza Okava
  • Nicole Alderman
master gardeners:
  • Christopher Weeks
gardeners:
  • M Ljin
  • Megan Palmer
  • Pete Podurgiel

What not to do for your J tube

 
pollinator
Posts: 158
Location: Central Iowa, Zone 5b
84
personal care foraging urban chicken bike bee
  • Likes 13
  • Mark post as helpful
  • send pies
    Number of slices to send:
    Optional 'thank-you' note:
  • Quote
  • Report post to moderator
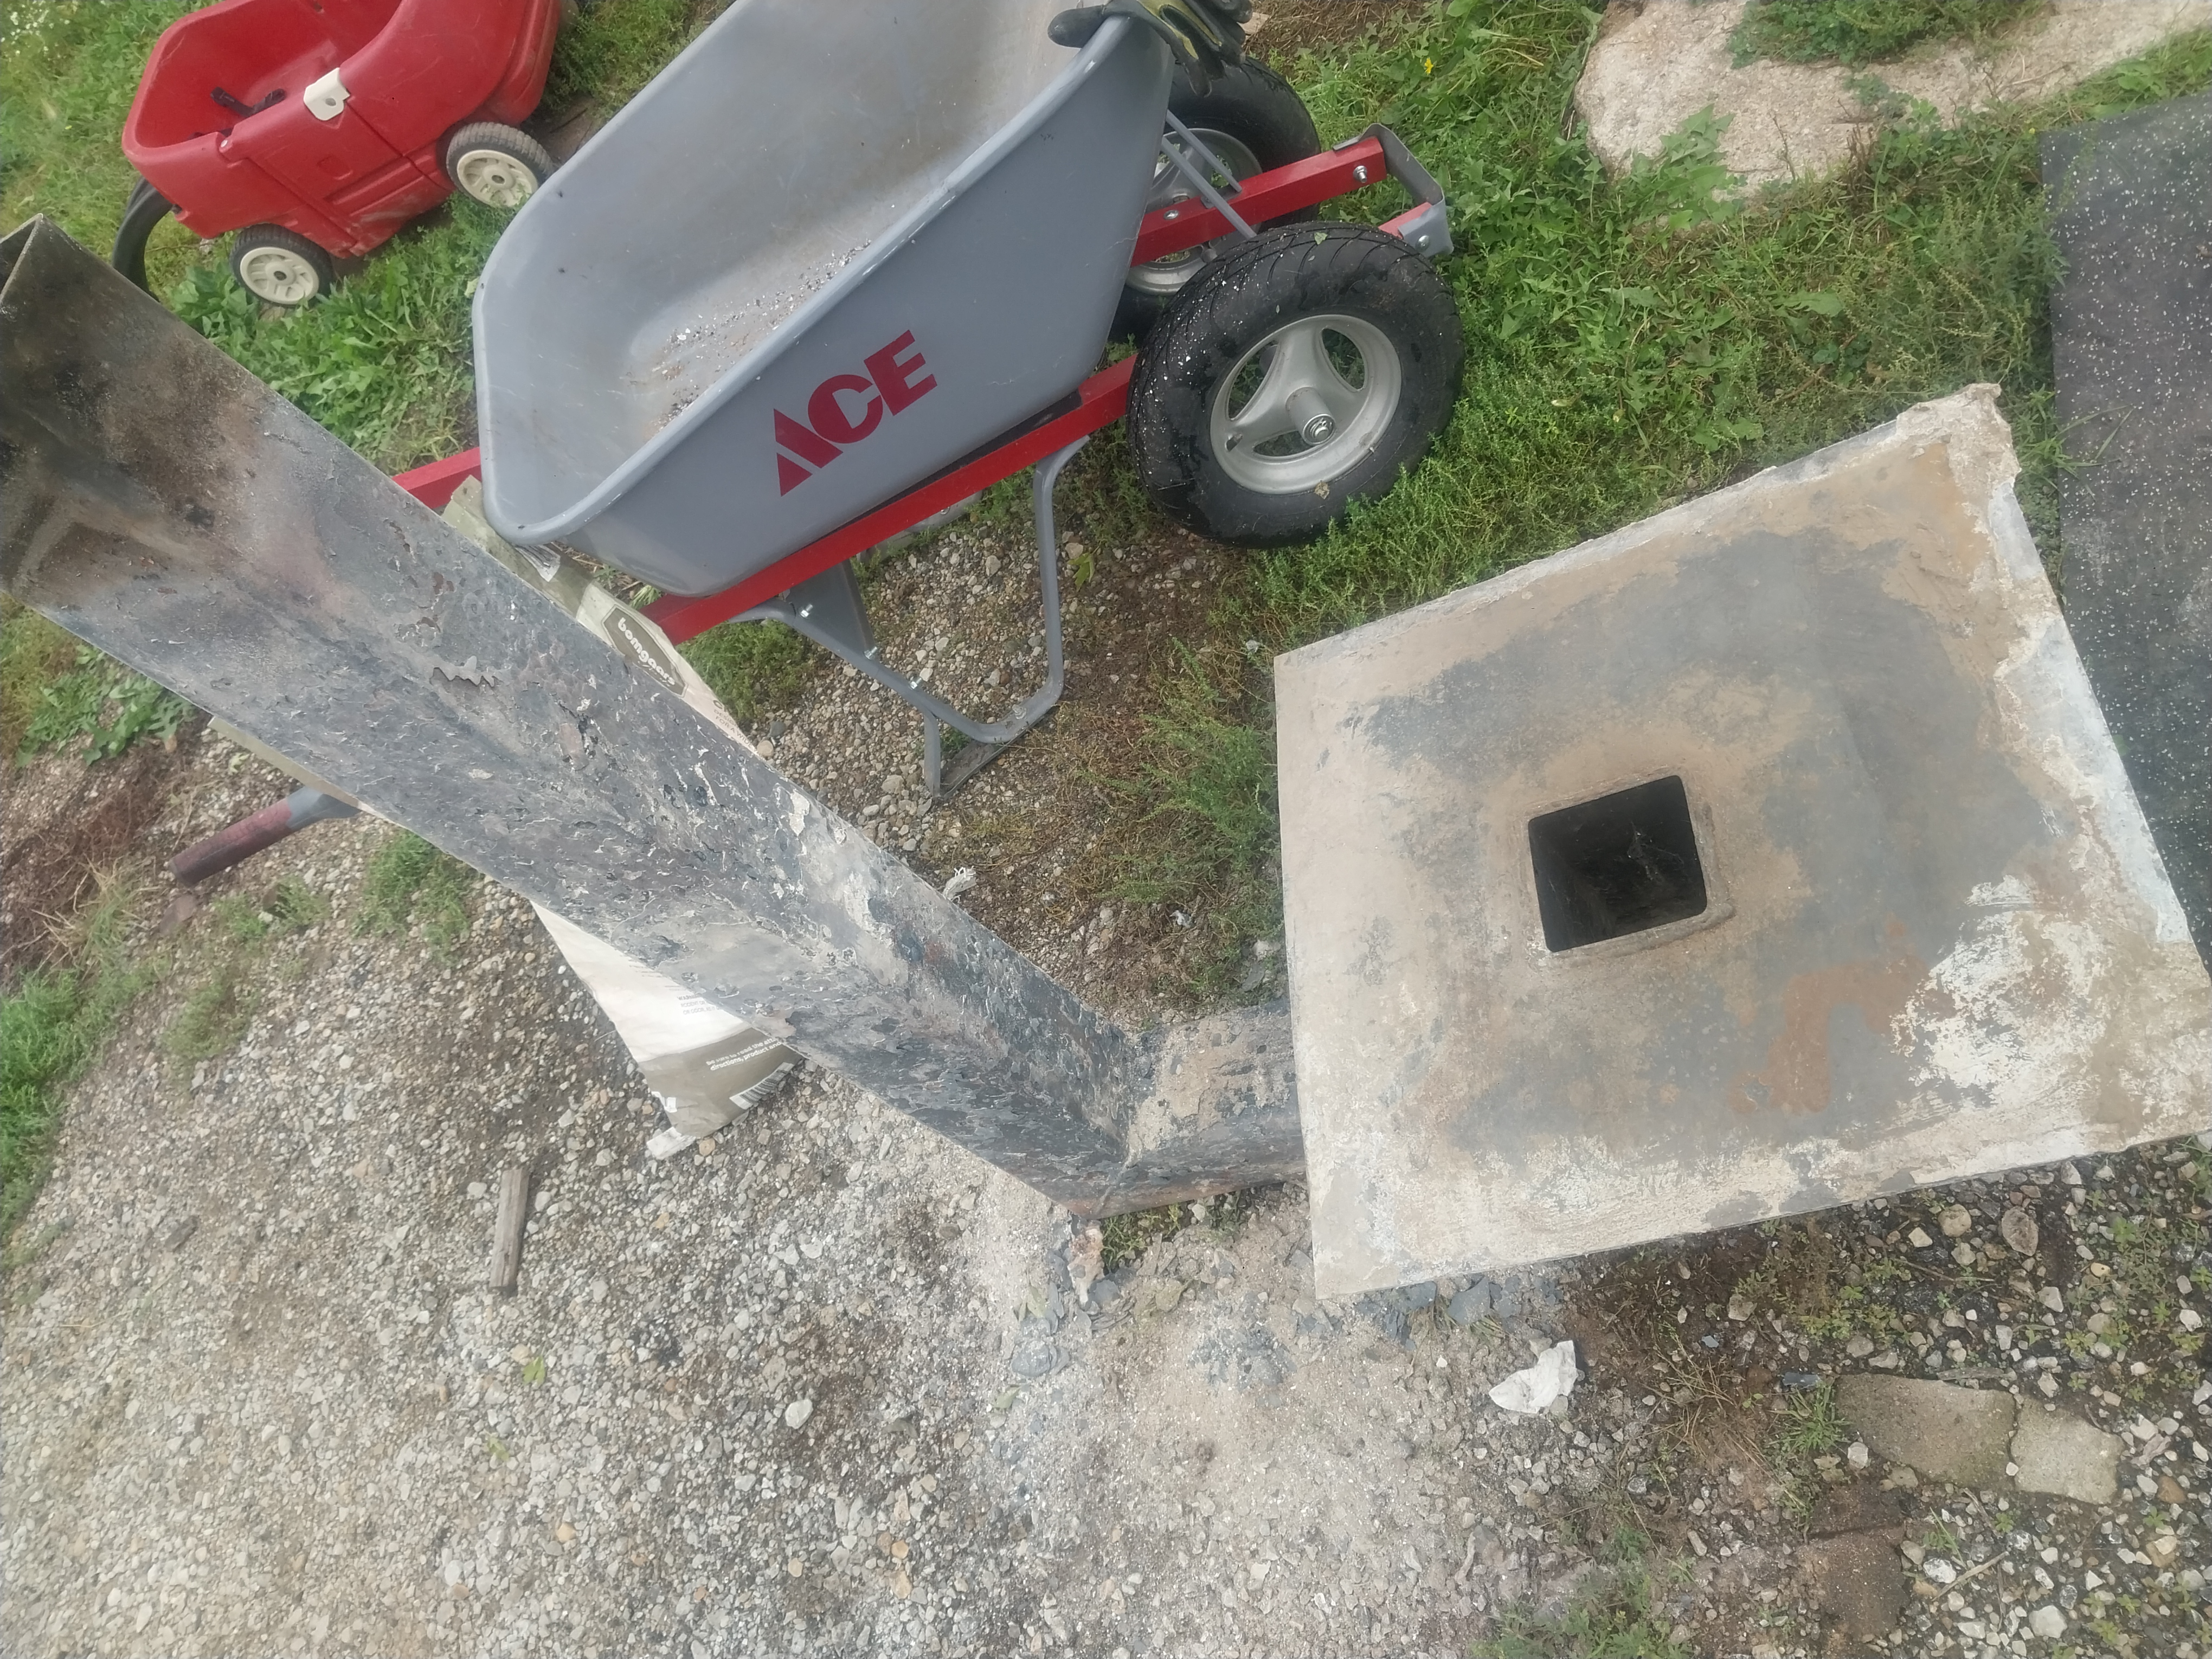
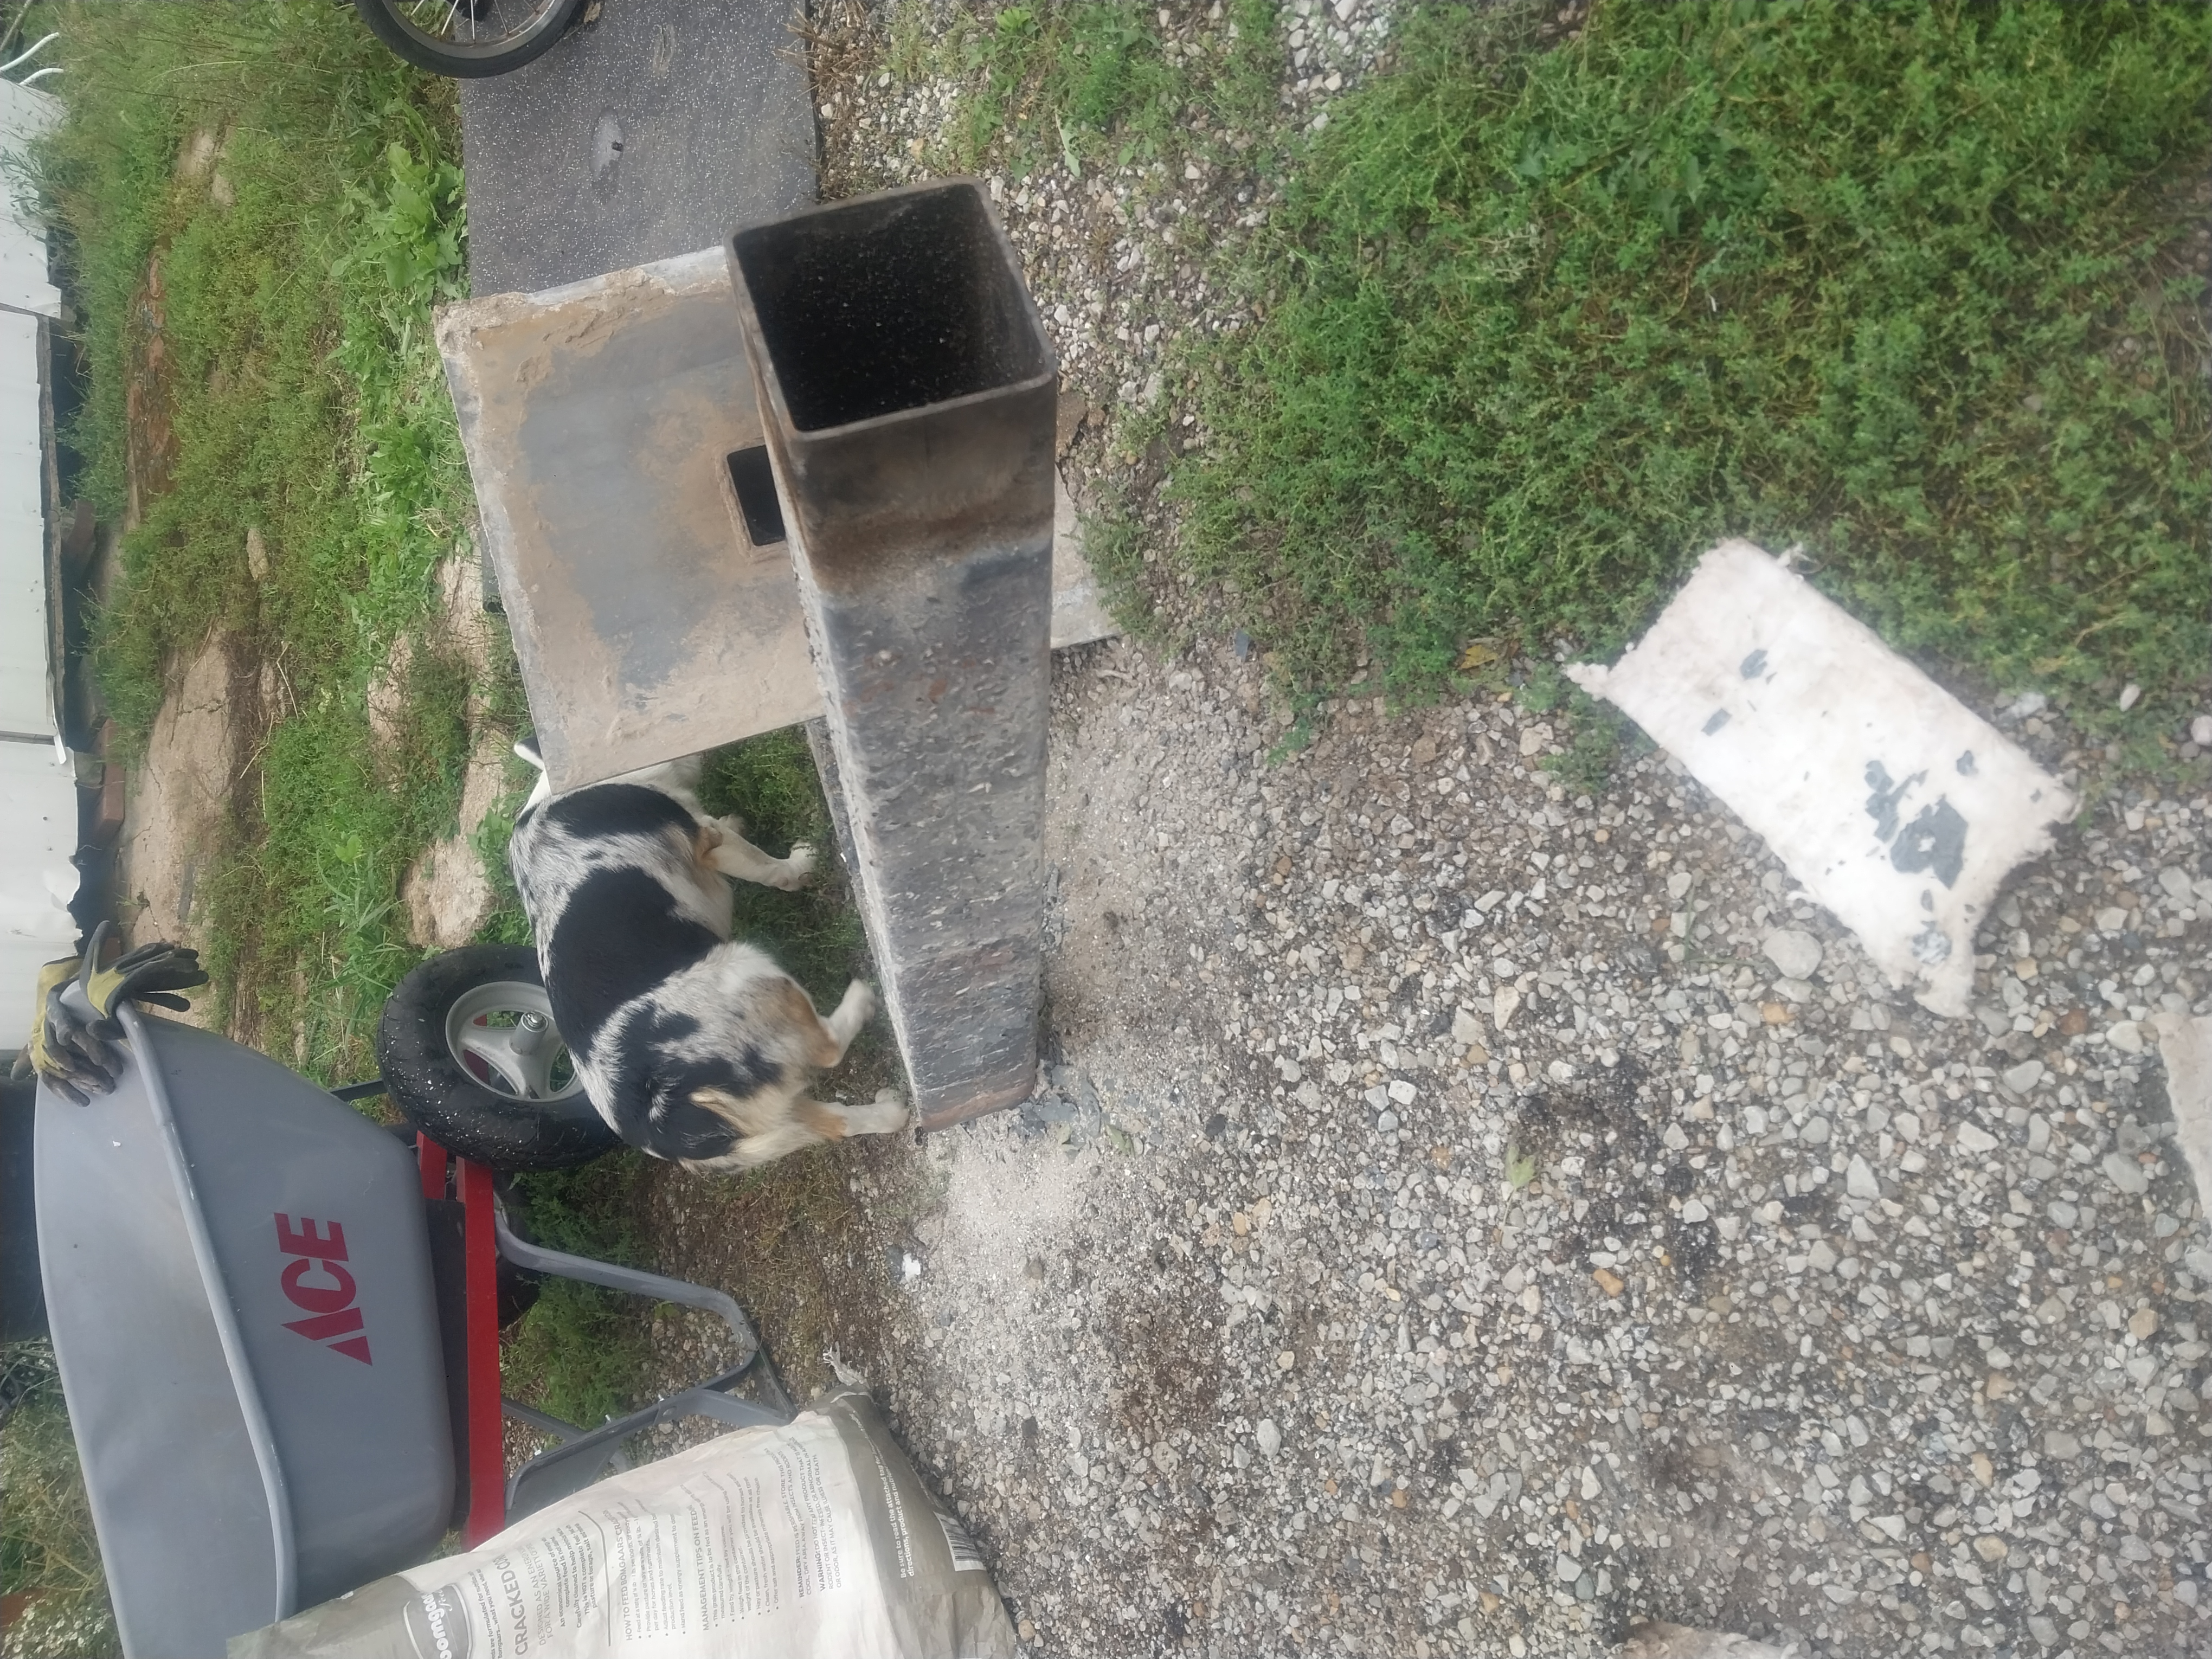
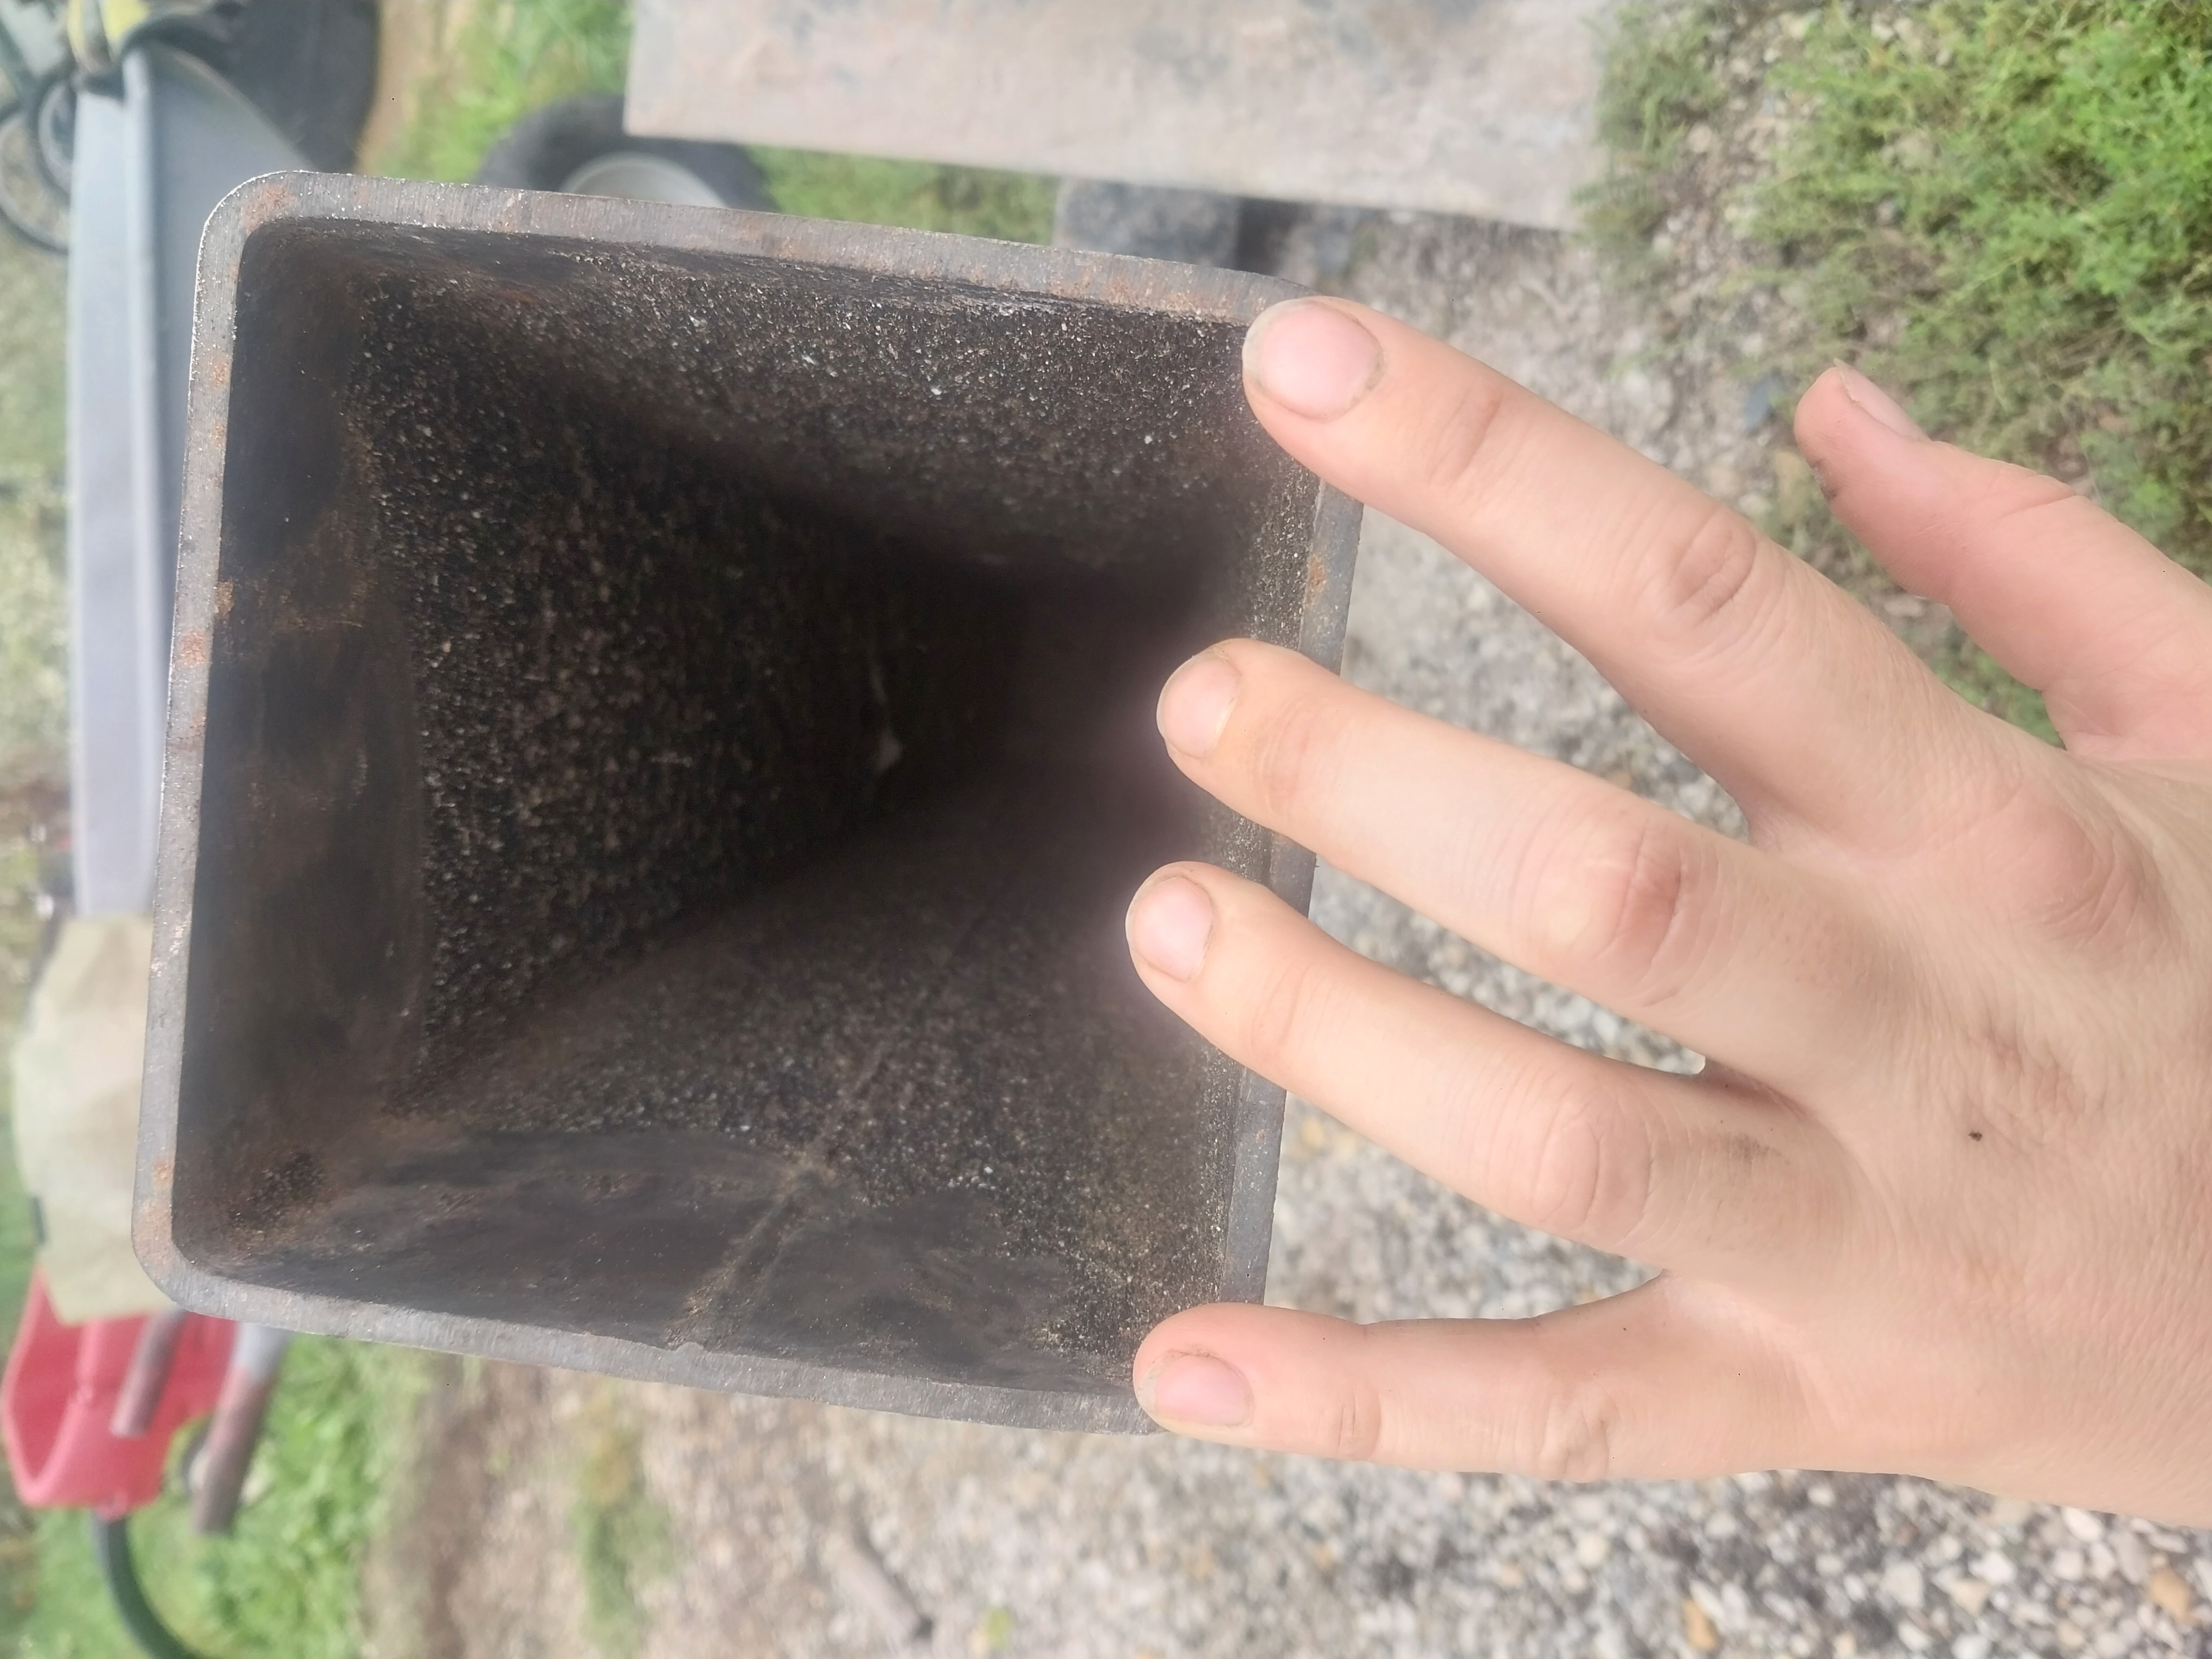
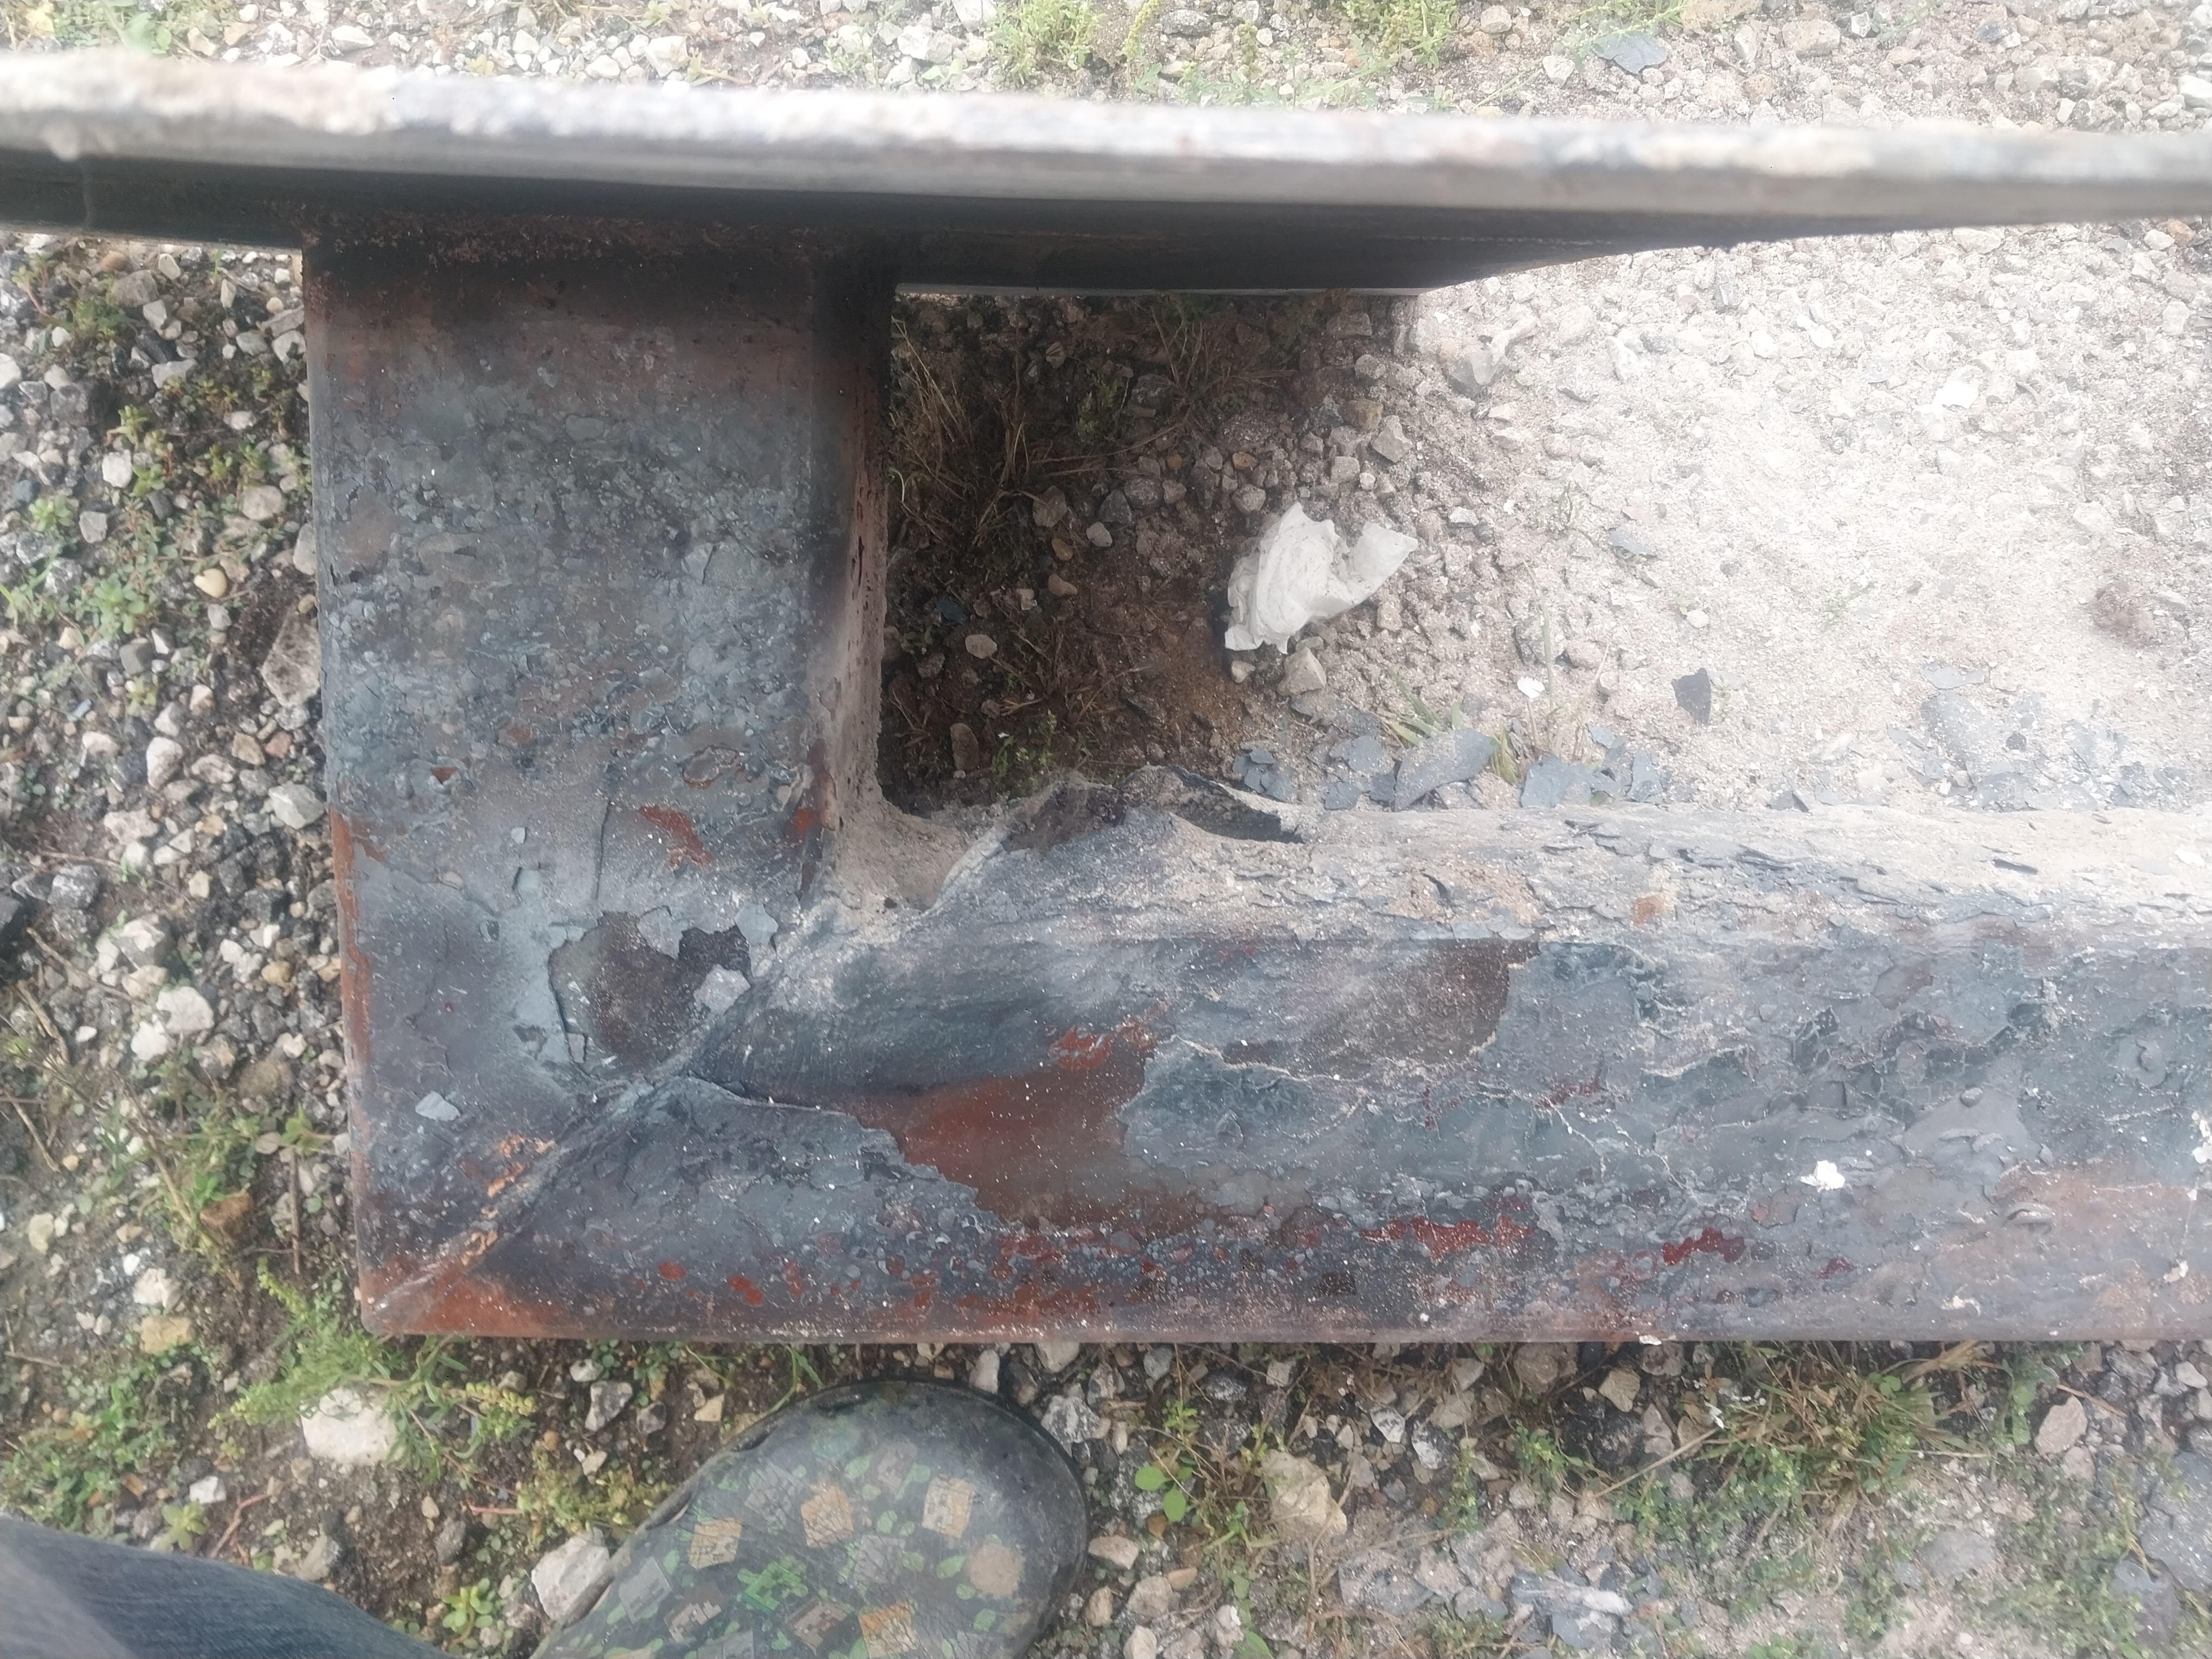
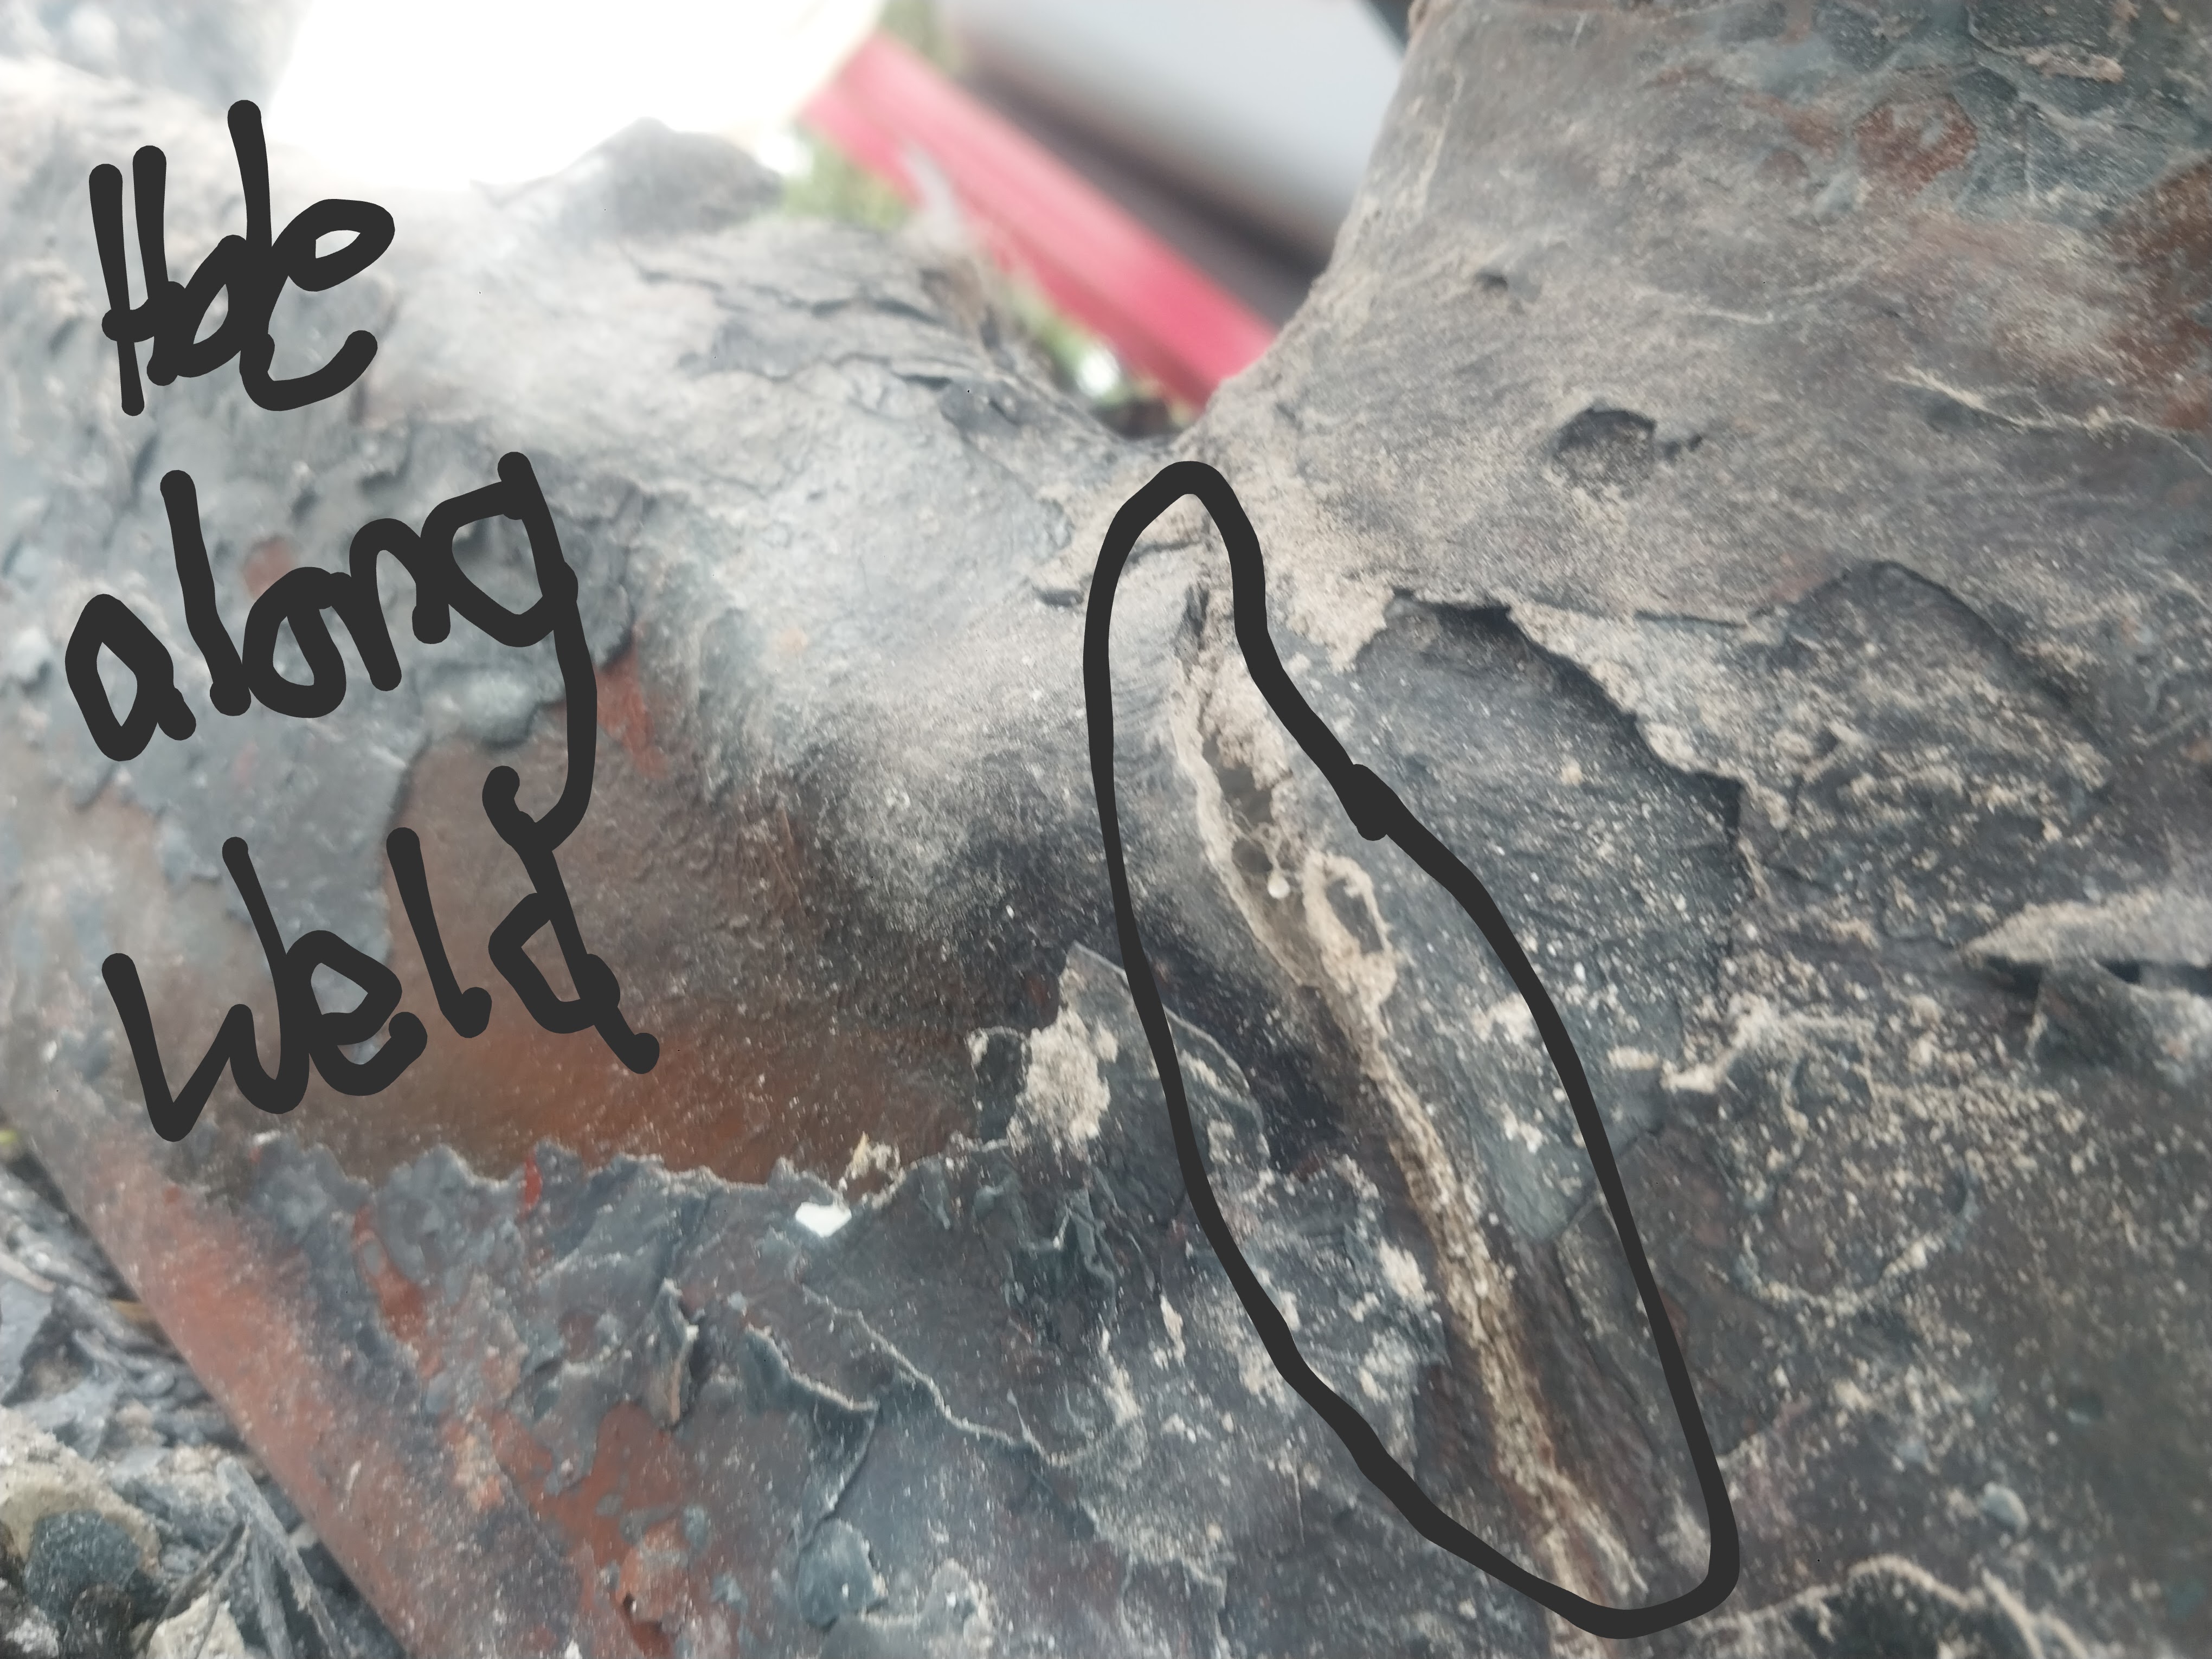
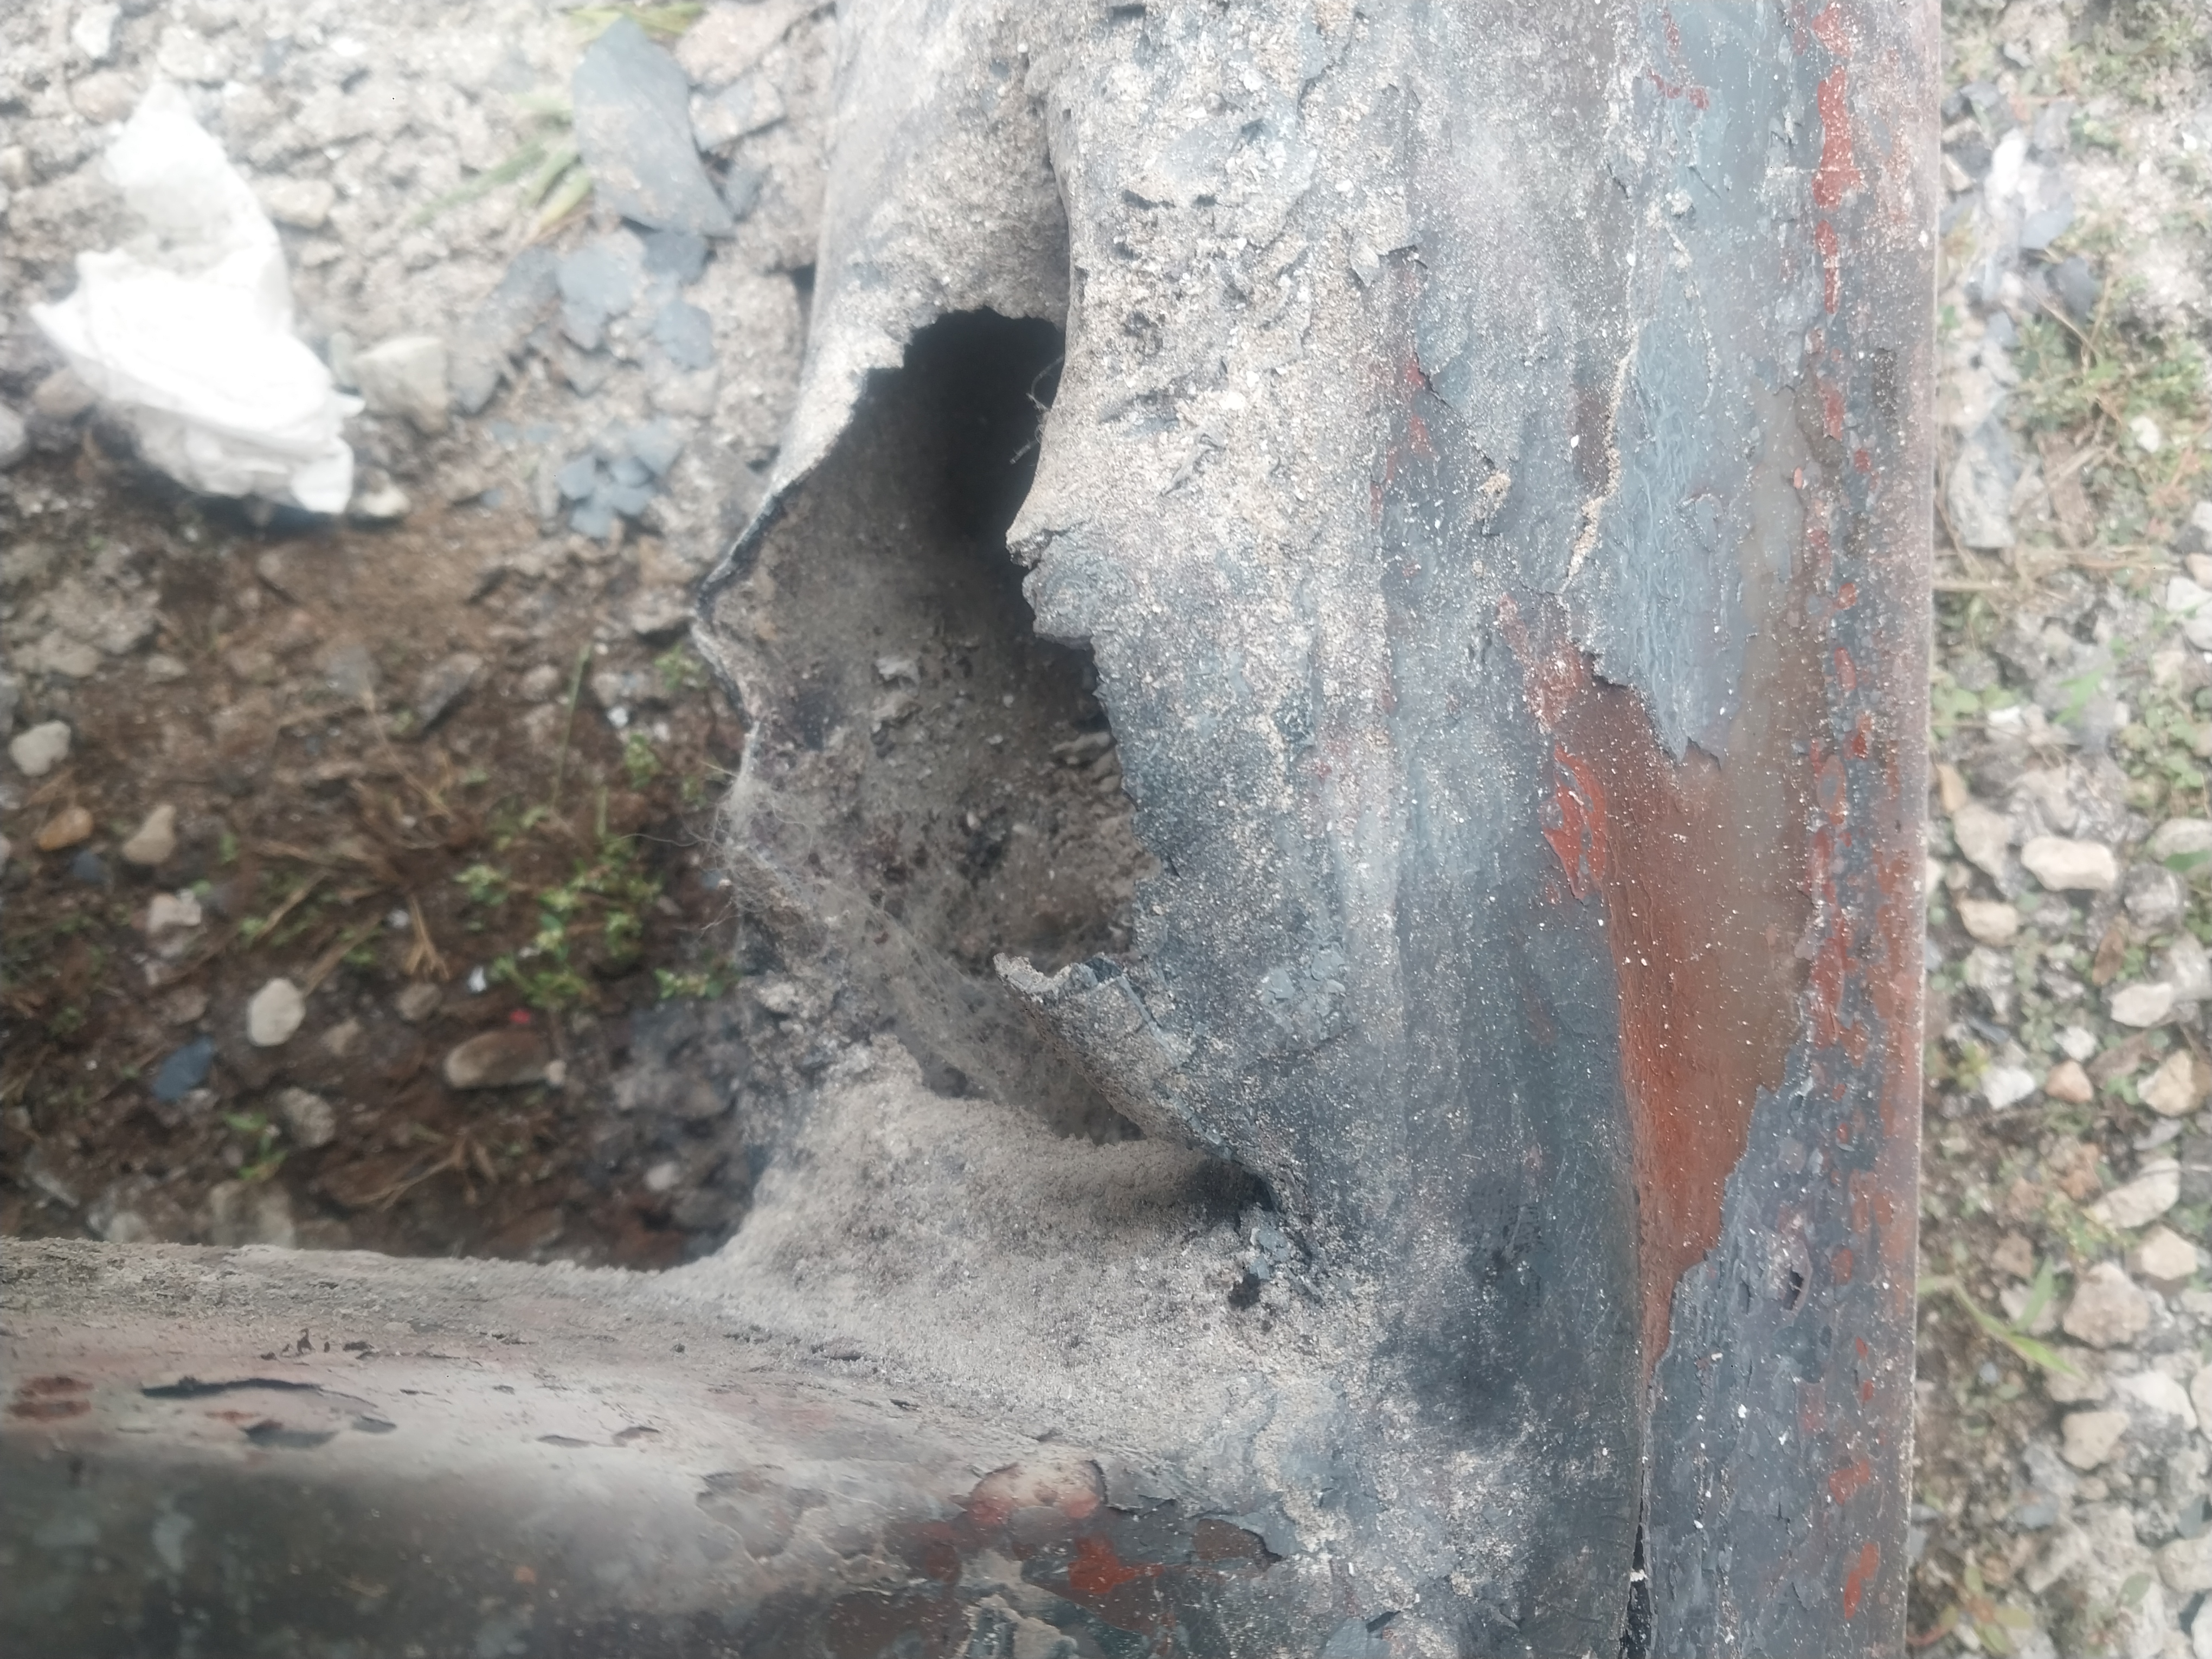
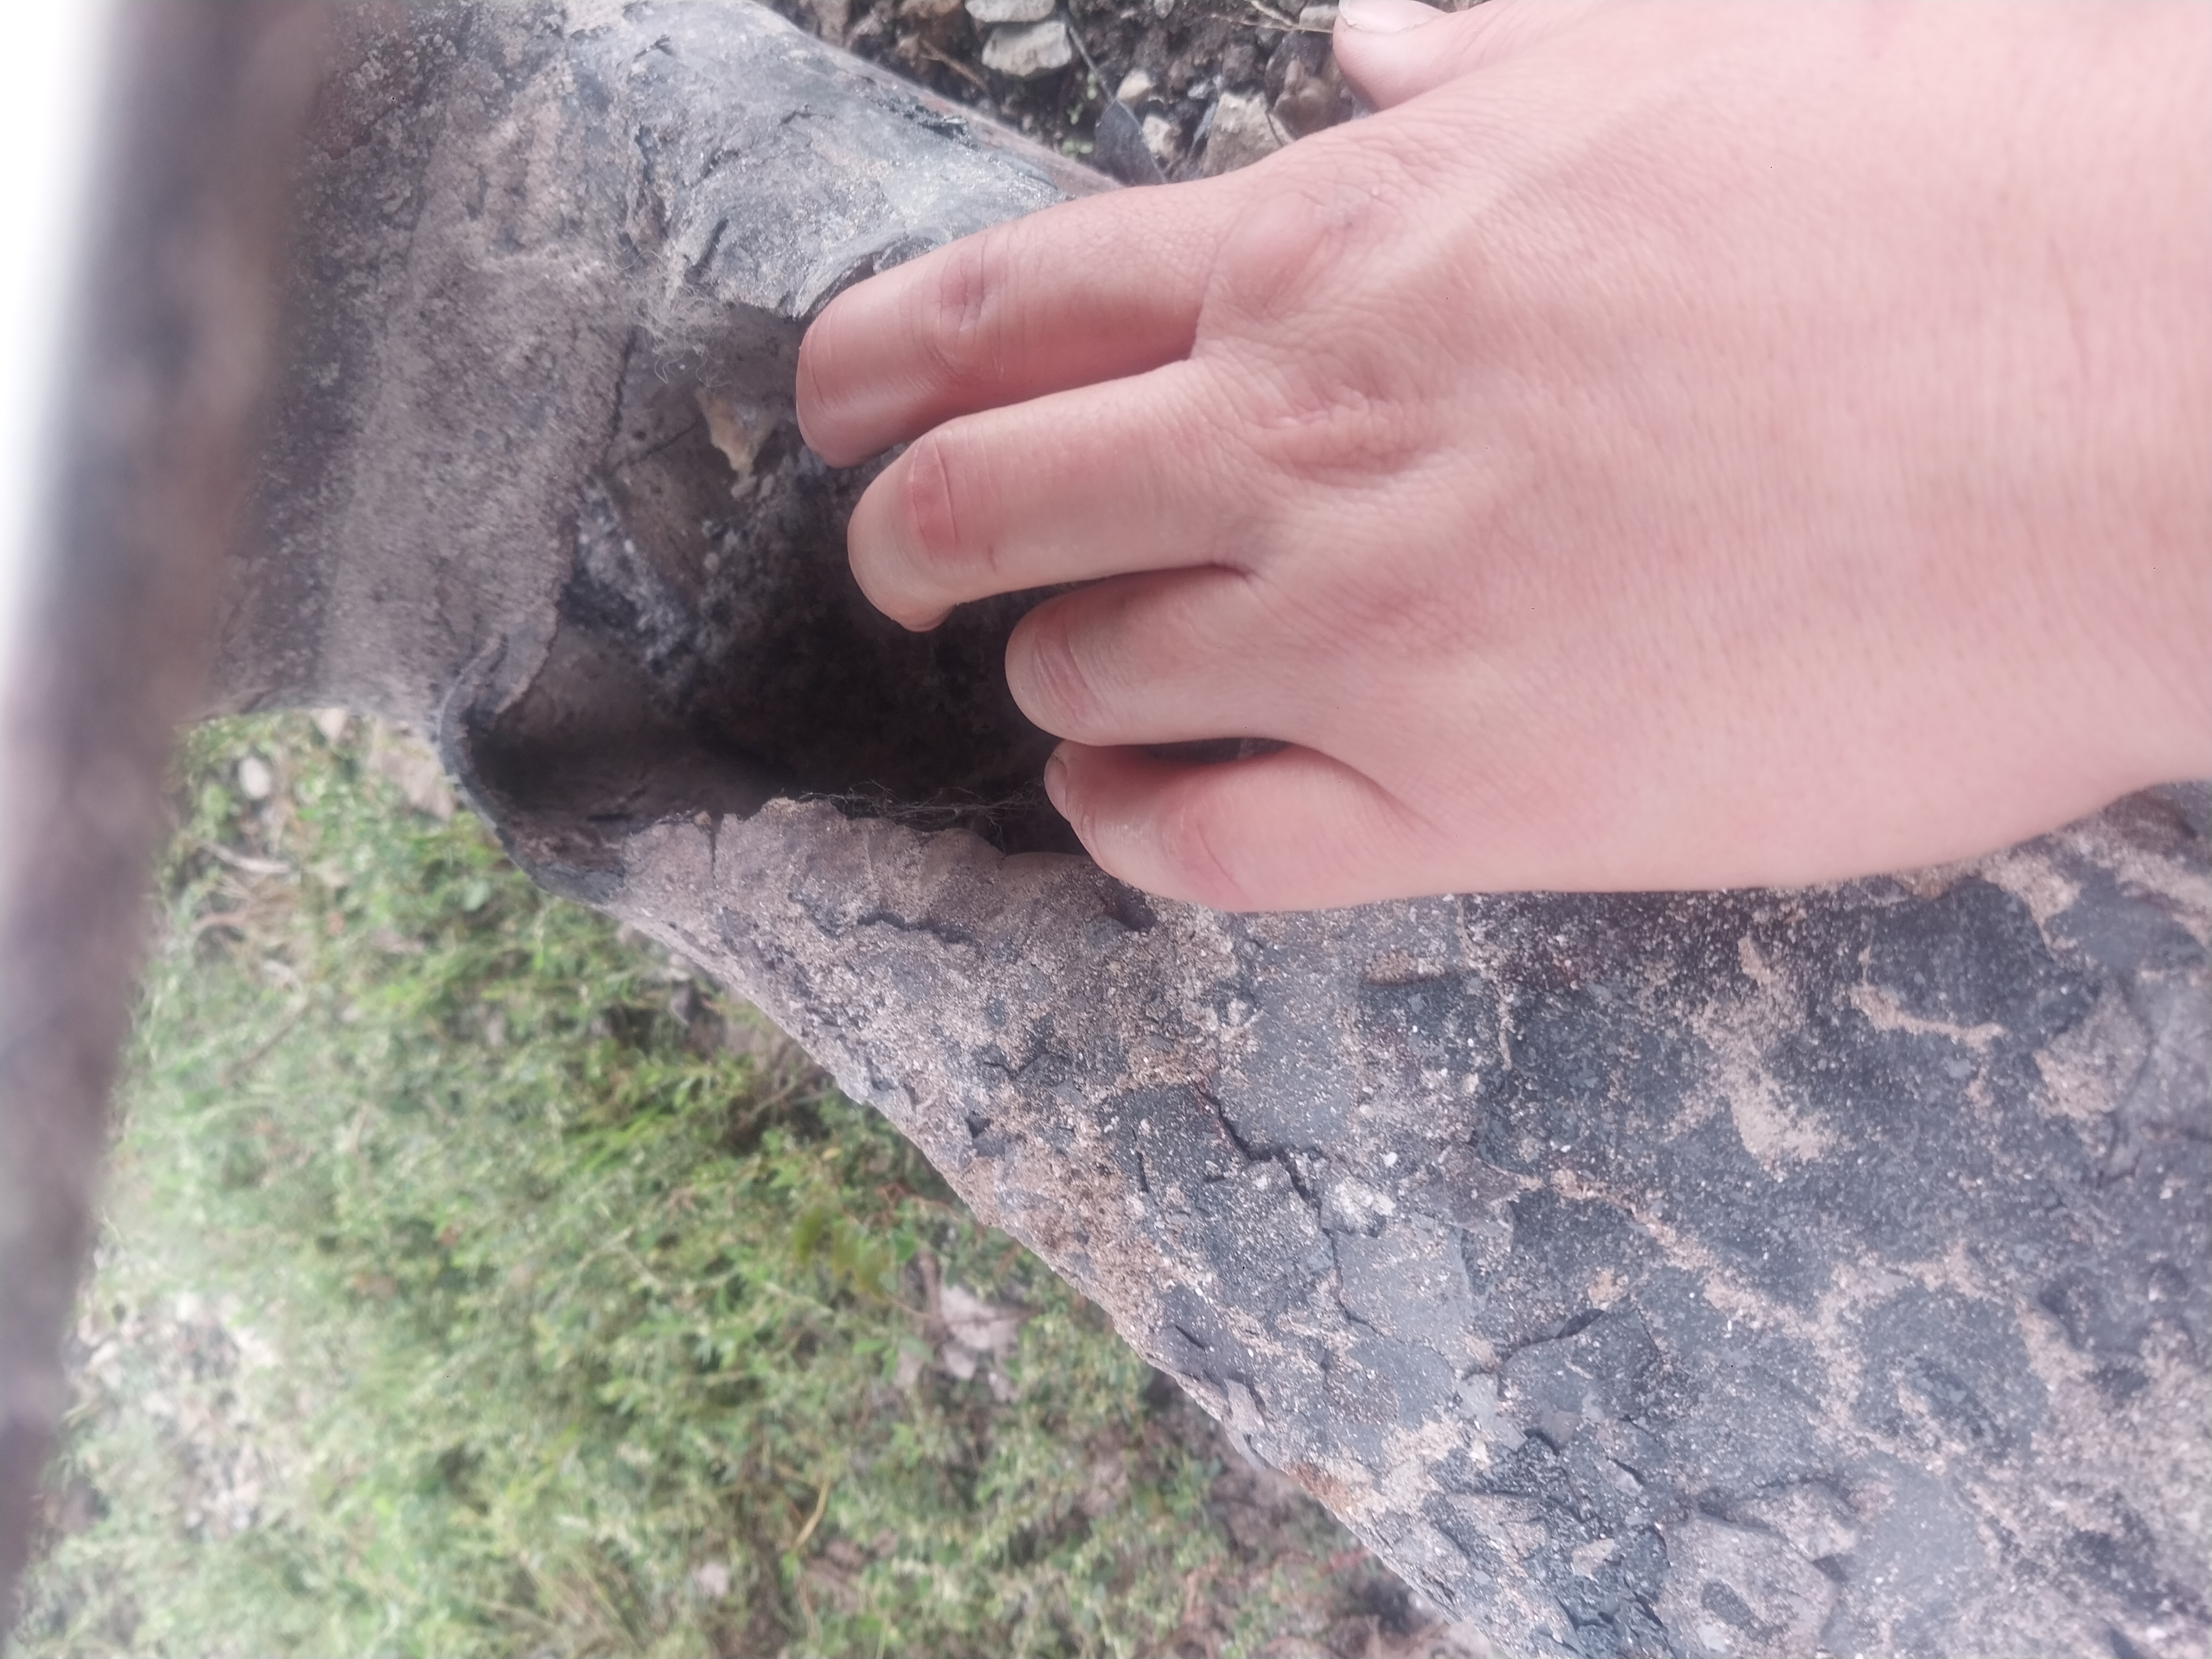
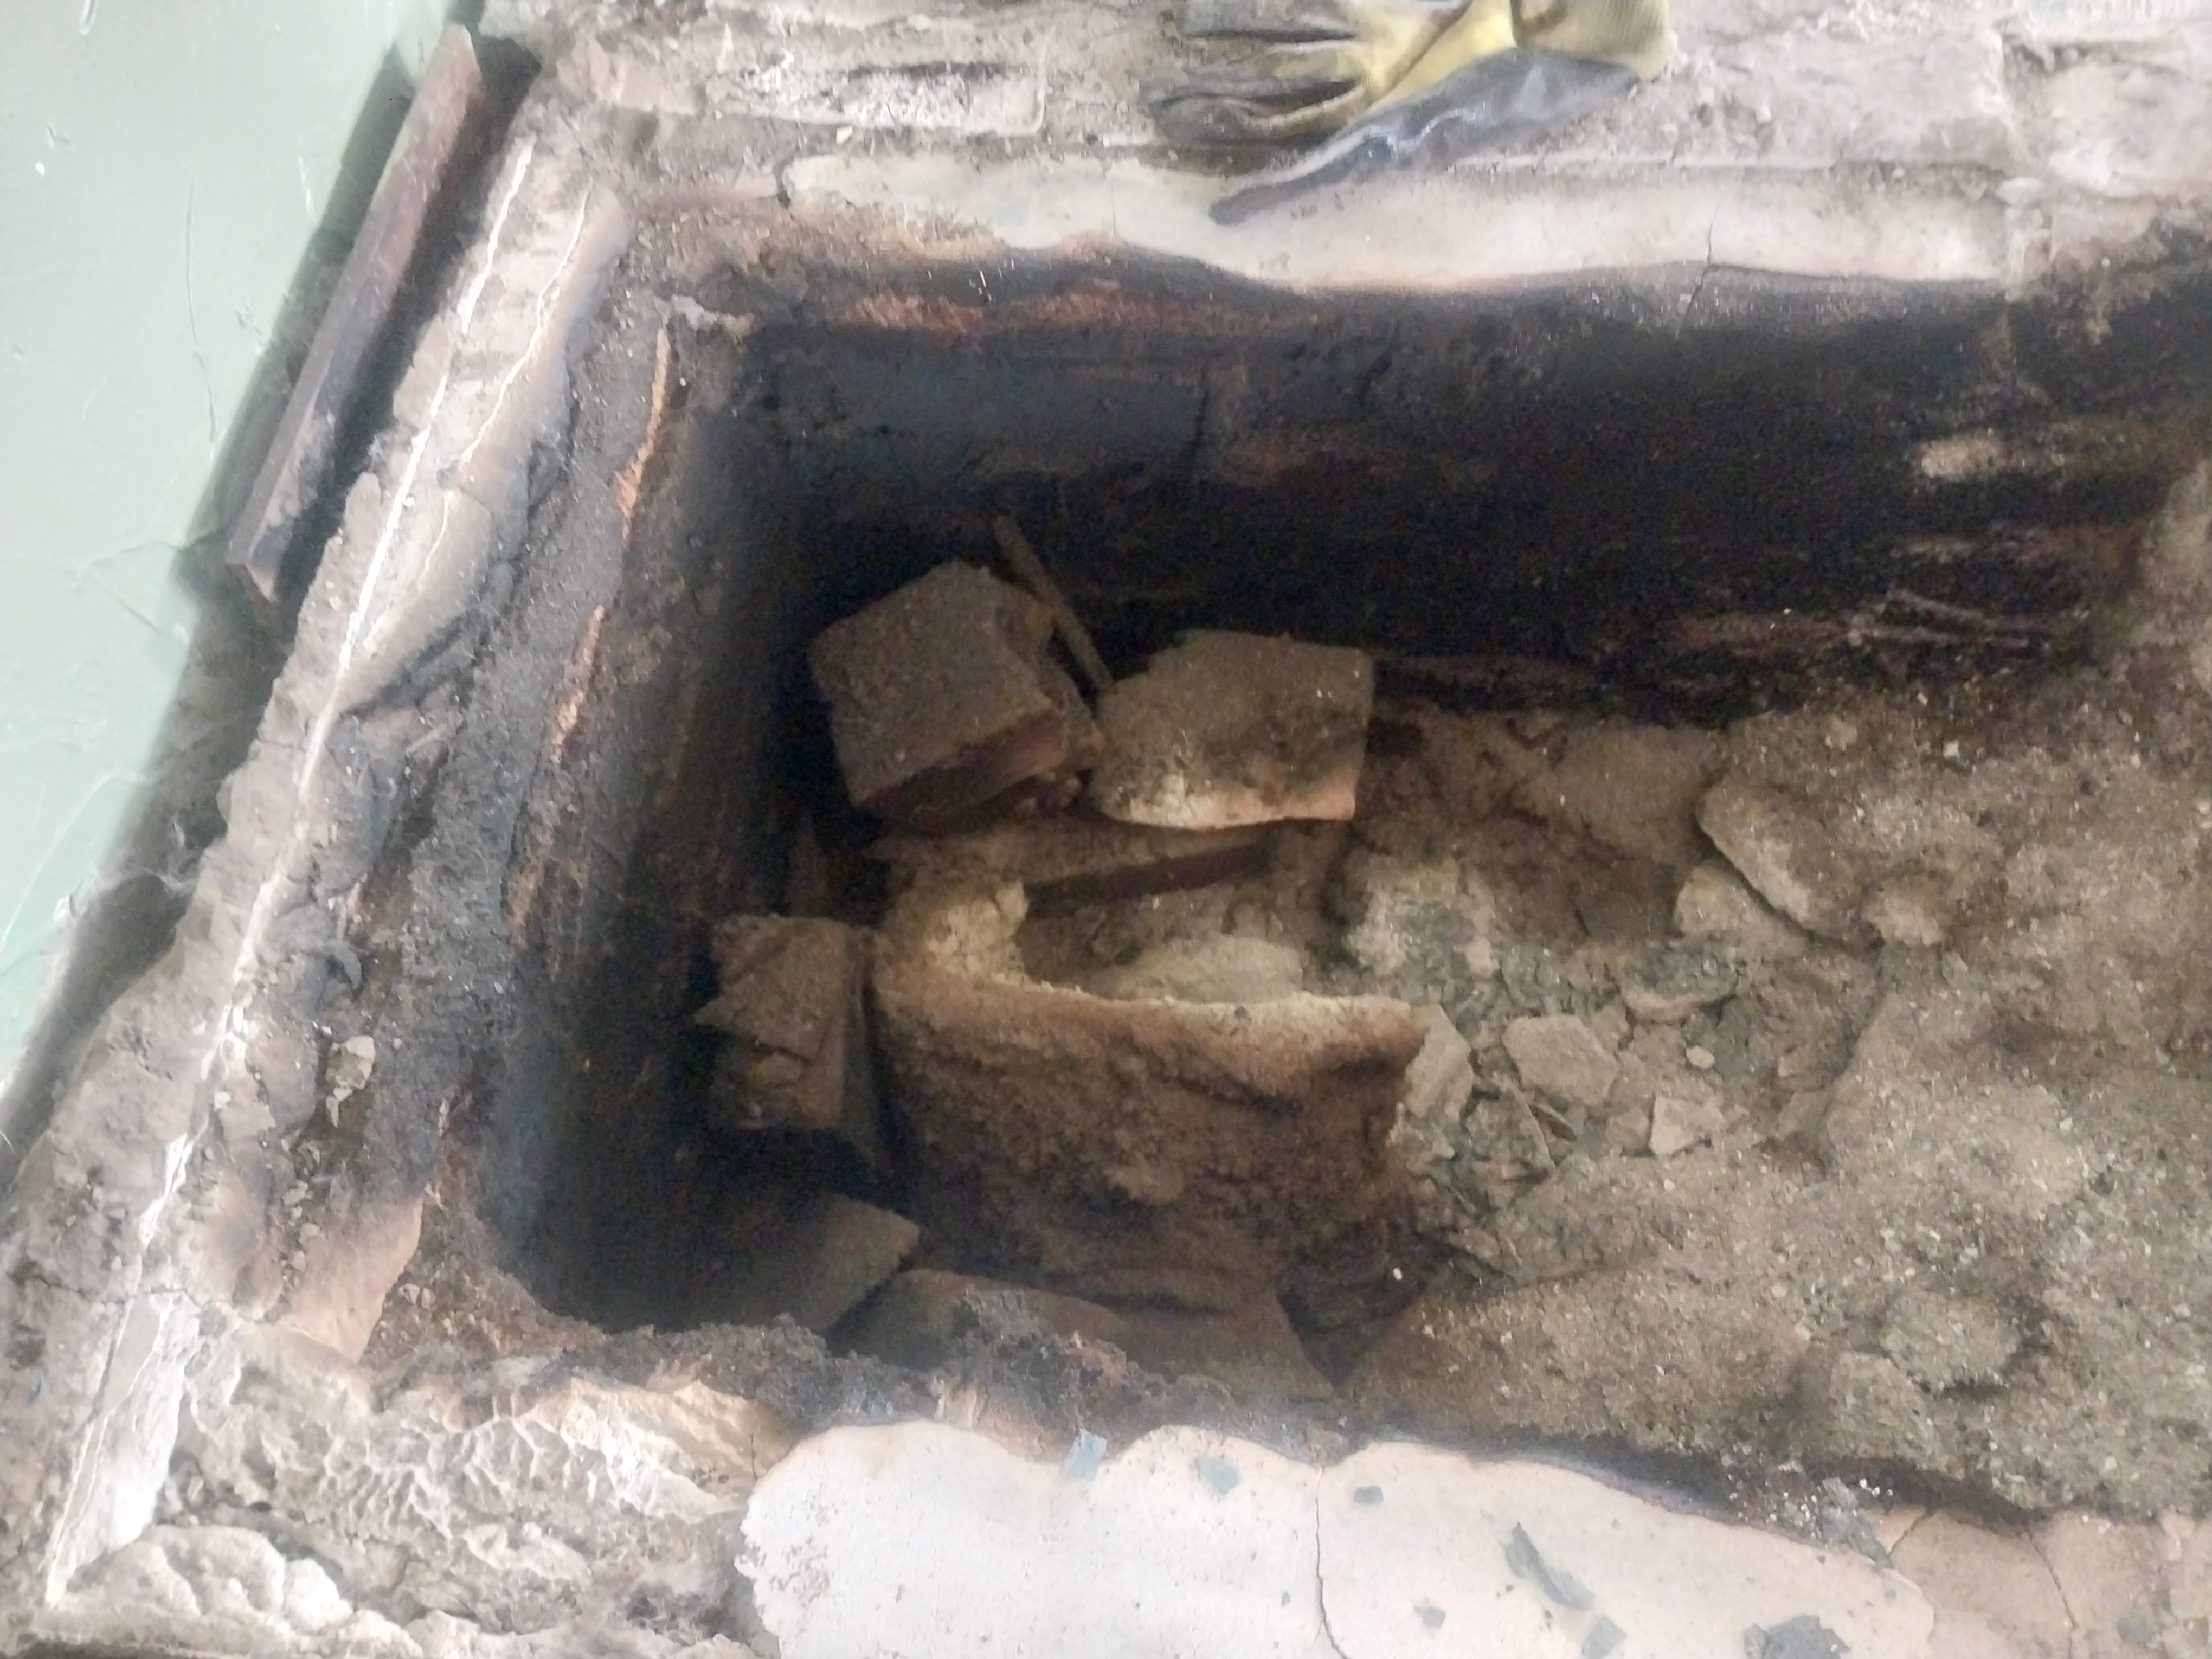
We built our first RMH last winter and you could say we cut a few corners as winter was fast approaching in our newly purchased house. Meaning cash was tight so cheap was the name of the game. My beloved was a welder at the time and received this beautiful length of mild steel tubing. He cut it up and welded it together to form a metal J tube. We were told not to do this but did it anyways cause fire brick is expensive and this was easy. It went out a month before the end of winter last season. Heres some pictures for good examples of what not to build your J tube from. But it did last two years! Giving us plenty of time to source the time money and free fire brick from a a old chimney to build it up right and safely this year. We knew she was going out this last season so we kept a strict eye on her to make sure there was no real fire risk. I think they are surprisingly safe from our experience. The biggest threat was the rate that it can fill a place with smoke if it gets choked out or there's to big of holes in the system.

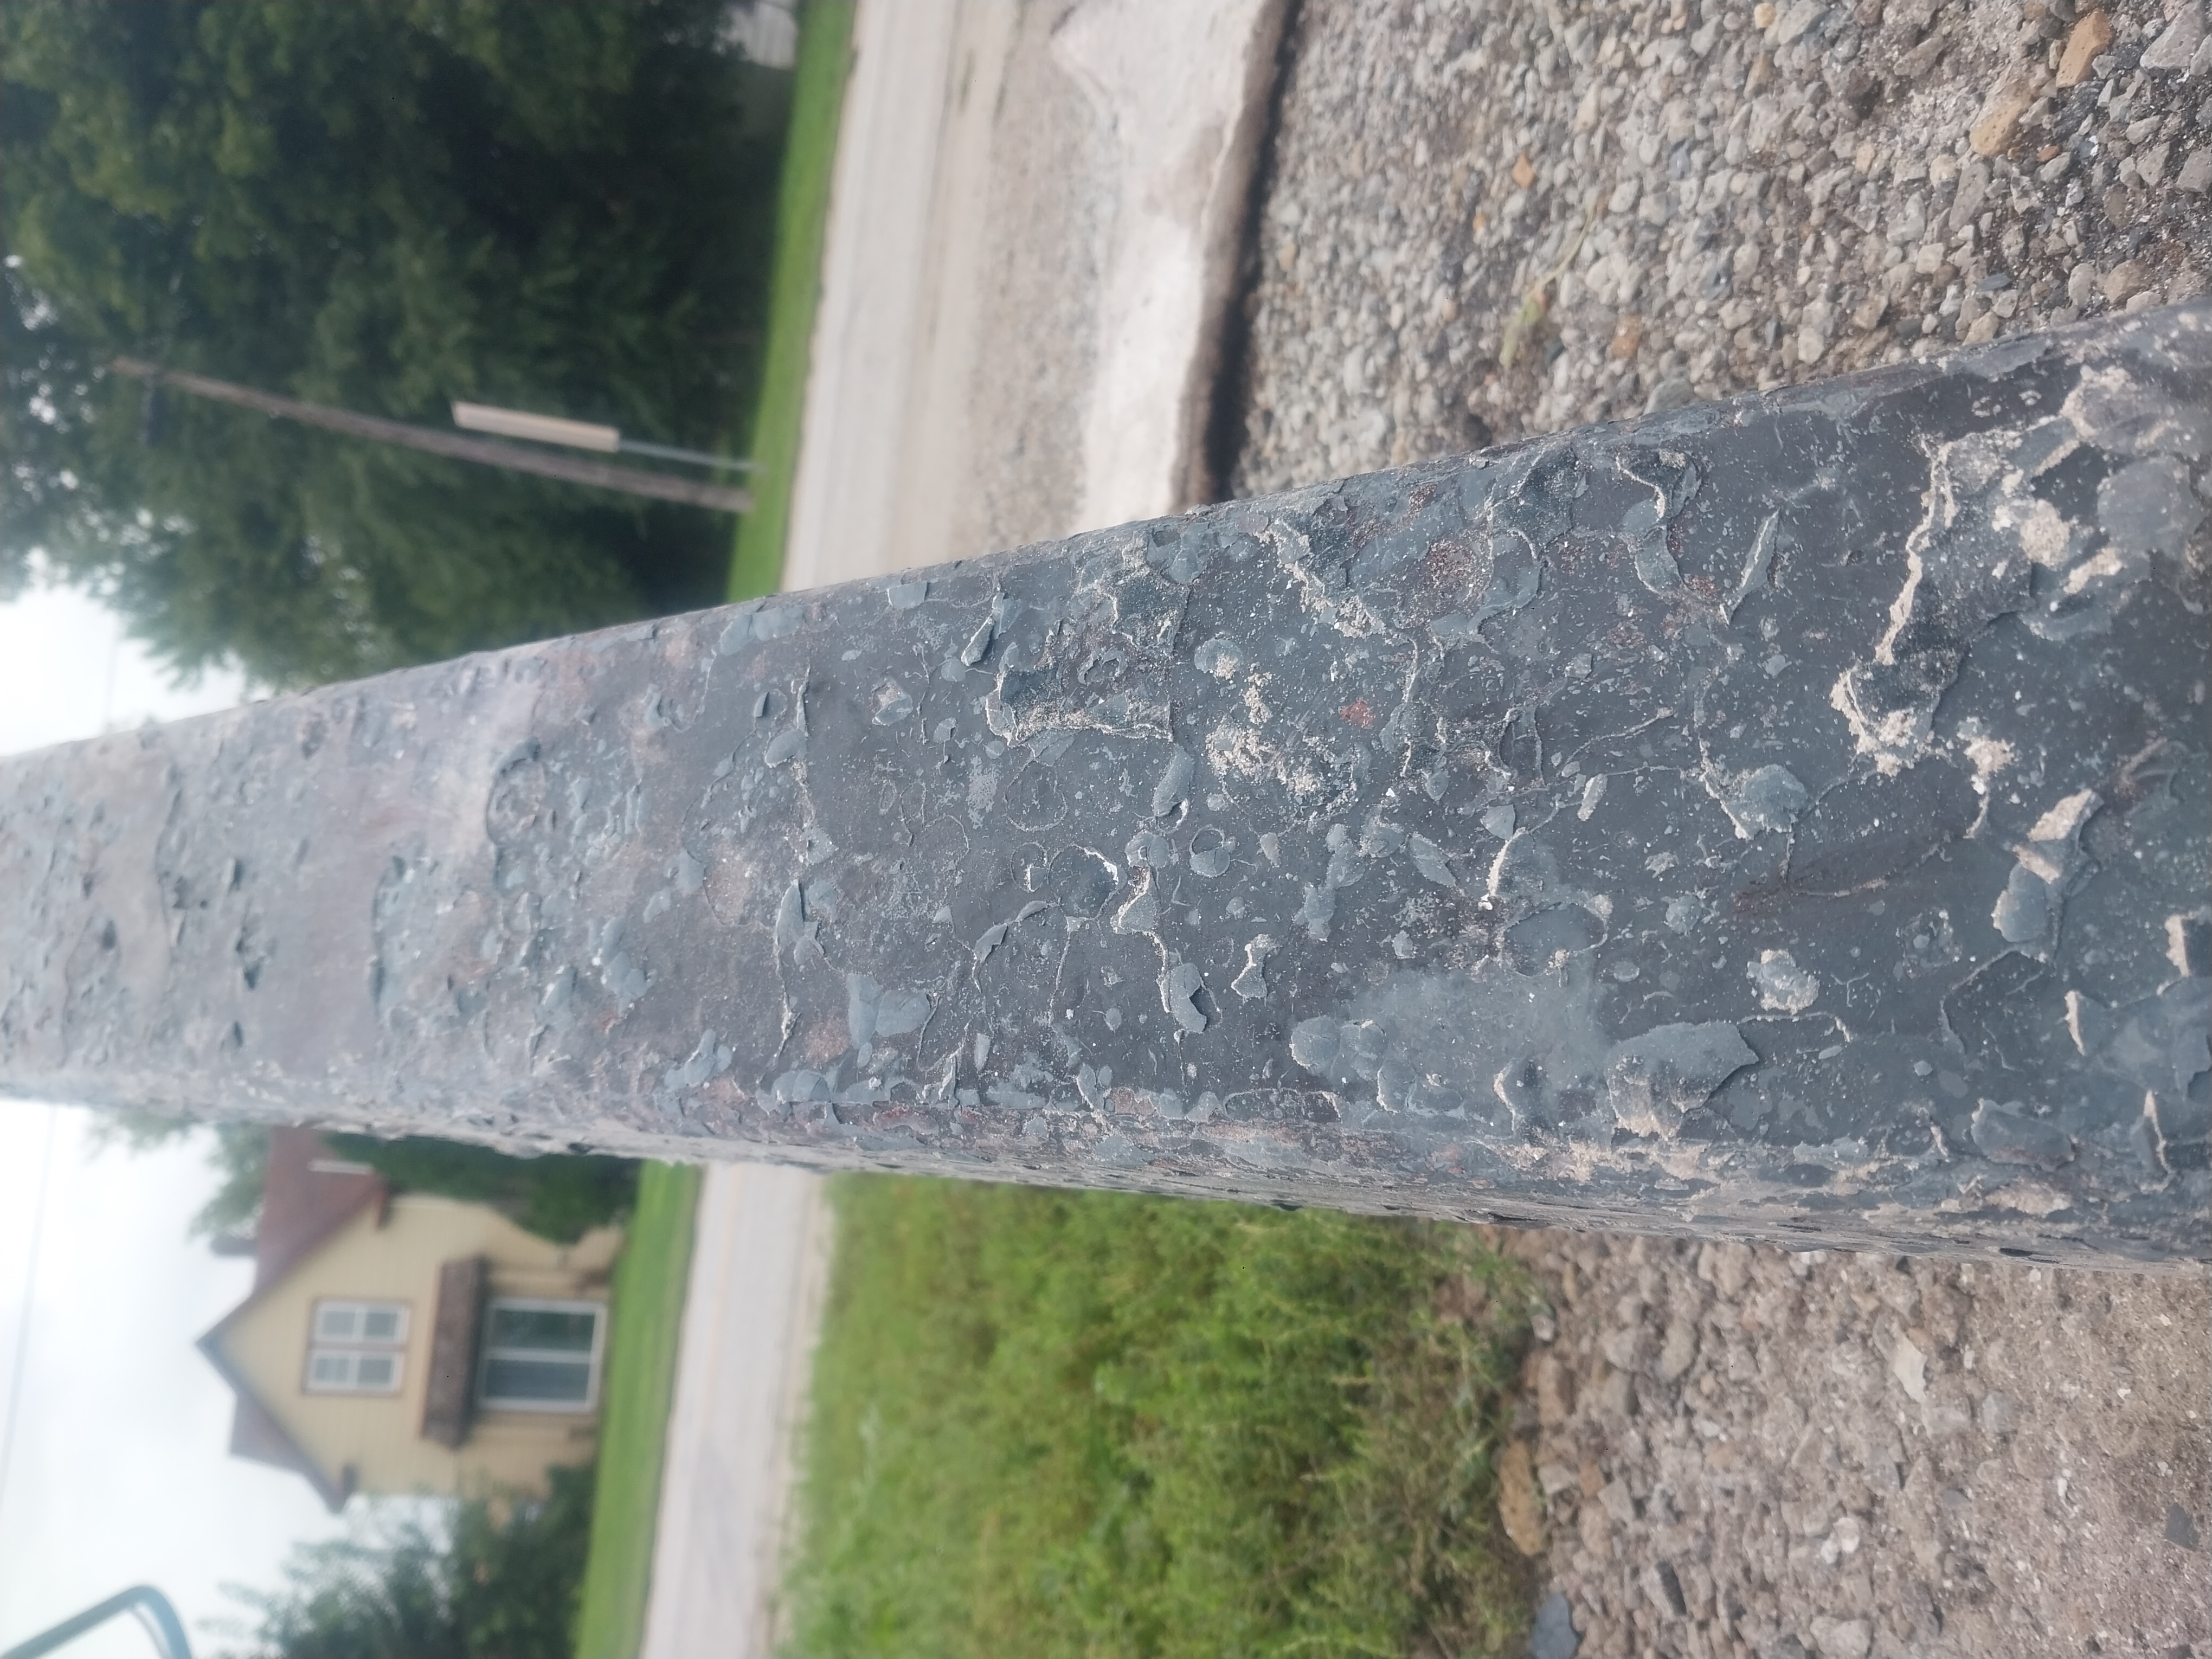
Just a note that we had pulled her apart after the first season to do some modifications and replace the tube but at that point there was very little scaling along the riser where the rock blanket hugged it. And there was no ash or creosote build up. So we decided to see how long it would last. Partially cause we are lazy but also for science!
20260926_141048.jpg
Our quick and dirty Jtube
20260926_140845.jpg
Scaling along riser, and a cute helper
20260926_140723.jpg
Better picture of the really cool looking scaling
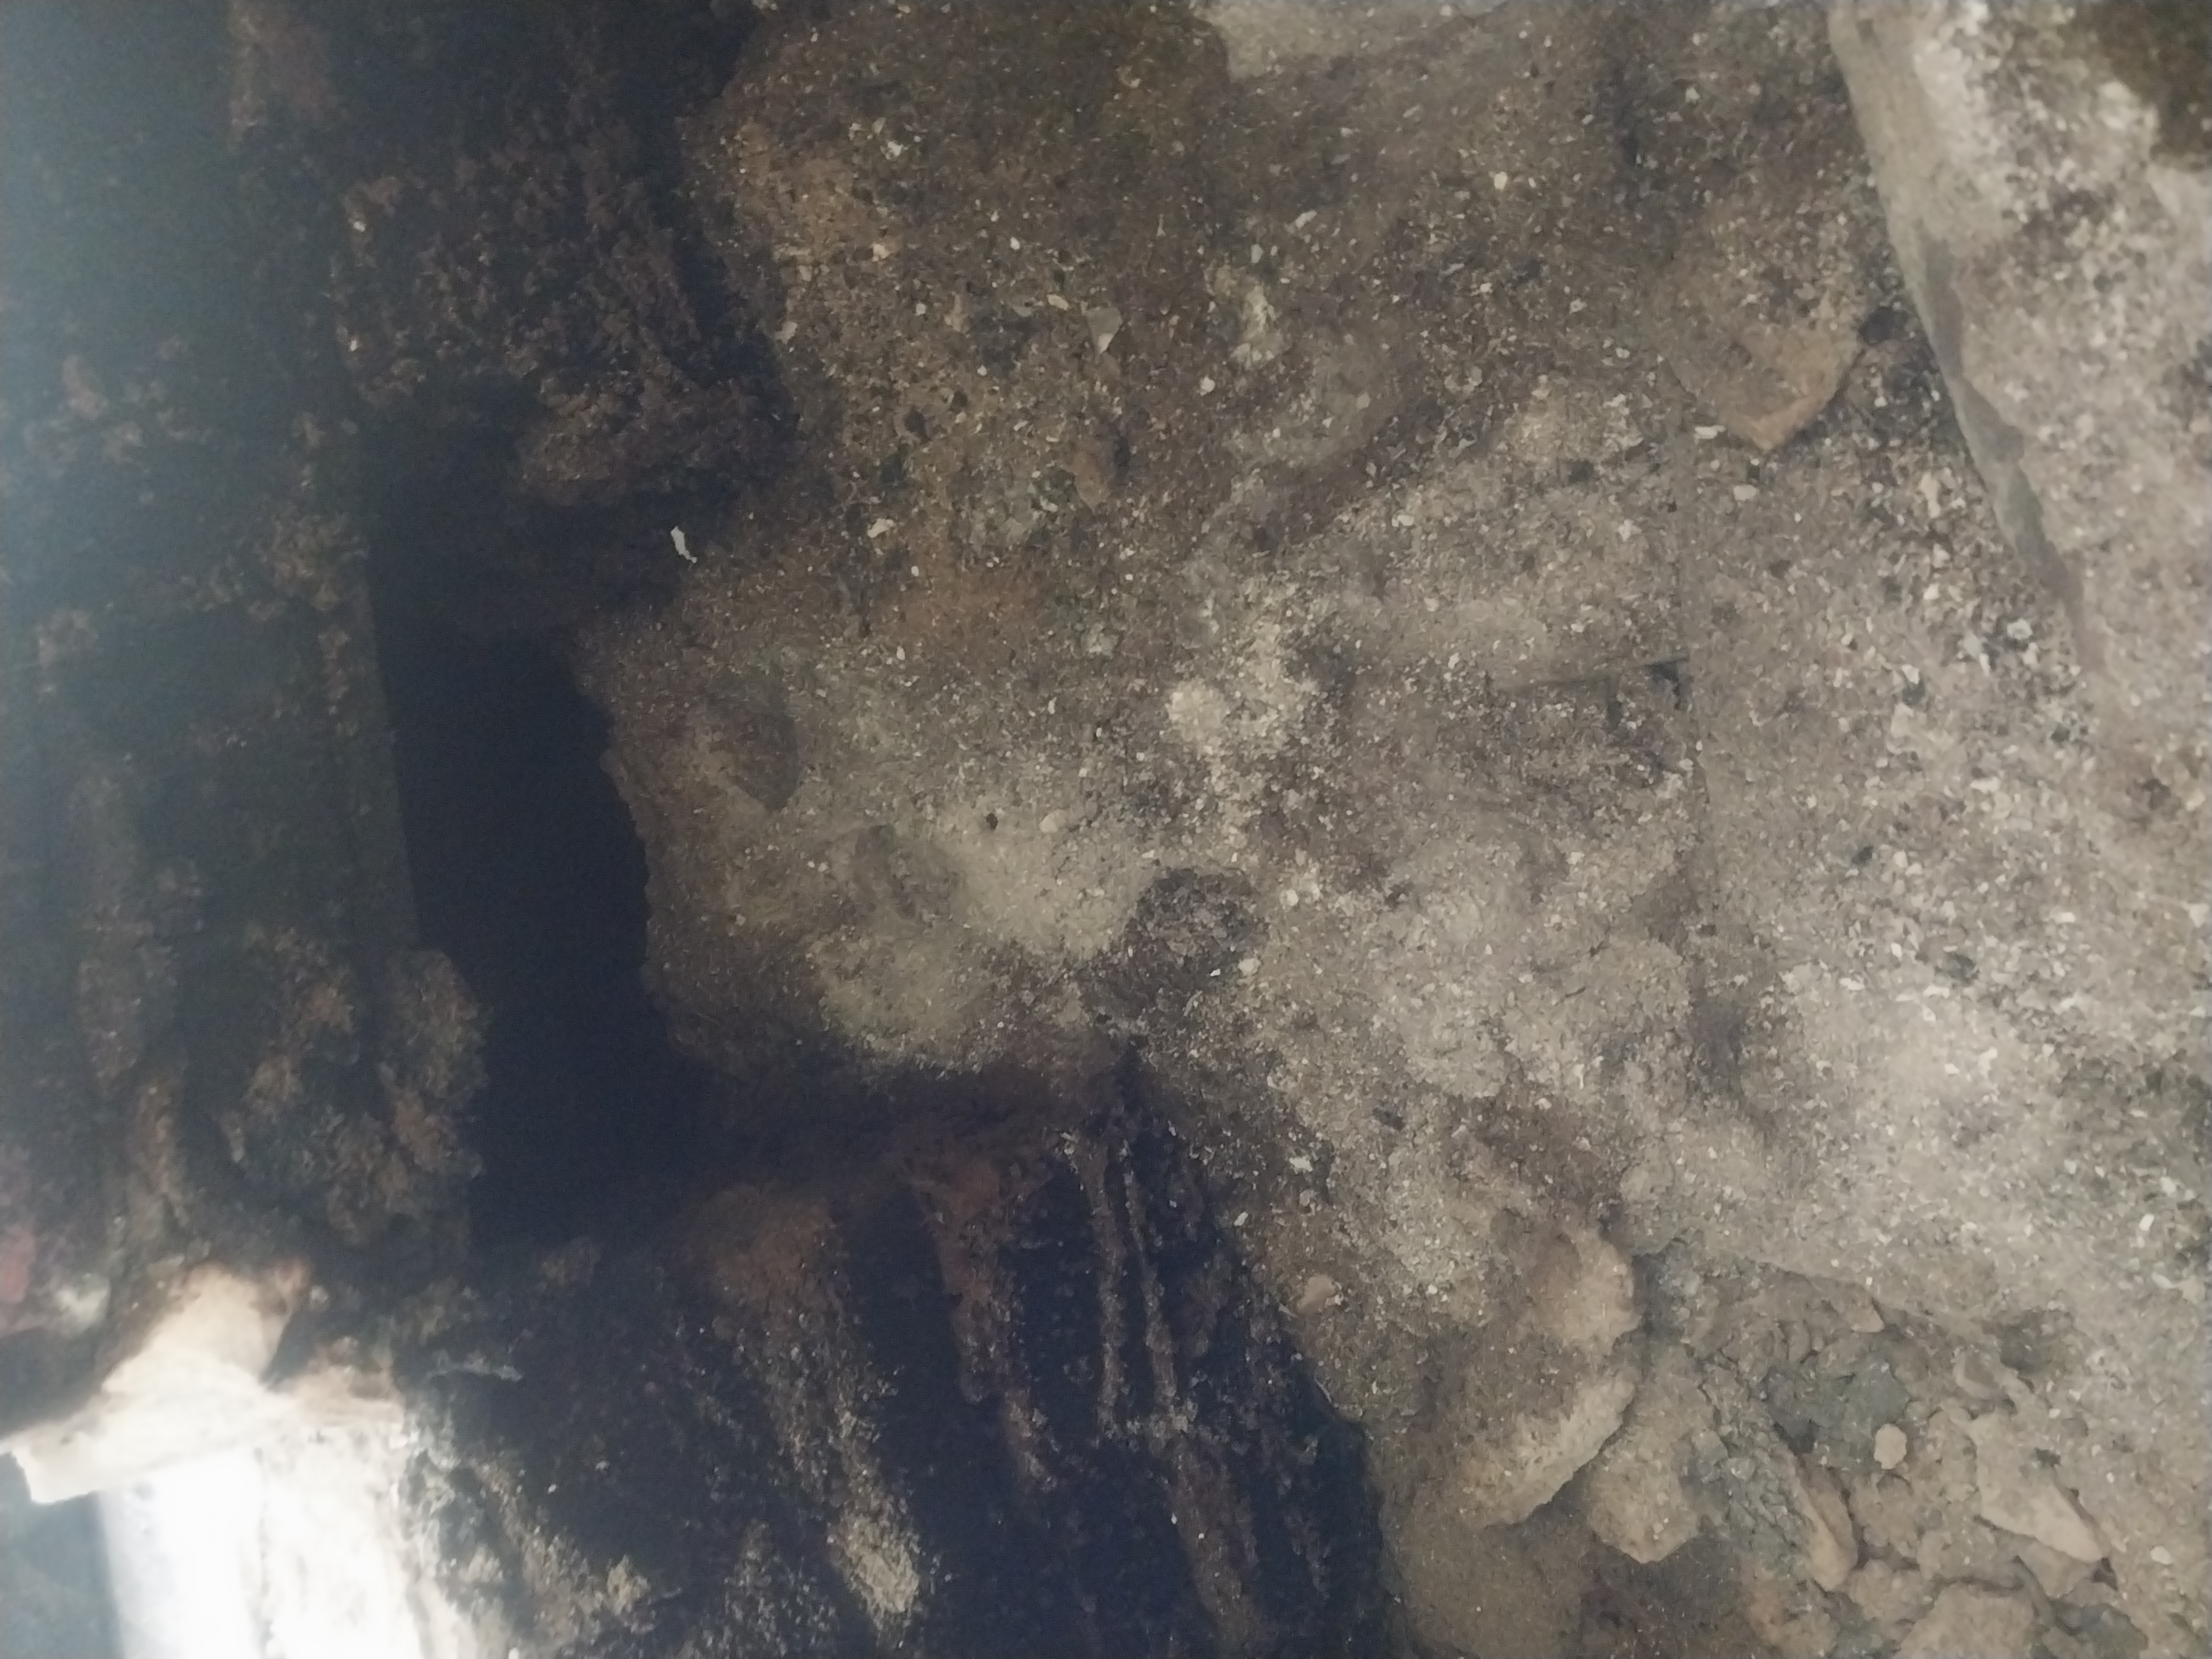
20260926_140810.jpg
Build up happening from bad burns due to j tube failing
20260926_140731.jpg
Feed tube to burn tube
20260926_140953-EDIT.jpg
Welds starting to fail
20260926_140713.jpg
The hole that killed her
20260926_141029.jpg
Death hole with my hand for scale
20260926_141410.jpg
The mess in the mass from it dying
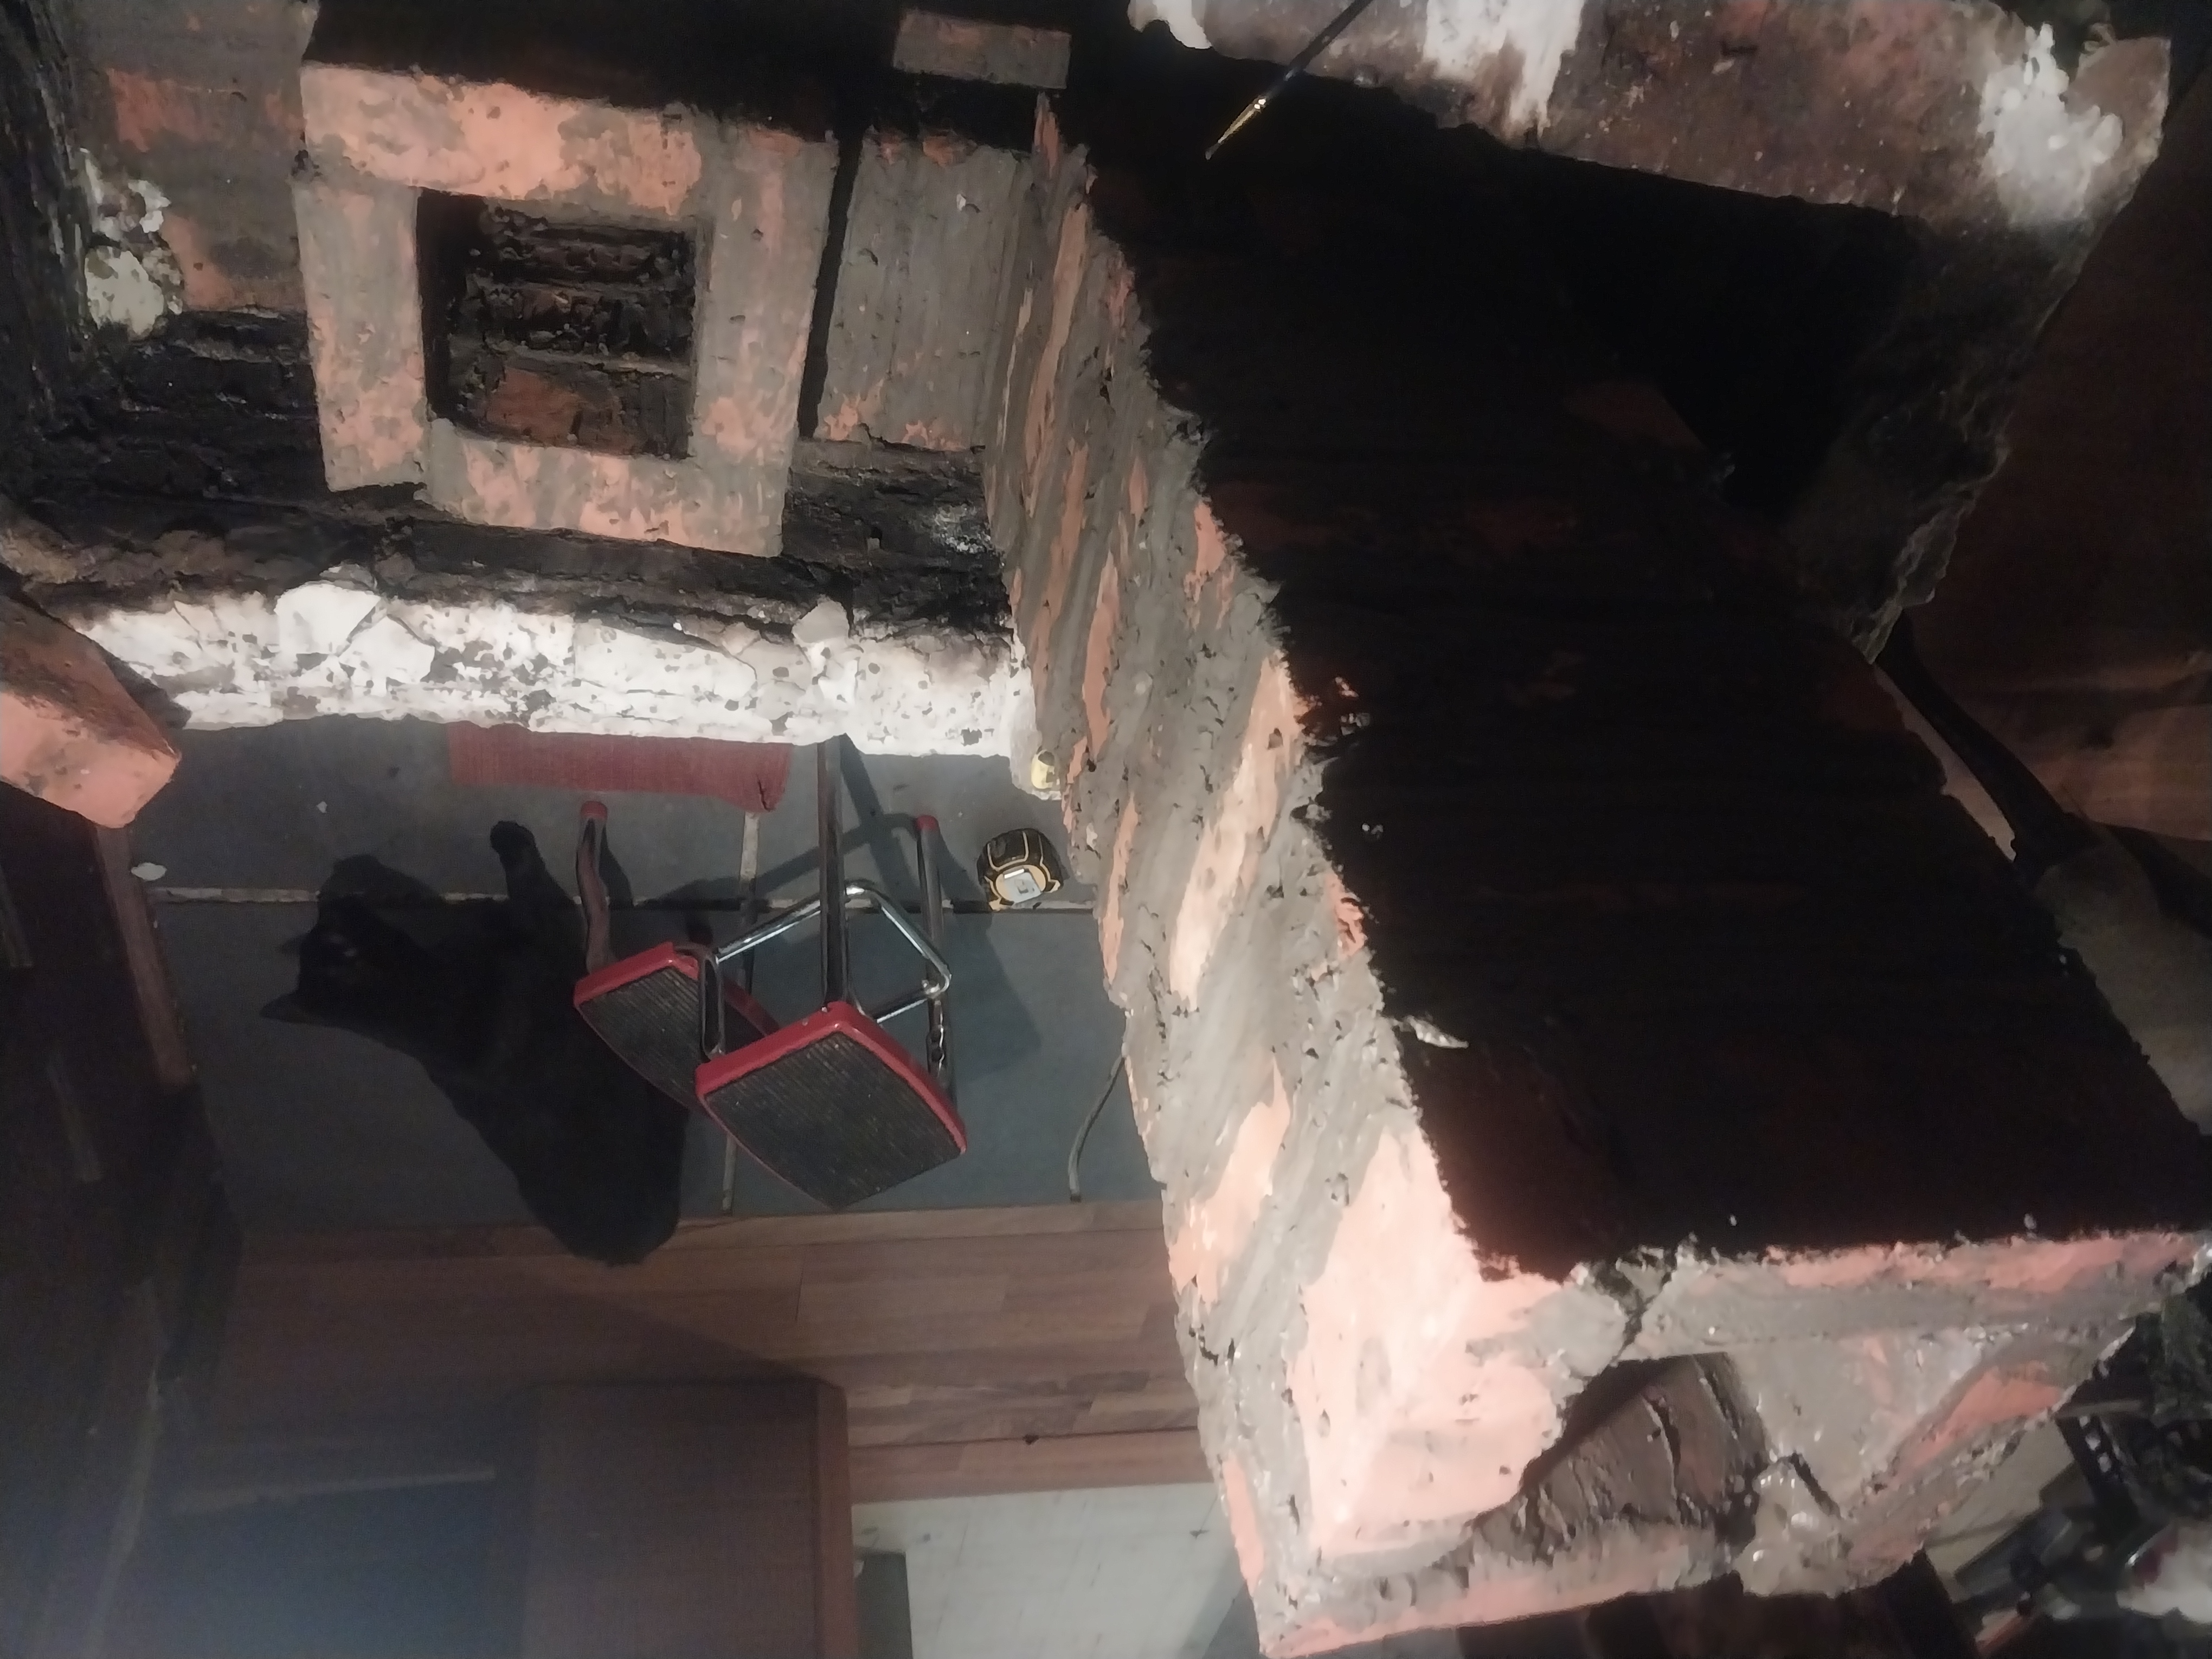
20260926_141407.jpg
soot and ash trying to escape thru the stratification chamber
 
master rocket scientist
Posts: 7178
Location: latitude 47 N.W. montana zone 6A
4361
cat pig rocket stoves
  • Likes 4
  • Mark post as helpful
  • send pies
    Number of slices to send:
    Optional 'thank-you' note:
  • Quote
  • Report post to moderator
Excellent post, thank you for sharing!
Sometimes you need to make do with what is available.
Two seasons is pretty good for a metal J-tube.
This season, with firebricks for your core, I think you will be very happy!
 
Sam Potter
pollinator
Posts: 158
Location: Central Iowa, Zone 5b
84
personal care foraging urban chicken bike bee
  • Likes 6
  • Mark post as helpful
  • send pies
    Number of slices to send:
    Optional 'thank-you' note:
  • Quote
  • Report post to moderator
I think you are right we are also expanding the burn tube to a 6 inch system, 4 inches kind of sucked for fitting wood in it.
 
thomas rubino
master rocket scientist
Posts: 7178
Location: latitude 47 N.W. montana zone 6A
4361
cat pig rocket stoves
  • Likes 4
  • Mark post as helpful
  • send pies
    Number of slices to send:
    Optional 'thank-you' note:
  • Quote
  • Report post to moderator
Just be sure not to make the burn tunnel roof more than 10-12". Too long will work, but it will fill the system with ash before spring.
 
Sam Potter
pollinator
Posts: 158
Location: Central Iowa, Zone 5b
84
personal care foraging urban chicken bike bee
  • Likes 9
  • Mark post as helpful
  • send pies
    Number of slices to send:
    Optional 'thank-you' note:
  • Quote
  • Report post to moderator
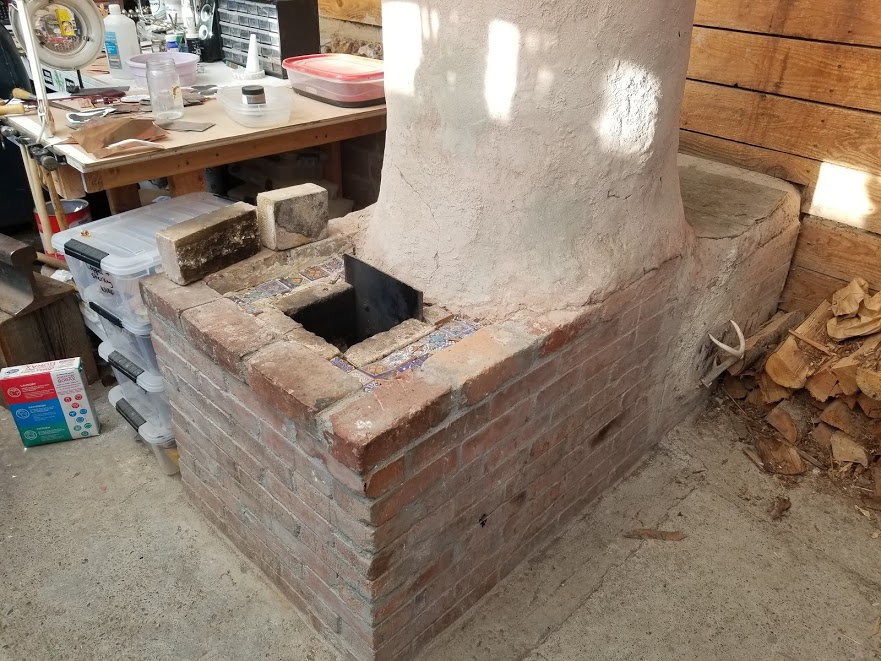
I bet thats what was wrong with the metal one, Id have to go check but I think that one was closer to the 12 inch mark. I just measured the new brick one and its at the 9 inch mark thankfully. I'm not the numbers person. I just play in the mud and put it together from the pattern lol.
20260926_214254.jpg
Still goopy late night finish on the riser and stuff.
 
I agree. Here's the link: http://stoves2.com
reply
    Bookmark Topic Watch Topic
  • New Topic