• Post Reply Bookmark Topic Watch Topic
  • New Topic
permaculture forums growies critters building homesteading energy monies kitchen purity ungarbage community wilderness fiber arts art permaculture artisans regional education skip experiences global resources cider press projects digital market permies.com pie forums private forums all forums
this forum made possible by our volunteer staff, including ...
master stewards:
  • Nancy Reading
  • Carla Burke
  • r ranson
  • John F Dean
  • paul wheaton
  • Pearl Sutton
stewards:
  • Jay Angler
  • Liv Smith
  • Leigh Tate
master gardeners:
  • Christopher Weeks
  • Timothy Norton
gardeners:
  • thomas rubino
  • Jeremy VanGelder
  • Maieshe Ljin

PEP Badge: Oddball

BB oddball - sand badge
 
gardener
Posts: 1569
Location: Washington State
985
6
forest garden trees rabbit earthworks composting toilet fiber arts sheep wood heat woodworking rocket stoves homestead
  • Likes 5
  • Mark post as helpful
  • send pies
    Number of slices to send:
    Optional 'thank-you' note:
  • Quote
  • Report post to moderator
Here are my photos for your review for PEP Oddball BB points.

I own a HansenCraft Mini Spinner, an electric spinning wheel.  In a phone consult with HC, we determined that the internal brake band had been damaged.  I purchased parts, watched Kevin in their repair video, and completed the repair myself.  For reference, Kevin Hansen (the designer, manufacturer, and distributor of the mini spinner) completed the repair in under 15 minutes while describing every step.

To document the completion of this Oddball project, I have provided the following:
 - a photo of HansenCraft Mini Spinner - before  
 - several photos - disassembly
 - several photos - replacing damaged parts
 - several photos - reassembly
 - a photo of HansenCraft Mini Spinner - after repair and spinning beautifully

1.JPG
Mini Spinner
Mini Spinner
2.JPG
tools & parts - pointing at replacement internal brake band
3.JPG
loosening set screw
loosening set screw
4.JPG
removing tension knob
5.JPG
damaged internal brake band
6.JPG
replacement internal brake band
7.JPG
threading new brake band
8.JPG
reinstalling tension knob
9.JPG
tightening
tightening
10.JPG
reassembly complete including external brake band
12.jpg
spinning :)
spinning :)
Staff note (Mike Barkley) :

I certify this for one oddball point.

 
Posts: 59
Location: Barcelona
33
forest garden trees tiny house urban books fiber arts
  • Likes 1
  • Mark post as helpful
  • send pies
    Number of slices to send:
    Optional 'thank-you' note:
  • Quote
  • Report post to moderator
Approved submission
Here's my oddball idea - a five minute pro-permaculture video that's suitable for young children. I made this one at my friend Lisa's request; She's on the staff at my hometown library. It's a read-aloud of Anywhere Farm by Phyllis Root followed by a quick tour of my Anywhere Farm. To be shared publicly, with potential for use by teachers or parents in distance learning/home school situations.

I think of it as part of People Care, for families who can't get physical books from the library while in quarantine. As an expat without access to many books in my native language, I value others' readings online. My kids attend a Catalan school and I'm their English department with or without covid.

I have shared 30 read-aloud videos of books for the very young that we had at home during lockdown in a playlist called Eileen's Storytime in English. Anywhere Farm is the permi-est. Teeth Are Not For Biting is the most popular on YouTube ;)

Perhaps this doesn't interest Otis, but I thought I'd run it by you.


Thanks,
E


Staff note (gir bot) :

Someone approved this submission.
Note: Certified for 1/2 point

 
gardener
Posts: 325
Location: NW Washington - Zone 8b (15 to 20 °F / -9.4 to -6.7 °C)
270
2
cattle goat foraging trees earthworks cooking building solar sheep wood heat
  • Mark post as helpful
  • send pies
    Number of slices to send:
    Optional 'thank-you' note:
  • Quote
  • Report post to moderator
Submission flagged incomplete
I dug the last bit of my carrots out of the garden before winter as the ground was starting to frost/freeze and damage their tops.  They stored pretty well in the crisper drawer of the fridge for daily snacking, but eventually I needed to process some before it was too late.  I made some delicious vinegar brined carrots!  They are super crisp and flavorful.

I think this one might have to go here in oddball instead of food prep and preservation because this recipe doesn't involve water bath or pressure canning or fermentation.
Screenshot_20210226-232646_OneNote.jpg
Recipe.
Recipe.
20210221_181614.jpg
Prepping the carrots.
20210221_191630.jpg
Carrots packed in the jar.
20210221_185031.jpg
Apple cider vinegar brine prepped.
20210221_191624.jpg
Bring brine to a boil.
20210221_191906.jpg
Pour bring in jar.
Pour bring in jar.
20210221_191944.jpg
Cooled enough to put in fridge.
Staff note (gir bot) :

Someone flagged this submission as not complete.
BBV price: 1
Note: I think, for now, this doesn't count for oddball.  If it's truly preserved (shelf stable) it would just be a part of the Wood badge for preserving 1 million calories.  If it's only refrigerator stable it's not really preserved so it might be a part of the Wood badge for 800 plates of food.  Since it's likely one or the other, it gets lumped in there and not here. 

 
gardener
Posts: 1236
360
7
trees wofati rocket stoves
  • Likes 1
  • Mark post as helpful
  • send pies
    Number of slices to send:
    Optional 'thank-you' note:
  • Quote
  • Report post to moderator
Submission flagged incomplete
I would like to present the following as an alternative submission (this setup includes an inverter and powers AC devices only at this time, and I built it 2 years ago so I don't have pictures of the unassembled parts):

I built this 24V system with the intention of using it off grid when I retire, and I purchased 4 used 6V batteries as I had several years to go and if I had to learn the hard way, better to use inexpensive batteries. The system consists of 4 300W PV panels, wired into 2 parallel strings of 2 panels in series (2x2). The panels can each produce a bit over 30V at a bit under 10A in standard conditions. Weather conditions and edge shading can cause higher voltage spikes. The typical input voltage sits around 70V and is managed by the charge controller. The charge controller can handle up to 140V before voltage protection kicks in, and can handle up to 60A input.

The panel input runs through a breaker, and then into the charge controller. The charge controller positive output runs into another breaker, then to a second breaker which connects to both the batteries (on the opposite side of the breaker) and the inverter (on the same side of the breaker). The negative feeds for the chrage controller, batteries, and inverter all attach to a negative bus bar, and the negative bar, charge controller, and inverter are wired to a ground bus which goes outside to a copper grounding bar in the soil. The panels are also attached to that grounding bar.

The batteries are wired in series with heavy gauge wire to minimize resistance. Each battery is rated at 220AH, so being in series this results in 220AH*24V=5.28kwh of total capacity. Since batteries can take permanent damage if their charge goes below 50%, the usable amount of power is limited to 2.64kwh in this setup. Typical daily use currently is around 800wh per day, powering my cable modem and wireless router if I leave them on over night. The inverter has a power switch, as does the power strip that these devices are plugged into so you can cut power to non-essential items when not in use, to minimize any phantom loads. When I first set everything up it was summertime and the panels would receive a good amount of sunlight (winter sun is blocked by trees in my tiny city lot) and I also powered my refrigerator using this system. That brought total power use closer to 2kwh per day and the used batteries were barely able to stay above 50% charge by early morning when they could recharge. I've avoided mounting the PV array to my patio roof at this time, but that would certainly improve performance as would adding 2 additional PV panels, one to each string for getting proper charging levels (10% of 220AH=22A input, while my system is closer to 19.3A max input) and higher overall power output.

While I don't normally charge my phone, I've included 2 pictures (one is a screen capture of the phone since I don't have another to take the picture) of the phone plugged into the inverter and showing it is receiving a charge. The highest power use I've attempted included the fridge, a power strip for my PC and other gear, and my window AC unit (rated at 960W) which was around 1500W when all were running at once. The inverter could handle that, although the cooling fans would turn on in that case. The highest PV input I saw was at that same time, the charge controller was reporting around 1100W+ out of a possible 1200 as conditions are rarely perfect. This was obviously not enough for everything, but I only ran the AC off solar once to see it work, and normally just the fridge, wi-fi, modem, PC, and light were powered that summer.


Staff note (gir bot) :

Someone flagged this submission as not complete.
BBV price: 1
Note: This is a beautiful build and the certification team would love to approve it.  We're sorry but since there aren't any before and during pictures we can't be sure that you did the work yourself.

 
steward
Posts: 21553
Location: Pacific Northwest
12040
11
hugelkultur kids cat duck forest garden foraging fiber arts sheep wood heat homestead
  • Likes 4
  • Mark post as helpful
  • send pies
    Number of slices to send:
    Optional 'thank-you' note:
  • Quote
  • Report post to moderator
Approved submission
I think this is my oddest oddball submission: I spun my hair into garden twine. Deer hate human hair, right? I have deer that love my fruit trees. I also need to train some branches down. I posted about this idea here. After making that twine, I started saving up my hair after brushing to spin into twine. Looking at the date in the thread, I've saved hair for 4+ months now.

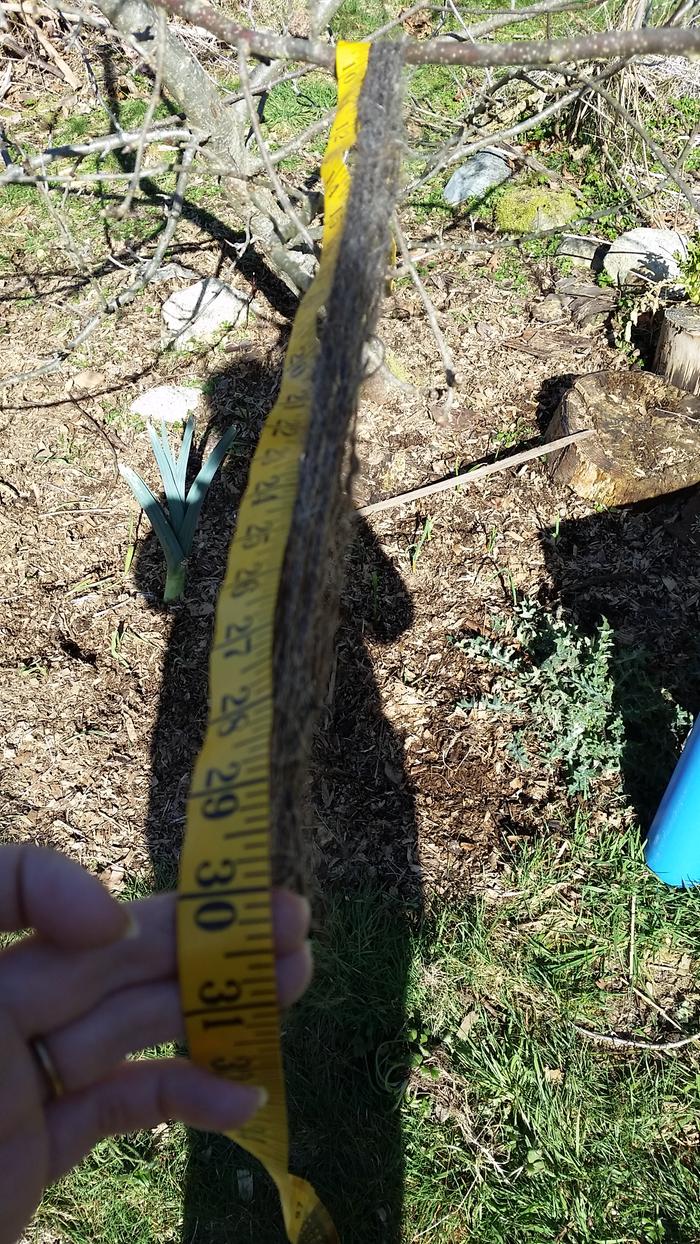
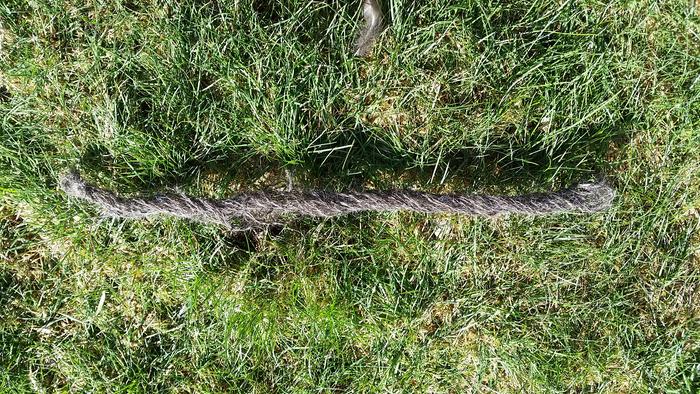
My hank of yarn is 22 inches long. Multiply that by the 20 times I went around, and that's 36 feet of hair twine, a little over 10 yards. The hair twine is really strong! And the twine I put out back in September is still working great. I'd say this is a good as normal garden twine you buy at the store (my garden twine never makes it more than a year in my drizzely weather)!
20210205_124210.jpg
My hair that I'd just started spinning
20210205_132959.jpg
A bit further along
A bit further along
20210303_123700.jpg
All of it spun (single ply)
20210303_131032.jpg
Now it's twined onto itself. To measure it one-handed, I draped the measuring tape over the hank, starting at 10 inches, going to 32 inches
20210303_131108.jpg
Hank of spun hair (is it gross? Is it awesome? Even my husband who hates hair, can't tell)
20210303_131600.jpg
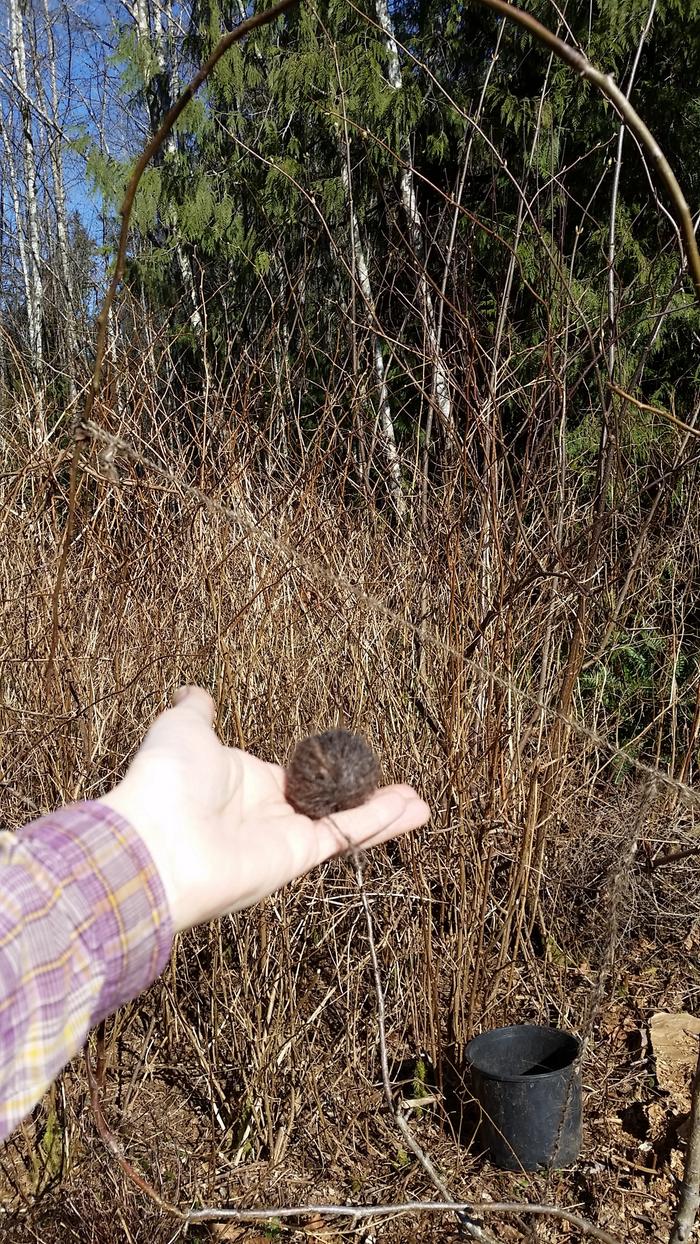
A ball of hair twine, as well as the twine I'd made back in September to pull down this branch. Still going strong!
Staff note (gir bot) :

Someone approved this submission.
Note: Certified for 1 point.  Neat project!

 
Nicole Alderman
steward
Posts: 21553
Location: Pacific Northwest
12040
11
hugelkultur kids cat duck forest garden foraging fiber arts sheep wood heat homestead
  • Likes 5
  • Mark post as helpful
  • send pies
    Number of slices to send:
    Optional 'thank-you' note:
  • Quote
  • Report post to moderator
Approved submission
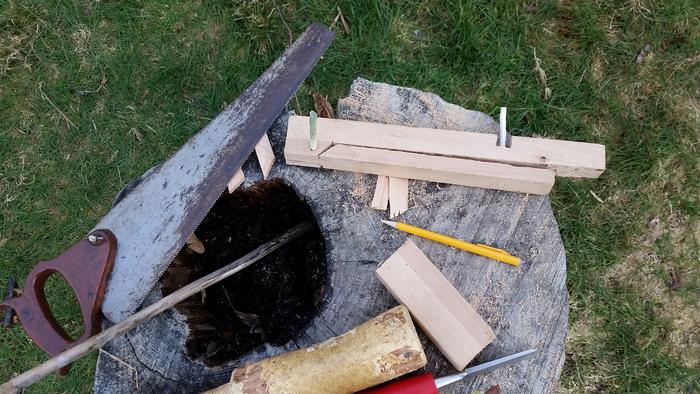
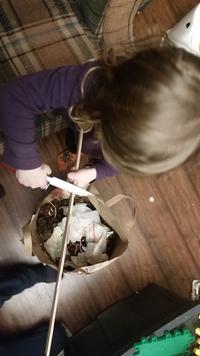
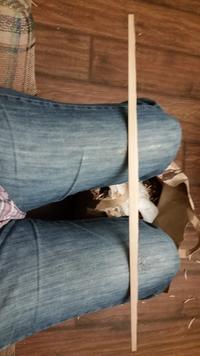
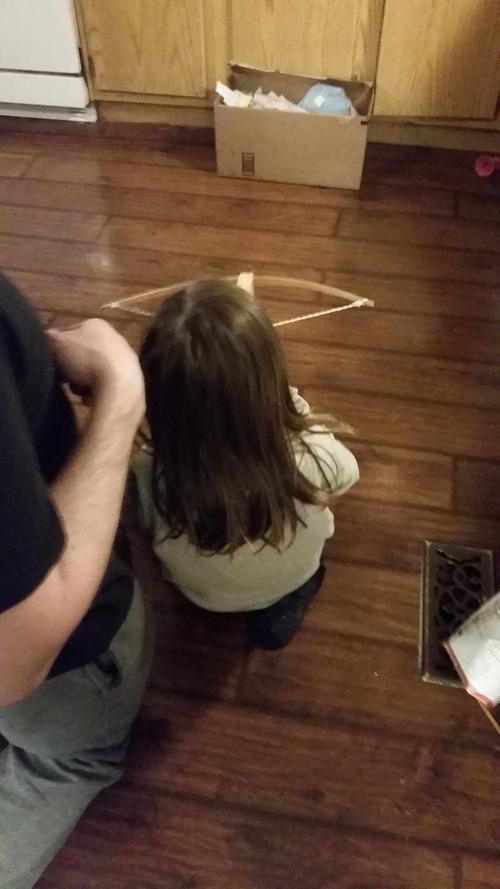
My kids were learning about medieval archery in school...so we made a crossbow!

We followed this tutorial, though we didn't need quite as many pegs because our dimensions worked out to us not needing them (the lever opened up just the right amount already, that we didn't need to put a stop in. And we chose to forgo the top brace to make it a bit simpler)


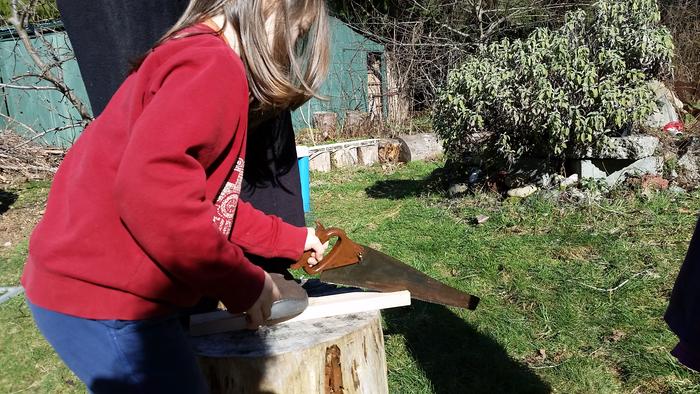
I had "helpers" with the sawing (in other words, they took a few saws and then relinquished the sawing to me)


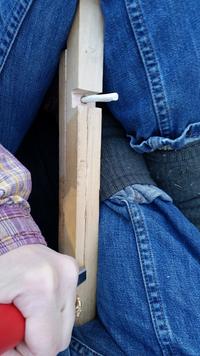
Here's the crossbow partway through, with pegs carved from seasoned holly.

crossbow building materials

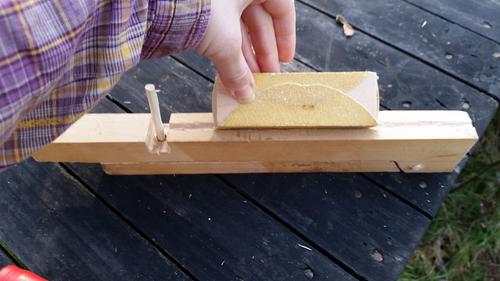
And now to carve out the bolt slot and sand it smooth
ciseling the bolt slot
sanding it smooth


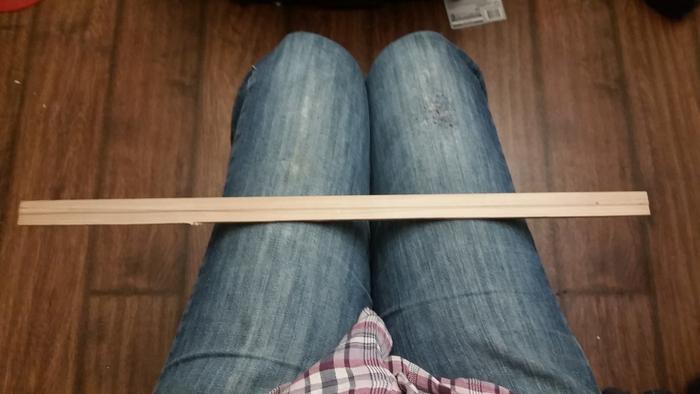
Now to carve the bow!

bow measurements drawn in


And a small helper to do some rough swipes at it before I did the detailed carving close to the line.

my helper
bow all carved


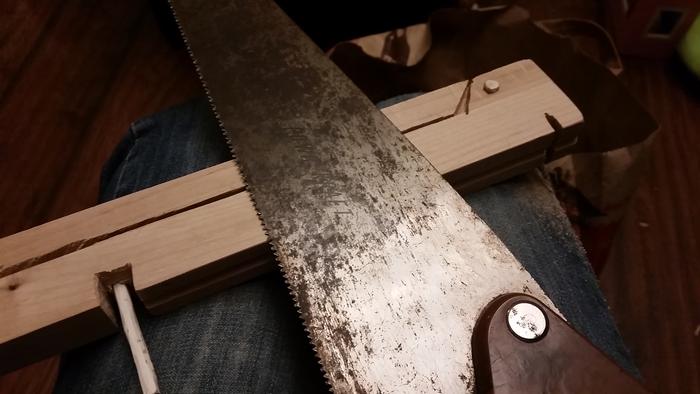
Now to saw out the bow notch

sawing the notch for a crossbow bow

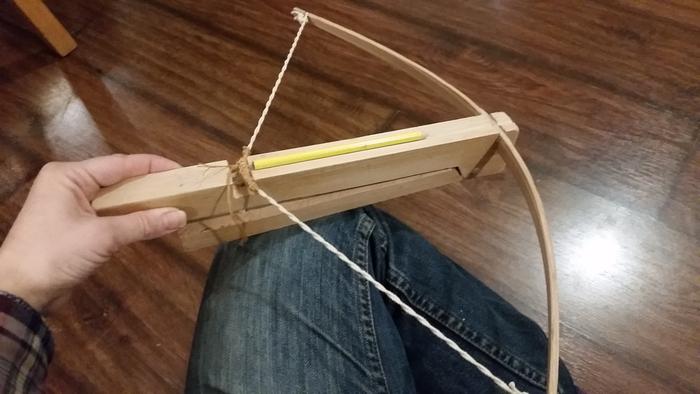
We discovered that the peg should have been closer to the bow so it could pop the string up. Instead of redoing it or gluing chunks of wood there, I just twined my hemp cord to be twice as thick, and then thickened up the part by the trigger with linen thread to be thicker, so it could be popped up by the tirgger.

hand made wooden crossbow


And yes, it shoots pencils quite nicely, and the kids (and adults) love playing with it. It's great for teaching fire arm safety, and is only used with parental guidance--I don't need my furitute dented up and my oil lamps broken!

child with toy crossbow

Staff note (gir bot) :

Someone approved this submission.
Note: Neat project!  Approved for 3 points

 
Posts: 240
Location: Manotick (Ottawa), Ontario
17
  • Mark post as helpful
  • send pies
    Number of slices to send:
    Optional 'thank-you' note:
  • Quote
  • Report post to moderator

wayne fajkus wrote: Welded a big bolt to give me leverage.
It6s now functional and stored in correct position.


One question, Wayne: What tools and technique did you use to remove the welded bolt? I had to cut welds from a repurposed attachment bracket in making a 3-point hitch for my lawn tractor, and I found it difficult. The recip saw was nearly useless, and the angle grinder was surprisingly slow and tricky.
 
Nicole Alderman
steward
Posts: 21553
Location: Pacific Northwest
12040
11
hugelkultur kids cat duck forest garden foraging fiber arts sheep wood heat homestead
  • Likes 4
  • Mark post as helpful
  • send pies
    Number of slices to send:
    Optional 'thank-you' note:
  • Quote
  • Report post to moderator
Approved submission
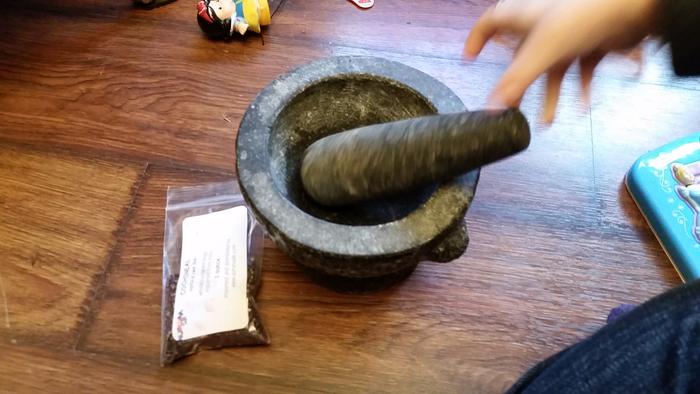
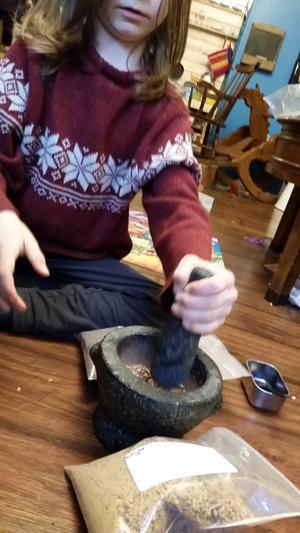
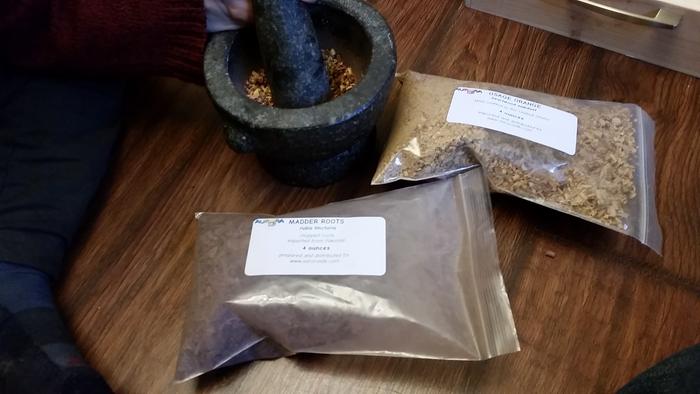
My kids had little wooden trays for their woodworking class. I thought it'd be good to make them easy to identify. Since I just bought this natural Easter Egg dying kit with madder, Osage orange, logwood, and cochineal.

Since there's no natural stain in the Natural Building badge (there is white wash and natural clay paint), I figured I'd post these here!

my little helper helping grind the cochineal bugs to make pink stain!


Blurry picture of the ground-up bugs in linseed oil


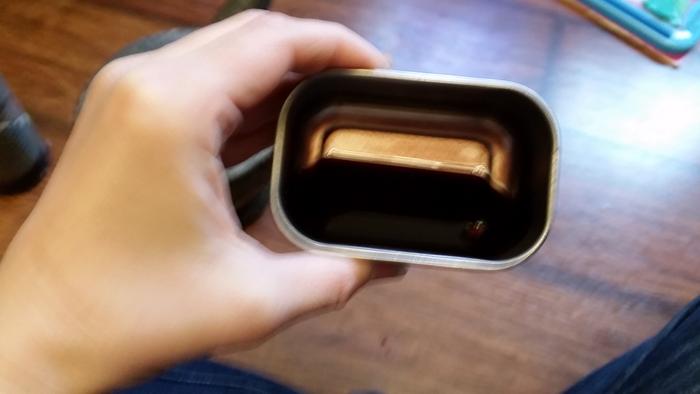
added in some copper mordant from my son's copper-stained chessboard


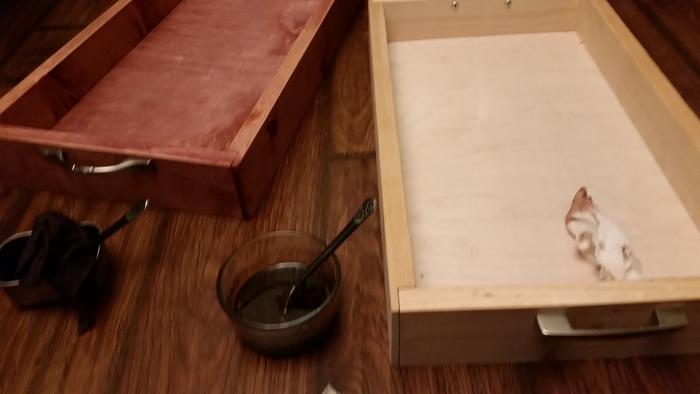
applying the first coat. It's turning pink!


after three coats, compared to my son's unstained tray


Now to stain my son's!

grinding ossage orange wood shavings and madder root


it took a lot of grinding


applying the golden stain. My son loves it!


now with two coats!


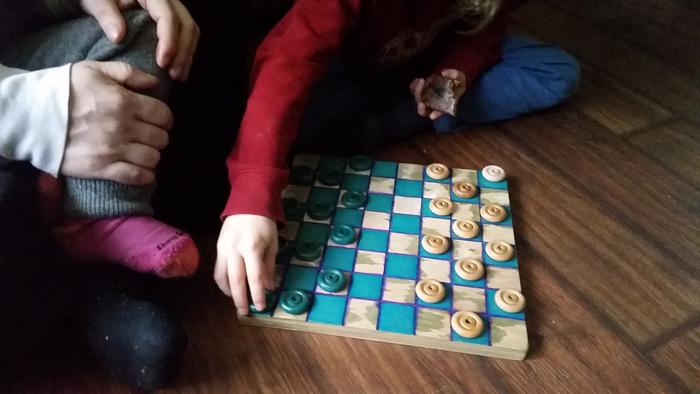
I might end up doing another coat. I have to see what my son wants.  Speaking of lots of coats, I might as well submit natural staining with home-made copper mordant. My son made a checkerboard for woodworking class. He wanted to make the checkers blue. My husband wanted to just spray it blue. I wanted to figure out how to stain it blue naturally!

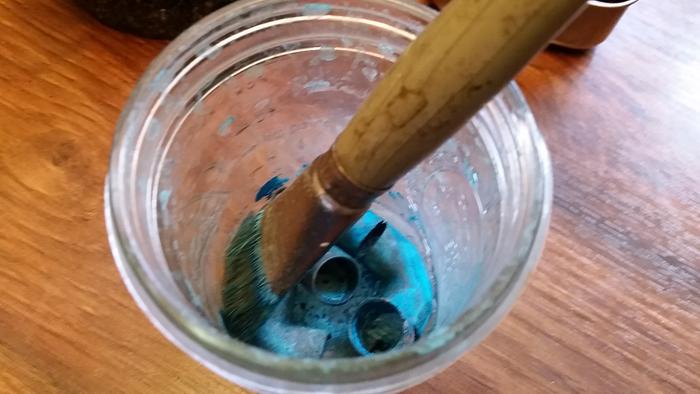
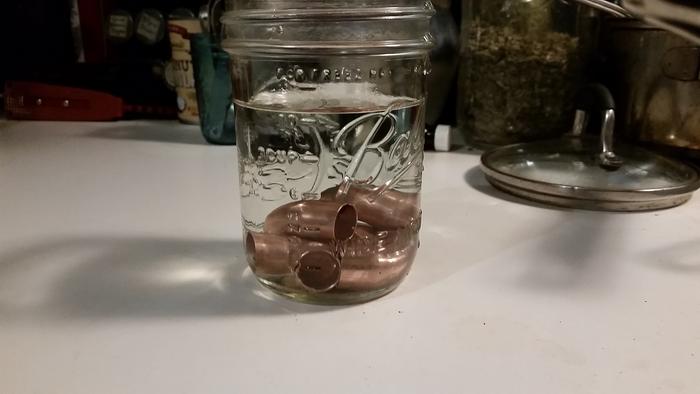
first we soaked copper pipes in hydrogen peroxide and vinegar to oxidize the copper


after a few days of soaking, we have a thin blue stain


first coat


10 coats later (all done by me) and then natural shellacking (by me), we have a finished chessboard!


So, for this BB, I submit natural dying with an animal stain (cochineal), a plant stain (madder and Osage orange), and a mineral stain (copper).
Staff note (gir bot) :

Someone approved this submission.
Note: Certified for 3 points.  Neat project!

 
David Wieland
Posts: 240
Location: Manotick (Ottawa), Ontario
17
  • Likes 1
  • Mark post as helpful
  • send pies
    Number of slices to send:
    Optional 'thank-you' note:
  • Quote
  • Report post to moderator

Nicole Alderman wrote:10 coats later (all done by me) ...


I think such perseverance deserves an extra point. (Maybe one more for doing it the hard way. ☺)
 
The longest recorded flight time of a chicken is 13 seconds. But that was done without this tiny ad:
turnkey permaculture paradise for zero monies
https://permies.com/t/267198/turnkey-permaculture-paradise-monies
reply
    Bookmark Topic Watch Topic
  • New Topic