
Win a copy of Sourdough Without Fail this week in the Bread forum!"
  • Post Reply Bookmark Topic Watch Topic
  • New Topic
permaculture forums growies critters building homesteading energy monies kitchen purity ungarbage community wilderness fiber arts art permaculture artisans regional education skip experiences global resources cider press projects digital market permies.com pie forums private forums all forums
this forum made possible by our volunteer staff, including ...
master stewards:
  • Carla Burke
  • Nancy Reading
  • John F Dean
  • r ransom
  • paul wheaton
  • Jay Angler
  • Timothy Norton
stewards:
  • Pearl Sutton
  • Tereza Okava
  • Nicole Alderman
master gardeners:
  • Christopher Weeks
gardeners:
  • M Ljin
  • Megan Palmer
  • Pete Podurgiel

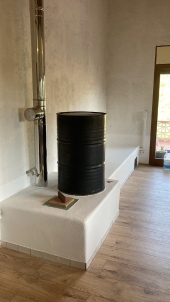
8" J-tube with half barrel bench

 
Rocket Scientist
Posts: 1088
Location: Province of Granada, Andalucía, Spain
866
6
cooking rocket stoves woodworking wood heat
  • Likes 9
  • Mark post as helpful
  • send pies
    Number of slices to send:
    Optional 'thank-you' note:
  • Quote
  • Report post to moderator
I'll probably be building an 8" J-tube with half barrels soon.

My question now is, how many barrels can I use without running the risk of too much condensation and poor draft?
I have gathered that an 8" J is roughly like a 6" BBR, so that would mean a bell surface (CSA) of 5,3m^2.

With an entire barrel exposed on top of the riser (~2m2) that only leaves 3 more half barrels (0.85m2 each, plus two half lids).

In my first design idea I would need 4 half barrels. So maybe I have to partly cover the barrel over the riser?

Any input is welcome.
 
master rocket scientist
Posts: 7165
Location: latitude 47 N.W. montana zone 6A
4342
cat pig rocket stoves
  • Likes 8
  • Mark post as helpful
  • send pies
    Number of slices to send:
    Optional 'thank-you' note:
  • Quote
  • Report post to moderator
Hey Ben, a bit of RMH history
Years ago, I asked Matt Walker how many half barrels an 8 " J can push, and his answer was 5 barrels.
Matt's 1/2-barrel idea was well before Batchboxes became mainstream. At that time, nobody knew the parameters between them.
He built his half-barrel J-Tube in a bar back east, stunning the fledgling RMH world!
Meanwhile, Lasse Holmes & friends were playing with fire on the west coast and invented the Batchbox design, which Peter then refined into an ultra-efficient powerhouse, and inserted it into a stratification chamber (Bell), which is known today as First Generation Batchboxes.
Matt was also the innovator who disassembled his 8" J-Tube with a piped mass and installed one of the new 6" Batchboxes into the 8" piped system.
This was where we learned that a 6" batch and an 8" J-Tube were comparable in performance output.


Benjamin Dinkel
Rocket Scientist
Posts: 1088
Location: Province of Granada, Andalucía, Spain
866
6
cooking rocket stoves woodworking wood heat
  • Likes 6
  • Mark post as helpful
  • send pies
    Number of slices to send:
    Optional 'thank-you' note:
  • Quote
  • Report post to moderator
Thank you Thomas for that update in RMHistory.

5 barrels would be more than enough
 
Benjamin Dinkel
Rocket Scientist
Posts: 1088
Location: Province of Granada, Andalucía, Spain
866
6
cooking rocket stoves woodworking wood heat
  • Likes 7
  • Mark post as helpful
  • send pies
    Number of slices to send:
    Optional 'thank-you' note:
  • Quote
  • Report post to moderator
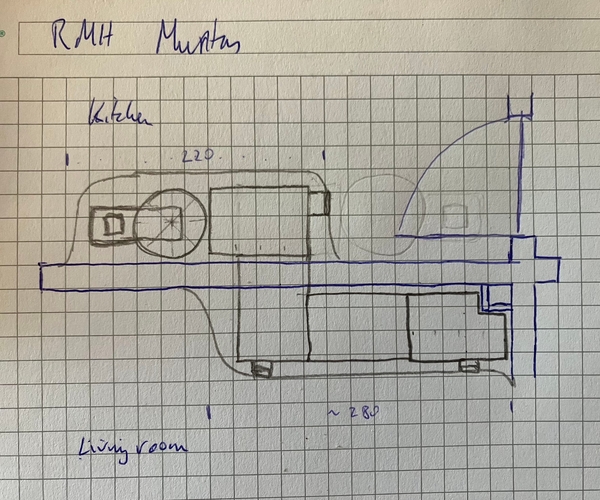
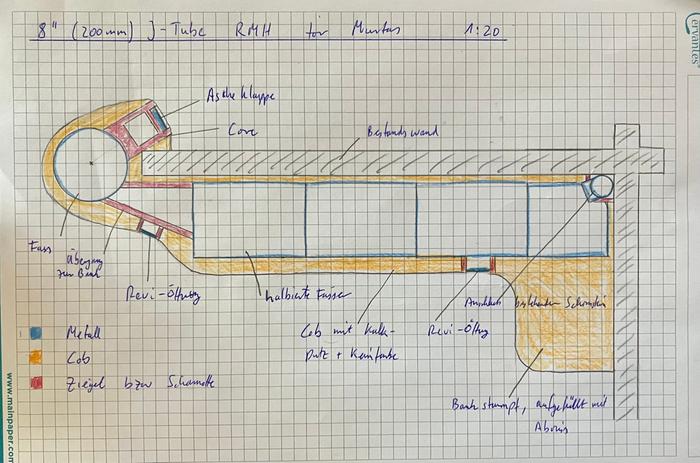
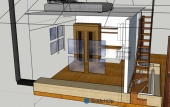
Here's a first sketch:


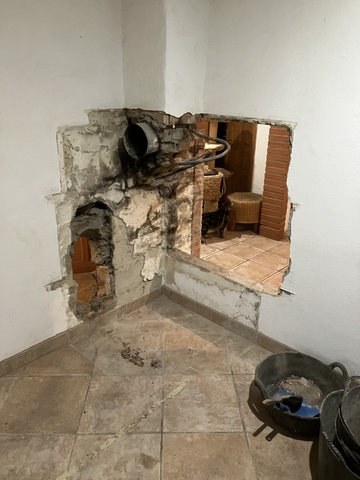
The core and a small part of the bench are going to be in the kitchen.
Then the bench goes through the wall and a bigger bench is going to be located in the living room.
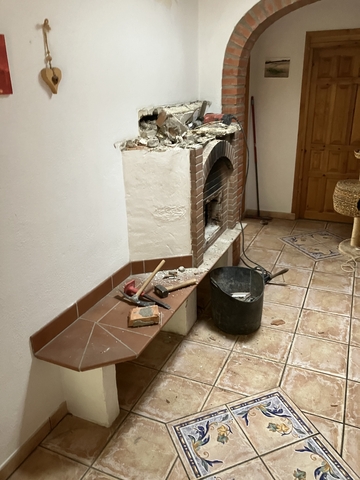
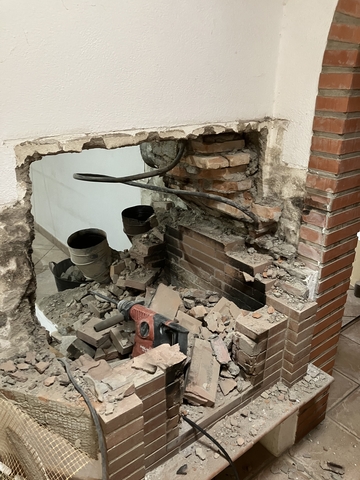
At the end of the bench it connects to the existing chimney (the little square on the right). Maybe the chimney will get a metal insert, maybe I'll use it as is. There's no option for a new chimney at another point. The roof was just renewed and we don't want to penetrate it anywhere else.

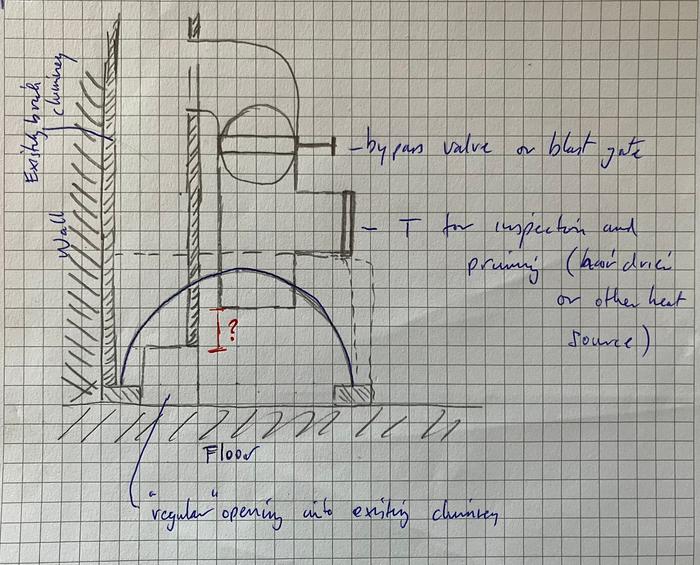
The biggest challenge I see at the moment is not having any bypass option. I'll be installing an opening where we connect to the old chimney to have an option to prime the chimney.
I could also install an extra exhaust pipe on the top of the bench, allowing the warmest air to exit in the beginning. That could act as kind of a bypass. Although the exhaust would still have to travel all the way to the end of the bench. Just not sink to the bottom.
Any opinions?
 
Rocket Scientist
Posts: 4809
Location: Upstate NY, zone 5
761
5
  • Likes 8
  • Mark post as helpful
  • send pies
    Number of slices to send:
    Optional 'thank-you' note:
  • Quote
  • Report post to moderator
Looks like a good plan. Just remember that when you join half barrels at 90 degrees, you will have to extend the top of one barrel over the joining one to cover the whole space. This means either shortening the run covered by the barrel, or adding a partial "triangle" of barrel to fill the gap. So for your plan, the best thing would be cutting filler parts from a third whole barrel rather than alter the shape of the layout.
 
Benjamin Dinkel
Rocket Scientist
Posts: 1088
Location: Province of Granada, Andalucía, Spain
866
6
cooking rocket stoves woodworking wood heat
  • Likes 6
  • Mark post as helpful
  • send pies
    Number of slices to send:
    Optional 'thank-you' note:
  • Quote
  • Report post to moderator
Thanks Glenn. Yes, I was counting with another barrel for scrap cuts.

Does anyone have some insight on the (lack of) the bypass? Is a "top of bench" bypass better than nothing?
If I imagine the flow of the gases, I would say theoretically yes.
 
Benjamin Dinkel
Rocket Scientist
Posts: 1088
Location: Province of Granada, Andalucía, Spain
866
6
cooking rocket stoves woodworking wood heat
  • Likes 4
  • Mark post as helpful
  • send pies
    Number of slices to send:
    Optional 'thank-you' note:
  • Quote
  • Report post to moderator
So I'm still wondering about the usefulness of this "top of the bench" bypass.


I would only gain about 6" height difference between the regular opening into the existing chimney and the "top of bench" bypass opening.

I will go for a T (or other opening) anyways. For inspection and priming. But I'm wondering if the bypass will be useful.
 
Rocket Scientist
Posts: 1847
Location: Kaslo, BC
541
building solar woodworking rocket stoves wood heat greening the desert
  • Likes 5
  • Mark post as helpful
  • send pies
    Number of slices to send:
    Optional 'thank-you' note:
  • Quote
  • Report post to moderator
Hey Benjamin,     I personally don't think a bypass at the far end of the bench with only a 6" height difference will do a heck of a lot. Perhaps just a cleanout to access the base of the existing chimney where a small fire could be initiated if the draft is needing a boost would suffice?
 
Benjamin Dinkel
Rocket Scientist
Posts: 1088
Location: Province of Granada, Andalucía, Spain
866
6
cooking rocket stoves woodworking wood heat
  • Likes 6
  • Mark post as helpful
  • send pies
    Number of slices to send:
    Optional 'thank-you' note:
  • Quote
  • Report post to moderator
Hey Gerry,
thanks for the answer.

I don’t see any other way. But then there are lots of benches with the chimney at the far end.

When I go check the site on Sunday I’ll keep your idea in mind. I like it.
 
Benjamin Dinkel
Rocket Scientist
Posts: 1088
Location: Province of Granada, Andalucía, Spain
866
6
cooking rocket stoves woodworking wood heat
  • Likes 8
  • Mark post as helpful
  • send pies
    Number of slices to send:
    Optional 'thank-you' note:
  • Quote
  • Report post to moderator
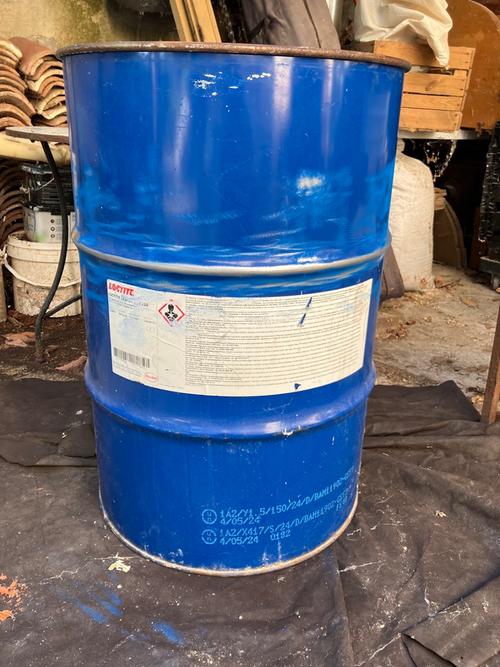
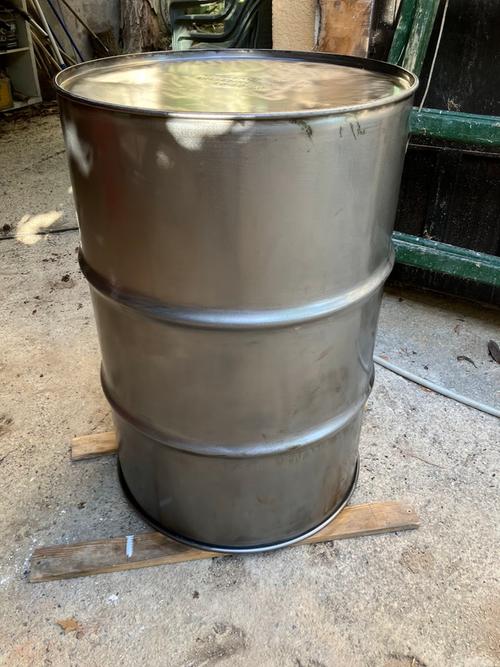
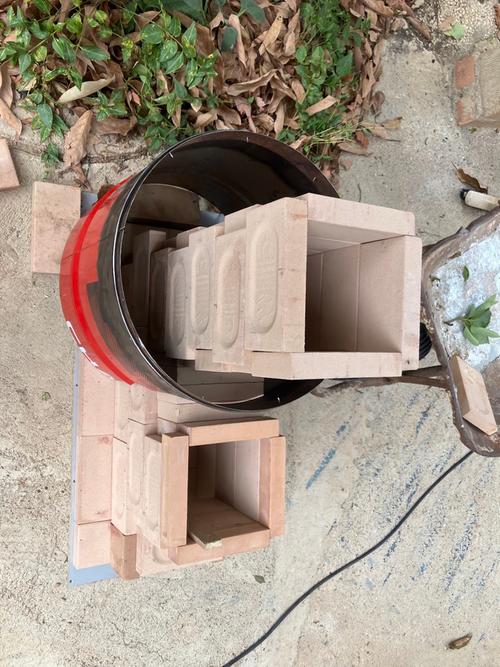
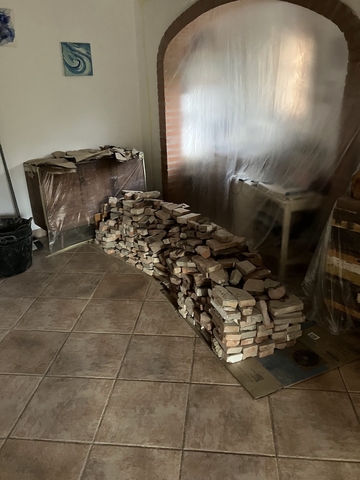
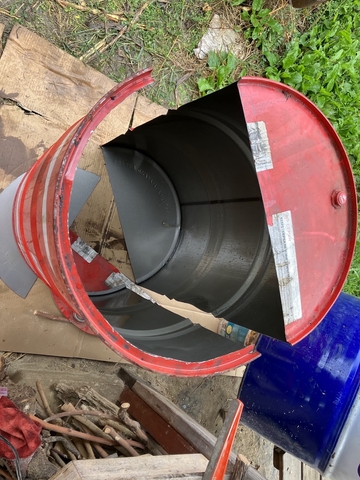
This week I started preparing the build of the RMH.

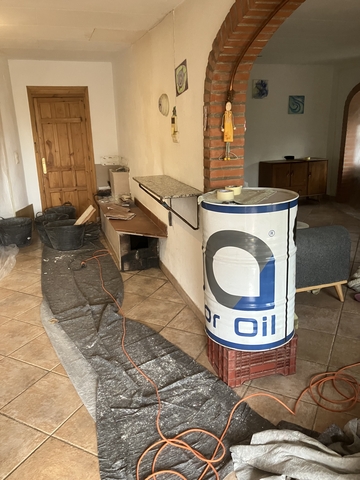
Here's the main barrel before...


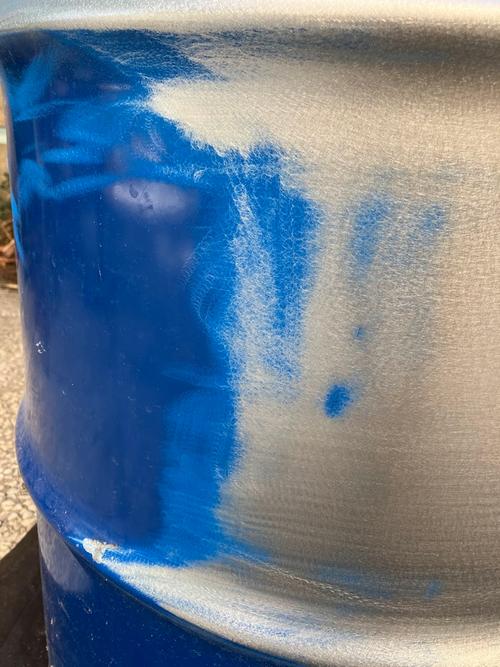
During...


And after sanding.


Sanding was tedious, but so far the best solution I found. I like the finish of the 40 grit sand paper.


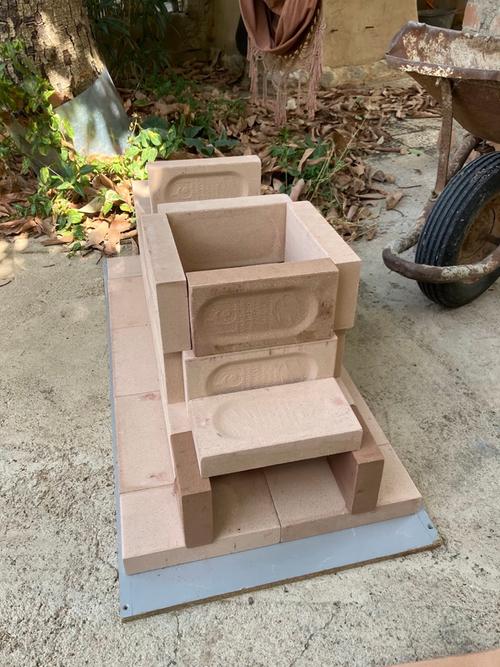
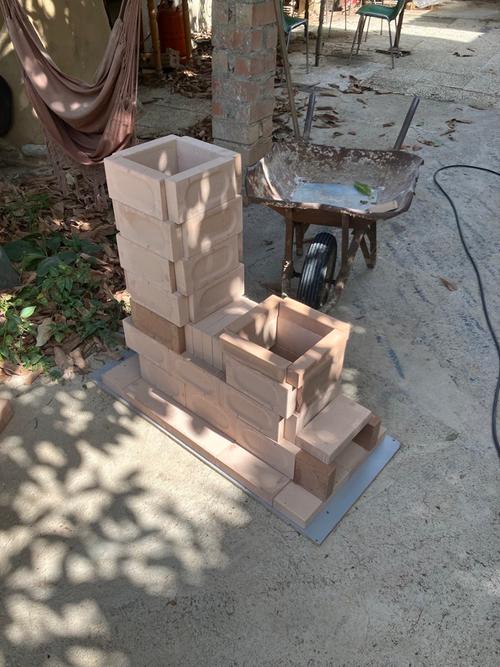
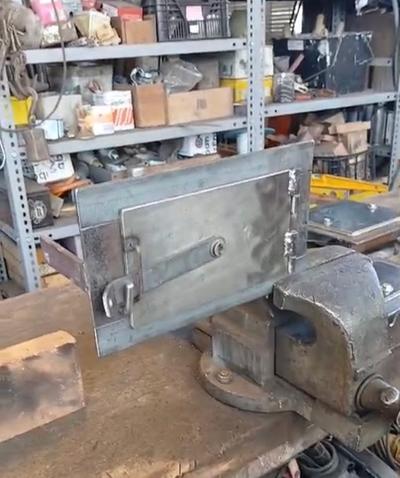
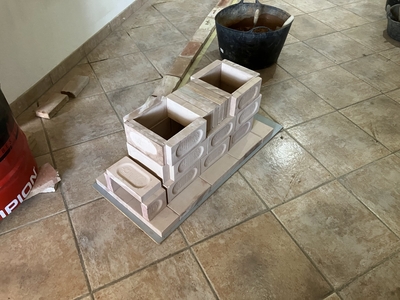
Then I drystacked the core. It's my first 8" so I wanted to practice and make some cuts already. Also the client wants an ash cleanout.


The feed is 16" deep. So the length of the burn tunnel is 24" and the height of the riser 48".
The roof of the burn tunnel is only (24"-8"-8"=) 8" long. Is that enough to get a good mix of gases? Seems short to me.

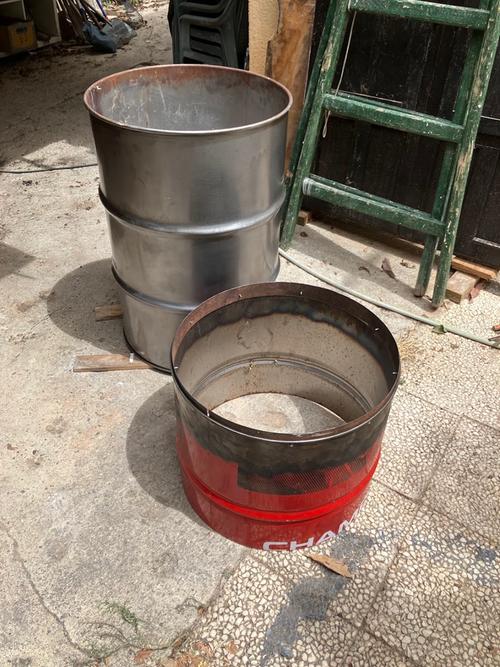
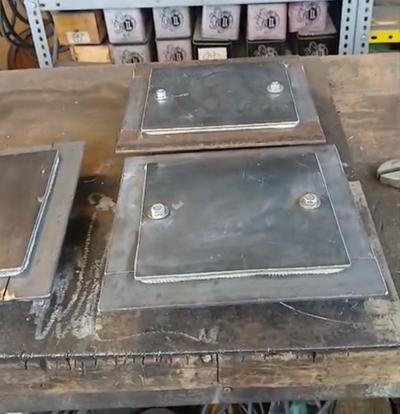
Here's the manifold, with a little ledge screwed to the inside top that the other barrel will slide on to.


And the manifold in place with the cut out for the core
 
thomas rubino
master rocket scientist
Posts: 7165
Location: latitude 47 N.W. montana zone 6A
4342
cat pig rocket stoves
  • Likes 7
  • Mark post as helpful
  • send pies
    Number of slices to send:
    Optional 'thank-you' note:
  • Quote
  • Report post to moderator
Hi Ben, I always used a 10"-12" roof with an eight-inch J-tube.
I did try a 15" one time... not a good idea.
How did you decide on an 8" roof?


Benjamin Dinkel
Rocket Scientist
Posts: 1088
Location: Province of Granada, Andalucía, Spain
866
6
cooking rocket stoves woodworking wood heat
  • Likes 7
  • Mark post as helpful
  • send pies
    Number of slices to send:
    Optional 'thank-you' note:
  • Quote
  • Report post to moderator
Somehow I had the 1:1,5:3 rule for feed:burn tunnel length:riser height in my head… but it seemed short.
Thanks for the quick answer. I’ll probably go for 12 then.
 
Posts: 30
3
  • Likes 4
  • Mark post as helpful
  • send pies
    Number of slices to send:
    Optional 'thank-you' note:
  • Quote
  • Report post to moderator
I built an 8" J-tube with half barrels. Used three half barrels and the riser barrel. Worked perfectly. Four might be pushing it. Draft was fine and condensation was minimal. I'd stick with three to be safe.
 
Glenn Herbert
Rocket Scientist
Posts: 4809
Location: Upstate NY, zone 5
761
5
  • Likes 8
  • Mark post as helpful
  • send pies
    Number of slices to send:
    Optional 'thank-you' note:
  • Quote
  • Report post to moderator
I used a 1:1.5:3 rule for my J-tube, with a 24" burn tunnel and thus an 8" roof. It works excellently and as far as I can tell gives plenty of mixing.
 
Benjamin Dinkel
Rocket Scientist
Posts: 1088
Location: Province of Granada, Andalucía, Spain
866
6
cooking rocket stoves woodworking wood heat
  • Likes 8
  • Mark post as helpful
  • send pies
    Number of slices to send:
    Optional 'thank-you' note:
  • Quote
  • Report post to moderator
I haven't decided on whether to add in some more burn tunnel roof yet.
I guess I'll feel it out when mocking up the core at the site.

Here's the plan for now.


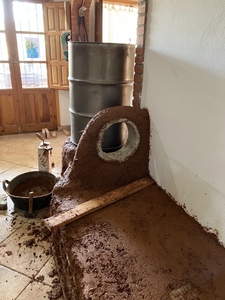
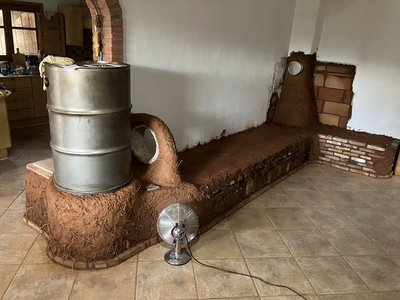
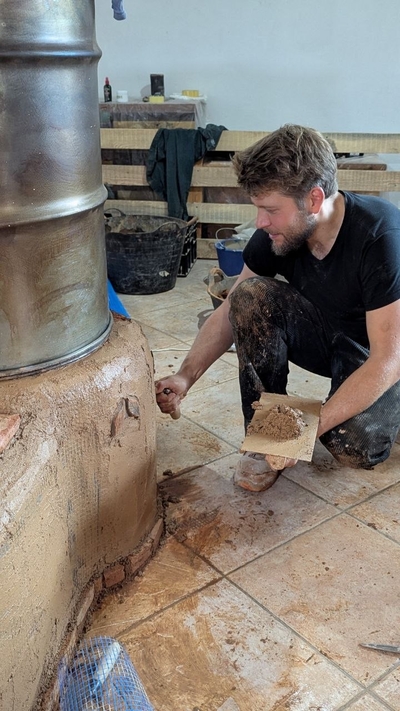
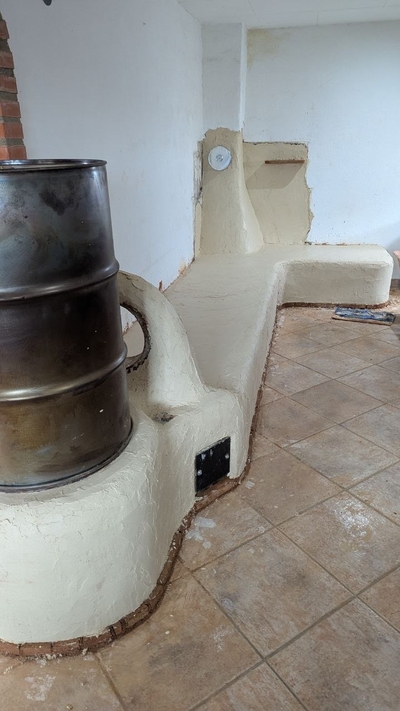
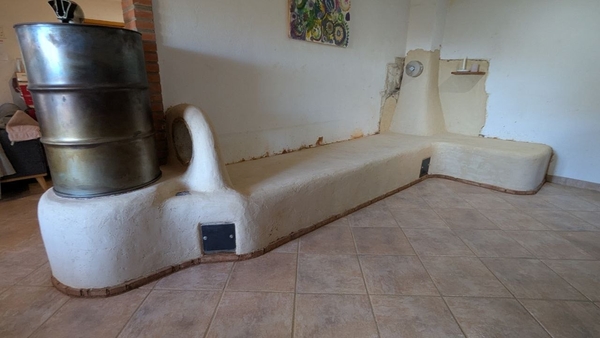
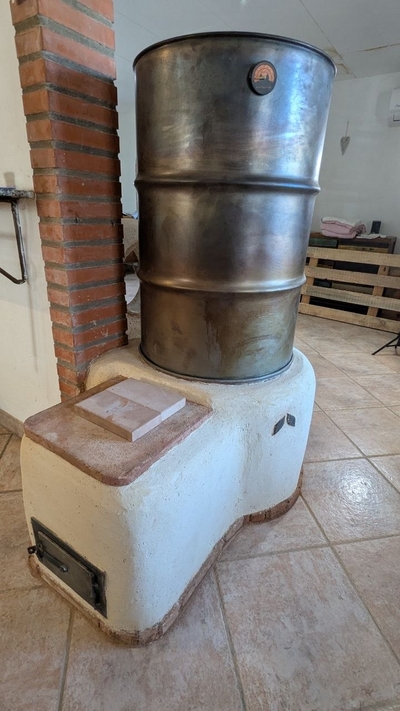
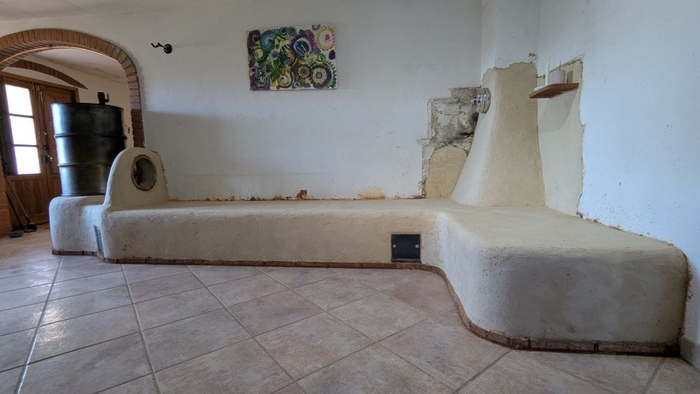
Still thinking about the thickness of the cob to cover the top of the barrel bench. I was aiming for roughly 4" but am very interested in your input. The climate is somewhat mediterranean, but because of the high elevation (3000' 1000m) it does get cold at night there.

The barrel bench will be covered in cob and local stones will be incorporated. Then I'll finish it with a 2 layer lime plaster and silicate mineral paint.
 
Glenn Herbert
Rocket Scientist
Posts: 4809
Location: Upstate NY, zone 5
761
5
  • Likes 7
  • Mark post as helpful
  • send pies
    Number of slices to send:
    Optional 'thank-you' note:
  • Quote
  • Report post to moderator
"Mediterranean" and "cold at night" says to me that you don't want any thicker mass than absolutely necessary, so you don't have an evening fire heating the space in the middle of the next day. I might do the strip of insulation down the top of the barrels to minimize a hot spot, and consider pavers of some sort down the center of the bench to allow a thinner top than just cob could reliably do.
 
Benjamin Dinkel
Rocket Scientist
Posts: 1088
Location: Province of Granada, Andalucía, Spain
866
6
cooking rocket stoves woodworking wood heat
  • Likes 6
  • Mark post as helpful
  • send pies
    Number of slices to send:
    Optional 'thank-you' note:
  • Quote
  • Report post to moderator
Hey Glenn,
thanks for your input.
The costumers do want thermal mass. They have a (poorly drafting) diy mass stove now and definitely like heat storage.
Do you think cob is not structural under 3" or why do you mention the pavers?
 
Glenn Herbert
Rocket Scientist
Posts: 4809
Location: Upstate NY, zone 5
761
5
  • Likes 7
  • Mark post as helpful
  • send pies
    Number of slices to send:
    Optional 'thank-you' note:
  • Quote
  • Report post to moderator
I think cob (even well reinforced with straw) less than 3" thick between two much thicker masses will be a serious stress concentration and will tend to crack. Putting pavers over that thin spot will conceal the crack and prevent damage from jagged crack edges crumbling.
 
Benjamin Dinkel
Rocket Scientist
Posts: 1088
Location: Province of Granada, Andalucía, Spain
866
6
cooking rocket stoves woodworking wood heat
  • Likes 7
  • Mark post as helpful
  • send pies
    Number of slices to send:
    Optional 'thank-you' note:
  • Quote
  • Report post to moderator
True, I hadn’t considered that.
The whole bench will be plastered over with lime plaster. And I’ll have plaster mesh with me. Maybe I’ll go for 3” of cob with more fiber on there and add a strip of the mesh to unify it all a bit.
 
Benjamin Dinkel
Rocket Scientist
Posts: 1088
Location: Province of Granada, Andalucía, Spain
866
6
cooking rocket stoves woodworking wood heat
  • Likes 9
  • Mark post as helpful
  • send pies
    Number of slices to send:
    Optional 'thank-you' note:
  • Quote
  • Report post to moderator
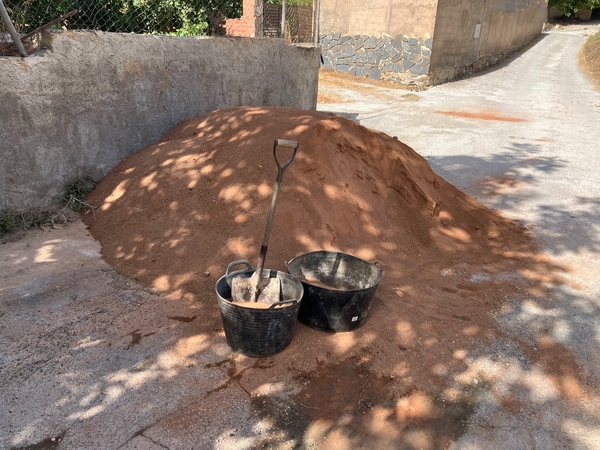
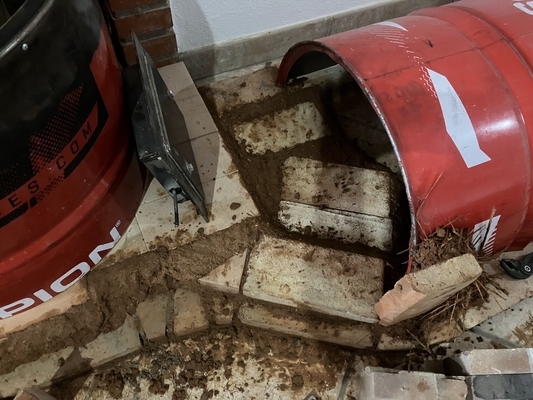
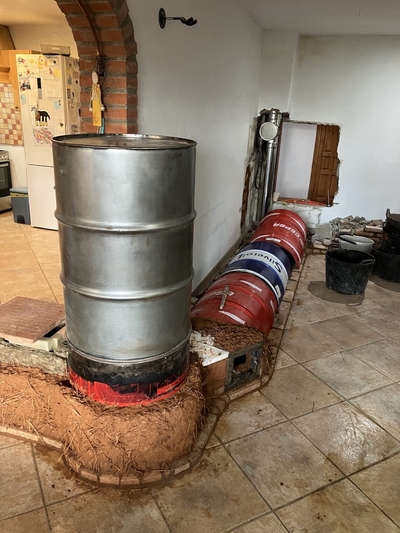
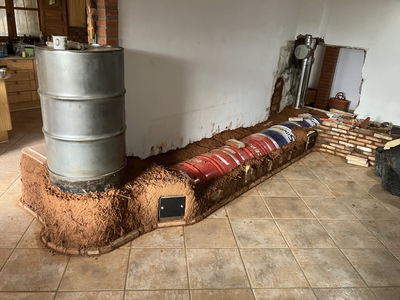
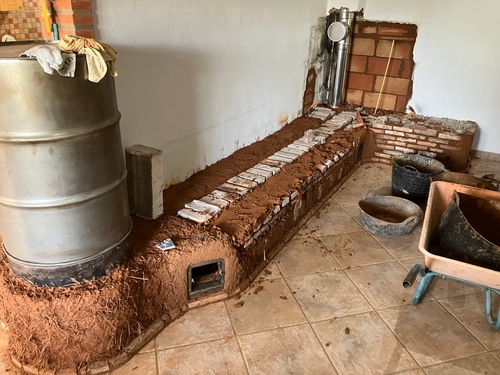
Since the site is all silt and no clay we needed to organize some clay for the cob bench.
And since I'll be building a guest house soon with light straw clay and clay plaster on the inside, I seized the opportunity and we ordered 6 tons of Alpañata.


That's the same material they use to restore the Alhambra here in Granada. Once on site I'll have to make some test pucks with the available sand.
 
This is what a tiny ad looks like buck naked
a humble home and a large garden will erase stress from the rat race
https://wheaton-labs.com/bootcamp
reply
    Bookmark Topic Watch Topic
  • New Topic