

|

|
|
|
|

|

|

|

|

|
 5
5


 2
2
John Daley Bendigo, Australia The Enemy of progress is the hope of a perfect plan
Benefits of rainfall collection https://permies.com/t/88043/benefits-rainfall-collection
GOOD DEBT/ BAD DEBT https://permies.com/t/179218/mortgages-good-debt-bad-debt
, can one of the poles be the side of a door frame?") 1
1
John Daley Bendigo, Australia The Enemy of progress is the hope of a perfect plan
Benefits of rainfall collection https://permies.com/t/88043/benefits-rainfall-collection
GOOD DEBT/ BAD DEBT https://permies.com/t/179218/mortgages-good-debt-bad-debt
1
Lorinne Anderson: Specializing in sick, injured, orphaned and problem wildlife for over 20 years.
1
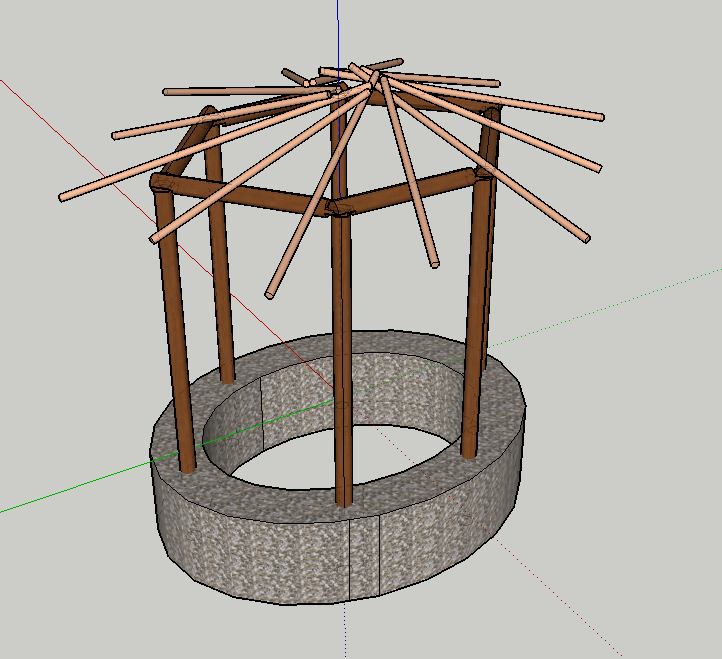
![[Thumbnail for steep-roof-v2-w-out-panels.png]](/t/144529/a/113542/steep-roof-v2-w-out-panels.png "Filename: steep-roof-v2-w-out-panels.png
Description: The 2 slanted poles would rest on some kind of a stone foundation")
![[Thumbnail for steep-roof-v2-w-panels.png]](/t/144529/a/113543/steep-roof-v2-w-panels.png "Filename: steep-roof-v2-w-panels.png
Description: If this is possible, any advice on what kind of joins to make?")

Lorinne Anderson: Specializing in sick, injured, orphaned and problem wildlife for over 20 years.
![[Thumbnail for steep-roof-v3-w-panels.png]](/t/144529/a/114560/steep-roof-v3-w-panels.png "Filename: steep-roof-v3-w-panels.png
Description:")
![[Thumbnail for steep-roof-v3-w-roof-cover.png]](/t/144529/a/114561/steep-roof-v3-w-roof-cover.png "Filename: steep-roof-v3-w-roof-cover.png
Description:") 1
1
![[Thumbnail for gable-roof-v1-w-interior.png]](/t/144529/a/114840/gable-roof-v1-w-interior.png "Filename: gable-roof-v1-w-interior.png
Description:")
![[Thumbnail for gable-roof-v1-w-panels.png]](/t/144529/a/114841/gable-roof-v1-w-panels.png "Filename: gable-roof-v1-w-panels.png
Description:")
![[Thumbnail for gable-roof-v1-frame.png]](/t/144529/a/114842/gable-roof-v1-frame.png "Filename: gable-roof-v1-frame.png
Description:") 1
1
1
1


![[Thumbnail for gable-v2-1.png]](/t/144529/a/114916/gable-v2-1.png "Filename: gable-v2-1.png
Description:")
![[Thumbnail for gable-v2-2.png]](/t/144529/a/114917/gable-v2-2.png "Filename: gable-v2-2.png
Description:")
 necessary if the beam supporting the hips is strong enough?")


![[Thumbnail for tenon-1.png]](/t/144529/a/115978/tenon-1.png "Filename: tenon-1.png
Description:")
![[Thumbnail for tenon-2.png]](/t/144529/a/115979/tenon-2.png "Filename: tenon-2.png
Description:")
![[Thumbnail for tenon-3.png]](/t/144529/a/115980/tenon-3.png "Filename: tenon-3.png
Description:") 1
1
1
1
![[Thumbnail for tenon-v2-1.png]](/t/144529/a/117547/tenon-v2-1.png "Filename: tenon-v2-1.png
Description:")
![[Thumbnail for tenon-v2-2.png]](/t/144529/a/117548/tenon-v2-2.png "Filename: tenon-v2-2.png
Description:")
![[Thumbnail for tenon-v2-3.png]](/t/144529/a/117549/tenon-v2-3.png "Filename: tenon-v2-3.png
Description:")
![[Thumbnail for tenon-v2-4.png]](/t/144529/a/117550/tenon-v2-4.png "Filename: tenon-v2-4.png
Description:")

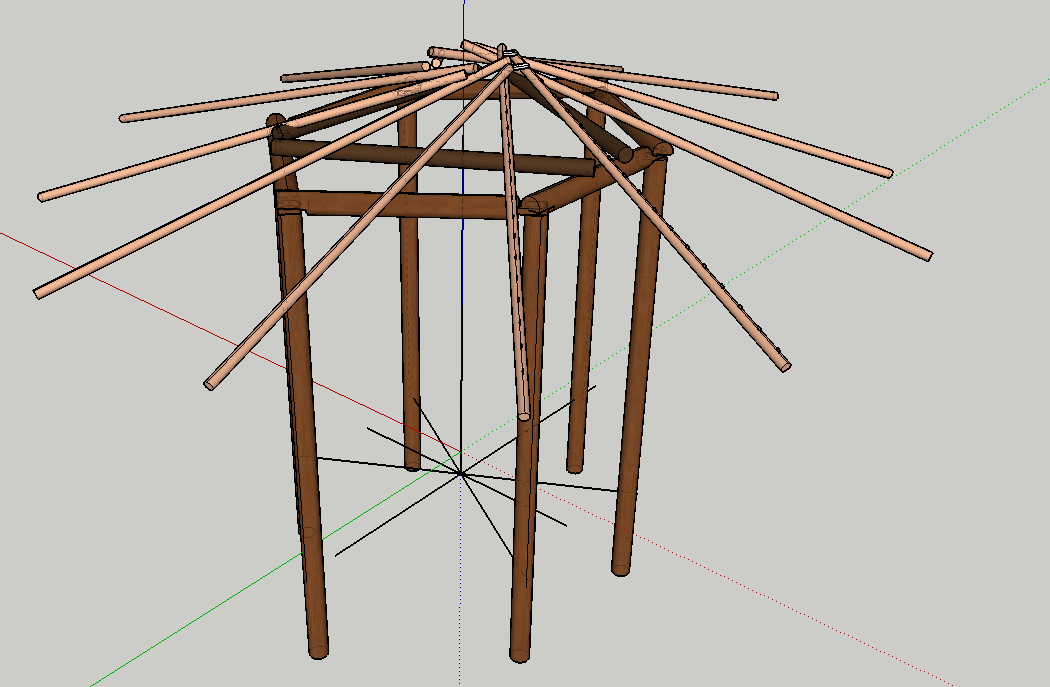
![[Thumbnail for roof-support-v2-1.png]](/t/144529/a/117552/roof-support-v2-1.png "Filename: roof-support-v2-1.png
Description: I'm losing sleep trying to figure out how to secure the gable posts so the wind wouldn't blow it over")

Lorinne Anderson: Specializing in sick, injured, orphaned and problem wildlife for over 20 years.


![[Thumbnail for gable-w-supports-1.png]](/t/144529/a/117815/gable-w-supports-1.png "Filename: gable-w-supports-1.png
Description:")
![[Thumbnail for gable-w-supports-2.png]](/t/144529/a/117816/gable-w-supports-2.png "Filename: gable-w-supports-2.png
Description:") 2
2

![[Thumbnail for 05-28-20-Foundation-12-cb-meters-of-rocks.png]](/t/144529/a/123335/05-28-20-Foundation-12-cb-meters-of-rocks.png "Filename: 05-28-20-Foundation-12-cb-meters-of-rocks.png
Description:")

![[Thumbnail for 08-06-20-Foundaton-Progress.png]](/t/144529/a/123337/08-06-20-Foundaton-Progress.png "Filename: 08-06-20-Foundaton-Progress.png
Description:")
![[Thumbnail for 09-13-20-Shrinking-Rock-Pile.png]](/t/144529/a/123338/09-13-20-Shrinking-Rock-Pile.png "Filename: 09-13-20-Shrinking-Rock-Pile.png
Description:")
![[Thumbnail for 09-25-20-Oval-Foundation-Almost-Done-2.jpg]](/t/144529/a/123339/09-25-20-Oval-Foundation-Almost-Done-2.jpg "Filename: 09-25-20-Oval-Foundation-Almost-Done-2.jpg
Description:")
![[Thumbnail for 09-25-20-Oval-Foundation-Almost-Done-3.jpg]](/t/144529/a/123340/09-25-20-Oval-Foundation-Almost-Done-3.jpg "Filename: 09-25-20-Oval-Foundation-Almost-Done-3.jpg
Description:")
![[Thumbnail for 09-25-20-Oval-Foundation-Almost-Done.jpg]](/t/144529/a/123341/09-25-20-Oval-Foundation-Almost-Done.jpg "Filename: 09-25-20-Oval-Foundation-Almost-Done.jpg
Description:")
![[Thumbnail for 09-25-20-Rock-Sifting-procedure.jpg]](/t/144529/a/123342/09-25-20-Rock-Sifting-procedure.jpg "Filename: 09-25-20-Rock-Sifting-procedure.jpg
Description:")
![[Thumbnail for 09-29-20-Oval-Foundation-Done.jpg]](/t/144529/a/123343/09-29-20-Oval-Foundation-Done.jpg "Filename: 09-29-20-Oval-Foundation-Done.jpg
Description:")
![[Thumbnail for 09-29-20-Last-layer-of-Sand.jpg]](/t/144529/a/123344/09-29-20-Last-layer-of-Sand.jpg "Filename: 09-29-20-Last-layer-of-Sand.jpg
Description:") 2
2
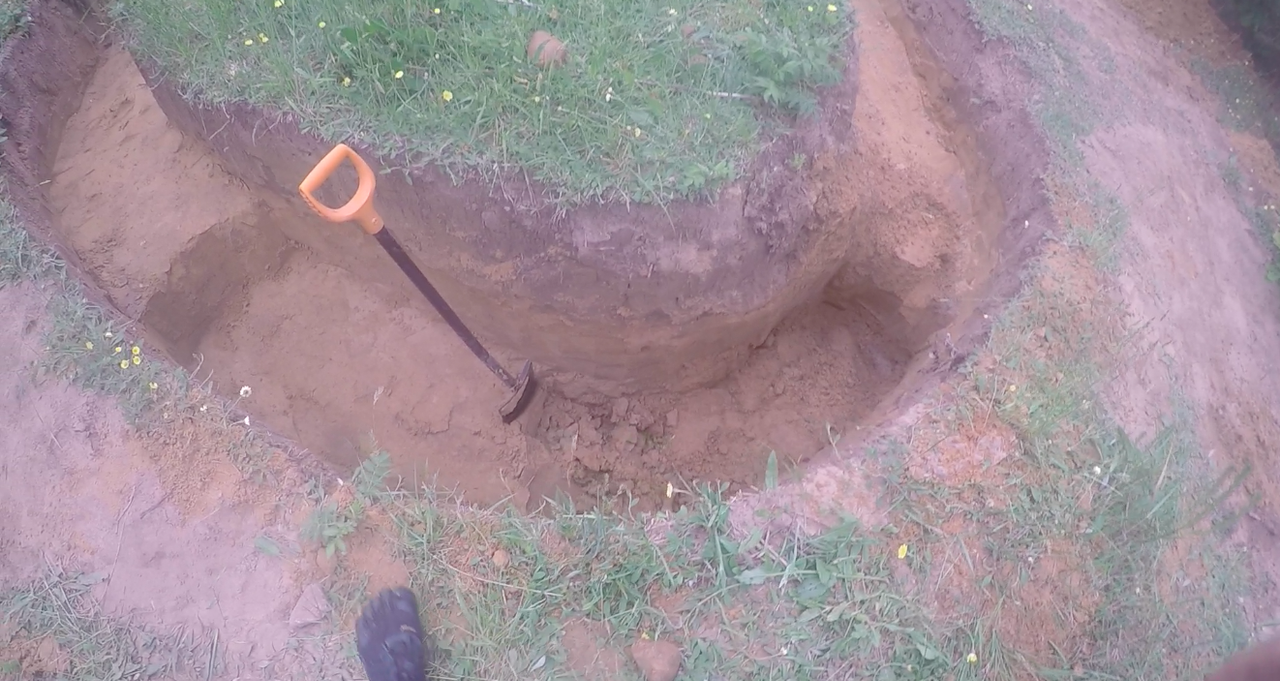
![[Thumbnail for 10-04-20-Excavate-Top-Soil-From-Center-2.jpg]](/t/144529/a/123345/10-04-20-Excavate-Top-Soil-From-Center-2.jpg "Filename: 10-04-20-Excavate-Top-Soil-From-Center-2.jpg
Description:")
![[Thumbnail for 10-04-20-Excavate-Top-Soil-From-Center-3.jpg]](/t/144529/a/123346/10-04-20-Excavate-Top-Soil-From-Center-3.jpg "Filename: 10-04-20-Excavate-Top-Soil-From-Center-3.jpg
Description:")
![[Thumbnail for 10-04-20-Excavate-Top-Soil-From-Center.jpg]](/t/144529/a/123347/10-04-20-Excavate-Top-Soil-From-Center.jpg "Filename: 10-04-20-Excavate-Top-Soil-From-Center.jpg
Description:")
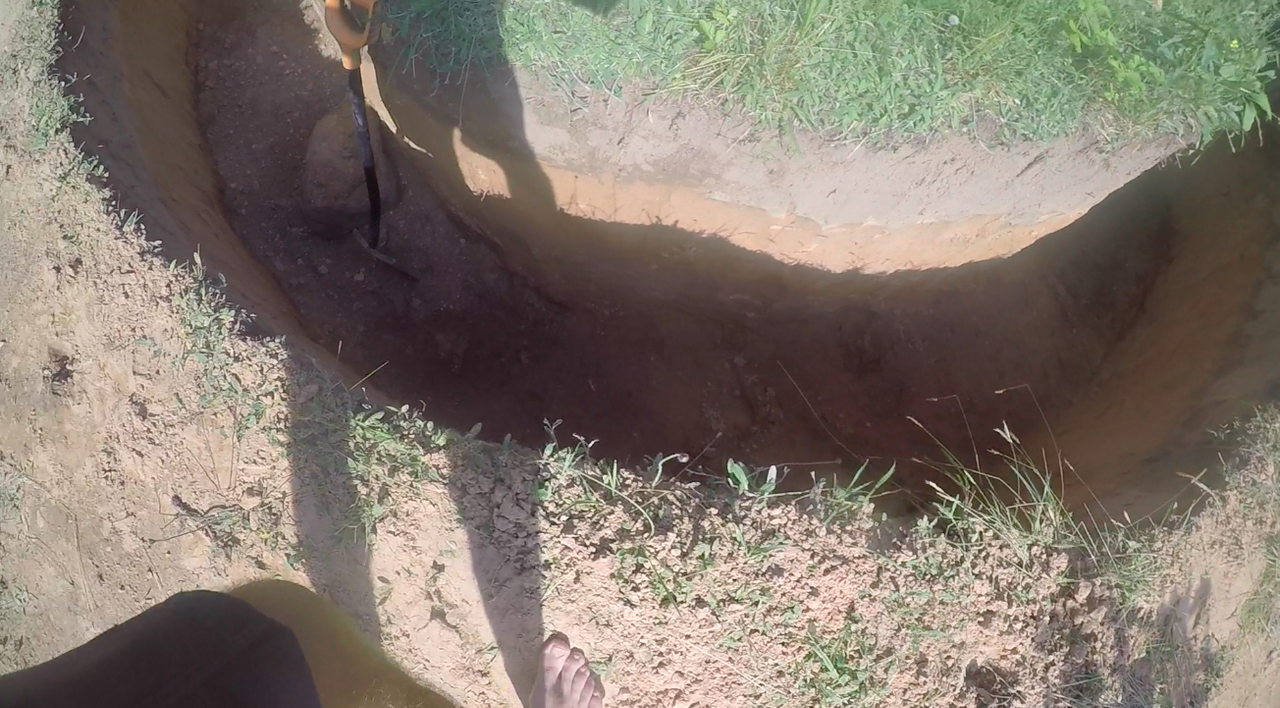
![[Thumbnail for 10-11-20-Center-Turned-Into-Bowl.jpg]](/t/144529/a/123348/10-11-20-Center-Turned-Into-Bowl.jpg "Filename: 10-11-20-Center-Turned-Into-Bowl.jpg
Description:")

![[Thumbnail for 10-12-20-Backfilling-the-Center.jpg]](/t/144529/a/123350/10-12-20-Backfilling-the-Center.jpg "Filename: 10-12-20-Backfilling-the-Center.jpg
Description:")
![[Thumbnail for 10-14-20-Center-Refilled.jpg]](/t/144529/a/123351/10-14-20-Center-Refilled.jpg "Filename: 10-14-20-Center-Refilled.jpg
Description:")
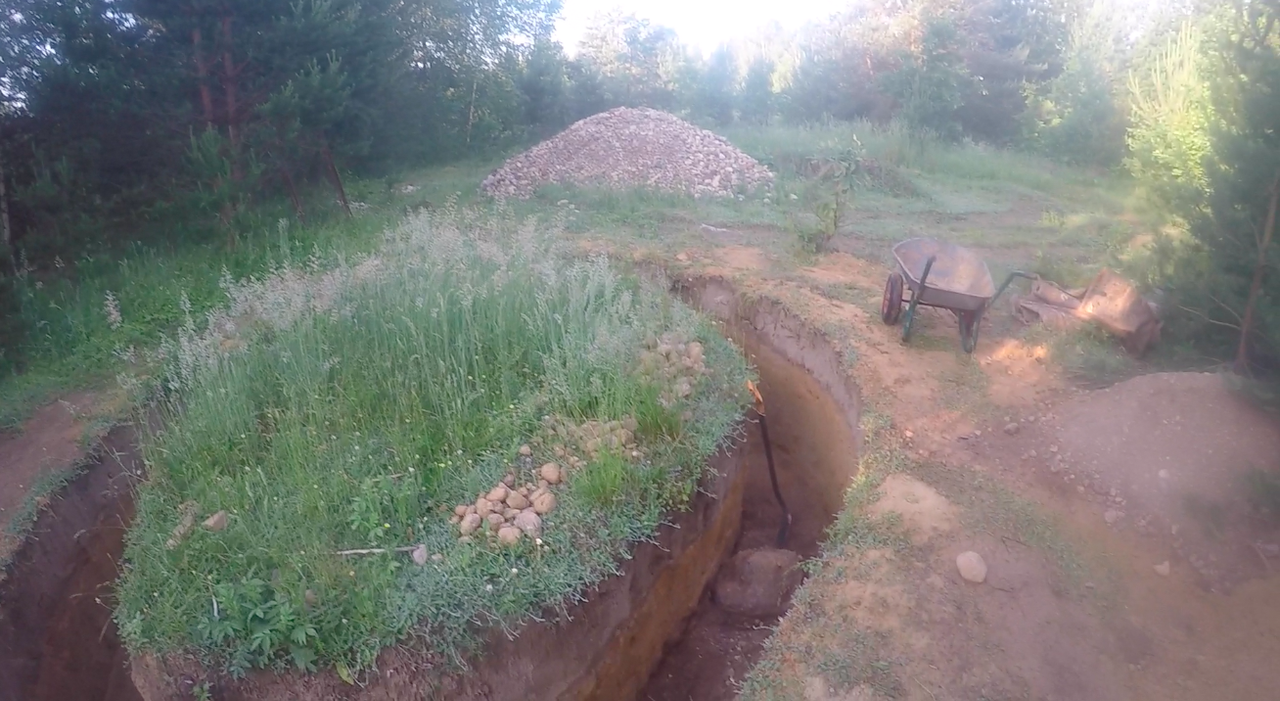
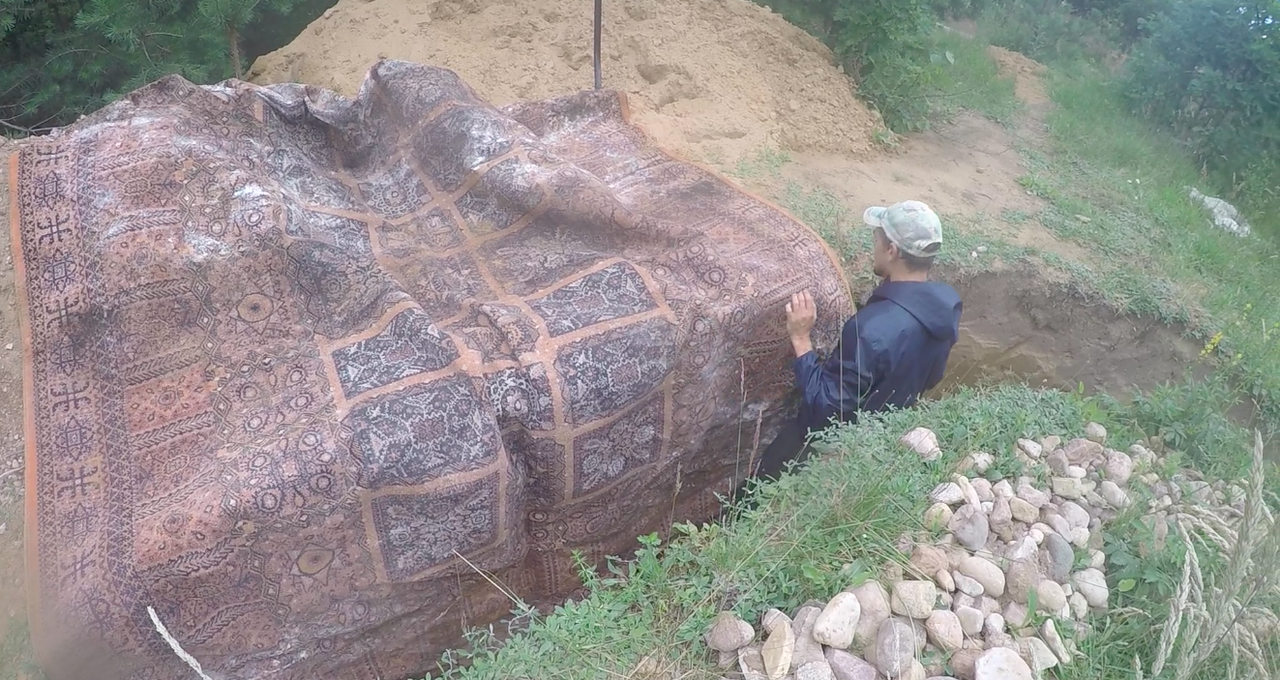
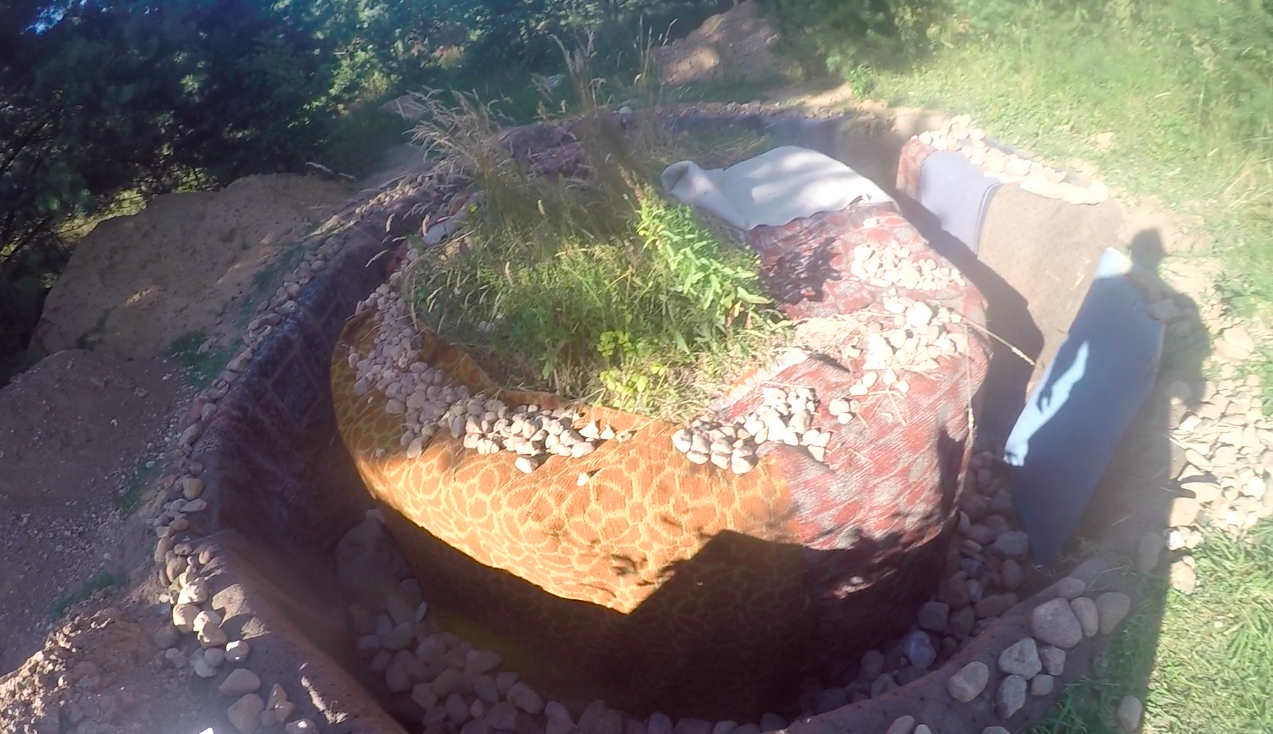
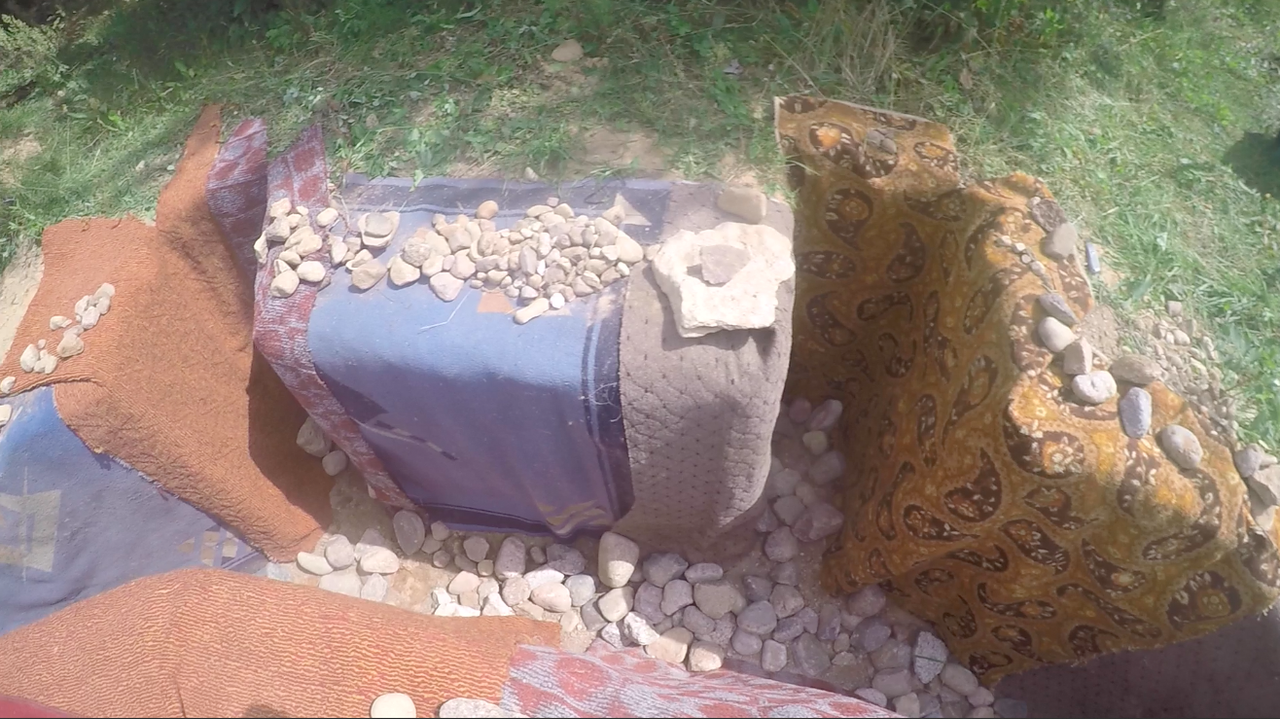
Maruf Miliunas wrote:Progress report…!


 1
1
Blog: 5 Acres & A Dream
Books: Kikobian Books | Permies Digital Market

Skill verified by gir bot")

Skill verified by Ash Jackson")

Skill verified by Mike Haasl")

Skill verified by jordan barton")

Skill verified by Mike Haasl")

Skill verified by Mike Haasl")

Skill verified by Nicole Alderman") 2
2

|
Paper jam tastes about as you would expect. Try some on this tiny ad:
try homesteading without buying a homestead
https://wheaton-labs.com/bootcamp
|


