

|

|
|
|
|

|

|

|

|

|
 4
4


Jason Nault, Washington, USA
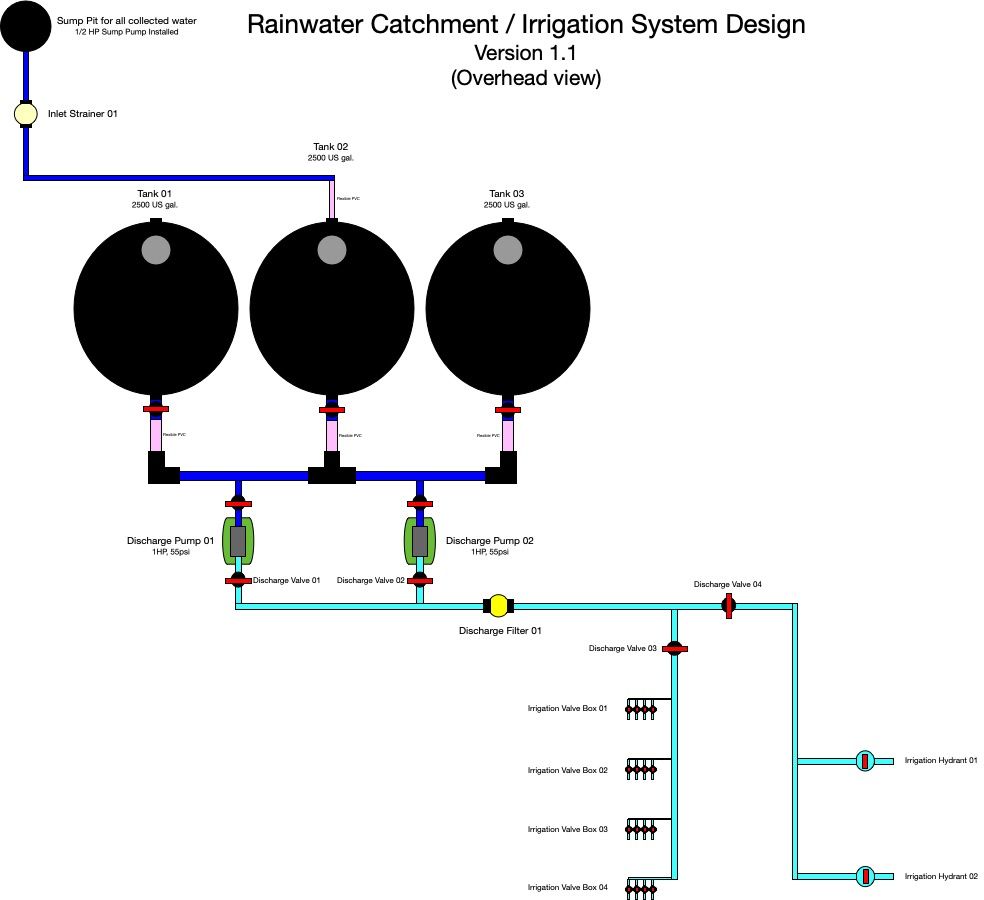
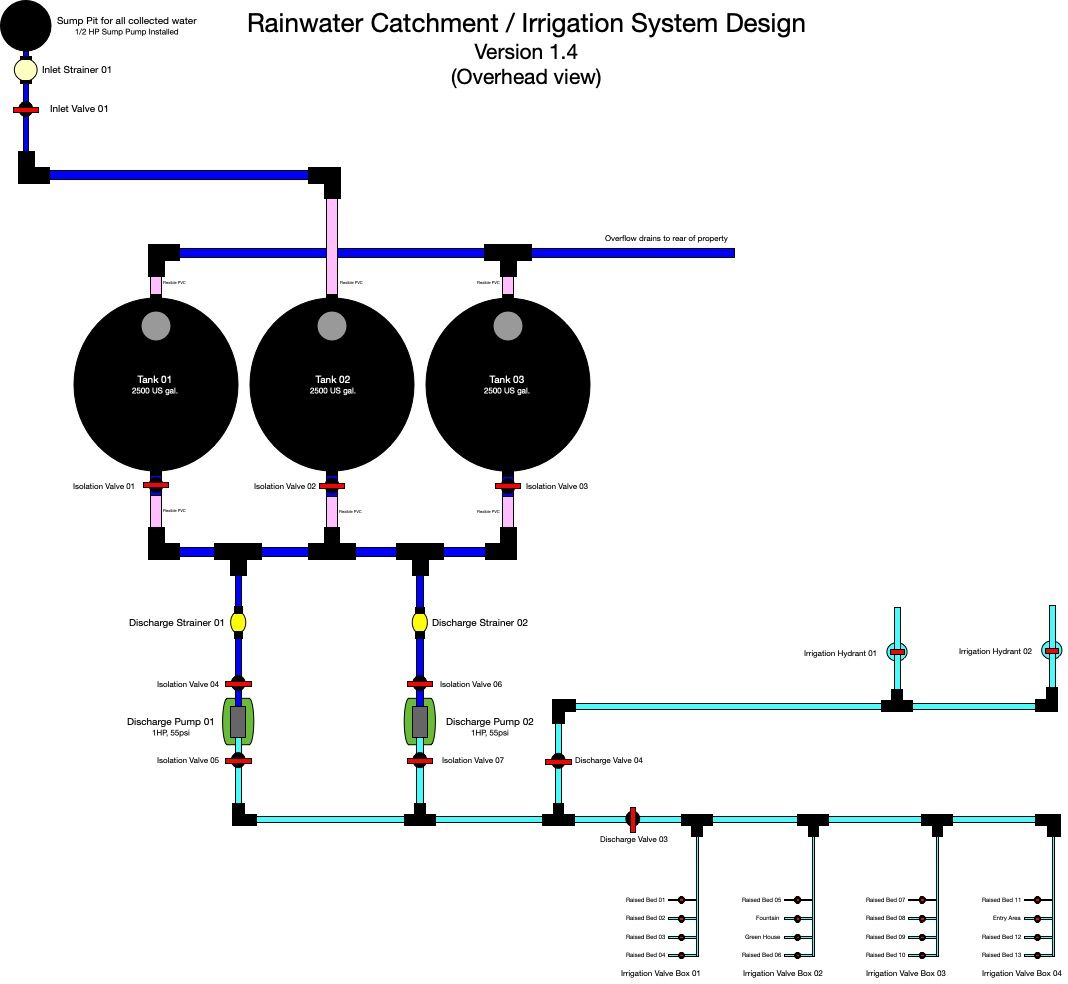
Check out my rainwater catch and automated garden build at https://permies.com/t/168563/Building-rainwater-catch-system-irrigation
2
John Daley Bendigo, Australia The Enemy of progress is the hope of a perfect plan
Benefits of rainfall collection https://permies.com/t/88043/benefits-rainfall-collection
GOOD DEBT/ BAD DEBT https://permies.com/t/179218/mortgages-good-debt-bad-debt
2
Jason Nault, Washington, USA
Check out my rainwater catch and automated garden build at https://permies.com/t/168563/Building-rainwater-catch-system-irrigation
3
3
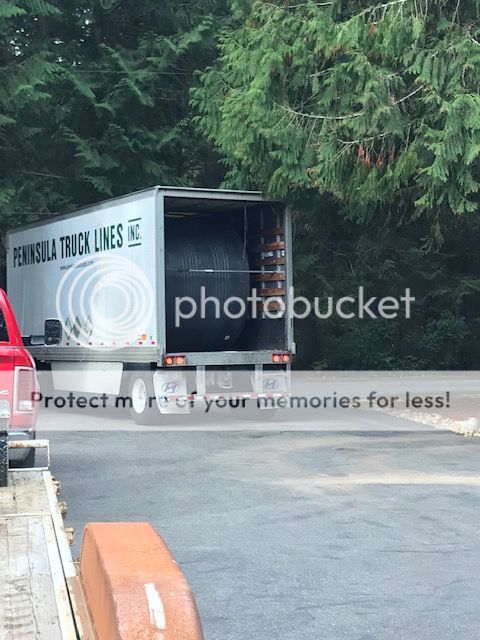
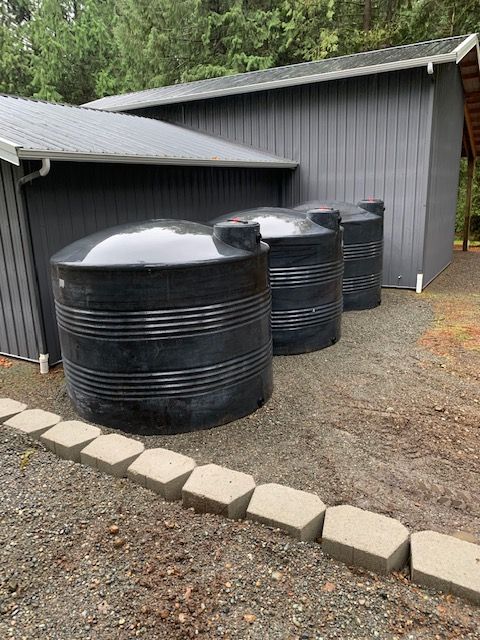
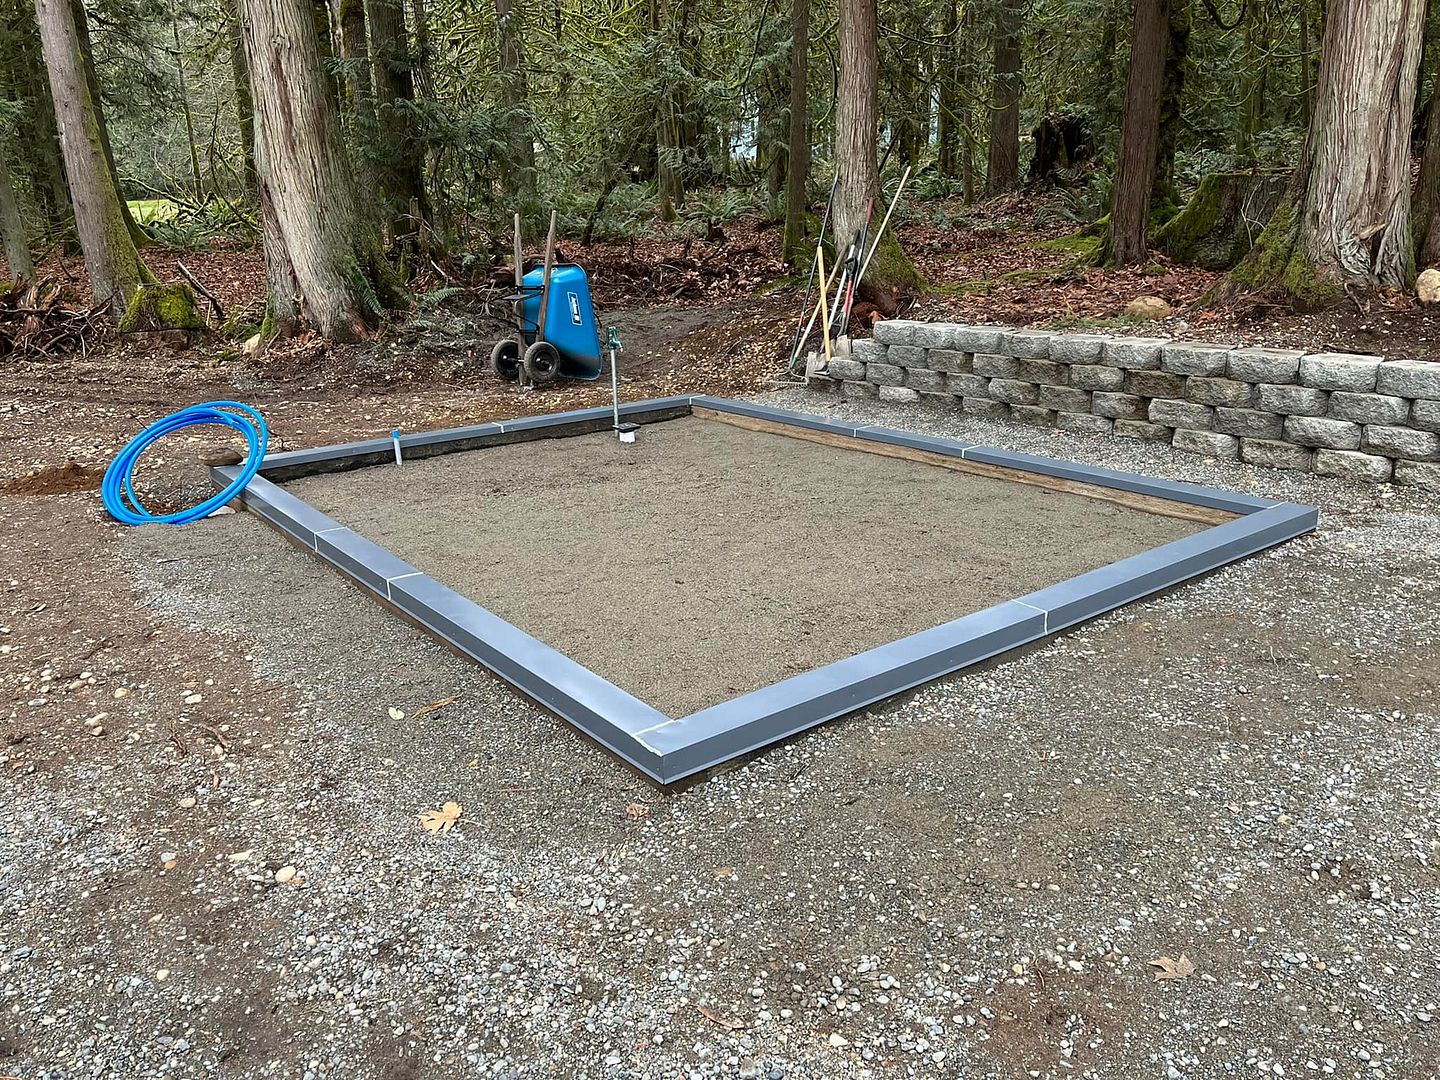
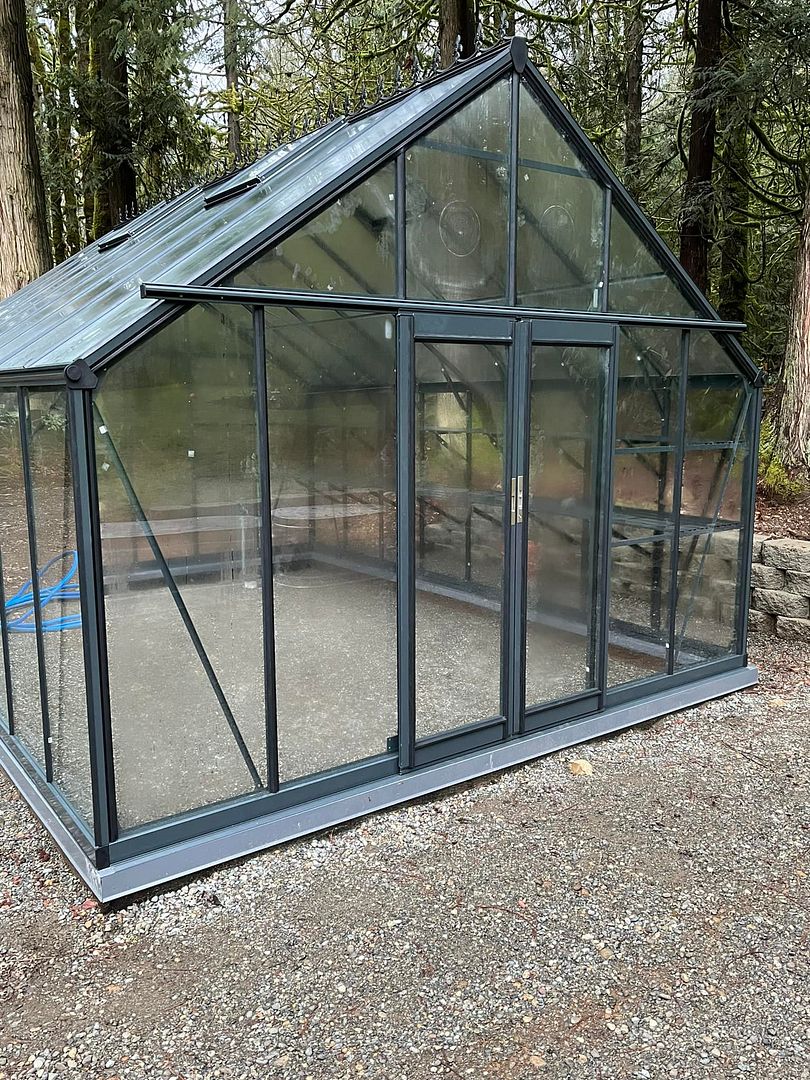
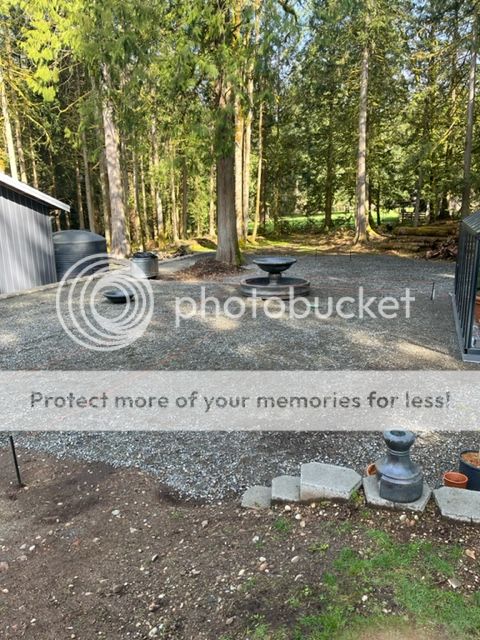
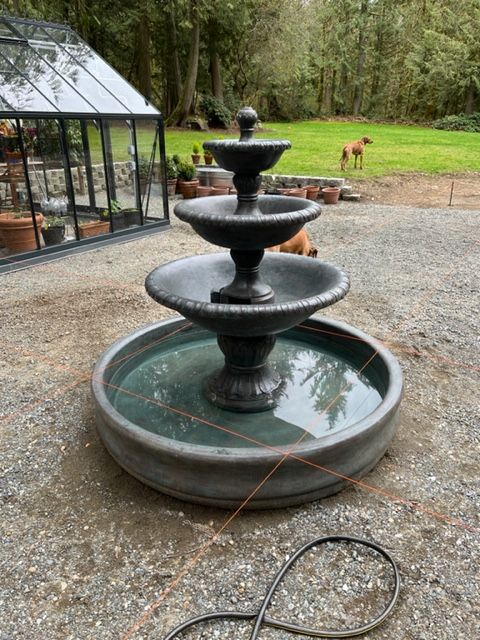
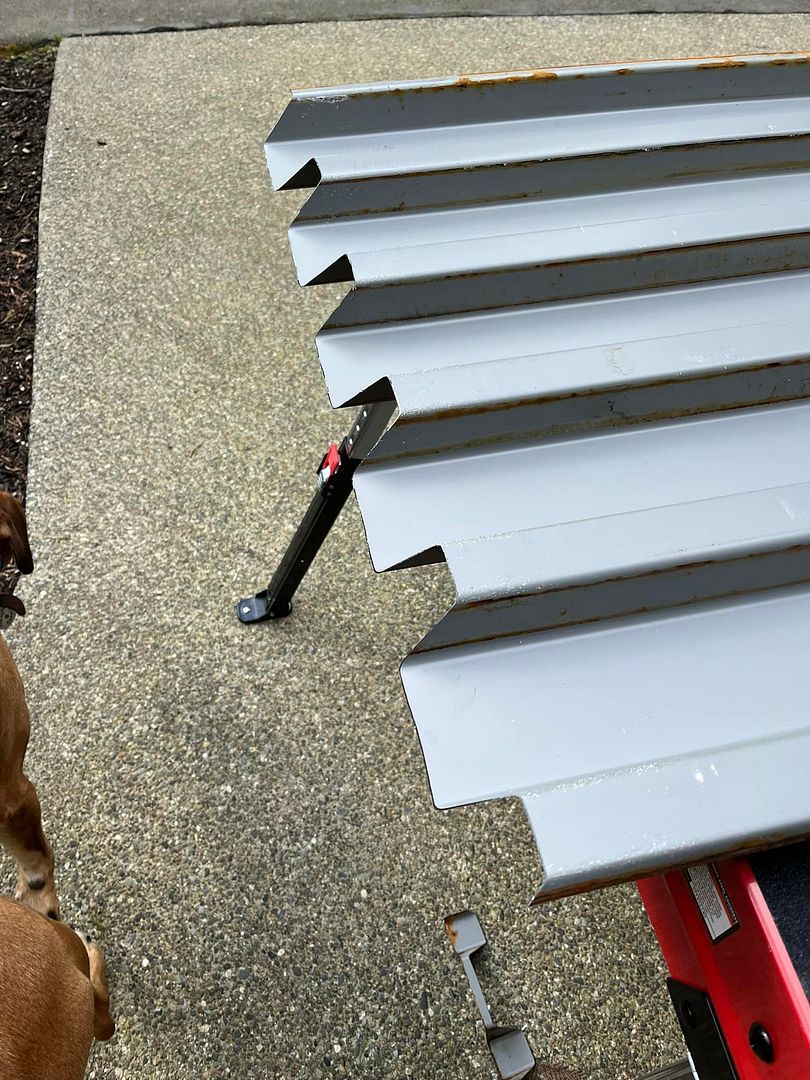
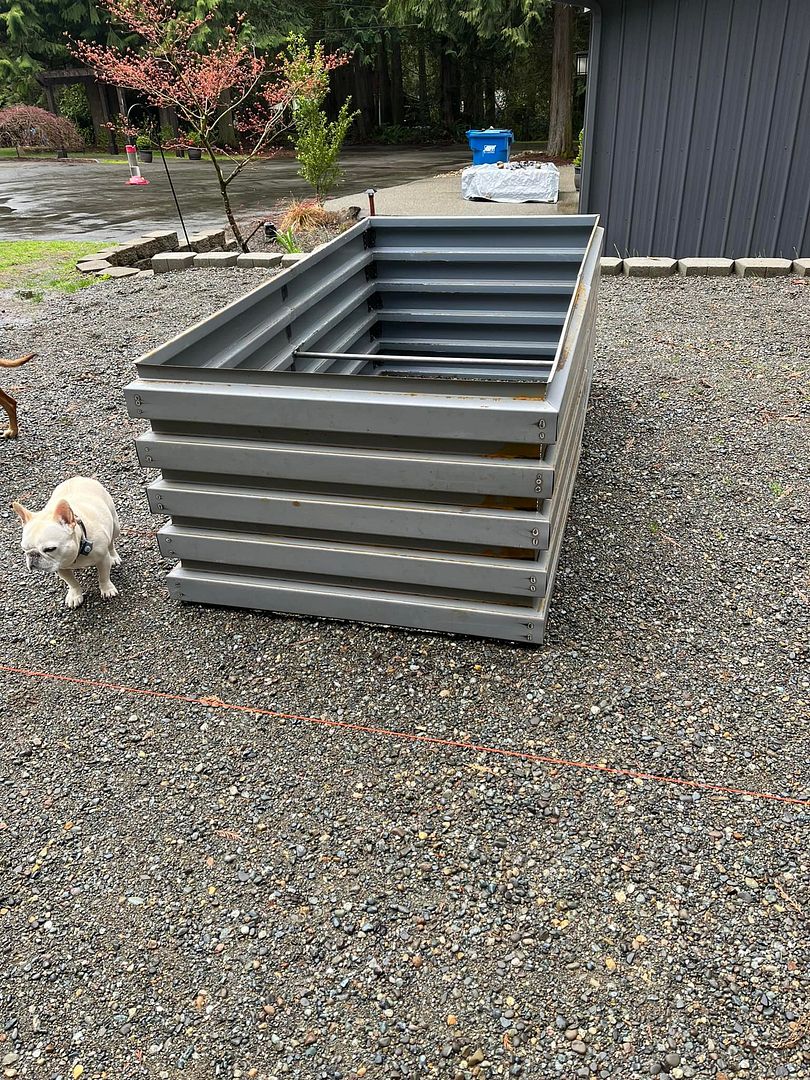
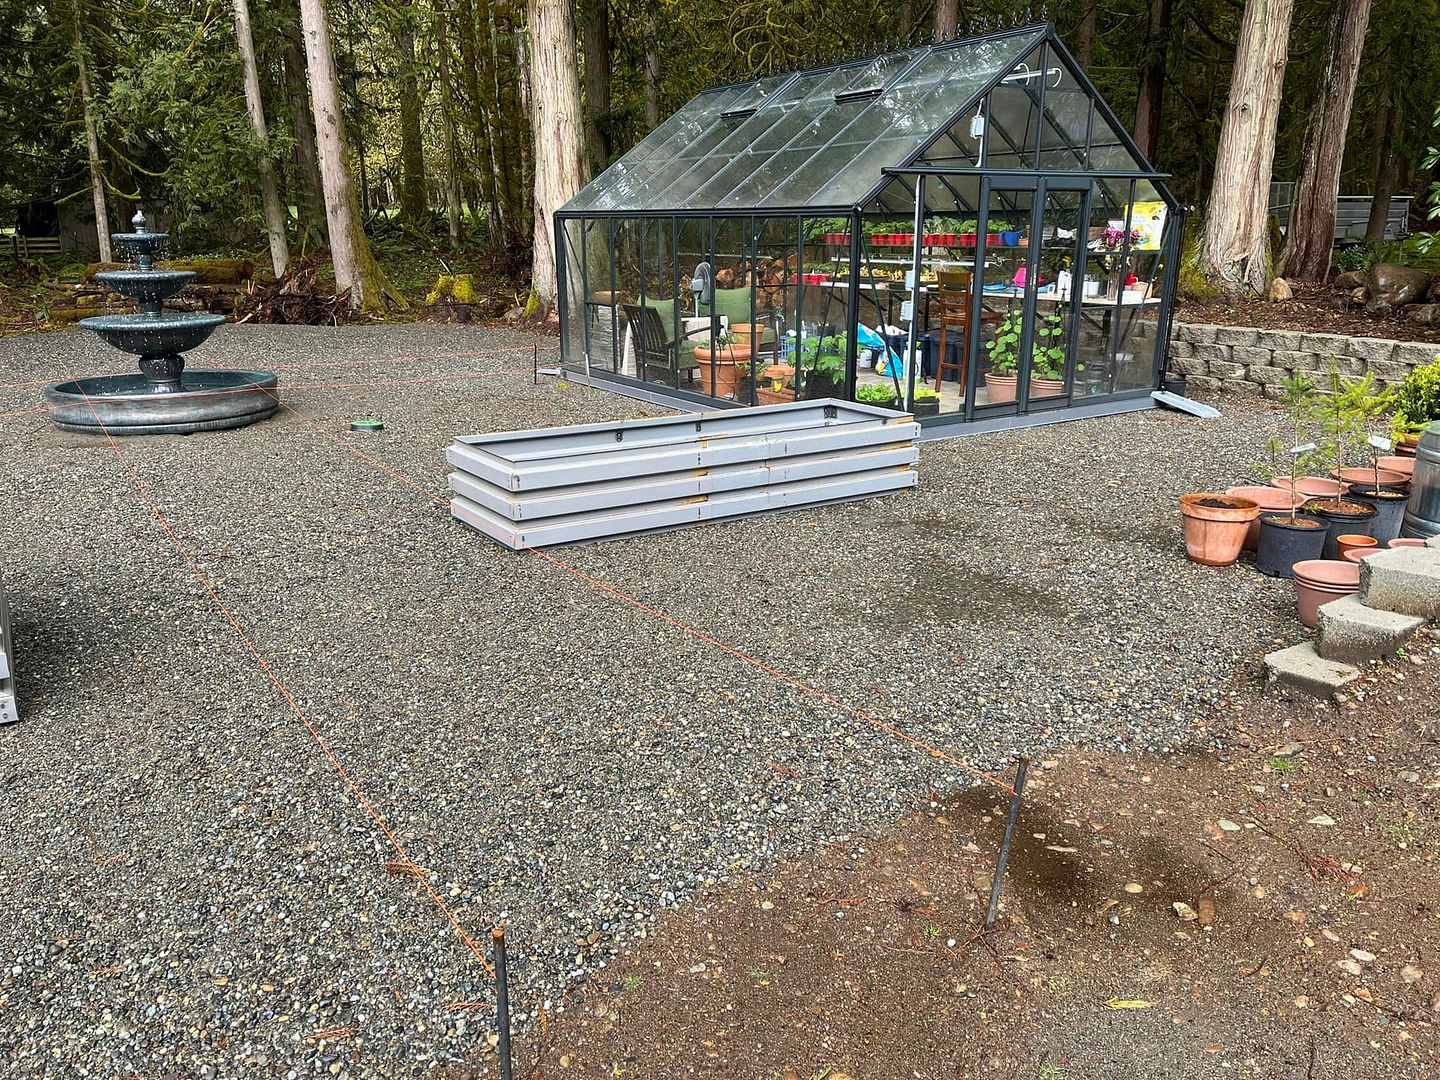
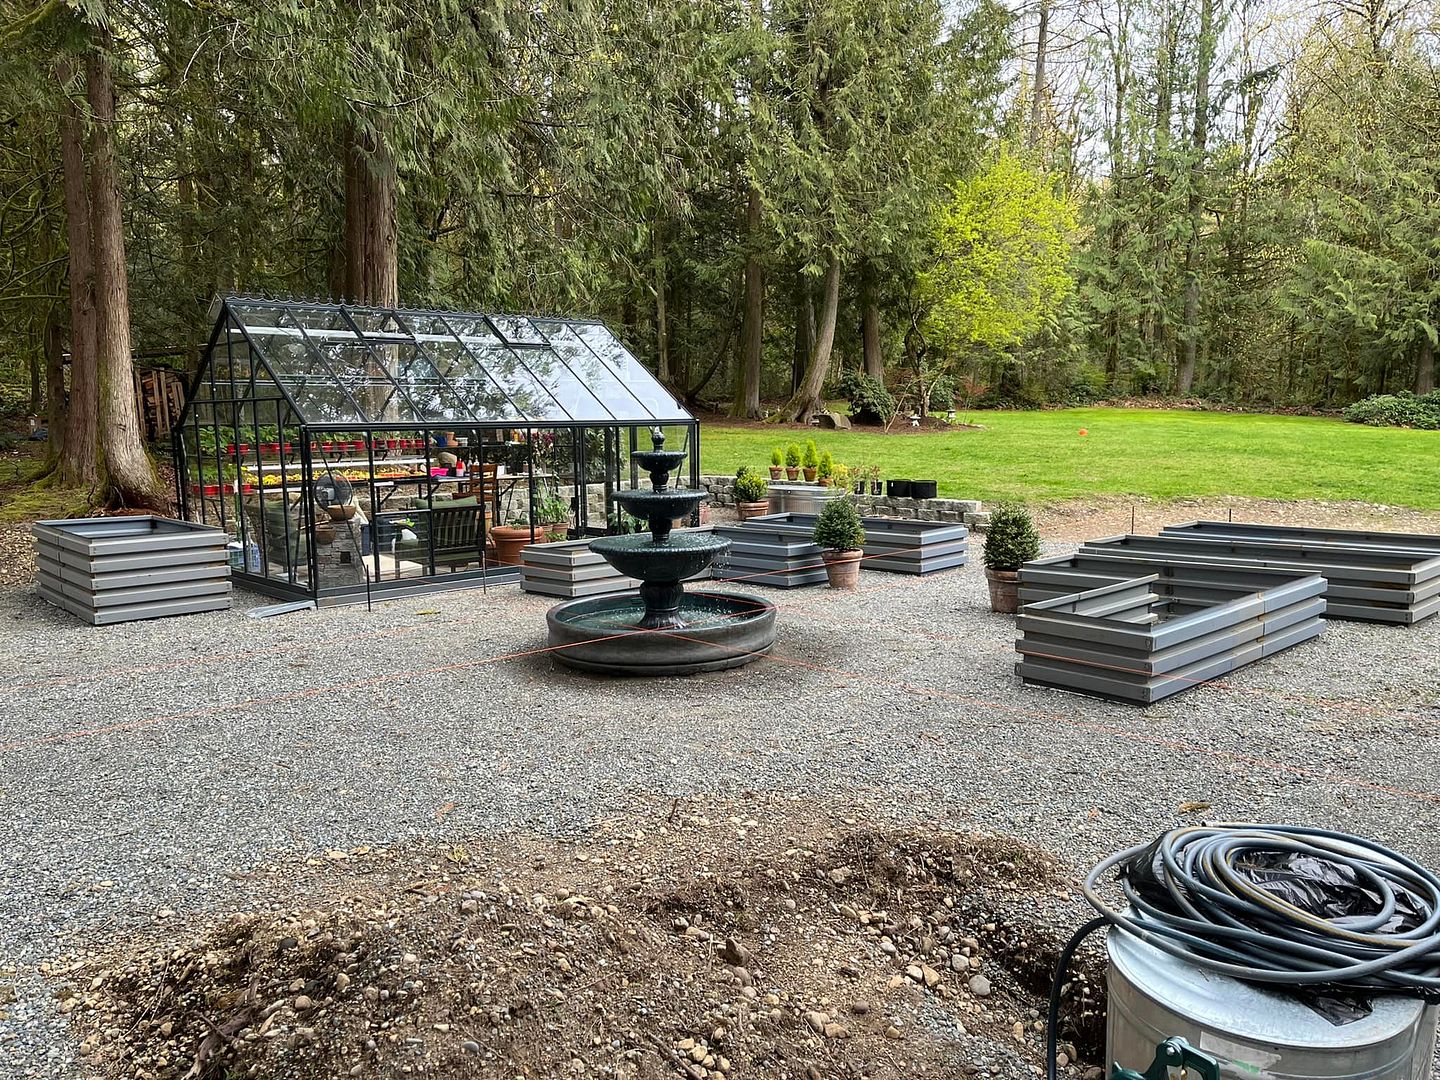
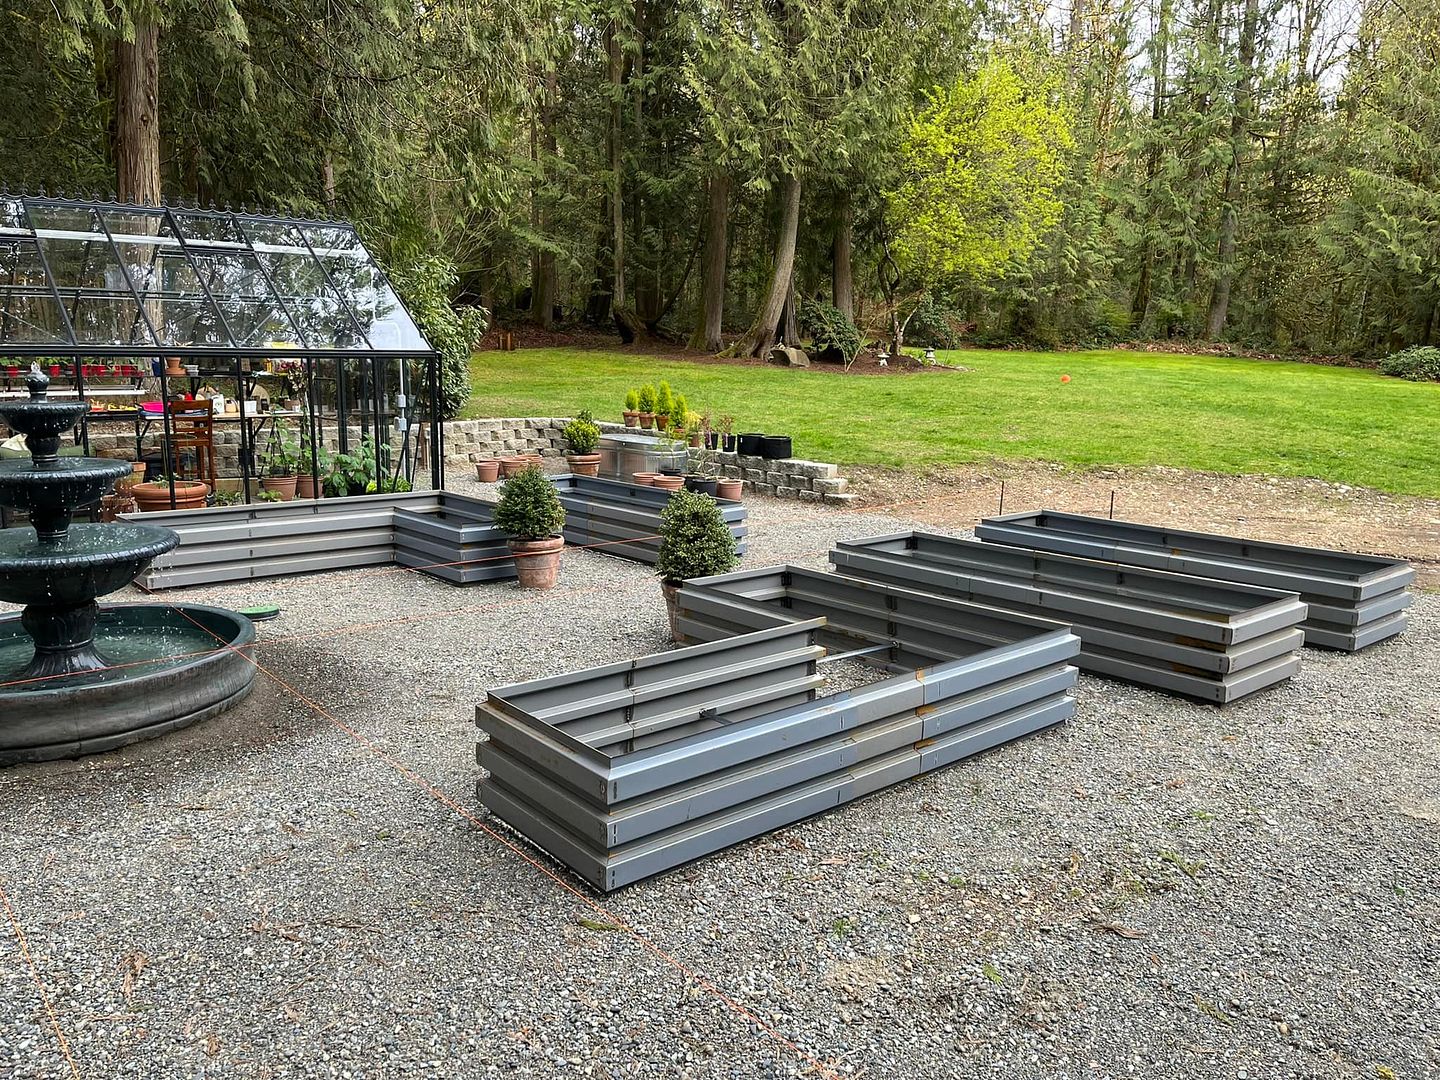
It's looking like I'll have some time to get out and work in the dirt later today or tomorrow for sure. We also heard from our excavation guy and he'll be out in a week or so to get the garden space leveled and get started on a small retaining wall. The 10' x 12' greenhouse arrives in a couple weeks and the tank just after that. After a year of planning it's finally starting to happen!!!Jason Nault, Washington, USA
Check out my rainwater catch and automated garden build at https://permies.com/t/168563/Building-rainwater-catch-system-irrigation
2
John Daley Bendigo, Australia The Enemy of progress is the hope of a perfect plan
Benefits of rainfall collection https://permies.com/t/88043/benefits-rainfall-collection
GOOD DEBT/ BAD DEBT https://permies.com/t/179218/mortgages-good-debt-bad-debt
4
Jason Nault, Washington, USA
Check out my rainwater catch and automated garden build at https://permies.com/t/168563/Building-rainwater-catch-system-irrigation
1
John Daley Bendigo, Australia The Enemy of progress is the hope of a perfect plan
Benefits of rainfall collection https://permies.com/t/88043/benefits-rainfall-collection
GOOD DEBT/ BAD DEBT https://permies.com/t/179218/mortgages-good-debt-bad-debt
1
Jason Nault, Washington, USA
Check out my rainwater catch and automated garden build at https://permies.com/t/168563/Building-rainwater-catch-system-irrigation
Jason Nault, Washington, USA
Check out my rainwater catch and automated garden build at https://permies.com/t/168563/Building-rainwater-catch-system-irrigation
Jason Nault, Washington, USA
Check out my rainwater catch and automated garden build at https://permies.com/t/168563/Building-rainwater-catch-system-irrigation
John Daley Bendigo, Australia The Enemy of progress is the hope of a perfect plan
Benefits of rainfall collection https://permies.com/t/88043/benefits-rainfall-collection
GOOD DEBT/ BAD DEBT https://permies.com/t/179218/mortgages-good-debt-bad-debt
1
Jason Nault, Washington, USA
Check out my rainwater catch and automated garden build at https://permies.com/t/168563/Building-rainwater-catch-system-irrigation
Jason Nault, Washington, USA
Check out my rainwater catch and automated garden build at https://permies.com/t/168563/Building-rainwater-catch-system-irrigation
1
John Daley Bendigo, Australia The Enemy of progress is the hope of a perfect plan
Benefits of rainfall collection https://permies.com/t/88043/benefits-rainfall-collection
GOOD DEBT/ BAD DEBT https://permies.com/t/179218/mortgages-good-debt-bad-debt
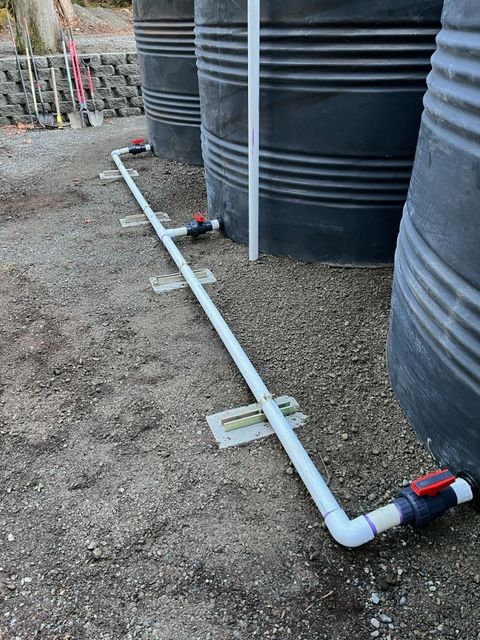
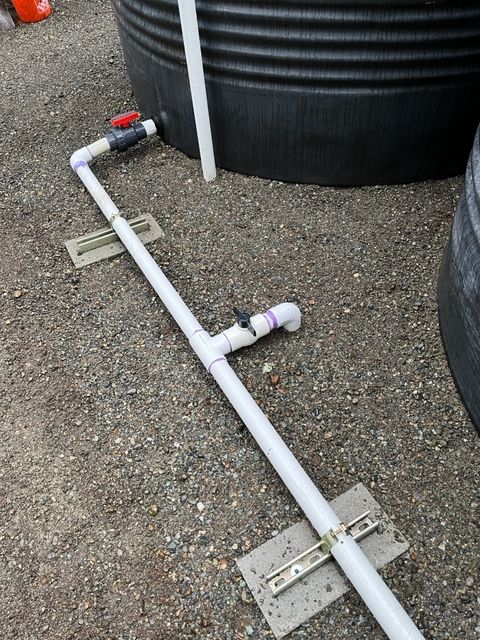
John C Daley wrote:Looks good.
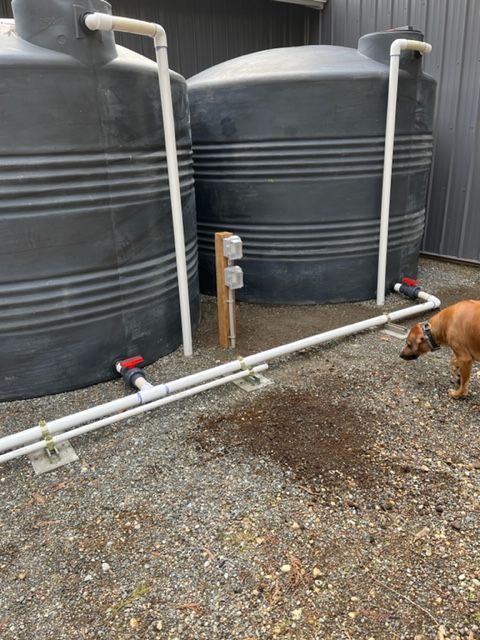
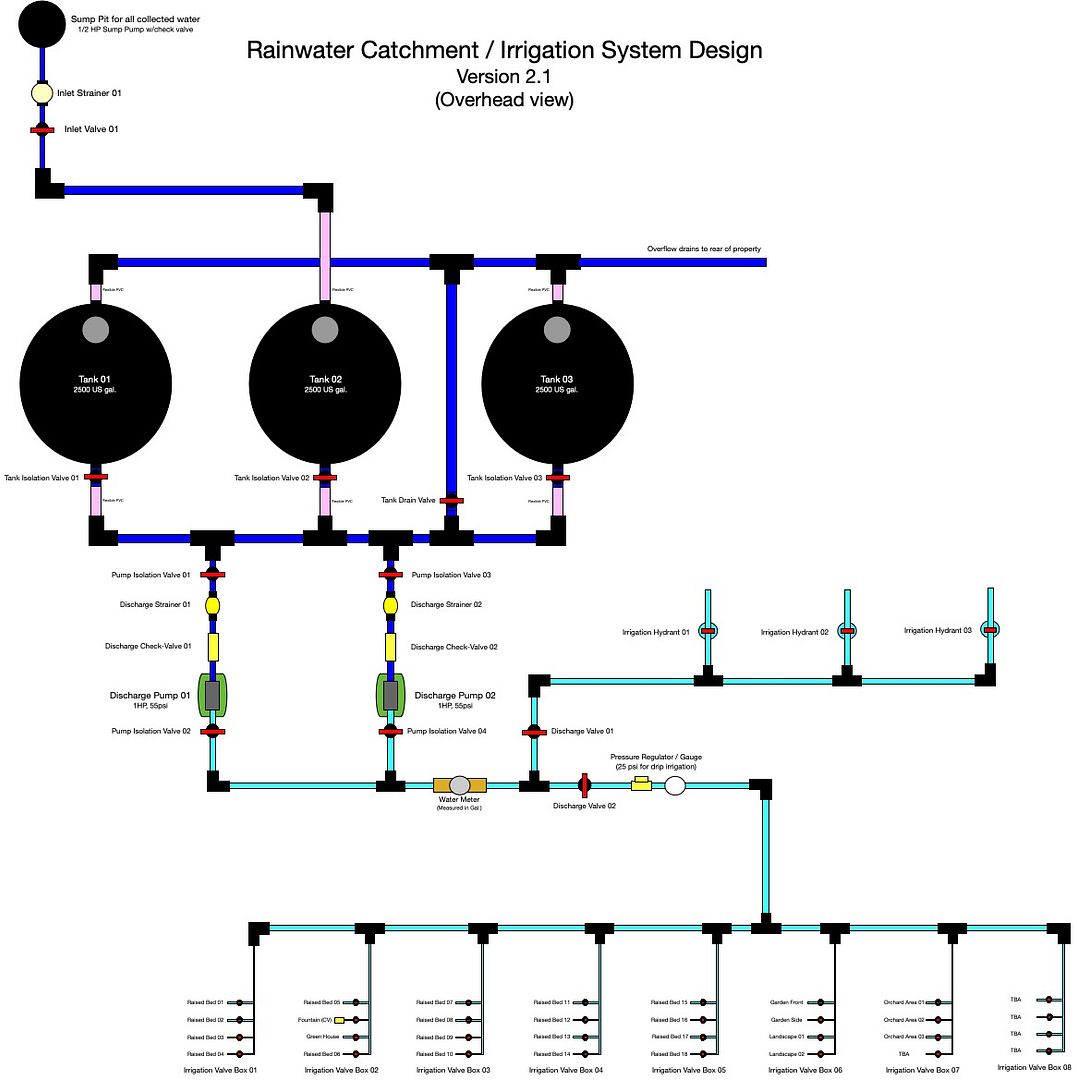
I am concerned about fixing the rigid pipes, will they need movement.
I use the poly pipes in that area so they are fully flexible, you dont think thats an issue?
Jason Nault, Washington, USA
Check out my rainwater catch and automated garden build at https://permies.com/t/168563/Building-rainwater-catch-system-irrigation

Jason Nault, Washington, USA
Check out my rainwater catch and automated garden build at https://permies.com/t/168563/Building-rainwater-catch-system-irrigation
Jason Nault, Washington, USA
Check out my rainwater catch and automated garden build at https://permies.com/t/168563/Building-rainwater-catch-system-irrigation
John Daley Bendigo, Australia The Enemy of progress is the hope of a perfect plan
Benefits of rainfall collection https://permies.com/t/88043/benefits-rainfall-collection
GOOD DEBT/ BAD DEBT https://permies.com/t/179218/mortgages-good-debt-bad-debt
1
Jason Nault, Washington, USA
Check out my rainwater catch and automated garden build at https://permies.com/t/168563/Building-rainwater-catch-system-irrigation
1
John Daley Bendigo, Australia The Enemy of progress is the hope of a perfect plan
Benefits of rainfall collection https://permies.com/t/88043/benefits-rainfall-collection
GOOD DEBT/ BAD DEBT https://permies.com/t/179218/mortgages-good-debt-bad-debt
Jason Nault, Washington, USA
Check out my rainwater catch and automated garden build at https://permies.com/t/168563/Building-rainwater-catch-system-irrigation
2
Jason Nault, Washington, USA
Check out my rainwater catch and automated garden build at https://permies.com/t/168563/Building-rainwater-catch-system-irrigation
2
Jason Nault, Washington, USA
Check out my rainwater catch and automated garden build at https://permies.com/t/168563/Building-rainwater-catch-system-irrigation
Jason Nault, Washington, USA
Check out my rainwater catch and automated garden build at https://permies.com/t/168563/Building-rainwater-catch-system-irrigation

Jason Nault, Washington, USA
Check out my rainwater catch and automated garden build at https://permies.com/t/168563/Building-rainwater-catch-system-irrigation
2
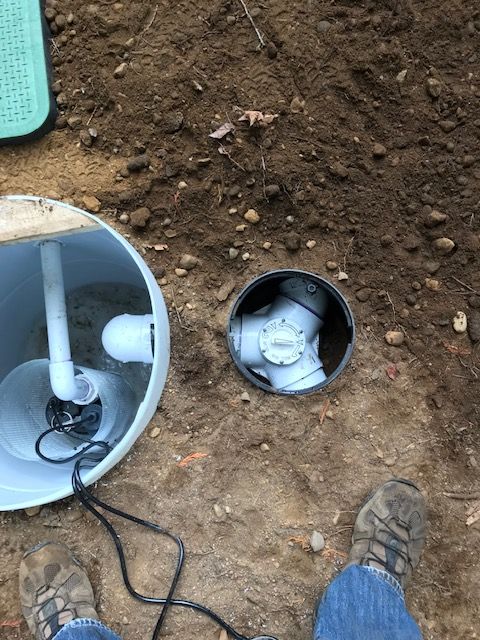
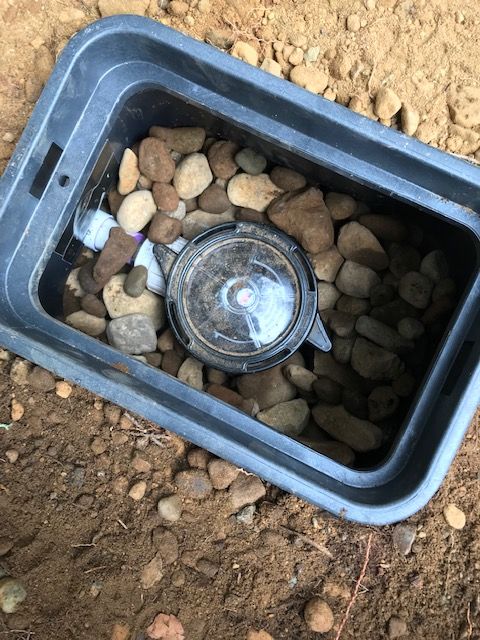
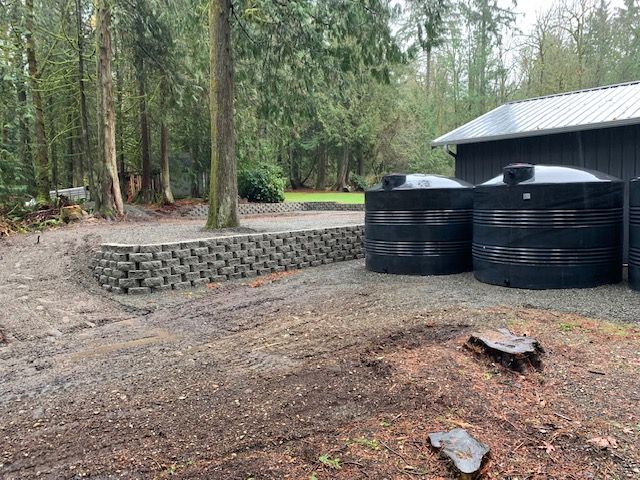
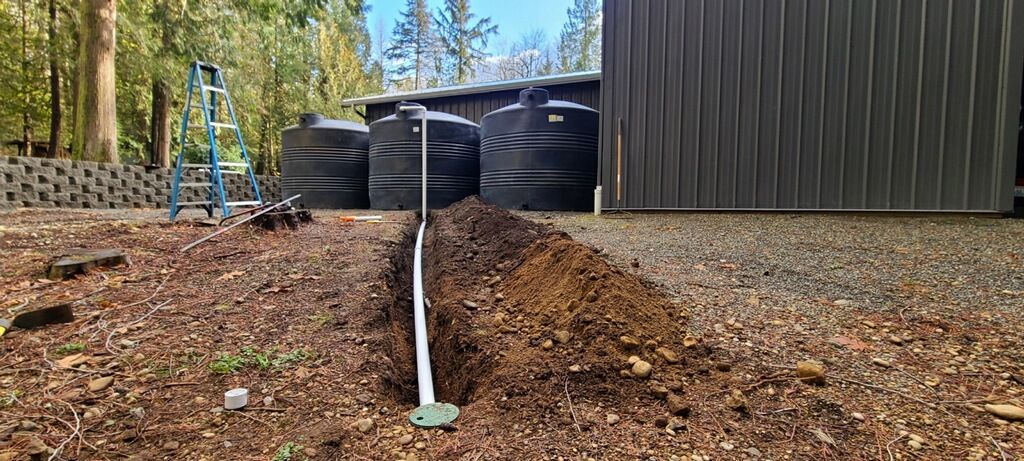
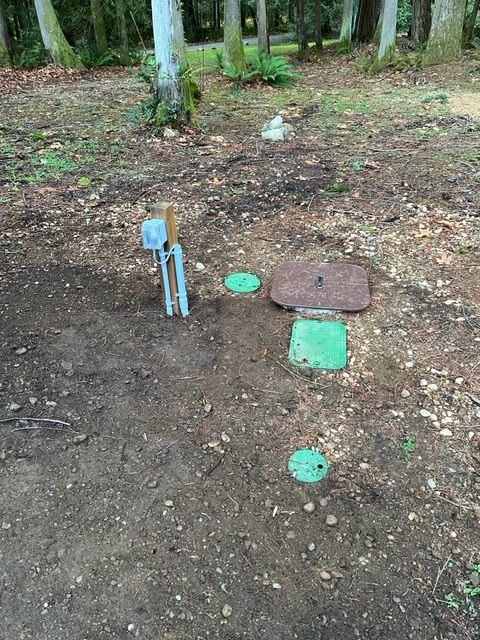
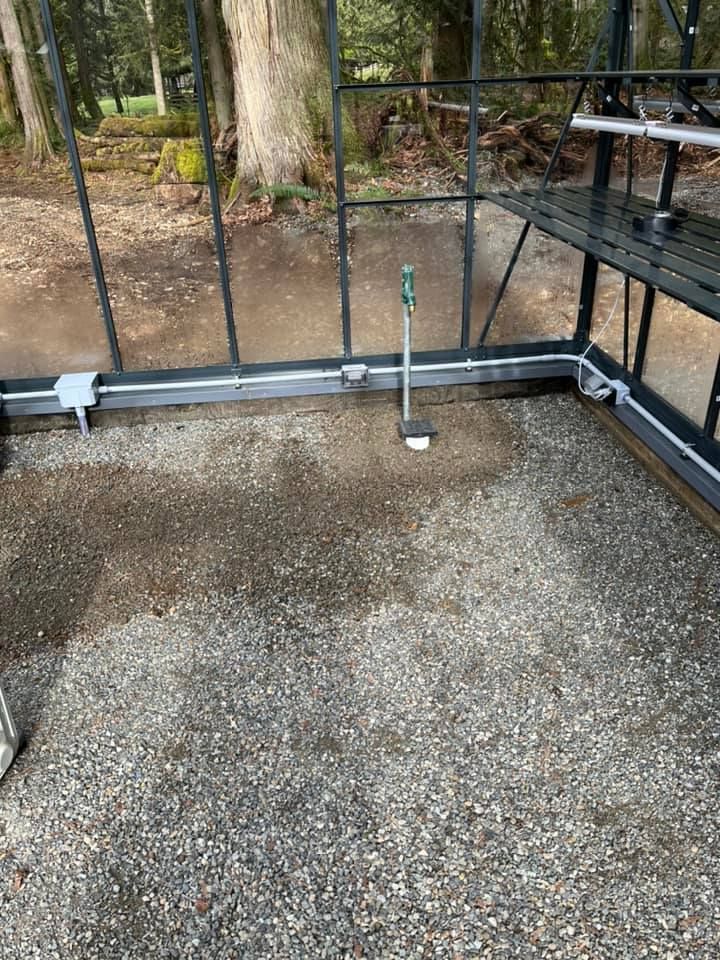
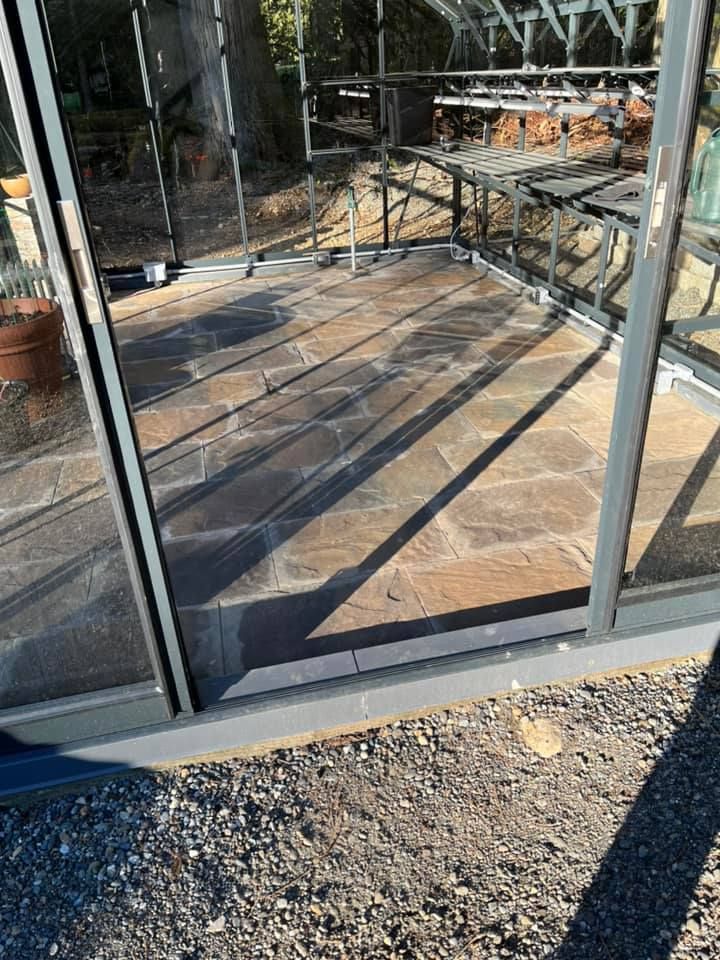
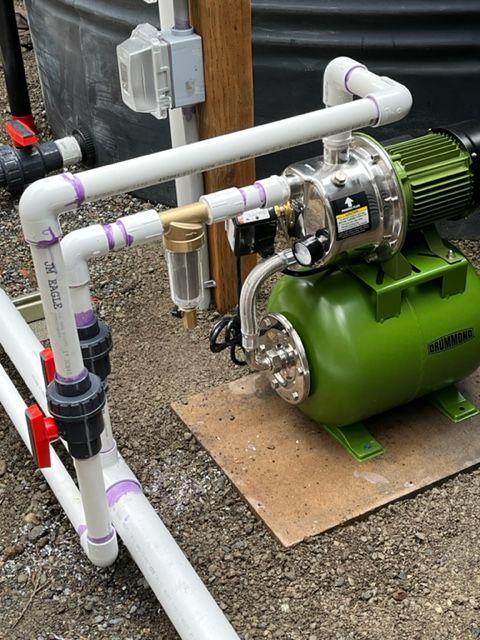
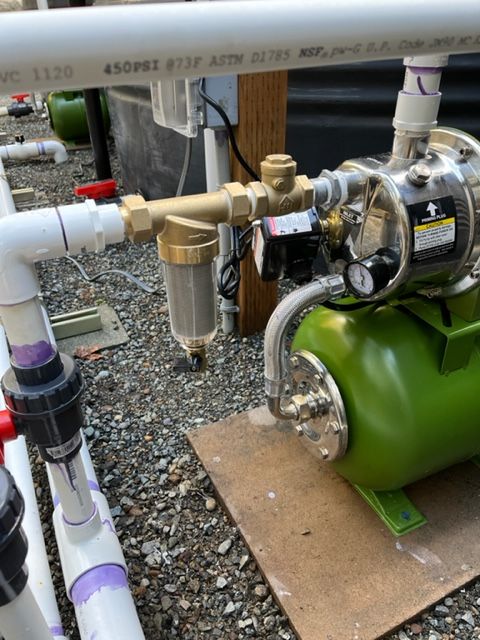
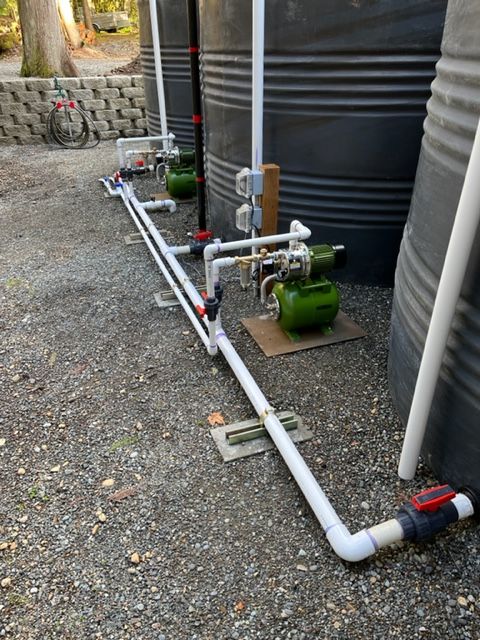
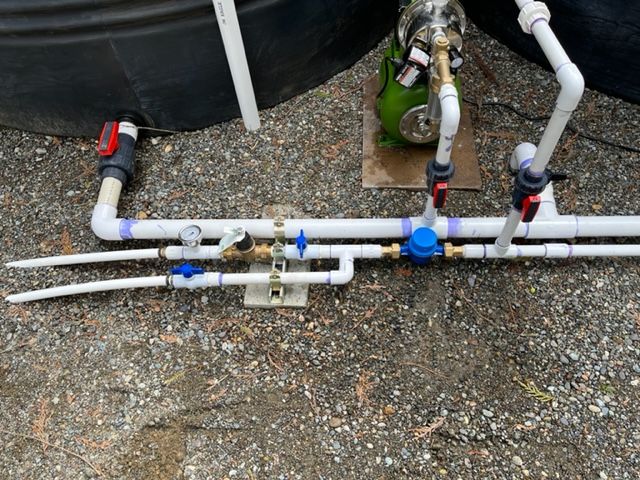
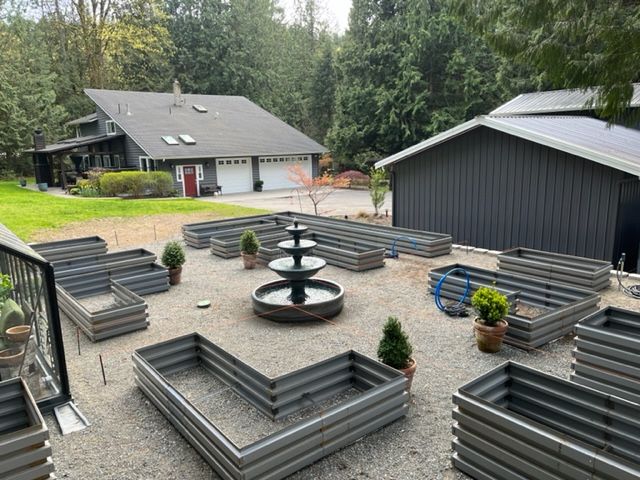
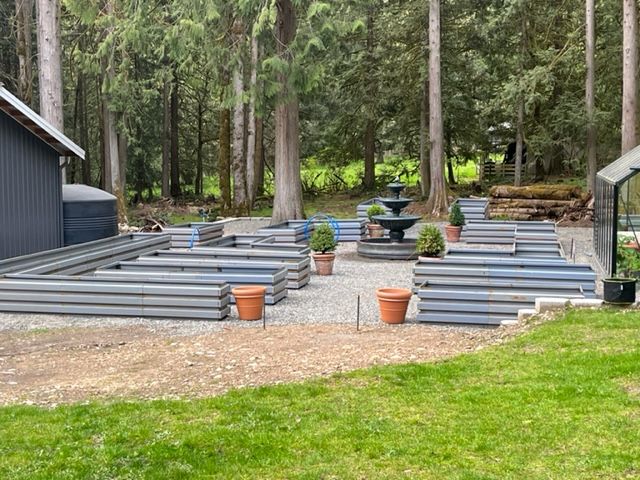
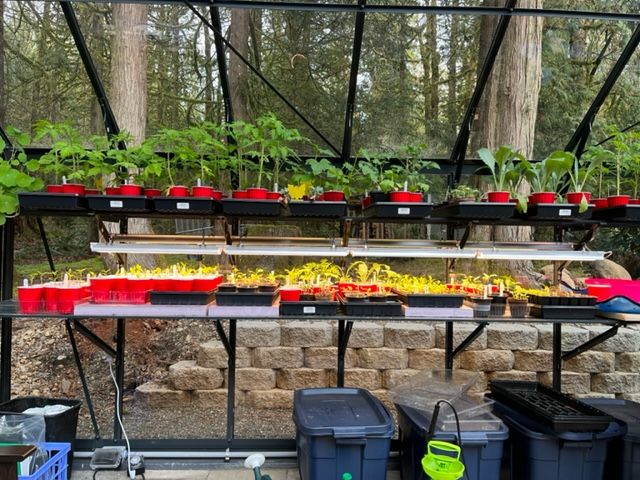
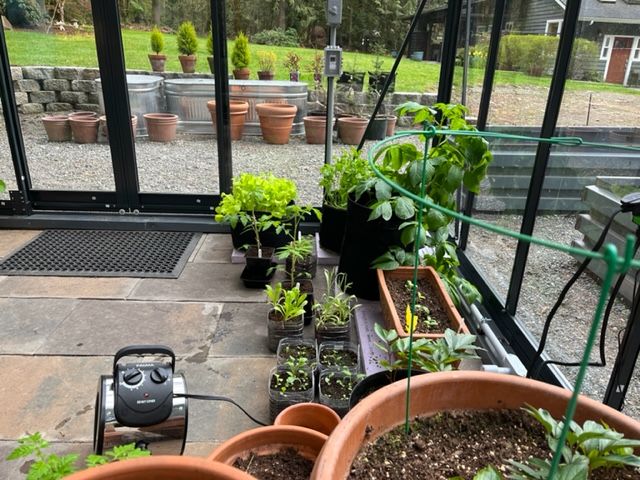
. The 3 yard hydrants are connected and have been tested with negative results so far. My plumbing on the pumps was terrible, leaks everywhere, replacing some fittings and trying again hopefully later today. Here are some updated pics for your viewing pleasure
.jpg)
.jpg)


Jason Nault, Washington, USA
Check out my rainwater catch and automated garden build at https://permies.com/t/168563/Building-rainwater-catch-system-irrigation
3

Jason Nault, Washington, USA
Check out my rainwater catch and automated garden build at https://permies.com/t/168563/Building-rainwater-catch-system-irrigation

Jason Nault, Washington, USA
Check out my rainwater catch and automated garden build at https://permies.com/t/168563/Building-rainwater-catch-system-irrigation
![[Thumbnail for 6470d35f3c62292f2386a284d4938418.jpg]](/t/168563/a/171695/6470d35f3c62292f2386a284d4938418.jpg "Filename: 6470d35f3c62292f2386a284d4938418.jpg
Description: Deep well pump with 3 outlets the bottom one seems to be used to lift water")
![[Thumbnail for images-4.jpg]](/t/168563/a/171696/images-4.jpg "Filename: images-4.jpg
Description: Pump with 2 outlets pressure tank fitted to consumption discharge pipe")
John Daley Bendigo, Australia The Enemy of progress is the hope of a perfect plan
Benefits of rainfall collection https://permies.com/t/88043/benefits-rainfall-collection
GOOD DEBT/ BAD DEBT https://permies.com/t/179218/mortgages-good-debt-bad-debt
2
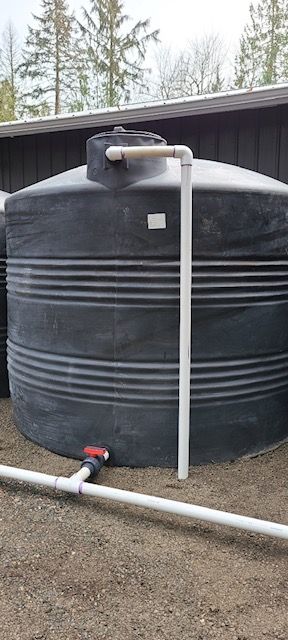
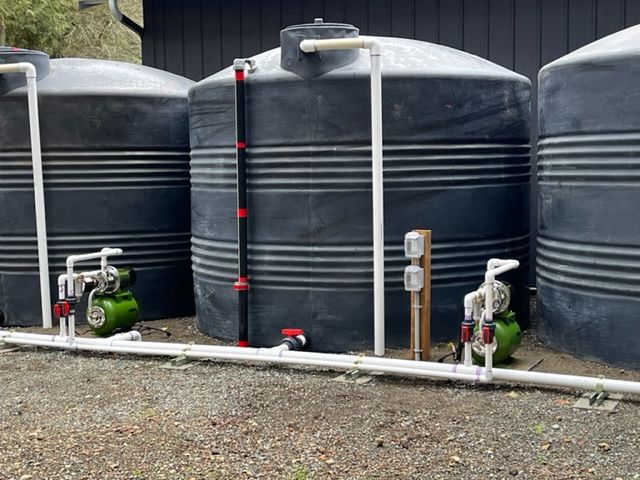
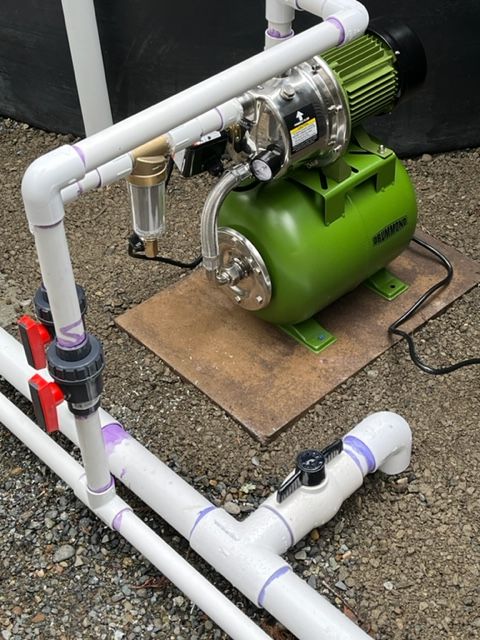
John C Daley wrote:Eh! Jason is your pump and pressure tank set up correctly?
I think the hose to the tank needs to be attached to the outlet pipe.
I think you have it connected to the drain plug for the pump housing.
Jason Nault, Washington, USA
Check out my rainwater catch and automated garden build at https://permies.com/t/168563/Building-rainwater-catch-system-irrigation
1
2
Amy Knutson wrote:This looks amazing! One question: why are you using a pump instead of direct feed from the roof to the tanks?
Jason Nault, Washington, USA
Check out my rainwater catch and automated garden build at https://permies.com/t/168563/Building-rainwater-catch-system-irrigation
2
Jason Nault, Washington, USA
Check out my rainwater catch and automated garden build at https://permies.com/t/168563/Building-rainwater-catch-system-irrigation
2

Jason Nault, Washington, USA
Check out my rainwater catch and automated garden build at https://permies.com/t/168563/Building-rainwater-catch-system-irrigation
Jason Nault, Washington, USA
Check out my rainwater catch and automated garden build at https://permies.com/t/168563/Building-rainwater-catch-system-irrigation
2
Jason Nault, Washington, USA
Check out my rainwater catch and automated garden build at https://permies.com/t/168563/Building-rainwater-catch-system-irrigation
2
This is all just my opinion based on a flawed memory
1
Jason Nault, Washington, USA
Check out my rainwater catch and automated garden build at https://permies.com/t/168563/Building-rainwater-catch-system-irrigation
4
Jason Nault, Washington, USA
Check out my rainwater catch and automated garden build at https://permies.com/t/168563/Building-rainwater-catch-system-irrigation

|
life is short - but not as short as this ad:
building a better world rather than being angry at bad guys
https://wheaton-labs.com/bootcamp
|


