|

|
|
|
|

|

|

|

|

|


 11
11


Proudly presenting RocketMassHeaters.com
A good starting point to all RMH research
How Permies.com works
5
Proudly presenting RocketMassHeaters.com
A good starting point to all RMH research
How Permies.com works


 7
9
3
7
9
3
Proudly presenting RocketMassHeaters.com
A good starting point to all RMH research
How Permies.com works
7
5
Proudly presenting RocketMassHeaters.com
A good starting point to all RMH research
How Permies.com works
6
3
4
Proudly presenting RocketMassHeaters.com
A good starting point to all RMH research
How Permies.com works
5


Proudly presenting RocketMassHeaters.com
A good starting point to all RMH research
How Permies.com works
6
Proudly presenting RocketMassHeaters.com
A good starting point to all RMH research
How Permies.com works
3
8

Proudly presenting RocketMassHeaters.com
A good starting point to all RMH research
How Permies.com works

 9
9
For all your Montana Masonry Heater parts (also known as) Rocket Mass heater parts.
Visit me at
dragontechrmh.com Once you go brick you will never go back!
5
Proudly presenting RocketMassHeaters.com
A good starting point to all RMH research
How Permies.com works
5
For all your Montana Masonry Heater parts (also known as) Rocket Mass heater parts.
Visit me at
dragontechrmh.com Once you go brick you will never go back!
9
 5
5
5
5
For all your Montana Masonry Heater parts (also known as) Rocket Mass heater parts.
Visit me at
dragontechrmh.com Once you go brick you will never go back!
5
You can follow my latest adventures at
https://www.unclemud.com
https://www.youtube.com/unclemud
https://permies.com/u/164246/Chris-McClellan
Buy my stuff at https://unclemud.com/store/
5
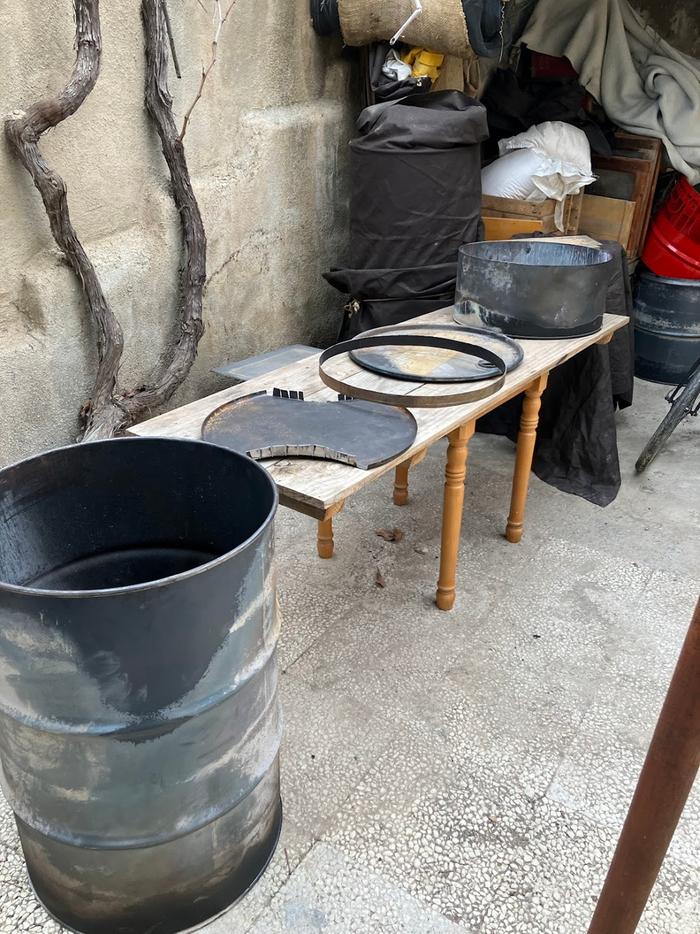
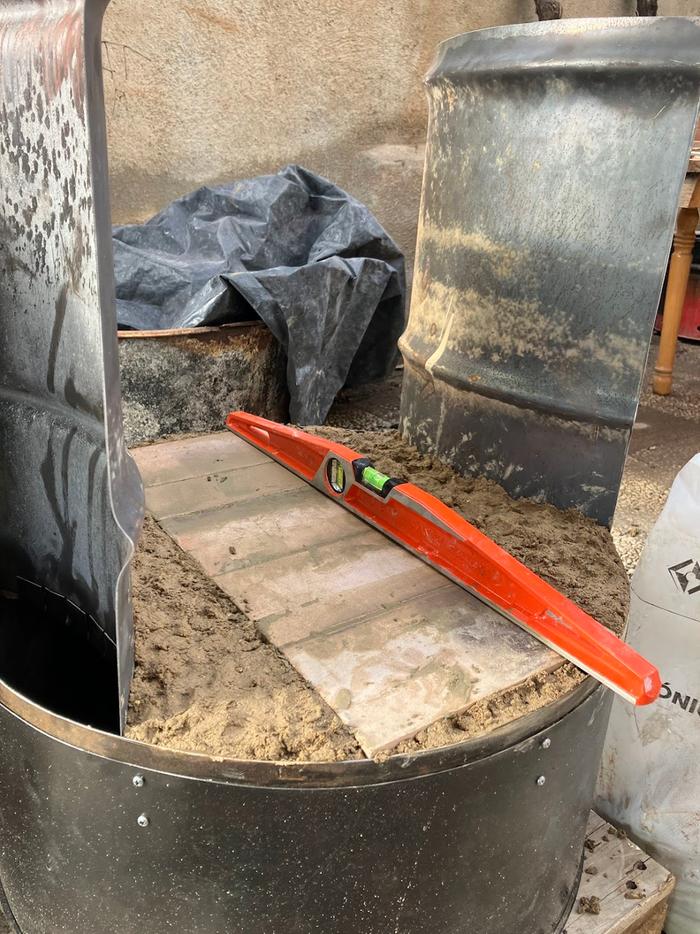
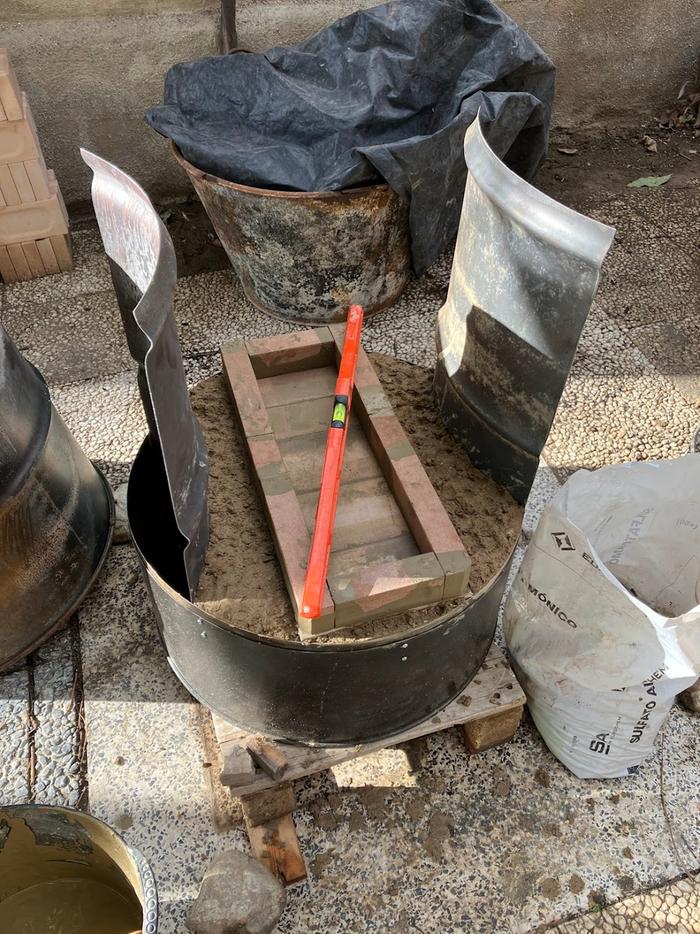
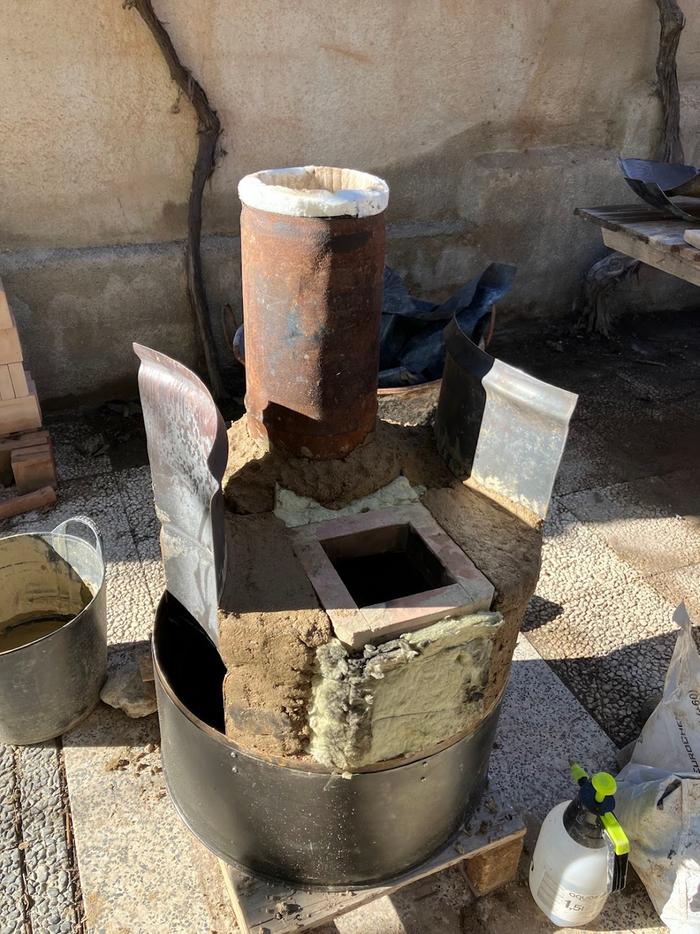
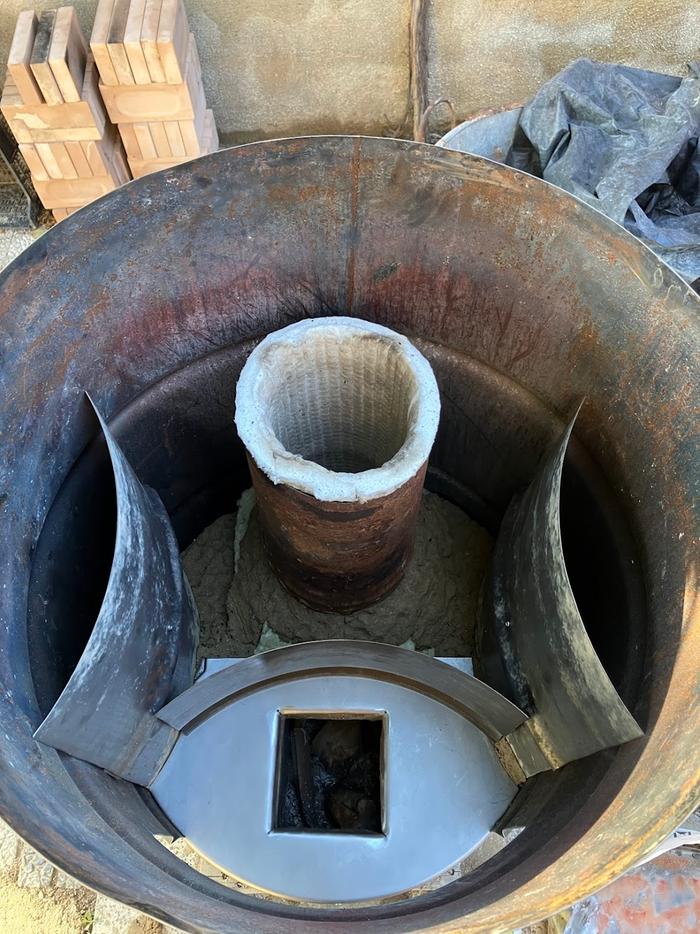
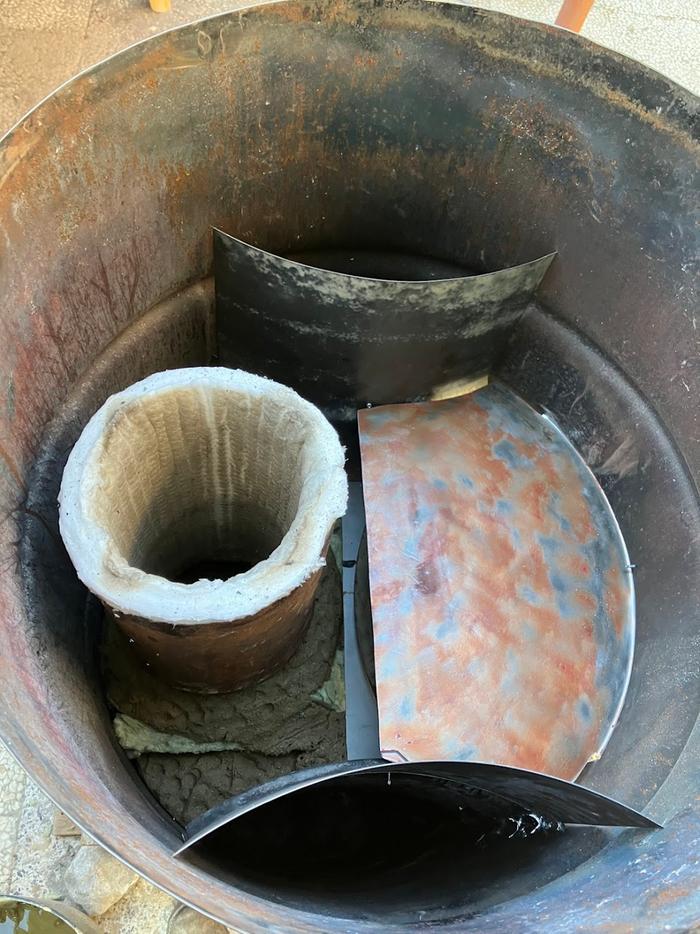
Nathon Daellenbach wrote:I noticed that your side panels are kind of short. In the sauna rocket plans it says they should match the height of the riser.
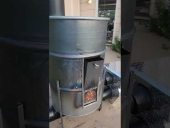
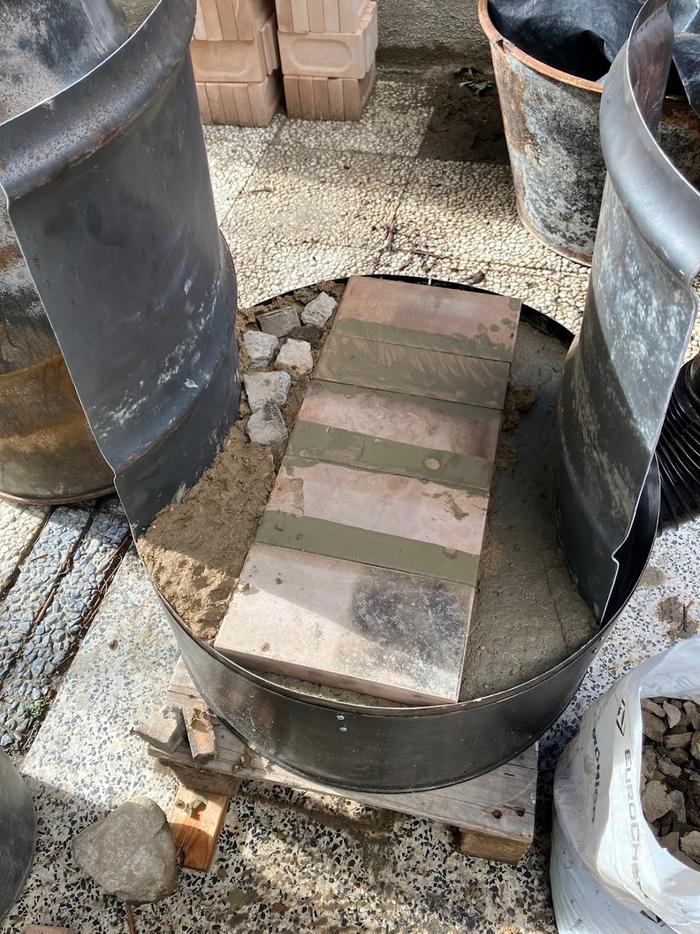
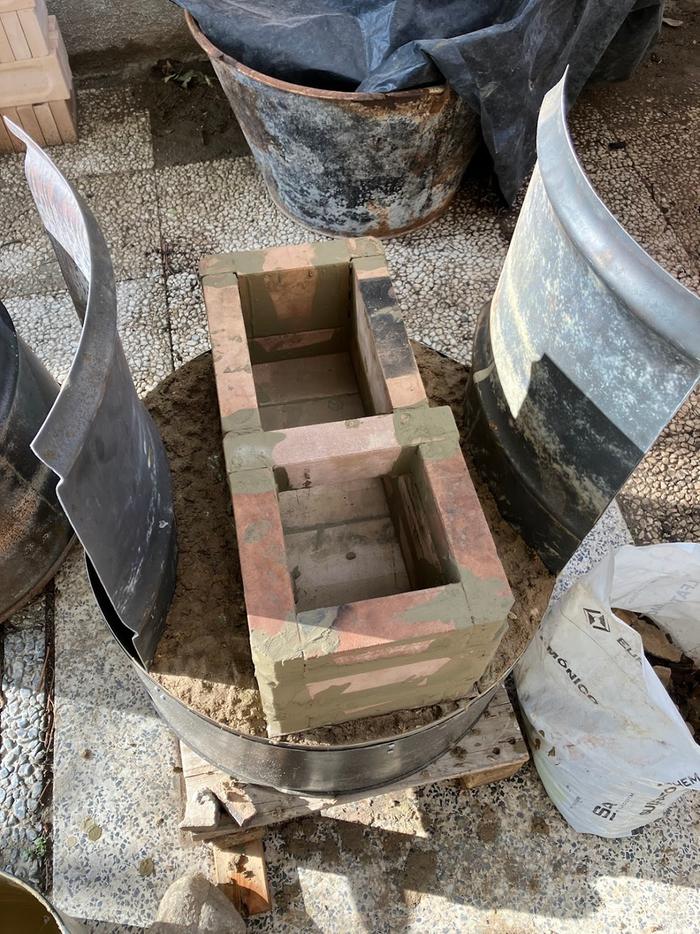
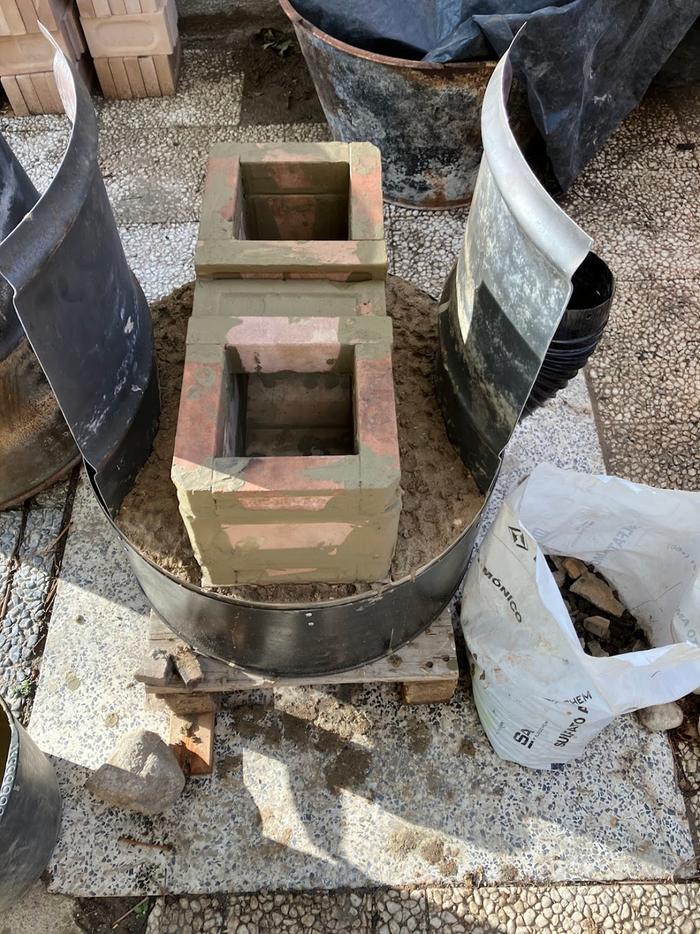
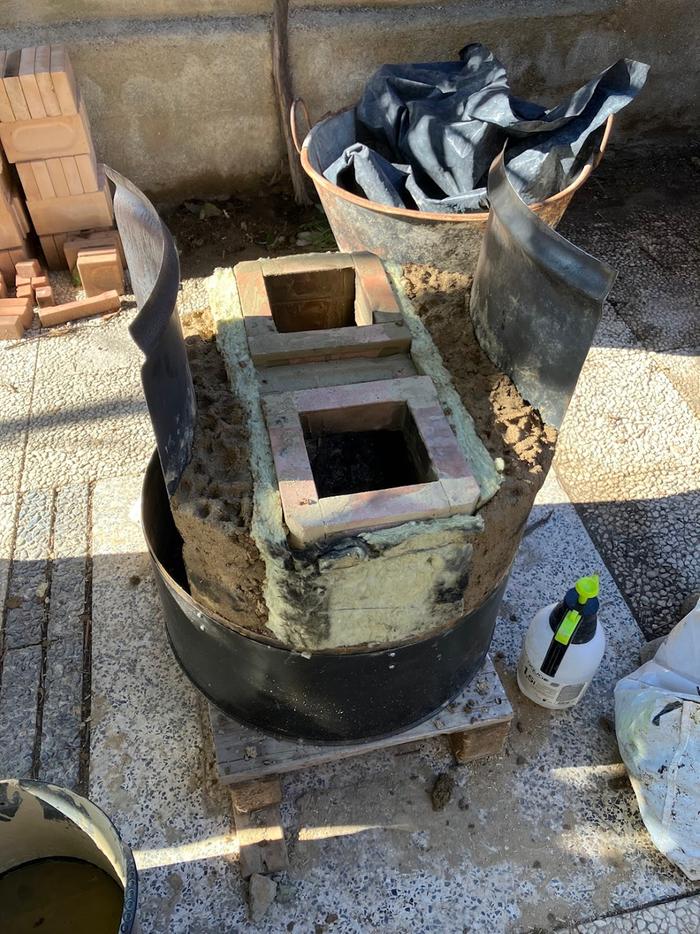
Thomas Rubio wrote:I noticed that your core support is cut directly from the barrel bottom.
Bens was cut from a lid and bolted into place. His is flexing, is yours?
Proudly presenting RocketMassHeaters.com
A good starting point to all RMH research
How Permies.com works
4
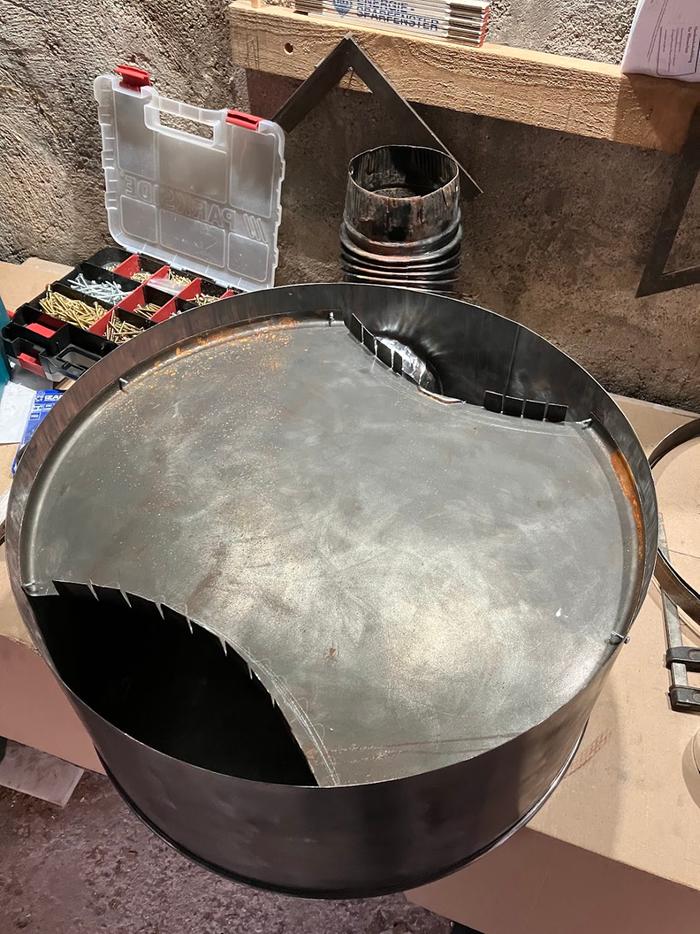
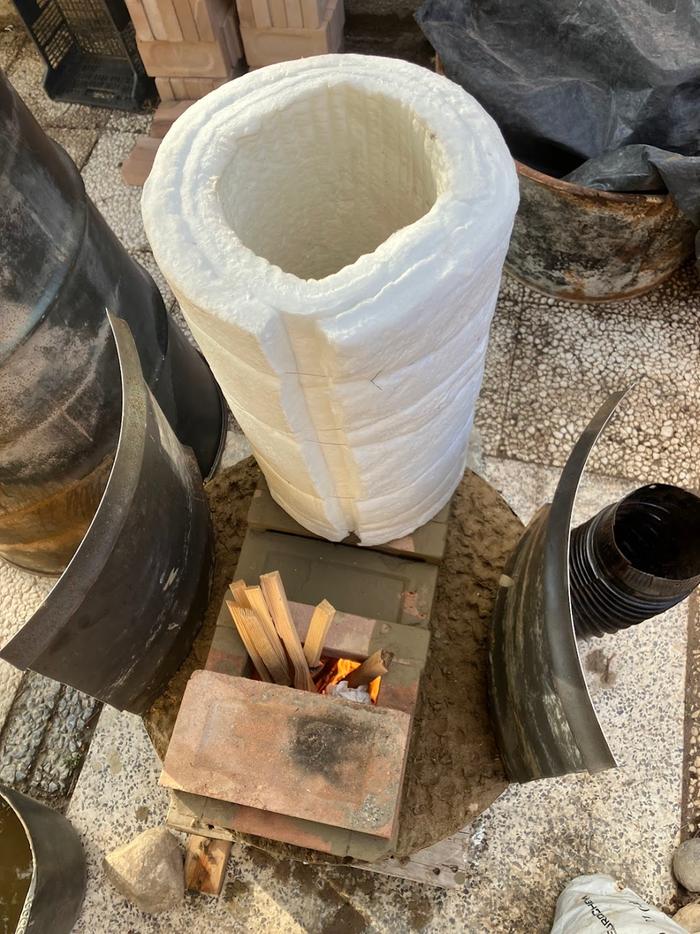
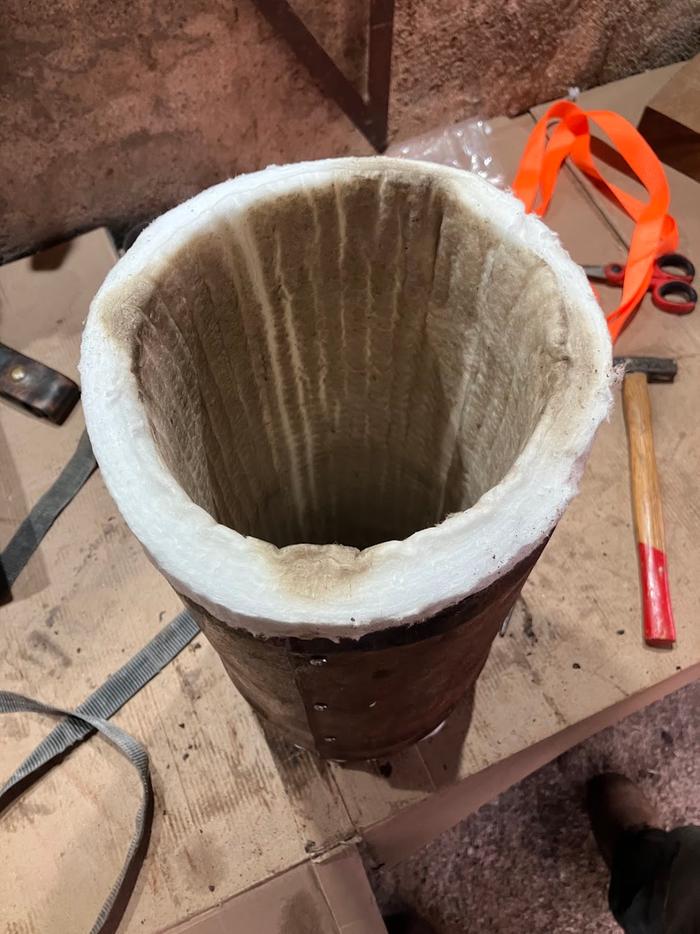
Chris McClellan wrote:The 5 minute riser with 1" ceramic wool compressed inside an 8" diameter piece of stovepipe inside the cob mass will be strong, easy to build around, and easy to fix later.
Proudly presenting RocketMassHeaters.com
A good starting point to all RMH research
How Permies.com works
5
Proudly presenting RocketMassHeaters.com
A good starting point to all RMH research
How Permies.com works
5
5
Proudly presenting RocketMassHeaters.com
A good starting point to all RMH research
How Permies.com works
8
For all your Montana Masonry Heater parts (also known as) Rocket Mass heater parts.
Visit me at
dragontechrmh.com Once you go brick you will never go back!
7
Benjamin Dinkel wrote:
Chris McClellan wrote:The 5 minute riser with 1" ceramic wool compressed inside an 8" diameter piece of stovepipe inside the cob mass will be strong, easy to build around, and easy to fix later.
I have another question about the riser. I just revisited the Risers E-Book. The rebar or outer stovepipe is for stability so the wool doesn't sag? When using a stovepipe, I would wrap the wool around my desired diameter stovepipe and then push the whole bundle inside a bigger one, then take out the interior diameter stove pipe?
You can follow my latest adventures at
https://www.unclemud.com
https://www.youtube.com/unclemud
https://permies.com/u/164246/Chris-McClellan
Buy my stuff at https://unclemud.com/store/
4
Proudly presenting RocketMassHeaters.com
A good starting point to all RMH research
How Permies.com works
8
For all your Montana Masonry Heater parts (also known as) Rocket Mass heater parts.
Visit me at
dragontechrmh.com Once you go brick you will never go back!
9
You can follow my latest adventures at
https://www.unclemud.com
https://www.youtube.com/unclemud
https://permies.com/u/164246/Chris-McClellan
Buy my stuff at https://unclemud.com/store/
8
For all your Montana Masonry Heater parts (also known as) Rocket Mass heater parts.
Visit me at
dragontechrmh.com Once you go brick you will never go back!
7
8
You can follow my latest adventures at
https://www.unclemud.com
https://www.youtube.com/unclemud
https://permies.com/u/164246/Chris-McClellan
Buy my stuff at https://unclemud.com/store/
8
Proudly presenting RocketMassHeaters.com
A good starting point to all RMH research
How Permies.com works
10

Proudly presenting RocketMassHeaters.com
A good starting point to all RMH research
How Permies.com works
7
9
For all your Montana Masonry Heater parts (also known as) Rocket Mass heater parts.
Visit me at
dragontechrmh.com Once you go brick you will never go back!
8
You can follow my latest adventures at
https://www.unclemud.com
https://www.youtube.com/unclemud
https://permies.com/u/164246/Chris-McClellan
Buy my stuff at https://unclemud.com/store/

| I agree. Here's the link: http://stoves2.com |