|

|
|
|
|

|

|

|

|

|
 5
5


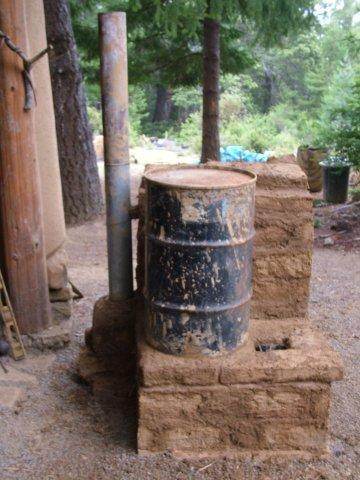
Build it yourself, make it small, occupy it.


For all your Montana Masonry Heater parts (also known as) Rocket Mass heater parts.
Visit me at
dragontechrmh.com Once you go brick you will never go back!
Frankutan
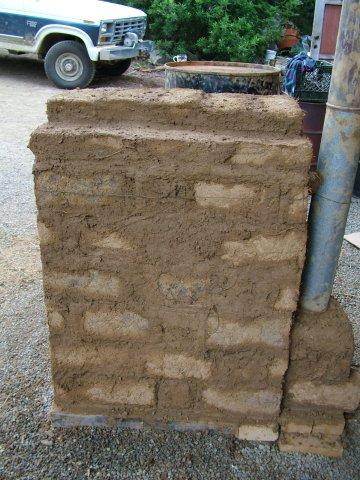
Frank Blaker wrote:Love the photos, thanks for sharing them. I live in the uk where cob buildings go back to the seventh century still partly stand. I do some cob repair work and one technique is to bury steel wire in channels cut under the surface of the cob. If your stove shrinks and cracks, do you intend to fill the cracks, leave them to open and close as heat dictates or fill and stitch across them? I love the idea of cob blocks to build a stove, particularly as you can corbel them. Did you think maybe you could build an arch or use a former left inside to burn away? Thanks again for sharing those photos, really interesting.
Build it yourself, make it small, occupy it.
Frankutan
Frank Blaker wrote:Hi,
I use metal straps to reinforce loose laid bricks in kiln building, where thermal ranges cause a lot of movement in the structure. I wondered if wire to reinforce at hot spot to colder spot transition points would ease the possible problems of cracks. I totaly take the point about condensation, maybe warm cob can assimilate it, transfer it to the surface and dry it out through evaporation. Kiko Denzer advises that a clay oven can do this when moisture from food being cooked can threaten to soften an adobe oven roof. I saw so many possibilities for smooth rounded cob shapes in your idea that left me thinking, any arch other than a catenary arch puts outward pressure on its supporting walls, so some sort of bracing pulling the walls inwards can be needed in a minimal structure. I also got to reading ianto Evans book where he says the square corners help promote turbulance, aiding the mix of oxygen and hot unburnt gas. This seems to say the blocky, corbelled roof is better than rounded or arched shapes.
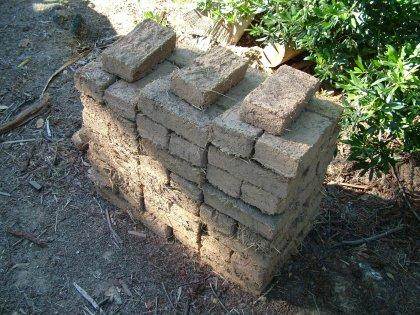
I love the idea of cob blocks as I find I can think designs through when I can play in 3d.
Would you use clay and sawdust or perlite mixes for some of the blocks? What would you think of blocks with a layer of this mix say 2 inches thick added at the block making stage?
Build it yourself, make it small, occupy it.
Frankutan
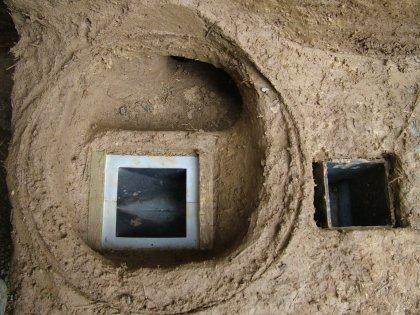
Frank Blaker wrote:Thanks for the thoughts. How did the vermiculite board fare? It looks like a good riser.
Regards
Frank
Build it yourself, make it small, occupy it.

|
And then we all jump out and yell "surprise! we got you this tiny ad!"
Escape to gardens and natural buildings (for free-ish) in Montana
https://wheaton-labs.com/bootcamp
|