Hi. I am new here, and want to share the project I and a friend has going on. It is primarily experimental but intended to be used to heat a specific indoor area in the future. The build is not complete, but complete enough for testing.
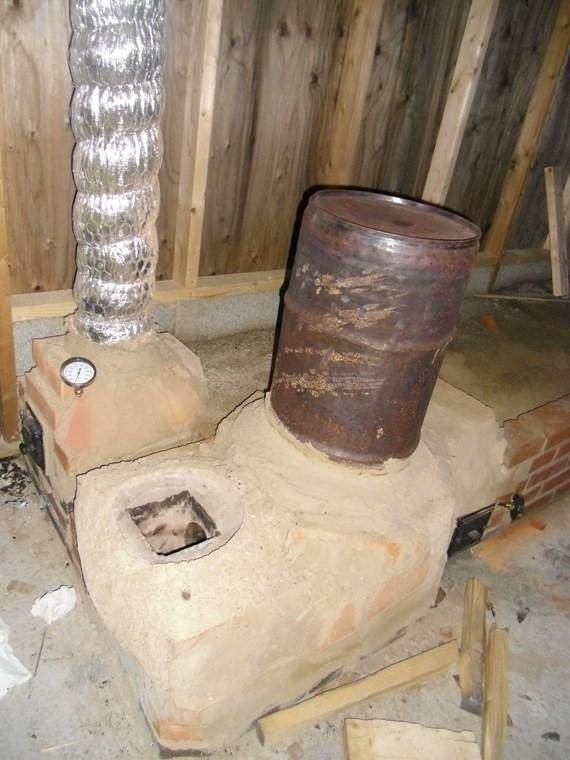
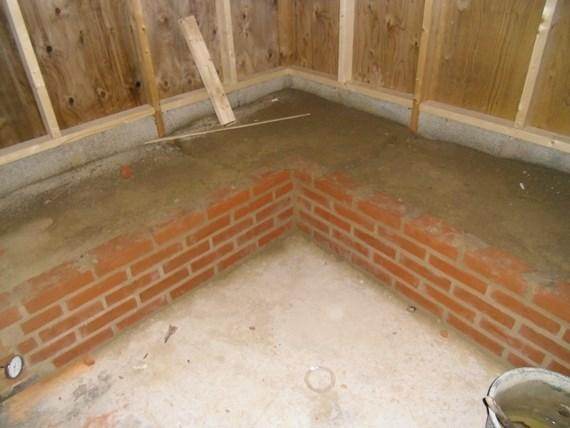
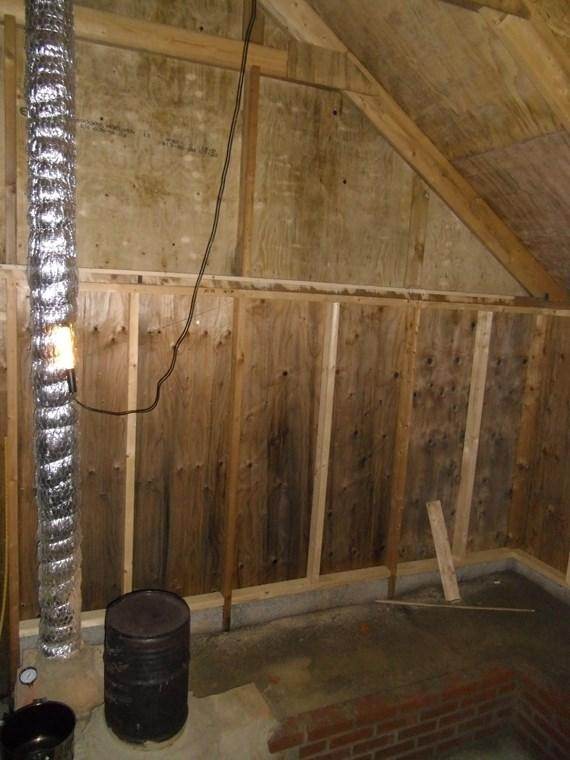
The material we built it with is as follows: Common bricks for the outer shell , vermiculite as insulation, fireproof brick for the feed/fire chamber, stainless steel tube for burn tunnel and inside of heat riser, vermiculite/clay mixture forr heat riser insulation with refractory mortar as a rounded top layer. Stainless steel tube the first two meters in the actual heat mass, the rest is galvanized duct tubing. The actual heat mass and mortar for the bricks consists of clay from the nearby ground, sand and water apart from several big rocks to reduce the amount of mixing needed. The end of the duct piping concists of insulated duct pipe going 4 meters up and through the wall.
We still have about 10 cm of heat mass we still need to put on the top of the heat bed and the final cosmetic plastering and so forth is still to be done. That's where we are at now.
While we built the construction we put the ducts together and insulated the with mineral wool just to try it out. It worked pretty good and I remember we could, after some trixing and smoking-in incidents, have the fire going for hours and hours.
The session we had after that we put in the heat storage material around the duct pipes, waited for a couple of months for it to dry a bit before we decided to test it out thoroughly. We have a construction with an access door used both for cleaning/inspection and priming. After priming with some wooden sticks and paper there we get the mass heater going pretty good. It's not doing any intense rocket sounds o anything but burns calmly and stable. But, after 20-30 minutes approximately it starts to smoke in. There is no way of getting the stove to burn in the right direction again without priming again in the priming chamber.
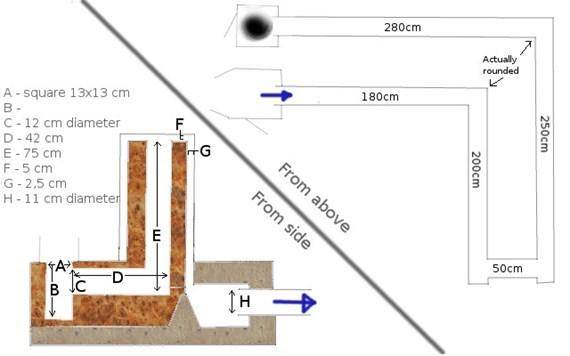
I really would like some experienced RMH bulders ideas of why that is and how it might be fixed. Below follows a diagram with measurements and some photos.
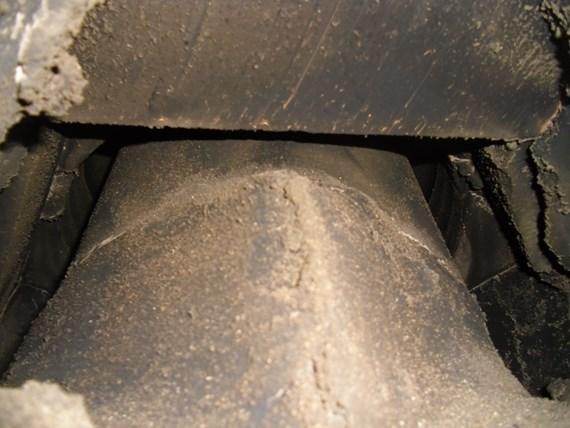
I held the camera in the chamber after the heat riser pointing back. what you see is the lower part of the heat riser and the inside of the barrel.


.png)


 1
1