

|

|
|
|
|
-B.png)
|

|

|

|

|


Success has a Thousand Fathers , Failure is an Orphan
LOOK AT THE " SIMILAR THREADS " BELOW !
Steve Harvey wrote:
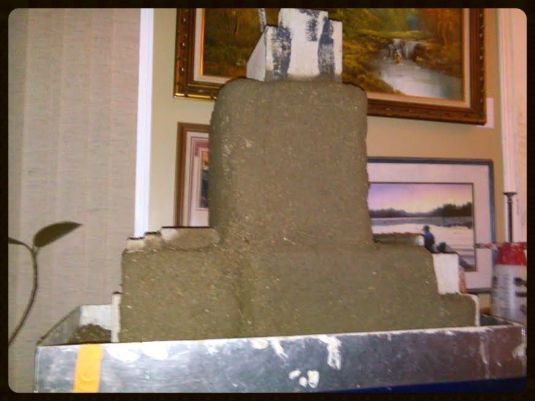
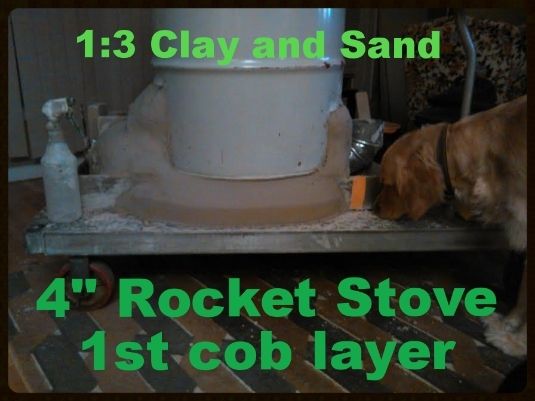
Why am I using Cat Litter?
Because it is cheap and I wanted to see if it would hold up as a refractory insulation. There was very little information on the internet on using this type of clay, and I wanted to see for myself if this material could do the job. Compared to fireclay the cost difference is huge. Not to mention it has proven odor control, and stays fresh 4 life.
![[Thumbnail for 20140813_175005.jpg]](/t/43782/a/25320/20140813_175005.jpg "Filename: 20140813_175005.jpg
Description:")
Daves Hobbit Home Build progress
@undergroundandlovinit


God of procrastination https://www.youtube.com/watch?v=q1EoT9sedqY
Glenn Herbert wrote:He will apparently lose his home insurance if he doesn't have someone officially certified build his heater... good racket.
Steve Harvey wrote:
Glenn Herbert wrote:He will apparently lose his home insurance if he doesn't have someone officially certified build his heater... good racket.
Ontario is very strict with wood burning fireplaces and a lot of insurance companies do not want to insure houses that have wood stoves.
Daves Hobbit Home Build progress
@undergroundandlovinit
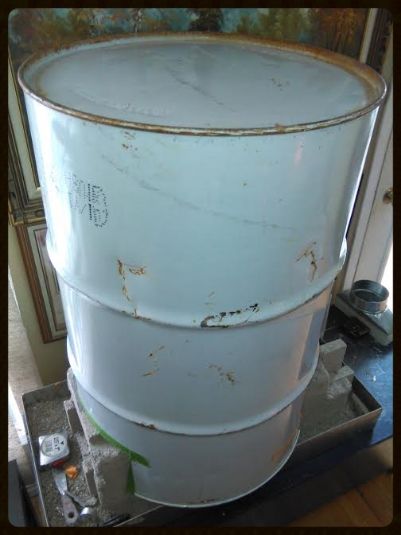
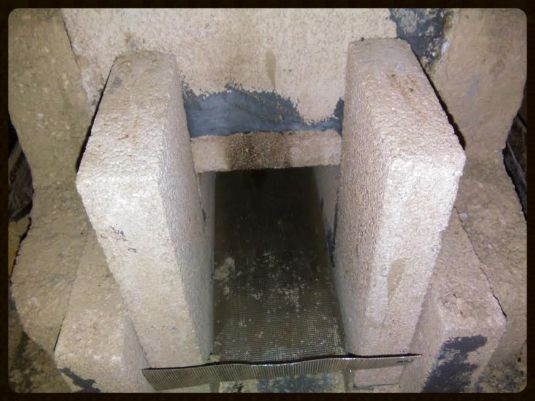
Steve Harvey wrote:Hello all,
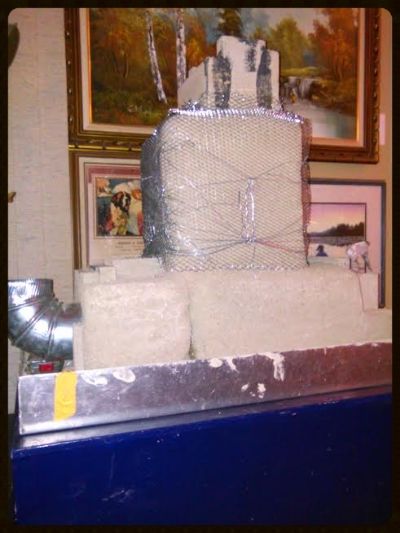
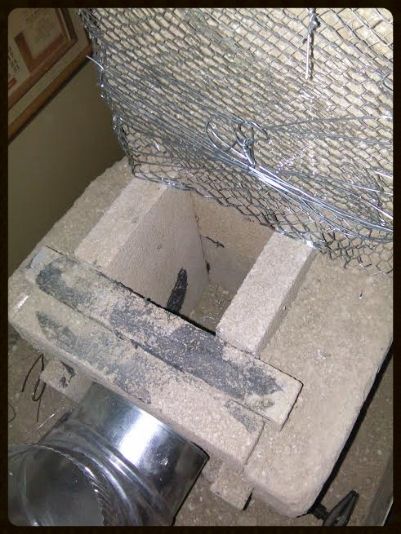
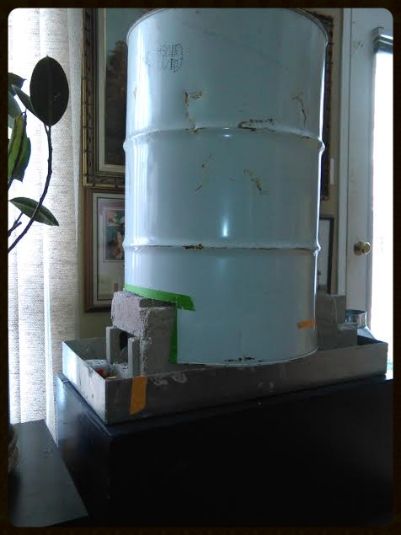
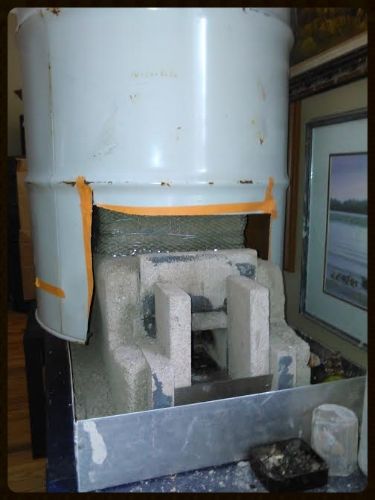
Exhaust comes out of the barrel here:
Roy Hinkley wrote:
Steve Harvey wrote:Hello all,
Exhaust comes out of the barrel here:
Anyone else think this is too small?
Glenn Herbert wrote:Depends on how far from the wire mesh the external barrel rim sits. If it is very near or on the outer brick, the fact that the airflow will be entering the channel straight on instead of turning to enter may make it okay. I do think it would be better if the upper opening was wider and funnel-shaped.
 1
1

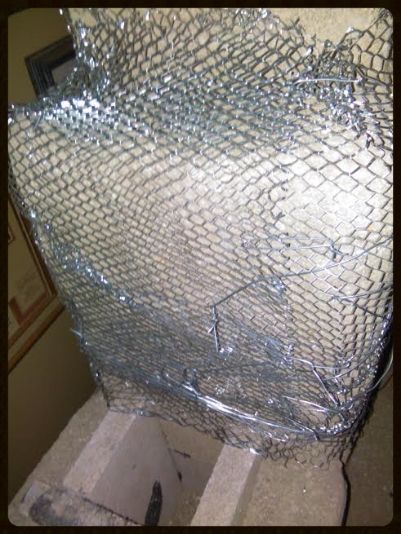
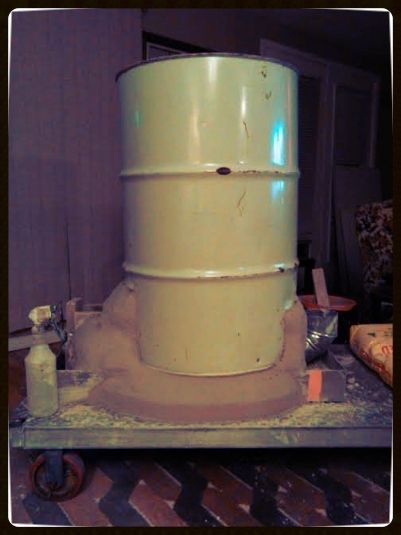
Erik Weaver wrote:How close is that barrel going to be to the wall when finished? In the picture it looks way, way to close for my comfort.
Glenn Herbert wrote:The closest you are likely to find:
http://www.ernieanderica.info/
I haven't heard of any licensed engineers certifying a RMH design, though one certainly could. There are always individual factors in any installation, so it is unlikely you could take one and precisely duplicate it.
http://www.ernieanderica.info/rocketmassheaterpermitting
1

Steve Harvey wrote:
Roy Hinkley wrote:
Steve Harvey wrote:Hello all,
Exhaust comes out of the barrel here:
Anyone else think this is too small?
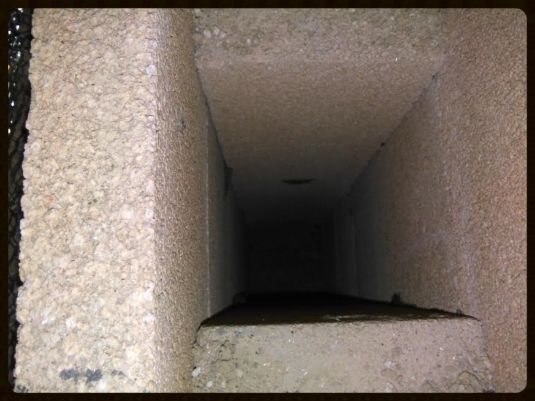
It is 4x4" because it is a 4" rocket stove.
Daves Hobbit Home Build progress
@undergroundandlovinit
Steve Harvey wrote:
For getting rid of the paint on my barrel, I can not burn it off because of the fumes that would go with it, and close neighbors. how hard is it to get the paint off with a wire wheel and grinder? Or could I use paint thinner for the paint inside the barrel?
Daves Hobbit Home Build progress
@undergroundandlovinit
positively optimistic 🙂 https://www.youtube.com/@613Builds
John McDoodle wrote:I'm also in ontario, and in development of my first rocket. My brother came down to visit around christmas, he's a home builder, framer, contractor. I was talking about my rocket and he mentioned that his friend is an engineer, and if he signs my design, I can legally build one indoors and apparently I could even tell the building inspector to go fly a kite, if I had the engineer approval.
I am still designing and testing and developing, and I still have many hours of burn tests and perfecting to do yet. But maybe you might find some of this info useful. I don't plan on being ready for residential installations for a while yet, but its good info to know, and good to have those connections if need be.
Steve Harvey wrote:I have drilled a hole about 4 inches in diameter, on the top of the barrel, kind of like the one I saw in a video at the Wheaton labs, which has an exhaust directly on top of the barrel.
regards, Peter
1
Rocket Mag evolution timeline: http://www.permies.com/t/52316/rocket-stoves/Rocket-stove-heats-water-pics
Rocket Mag Thread: http://www.permies.com/t/54074/rocket-stoves/Rocket-Mag-heater-Rocket-Mag
Peter van den Berg wrote:
Steve Harvey wrote:I have drilled a hole about 4 inches in diameter, on the top of the barrel, kind of like the one I saw in a video at the Wheaton labs, which has an exhaust directly on top of the barrel.
Sorry to contradict you, but that particular barrel has a chimney pipe inside reaching down almost to the bottom of the barrel. So in the video it isn't just a hole in the lid of the barrel which vents to the outside. The sides of the barrel did get hot as well because of that low exhaust position.
F Styles wrote:are there not local brick and mortar, brick and mortar stores in canada?
saving money on fire clay by buying cat liter? although very interesting and i will follow to see how this works i must say fire clay should be able to be found for $8 to $15 for a 50lb bag locally and if you really have no local sources that sucks.
you have construction skills and do make a handsome little pocket rocket. i think the loss in draw when you put the bell on is from the lack of length and insulation of your smoke stack. increase that a bit and you may find some more draw.
dont get me started on natural freedom, regulations, and getting permissions from another man. ugh.

| I agree. Here's the link: http://stoves2.com |


