

|

|
|
|
|

|

|

|

|

|
 15
15


Idle dreamer
3


"Instead of Pay It Forward I prefer Plant It Forward" ~Howard Story / "God has cared for these trees, saved them from drought, disease, avalanches, and a thousand tempests and floods. But he cannot save them from fools." ~John Muir
My Project Page
"Where will you drive your own picket stake? Where will you choose to make your stand? Give me a threshold, a specific point at which you will finally stop running, at which you will finally fight back." (Derrick Jensen)
2


 2
2


 2
2


 2
2


chad duncan wrote:What did you use to seal the floats? I have often considered building a floating home to put on my irrigation pond but the construction and long term prospects of the floats has always stopped me.
Glenn Darman wrote:What part of Oz are you at James.Nice project by the way.


James victor wrote:
It just occured to me Chad , if the home is to be placed on a pond . I assume its not a boat as such , so no motor needed to constantly move it.
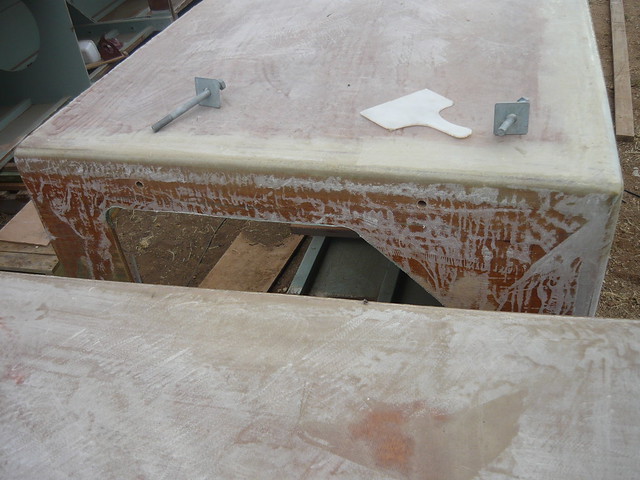
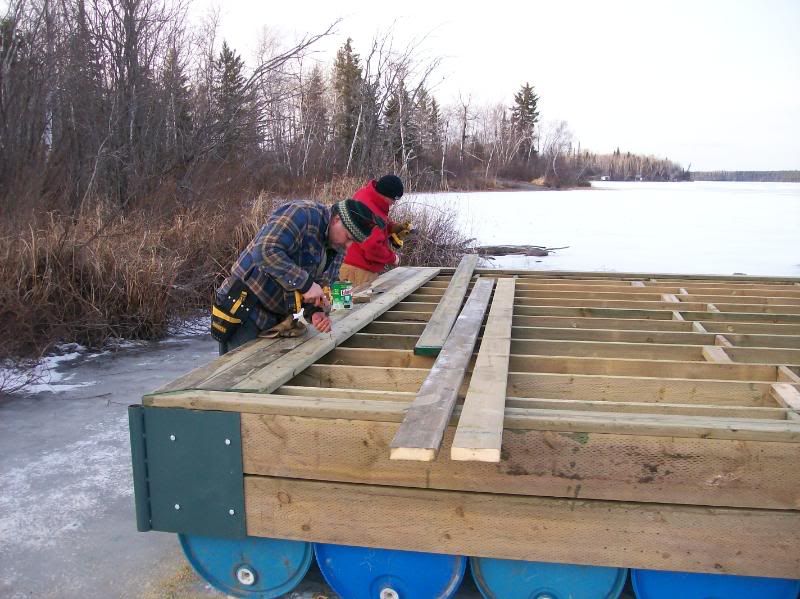
I think you could use floats from plastic drums contained in a wooden or welded steel frame.
"Where will you drive your own picket stake? Where will you choose to make your stand? Give me a threshold, a specific point at which you will finally stop running, at which you will finally fight back." (Derrick Jensen)
chad duncan wrote:
I'll have to go back and reconsider that sizing. Or maybe build three more and stick them together. Thank you for the link and the pontoon tips, they have been very enlightening.
Devin Lavign wrote:Loving the details as this is coming together. This is a great floating tiny house build. And really wonderful your sharing the building of it with us.
Of course the real excitement is when you get it in the water and start living in it.
Glenn Darman wrote:James is that a plimsole (SP?) line in that bit of art work.?
You'll be hauling wool bails before ya know it.LOL.


 1
1


 Now maybe you could use the wood burning stove to help with the hot water situation in the other thread.


 1
1


| I agree. Here's the link: http://stoves2.com |


