
• Post Reply Bookmark Topic Watch Topic
  • New Topic
permaculture forums growies critters building homesteading energy monies kitchen purity ungarbage community wilderness fiber arts art permaculture artisans regional education skip experiences global resources cider press projects digital market permies.com pie forums private forums all forums
this forum made possible by our volunteer staff, including ...
master stewards:
  • Carla Burke
  • Anne Miller
  • Nancy Reading
  • John F Dean
  • r ransom
  • paul wheaton
  • Timothy Norton
stewards:
  • Jay Angler
  • Pearl Sutton
  • Andrés Bernal
master gardeners:
  • Christopher Weeks
gardeners:
  • M Ljin
  • Thekla McDaniels
  • May Lotito

Matt Walker continental stove build

 
Rocket Scientist
Posts: 415
173
  • Likes 8
  • Mark post as helpful
  • send pies
    Number of slices to send:
    Optional 'thank-you' note:
  • Quote
  • Report post to moderator
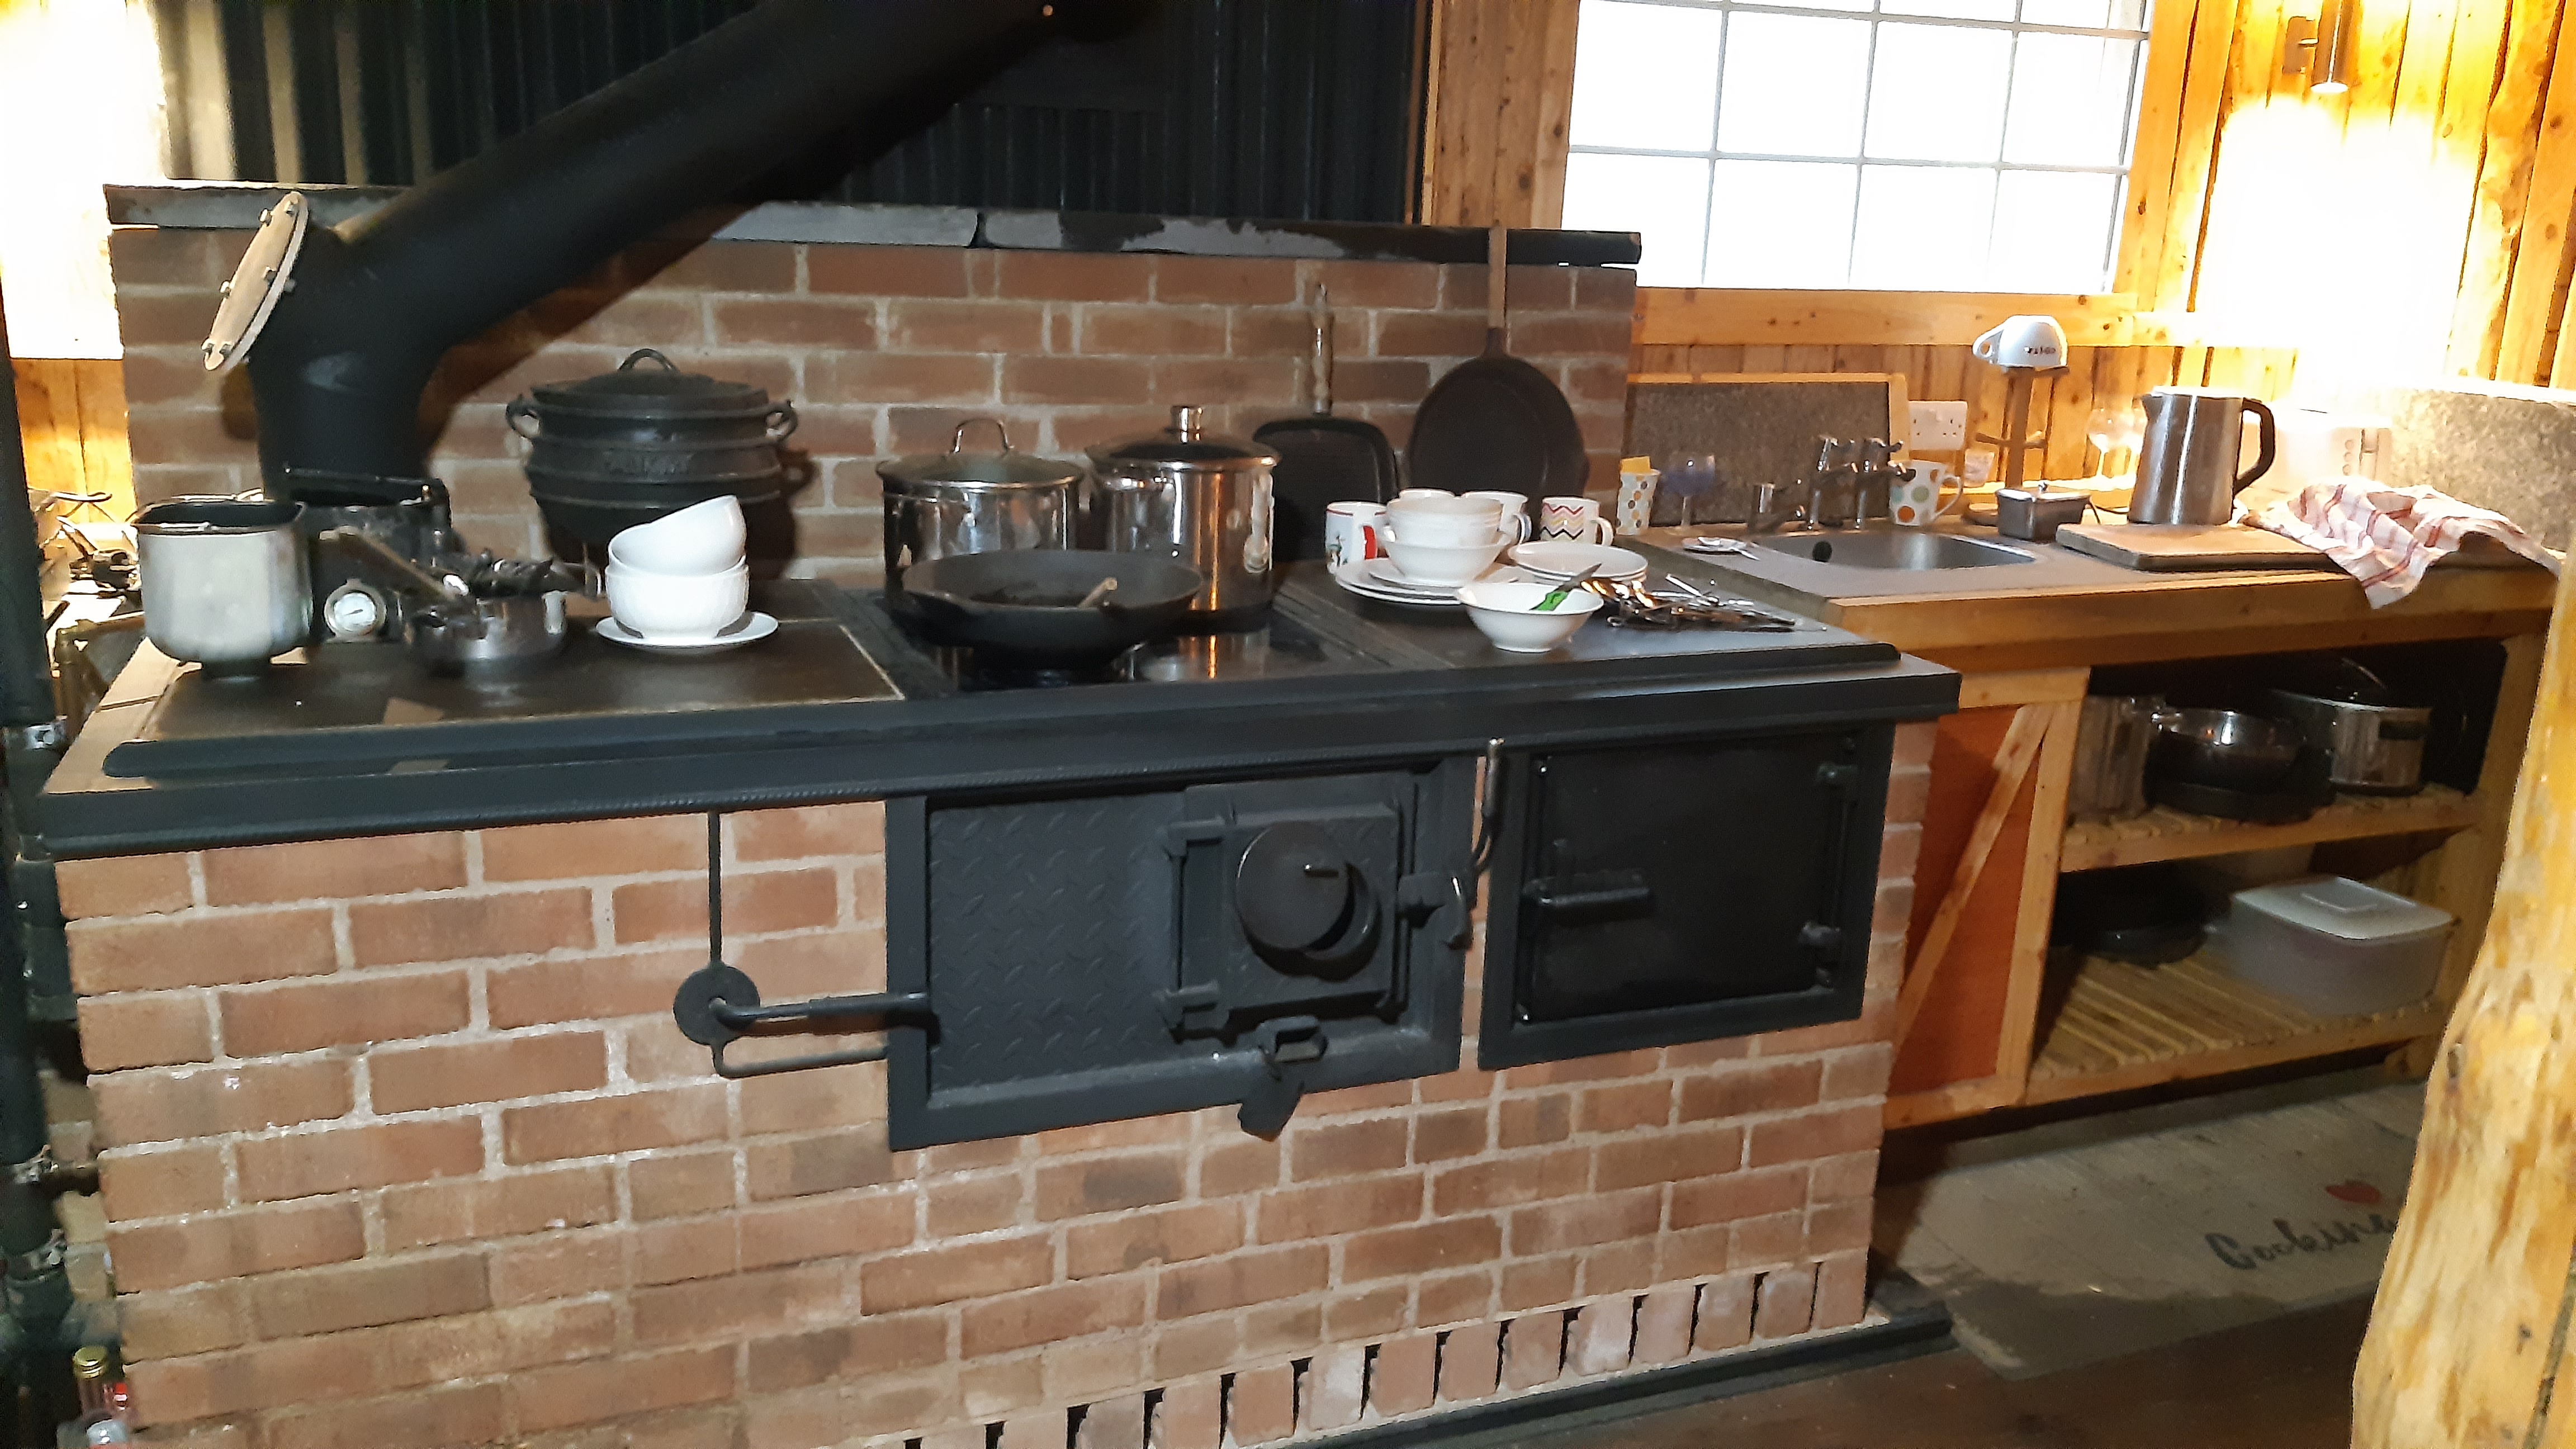
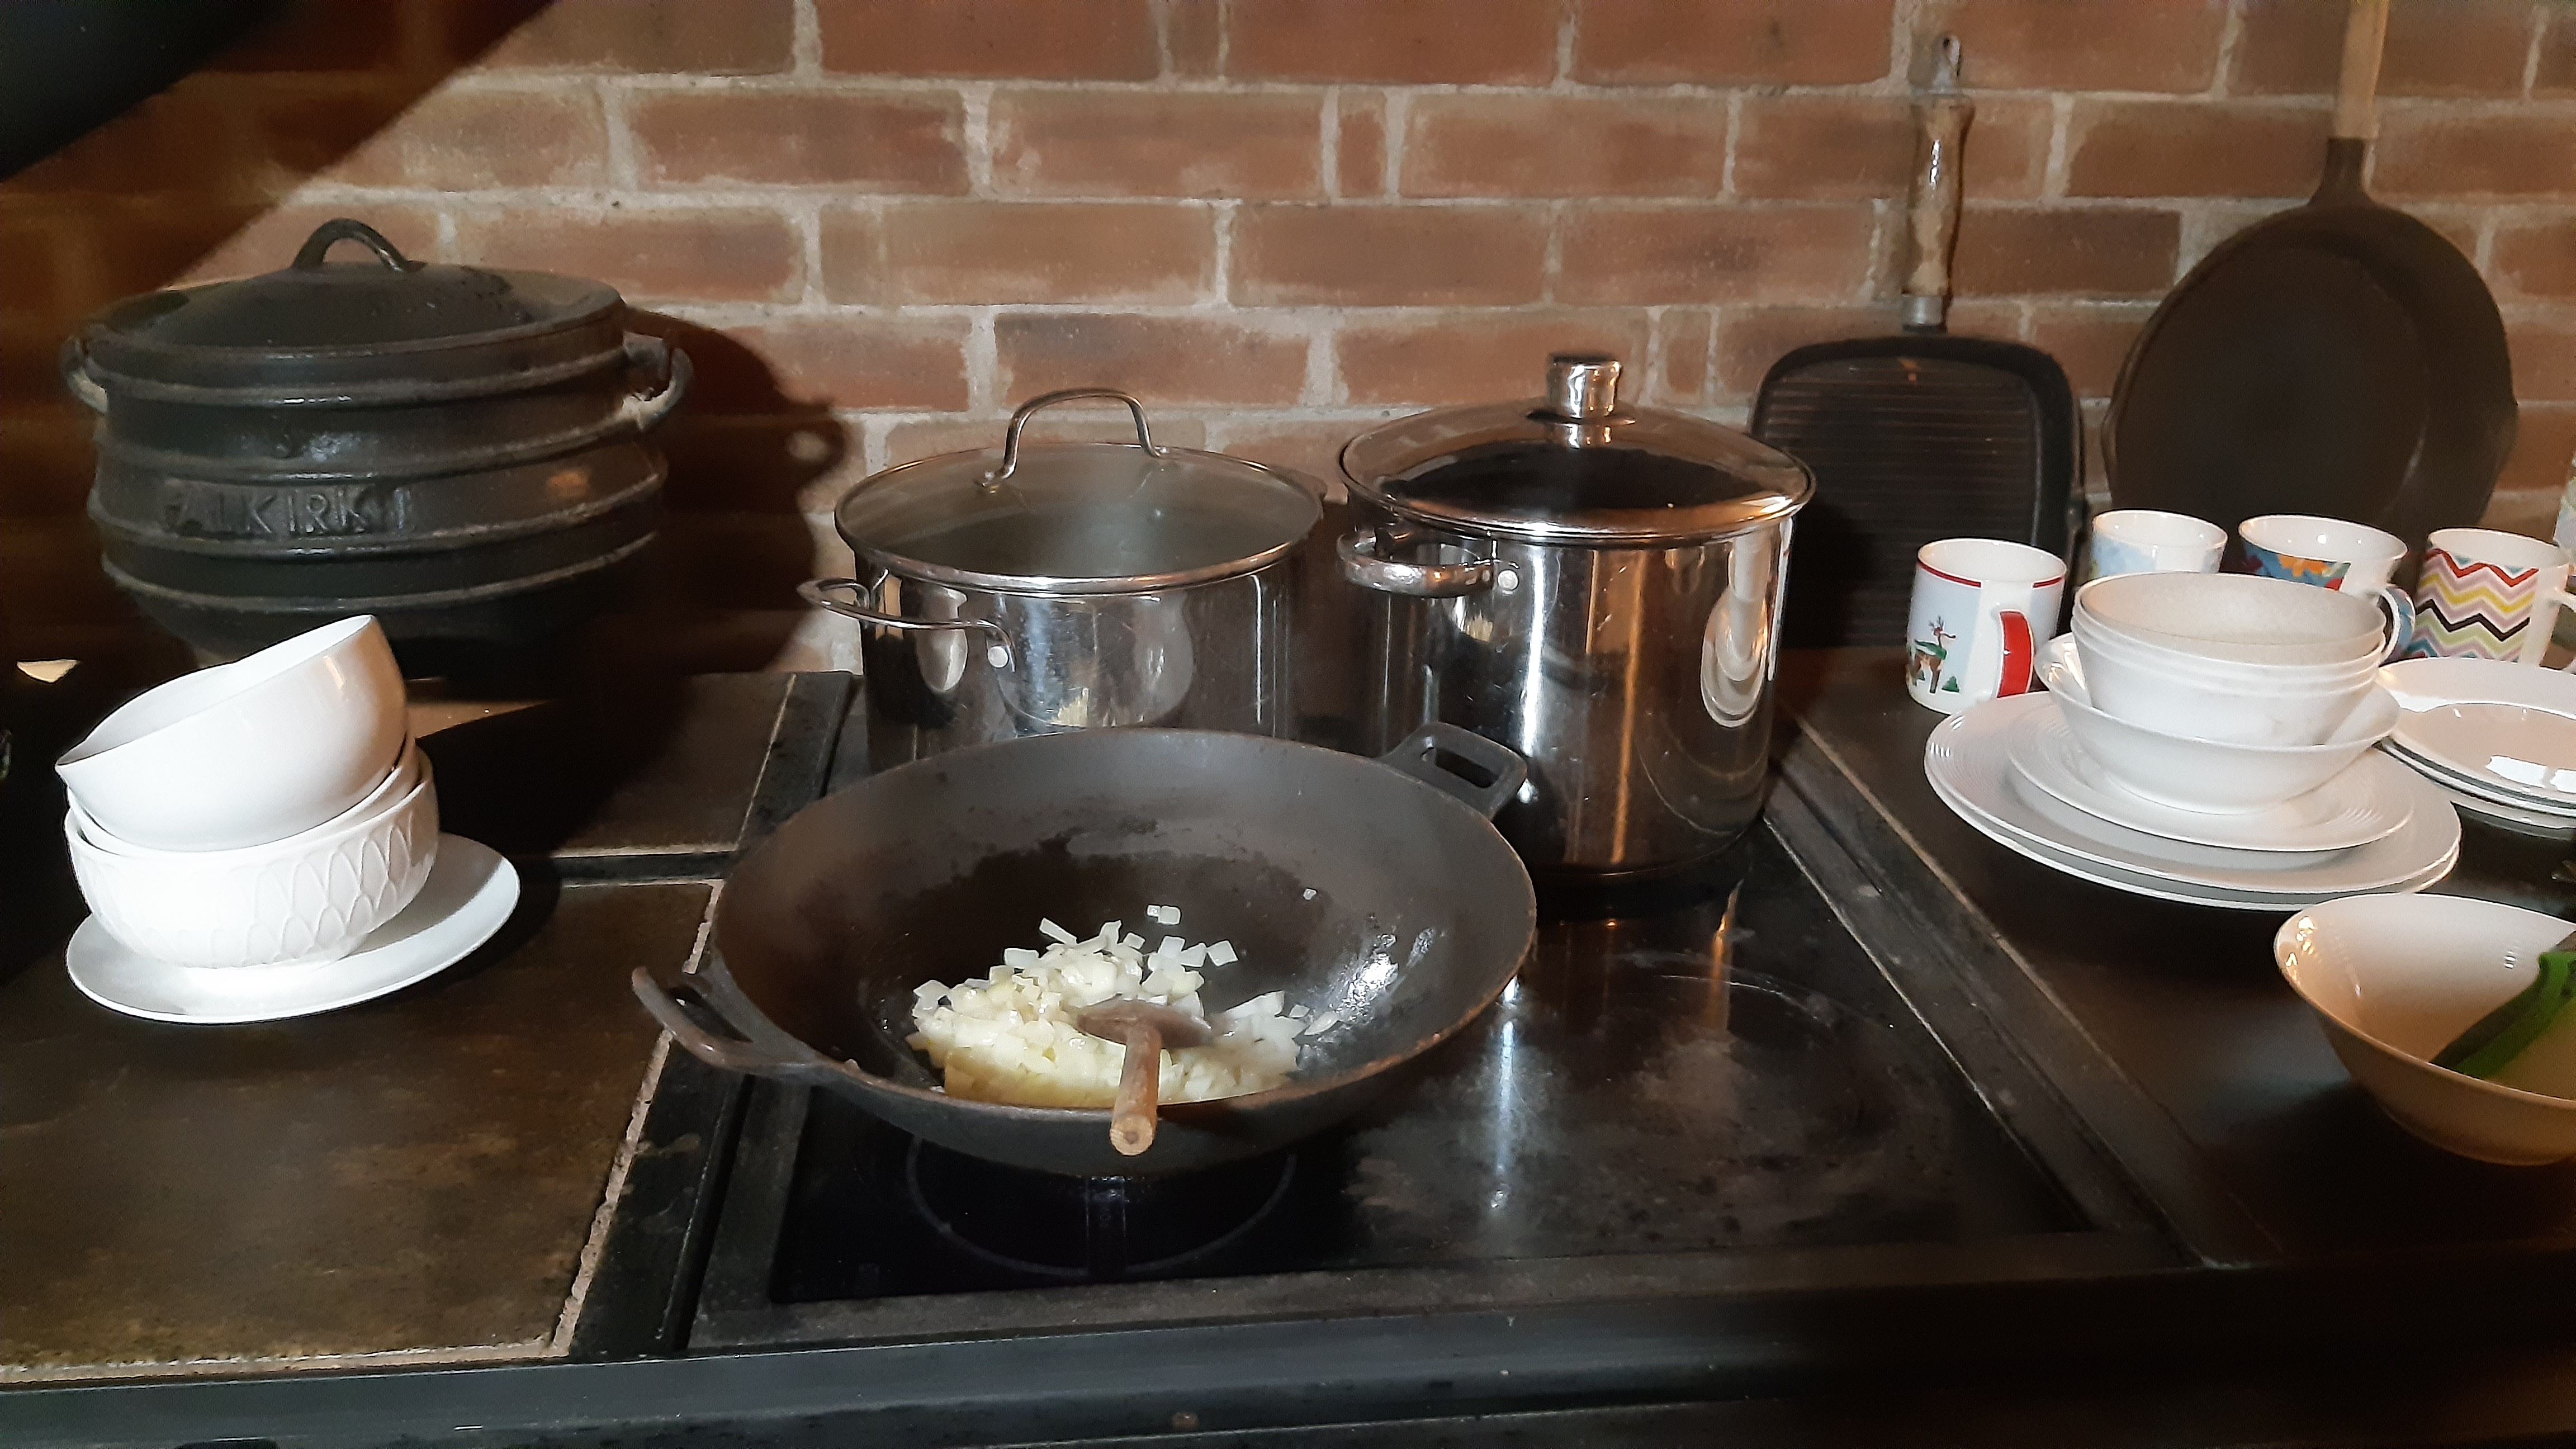
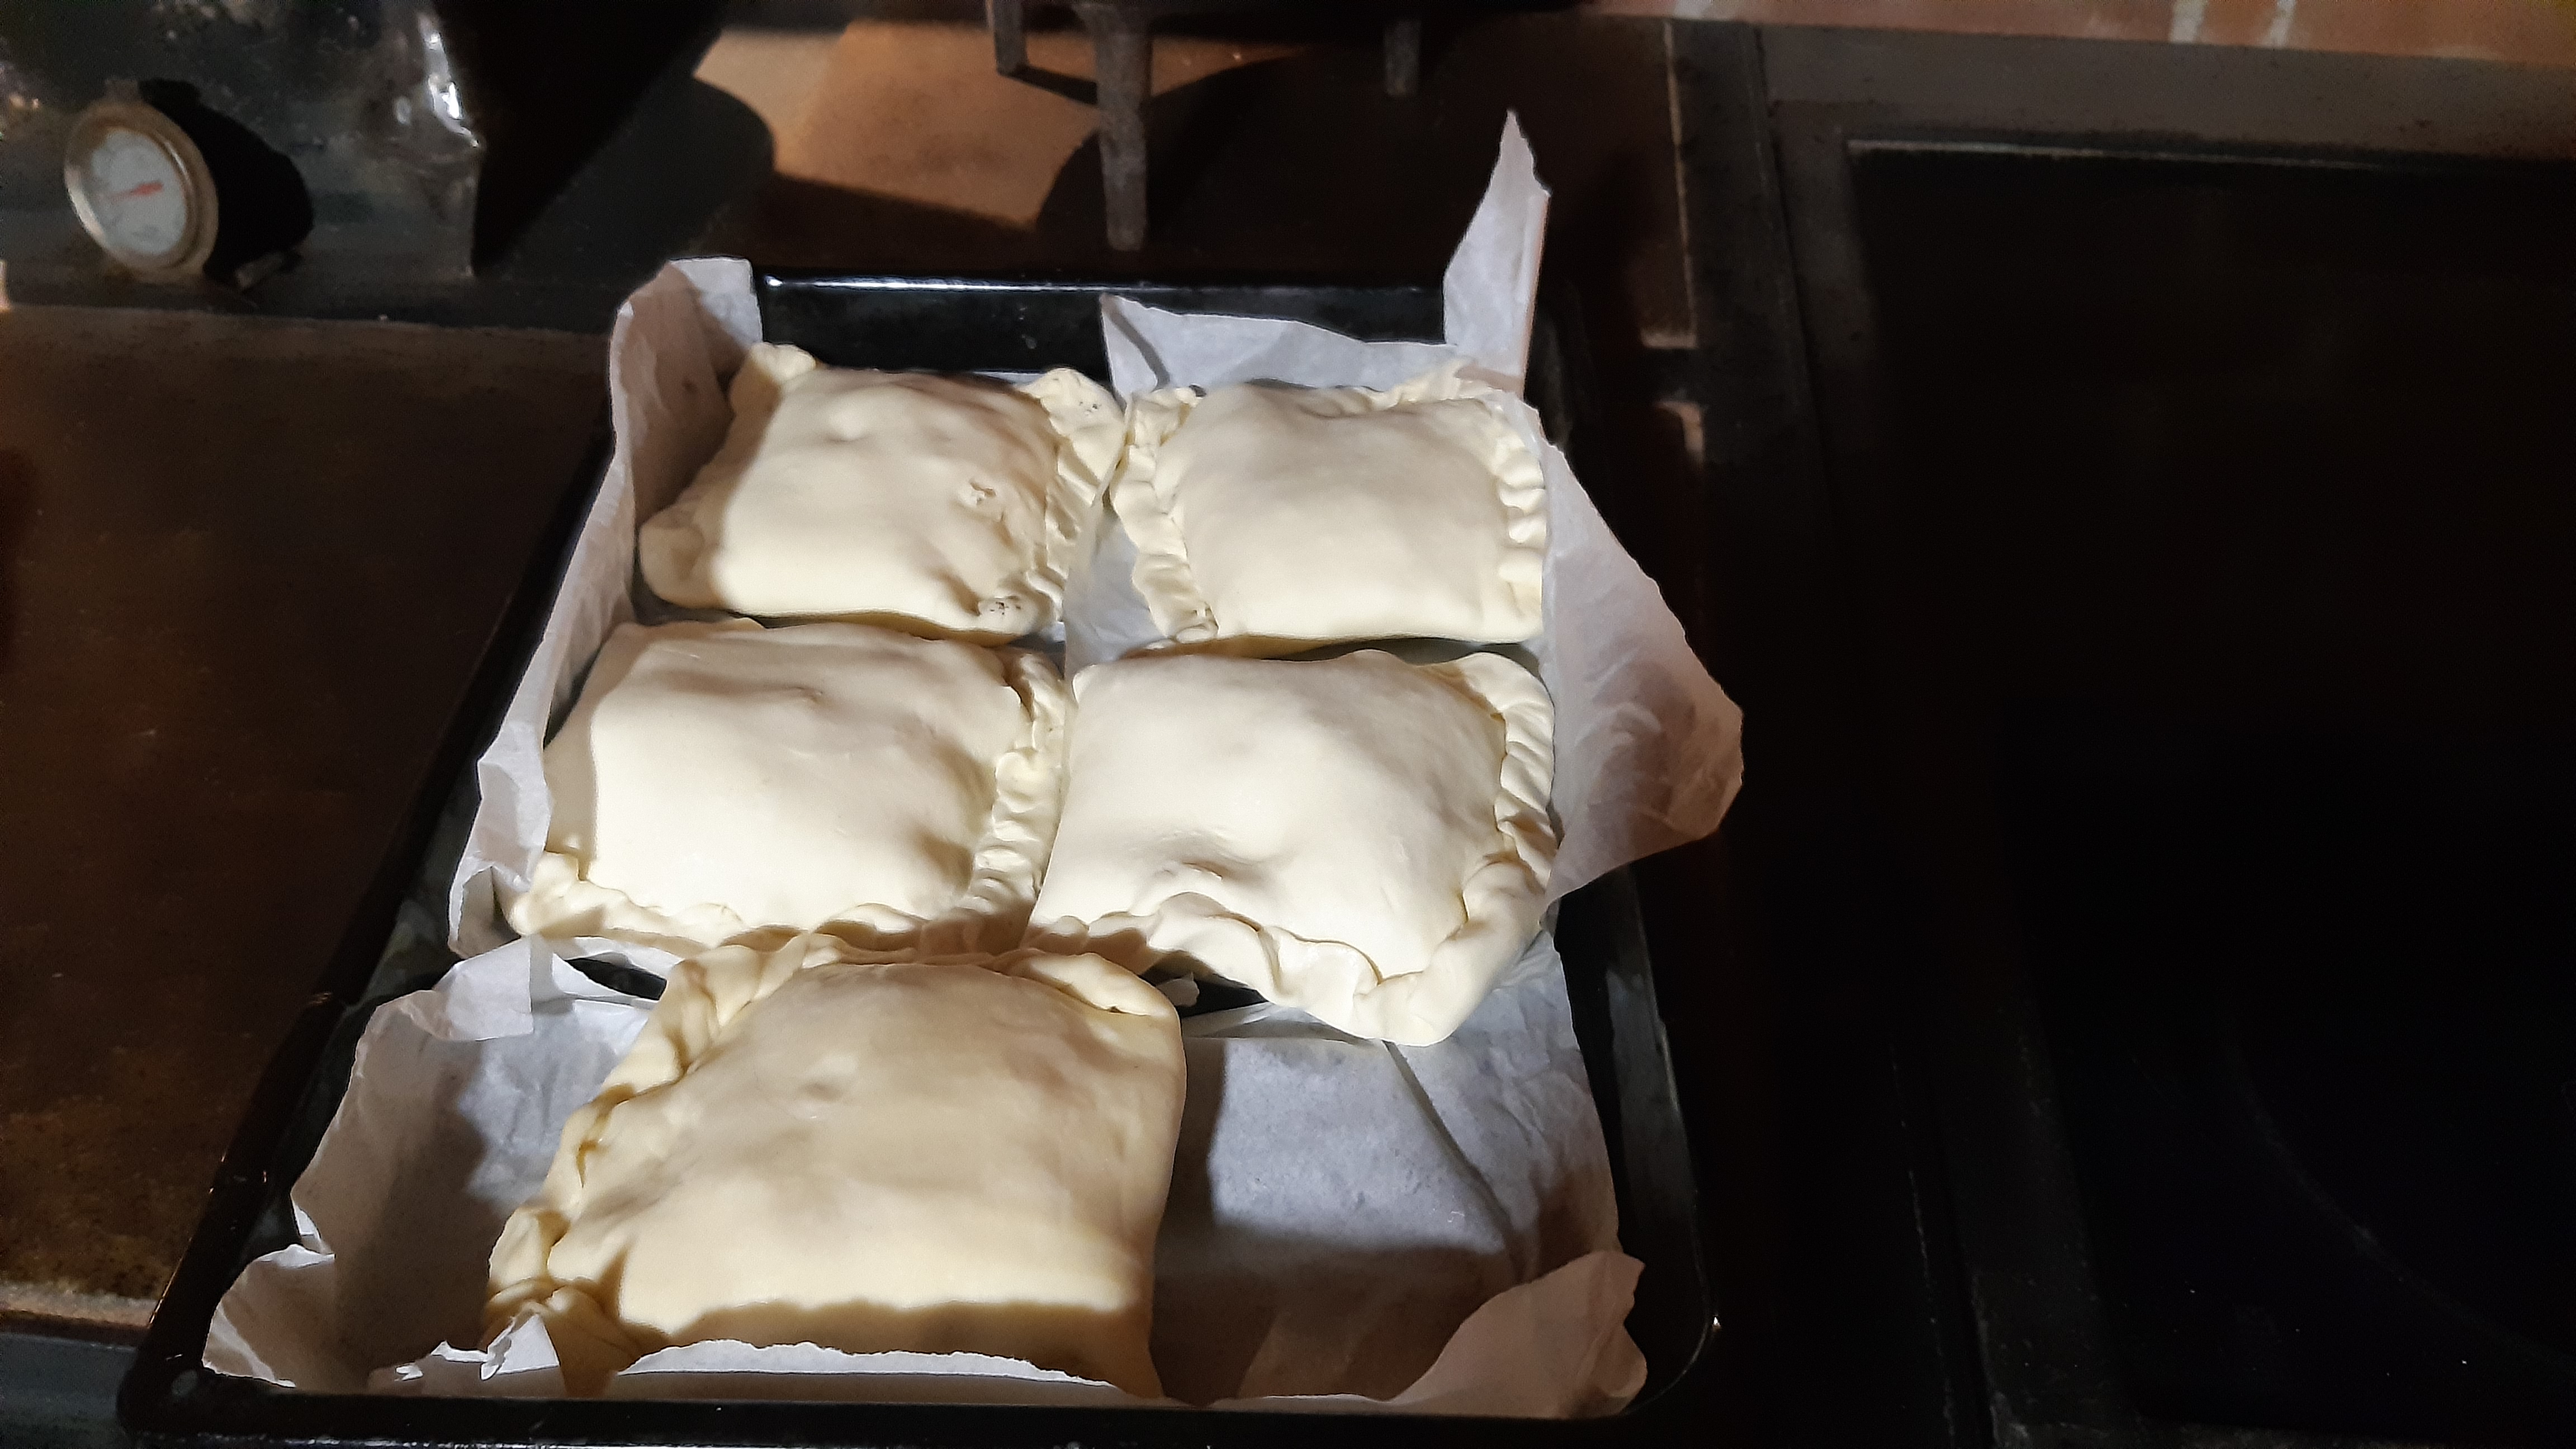
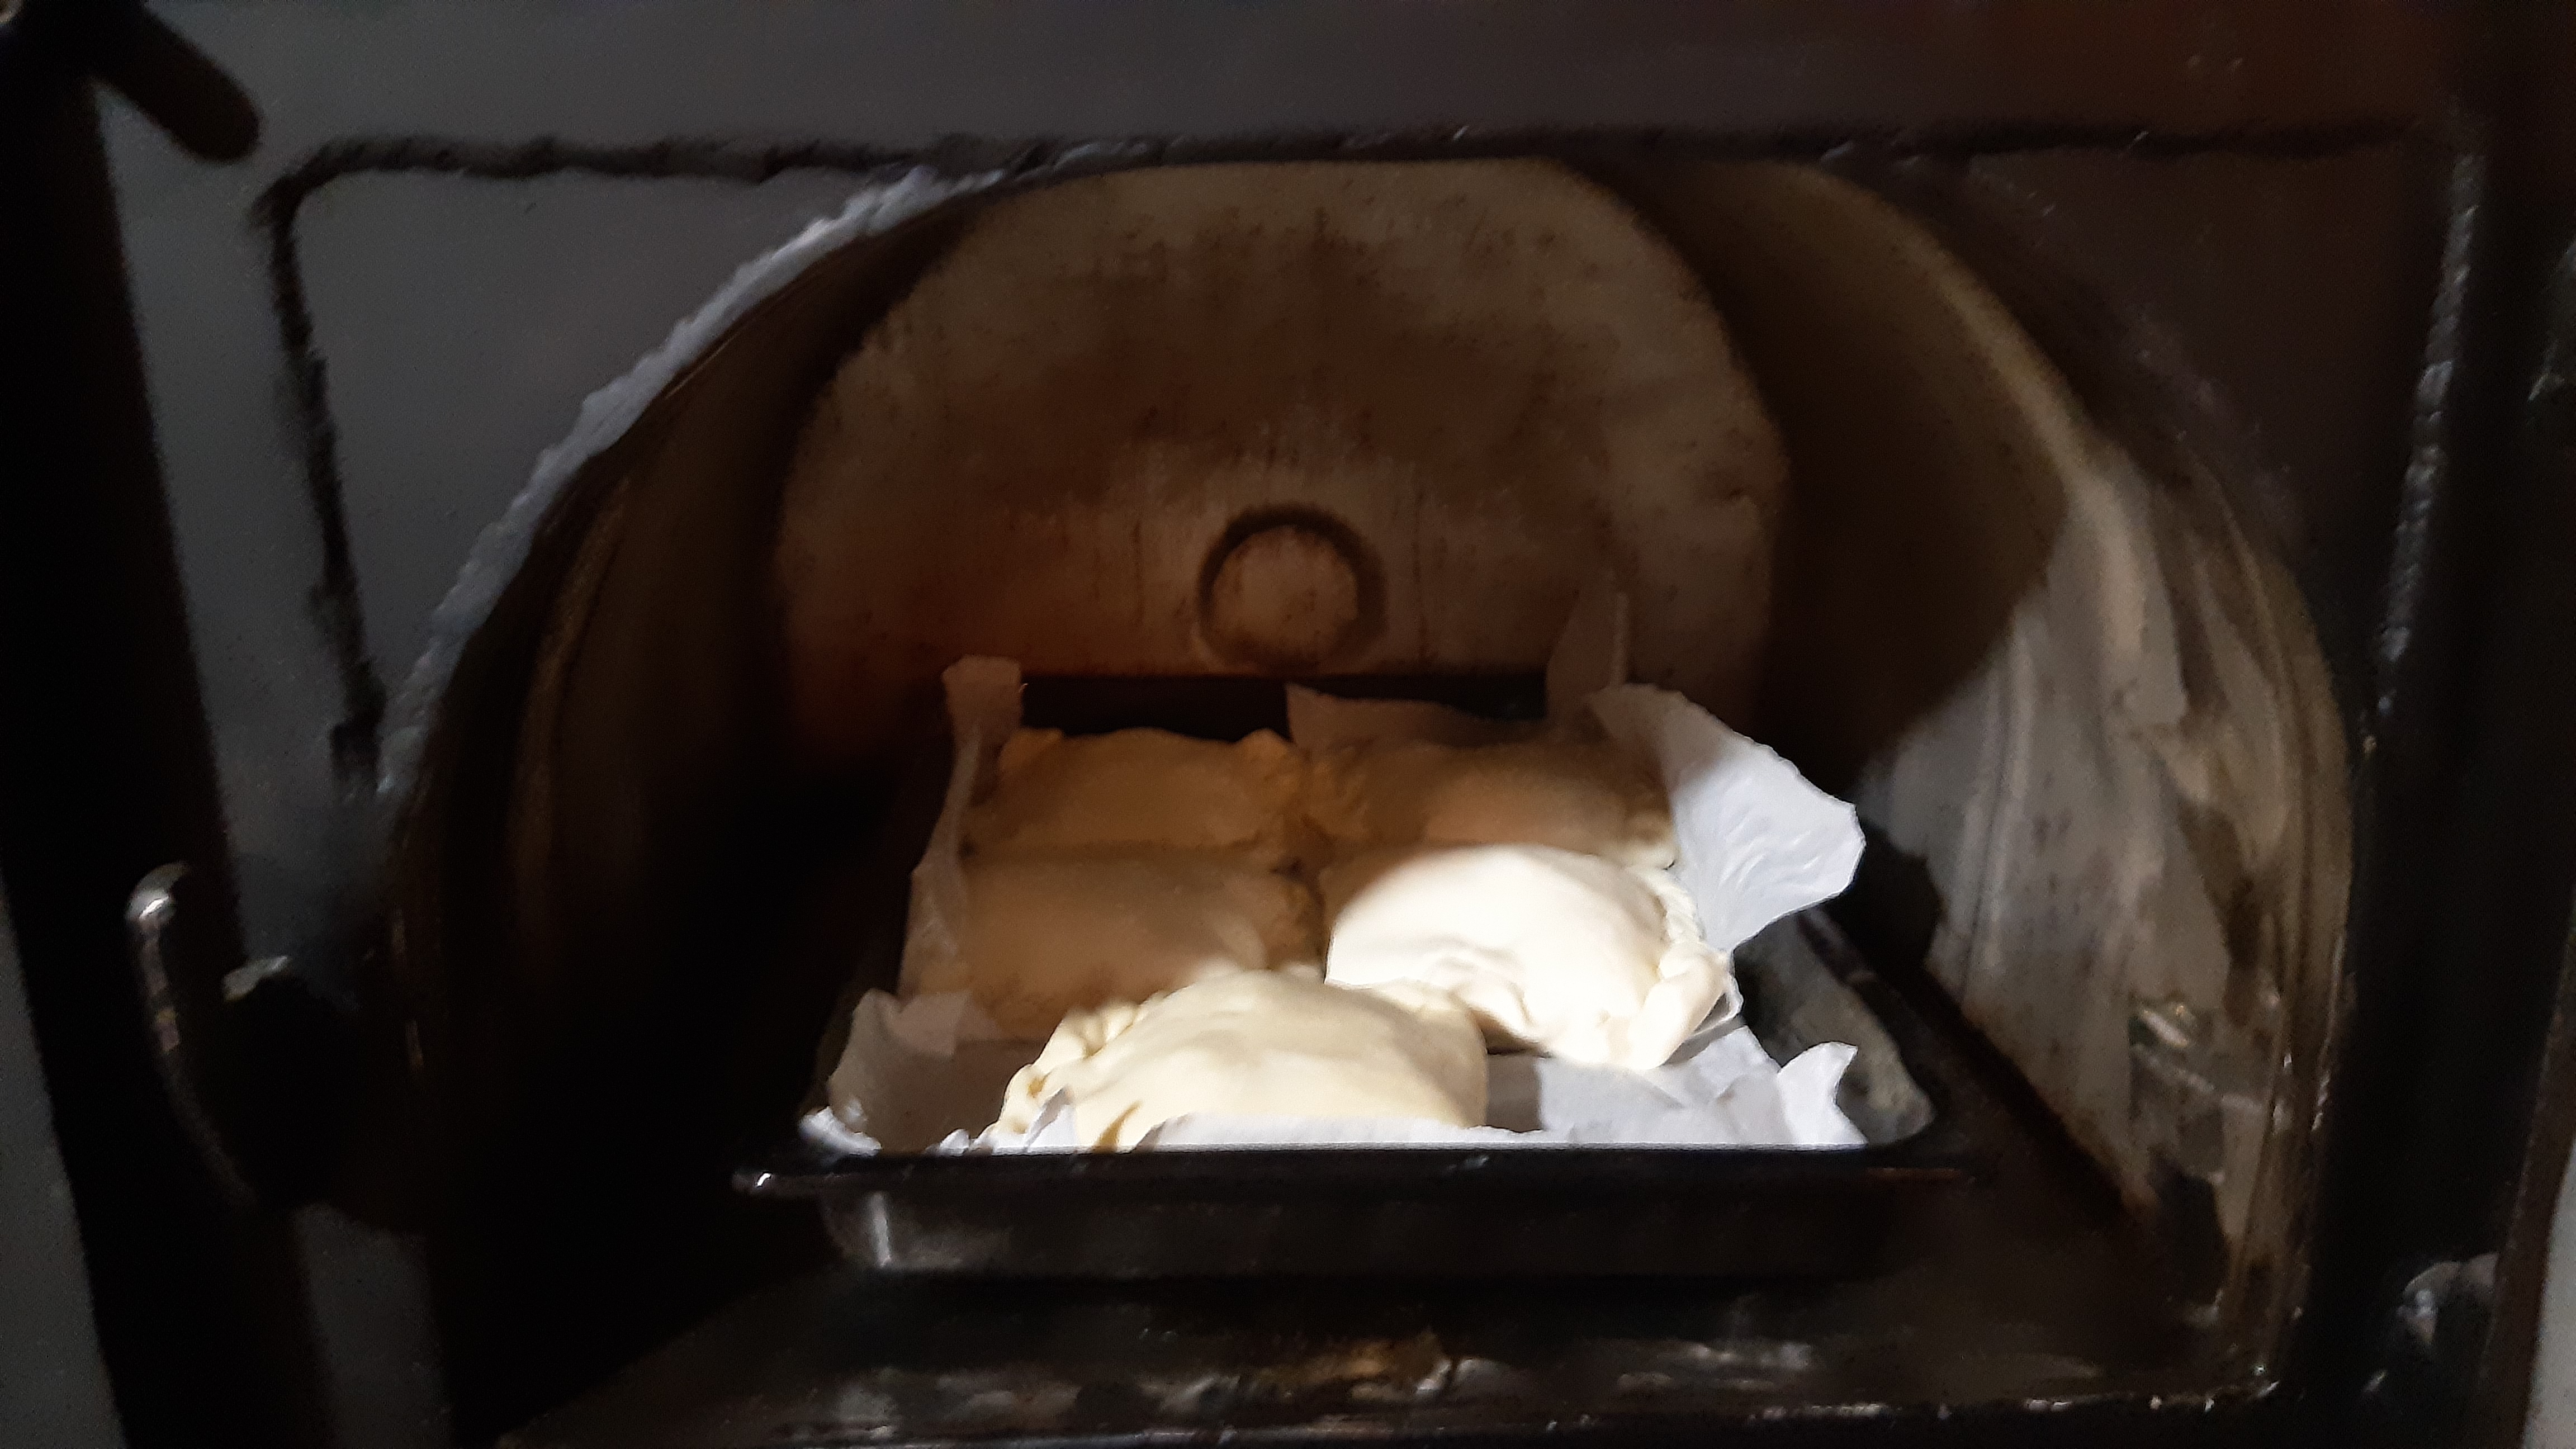
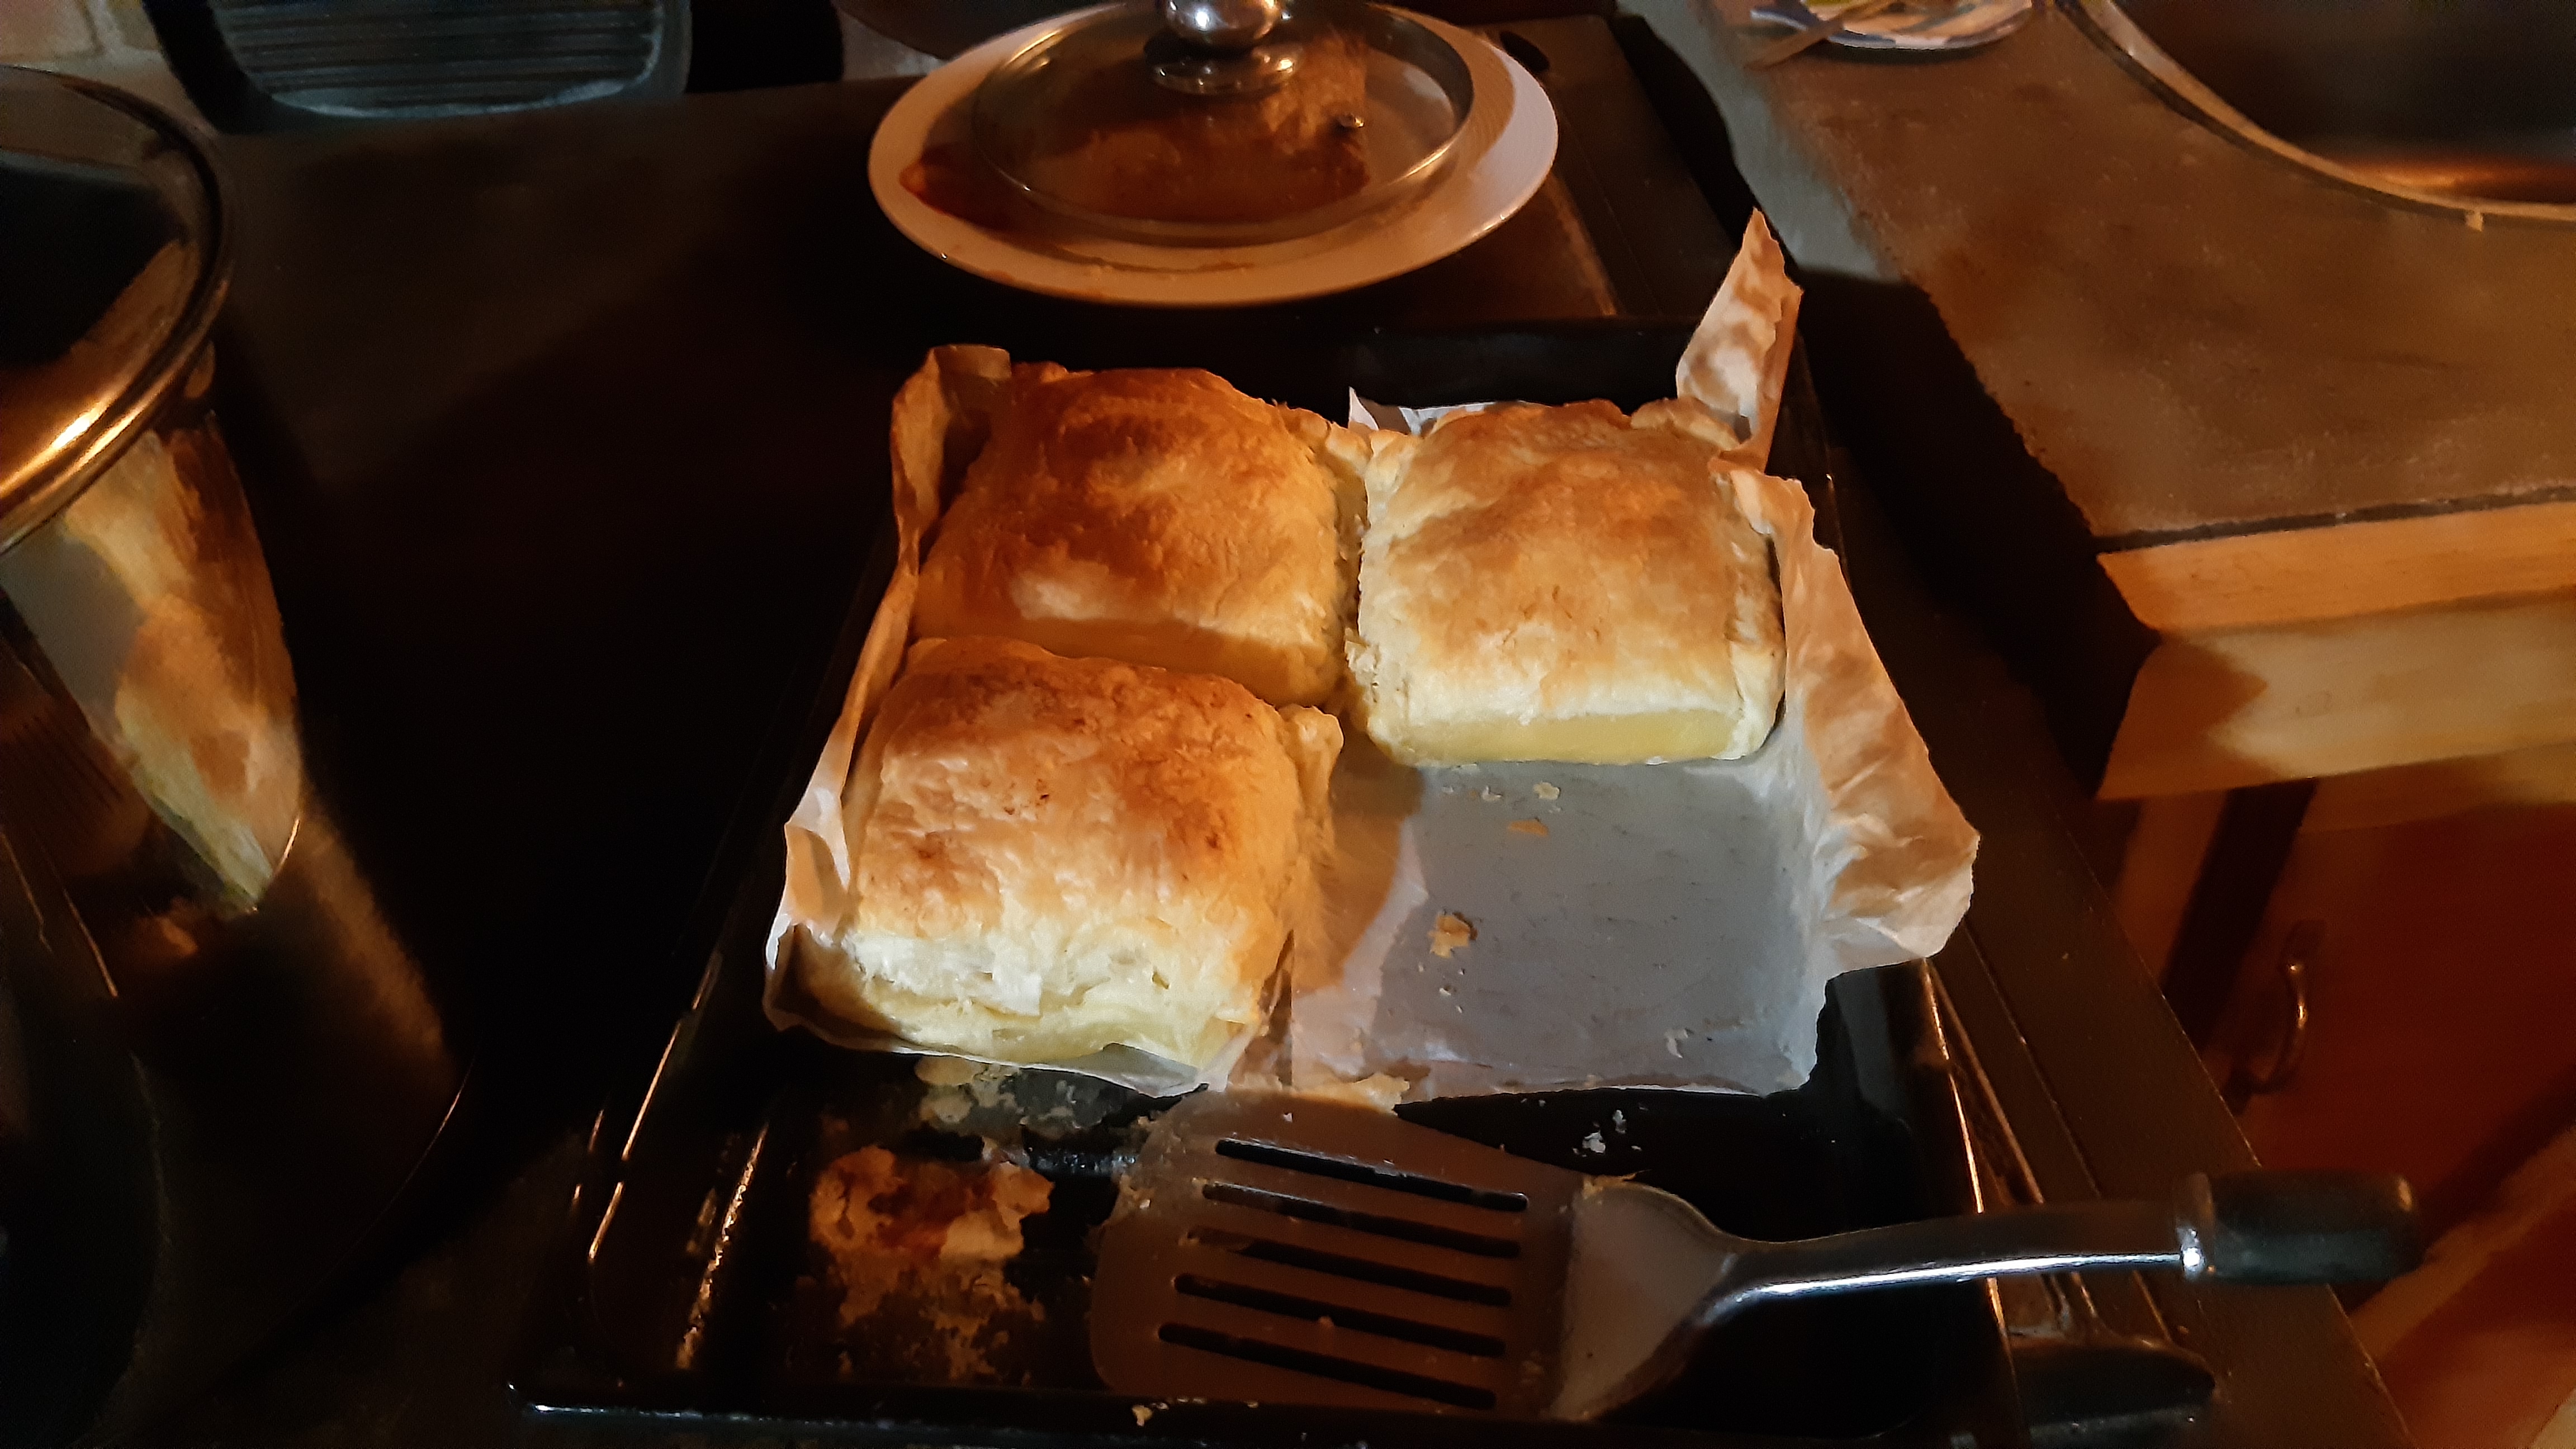
going over my statement that the stove does nt make hot water---well it does make very warm water ---but not very hot water ---which is what i am hoping to achieve ---its about 45 c ---and enough to wash hands through out the day ---- 2 sinks of washing dishes at night-----but not enough for a shower i dont think ---also its not the mass of the stove that makes hot water its the hot flue gas flowing over the water jacket----i start the first fire about 2 or 3 pm these days as our winter comes in , we are anything from 5 to 11 c outside lately , and very windy very very damp---and up to 3 fires done by 12pm ---we are a late house-----every evening meal gets cooked ---soup stock made ---rice cooking ---drying off the washed up dishware ---cheese/onion pasties baked---keeps the mug of coffee warm ----its multi purposed---which is why i have to wait till next summer until further work on the hot water heating coil----done some further reading up and getting closer to working out the sizing of this to the stoves output.
20261019_171801.jpg
[Thumbnail for 20261019_171801.jpg]
20261019_171808.jpg
[Thumbnail for 20261019_171808.jpg]
20261019_185651.jpg
[Thumbnail for 20261019_185651.jpg]
20261019_185819.jpg
[Thumbnail for 20261019_185819.jpg]
20261019_194116.jpg
[Thumbnail for 20261019_194116.jpg]
 
Posts: 131
Location: La Bretagne
39
homeschooling solar rocket stoves
  • Likes 10
  • Mark post as helpful
  • send pies
    Number of slices to send:
    Optional 'thank-you' note:
  • Quote
  • Report post to moderator
Your or your wife's pasties look so good. Especially appealing with the weather here, probably very similar to yours (9°, wind and rain. ) I'm saying that as I go through the daily routine of :  what are we eating tomorrow?

The one time I attempted pasties, I thought it way too difficult. Do you (or your partner) have any advice on that?
 
tony uljee
Rocket Scientist
Posts: 415
173
  • Likes 9
  • Mark post as helpful
  • send pies
    Number of slices to send:
    Optional 'thank-you' note:
  • Quote
  • Report post to moderator
i watched several you tube how to make pasties , by the time i had decided which to follow and got motivated ----my wife had made them up already ---i just opened and closed the oven door  .
 
tony uljee
Rocket Scientist
Posts: 415
173
  • Likes 12
  • Mark post as helpful
  • send pies
    Number of slices to send:
    Optional 'thank-you' note:
  • Quote
  • Report post to moderator
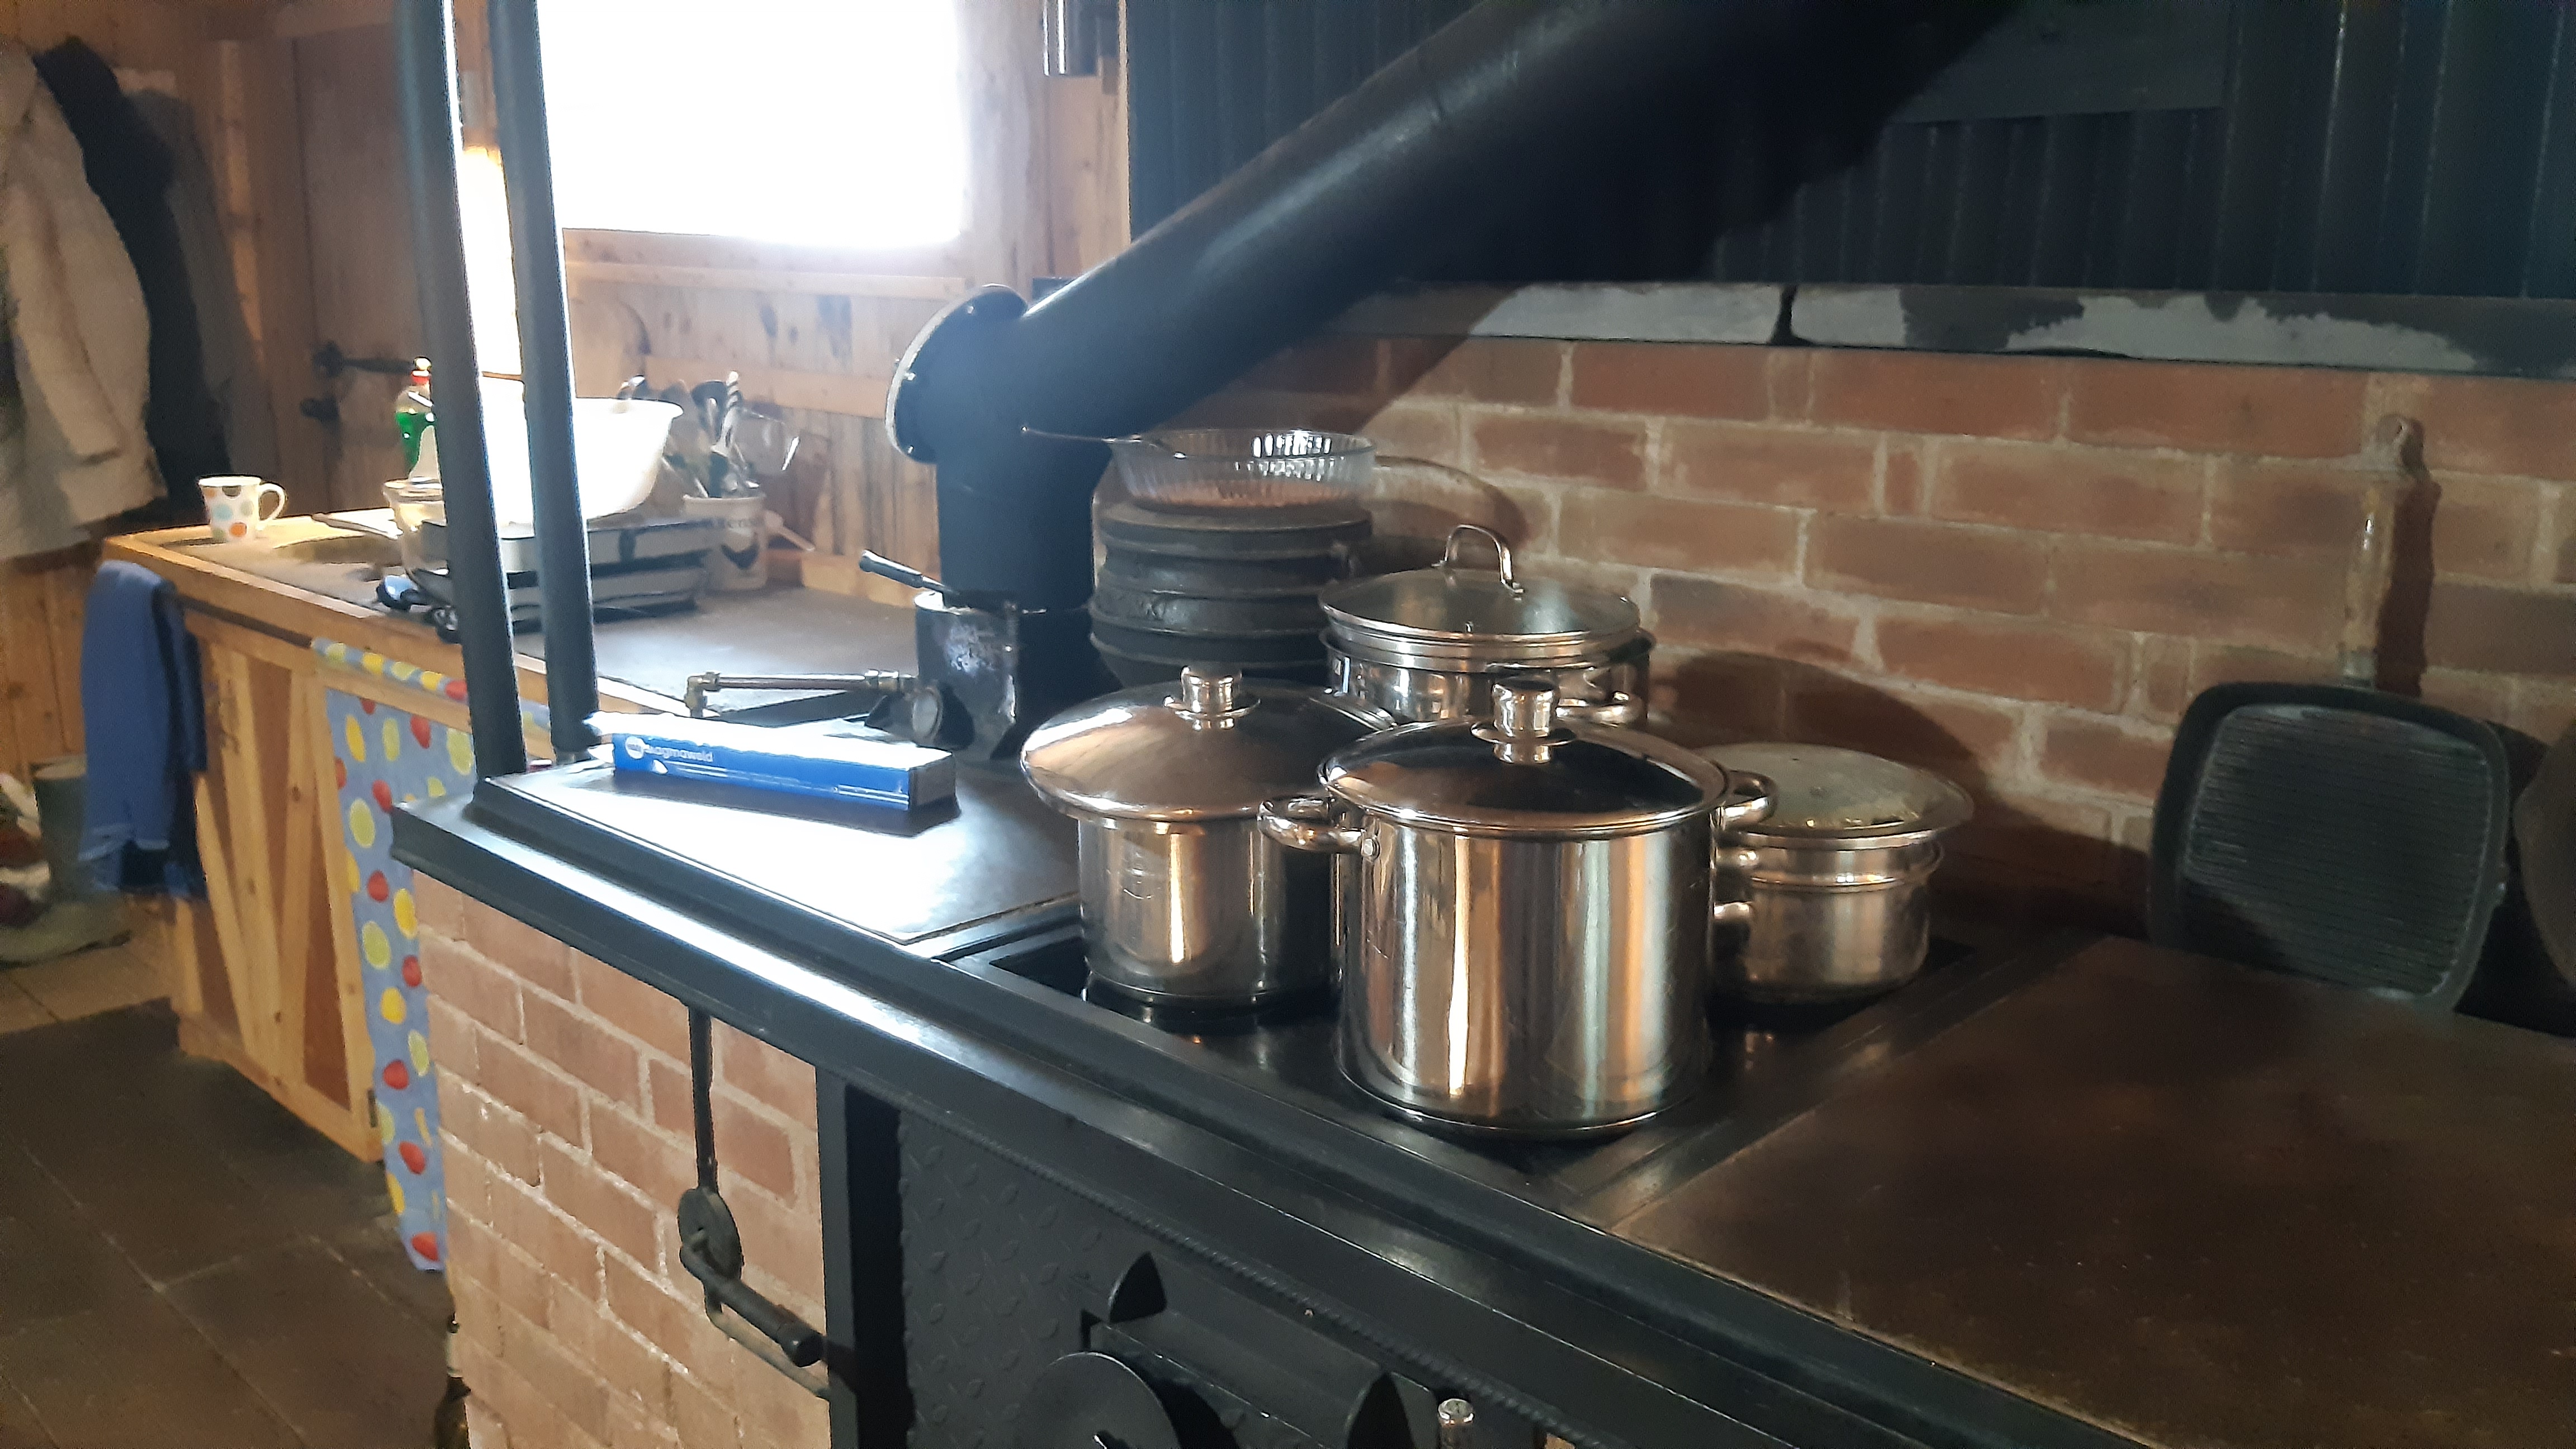
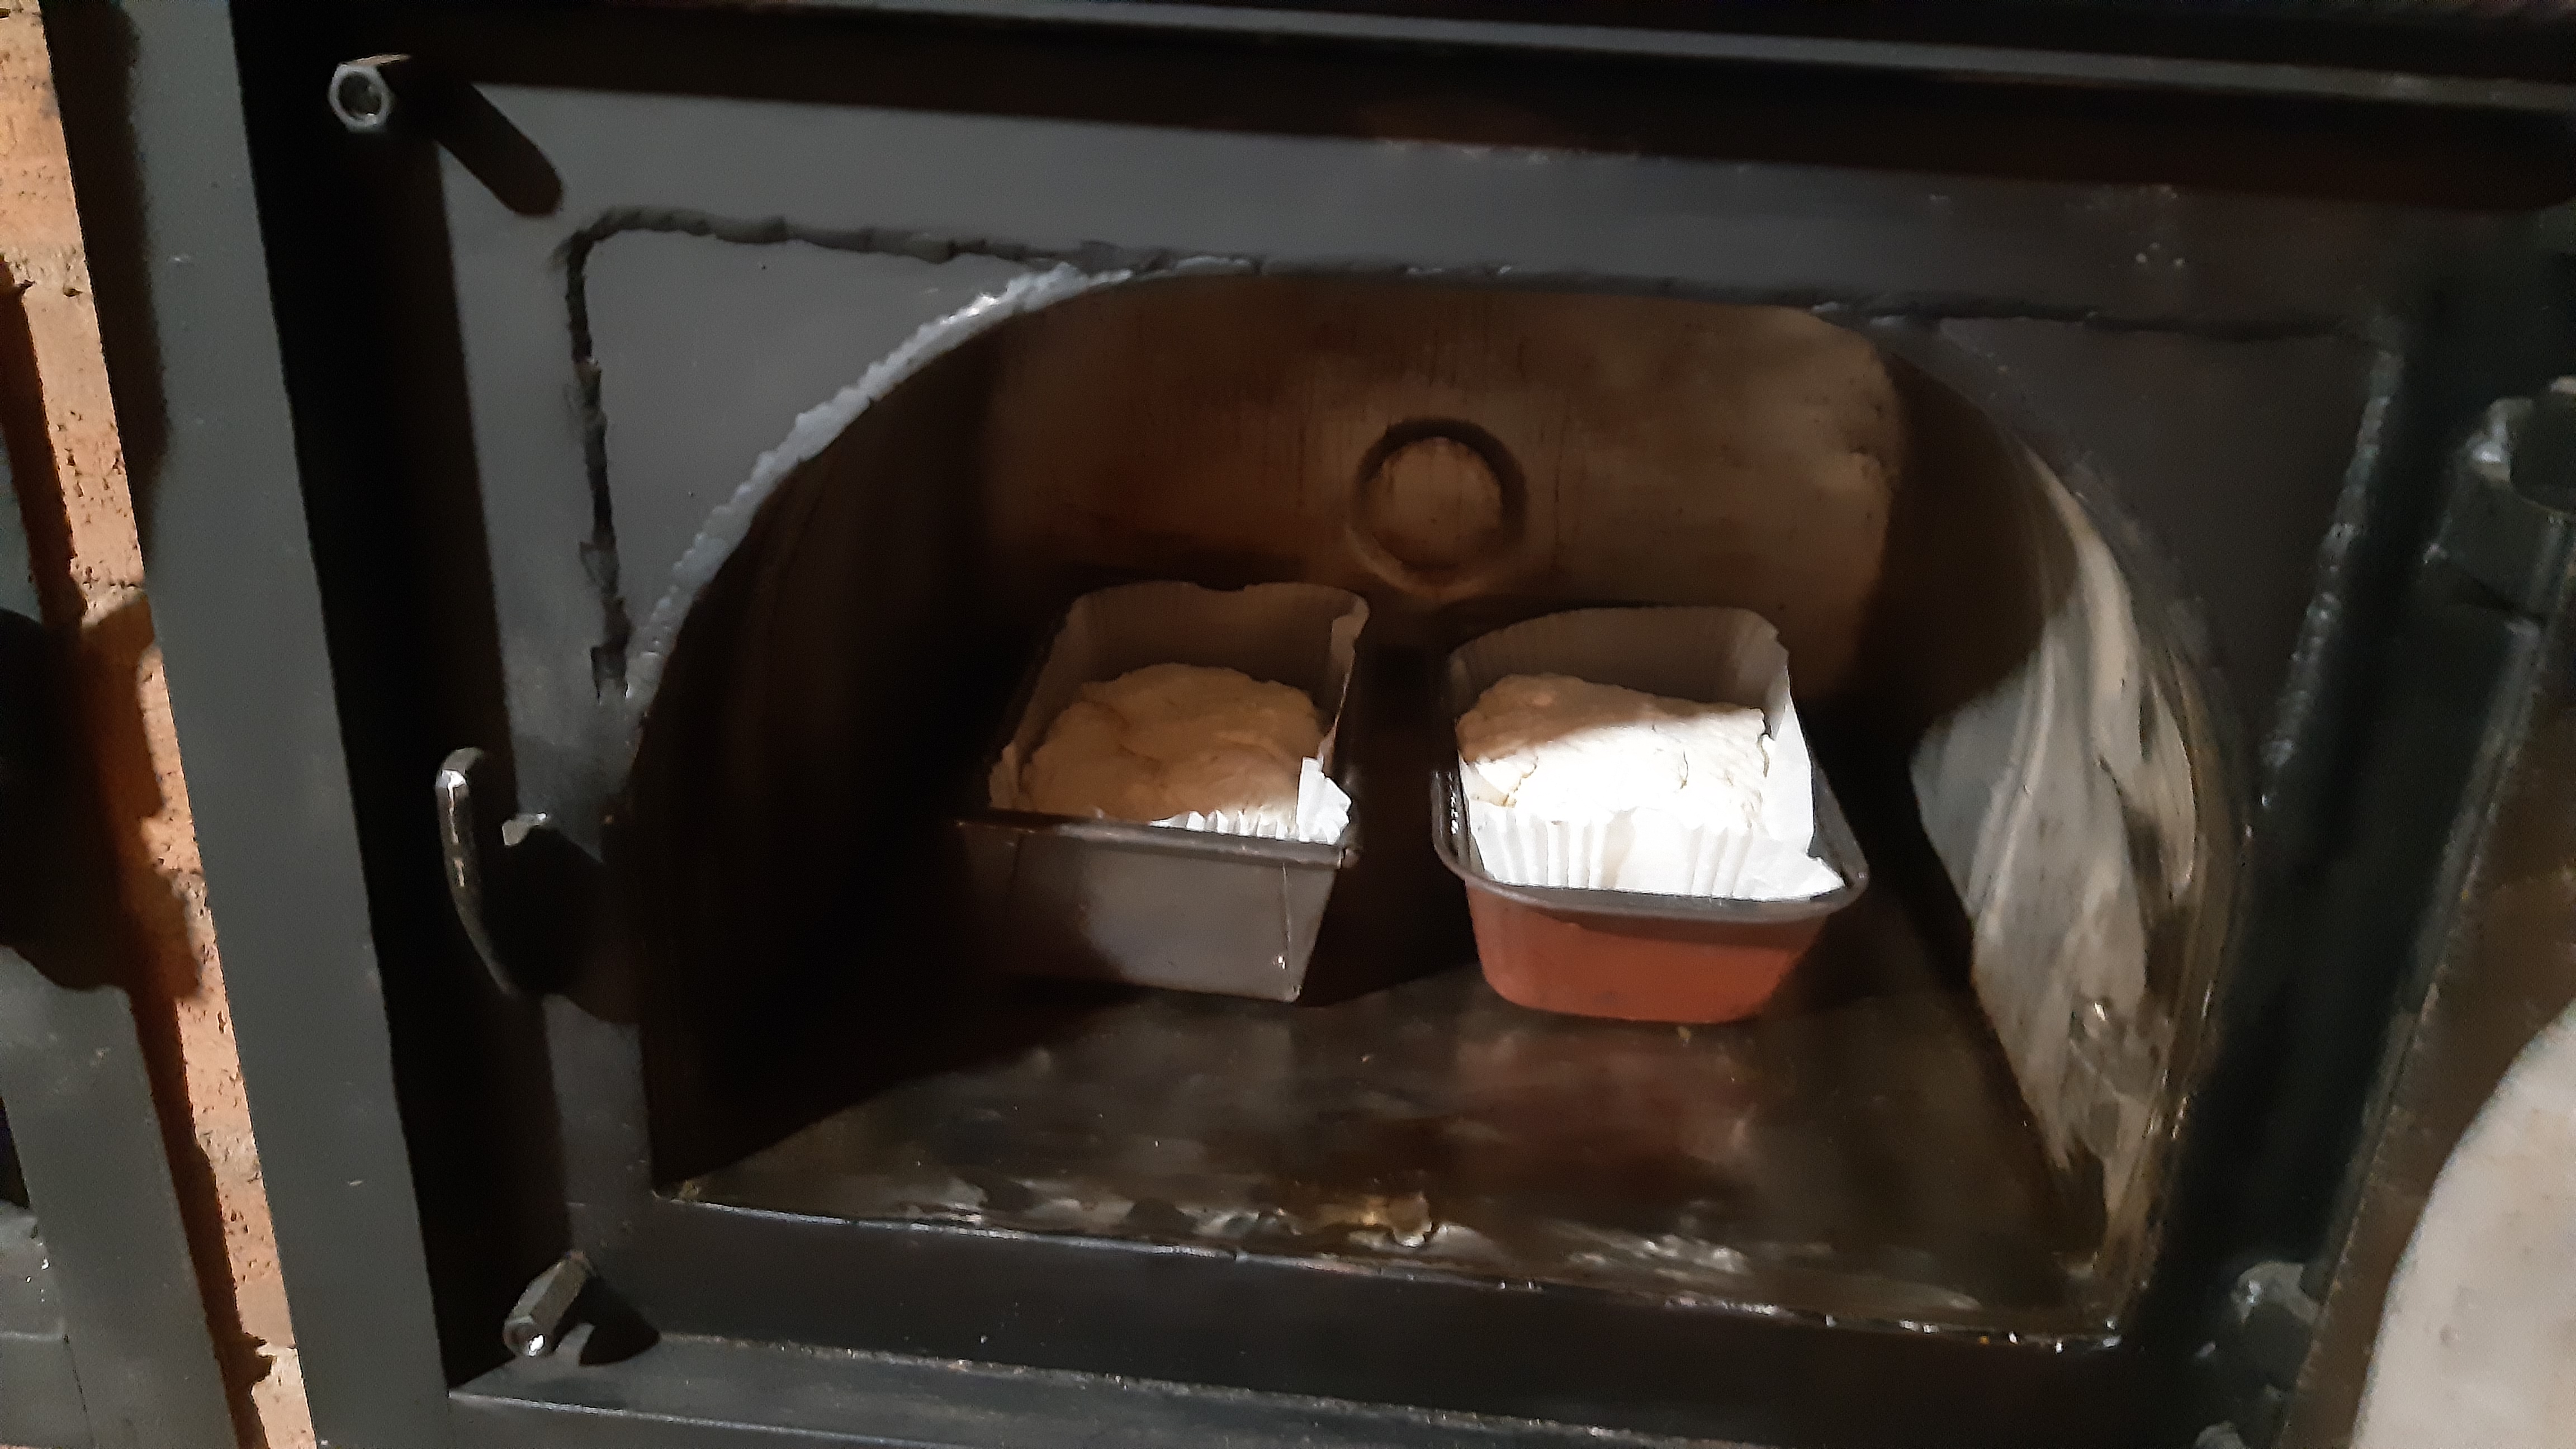
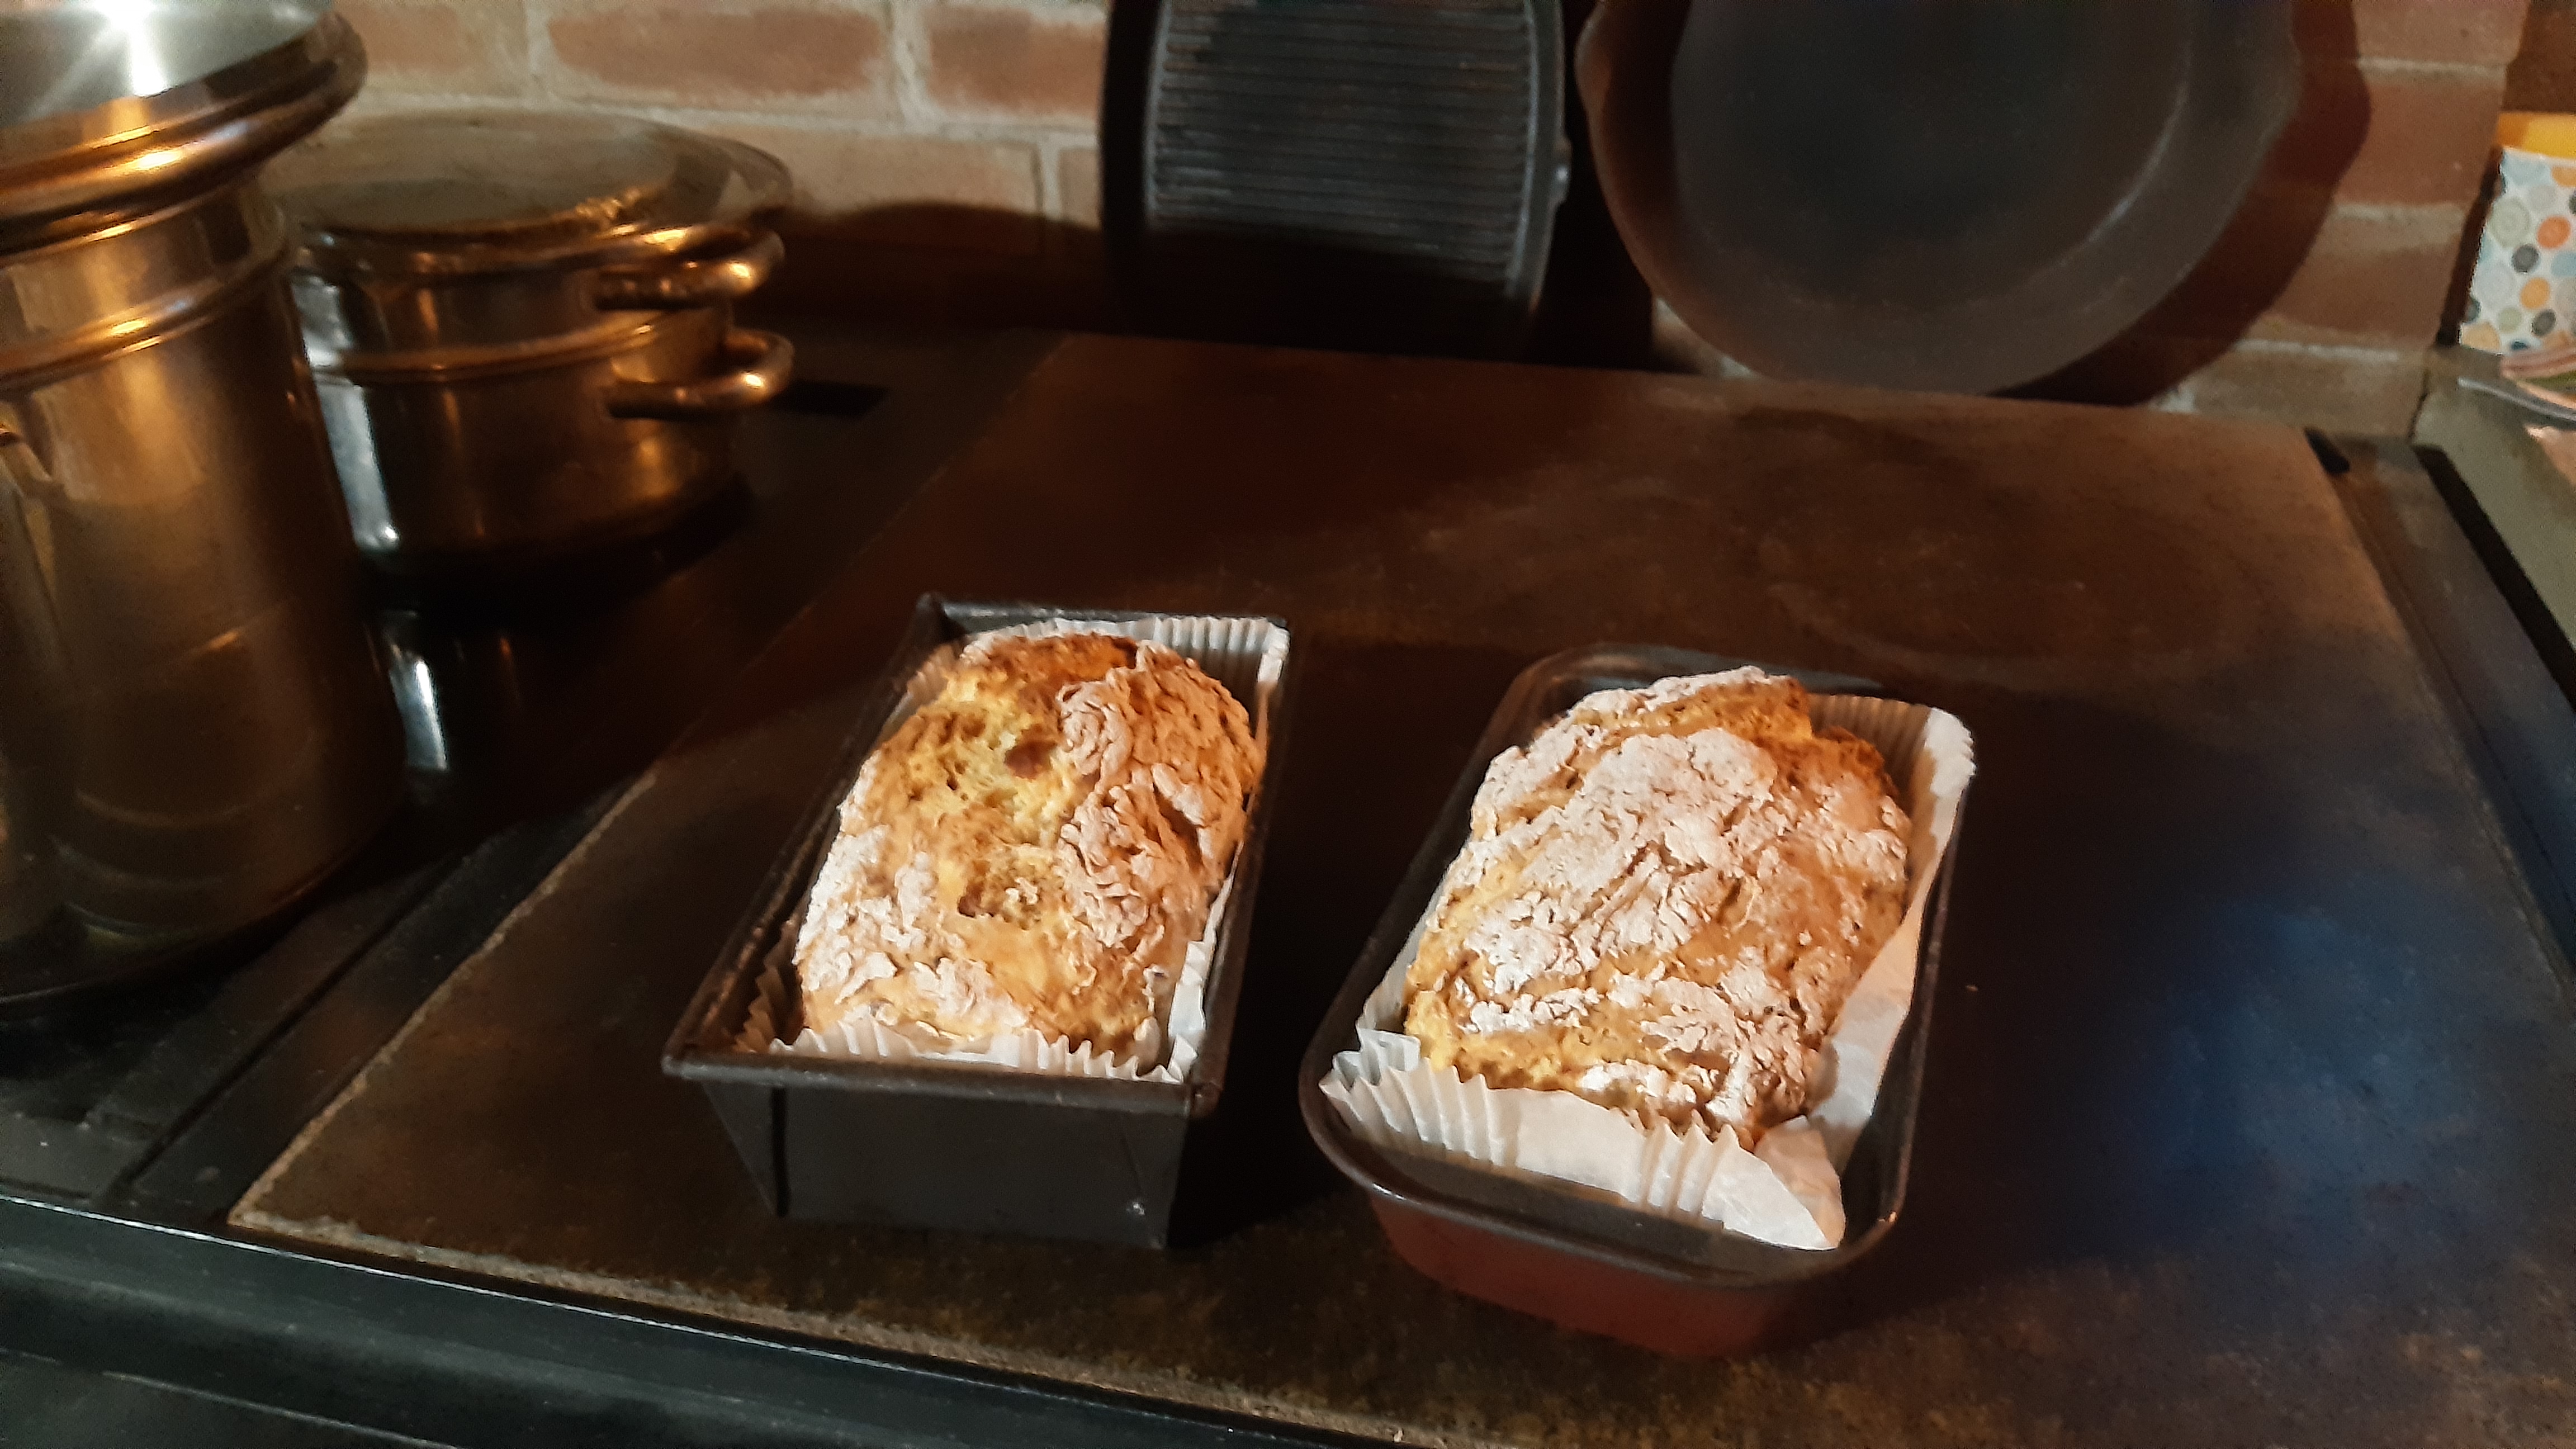
4 pots of water on the ceramic glass boiling away ---steaming xmass puddings--yes the seasons prep has started up  ---then 2 loaves of soda bread  so as not to waste oven heat---and my welding rods warming up ---blue box on the left--
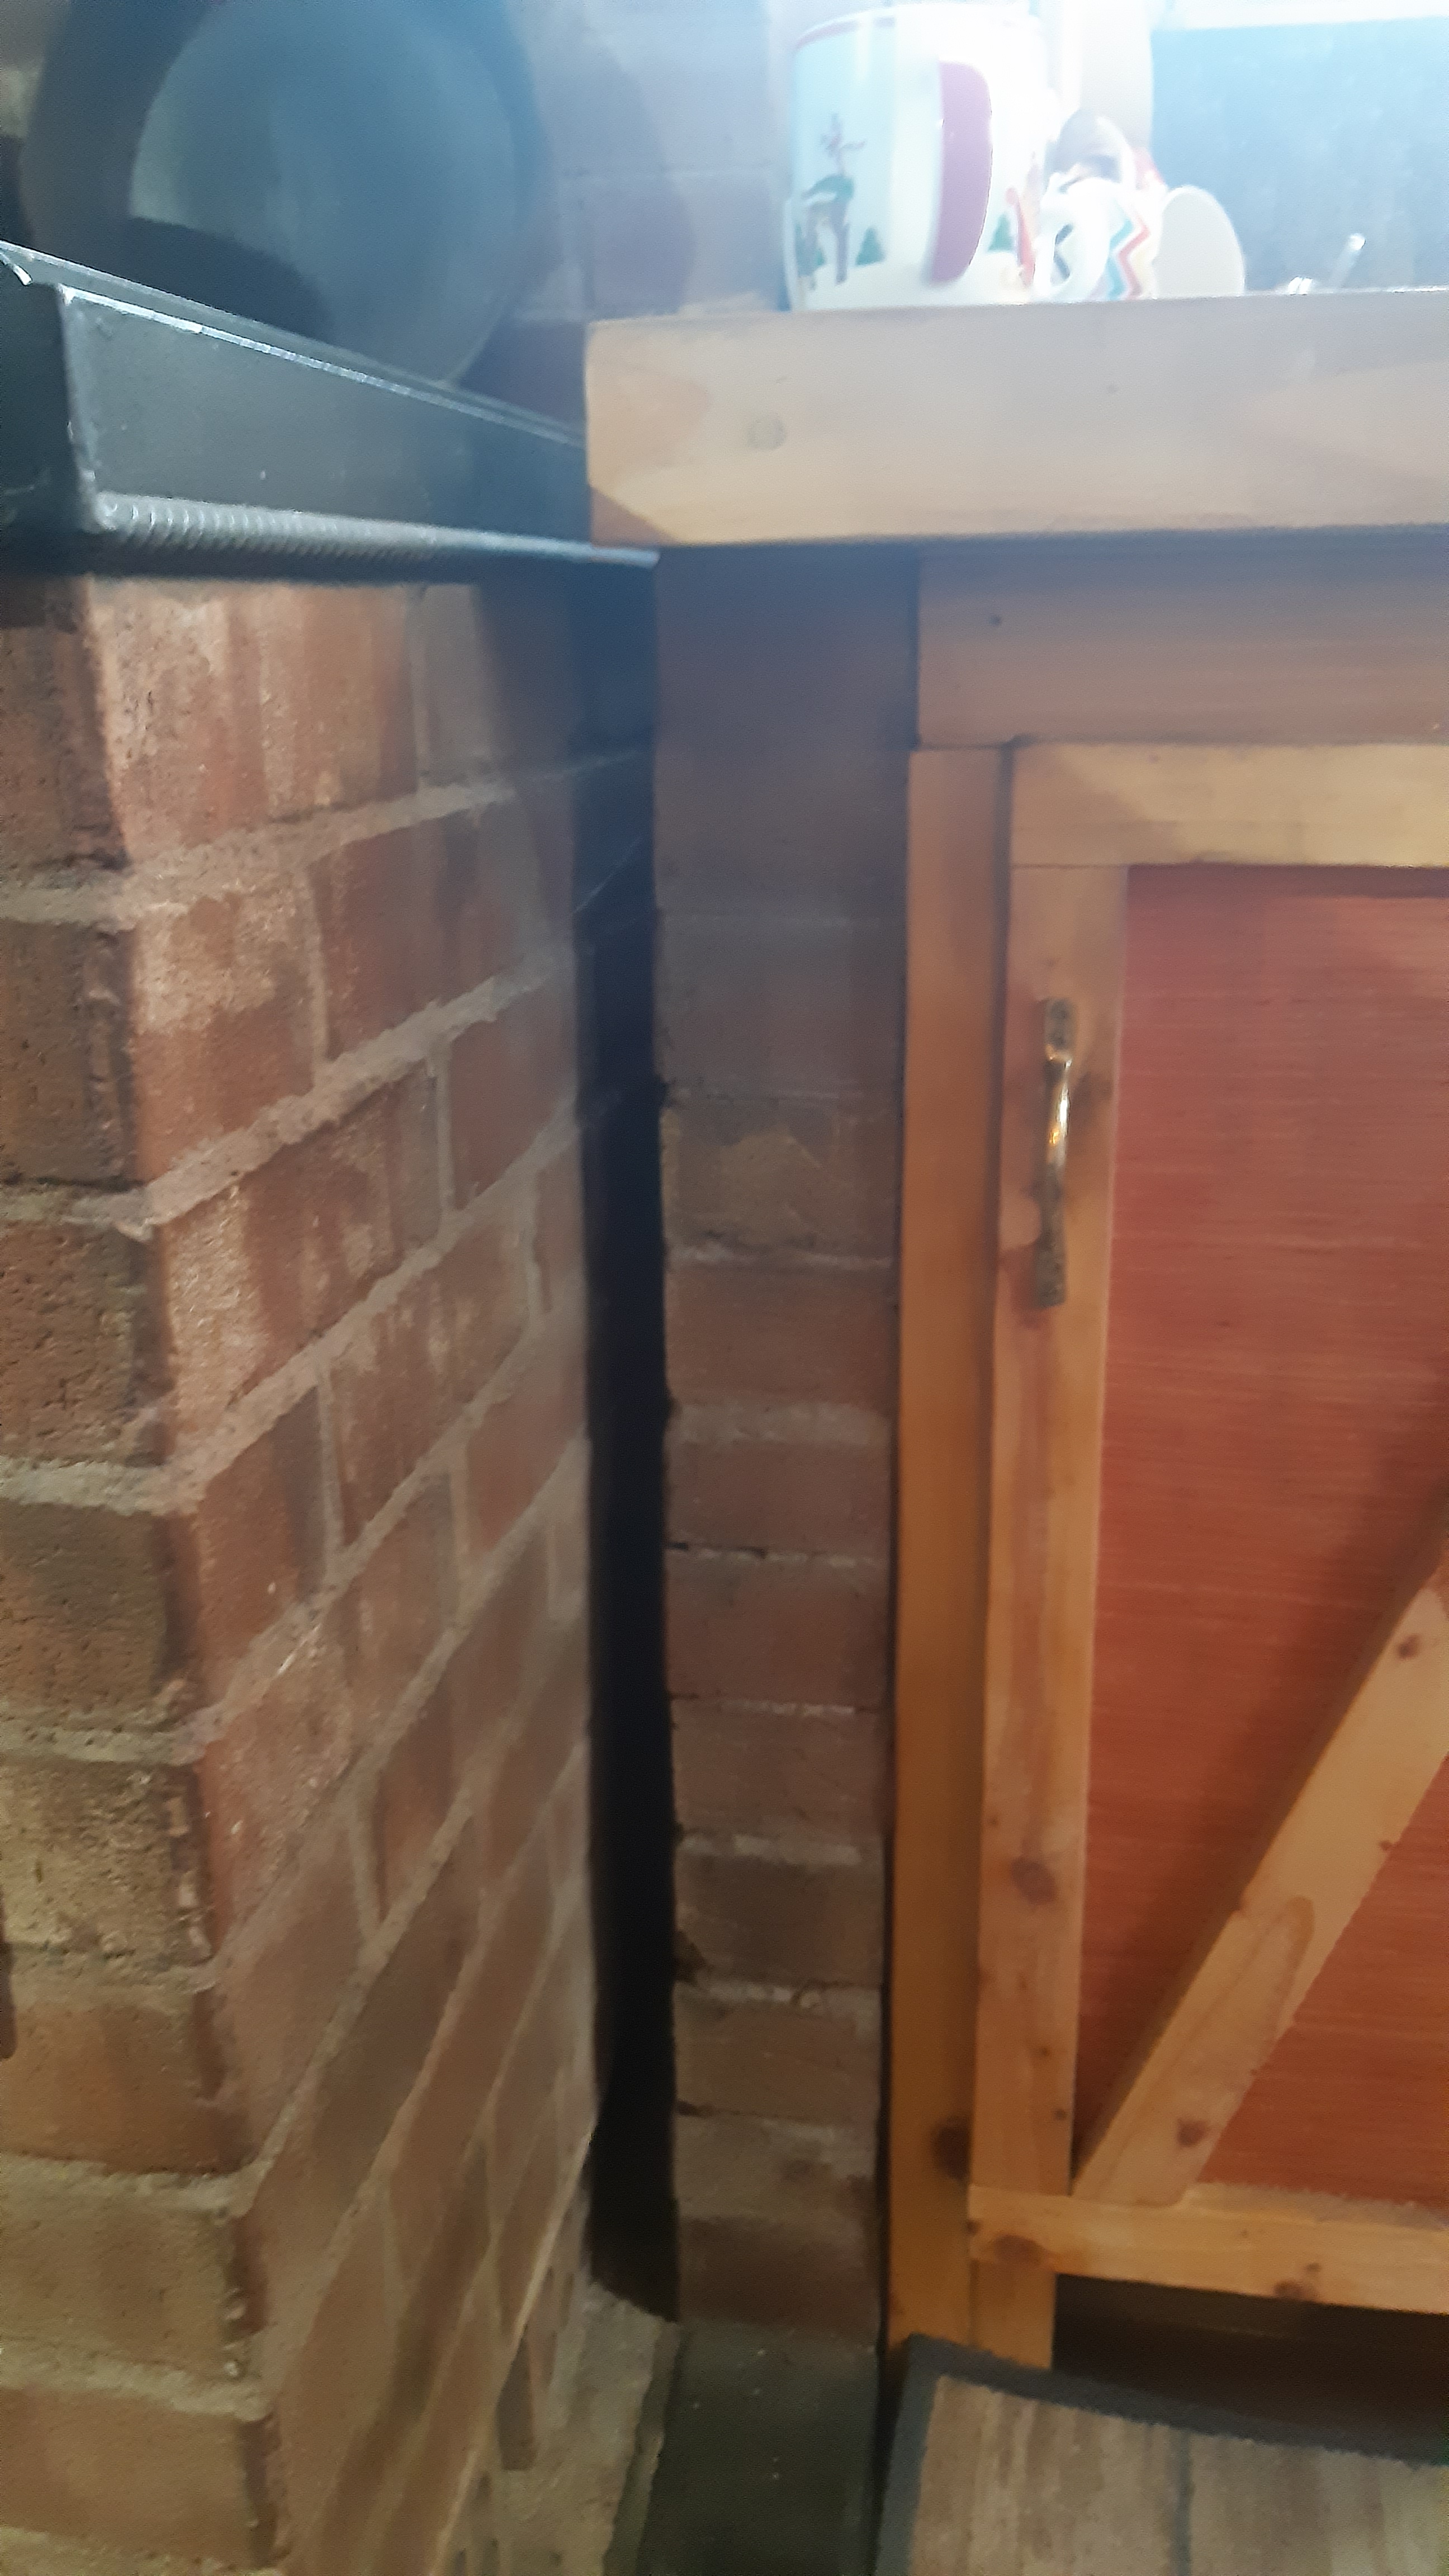
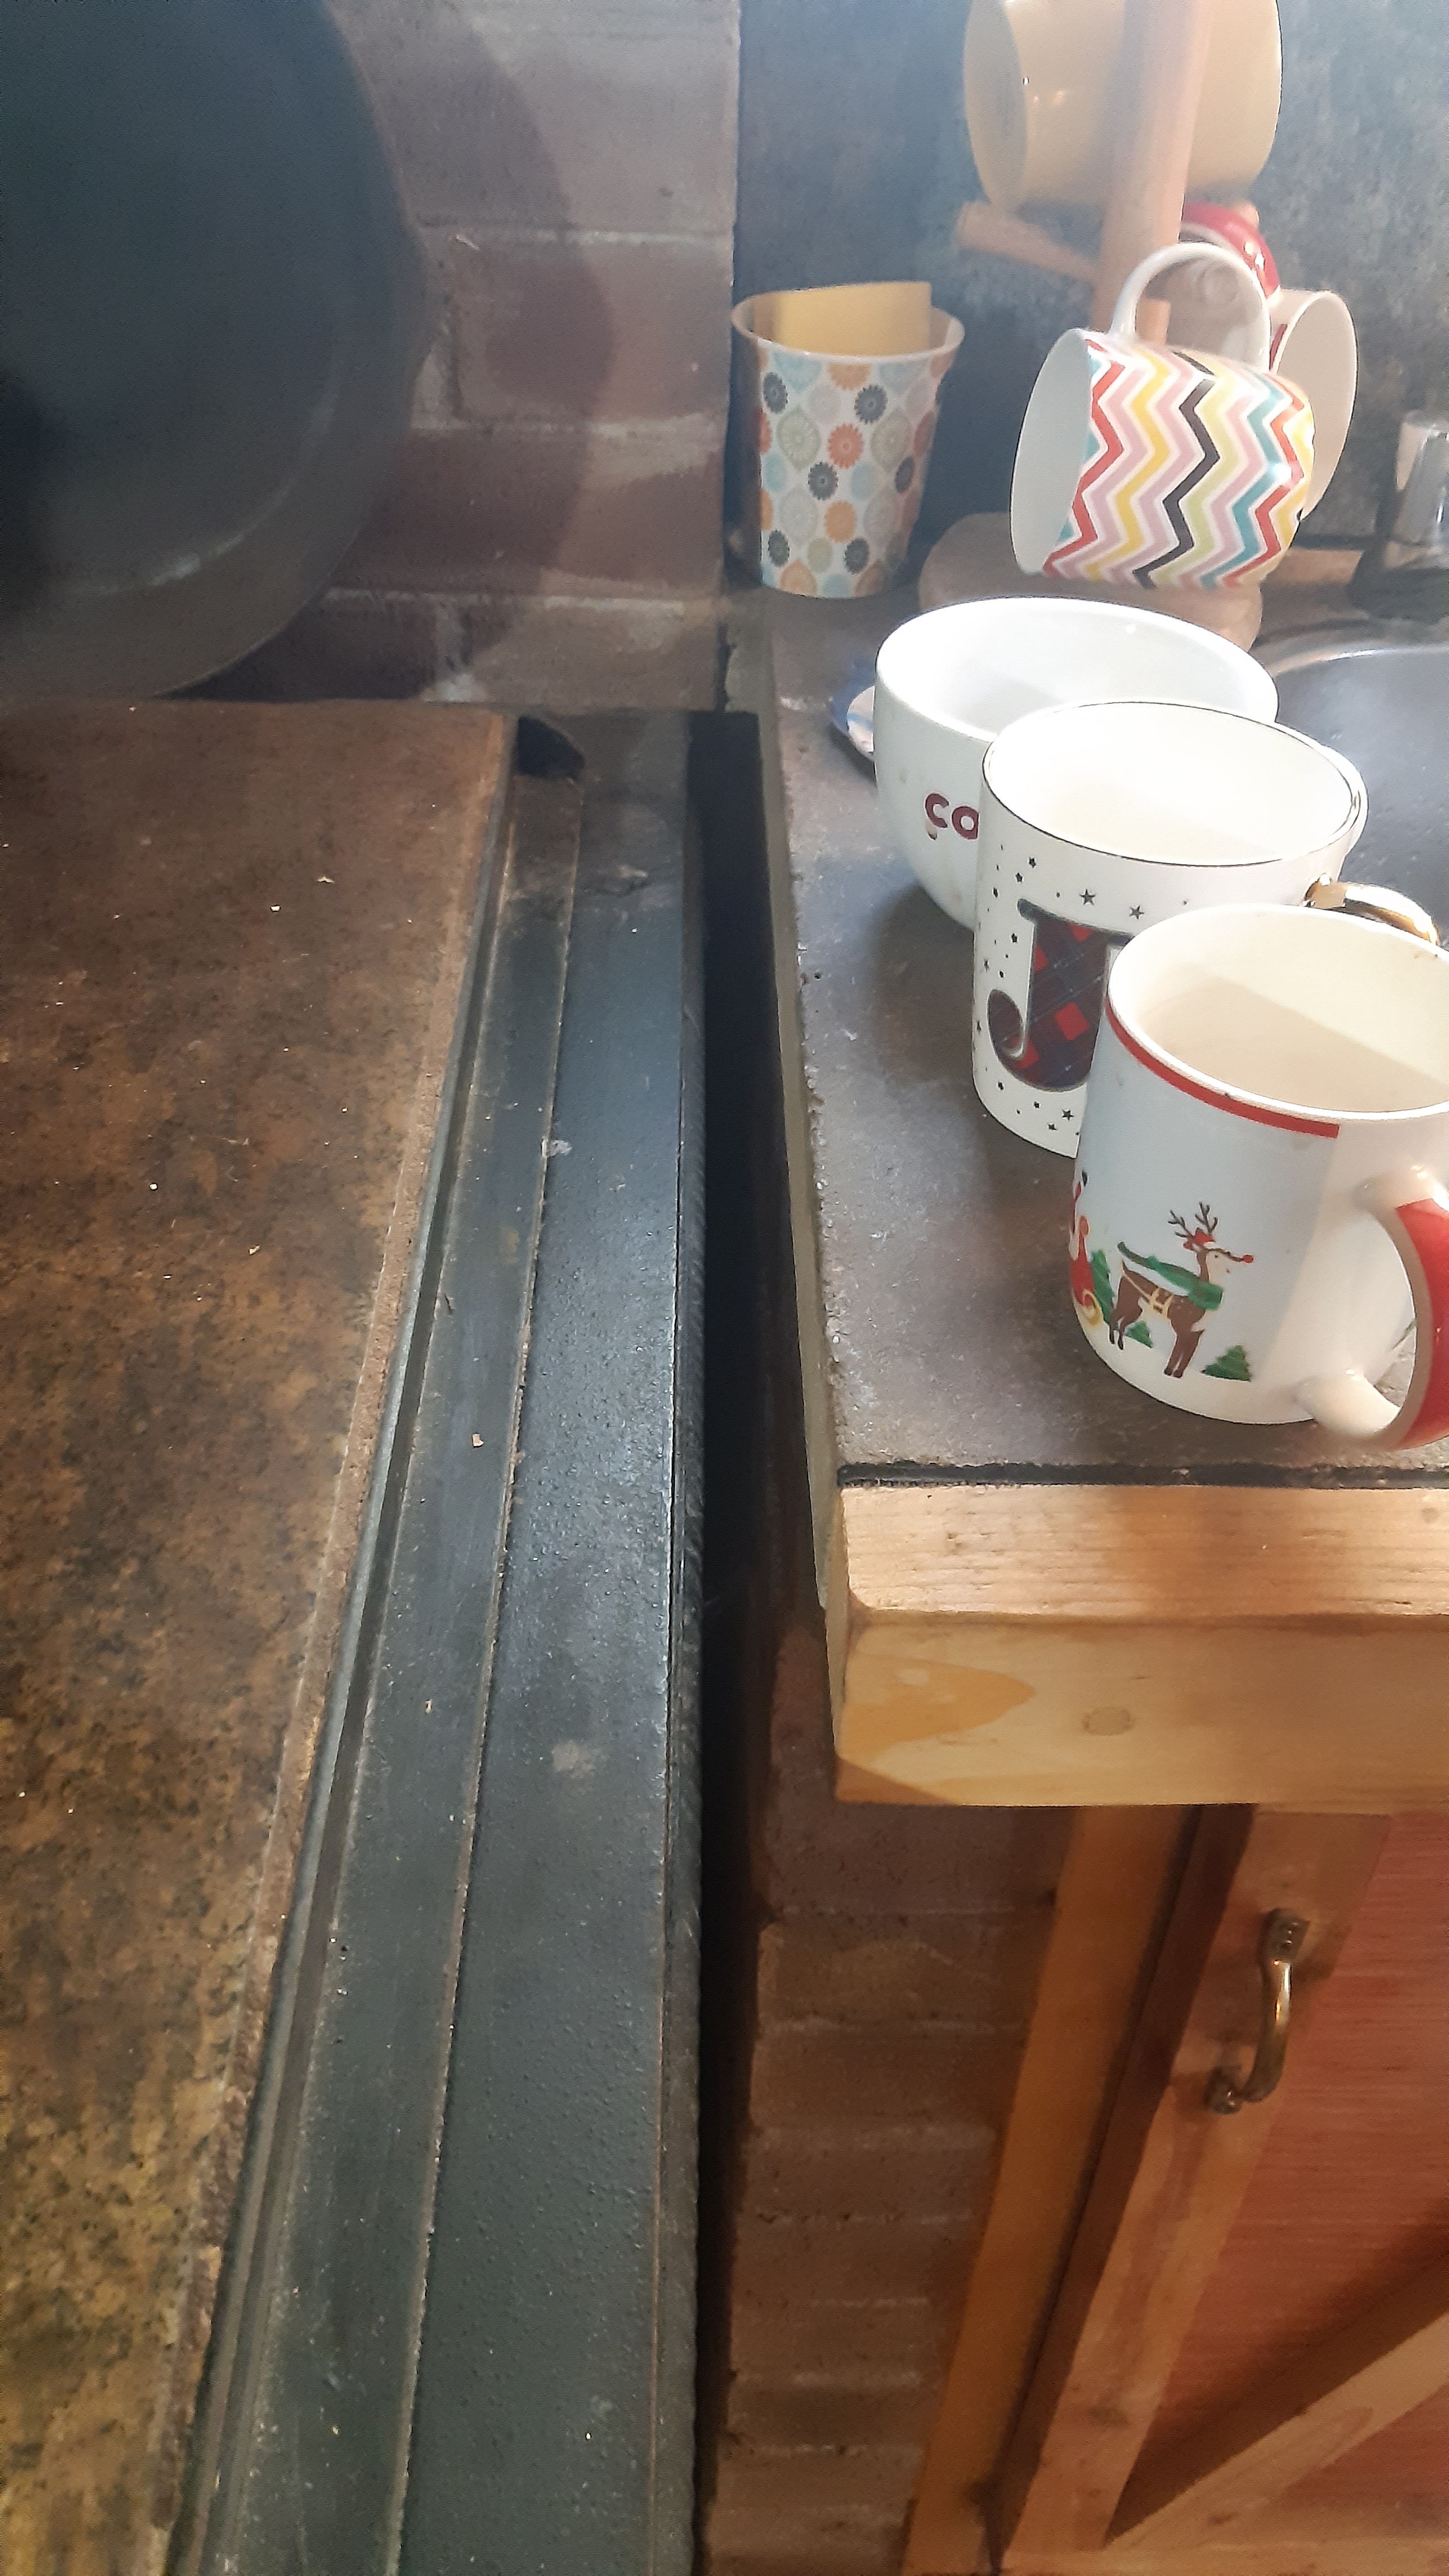
so by now it should be boringly obvious these stoves  can be used everyday ---but it can mean changing some old habits built up from years of running an old wood burn steel stove ---i will now explain  my odd back wall set up ---for someone who asked me ---and will be reading all of this later on ---i had started out planning to use my old steel wood burner ----and it would have lined up directly under neath the flue exit hole in the wall---the black sheeting wall was to be a heat shield  --was put up ---2 inchs off the floor ---and spaced 2 inches away  with copper tube spacers from the back wall---which is made up hempcrete---but by changing the stove to be a Matt Walker type----dimensions changed----and new flue path made to suit ----i could nt cut out a new exit hole as either side are large timber frameworks support poles to close spaced---and i had also already built in a wall heat protection  thimble for the flue pipe. the brick wall built around the new stove was a bit of overkill as a further heat shield---(its also spaced up off the floor pad by 3 inches---for airflow ) ---partly done as i did nt like the black sheeting ---but had to live with it now --and i planned the two concrete worktops to be incorporated into the side walls .
20261025_141031.jpg
[Thumbnail for 20261025_141031.jpg]
20261025_155942.jpg
[Thumbnail for 20261025_155942.jpg]
20261025_170812.jpg
[Thumbnail for 20261025_170812.jpg]
 
tony uljee
Rocket Scientist
Posts: 415
173
  • Likes 5
  • Mark post as helpful
  • send pies
    Number of slices to send:
    Optional 'thank-you' note:
  • Quote
  • Report post to moderator
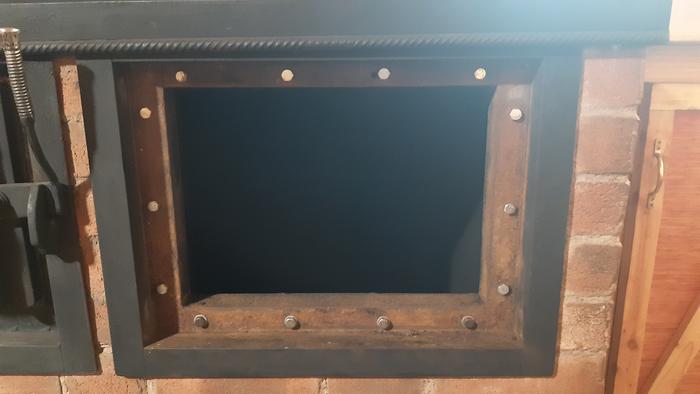
this is to answer a query ---a friend asked how i had sealed off the oven to the existing metal frame built into the stove---and i realized that i had not explained  in any of my posts----when i had finished the build there was just a steel plate bolted up to the metal angle-iron frame work ---i used a piece of ceramic fiber board as a gasket--cut to that steel plate size and sandwiched in-between----14 holes were drilled through the plate and framework----  which i had welded  nuts onto the back of it---this was  to become a problem later on---because i had to leave that bolted up for too-- long the bolts rusted up from the stoves hot corrosive gases----taking the plate off to bolt on the  new oven framework----6 bolts sheared off ----i had to drill them out--- the 14 holes ---was just to space out the clamping pressure of the first steel plate ---i did nt want to crush down the cfb too much.  
thumb-20260720_134116.jpg
[Thumbnail for thumb-20260720_134116.jpg]
 
tony uljee
Rocket Scientist
Posts: 415
173
  • Likes 7
  • Mark post as helpful
  • send pies
    Number of slices to send:
    Optional 'thank-you' note:
  • Quote
  • Report post to moderator
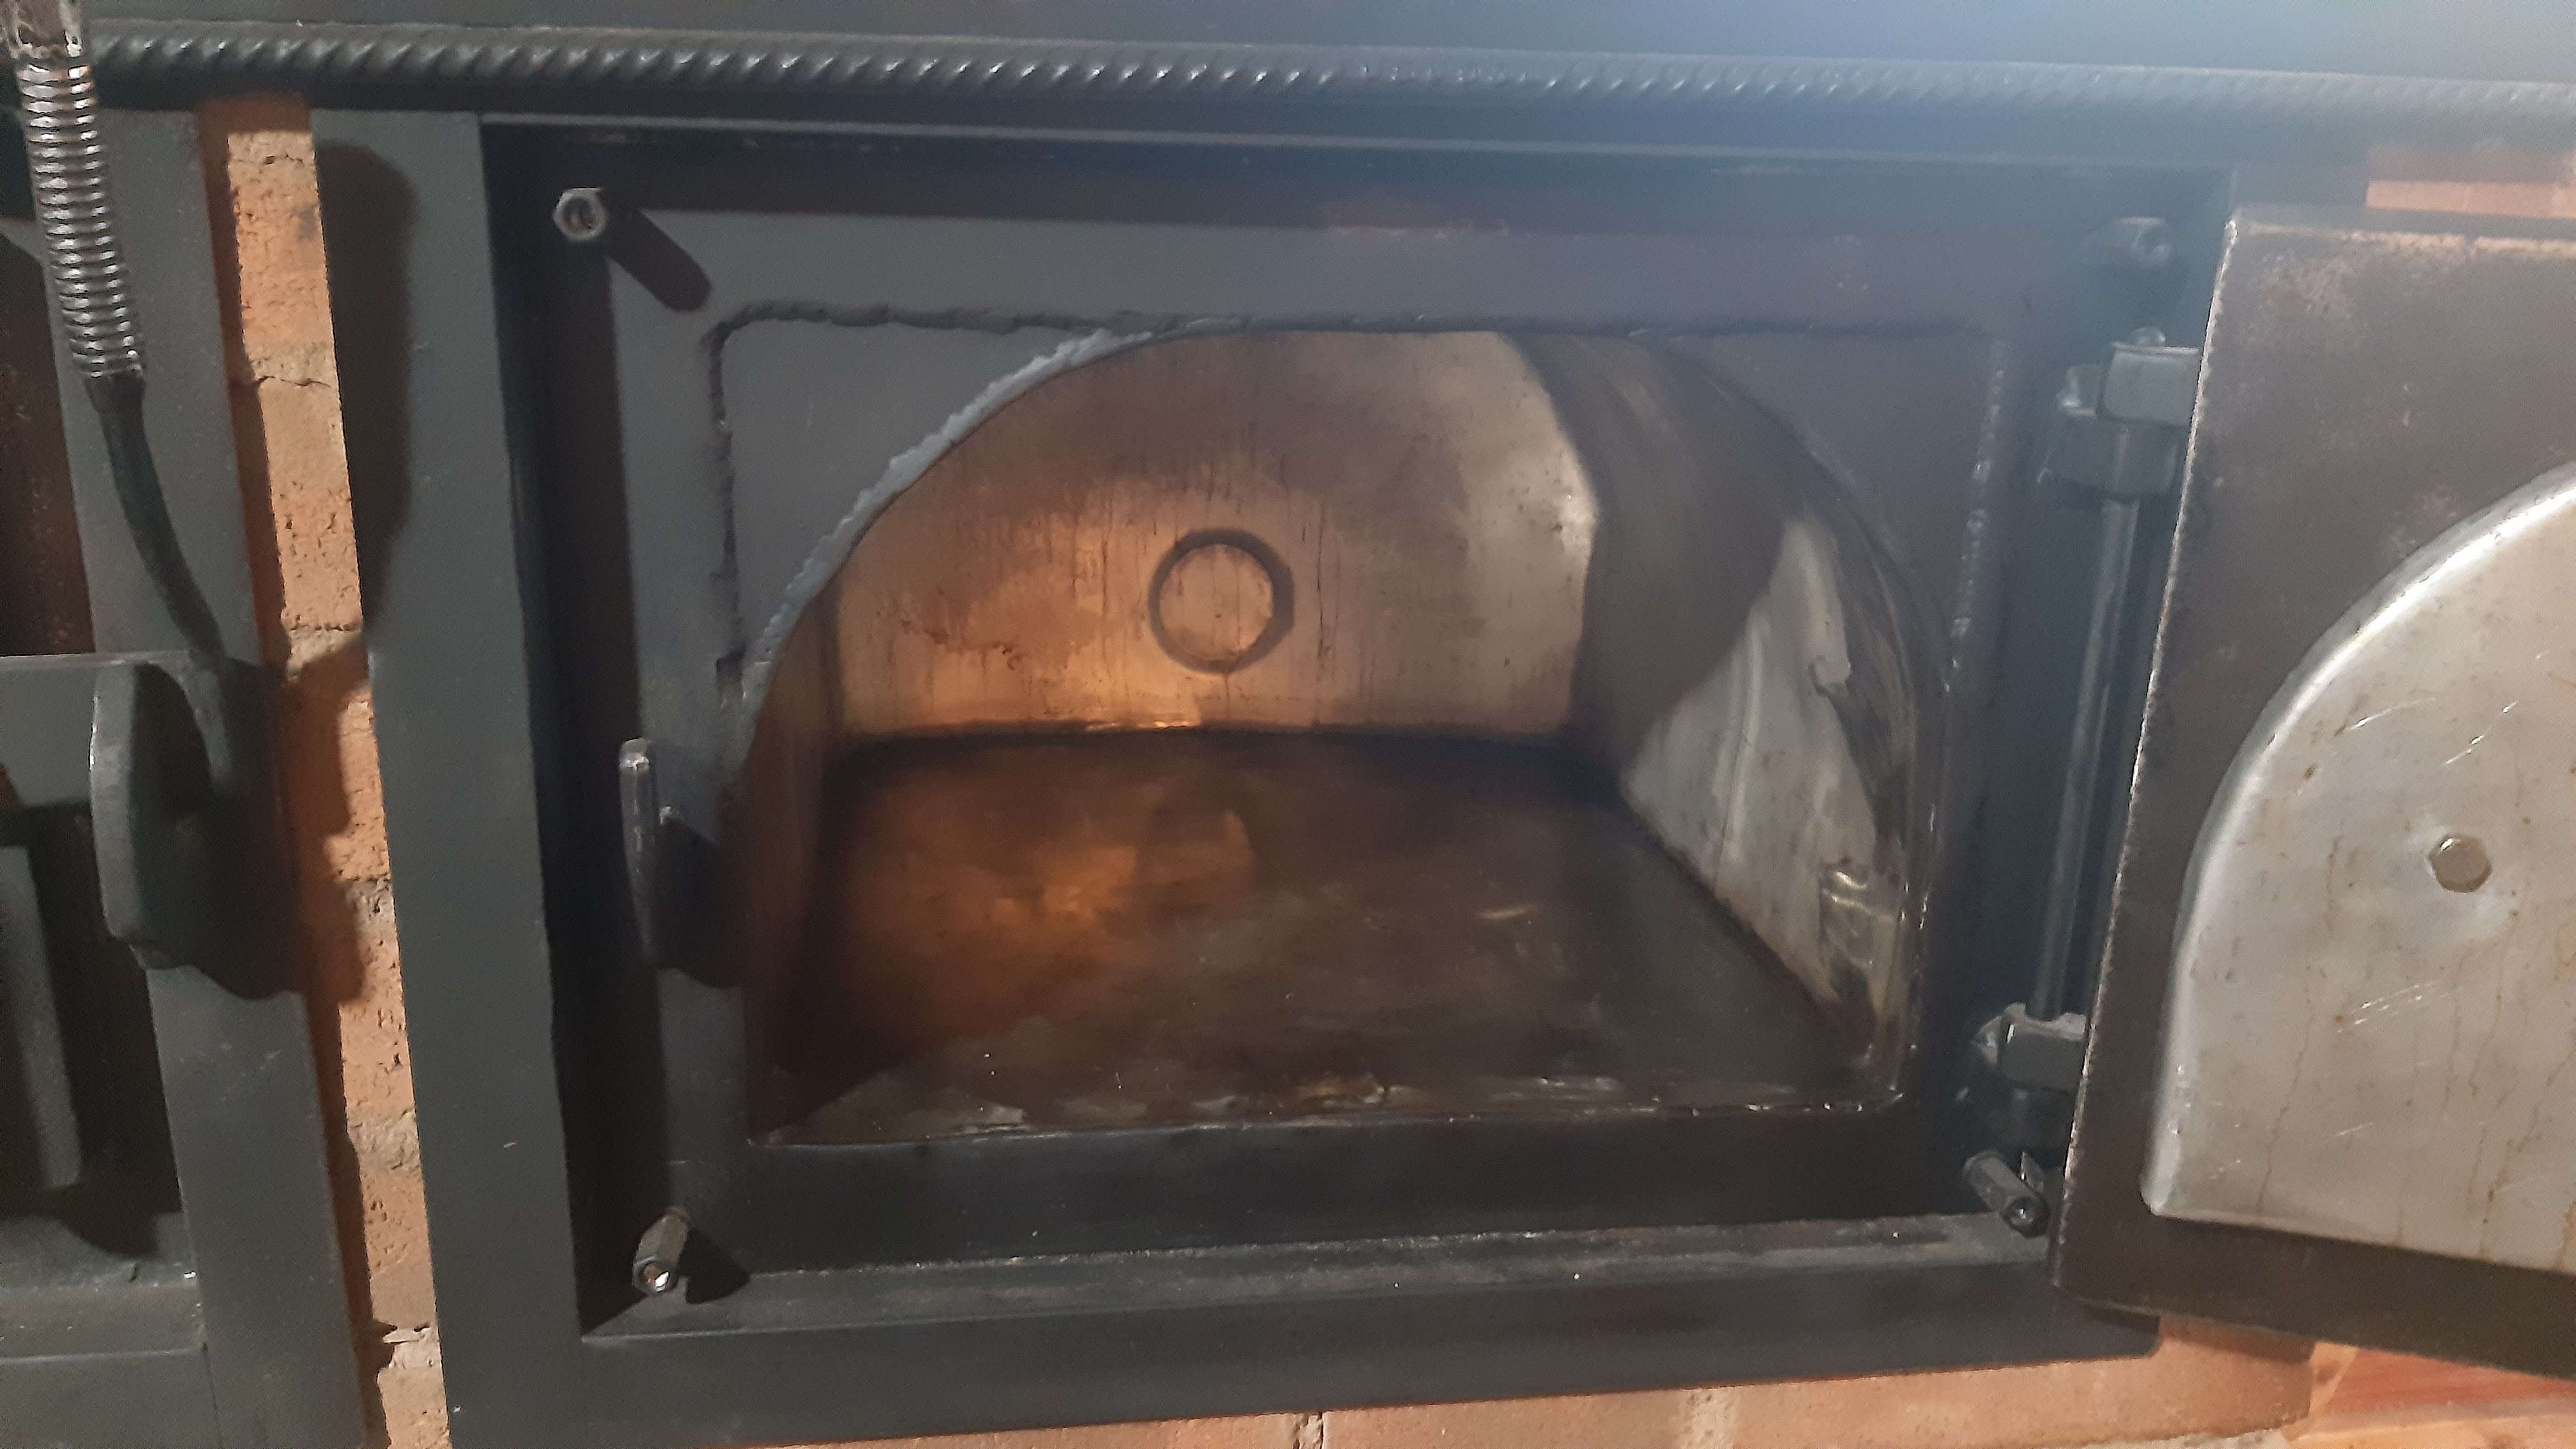
the next steps i have misplaced the pics of ----i used a stove door fiberglass rope at 10mm diameter ---and i "snaked" it around the bolt heads ---with a dabs of the glue stuff that comes with these door seal kits --- just on the corners ---and just over lapped the last of the rope above the tops of the bolts ---on the bottom  row---just to finish it without having to cut anything---- the ovens frame of flat steel strip--- has 4 holes ---on the corners -----then using 4 long that bolts come in from behind the inner steel works frame---these are then  held in position by some 6mm high nuts ---so when the  oven framework is put into place----and those  4 long type nuts are  then clamping  the two surfaces together ---the gasket rope  is trapped under neath and cant be over crushed and squeezed out ---as the bolt heads prevent this from happening-----and those bolt threads  ---are now outside of the ovens corrosive effects-------if  you have managed to follow this up till here ----well done ----you can now stagger over to your booze cabinet ---or have a strong cuppa at the kettle ---
 
pollinator
Posts: 679
122
  • Likes 7
  • Mark post as helpful
  • send pies
    Number of slices to send:
    Optional 'thank-you' note:
  • Quote
  • Report post to moderator
...stagger over to the booze cabinet....
Oddly, my lazy eye slipped quickly to your last admonition, and I did comply tony
 
tony uljee
Rocket Scientist
Posts: 415
173
  • Likes 6
  • Mark post as helpful
  • send pies
    Number of slices to send:
    Optional 'thank-you' note:
  • Quote
  • Report post to moderator
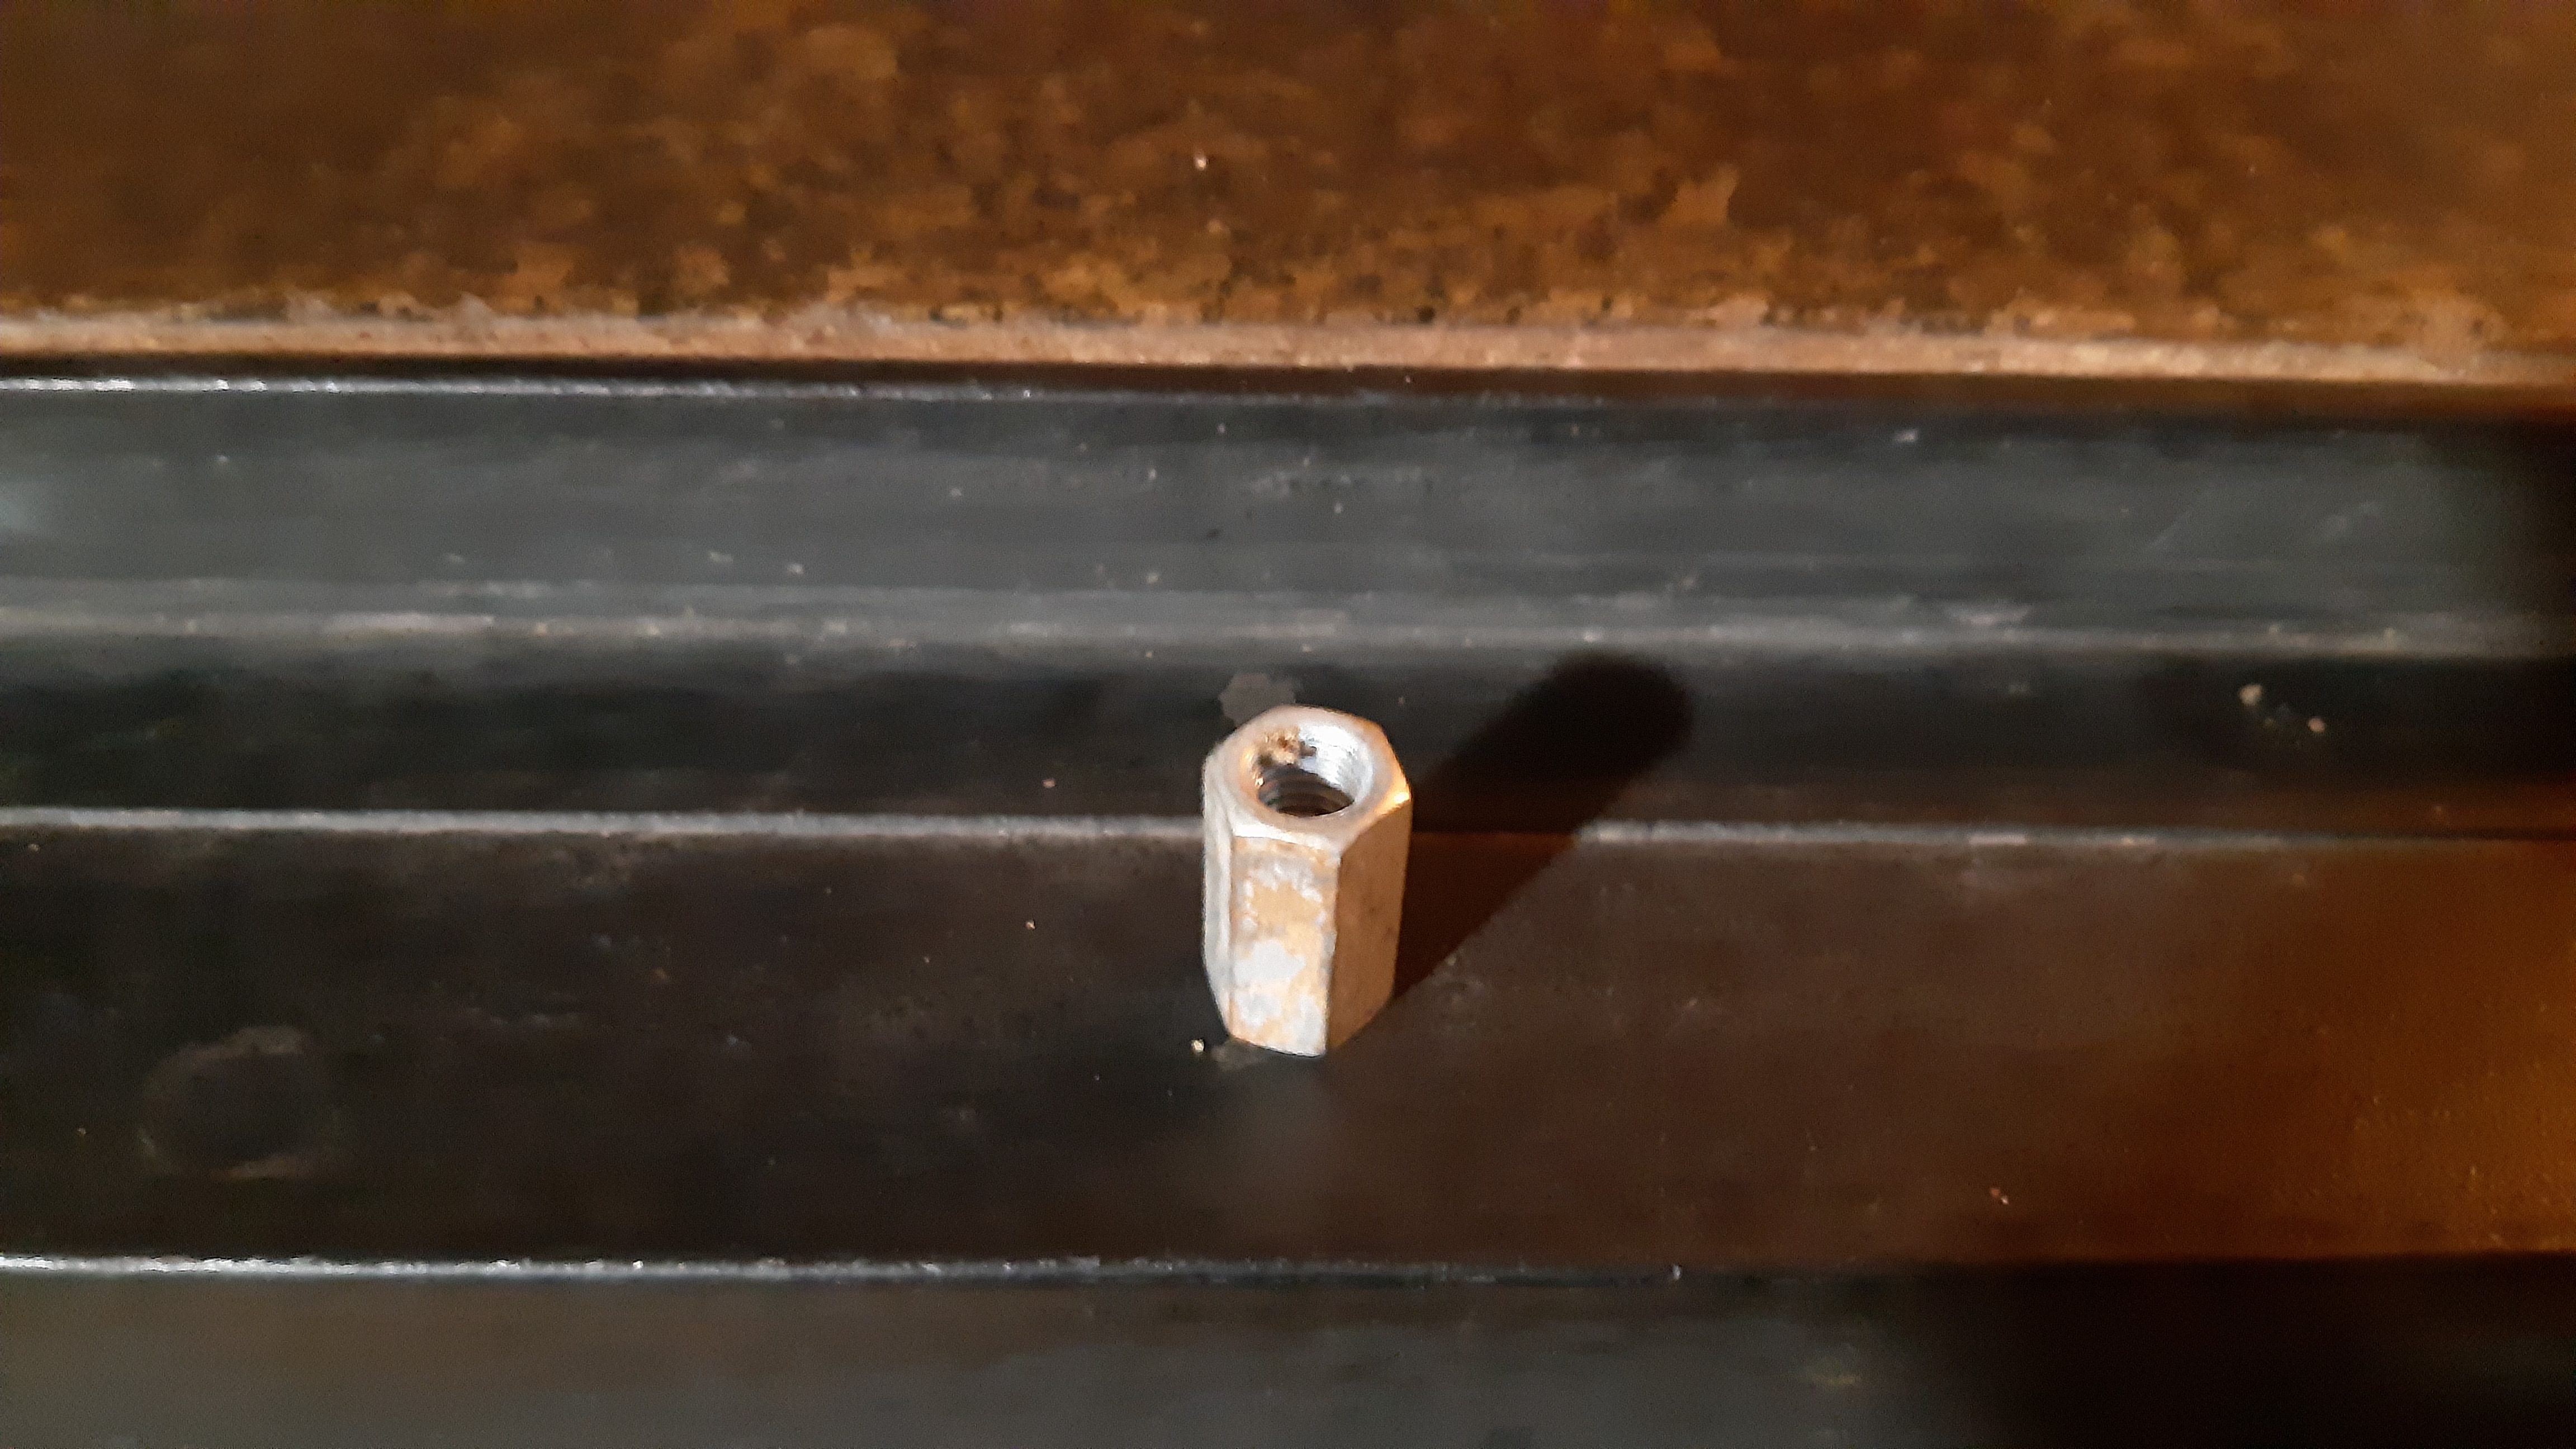
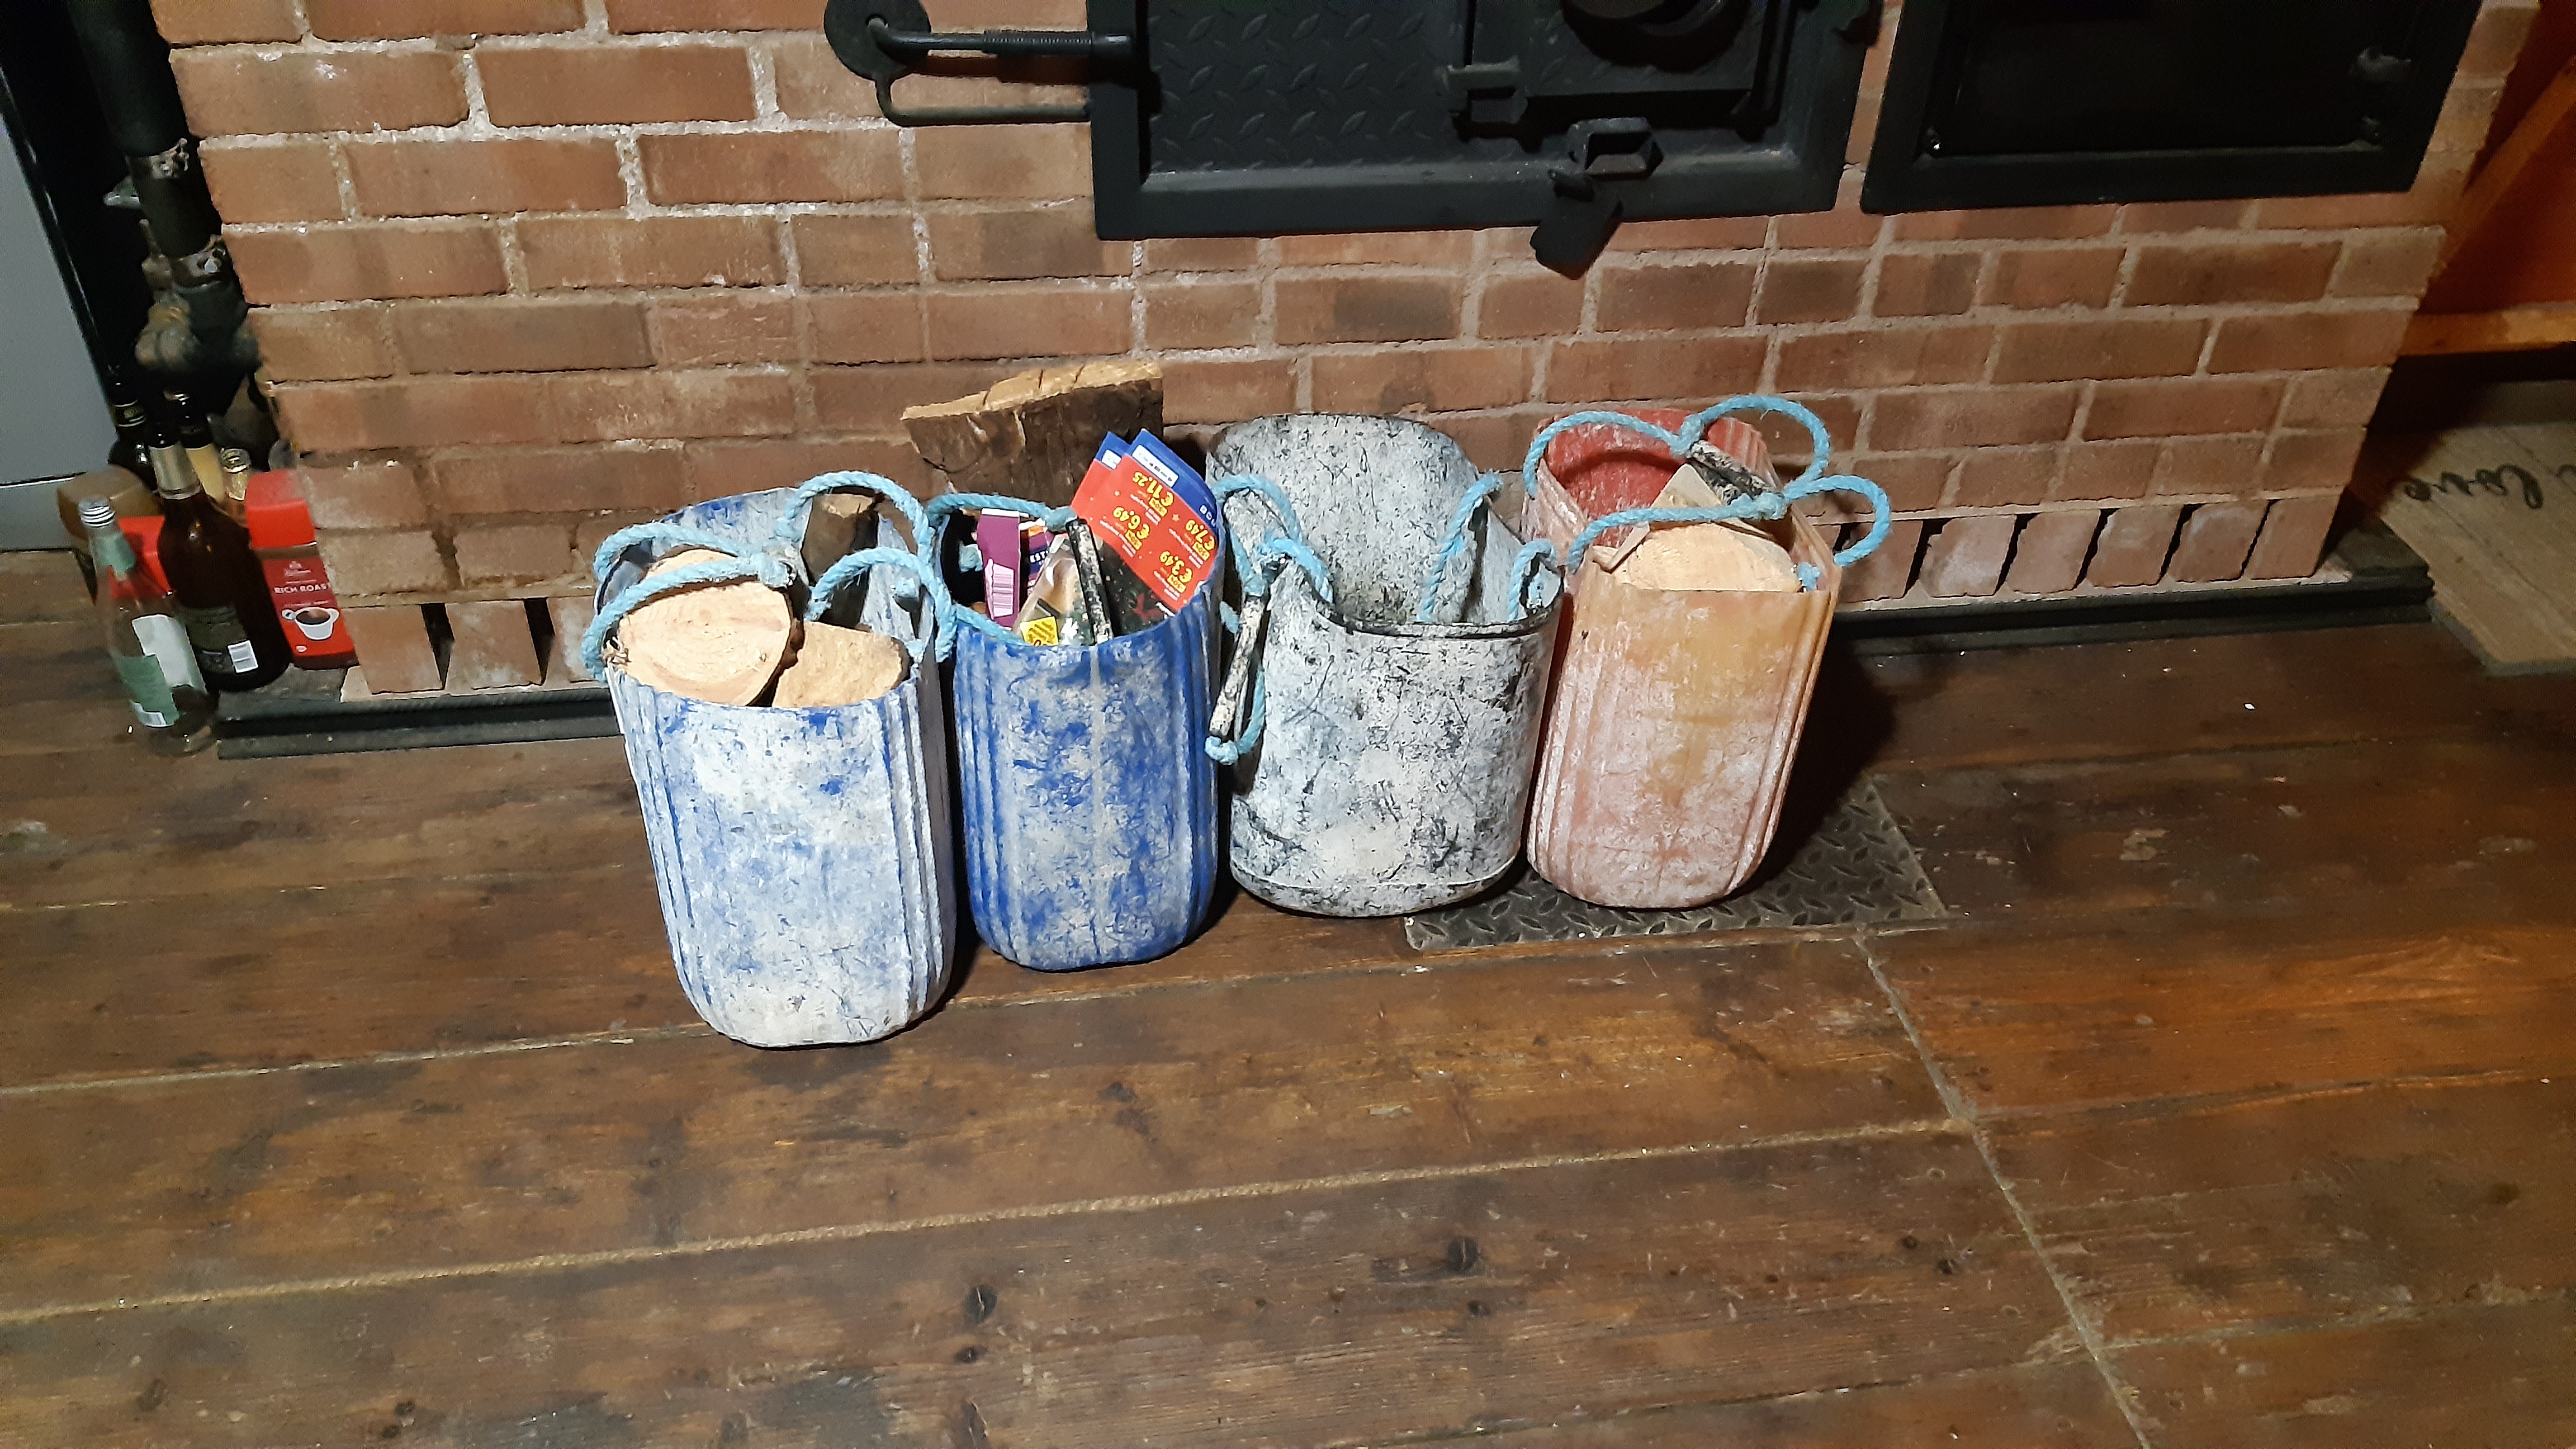
some pics to answer a friends questions, here is the type of  long nuts i used to bolt up the oven box frame onto the angle iron framework fixed into the stoves brickwork---these are used in the ducting and electric cable laying industry a lot ---could have used small /lower profile types ---using these just meant a cleaner look as i would not have to try and get the bolts to all the same length or have to cut them flush to the nut head-----a bit ott---then the brick work around the stove and the concrete worktop next to the stove ---and onto how much timber i burn ---one bucket for the kindling and scrap paper ---then three buckets of timber and some turf ---which i would currently burn per night---starting at 3pm ----not an absolute hard set and followed rule---if its colder that day i start earlier  and burn another two buckets ---not as much total fuel per day as used with my steel built old wood burner---about half to two thirds as much -----this is not a rocket mass heater ----so no 90 % savings -----its a wood burning stove  ----i do make some savings ---but it does give me more heat per load ----i get to cook and bake ---heats longer due to some heat retention by its mass---and it burns cleaner and safer ---plus it can burn any type of timber with out a problem . Around my area people are being slowly forced to not burn solid fuels by regulation and prices ---many have to as we have older type houses in our rural parts----and coal is used as turf use decreases ----hardwoods are costly to buy in and the bulk of timber at lower pricing is our fast grown sitka spruce---not the best choice for the cast iron stoves that most rely on-----my type of stove loves sitka
20261105_184755.jpg
[Thumbnail for 20261105_184755.jpg]
20261102_120542.jpg
[Thumbnail for 20261102_120542.jpg]
20261102_120500.jpg
[Thumbnail for 20261102_120500.jpg]
20261102_120509.jpg
[Thumbnail for 20261102_120509.jpg]
20261105_184637.jpg
[Thumbnail for 20261105_184637.jpg]
 
tony uljee
Rocket Scientist
Posts: 415
173
  • Likes 5
  • Mark post as helpful
  • send pies
    Number of slices to send:
    Optional 'thank-you' note:
  • Quote
  • Report post to moderator
those buckets are part of a set of 12 that i made for my build project ---a bit battered and lime d up ---some survived being run over by my tele-handler ---some being dropped full of mix from 3 floors up ---and still handy for many other projects-----been told to make new clean ones ---but not yet-----i did 480 batch mixes of hempcrete with those--- at 10 full buckets per batch---carried 2 at a time and poured into the formers------ no not all by myself ----only about half of it---when i started my project i bought a dozen of those two handled flexible tubs ---after day 3 most were handle-- less----and now a few only survive as garden grow tubs---
 
tony uljee
Rocket Scientist
Posts: 415
173
  • Likes 3
  • Mark post as helpful
  • send pies
    Number of slices to send:
    Optional 'thank-you' note:
  • Quote
  • Report post to moderator
the cabin that we now live in --is a rehash and remake of an older existing structure and rebuilt ,modified and added onto so that it became livable , the whole build is insulated with hempcrete including the floor ---the structure is raised off the ground by 24 inches one end and 48 inches the other---a concrete pad under this to carry the support columns---20 inches of a hempcrete layer in the floor ---and average wall and roof layer width of 14 inch----all internal walls are double layer of 16mm palletwood type timber---as are ceilings --with a 5 inch layer of hempcrete  (planks are sanded down a bit to knock off the rough saw cut from the mill)---all floors are 65mm thick scaffold planks---reclaimed ---the build is in 3 levels ---and now sized to suit the scaffold planks ---so it is now 24 planks wide (228mm /9 inch plank) and 8 scaffold planks in length-----for all intents and purposes ----2 average mobile homes wide and 3 high--- heated by the Matt Walker Continental Stove in a wet damp windy west coast of ireland----using what ever timber i can get that is dry ---mostly sitka spruce ---fast grown ---soft and fair amount of resin---some dead ash ---from our trees that are suffering from ash die back----we are going to lose over 95 % of our native ash ---some birch now and then ---and what we call sycamore ---which is actually a european maple and another introduced tree ---the monterey cypress--- ---all of this is local or home sourced and shed dried in no real organised way at all ----the stove burns this all clean and hot ----only a small amount of smoke on start up ---and puffs of steam -----so from outside the cabin you can not see a stream of smoke heading off in the wind
 
If you settle for what they are giving you, you deserve what you get. Fight for this tiny ad!
better than composting toilets
https://www.richsoil.com/willow
reply
    Bookmark Topic Watch Topic
  • New Topic