

|

|
|
|
|

|

|

|

|

|


J Lane

Skill verified by gir bot")

Skill verified by Jeremy VanGelder")

Skill verified by Mike Haasl")

Skill verified by Mike Haasl")

Skill verified by Alexandra Malecki")
Someone approved this submission.
 1
1


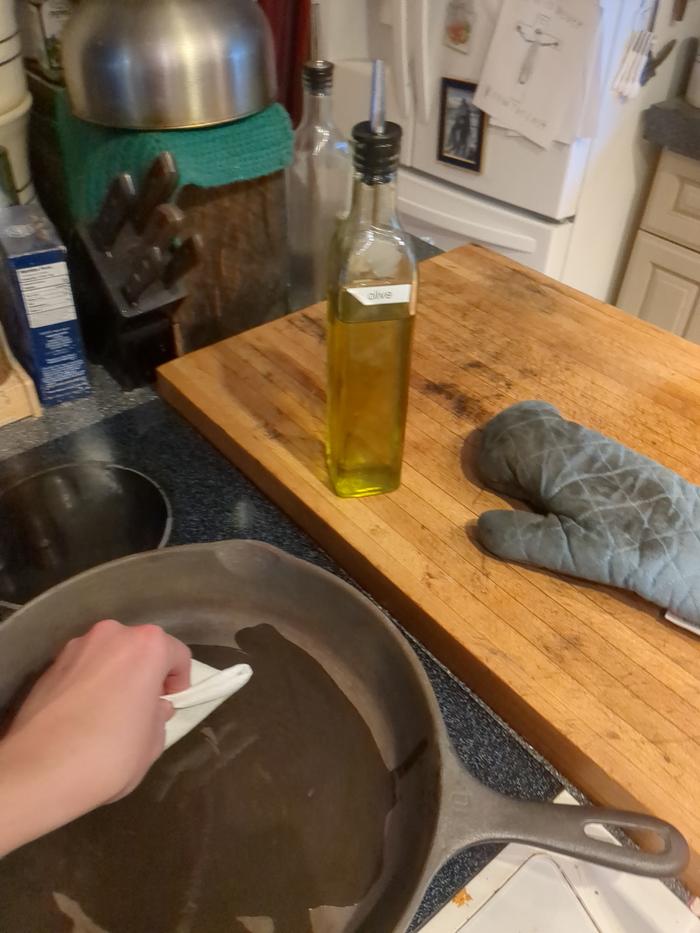
![[Thumbnail for IMG_1672.jpeg]](/t/150054/a/277755/IMG_1672.jpeg "Filename: IMG_1672.jpeg
Description:")


MommaMac

Skill verified by gir bot")
Alexandra Malecki approved this submission.
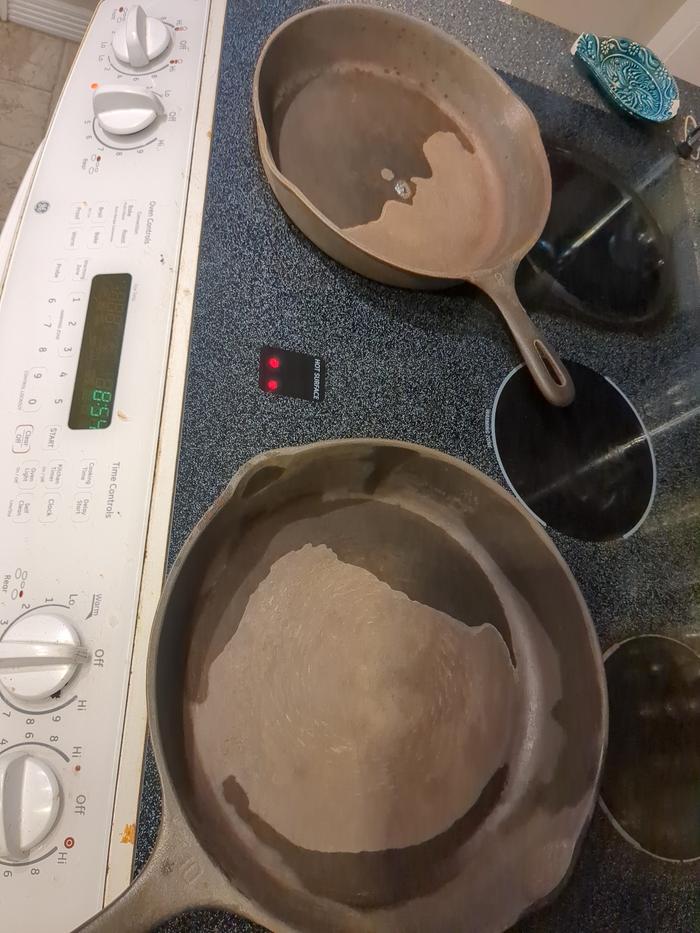
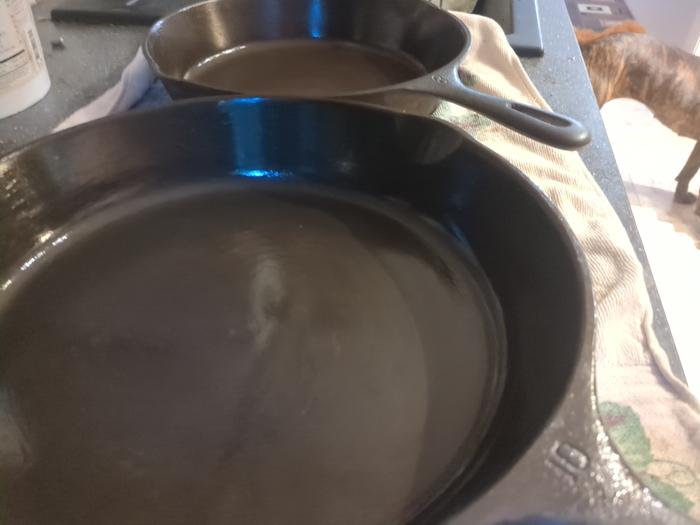
Note: You stripped the seasoning off completely and then built a new layer by heating it. Well done!
1
-Halley
I like to make stuff. Check out my compilation of projects! https://halleyschibelportfolio.my.canva.site/

Skill verified by gir bot")

Skill verified by Opalyn Rose")

Skill verified by Jeremy VanGelder")

Skill verified by Jeremy VanGelder")

Skill verified by Alexandra Malecki")
Someone approved this submission.
Note: I hereby certify your bb complete. I encourage you to try out a “drying” oil next time you season your cast iron.
I make a Maple Syrup instructional movie! Check it out HERE
SKIP books, get 'em while they're hot!!! Skills to Inherit Property
See me in a movie building a massive wood staircase:Low Tech Lab Movie

Skill verified by Nikki Roche")

Skill verified by L. Johnson")

Skill verified by Opalyn Rose")

Skill verified by Opalyn Rose")

Skill verified by L. Johnson")

Skill verified by Nikki Roche")

Skill verified by Jeremy VanGelder")

Skill verified by Christopher Weeks")

Skill verified by paul wheaton")

Skill verified by Nicole Alderman")

Skill verified by Mike Barkley")

Skill verified by Mike Barkley")

Skill verified by Ash Jackson")

Skill verified by Ash Jackson")

Skill verified by Opalyn Rose")

Skill verified by Opalyn Rose")

Skill verified by Opalyn Rose")

|
If a tomato is a fruit, does that mean ketchup is a smoothie? What if we mix in a tiny ad?
building a permaculture community with hands on permaculture
https://wheaton-labs.com/bootcamp
|


