• Post Reply Bookmark Topic Watch Topic
  • New Topic
permaculture forums growies critters building homesteading energy monies kitchen purity ungarbage community wilderness fiber arts art permaculture artisans regional education skip experiences global resources cider press projects digital market permies.com pie forums private forums all forums
this forum made possible by our volunteer staff, including ...
master stewards:
  • Carla Burke
  • Nancy Reading
  • r ranson
  • Jay Angler
  • John F Dean
  • Pearl Sutton
stewards:
  • Nicole Alderman
  • paul wheaton
  • Anne Miller
master gardeners:
  • Christopher Weeks
  • Timothy Norton
gardeners:
  • thomas rubino
  • Jeremy VanGelder
  • Matt McSpadden

4S: Stephen's Snowbirding & Sustainability Sojourn - February 2025

 
pollinator
Posts: 1285
Location: Wheaton Labs, Montana, USA
2425
9
home care trees books wofati food preservation bike bee building writing seed
  • Likes 8
  • Mark post as helpful
  • send pies
    Number of slices to send:
    Optional 'thank-you' note:
  • Quote
  • Report post to moderator
--Update 4--

Prep of Amy's adobe structure continues...!

To fill in large gaps and pitted sections, adding additional fibrous material to the mix is useful. Here, Amy gathers some Mexican feather grass to add into the mix.


The mud was a combination of grasses, various seed pods, dog- and horse-hair, along with our original mud mix.


Amy set to adding this filler mix into areas like the large gaps underneath the canales and around the supports we installed yesterday.


Here's this same area with all the gaps filled-in.


Here's a photo of the second canale we repaired. Amy scored the surface of the mud with a D.I.Y. cobber's thumb.


We also added the burlap mesh to these areas. Instead of using nails or screws to provide snag-points for this burlap, Amy opted to use bamboo skewers. These, you can drive deeply into the mud and leave enough sticking out for the burlap to hang on to.


Bamboo is flexible enough that you can guide the other end of the skewer into the mud, pinning down the burlap in more than a single section.


If the bamboo sticks out too far, you can always snap off what's in the way, then press the remainder of the bamboo back into the mud to add material. If it's surrounded by mud in the final stages, there's little chance of the bamboo degrading over time.


Today I spent most of my time practicing with a Mexican trowel and a mortar hawk. I used the edge of the trowel to score the patches I'd added to the structure, and Amy approves! I feel much more confident about my mudding skills after today's work


That's all for now. Application of the outer coat is starting today.
 
Stephen B. Thomas
pollinator
Posts: 1285
Location: Wheaton Labs, Montana, USA
2425
9
home care trees books wofati food preservation bike bee building writing seed
  • Likes 9
  • Mark post as helpful
  • send pies
    Number of slices to send:
    Optional 'thank-you' note:
  • Quote
  • Report post to moderator
--Update 5--

So we haven't been able to start an outer coat yet. Instead, we made sure we had one side definitely patched-up and ready to go for today's goal of applying the outer layer. So we spent yesterday thoroughly-coated and prepared for that outer coat. There are serious concerns about overnight freezing, so having an area mudded and patched early enough in the day so it could dry sufficiently has been a priority. Normally, adobe repair is something that happens in early spring, before planting. So we're a couple months ahead of schedule, and have to deal with the meteorological consequences.


Amy and I have had several conversations about regional gardening - how to grow stuff in a desert - as well as how she addresses "doing the best with what you have" while in a southwestern desert climate. Both Paul and I are averse to corn as a staple crop, and it really isn't recommended when you're trying to recreate the oak savannah biome promoted by folks such as Mark Shepard. In Amy's case there's not only a cultural and environmental connection to the plant (the deserts of the American Southwest), but an abundant resource for growing it well, literally next door.

Amy has a neighbour who keeps two horses, and when Amy learned her neighbor was bagging up and hauling the horse manure to the local landfill, she jumped at the chance to build a mutually-beneficial arrangement. So now Amy has incredibly-fresh, organic horse manure - an excellent fertilizer for a notorious nitrogen hog such as corn - dropped off at her backyard fence every morning...! Not only that, but Amy's waffles with cornmeal blended in were quite a special treat. So keep on with the corn, says I.

We've also used that rich, green, organic alfalfa manure as a key component of the "green paste" we use as a base layer for the adobe building. To provide an adherent layer for the mud to grip once it's stuck on surfaces such as smooth wood or even metal (in the unique case of the shelf brackets used to support the canales), the green paste has performed excellently. Up until now I'd only been using dried manure as a cob ingredient, but now that I've seen fresh manure in action (and realized that it doesn't have a foul odor), I'll consider using this stuff in cob mix as much as possible, going forward.


Here's the northward side of the adobe building. We opted to stick with having one side of the building ready to go, with the hopes we could snap some photos of a finished side of the building before I head out tomorrow.


There were also larger repairs done in other areas. Amy mixed more of the fibrous patch mud, so that large gaps could be filled and provide a base for the final coat when it comes along. Here's a photo of an inside corner Amy patched with the mud filled with horse hair and Mexican feather grass.


Before it began raining yesterday afternoon, we wrapped up the "scratch coat" and then covered it with a few tarps. The wind was whipping things around so we weighted everything, clamped them together, and used bungie cords to secure it all as best we could. The less we need to do at the start of today, the better.

Here's the end result of the "scratch coat"/patching layer, including the scored surface.


That's all for now. We'll see how our final coat looks once today's work is done.
 
Stephen B. Thomas
pollinator
Posts: 1285
Location: Wheaton Labs, Montana, USA
2425
9
home care trees books wofati food preservation bike bee building writing seed
  • Likes 6
  • Mark post as helpful
  • send pies
    Number of slices to send:
    Optional 'thank-you' note:
  • Quote
  • Report post to moderator
--Update 6--

Still too cold for a final coat and with a risk of rain, so Amy made the executive decision that we would prioritize making sure there was a thorough scratch coat on almost everything on the north side of the building. Once the weather is consistently warm, like in early May, Amy will add the final coat of mud to the building, and then the project ought to be complete.

To start off today, I added the "green paste" to the "stabilized" adobe bricks (bricks made with asphalt emulsion added to the mud mix) along the top of the parapet. Stabilized adobes are water-repellent, and unfortunately they also repel water-based plasters. The green paste allows the mud to stick to these stabilized bricks.


Another helpful step is to spray water on the mud that's already on there, which helps the new mud stick to it. "Like sticks to like." We used some fronds of a locally-growing shrub, dunked them in a tub of water, and then slapped it against the building to spray the water.


To sum it up, the building wasn't done, and this was due mainly to the cold time of year restricting what we could do while I was here. But here's how things looked at the start, when I arrived on Tuesday:


And here's the north side of the building, with the thorough scratch coat added:


Here's the northwest section, closest to the chimney, with the scratch coat applied:


One thing you can do to smooth the rough patches on a final coat is buff them down with a flat pad of some kind. This is a piece of a plastic lid with the edges cut off. So long as the mud coat is similar in hardness to leather, then it ought to buff out all right. This is just the scratch coat, and it wasn't dry enough yet, but Amy and I wanted to include this photo for demonstration purposes.


And that's all for New Mexico, this time around...! Big thanks to Amy and family for her fun project and their generosity and friendliness! Tomorrow I head off to Arizona for another assignment.

 
gardener
Posts: 760
Location: 5,000' 35.24N zone 7b Albuquerque, NM
529
hugelkultur forest garden fungi foraging trees cooking food preservation building solar greening the desert homestead
  • Likes 9
  • Mark post as helpful
  • send pies
    Number of slices to send:
    Optional 'thank-you' note:
  • Quote
  • Report post to moderator
Thank you, Stephen, for all your amazing contributions to this project. Your curiosity and enthusiasm enriched the prep and plastering work experience. The green manure plaster experiment would not have happened without your encouragement.
I am incredibly grateful for your work contributions and your camaraderie in the wonderful world of natural building.
Safe travels and thank you again AMAZING Stephen!
 
Stephen B. Thomas
pollinator
Posts: 1285
Location: Wheaton Labs, Montana, USA
2425
9
home care trees books wofati food preservation bike bee building writing seed
  • Likes 7
  • Mark post as helpful
  • send pies
    Number of slices to send:
    Optional 'thank-you' note:
  • Quote
  • Report post to moderator
--Update 7--

I've been at Jen Anderson's retreat site in remote Arizona for the past few days. It's my first time in this kind of extreme environment, plus there are wild burro wandering everywhere (...?!?!?!) through the mining ghost town (....!?!?!?)  Big thanks to Jen for this opportunity to see how gardening works in such an environment.

I have a number of images to share, but for this update I wanted to show the Zuni bowl I built this afternoon. The goal of a Zuni bowl is to provide a place on flat desert land where moisture and blown-away soil can collect, so that things will eventually grow there. I first learned about them through the GrowTree Organics YT Channel, and I wanted to finally give them a chance. Jen was up for it, so I picked a site and began the process.


She and I selected an area where it would be ideal for moisture to collect. Nearby trees would benefit from the water having a chance to sink in and provide some relief and nutrients.

I marked-off the area where I would dig a roughly-circular depression.


Then I began the time-consuming process of hollowing-out the bowl. By the time I was done, the depression I made was about 1 foot deep.


Prior to beginning the dig, I collected several flat-ish, jagged rocks from the nearby mining cast-off piles. There are a lot of them, however this is snake country and since they'll be waking up any day now I didn't want to just root around in there willy-nilly. I picked them with care, and for the entire process about three wheel-barrows full were used.


To fill the Zuni bowl, you simply start placing rocks in the center/bottom, then mesh them together like a mosaic. The goal is to have the rocks/stones snug together so they don't roll around, while providing lots of nooks and crannies for moisture and soil to collect.


Continue this process until the entire bowl is lined with rocks.


Now, all Jen will need to do is wait for rains to come to see if it's an effective location for water collection. An alternative is to simply add water to the Zuni bowl from a hose (Jen has excellent well water on her site), but that won't show much in the way of water flow and drainage. So making some observations after the natural processes occur seems to be the most-effective course of action. It's nice to see if Nature will do things for us, so we can focus on other tasks. We shall see.

I have a few other projects to document about my visit, including roughing-out some swales on a hillside for water retention. More will come later.

That's all for now! Thanks for reading, and enjoy your day...!
 
Stephen B. Thomas
pollinator
Posts: 1285
Location: Wheaton Labs, Montana, USA
2425
9
home care trees books wofati food preservation bike bee building writing seed
  • Likes 8
  • Mark post as helpful
  • send pies
    Number of slices to send:
    Optional 'thank-you' note:
  • Quote
  • Report post to moderator
--Update 8--

I had a few more photos from my visit to 
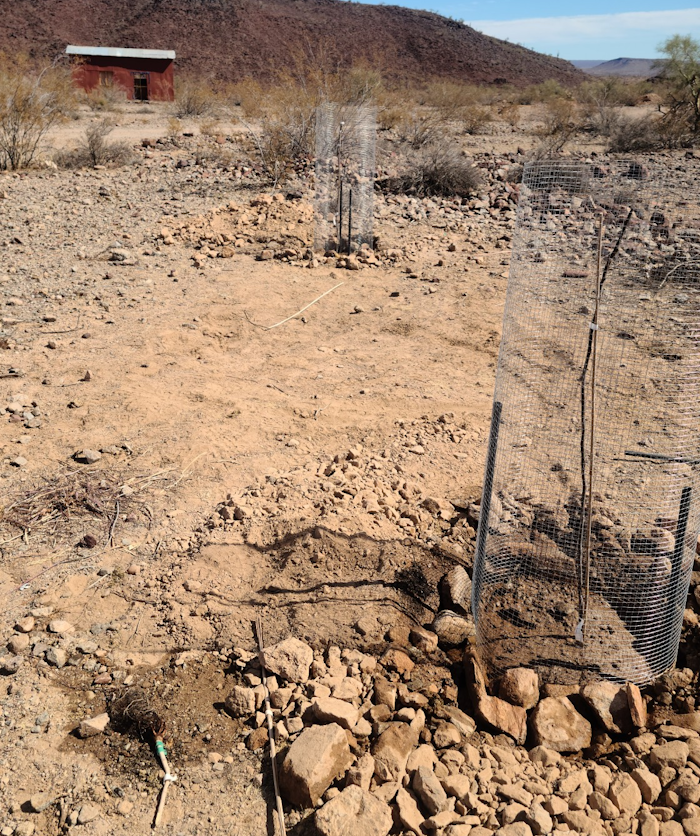
Jen Anderson's retreat site in western Arizona. Along with New Mexico the previous week, this was my first visit to the American Southwest. It's been a massive learning experience for me. While I understand that all of nature is in a constant battle for survival everywhere you look, this reality was shown in stark relief in such a beautiful - and extreme - environment.
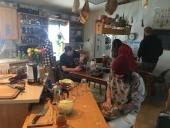


Jen, Leo, and I transplanted and planted a number of trees during my visit. Here are two dwarf olive trees we moved to a site closer to water. When they grow, they'll also offer some shade to a nearby structure, plus establish an overstory for shrubs and grasses.


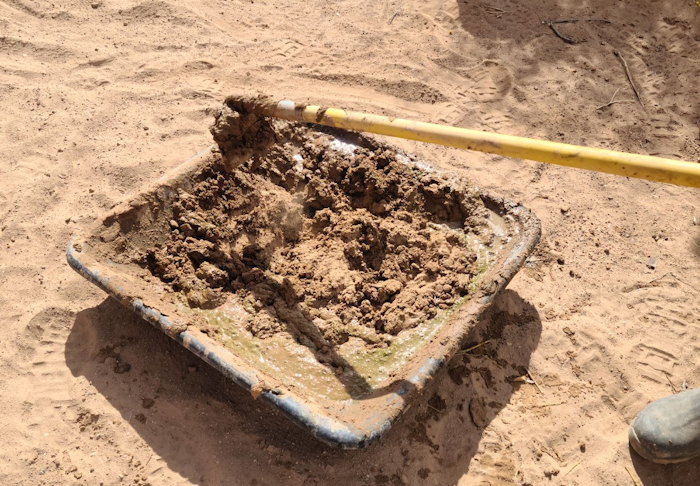
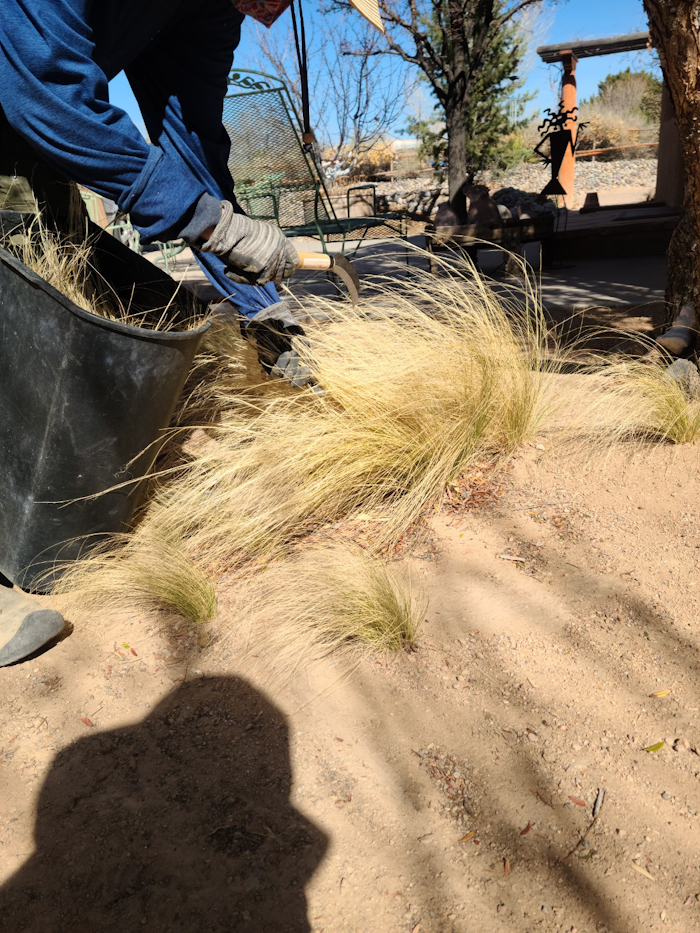
We removed two dried-out fig trees across the path from the olives, and added these two in their place. The soil was so completely full of rocks...! Jen and I both worked to remove as many as possible, then return the arable soil along with some garden compost, much more full of organic material.


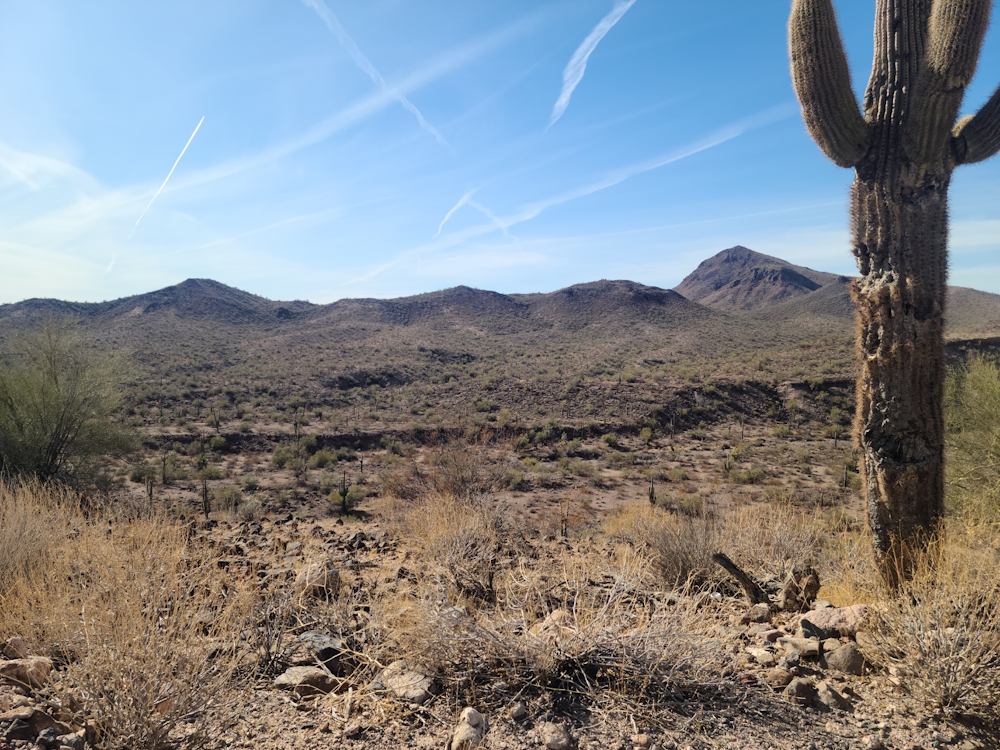
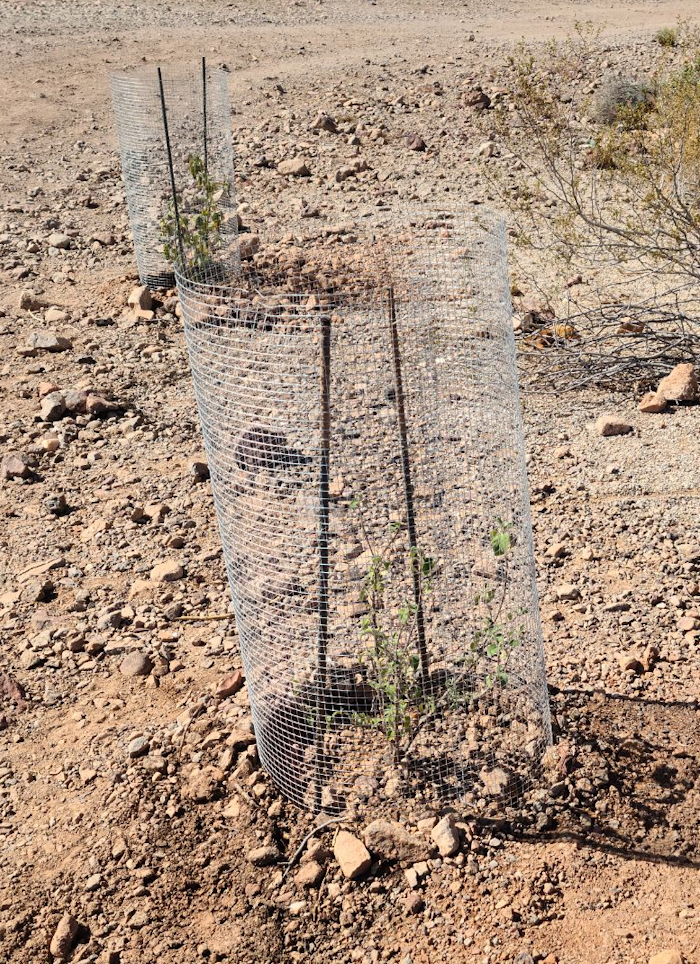
Two more fig trees made their way into the ground, on the southeast slope by Jen's house. They'll be irrigated with the help of her impressive greywater system and additional well water.


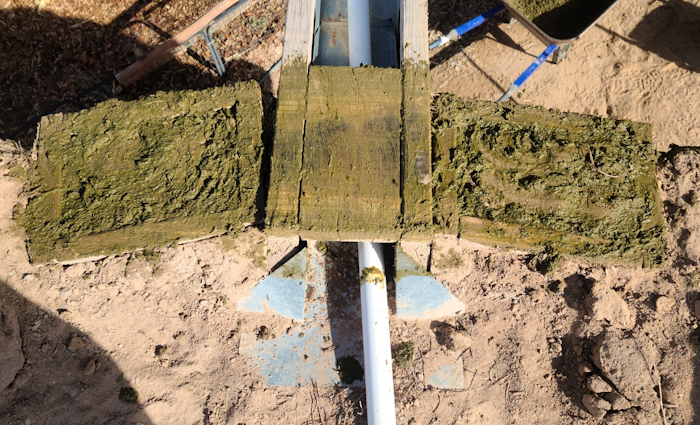
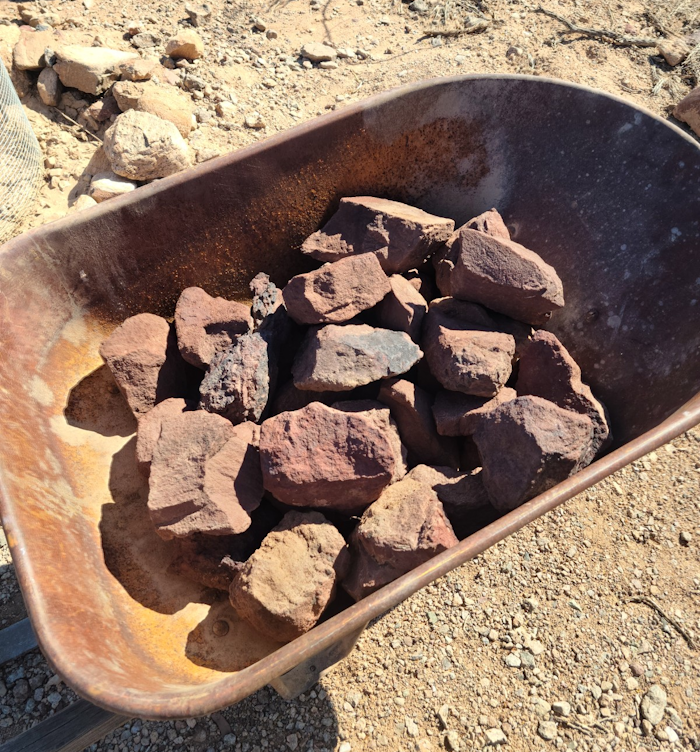
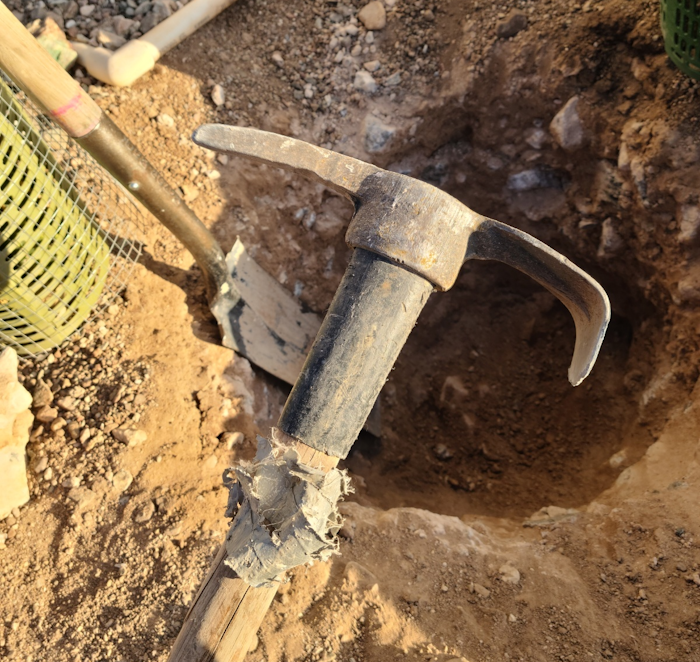
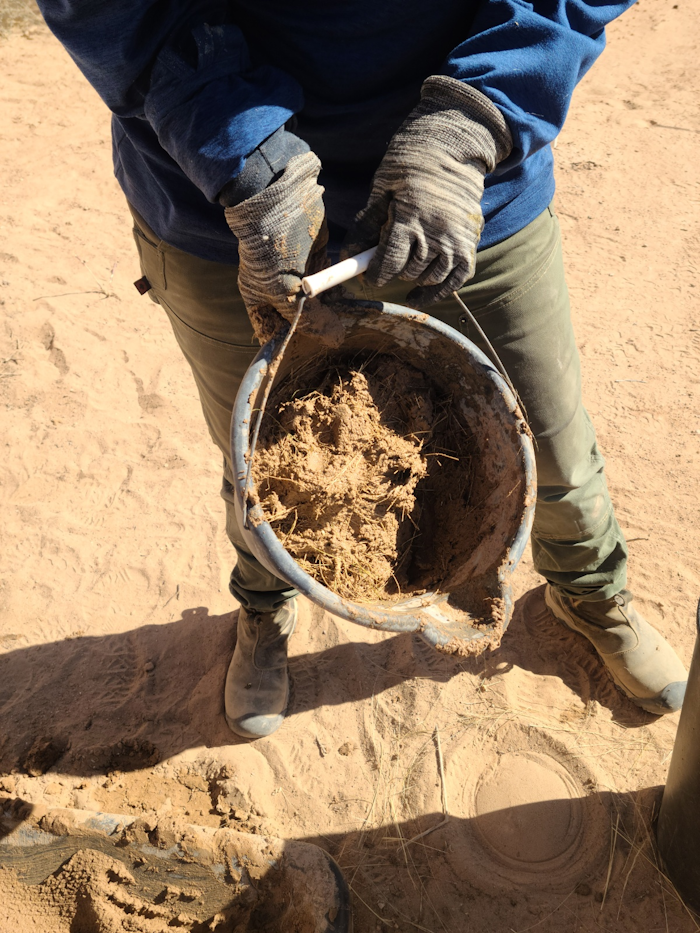
...Did I mention the ground was full of rocks? Sometimes they bite back against the tools I used...


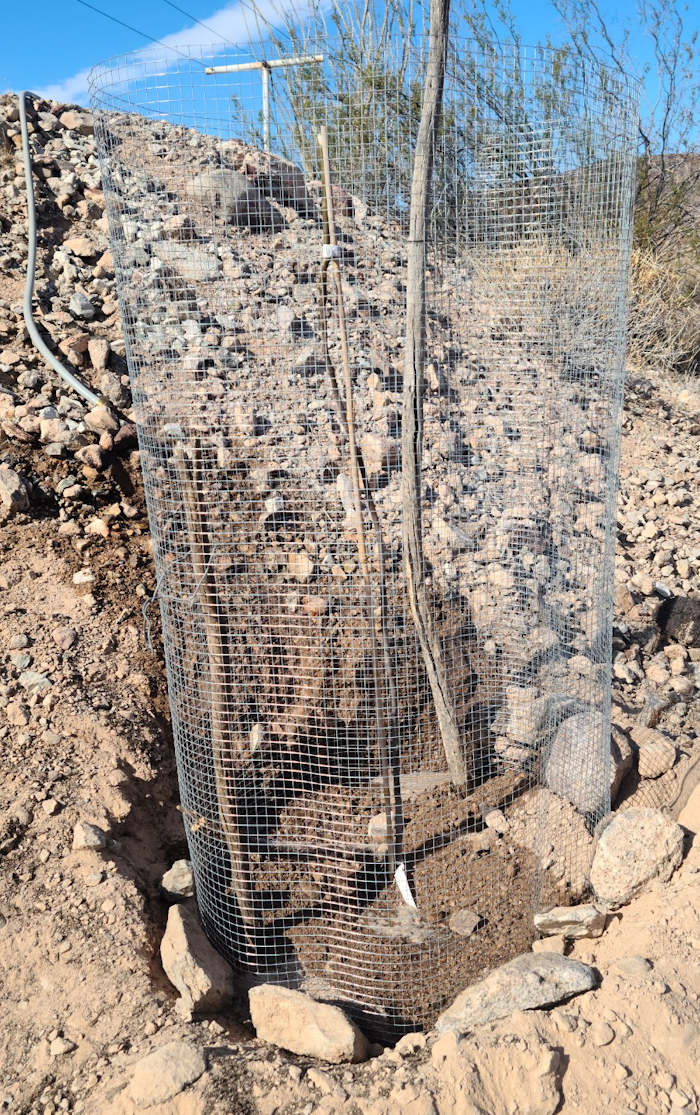
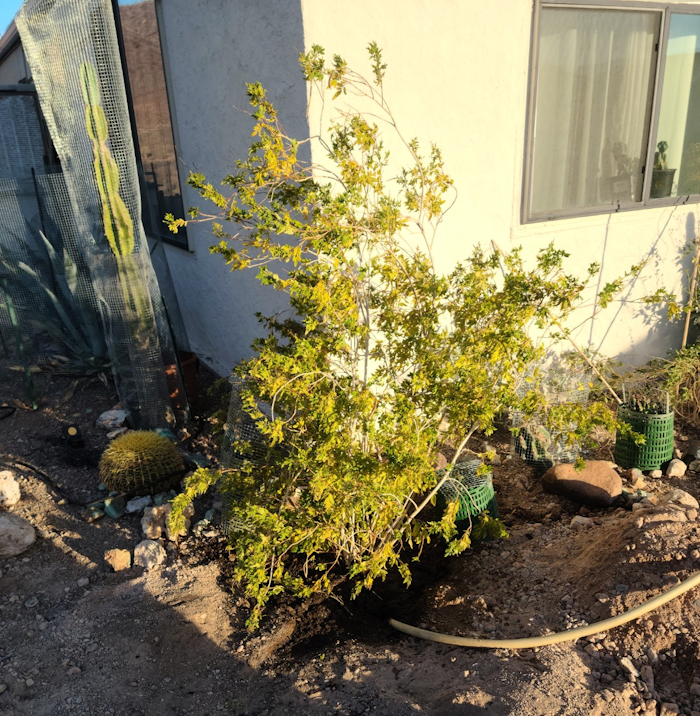
The new site for this transplanted Orange Jubilee shrub was full of 'em. It took two sessions of shoveling, picking, and rock-bar shoving to clear it out. But the shrub had been growing too big for it's barrel, and I think it'll be much happier with some cleared-out space to stretch its roots.
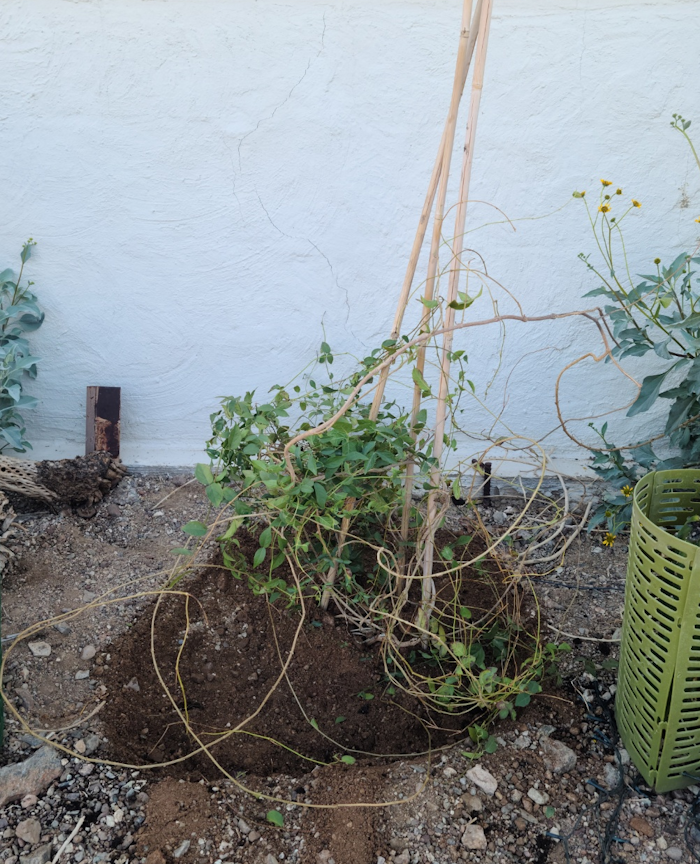


This cat claw vine was transplanted to a more trellised, vine-friendly spot up at the house, so that it provides some additional passive cooling during the hottest months.


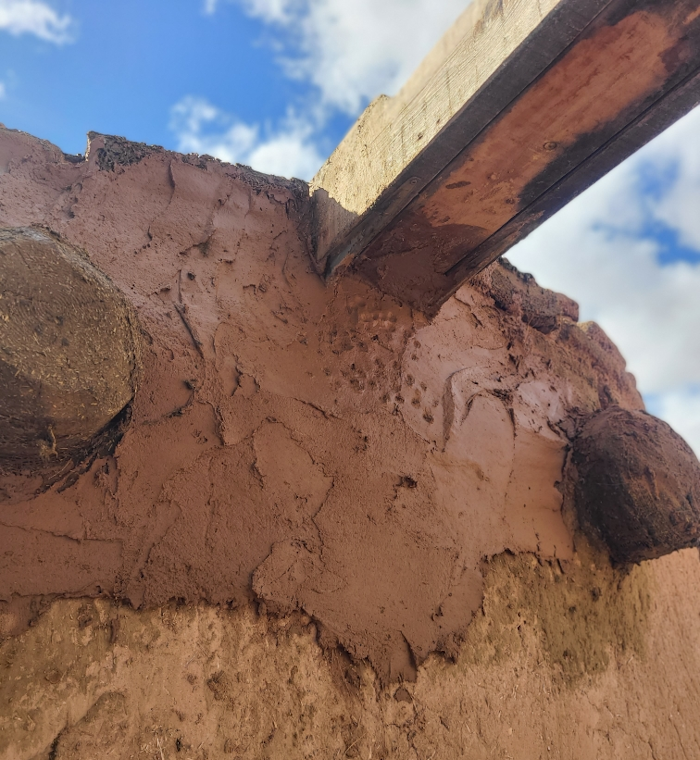
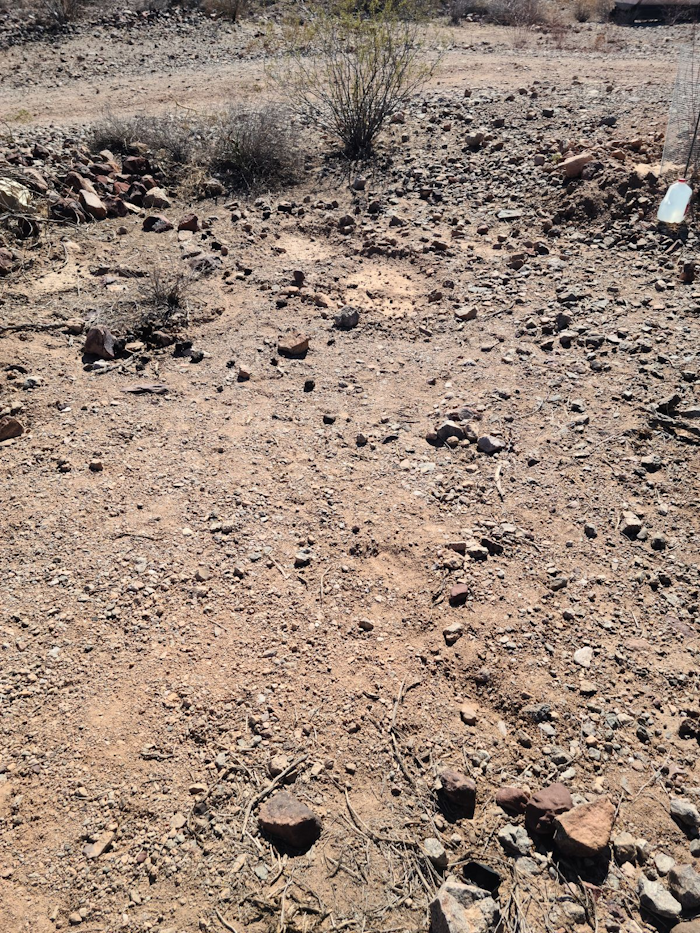
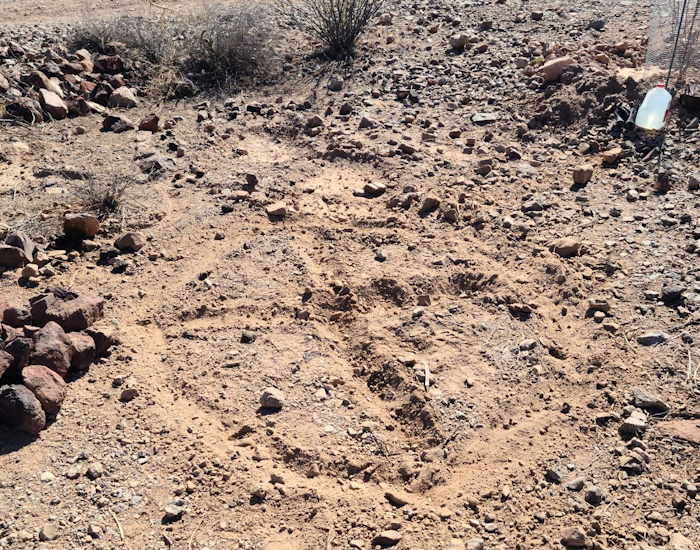
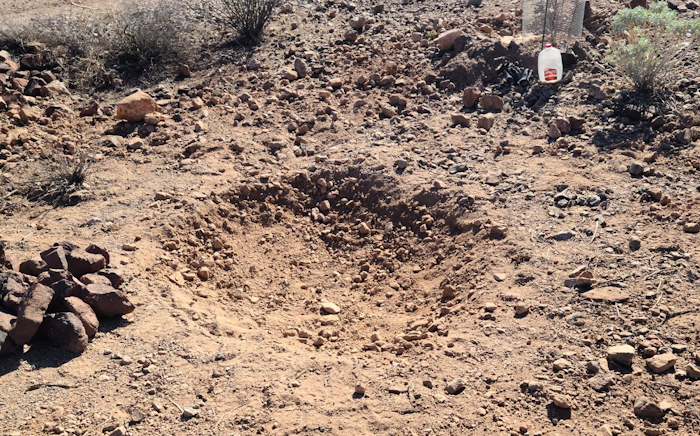
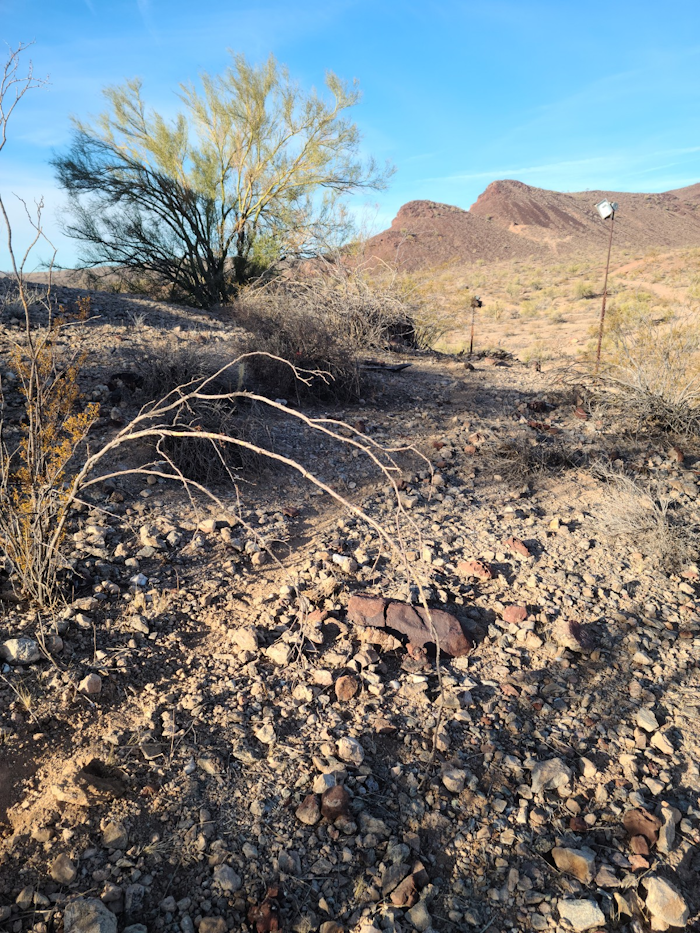
There was another slope across the property that had little vegetation and simply sloughed water during the July monsoons. To arrest some of this flow and give plants a chance to use some of this water, Leo and I started a couple swales on the hillside. The land's previous owners had installed a couple conduit-covered power and septic lines just a bit below the surface, so we had to work around those. The good news is that after this task was sorted out, I think the on-site plants will have a much easier time using all that water before it just washes away.

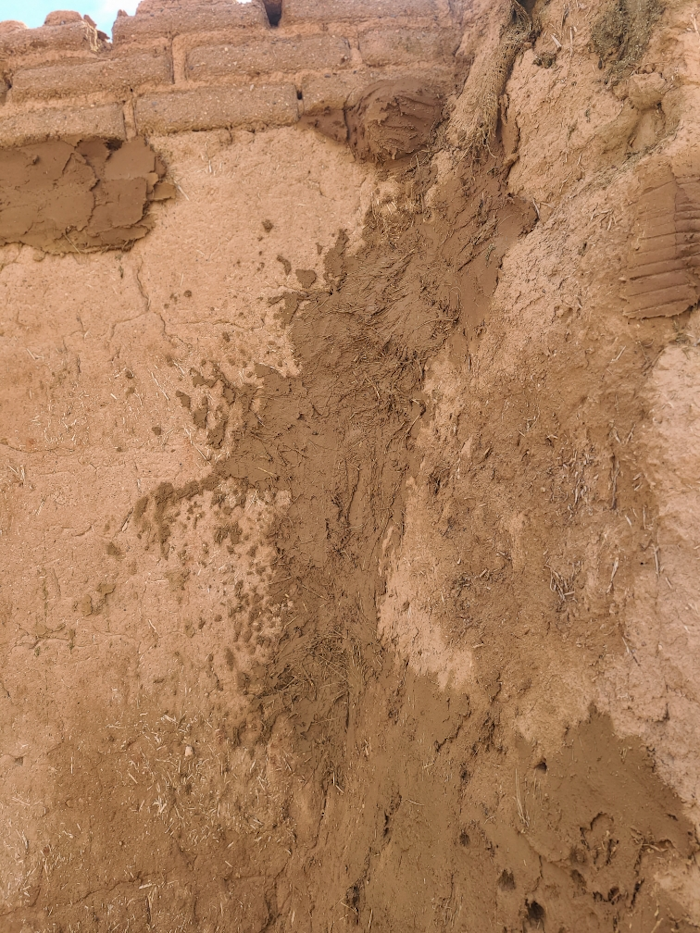
The strategy to begin was similar to digging out water trenches at Wheaton Labs. Step one: rough it out. I dragged a shovel along the natural contour of the hillside.


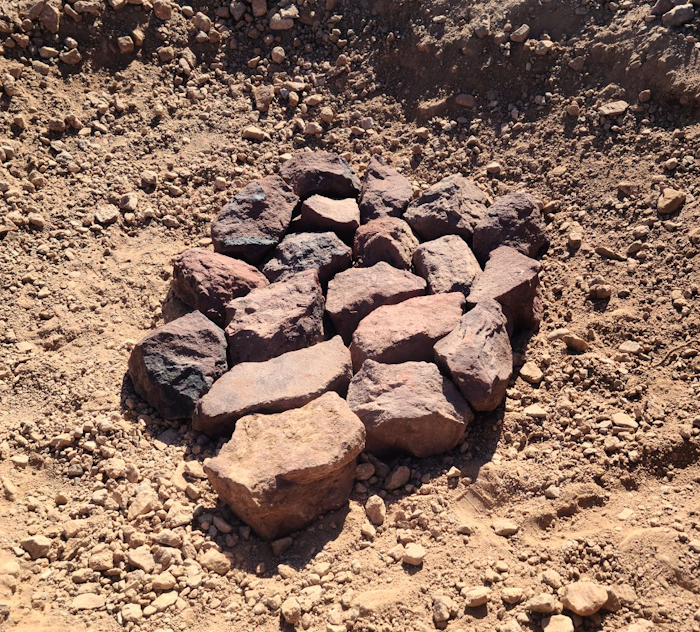
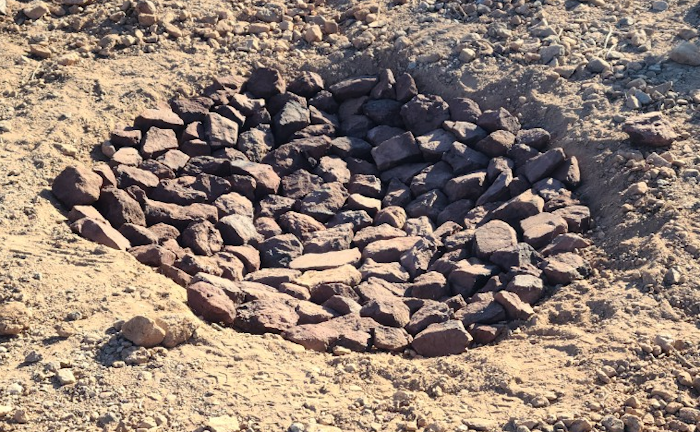
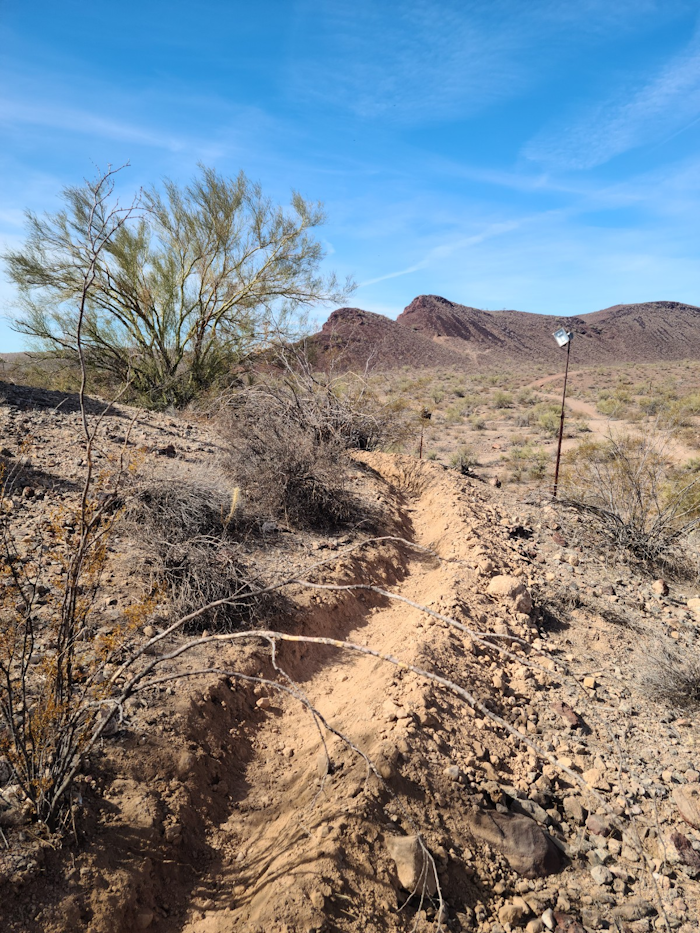
The idea behind a swale is to delay the downward flow of water by using earthworks. The slope ends at the downhill mound: the part that holds the collected water. The easiest way to achieve this is to gradually move the soil and rocks you dig out of the trough to build up the mound right next to it.


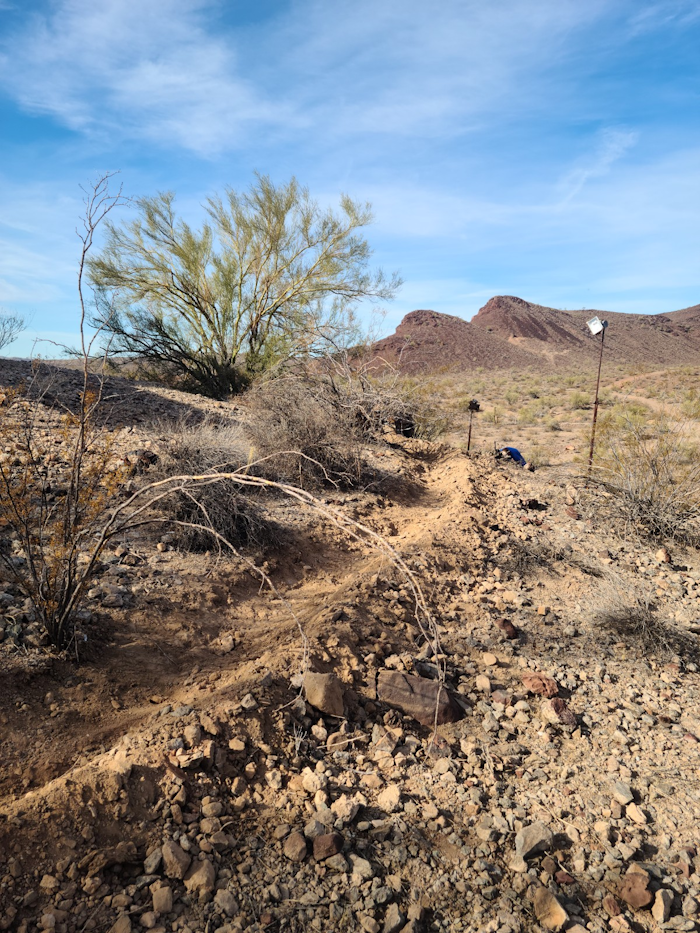
The end result is a gentle slope, a flat-bottomed trough (that will later be leveled), and a gentle, earthen mound below it. If it were a steeper angle going down the hill, then terraces would likely be a more effective strategy. At least for this site, we figured swales would work well enough. Again, this is a site that Jen will need to observe when rains come, and then provide some fine-tuning to optimize its water-retention abilities.


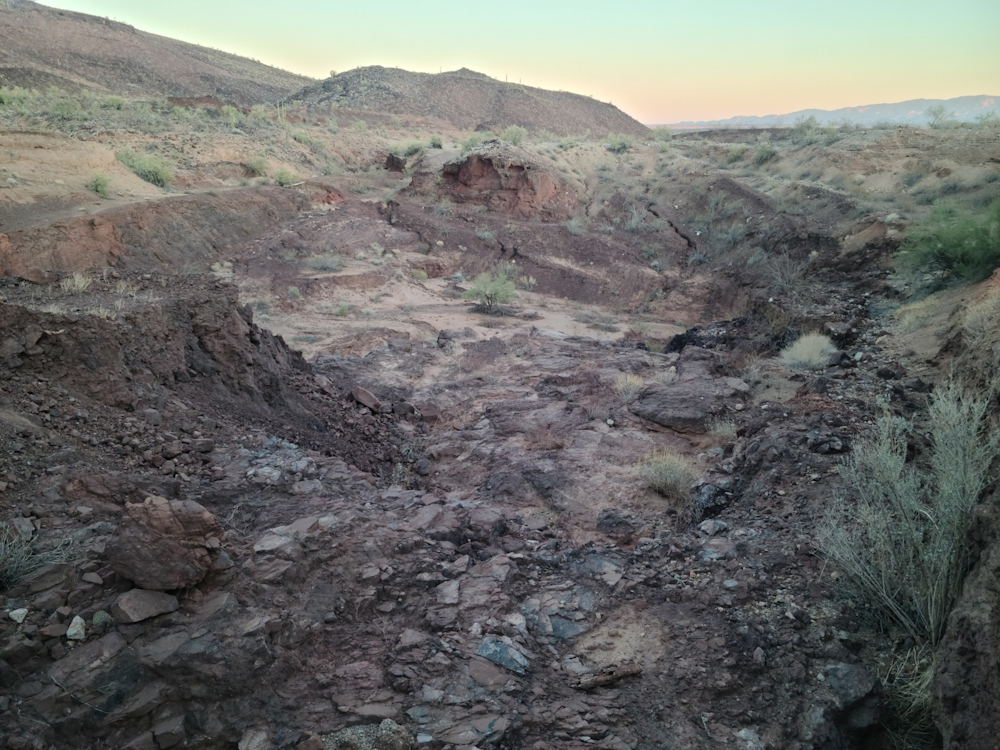
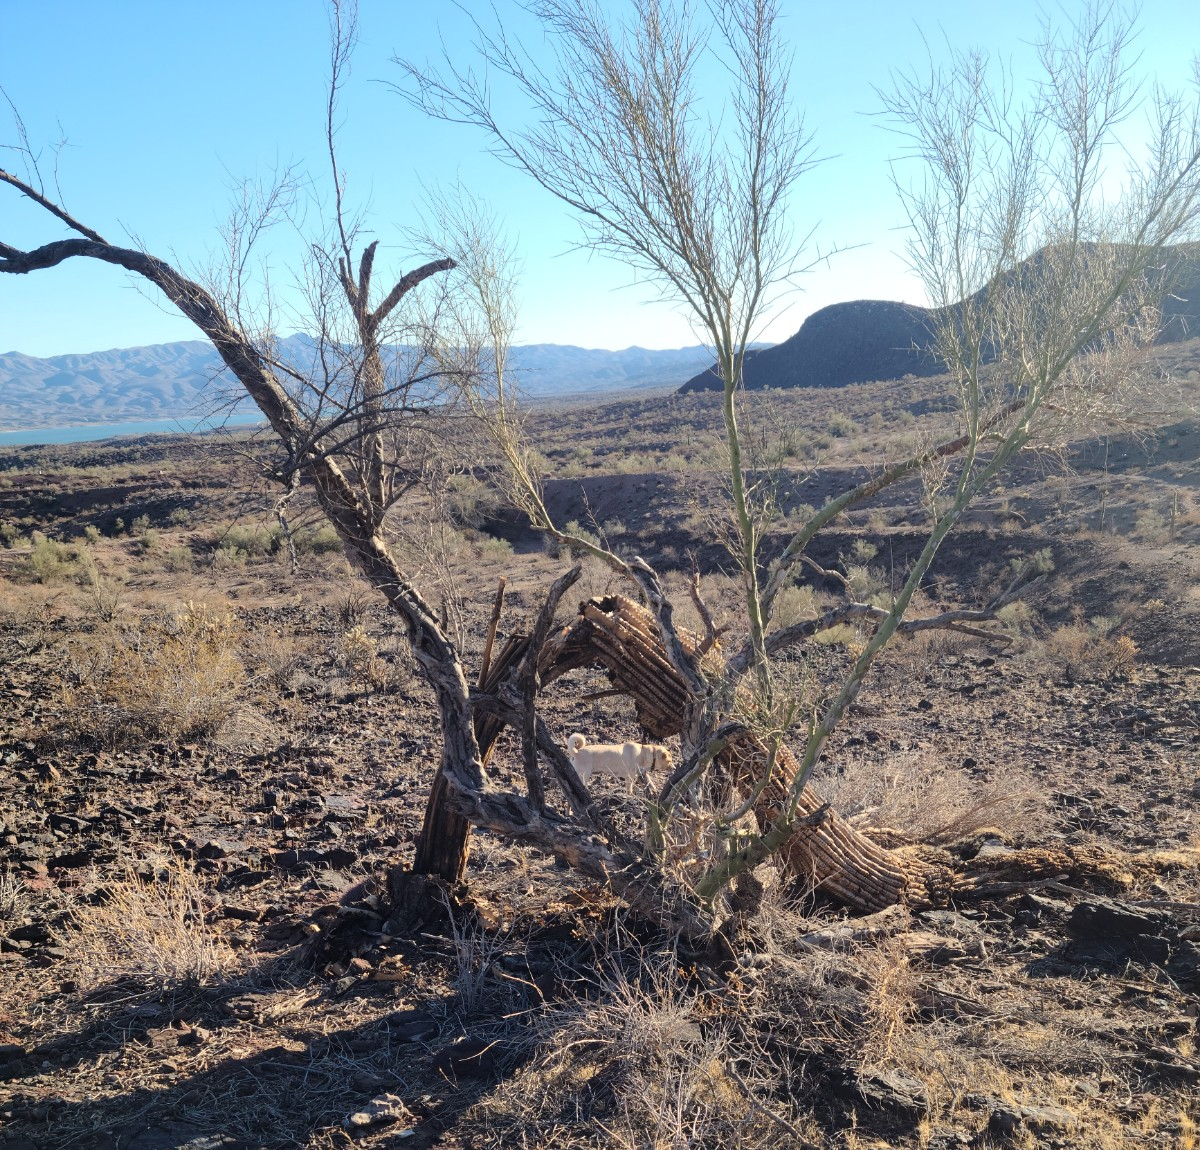
Jen's property is a large, former mining site that stretches over 300 acres in remote western Arizona. She offered to take me on a hiking tour over the land, and I was happy to head out. I pulled-on my snake boots and we headed out across desert scrub, wash valleys, and excavation sites.


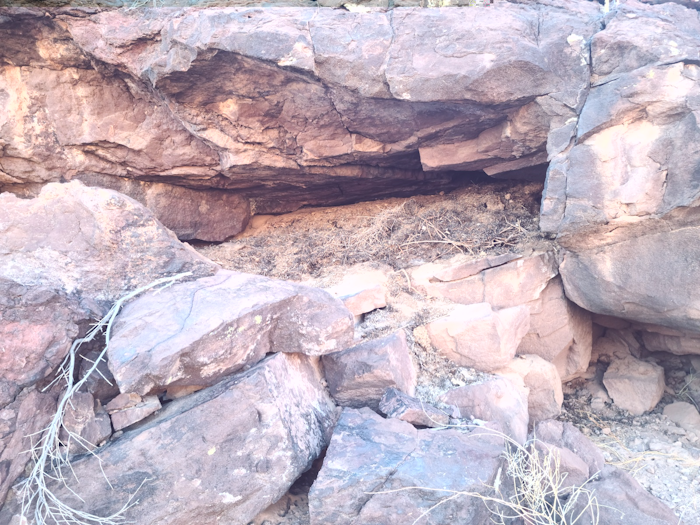
In one of the nearby canyons, there was a large cleft carved out of the rocks. We drew closer and saw lots of dry grasses and vegetable matter tucked inside. Jen explained this was likely a large pack rat nest, and it's best to avoid them.


The land was also a time capsule. The mining company had left construction equipment and building materials all over the place. Jen's stories about finding caches of landscape timber, motors, pipes, and other "decommissioned" mining equipment reminded me of the stories I'd heard of Wheaton Labs' earlier years, where a lot of time and effort was spent to take out the trash.


Jen also explained her dilemma in repelling the wild burro marauding across the landscape. I'd heard of wild horses wandering around Assateague Island back on the east coast where I came from, but never realized that "leftover" pack animals from previous human civilization and the more-recent mining operations could be such a problem.

With the deliberate loss of natural predators such as grey wolves, the burro population remains unchecked. I never knew a donkey could be considered the apex of a food web...! As a result, they're eating all manner of vegetation, including the indigenous palo verde tree. This also has the knock-on effect of injuring saguaro cactus. The two plants have a symbiotic partnership, and when the palo verde die off from the burro eating their naturally-sweet branches, the cactus soon follow.

This situation poses a serious problem that further degrades and dries out the landscape, and it's something that Jen has had to wrestle with for the past several years. She's hoping that Federal protections on wild burro will soon be relaxed so that she'll have a chance to more directly address the invasion of these wild burro on her land.


I had a wonderful, enlightening time over at Jen's place...! I learned a tremendous deal about a landscape and biome that were completely foreign to me, and Jen was an exceedingly-generous host. Massive thanks go out to Jen Anderson for allowing me to stay and tinker around on her land this year. Hope to see you in 2026, if not sooner...!
 
Don't destroy the earth! That's where I keep all my stuff! Including this tiny ad:
Learn Permaculture through a little hard work
https://wheaton-labs.com/bootcamp
reply
    Bookmark Topic Watch Topic
  • New Topic