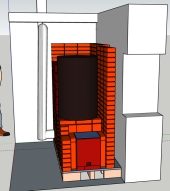
In 2024 we built our RHM (all about that in this thread --->
At Last. My RMH Is a Reality)
We loved everything about it except that it was very smokey at start-up. Once it warmed up, no smoke. But the problem was that we live in the southeastern U.S., where we can have lovely warm spells throughout the winter. When we have a string of warm days we don't need a fire. So throughout the winter we can have a series of cold starts. The smoke was annoying.
Initially I contacted Thomas Rubino about a bypass gate he used to sell (
Dragon Tech), and he told me about the new bypass he'd been using to good effect. He told us how he did it and that's what we decided to do. Following are photos and explanations of what we did.
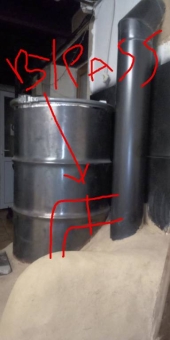
It uses a standard chimney damper. But we needed to add to the chimney pipe to accommodate the smoke. We decided to go through the top of the bell, so the first step was to remove the existing chimney pipe.
Dan cleans the chimneys once a year anyway, so that got done at the same time.
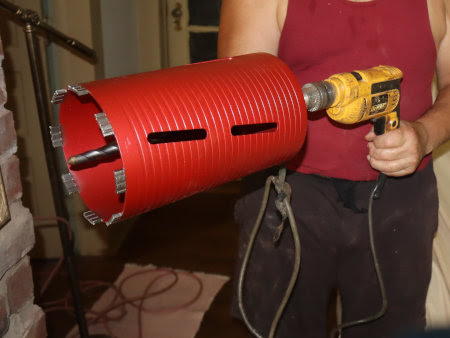
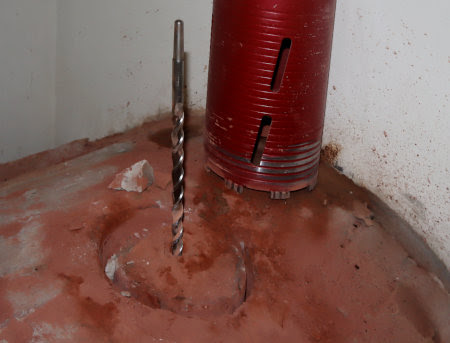
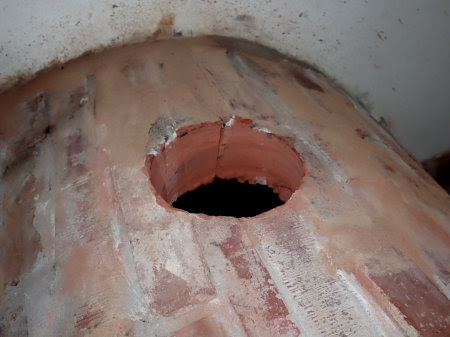
The next step was to drill a 6-inch hole in the brick top of the stove. For that, we had to get a 6-inch diamond masonry drill bit.
We used a standard 6-inch chimney damper, and followed Tom's instructions to modify it as a smoke by-pass. A typical damper plate has openings in it. We needed to seal these so that there would be no heat leaks when the damper was closed. To block the openings, Dan added a disc of ceramic fiber blanket and wired it to the plate.
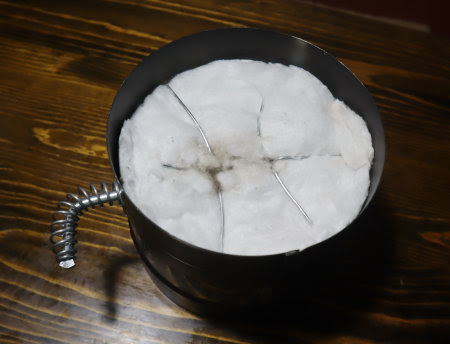

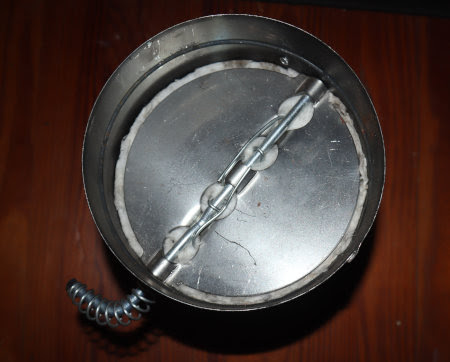
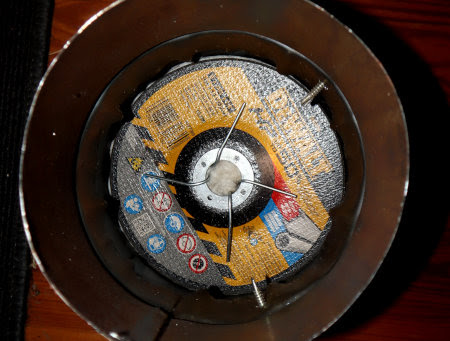
To close off the damper when not in use, the disc of ceramic blanket had to be cut larger than the damper plate. But Dan was concerned that the soft, pliable fabric wouldn't stay flat. He thought about it for awhile, and then decided to hold it in place with a round table saw blade.
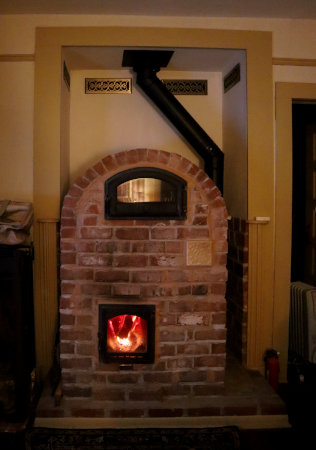
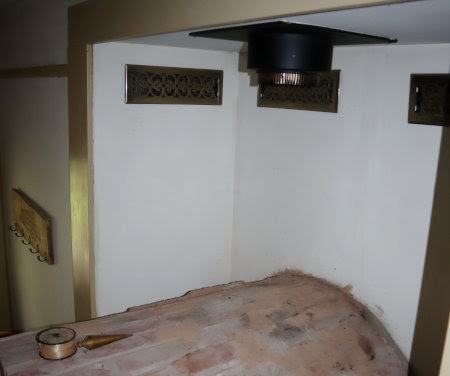
Then it was a matter of installing the new section of chimney complete with the bypass.

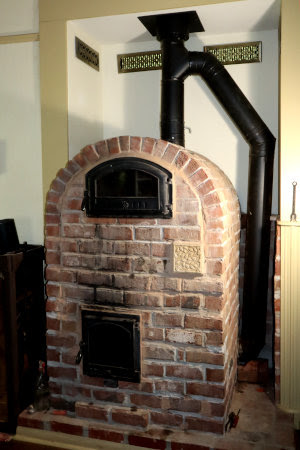
No more smokey start-ups! It took a little experimentation to figure out adjusting and closing it, but it's made a huge difference.
I definitely recommend one of these, but I also recommend planning it into your build! Retrofitting isn't impossible, but it was a noisy, dusty job. Still, I'm glad we did it.


 15
15


Skill verified by gir bot")

Skill verified by Ash Jackson")

Skill verified by Mike Haasl")

Skill verified by jordan barton")

Skill verified by Mike Haasl")

Skill verified by Mike Haasl")

Skill verified by Nicole Alderman")