|

|

|

|

|

|
|
|
|
|
|
|
|

|

|

|

|

|
 10
10


Skill verified by gir bot")

Skill verified by Nicole Alderman")

Skill verified by Mike Haasl")

Skill verified by Ash Jackson") 9
7
4
9
7
4


 9
5
5
9
5
5
John Daley Bendigo, Australia The Enemy of progress is the hope of a perfect plan
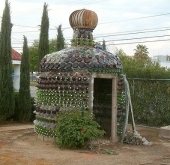
Benefits of rainfall collection https://permies.com/t/88043/benefits-rainfall-collection
GOOD DEBT/ BAD DEBT https://permies.com/t/179218/mortgages-good-debt-bad-debt
 14
14
Proudly presenting RocketMassHeaters.com
A good starting point to all RMH research
How Permies.com works
7
Adhesive cement
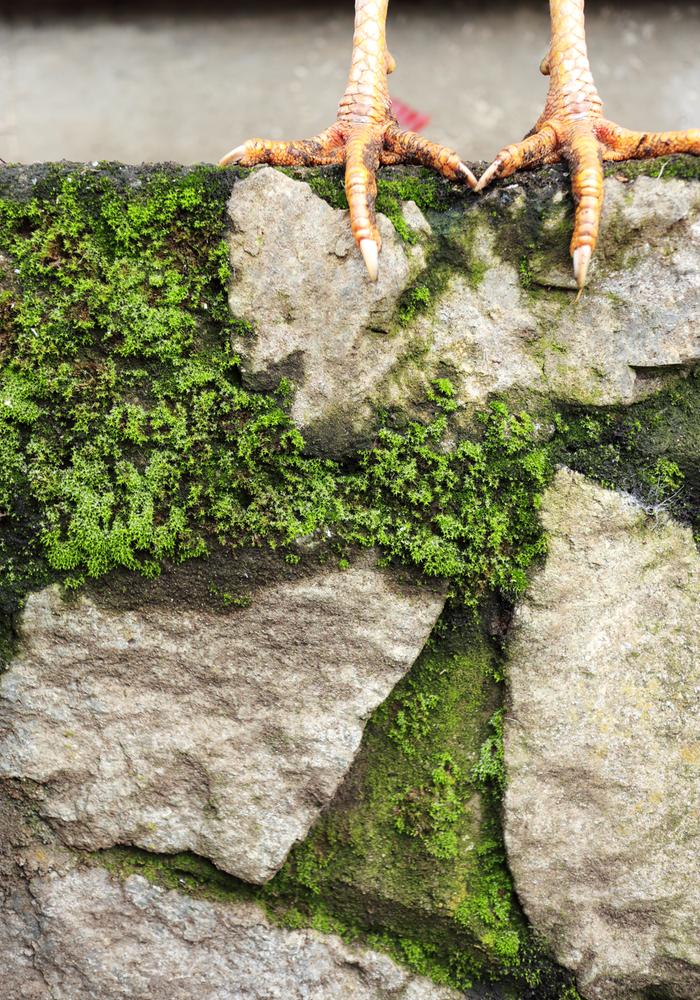
You would probably have a better chance of success by chiseling away some of the mortar in the places the stones fell out to make some room for a good coating of mortar (1/3" at least).
Adhesive cement might come in a bucket ready to use, in a bag to just add water or as an additive (powder or liquid) that you add when making your cement mortar.
7
John C Daley wrote:Am image of the4 damaged wall would help a lot, otherwise we are dealing with words alone.
9
r ranson wrote:Chicken foot is for scale.
Proudly presenting RocketMassHeaters.com
A good starting point to all RMH research
How Permies.com works
3
9
Proudly presenting RocketMassHeaters.com
A good starting point to all RMH research
How Permies.com works
8
8
10
EBo --
Master Gardener (Prince George's County, MD, USA)


 8
8
- Tim's Homestead Journal - Purchase a copy of Building a Better World in Your Backyard - Purchase 6 Decks of Permaculture Cards -
- Purchase 12x Decks of Permaculture Cards - Purchase a copy of the SKIP Book - Purchase 12x copies of Building a Better World in your Backyard

Skill verified by gir bot")

Skill verified by Opalyn Rose") 8
8
EBo --
Master Gardener (Prince George's County, MD, USA)
7
There are several types of mortar, including Type M, S, N, and O, each with different strengths and applications.
5

|
For your bravery above and beyond the call of duty, I hereby award you this tiny ad:
All about SkIP, PEP, Badges, BBs and More!
https://permies.com/wiki/skip-pep-bb
|