• Post Reply Bookmark Topic Watch Topic
  • New Topic
permaculture forums growies critters building homesteading energy monies kitchen purity ungarbage community wilderness fiber arts art permaculture artisans regional education skip experiences global resources cider press projects digital market permies.com pie forums private forums all forums
this forum made possible by our volunteer staff, including ...
master stewards:
  • paul wheaton
  • Anne Miller
  • Carla Burke
  • Nancy Reading
  • John F Dean
  • Timothy Norton
  • Jay Angler
stewards:
  • r ransom
  • Pearl Sutton
  • Tereza Okava
master gardeners:
  • Christopher Weeks
gardeners:
  • M Ljin
  • Megan Palmer
  • Kate Downham

my first time indigo dye project with japanese indigo/dyers knotweed (Persicaria tinctoria)

 
Posts: 10823
Location: a temperate, clay/loam spot on planet earth, the universe
4050
4
  • Likes 16
  • Mark post as helpful
  • send pies
    Number of slices to send:
    Optional 'thank-you' note:
  • Quote
  • Report post to moderator
May, todays the day I finally began the dye project following your instructions!

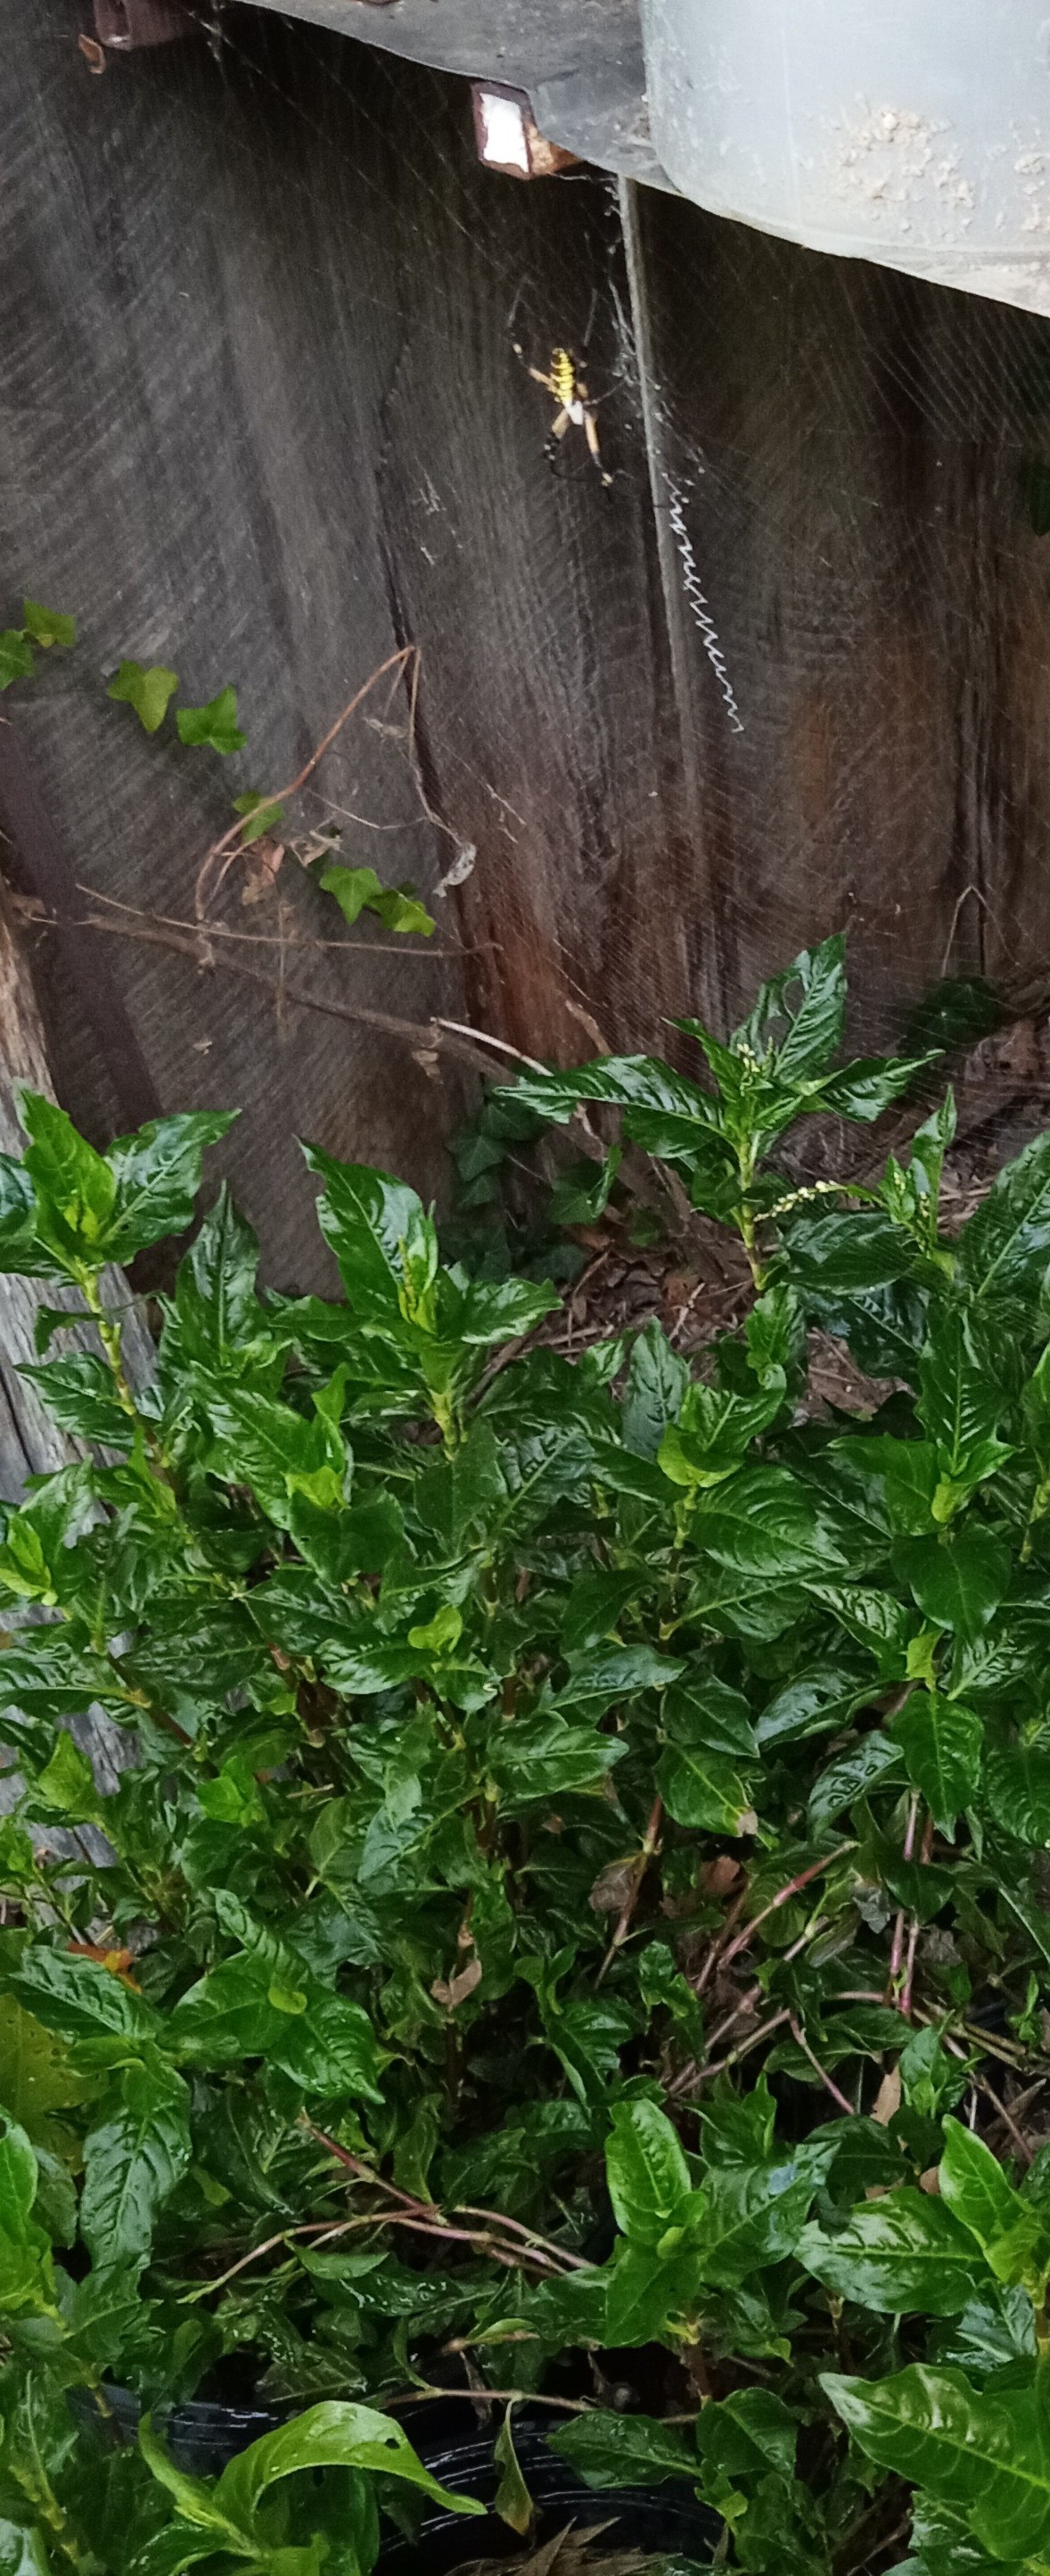
My pots of indigo look ok although I've let them wilt several times over the summer and just today I noticed that 'something' probably our fearless groundhog, nibbled the tips out of a few stalks....time to harvest!

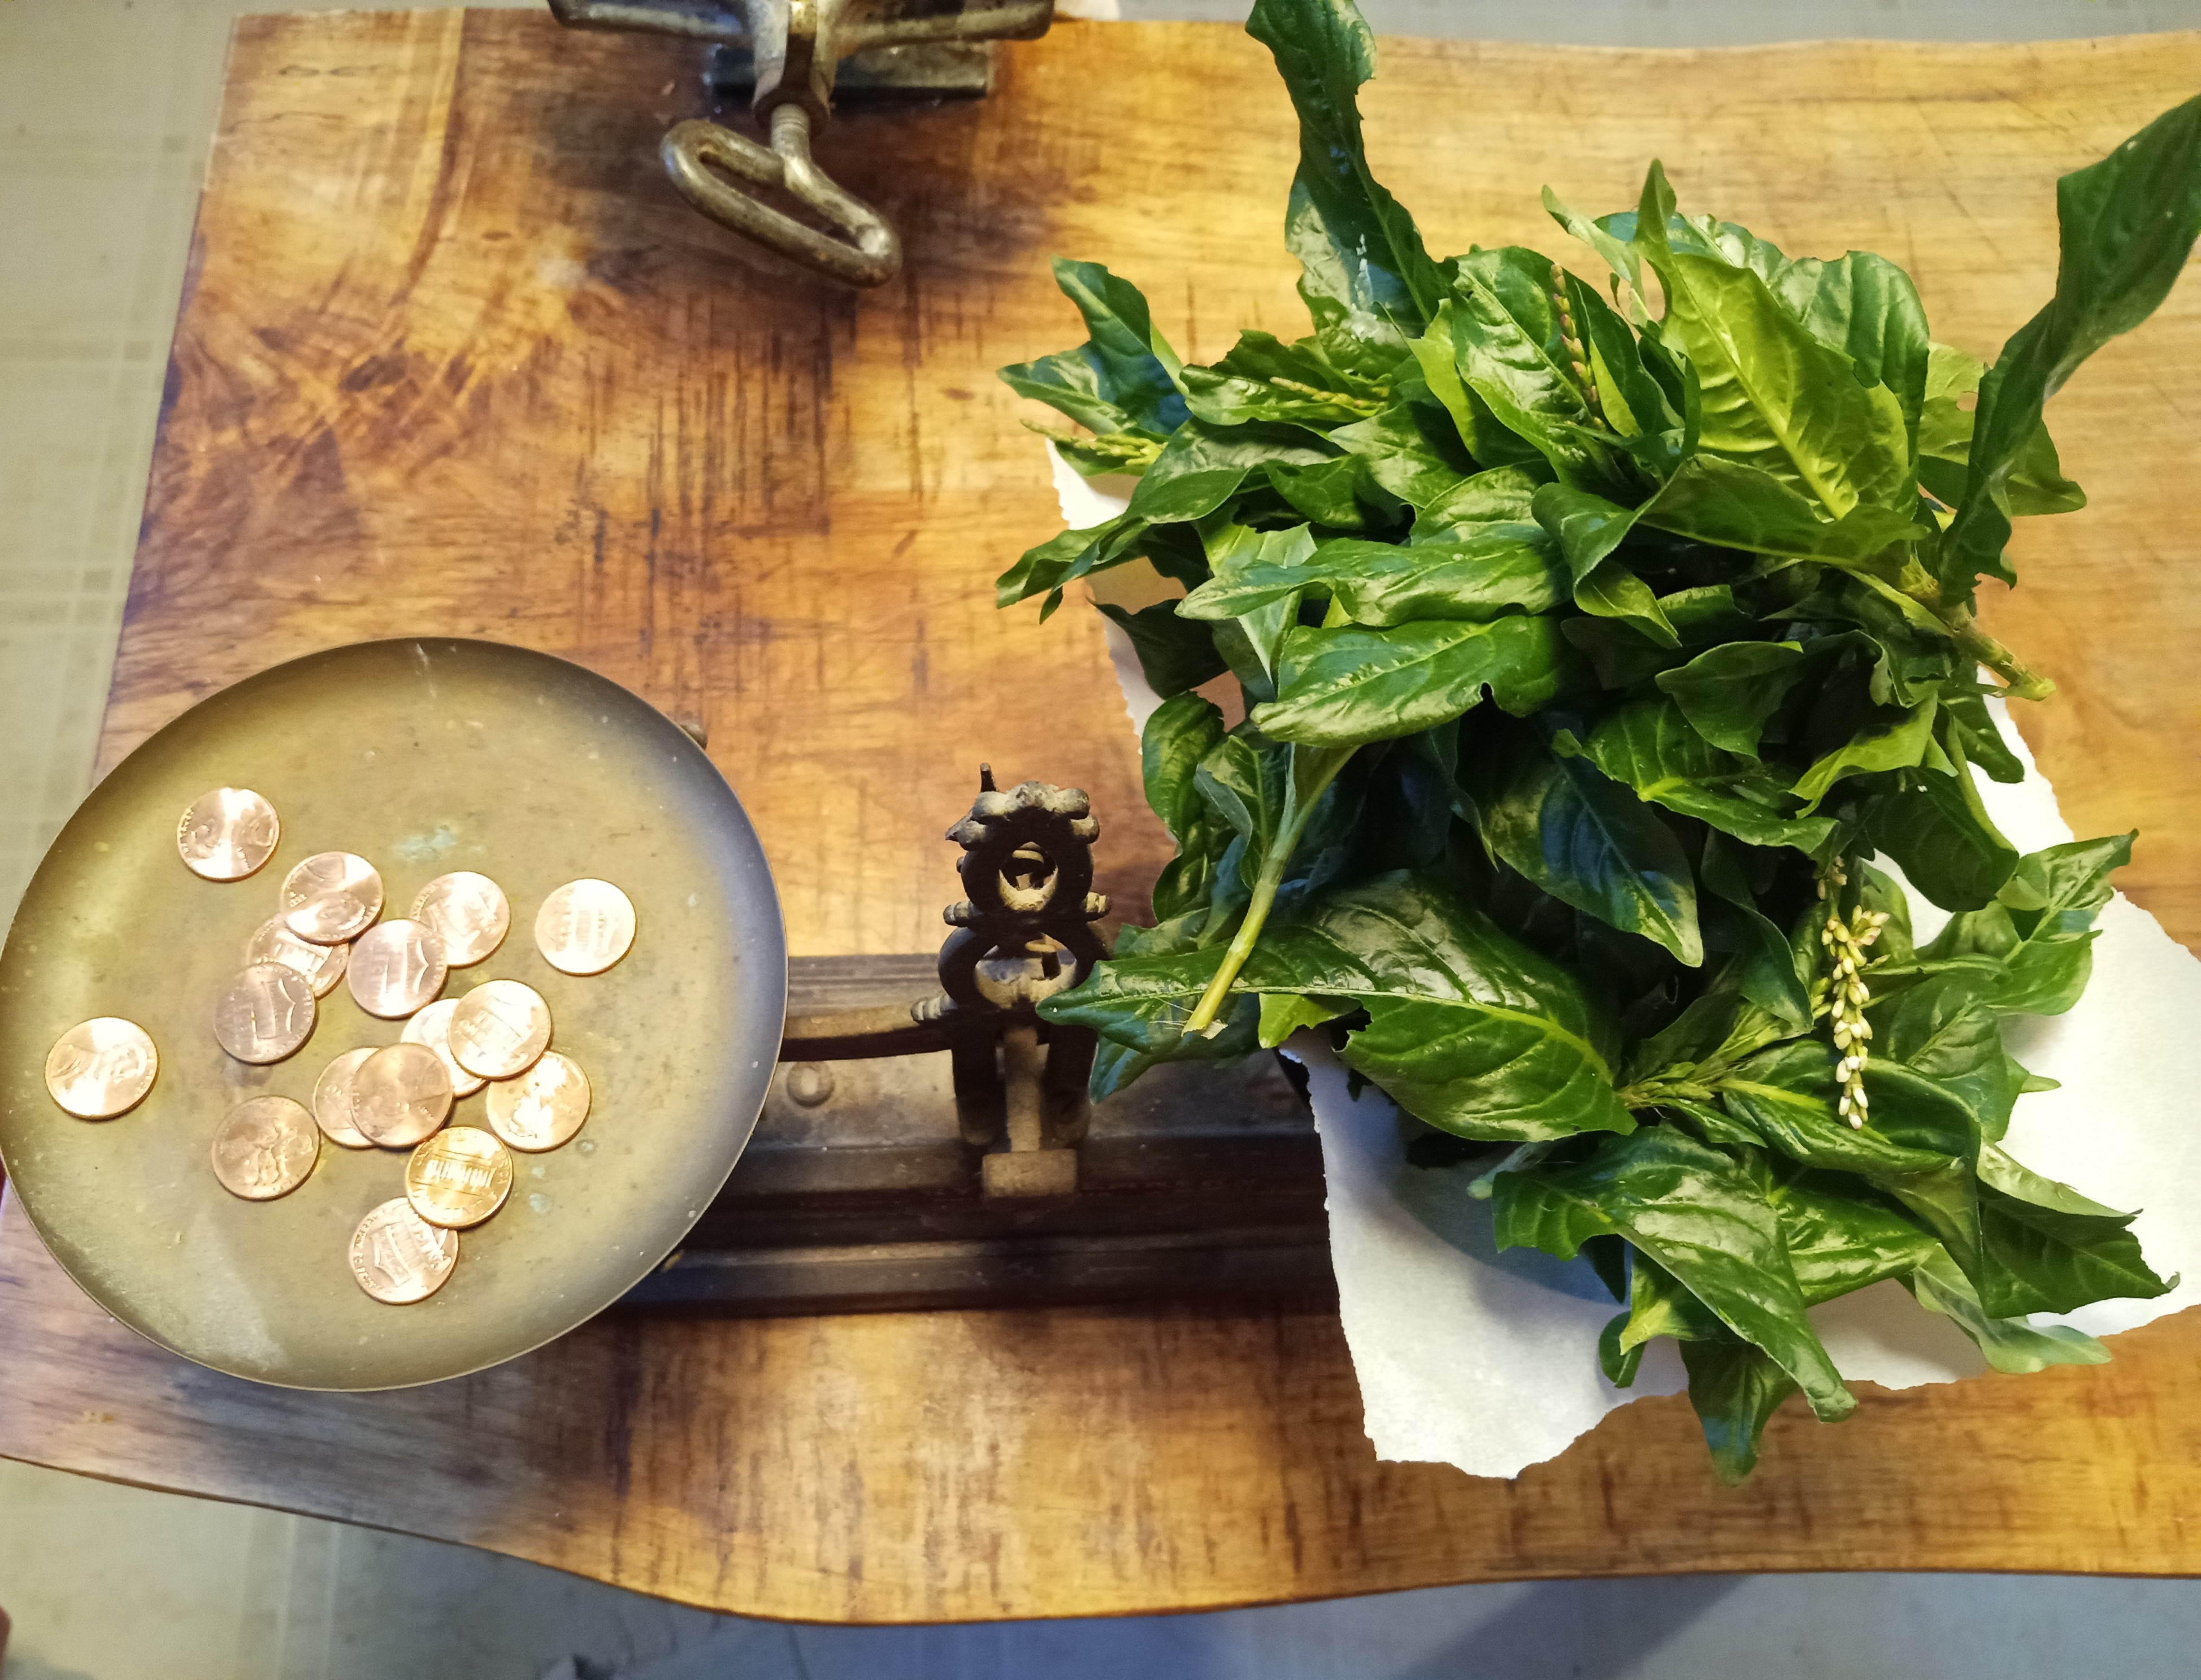
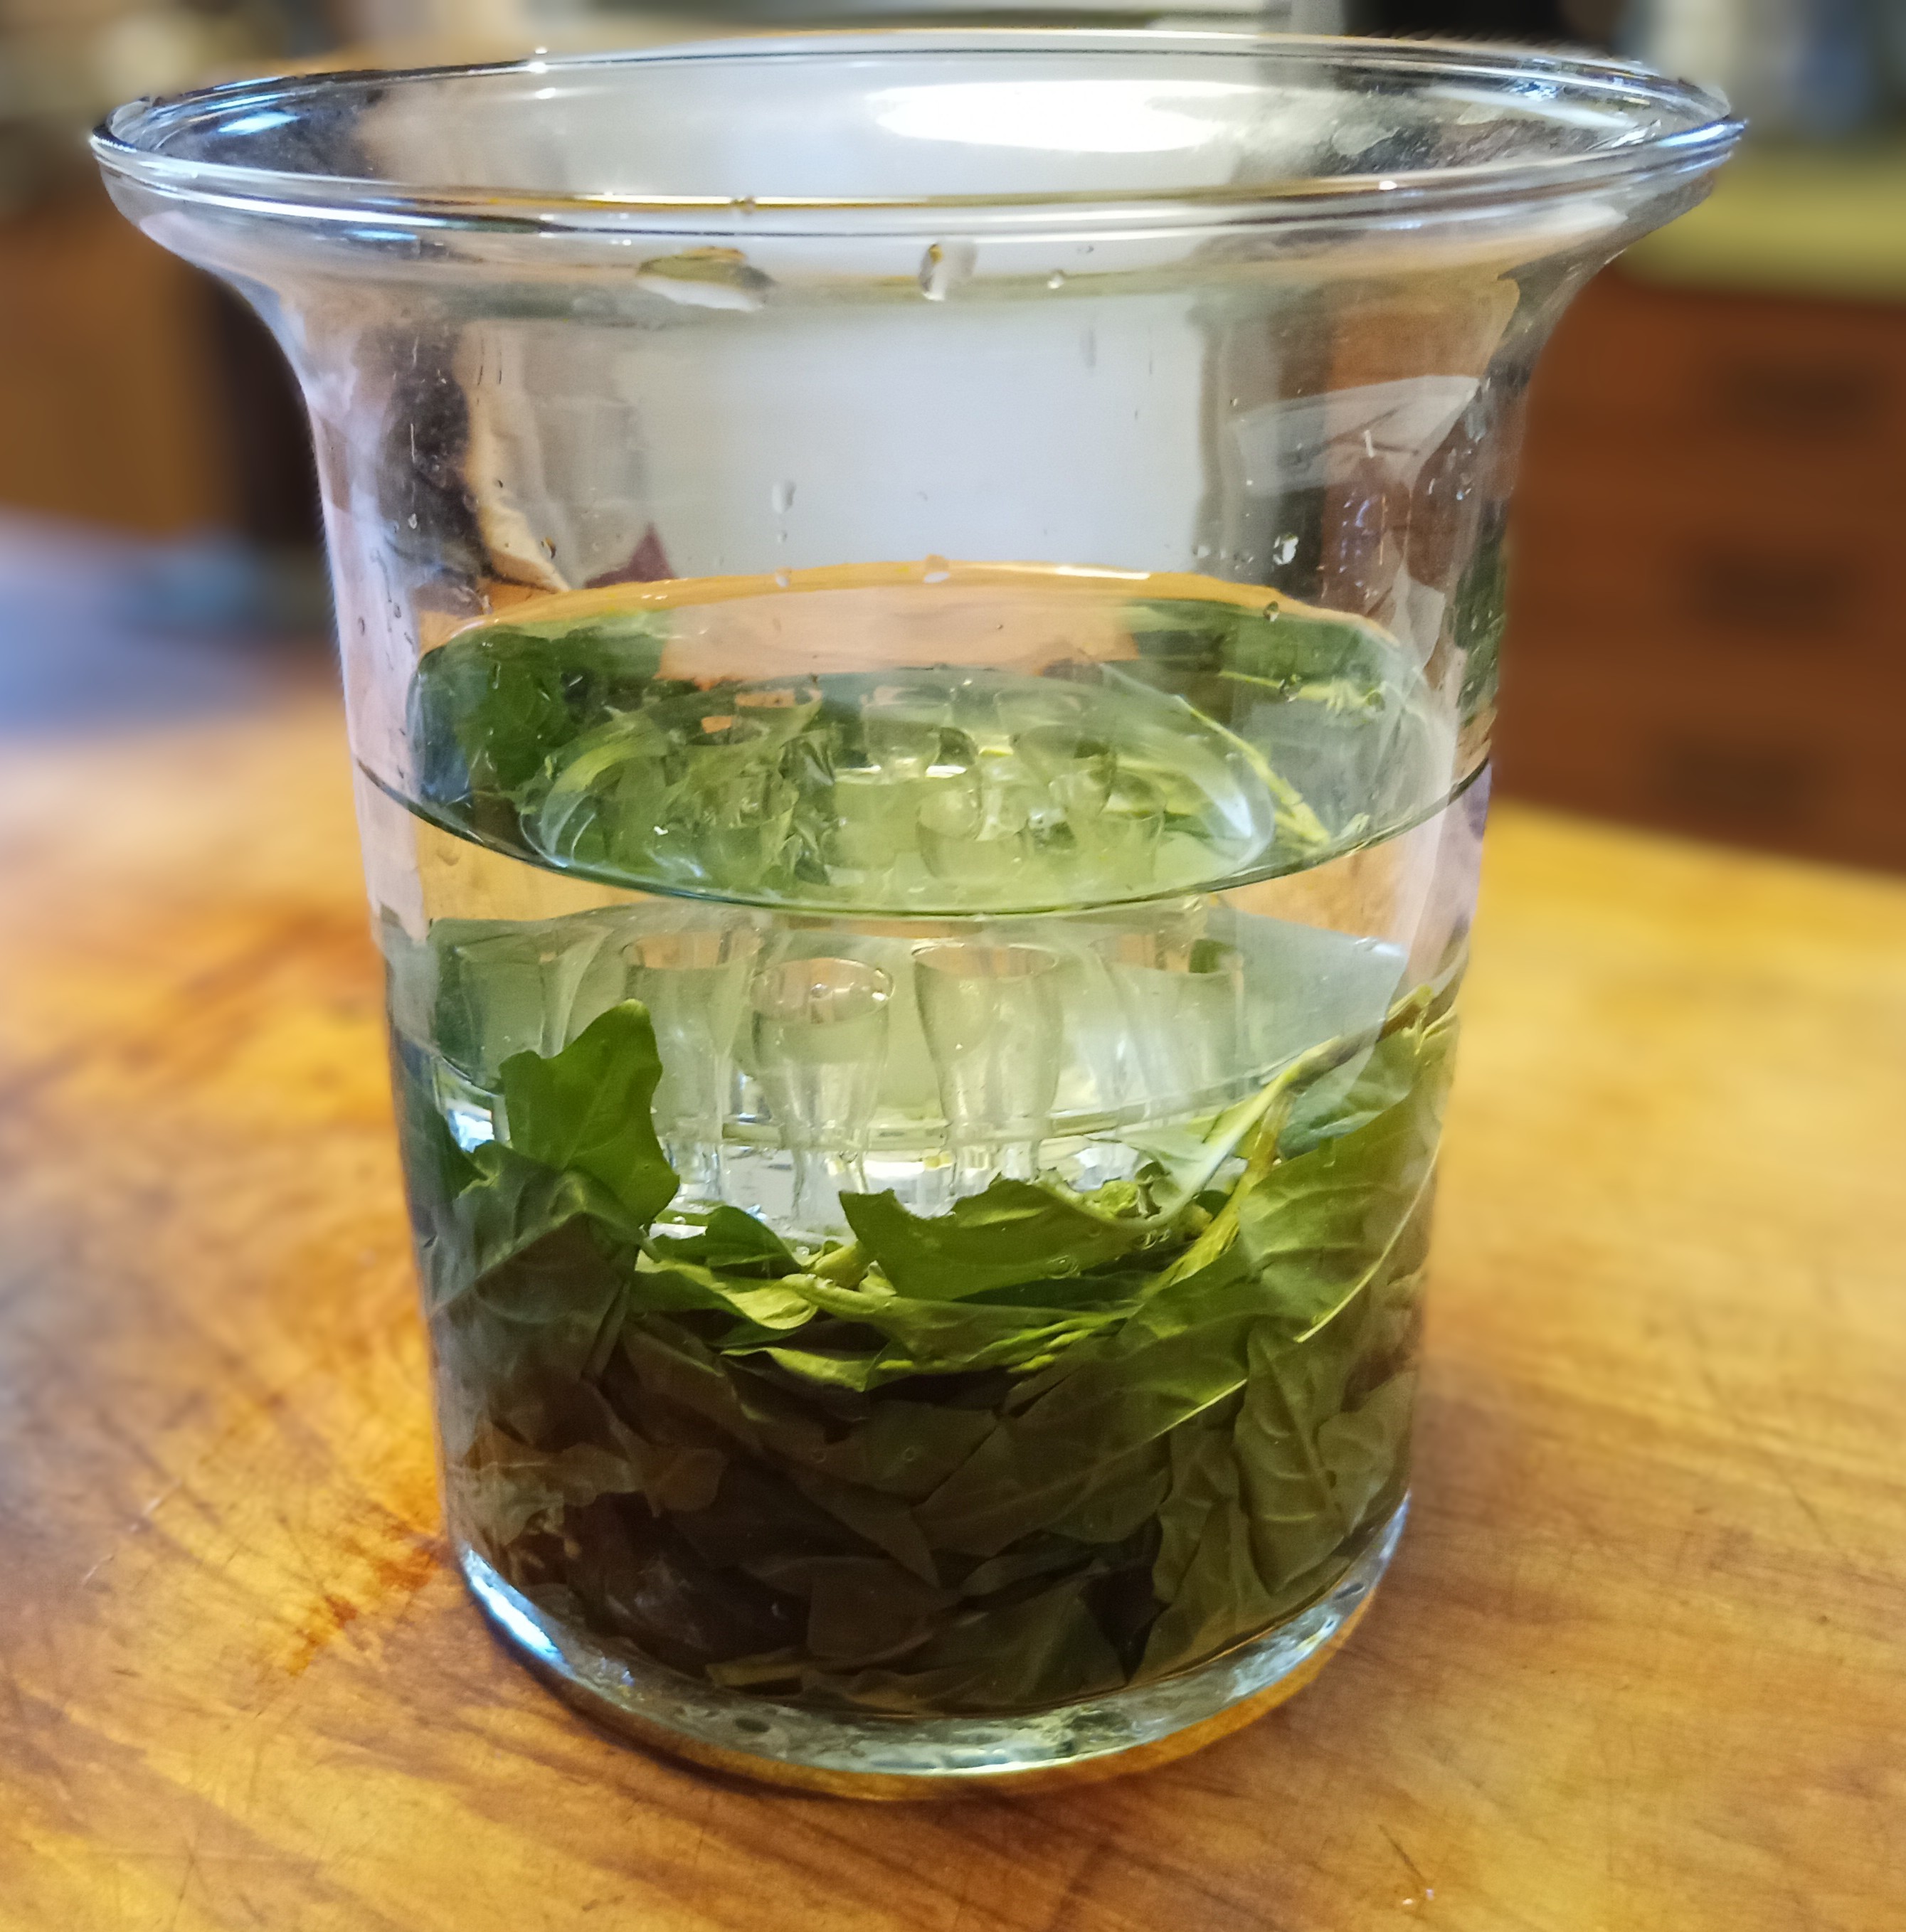
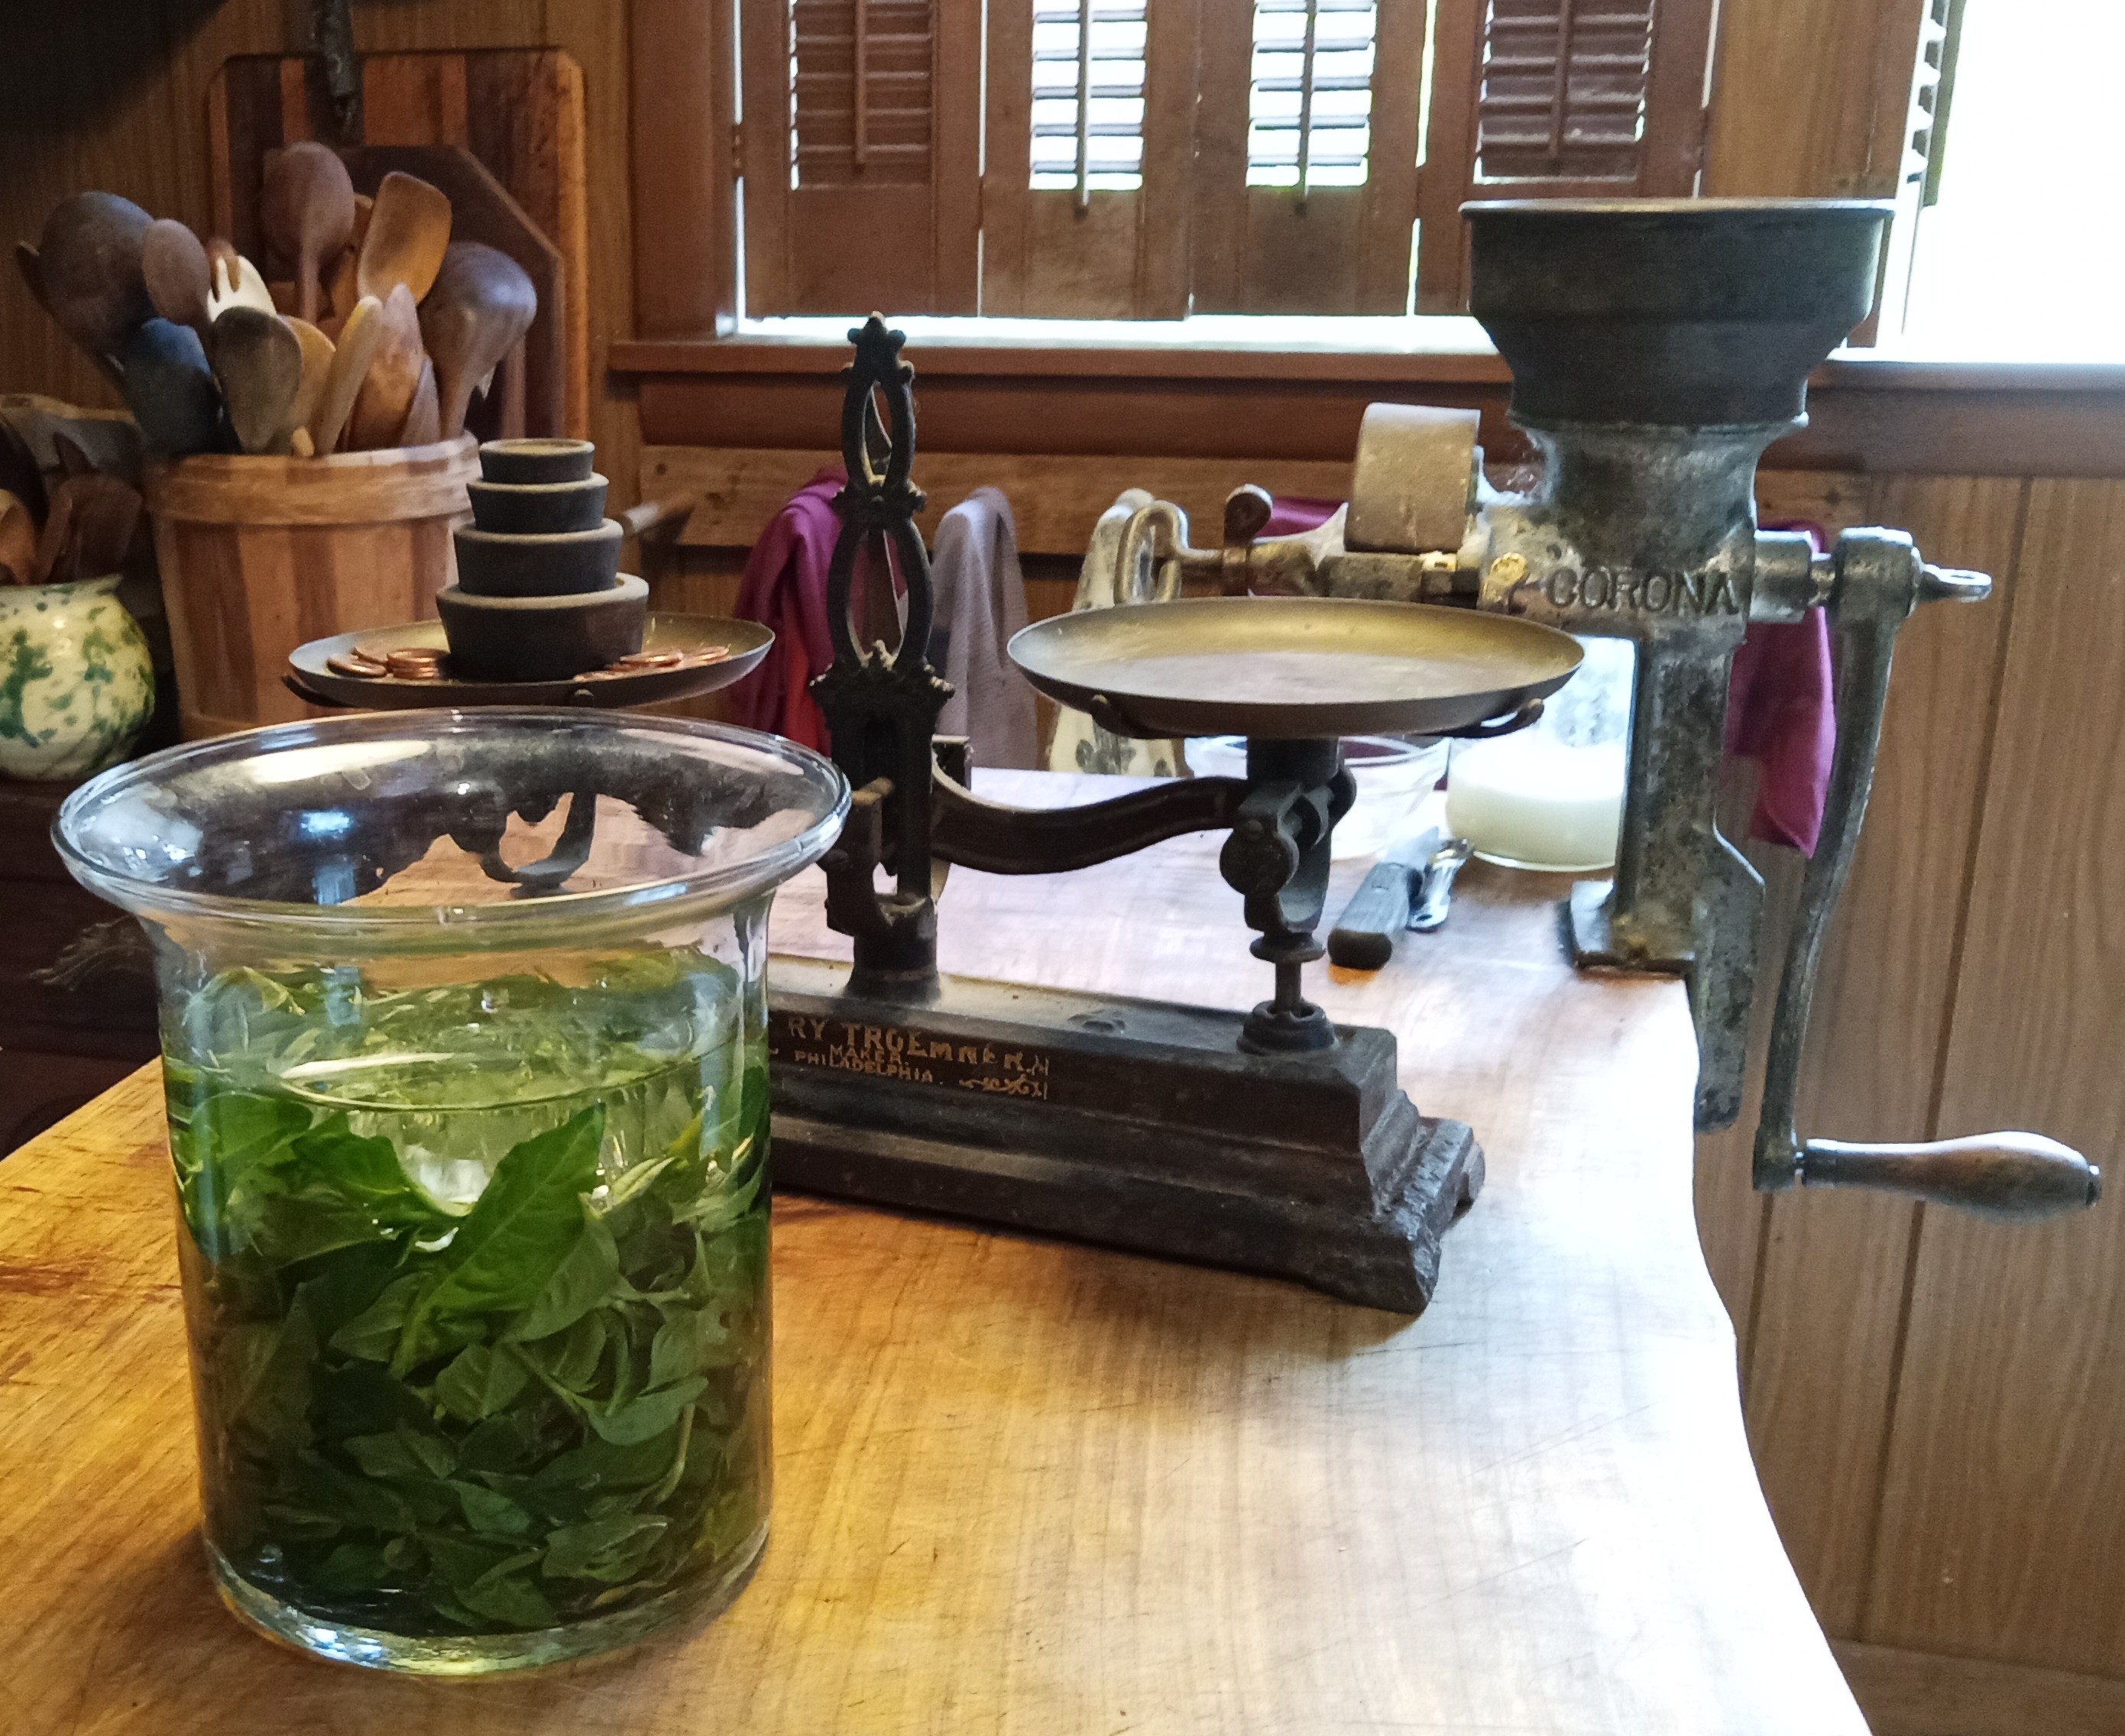
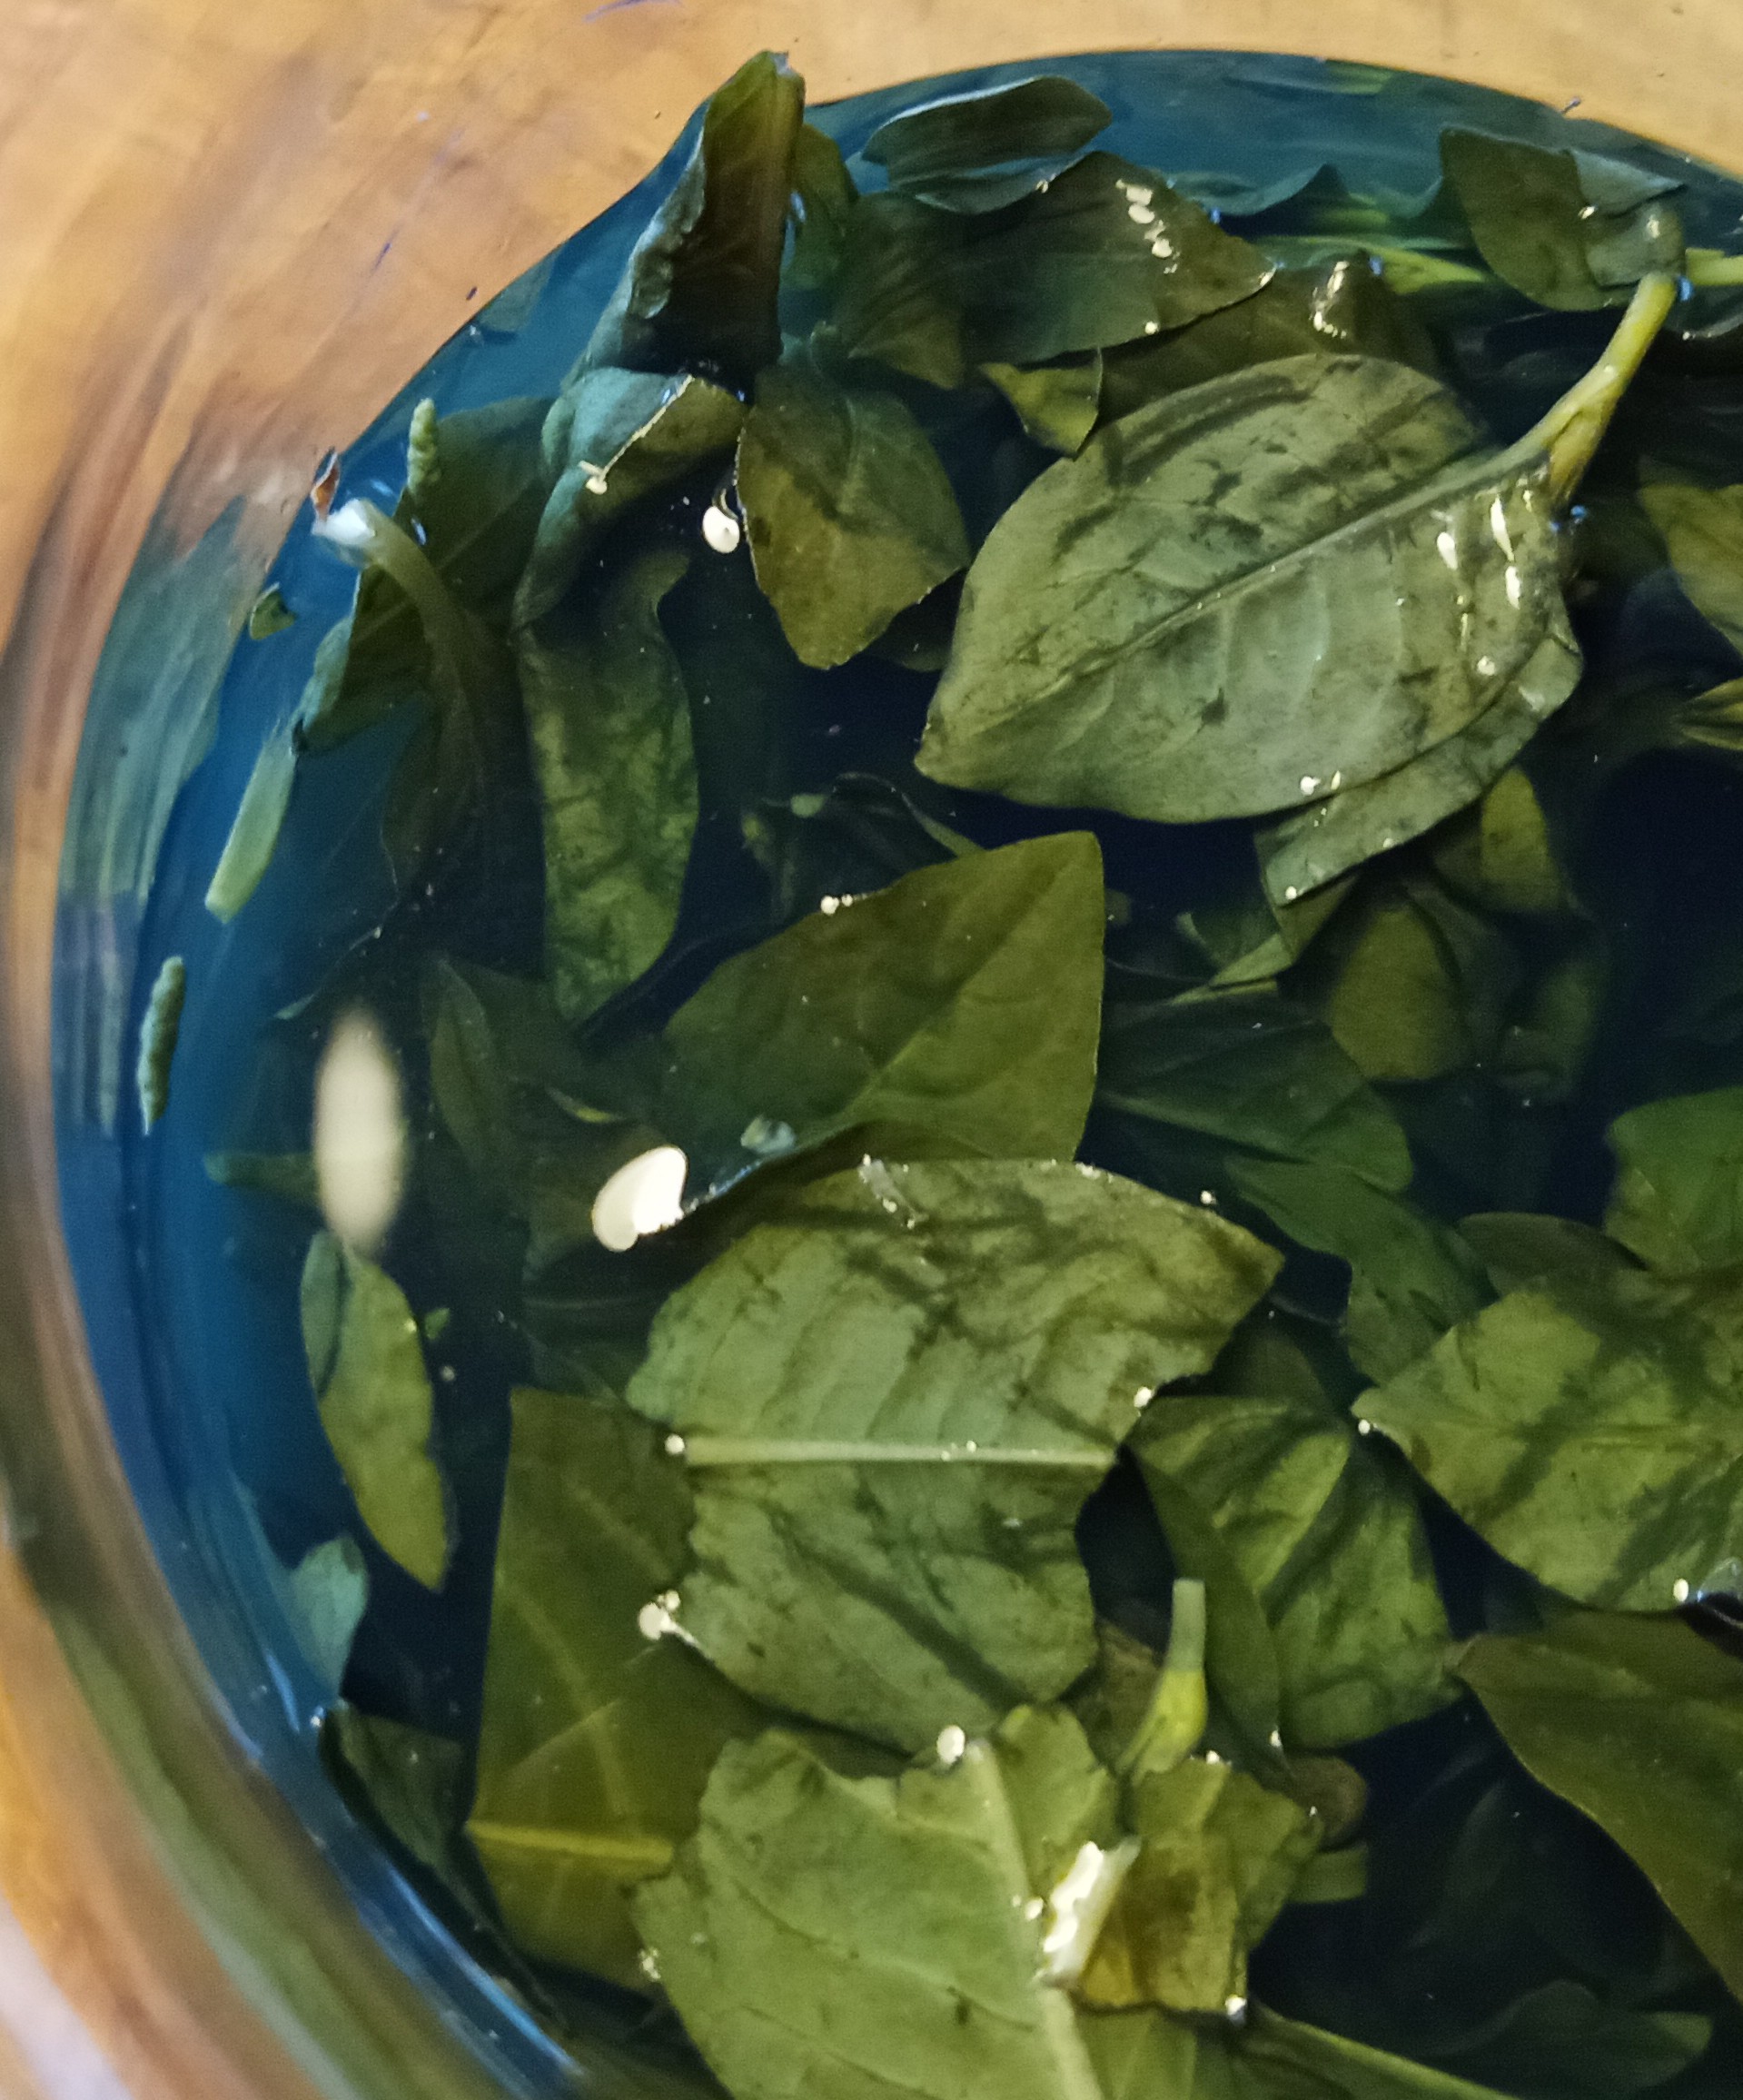
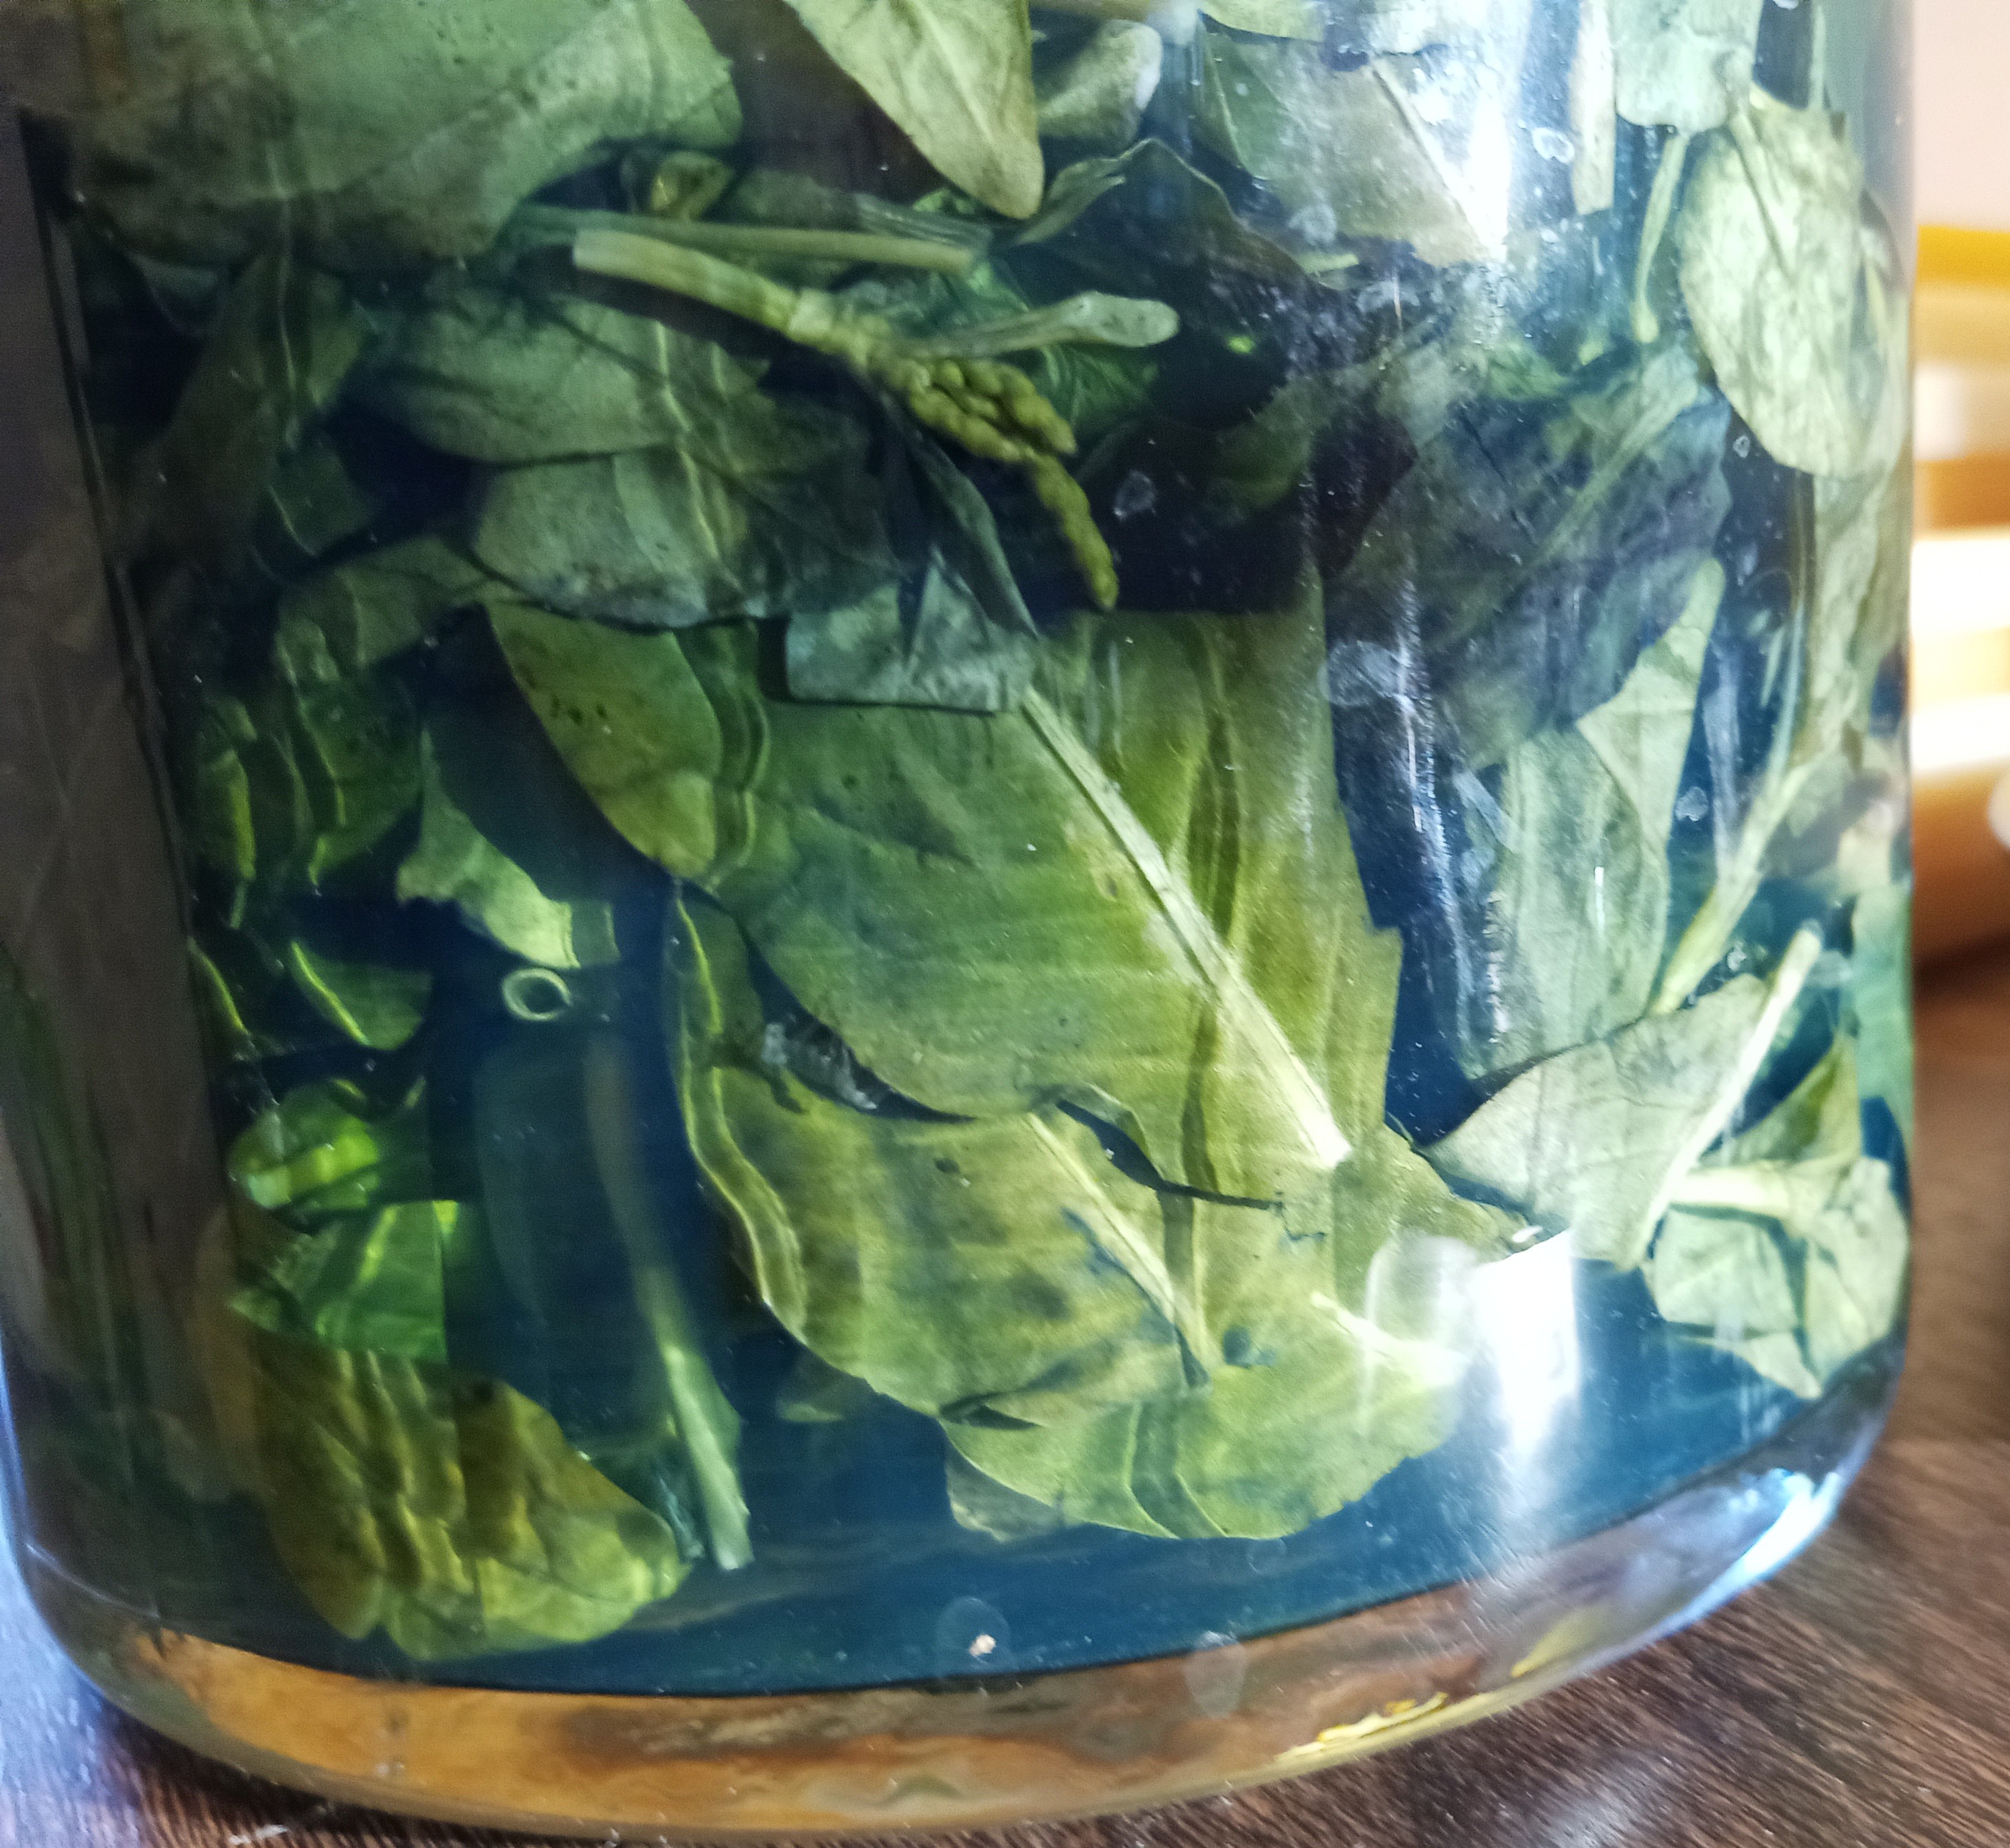
I picked 20 grams of tips so submerged in 700ml of water plus 100ml 20ml white vinegar.

I love using my grandpa's balancing scale...his weights were ounces and drams but no grams so I found years ago that pennies from 1982 were just right for measuring grams as one penny weighs 2.5 grams and easily scales up from there.
The leaves weighed 16 pennies, so 40g.

I submerged the leaves at 2pm so tomorrow afternoon I drain the leaves and rinse with 100ml water....Do I save the drained water or the rinse water?
I'm confused as to which liquid I then whip or beat with an electric stirrer? including the leaves?
reread and see that I use all of the drained off liquid for the next step, including the rinse.
I knew I would have questions once I began😊
IMG_20260909_070557_776-3.jpg
indigo grown in pots
japanese indigo growing in pots
IMG_20260913_142553_858-2.jpg
20 grams indigo tips
40 grams japanese indigo tips
IMG_20260913_143325_941-2.jpg
indigo lwaves submerged in water with vinegar
japanese indigo leaves submerged in water with vinegar
 
Judith Browning
Posts: 10823
Location: a temperate, clay/loam spot on planet earth, the universe
4050
4
  • Likes 8
  • Mark post as helpful
  • send pies
    Number of slices to send:
    Optional 'thank-you' note:
  • Quote
  • Report post to moderator
besides the written instructions I'm referring to these posts with pictures😊
https://permies.com/t/120/37159/dyeing/Indigo-blue-growing-harvesting-processing#3460834
 
Judith Browning
Posts: 10823
Location: a temperate, clay/loam spot on planet earth, the universe
4050
4
  • Likes 6
  • Mark post as helpful
  • send pies
    Number of slices to send:
    Optional 'thank-you' note:
  • Quote
  • Report post to moderator
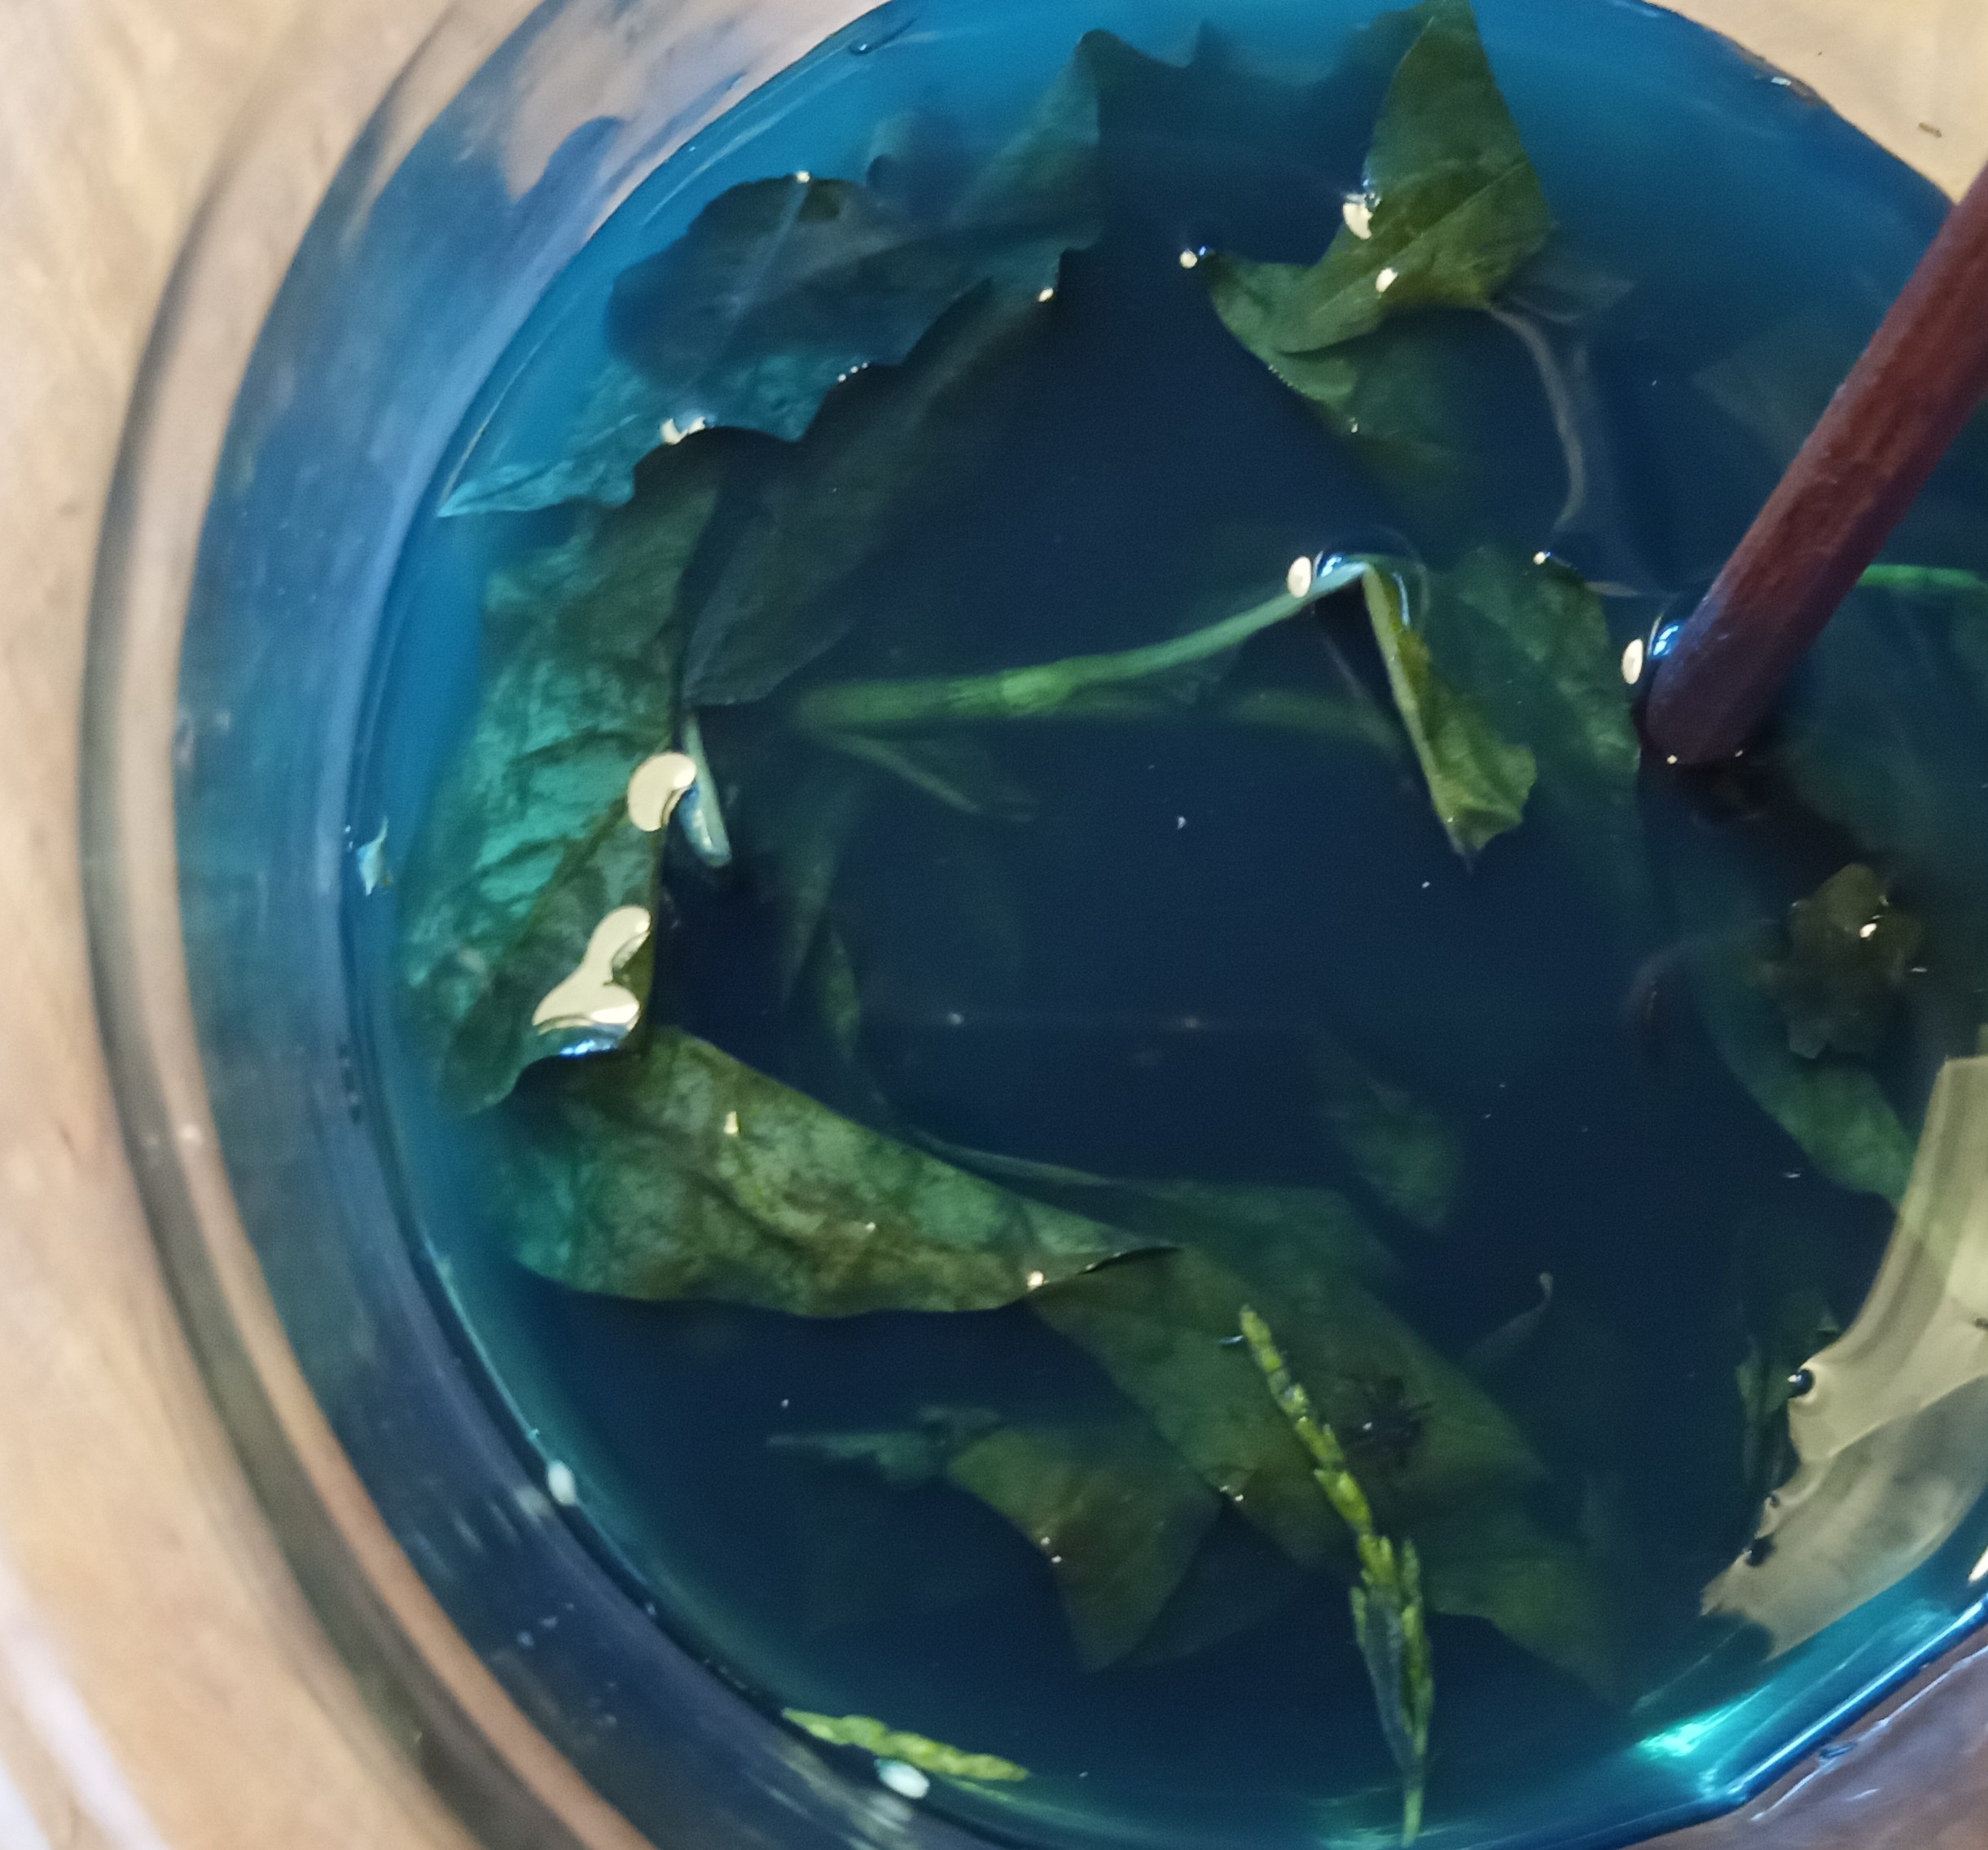
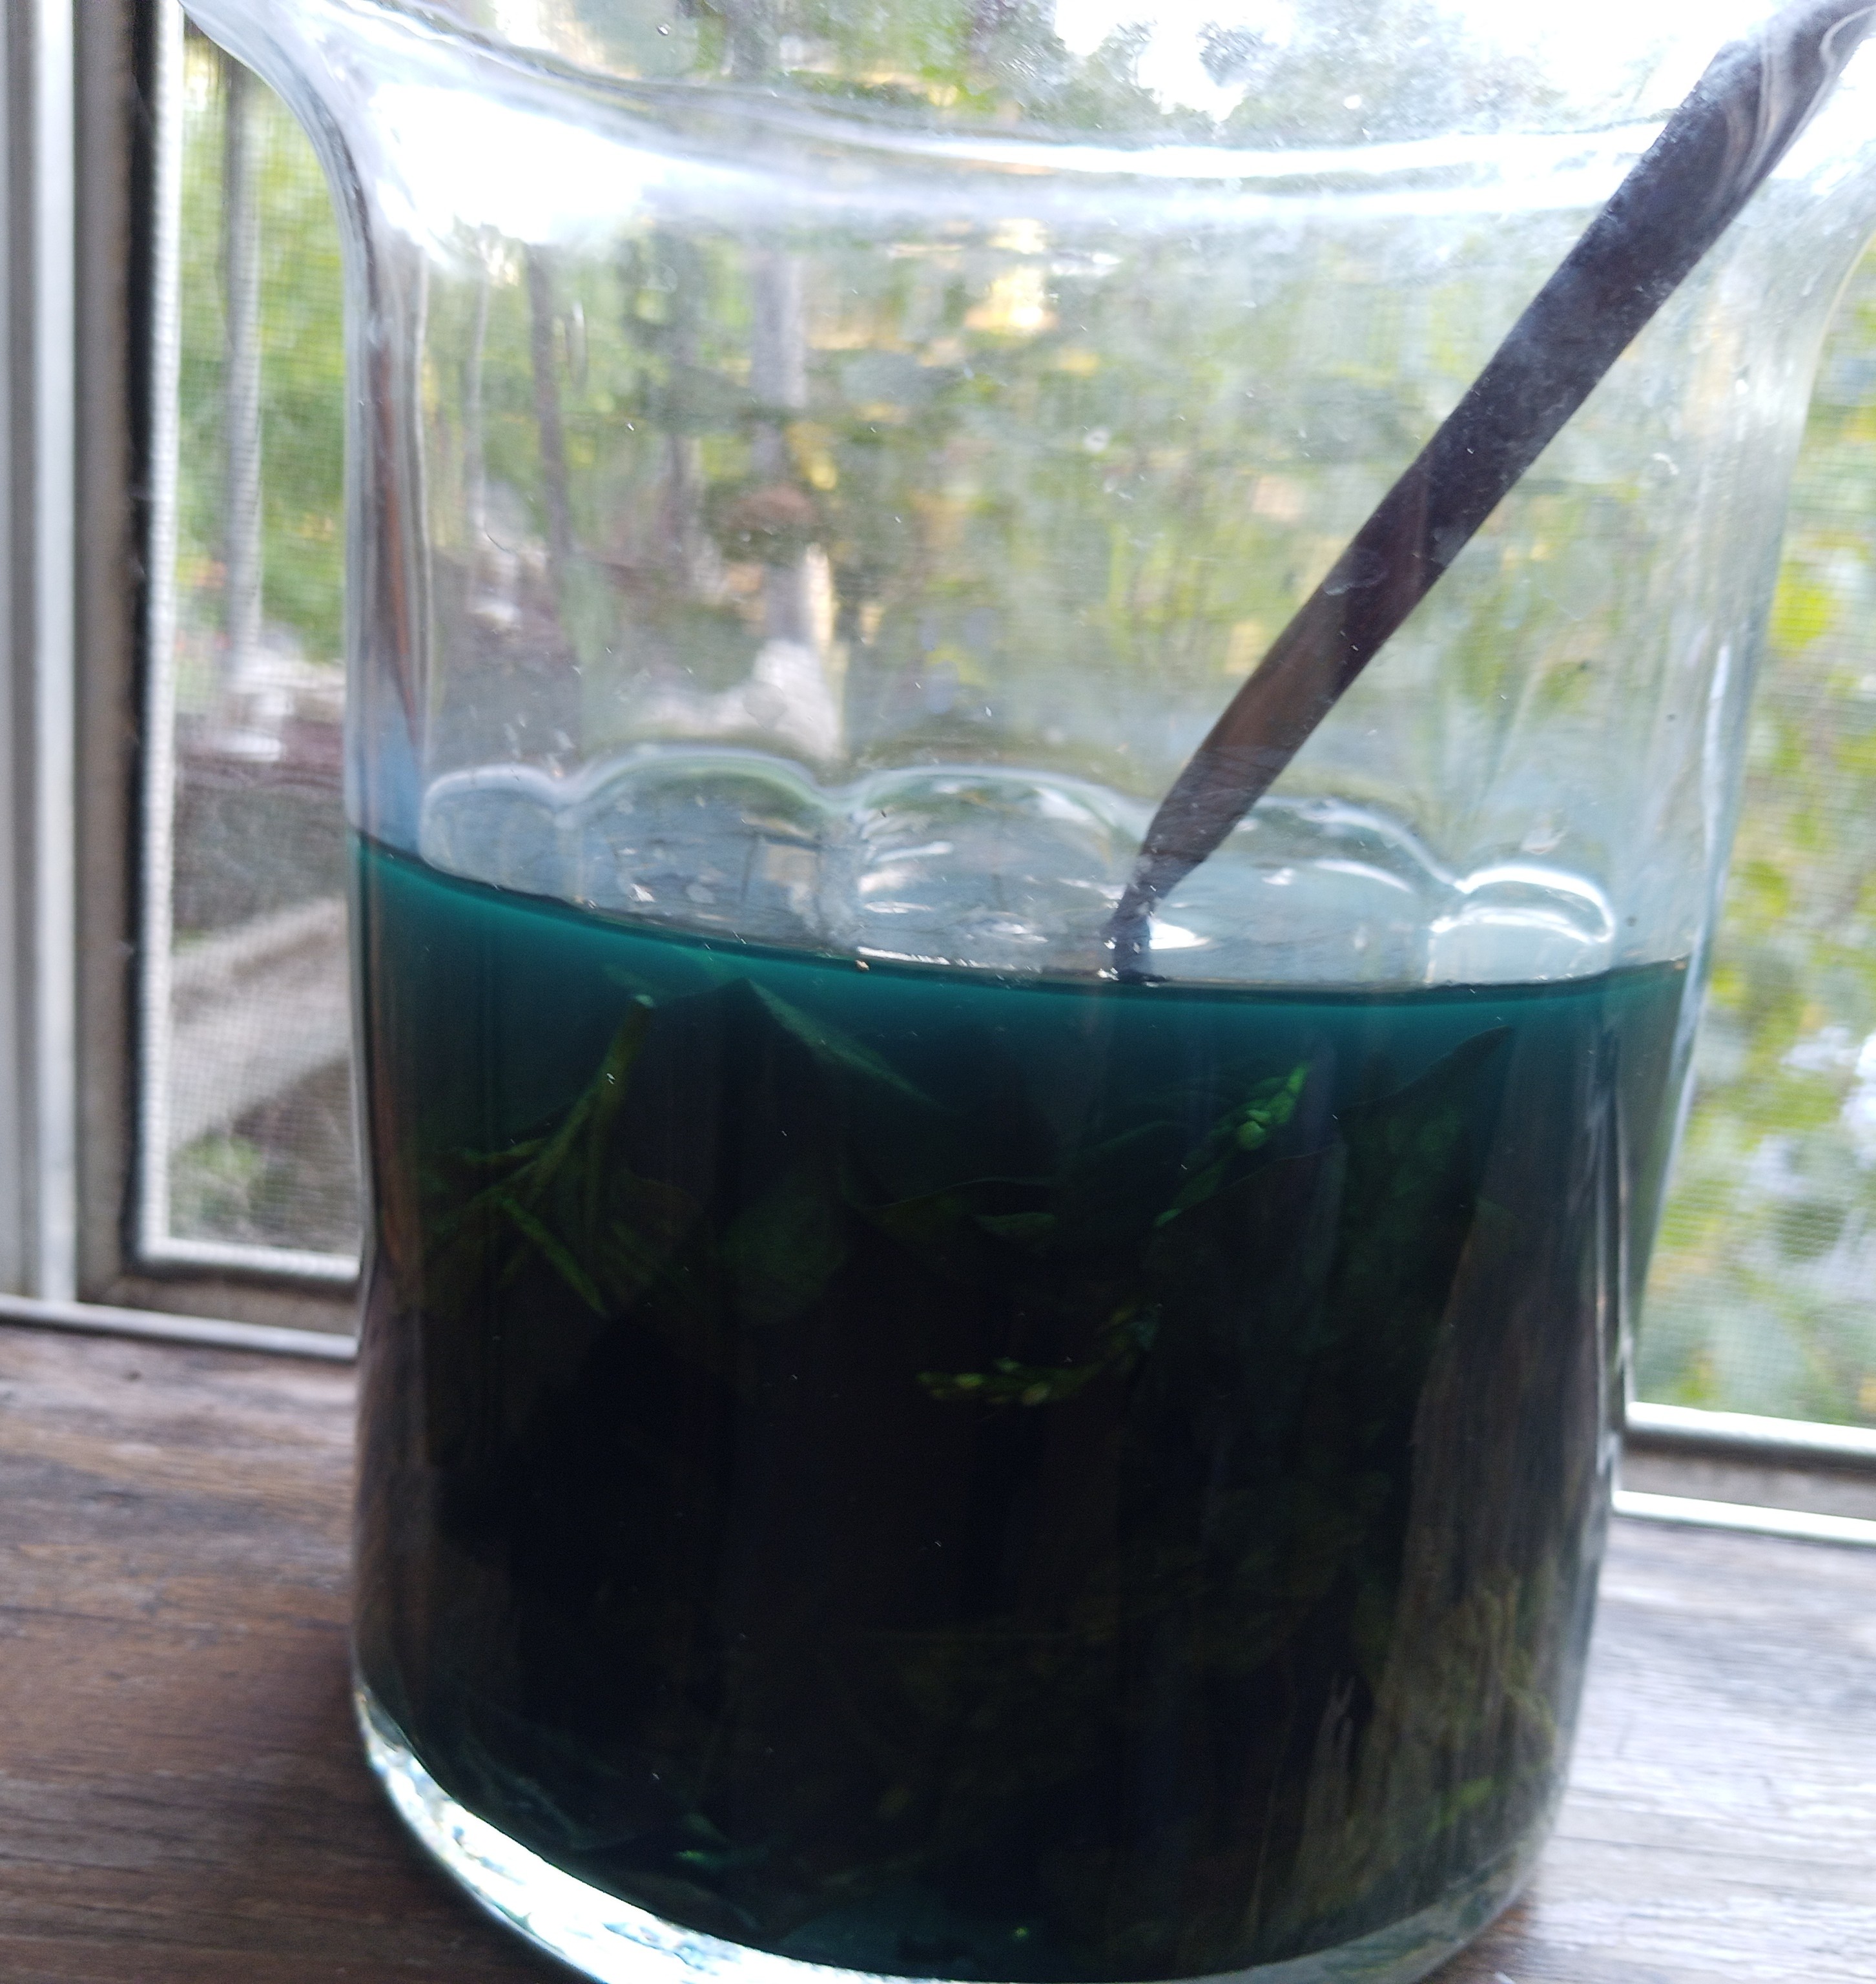
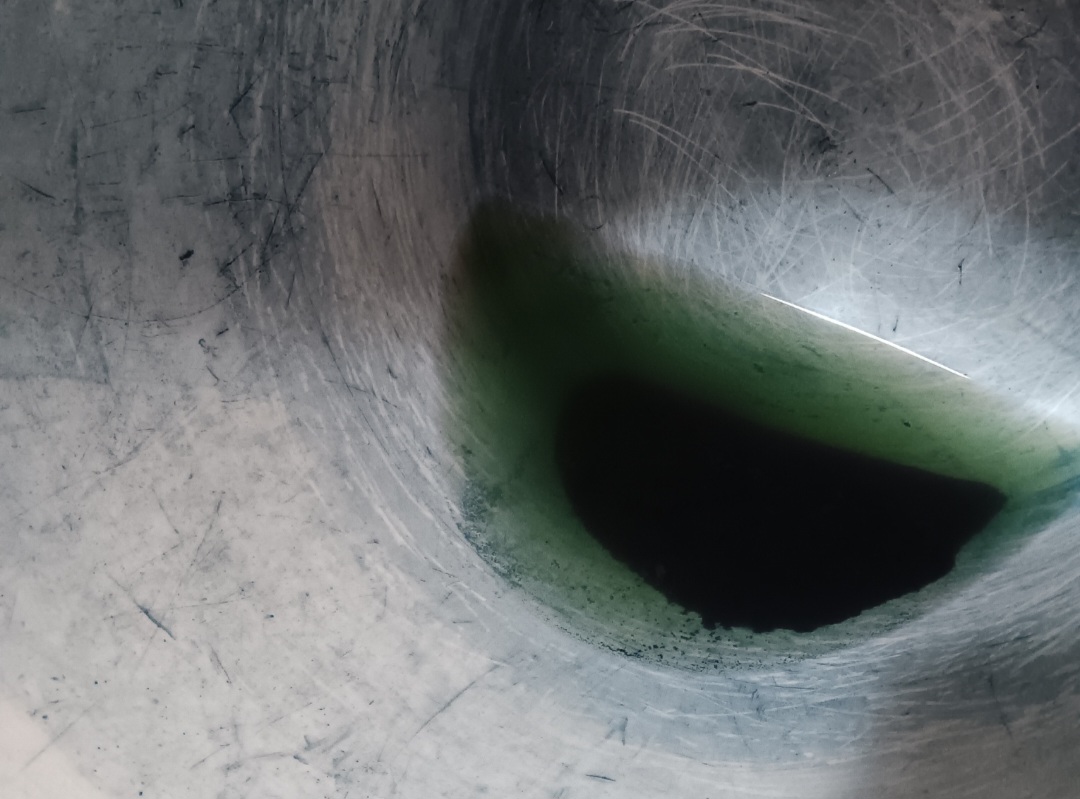
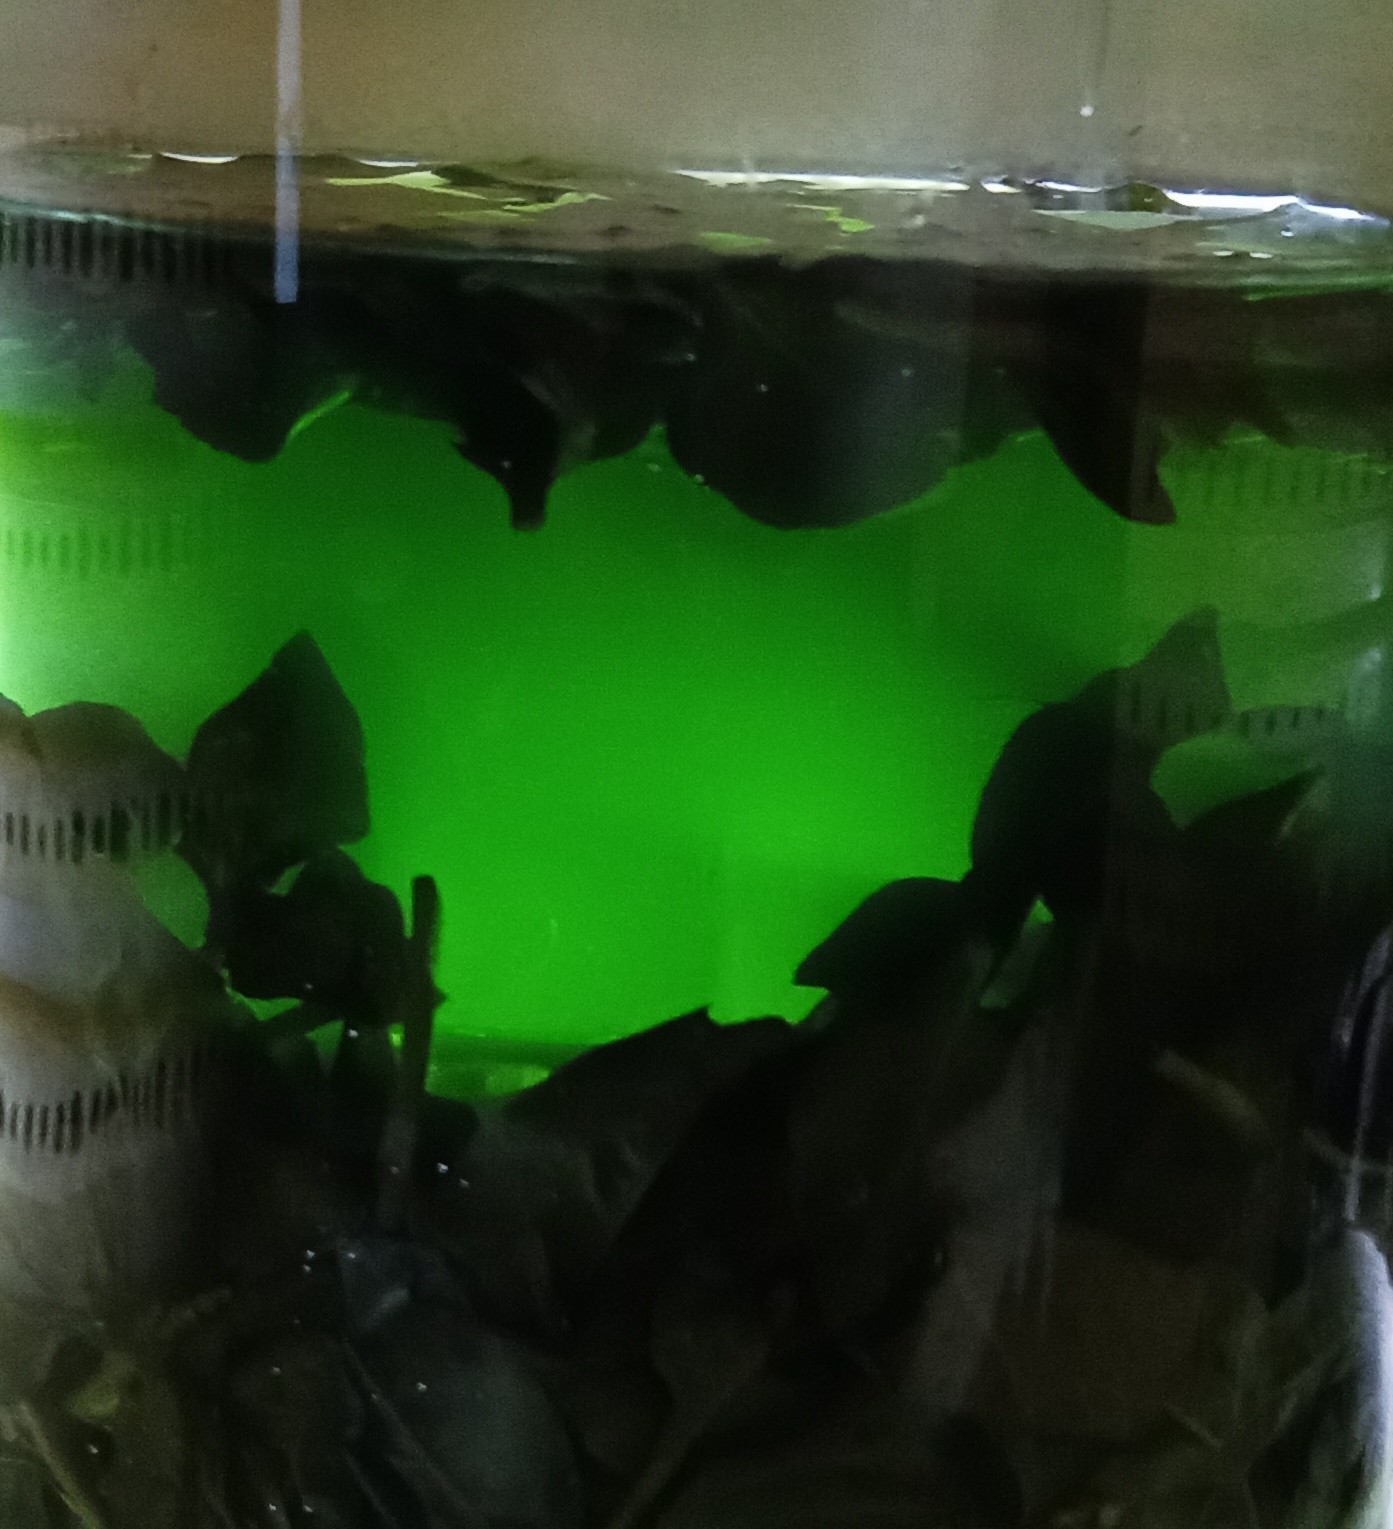
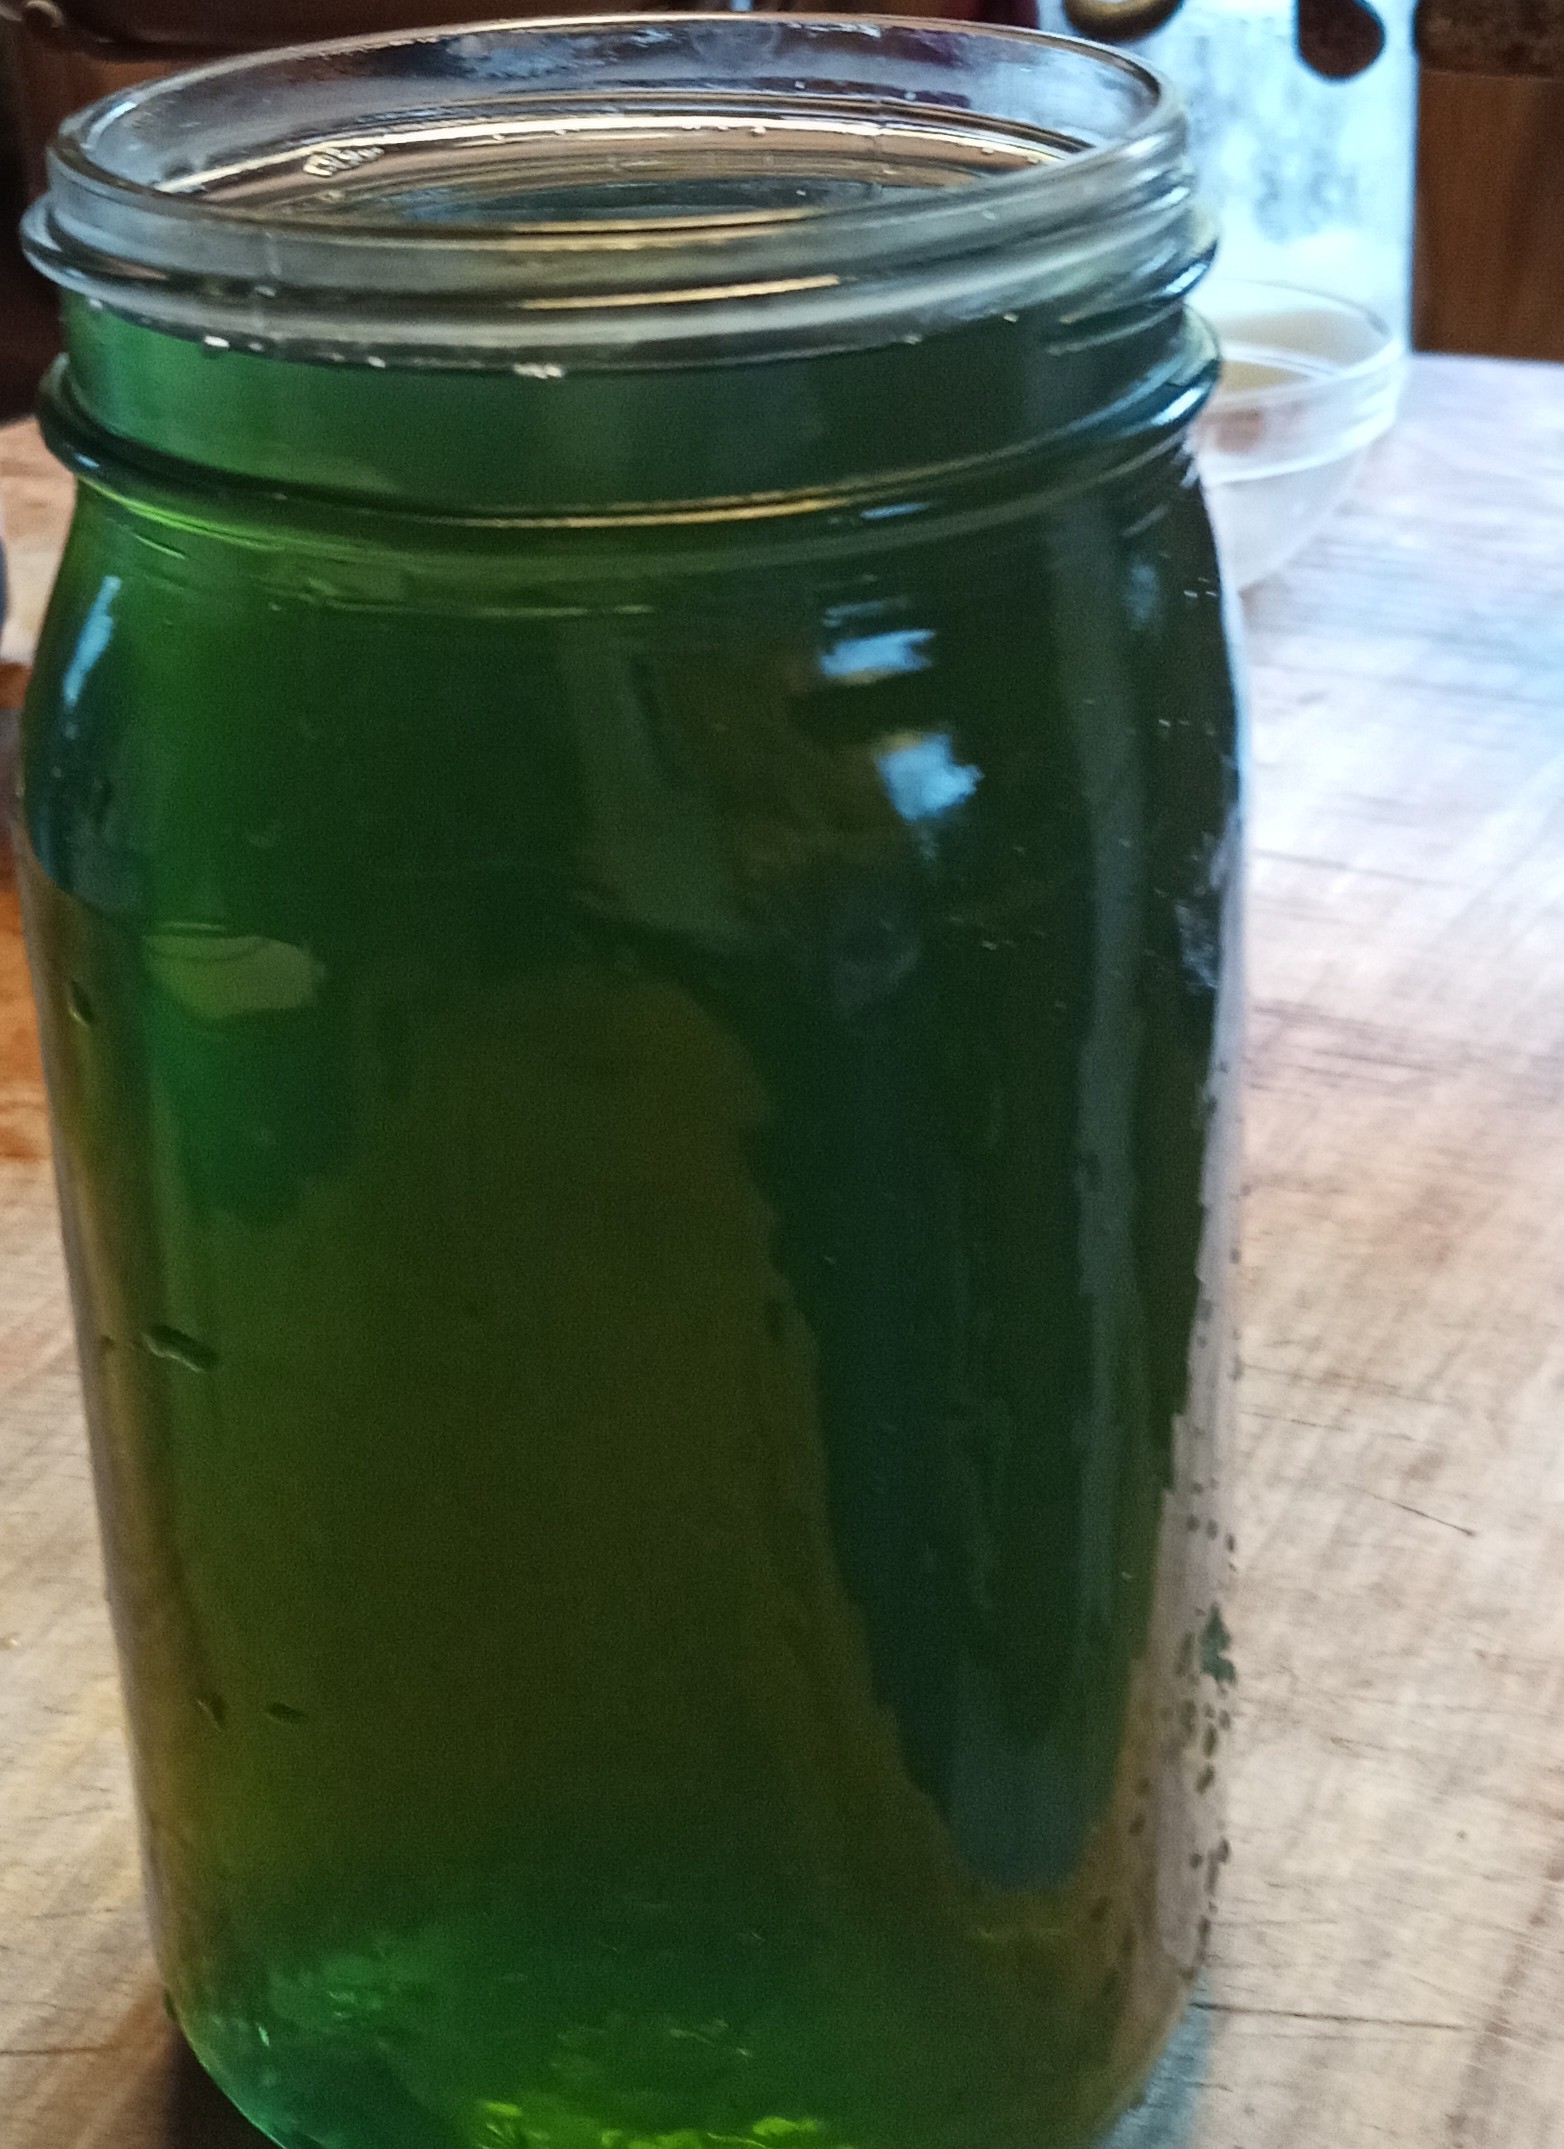
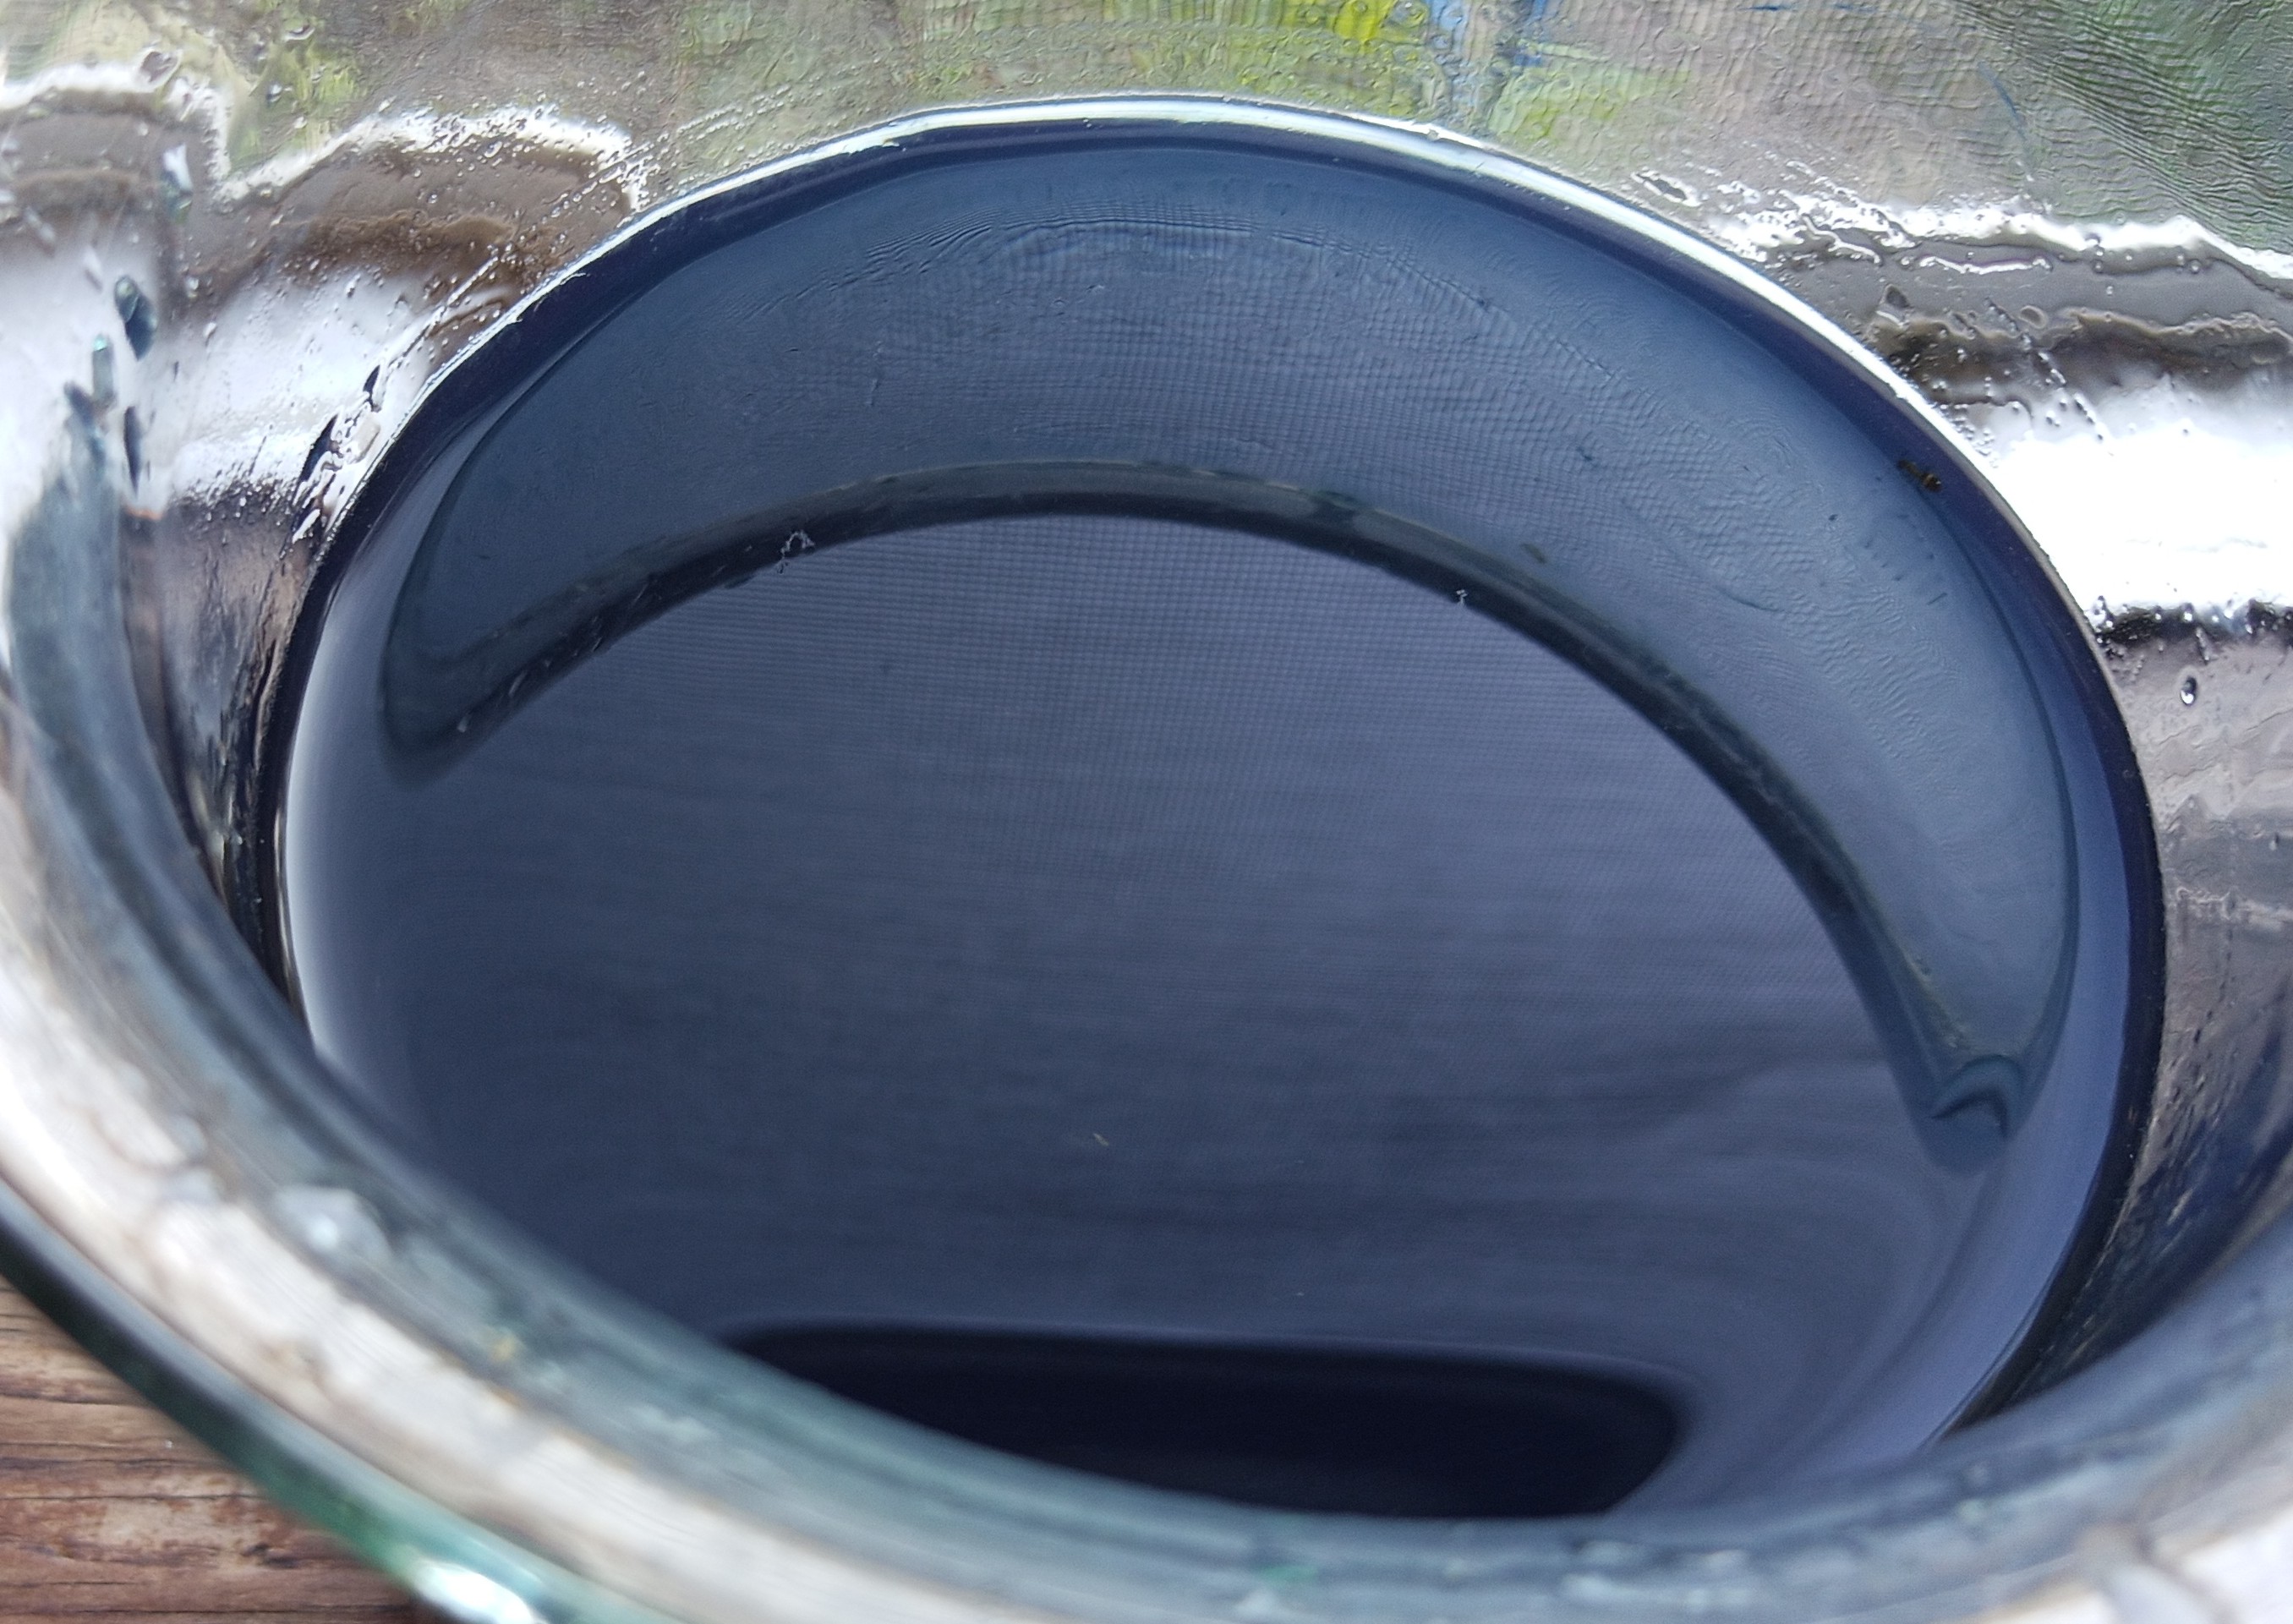
18 hours around 70F....give or take a few degrees.

I am not good at describing smells, definitely not rotten smelling...closer to cooked greens maybe?

nothing on surface...

will leave for a few more hours and figure out my drill with whisk set up. Hoping that wil aerate without flinging it all over the kitchen?
For such a small amount I think I could pour back and forth jar to jar?
IMG_20260914_075901_827-2.jpg
at 18 hours
at 18 hours
IMG_20260914_075838_196-2.jpg
at 18 hours
at 18 hours
 
gardener
Posts: 2330
Location: Zone 6b
1577
forest garden fungi books chicken fiber arts ungarbage
  • Likes 7
  • Mark post as helpful
  • send pies
    Number of slices to send:
    Optional 'thank-you' note:
  • Quote
  • Report post to moderator
Looking good. I would pour the water out so it has highly pure indigo. Bruised leaves let out all kinds of non-specific stuffs that might interfere with later steps. The solution is mainly reduced so you can't see oxidized flim on top. It's easier to just pour back and forth with a small volumn like this. Forget the mention that when you do the calcium precipitation, do it in a titration mode, i.e. adding drops of concentrated solution and observe the changes. Once you see phase separation just stop adding, stir gently, and let it settle for a few hours. With the clear glass you would be able to see dark blue sediments and water is light green.
 
Judith Browning
Posts: 10823
Location: a temperate, clay/loam spot on planet earth, the universe
4050
4
  • Likes 7
  • Mark post as helpful
  • send pies
    Number of slices to send:
    Optional 'thank-you' note:
  • Quote
  • Report post to moderator
thanks May!
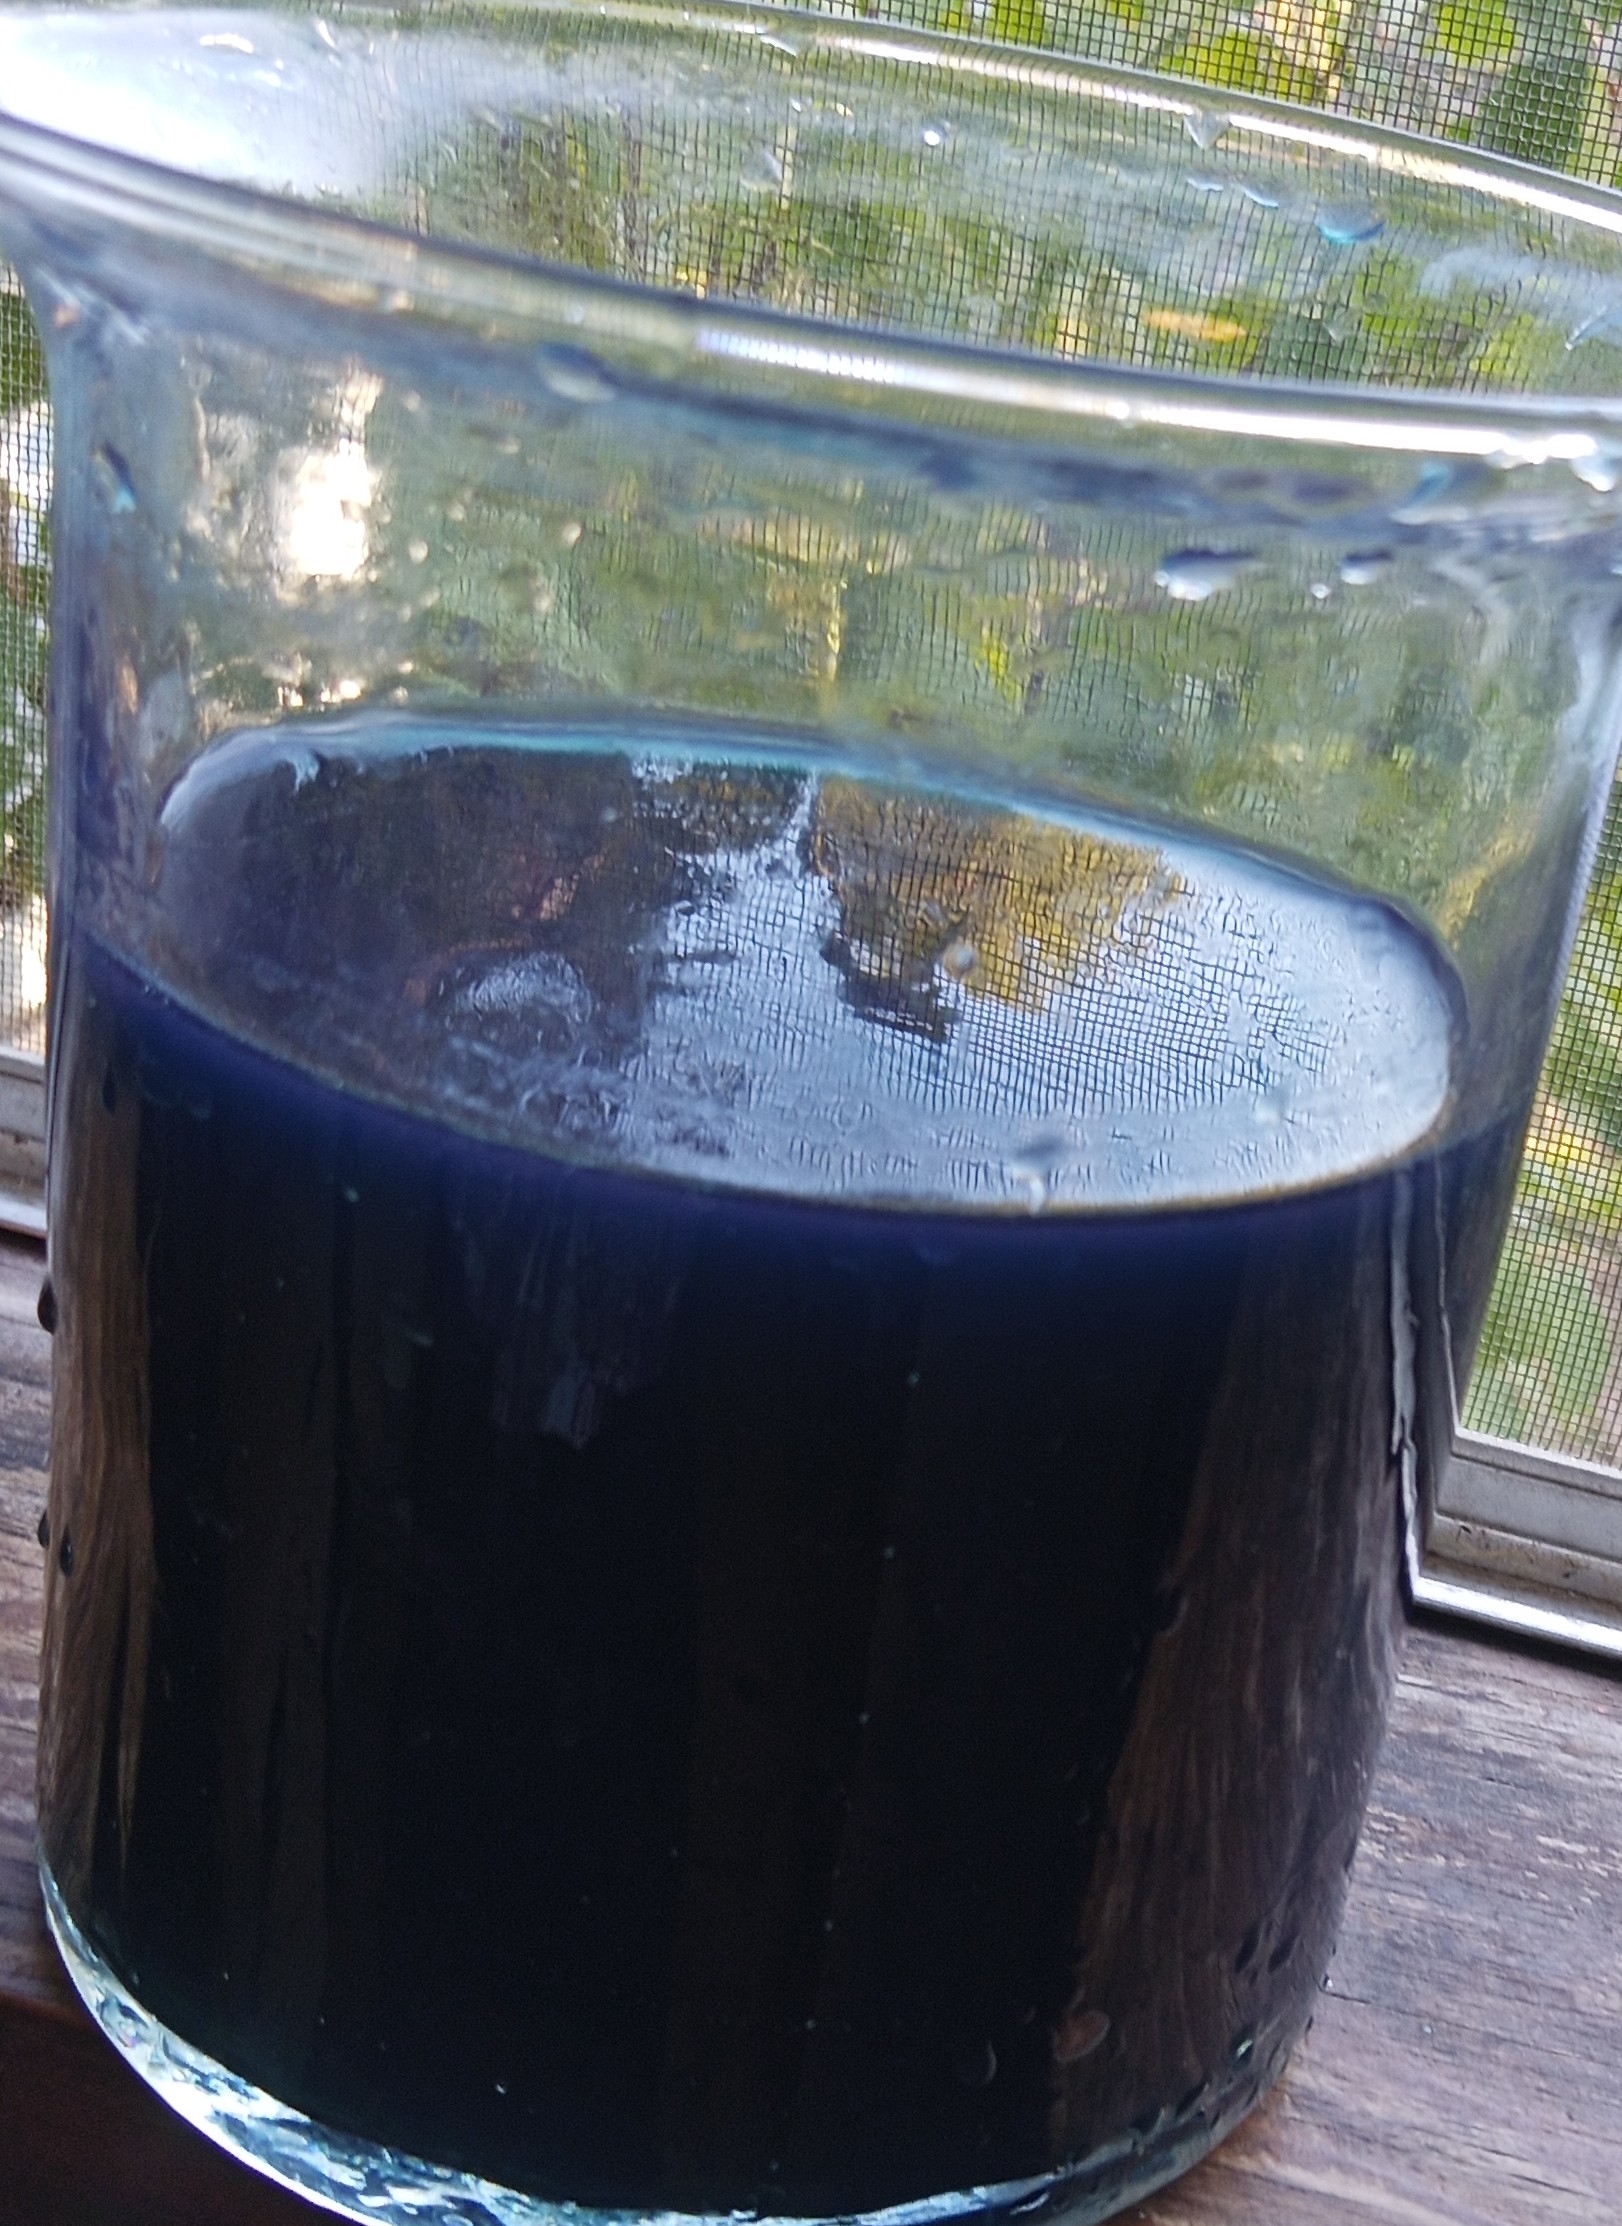
I strained it off and rinsed the leaves with 100ml water into a widemouth quart (3\4 full) and added the washing soda.
we took turns for 10 minutes pouring back and forth until dark blue.
Does it look dark enough?
I've poured it back in the vase to oxidize for three hours at 10:45am.

Are you straining through cloth after oxidation? coffee filters?

What do I dissolve the calcium in before adding...water or vinegar?

IMG_20260914_092746_479-2.jpg
[Thumbnail for IMG_20260914_092746_479-2.jpg]
IMG_20260914_093959_212-2.jpg
[Thumbnail for IMG_20260914_093959_212-2.jpg]
 
May Lotito
gardener
Posts: 2330
Location: Zone 6b
1577
forest garden fungi books chicken fiber arts ungarbage
  • Likes 6
  • Mark post as helpful
  • send pies
    Number of slices to send:
    Optional 'thank-you' note:
  • Quote
  • Report post to moderator
The color is right. Yes, I would filter at this step to get rid of small debris. Have calcium in water ready. Sometimes the precipitation has other impurities and clumpy that you can use plain weave cotton for filtering, resulting in something pudding like. I find it tends to get moldy and stinky if not stored in fridge or dried down. If purity is high, the precipitation would be fine grits that needs small pore size like coffee filter. You will find out soon.
 
Judith Browning
Posts: 10823
Location: a temperate, clay/loam spot on planet earth, the universe
4050
4
  • Likes 3
  • Mark post as helpful
  • send pies
    Number of slices to send:
    Optional 'thank-you' note:
  • Quote
  • Report post to moderator
I corrected a mistake above where I said 100ml white vinegar...I used 20ml.

 
Judith Browning
Posts: 10823
Location: a temperate, clay/loam spot on planet earth, the universe
4050
4
  • Likes 7
  • Mark post as helpful
  • send pies
    Number of slices to send:
    Optional 'thank-you' note:
  • Quote
  • Report post to moderator
filtered out small debris and have added dissolved calcium.
I am barely seeing some clearing of the surface half inch or so....thought it would be more dramatic so am not sure I added enough? total was a quarter teaspoon....that is much more than 1\10th of the amount of washing soda.

oops...I didn't wait 3 hours.
 
May Lotito
gardener
Posts: 2330
Location: Zone 6b
1577
forest garden fungi books chicken fiber arts ungarbage
  • Likes 10
  • Mark post as helpful
  • send pies
    Number of slices to send:
    Optional 'thank-you' note:
  • Quote
  • Report post to moderator
If the water is still very blue, you can take a couple spoonful out and test how much more is needed.  Just that you will have more calcium carbonate in the precipitation, which can be dissolved in the last step. Or just wait longer, sometimes I leave it overnight.
20260914_131641_Gallery.jpg
Indigo at bottom
Indigo at bottom
20260914_131649_Gallery.jpg
Rinsing and Cleaning
20260914_131704_Gallery.jpg
Dried
Dried
 
Judith Browning
Posts: 10823
Location: a temperate, clay/loam spot on planet earth, the universe
4050
4
  • Likes 7
  • Mark post as helpful
  • send pies
    Number of slices to send:
    Optional 'thank-you' note:
  • Quote
  • Report post to moderator
I removed a couple tbs and it looked much clearer than it appeared through the glass.
Will leave overnight.

Thank you for all of your help and guidance May!
I've needed something new in a different direction than my routine and now am eyeing spots for next years indigo patch!

I'll post a photo in the morning and hopefully it will have settled out nicely by then.
 
Judith Browning
Posts: 10823
Location: a temperate, clay/loam spot on planet earth, the universe
4050
4
  • Likes 8
  • Mark post as helpful
  • send pies
    Number of slices to send:
    Optional 'thank-you' note:
  • Quote
  • Report post to moderator
I had to check...impatient I guess😊

It was looking so dark I decided to shine a light through it and now I can see particles settled on the bottom and some suspended that will should settle by tomorrow?

IMG_20260914_161948_693-2.jpg
[Thumbnail for IMG_20260914_161948_693-2.jpg]
 
Judith Browning
Posts: 10823
Location: a temperate, clay/loam spot on planet earth, the universe
4050
4
  • Likes 10
  • Mark post as helpful
  • send pies
    Number of slices to send:
    Optional 'thank-you' note:
  • Quote
  • Report post to moderator
first photo at 6am this morning.

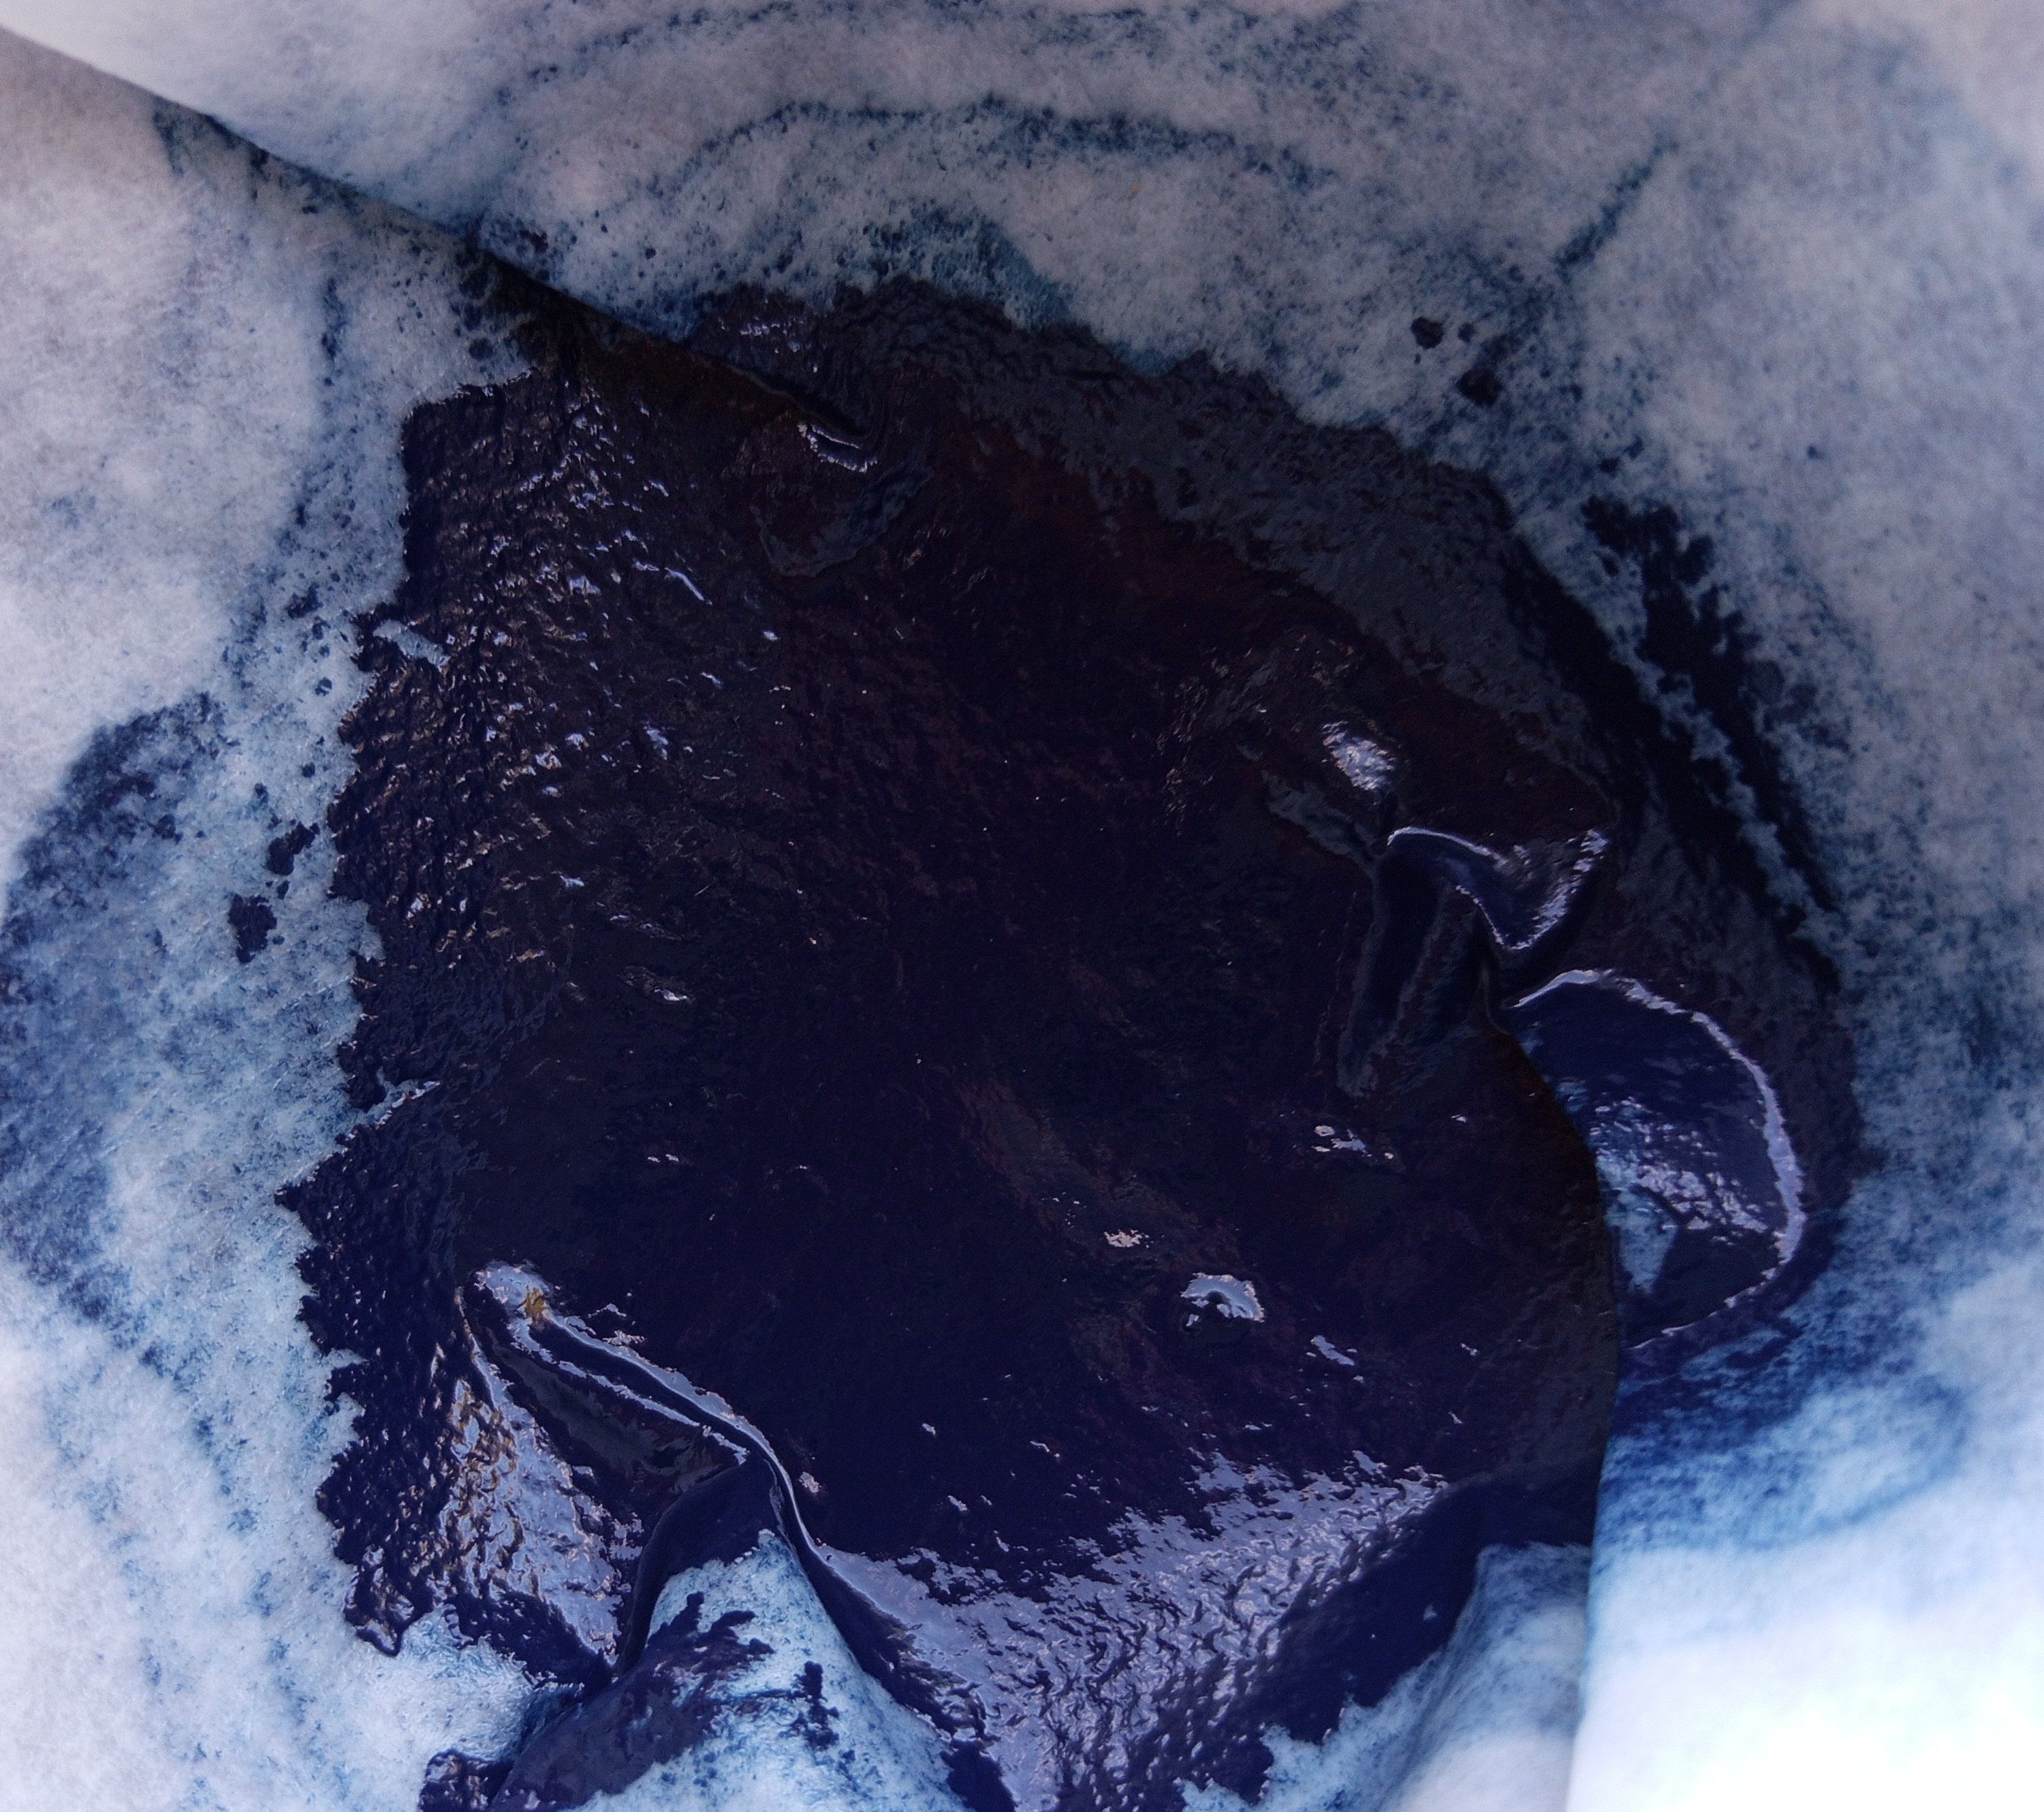
I poured off most of the clear liquid into one jar and poured the rest through a paper filter into a second jar.

Some pigment filtered out but the rest appears to have dissolved back into the liquid as it is quite blue again and almost opaque.

My impatient self then added the left over dissolved calcium that I did not use yesterday, gave it a stir and now see some pigment settling out again.

I'm afraid to rinse the pigment that I do have in the filter for fear it will all dissolve.

IMG_20260915_060126_340-2.jpg
[Thumbnail for IMG_20260915_060126_340-2.jpg]
IMG_20260915_060415_421-2.jpg
[Thumbnail for IMG_20260915_060415_421-2.jpg]
IMG_20260915_061843_156-2.jpg
[Thumbnail for IMG_20260915_061843_156-2.jpg]
IMG_20260915_061849_813-2.jpg
[Thumbnail for IMG_20260915_061849_813-2.jpg]
IMG_20260915_075934_911-2.jpg
[Thumbnail for IMG_20260915_075934_911-2.jpg]
 
Posts: 15
Location: Scotland, UK
11
cat forest garden books fiber arts bee composting
  • Likes 7
  • Mark post as helpful
  • send pies
    Number of slices to send:
    Optional 'thank-you' note:
  • Quote
  • Report post to moderator
I've got to ask, what is the scientific name of the plant here? I don't see it mentioned in the thread.

Every concept I have of Indigo involves members of the Legume family (or Brassicas for "woad"), with true "Indigo" as I understand it being Indigofera tinctoria L., i.e.:


...which your plant clearly is not.

So now I'm very curious. What is it?

(the vats look amazing btw)
 
May Lotito
gardener
Posts: 2330
Location: Zone 6b
1577
forest garden fungi books chicken fiber arts ungarbage
  • Likes 7
  • Mark post as helpful
  • send pies
    Number of slices to send:
    Optional 'thank-you' note:
  • Quote
  • Report post to moderator
I would rinse with water to get rid of salt, then 5% vinegar to dissolve excess CaCO3, then water again. You can go on with a small dyeing project in the jar. Or let it air dry and ground up the powder. It takes a lot of materials for large project.


Judith Browning
Posts: 10823
Location: a temperate, clay/loam spot on planet earth, the universe
4050
4
  • Likes 7
  • Mark post as helpful
  • send pies
    Number of slices to send:
    Optional 'thank-you' note:
  • Quote
  • Report post to moderator

Stina May wrote:I've got to ask, what is the scientific name of the plant here? I don't see it mentioned in the thread.

Every concept I have of Indigo involves members of the Legume family (or Brassicas for "woad"), with true "Indigo" as I understand it being Indigofera tinctoria L., i.e.:

...which your plant clearly is not.

So now I'm very curious. What is it?

(the vats look amazing btw)


Hi Stina😊I should have mentioned that from the beginning!
I think I'm correct in saying it's Japanese Indigo
https://en.wikipedia.org/wiki/Persicaria_tinctoria
also called dyers knotweed, chinese indigo.
My seed is from May.L.
Here's a link to the big Indigo thread and one for the big woad thread
https://permies.com/t/37159/dyeing/Indigo-blue-growing-harvesting-processing
https://permies.com/t/76750/dyeing/Woad-growing-harvesting-dyeing

I grew indigofera tinctoria years ago and the deer ate the plants so never had a chance to try using it.

It would be great if you can share your natural dye experiences here!
 
Judith Browning
Posts: 10823
Location: a temperate, clay/loam spot on planet earth, the universe
4050
4
  • Likes 9
  • Mark post as helpful
  • send pies
    Number of slices to send:
    Optional 'thank-you' note:
  • Quote
  • Report post to moderator
May, I think my rinsing is dissolving the pigment...I didn't expect much and have been enjoying rhe process....happy to see some lovely blue come out of those leaves even if I don't have a hold of it yet.

I have a well worn linen hankie I might immerse in the jar in the end and see if I get a little blue.

Now I'm excited to try again so will keep watering the plants in hopes they have time to branch a bit and have more tips to harvest.
 
Stina May
Posts: 15
Location: Scotland, UK
11
cat forest garden books fiber arts bee composting
  • Likes 11
  • Mark post as helpful
  • send pies
    Number of slices to send:
    Optional 'thank-you' note:
  • Quote
  • Report post to moderator

Judith Browning wrote:I think I'm correct in saying it's Japanese Indigo
https://en.wikipedia.org/wiki/Persicaria_tinctoria
also called dyers knotweed, chinese indigo.
[...]
I grew indigo tinctoria years ago and the deer ate the plants so never had a chance to try using it.
It would be great if you can share your natural dye experiences here!


Thank you, I did some googling and wondered if it might be that. It looks so leafy and easy compared with true Indigo! Makes me wonder if I could grow that species where I am. I once managed several bushes of Indigofera at a place I worked in Wales, and they were never very happy there. No deer, but too wet I imagine, so they were very sparse on foliage and rarely tried to flower. I never did manage to use any. At least Persicaria usually has no problem with rain!

My dyeing experience has been mostly with Woad (Isatis tinctoria), particularly Woad Balls, which is an old method of preserving the leaves in a way that helps ferment them at point of use to release more of the pigment. It's very many years since I did it, and never on any kind of scale, but I did love the process. I also particularly love the Woad shade of blue, which is slightly different to that of true indigo. It varies, but it often has a touch of ultramarine in it. Really beautiful.

Edit: formatting
 
May Lotito
gardener
Posts: 2330
Location: Zone 6b
1577
forest garden fungi books chicken fiber arts ungarbage
  • Likes 10
  • Mark post as helpful
  • send pies
    Number of slices to send:
    Optional 'thank-you' note:
  • Quote
  • Report post to moderator
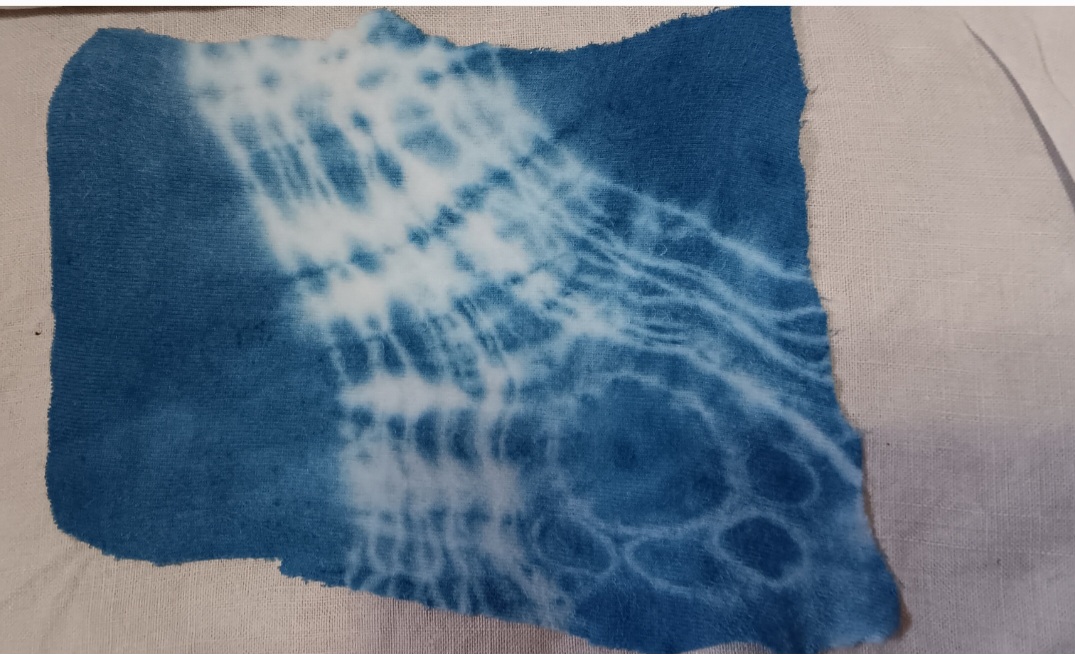
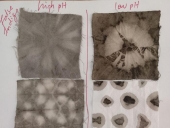
Judith,  you can resuspend the pigments in a container of water. They will sink to the bottom, then pour off excess liquid. I took a pinch of the indigo powder I prepared a few days ago to test some shibori design quickly. I had to use a strong reducer this time since the volumn is so small. Traditionally alcohol from fermentation is the reducer in a deep vat. Last year I tried culturing indigo leaves in alkaline solution but couldn't get any spontaneous fermentation. I will try sukumo again, but I guess I need to buy the inoculants.
20260915_141421.jpg
Mini dye vat
Mini dye vat
20260915_141428.jpg
Shibori
Shibori
 
Judith Browning
Posts: 10823
Location: a temperate, clay/loam spot on planet earth, the universe
4050
4
  • Likes 8
  • Mark post as helpful
  • send pies
    Number of slices to send:
    Optional 'thank-you' note:
  • Quote
  • Report post to moderator
your sample shibori is beautiful!

I'm stumped at the moment.
I have a jar of bluish liquid (from straining) that is not settling.
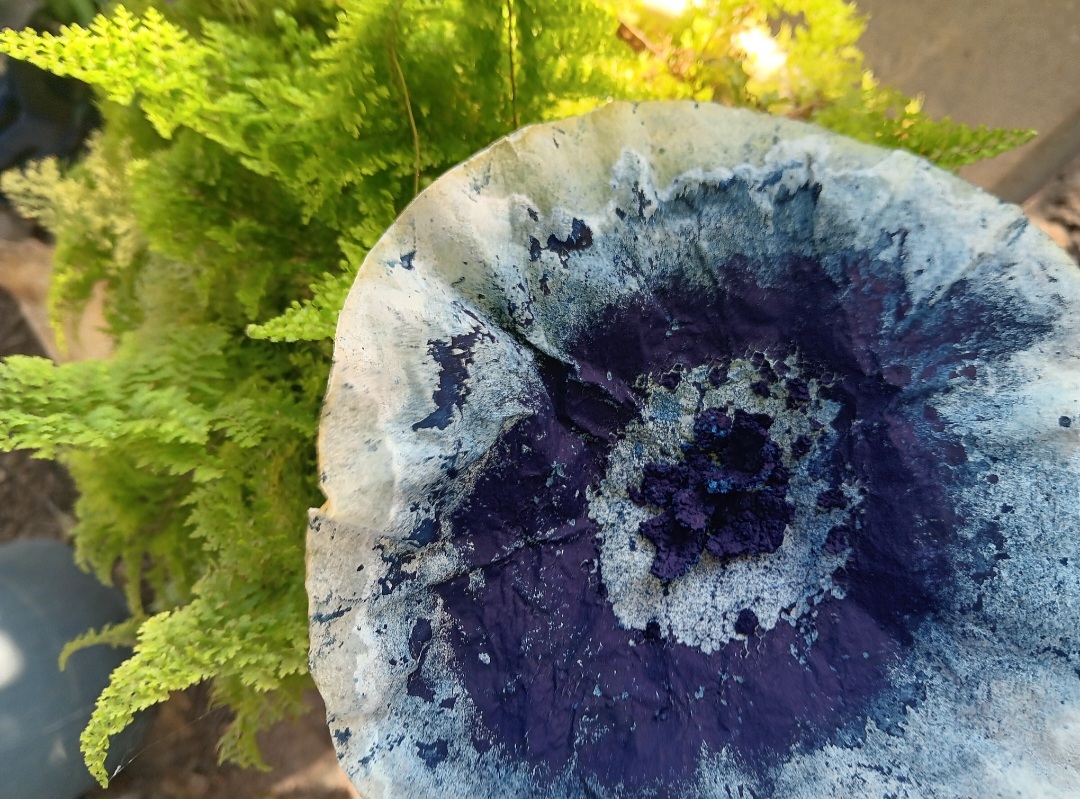
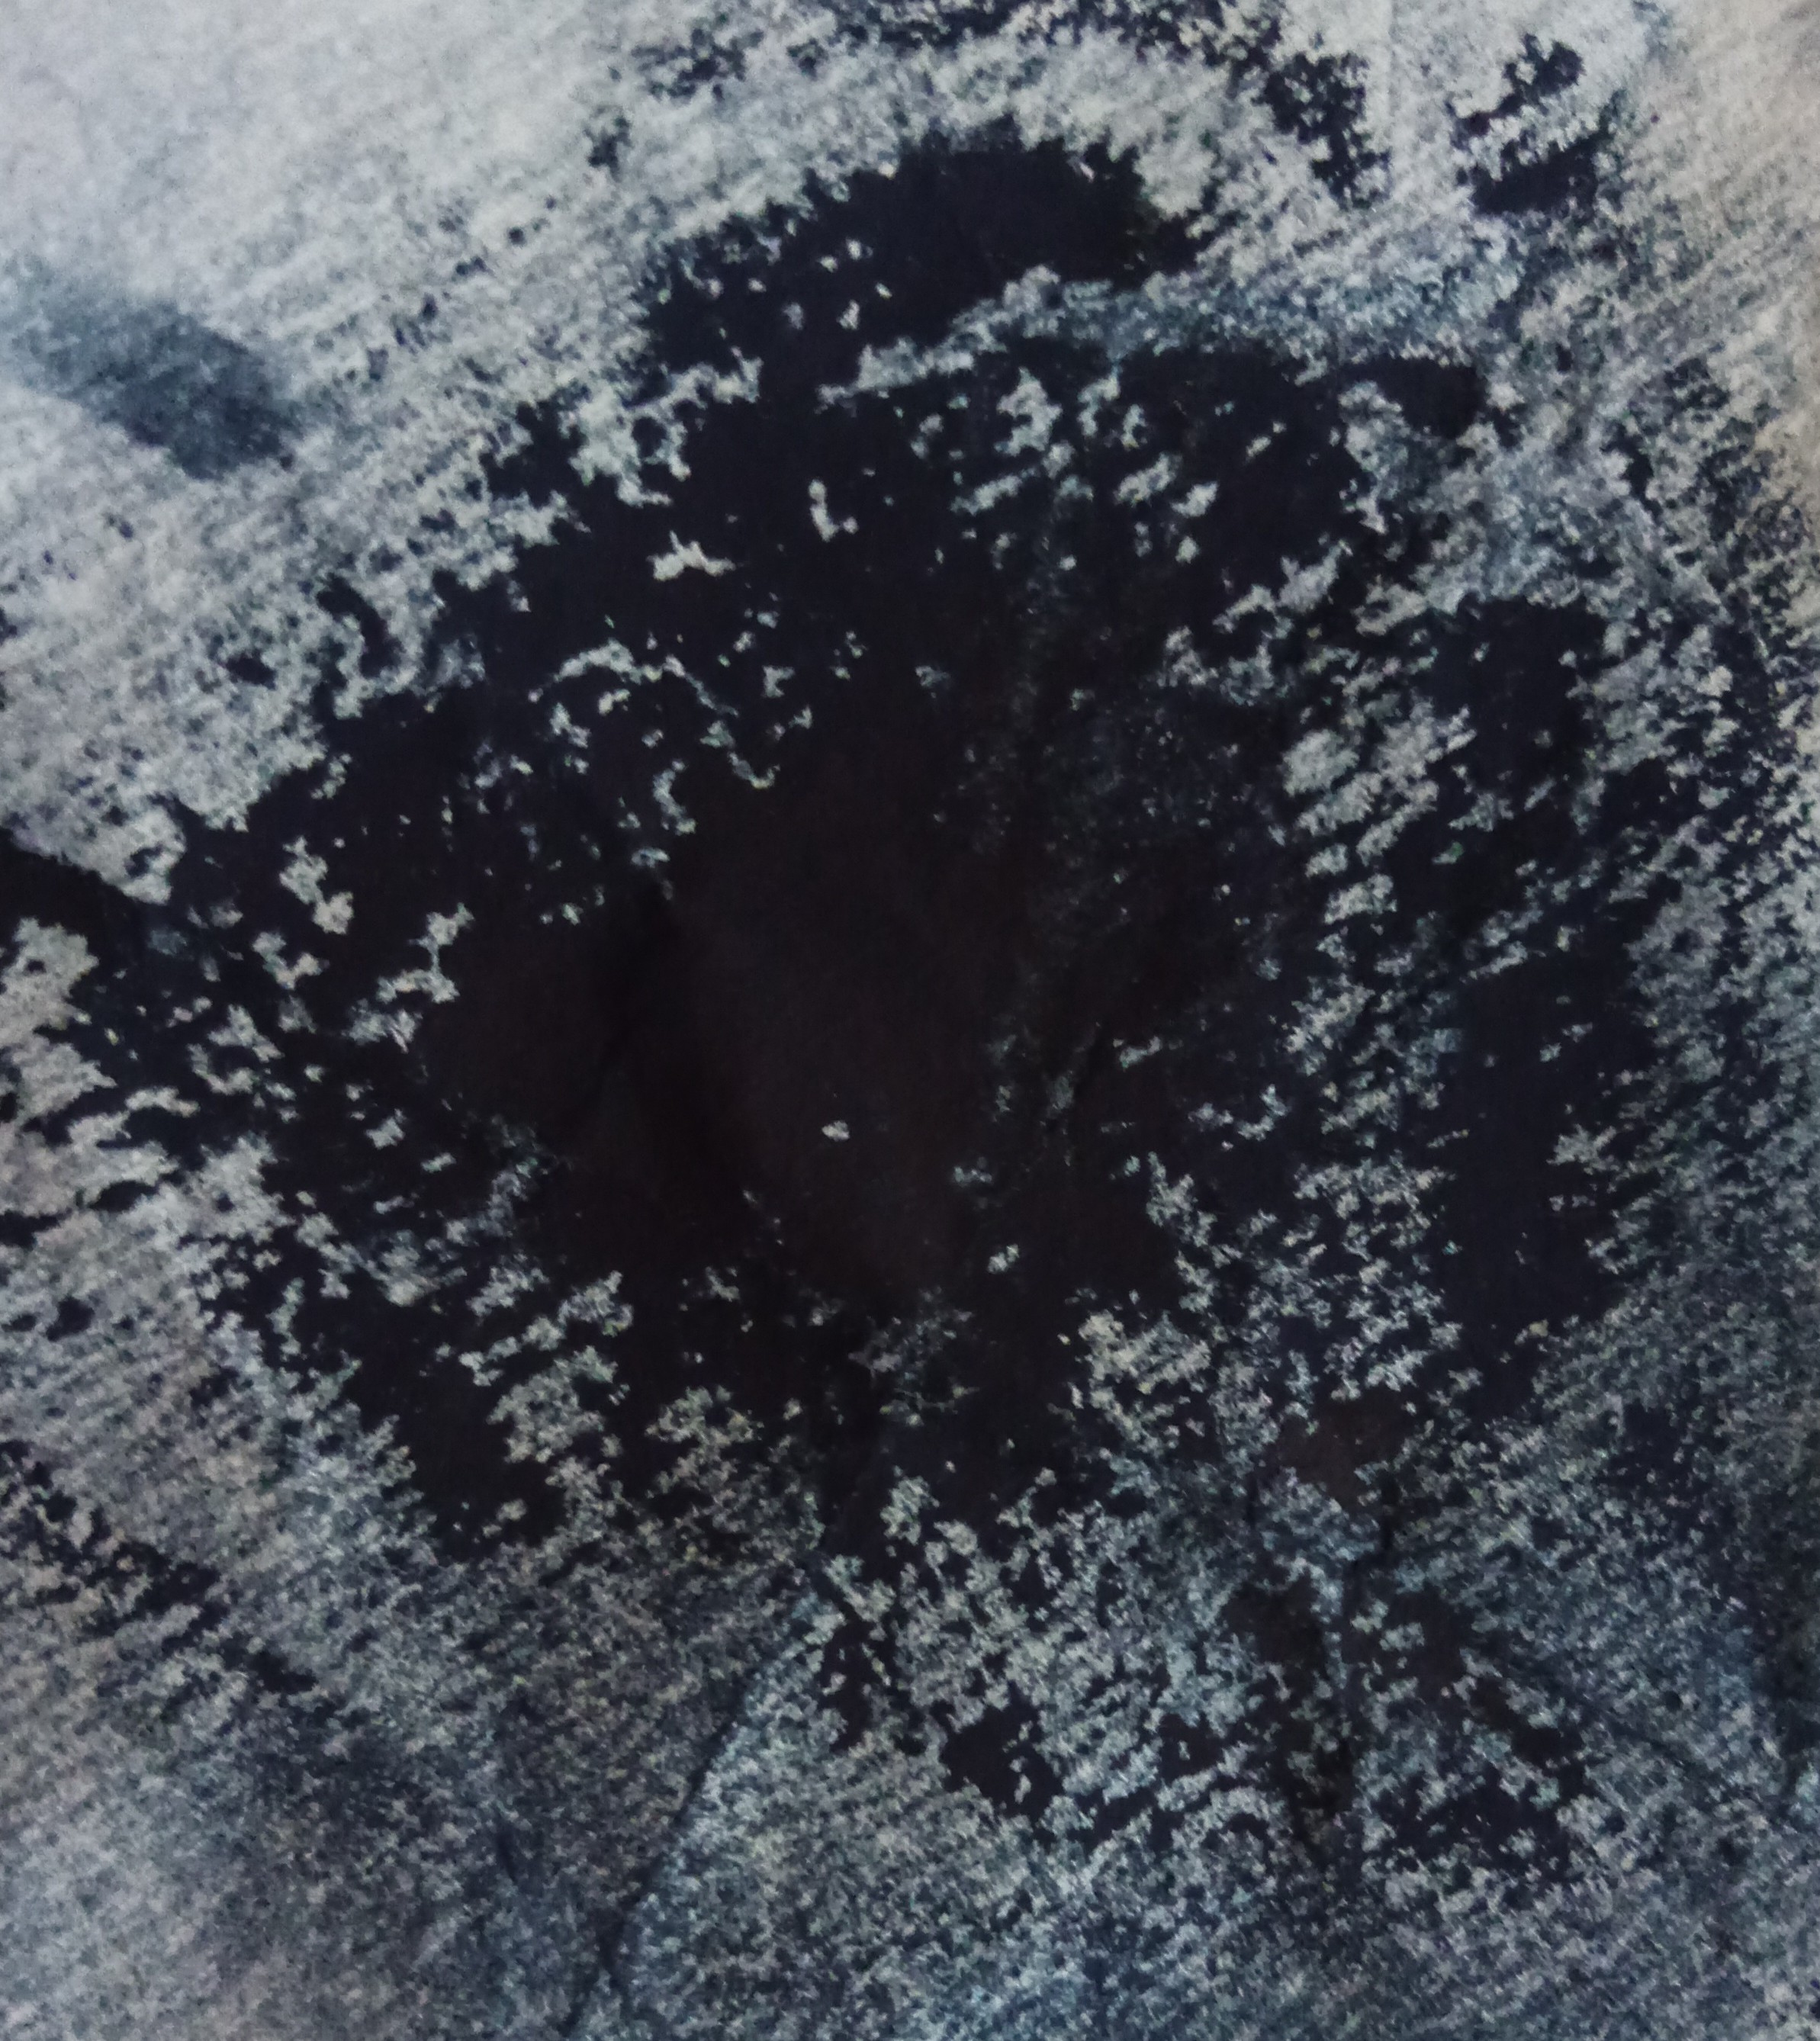
I do have a trace of nice pigment on a coffee filter that shows me the possibilities...I've dried and labeled for future reference....enough to make me want to grow a big patch next year!

I'm at a point where I realize there's too much I don't know about indigo dyeing....so am not even sure what questions to ask🙄

On the side I think I might have lost my chinese woad (isatis indigotica)
It has grown and gone to seed for years now and popped up different places in the garden with out any effort on my part.
Looking for it yesterday all I found was bermuda grass.


IMG_20260915_160929_072-2.jpg
indigo pigment
indigo pigment
 
Judith Browning
Posts: 10823
Location: a temperate, clay/loam spot on planet earth, the universe
4050
4
  • Likes 9
  • Mark post as helpful
  • send pies
    Number of slices to send:
    Optional 'thank-you' note:
  • Quote
  • Report post to moderator
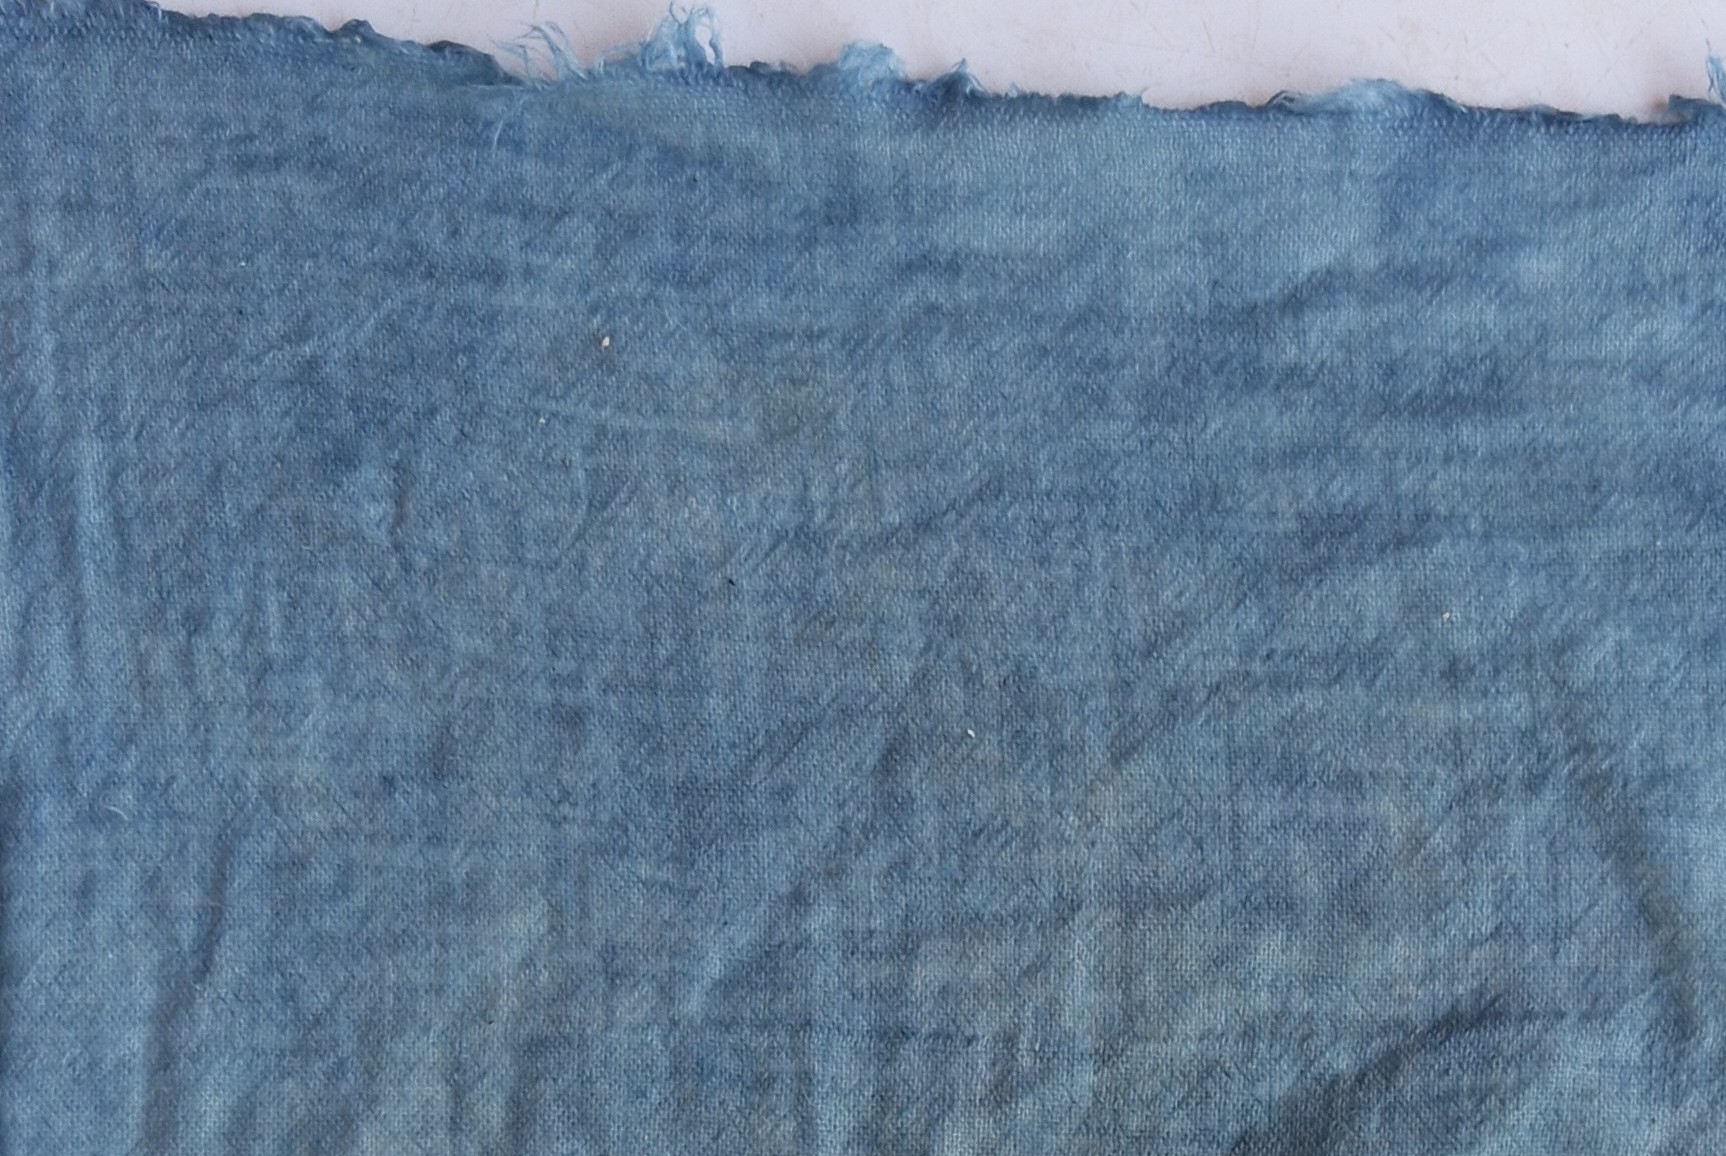
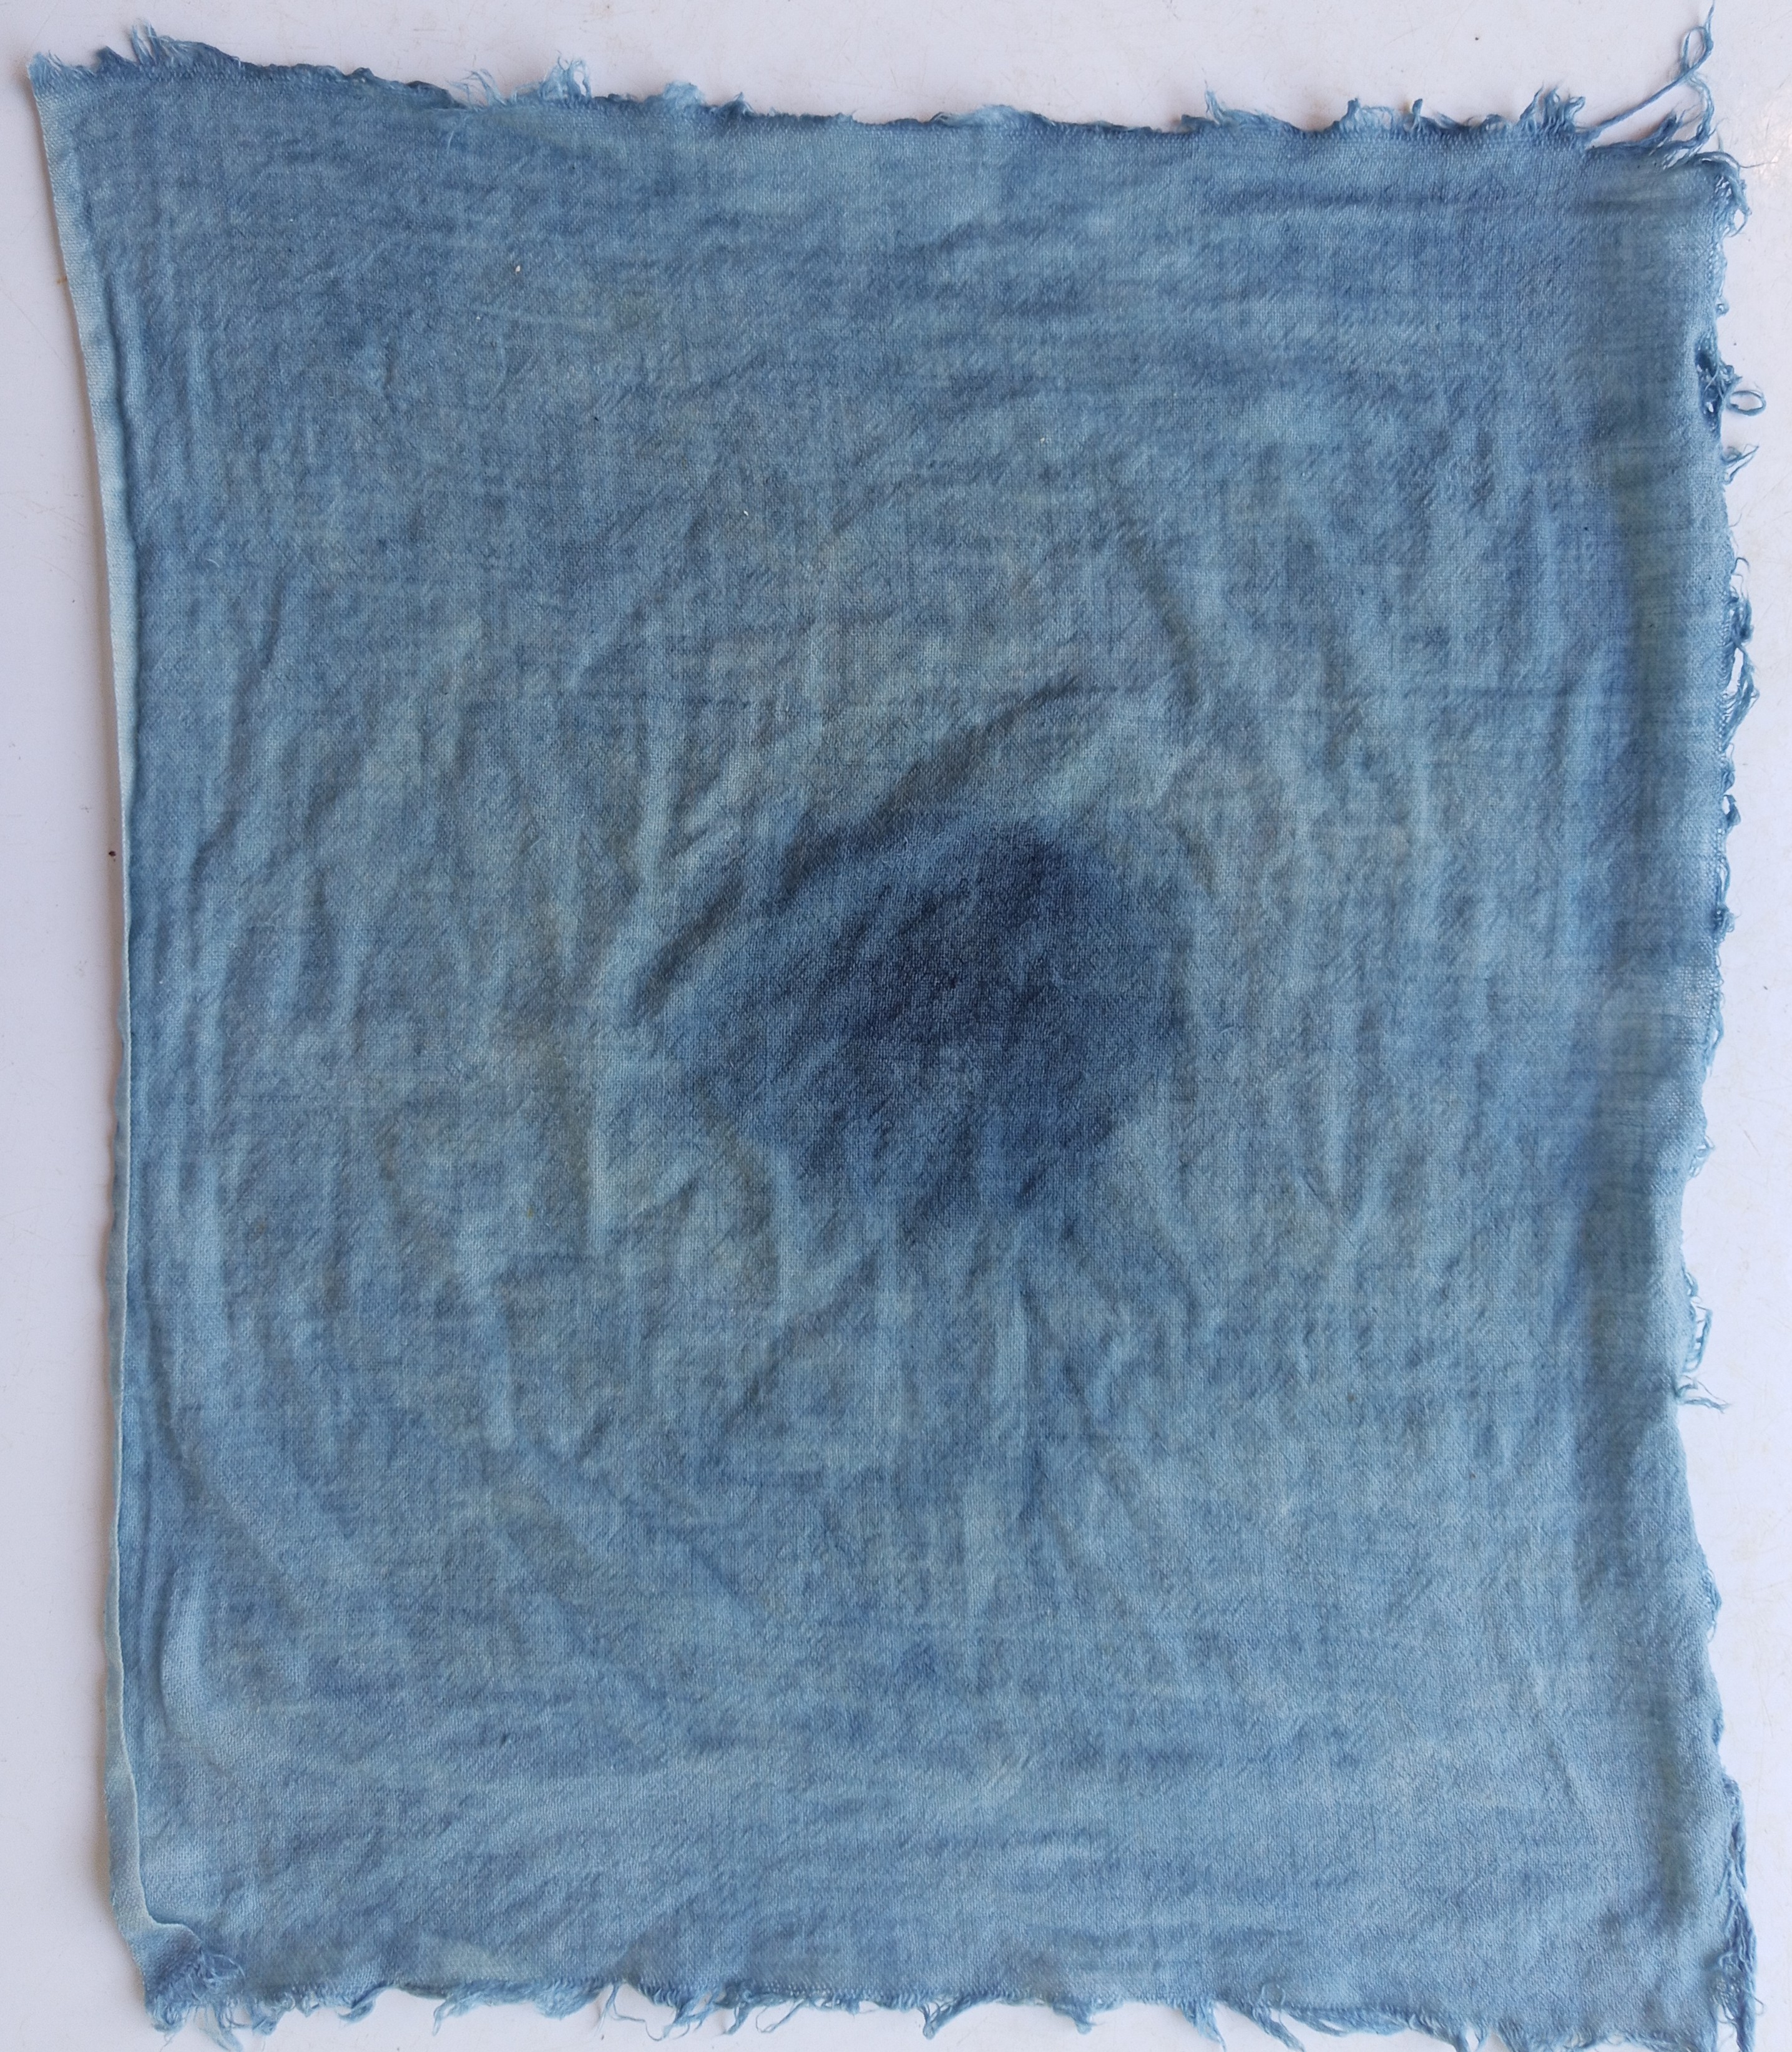
Here's a small cotton muslin piece I soaked in the liquid to use up last bit of blue.
Have learned so much by finally 'doing'.

I'm eyeing the leaves left on the plants and thinking of a slightly larger batch using the same methods in a few days and then using one of the reduction methods Rita Buchanan mentions in A Weaver's Garden'.
Probably chopped raisins or dates.

IMG_20260918_091805_812-3.jpg
dyers knotweed on muslin
IMG_20260918_091805_812-2.jpg
dyers knotweed on muslin
 
May Lotito
gardener
Posts: 2330
Location: Zone 6b
1577
forest garden fungi books chicken fiber arts ungarbage
  • Likes 9
  • Mark post as helpful
  • send pies
    Number of slices to send:
    Optional 'thank-you' note:
  • Quote
  • Report post to moderator
Here are videos showing two different traditional ways of making indigo dye from P. tincoria with some simple explanation of the mechanism.


The Japanese awa-indigo use fresh green leaves. The chopping and bruising disrupt celluar compartments and the indigo precursor reacts to enzyme and oxidizes internally.  After oxidative decomposition similar to hot composting, part of the plant tissues break down and gases off, the volume reduces. The residues then undergo anaerobic fermentation in alkaline solution. Metabolism from bacteria provides reducing power and releases indigo from insoluble complex into the liquid for dyeing.

Liziqi's "life of the bluegrass"


This is the traditional Chinese way. Older plants are harvested and soaked in water to partly break down plant tissues. Indigo precursor and enzyme are released and the resulting indigo remains largely in the soluble reduced form. It then is oxidized by aeration and precipitated by calcium (quick lime or hydrated lime). The blue mud or paste is retrieved and stored. Reducing power comes from rice wine culture. Various fungi break down starch to sugar and ferment it into alcohol as the reducer.

From my experience, if green leaves are soaked anaerobically too long, the indigo binds to chlorophyll and probably other hydrophobic molecules as well. The precipitation is not as pure and has a green tint. Those impurities make subsequent reduction and solublization difficult. So what I have experimented is to find the sweet spot of leaching condition in which there are maximum indigo precursor, some enzymes, and minimum chloroplast. Then I proceed to use common household chemicals and utensils to extract the pure indigo. It can be an overkill for simple dye project but it's fun.

I have no experience with the legume Indigofera. tincoria as it needs warmer climate to grow. It seems the extraction is much simpler with this plant. Oxidized indigo just associates with the foam on top of the water in large quantities, making collecting easy. I guess it contains higher surfactant than other indigo plants.

Traditional woad processing is somewhat similar to sukumo.  Woad leaves are kneaded and balled for slow fermentation. I still can't find the way the extract indigo from fresh leaves. Maybe the yield is just too low.
 
Judith Browning
Posts: 10823
Location: a temperate, clay/loam spot on planet earth, the universe
4050
4
  • Likes 8
  • Mark post as helpful
  • send pies
    Number of slices to send:
    Optional 'thank-you' note:
  • Quote
  • Report post to moderator
here we go again😊

I have three pots of dyer's knotweed/japanese indigo plants...really too crowded.  I had planned to set them out but the drought happened so they stayed in pots I could more easily water.
This round I cut stems and plucked all of the leaves from one pot of plants and that amounted to 50 grams so used about 800 ml tap water and 2 tablespoons white vinegar and weighted with a glass frog at 12:30pm.
I intended to follow your guidelines again May but I've already wandered a little as is my usual approach....not sure the leaves will have much color as some were very small and young.

IMG_20260922_121314_267-3.jpg
dyer's knotweed leaves in water with vinegar
 
Judith Browning
Posts: 10823
Location: a temperate, clay/loam spot on planet earth, the universe
4050
4
  • Likes 6
  • Mark post as helpful
  • send pies
    Number of slices to send:
    Optional 'thank-you' note:
  • Quote
  • Report post to moderator
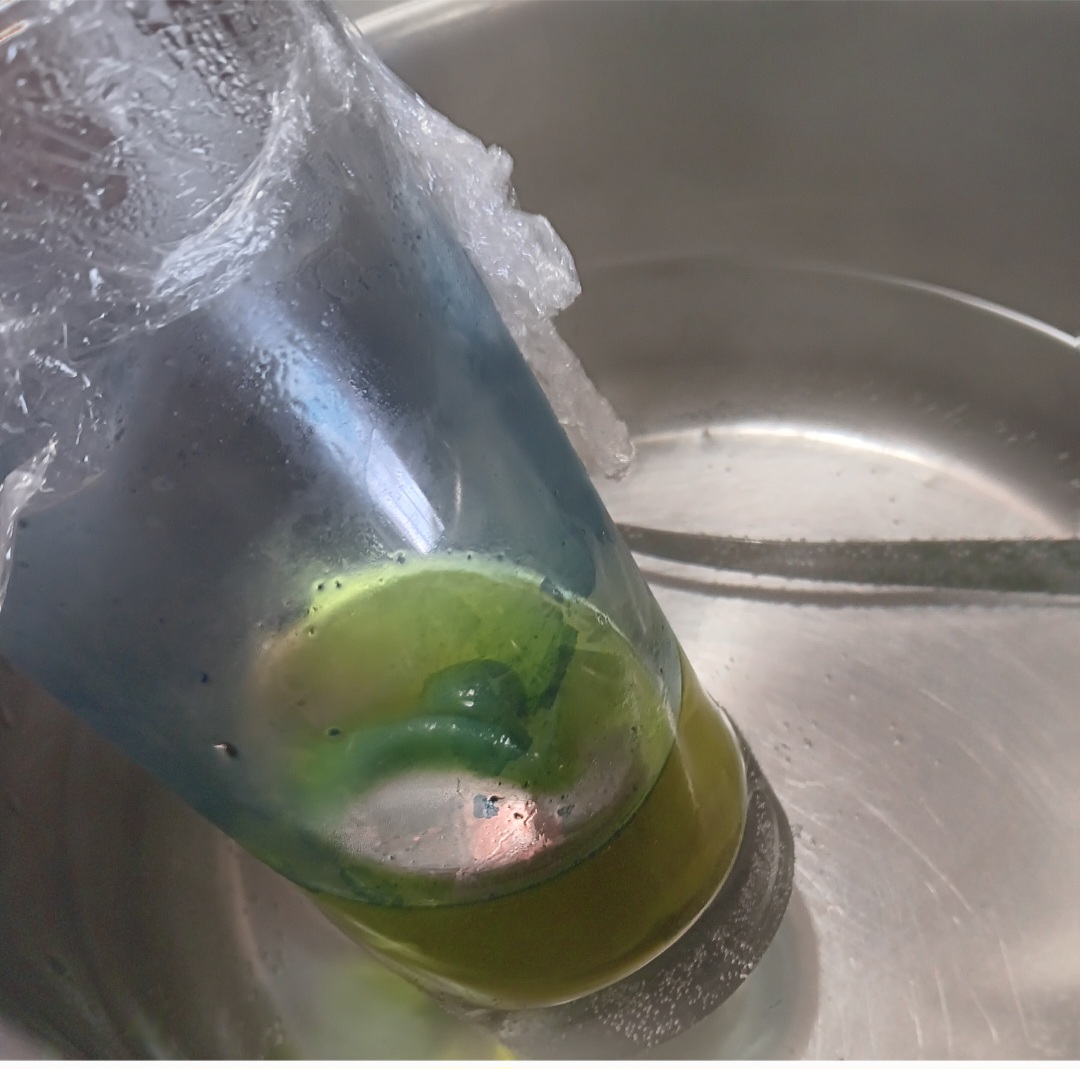
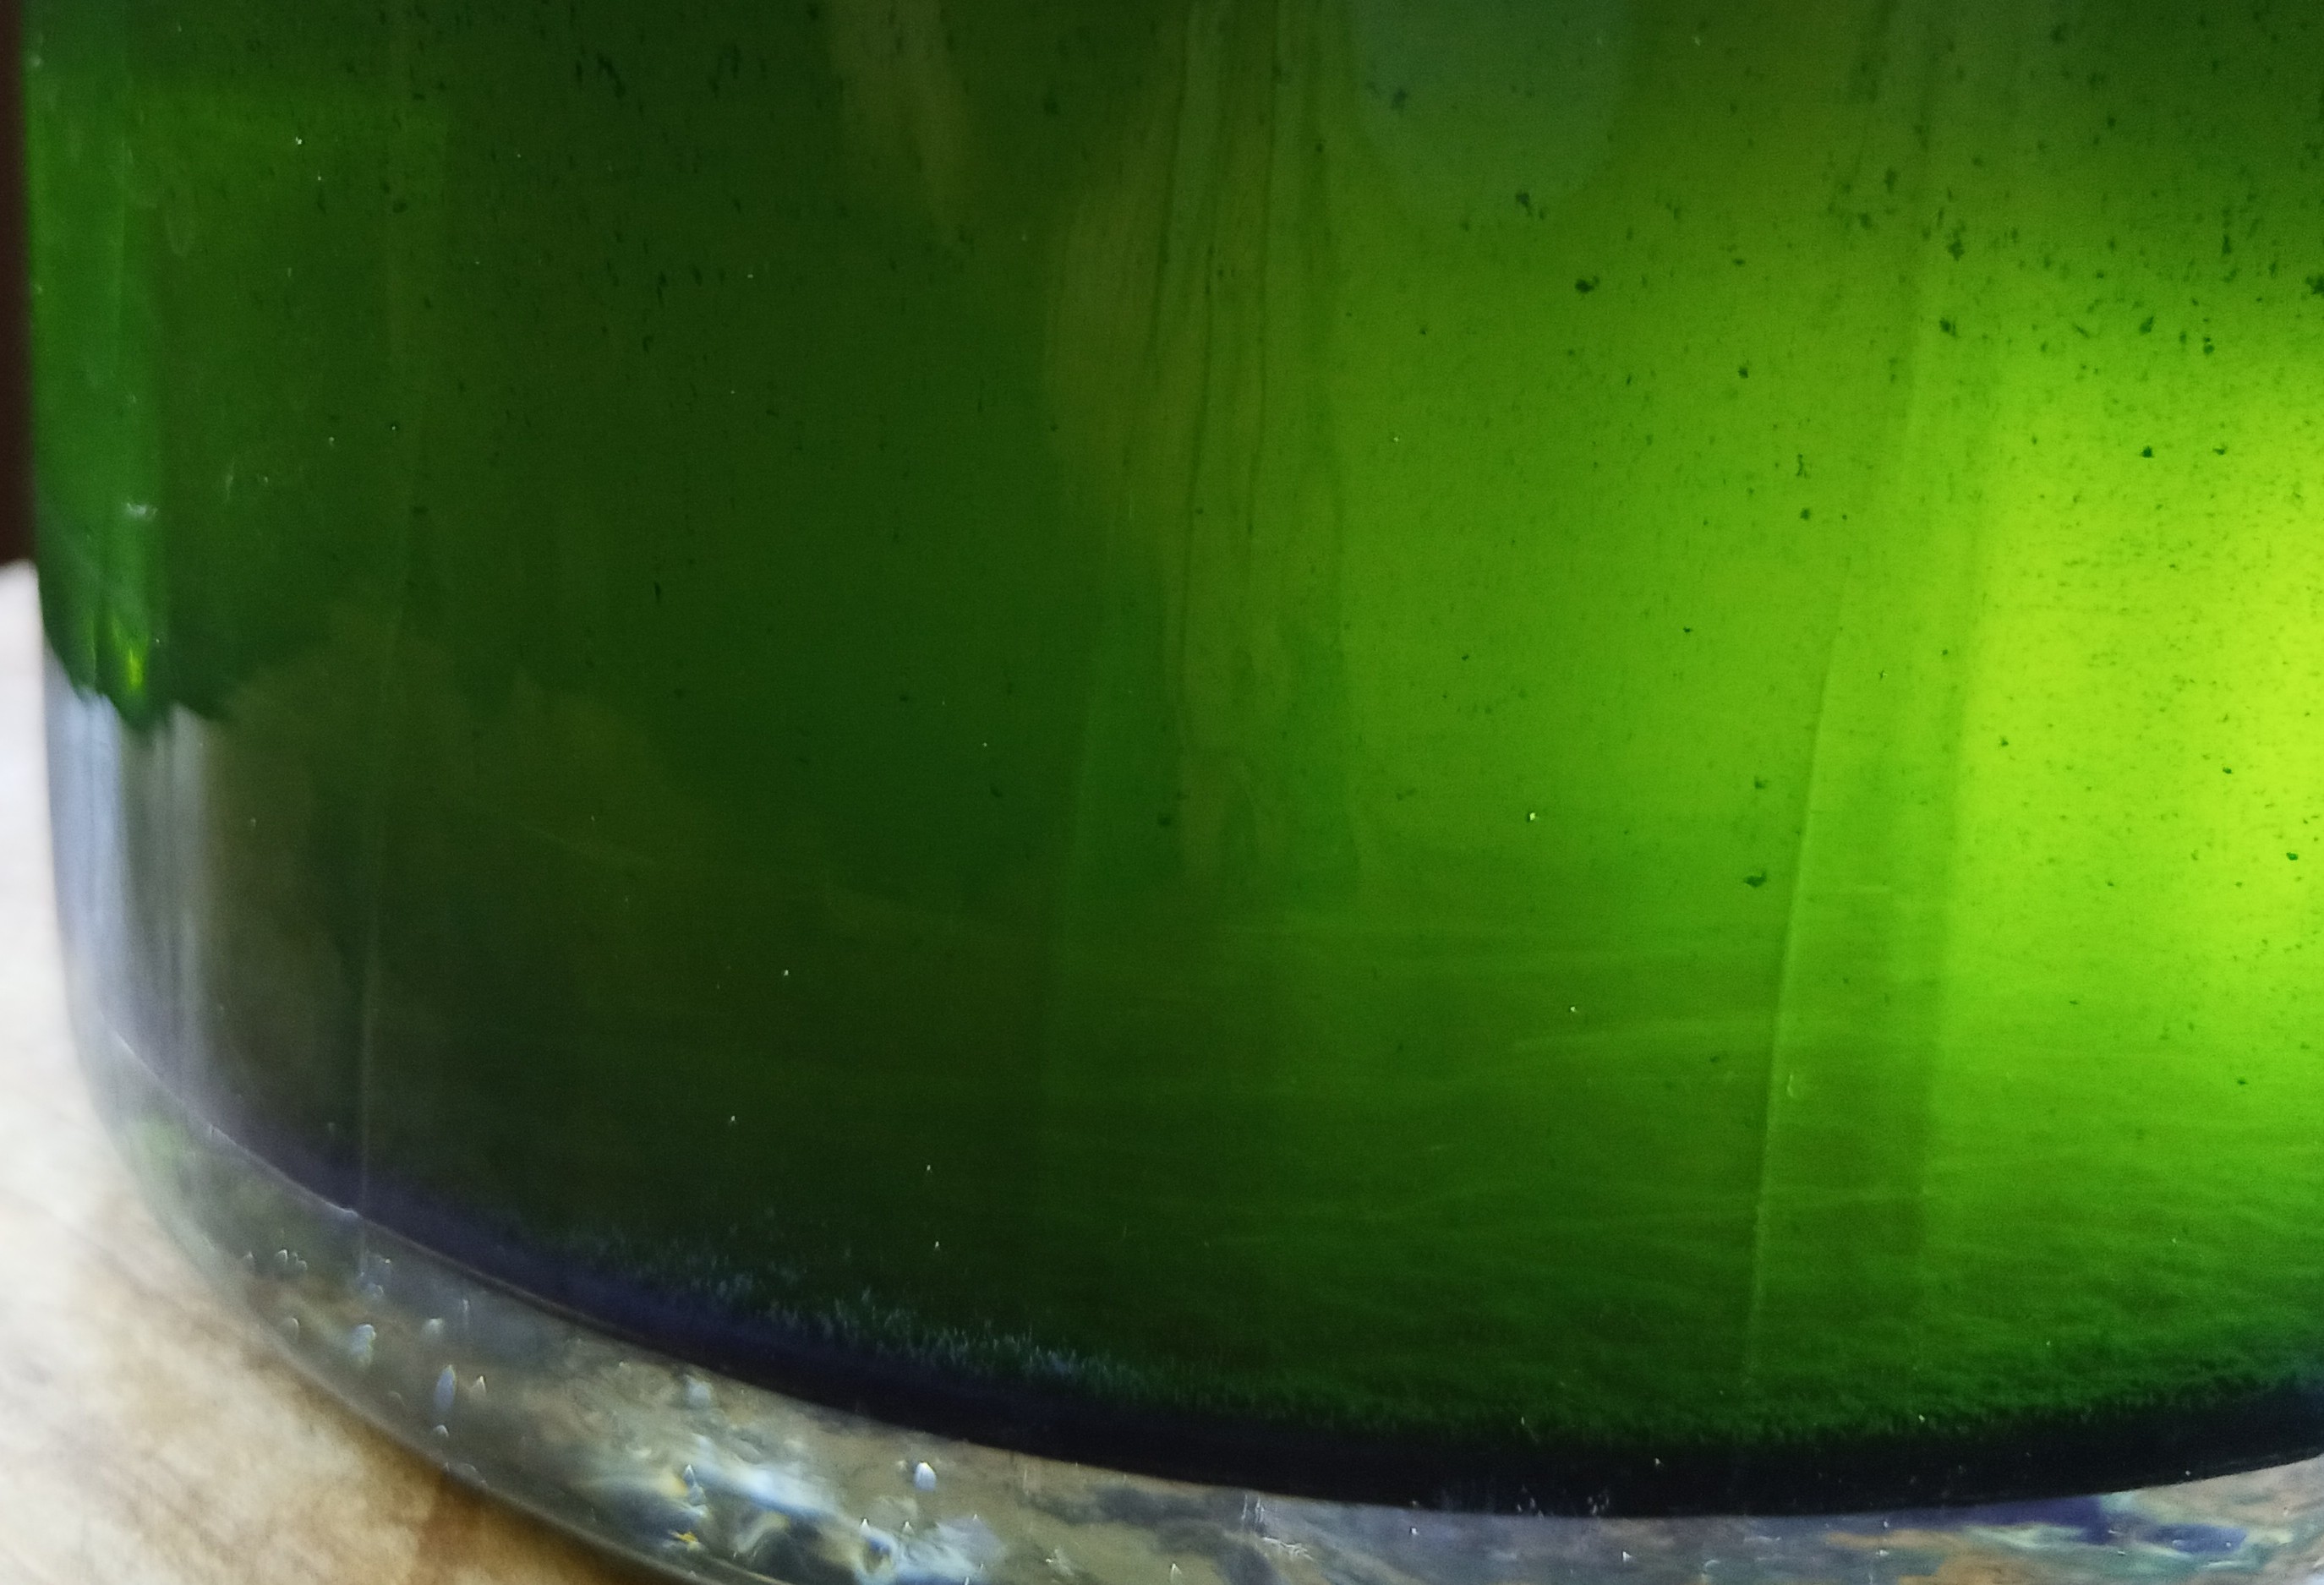
checking for color at 15 hours and there was none!
I realized that the weather was much cooler than my first attempt so set the jar with a plate on top in the dehydrator set at 105F (where I have it for yogurt) and in just 3 hours there is some green color to the water....will leave awhile longer as the smell seems ok.

I've replaced my photo here with a better one....the light shining through it shows the color better.
IMG_20260923_071404_637-2.jpg
19 hours
18 hours
 
Judith Browning
Posts: 10823
Location: a temperate, clay/loam spot on planet earth, the universe
4050
4
  • Likes 5
  • Mark post as helpful
  • send pies
    Number of slices to send:
    Optional 'thank-you' note:
  • Quote
  • Report post to moderator
8am, 20 hours.
used dehydrator for last 3 or 4 hours (at 105F turned down to 95F) because the house was cool last night and there was no color visible at 4am.

strained at 8am,
added small amounts of the 2 grams measure of washing soda until blue while pouring from jar to jar for 12 minutes....used the full 2 grams.

8:30am....will let oxidize now until 11:30am.

IMG_20260923_080232_390-2.jpg
20 hours
20 hours
IMG_20260923_080122_207-2.jpg
20 hours
20 hours
IMG_20260923_080514_330-2.jpg
strained at 20 hours
IMG_20260923_082001_278-2.jpg
after aerating for 12 minutes with 2 grams washing aoda
IMG_20260923_082008_121-2.jpg
after aerating for 12 minutes with 2 grams washing aoda
 
Judith Browning
Posts: 10823
Location: a temperate, clay/loam spot on planet earth, the universe
4050
4
  • Likes 8
  • Mark post as helpful
  • send pies
    Number of slices to send:
    Optional 'thank-you' note:
  • Quote
  • Report post to moderator
added small amount of dissolved calcium, stirred gently.
(1/4 teaspoon dissolved in 1 Tablespoon water) I added three 1/4 teaspoons of dissolved to vat.. so that would be 1/8 teaspoon of dry calcium used? probably a little less because my Tbs of water was a 'bit' more 🙄
.....gonna go mow now so I ignore for awhile😊
 
Judith Browning
Posts: 10823
Location: a temperate, clay/loam spot on planet earth, the universe
4050
4
  • Likes 8
  • Mark post as helpful
  • send pies
    Number of slices to send:
    Optional 'thank-you' note:
  • Quote
  • Report post to moderator
and an hour later....
IMG_20260923_123408_158-2.jpg
one hour after calcium added
 
May Lotito
gardener
Posts: 2330
Location: Zone 6b
1577
forest garden fungi books chicken fiber arts ungarbage
  • Likes 11
  • Mark post as helpful
  • send pies
    Number of slices to send:
    Optional 'thank-you' note:
  • Quote
  • Report post to moderator
Good to see the procedure repeated well. It seems to settle much faster this time. Just pour carefully as much top water off as possible. If the sediment is disturbed, keep the jar tilted and let it settle before pouring or sucking with a syringe again. Resuspend in the same jar with water instead of going through a filter.
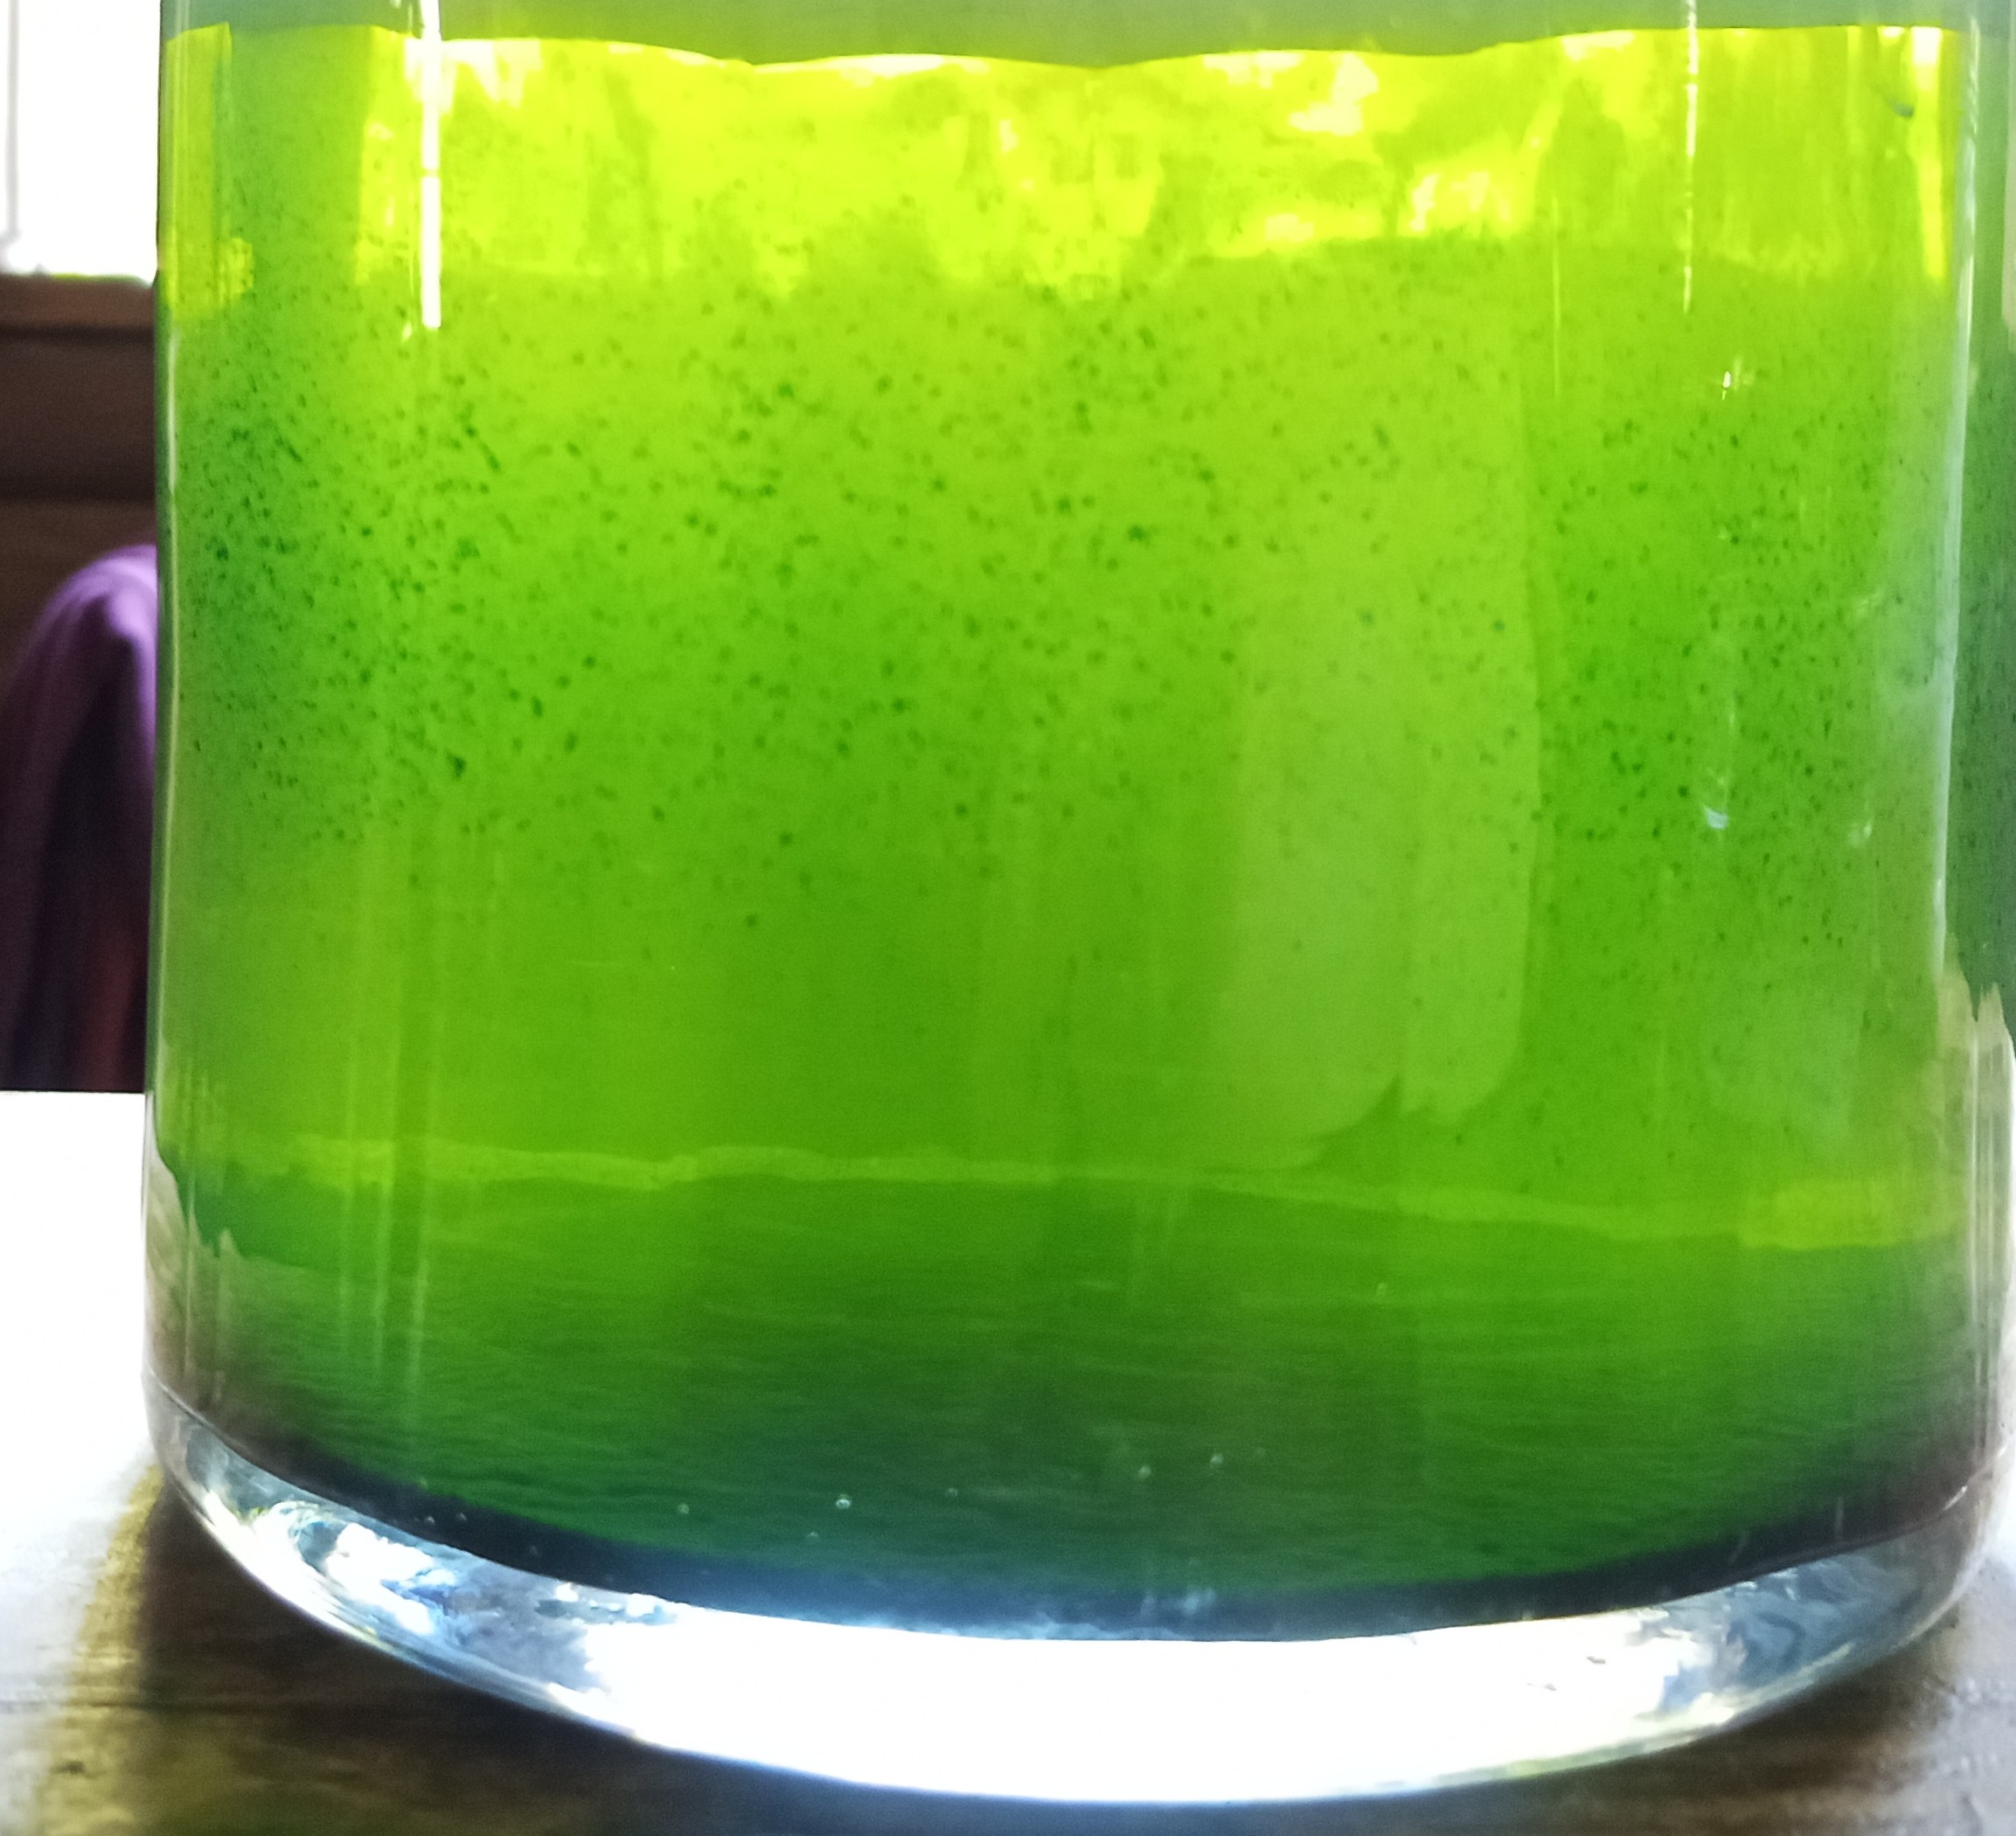
The advantage of using younger shoots is that the more you pinch the tops, the more side shoots are sprouting. Just like cultivating and harvesting leaves from a tea bush. That way the plants can be harvested several times in a year, less risky than one big extraction at the end of the season. The leaves after soaking can be safely put back to the soil and feed the plants since no harsh chemicals are added.
 
Judith Browning
Posts: 10823
Location: a temperate, clay/loam spot on planet earth, the universe
4050
4
  • Likes 8
  • Mark post as helpful
  • send pies
    Number of slices to send:
    Optional 'thank-you' note:
  • Quote
  • Report post to moderator
May, It is settling faster but I don't know why?
I think I probably used a little less calcium if anything.

  Resuspend in the same jar with water instead of going through a filter.


and then go through a filter? or do you mean soon and then let it settle again and then filter?
At the moment I'm fine with saving up dry pigment since I've got nothing particular to dye.


EDIT: I did let it oxidate (after aerating 12 minutes) for the full three hours this time...would that have made some difference in how quick it precipitates?
IMG_20260923_131839_677-2.jpg
two hours after calcium
 
Judith Browning
Posts: 10823
Location: a temperate, clay/loam spot on planet earth, the universe
4050
4
  • Likes 5
  • Mark post as helpful
  • send pies
    Number of slices to send:
    Optional 'thank-you' note:
  • Quote
  • Report post to moderator
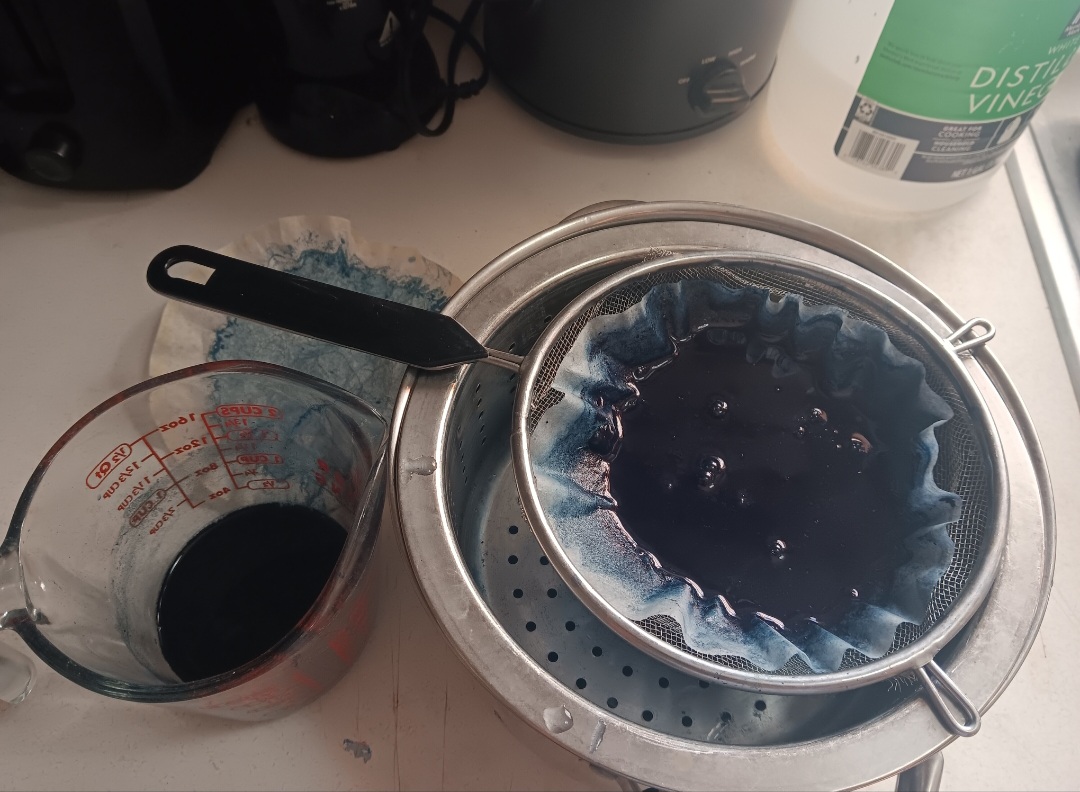
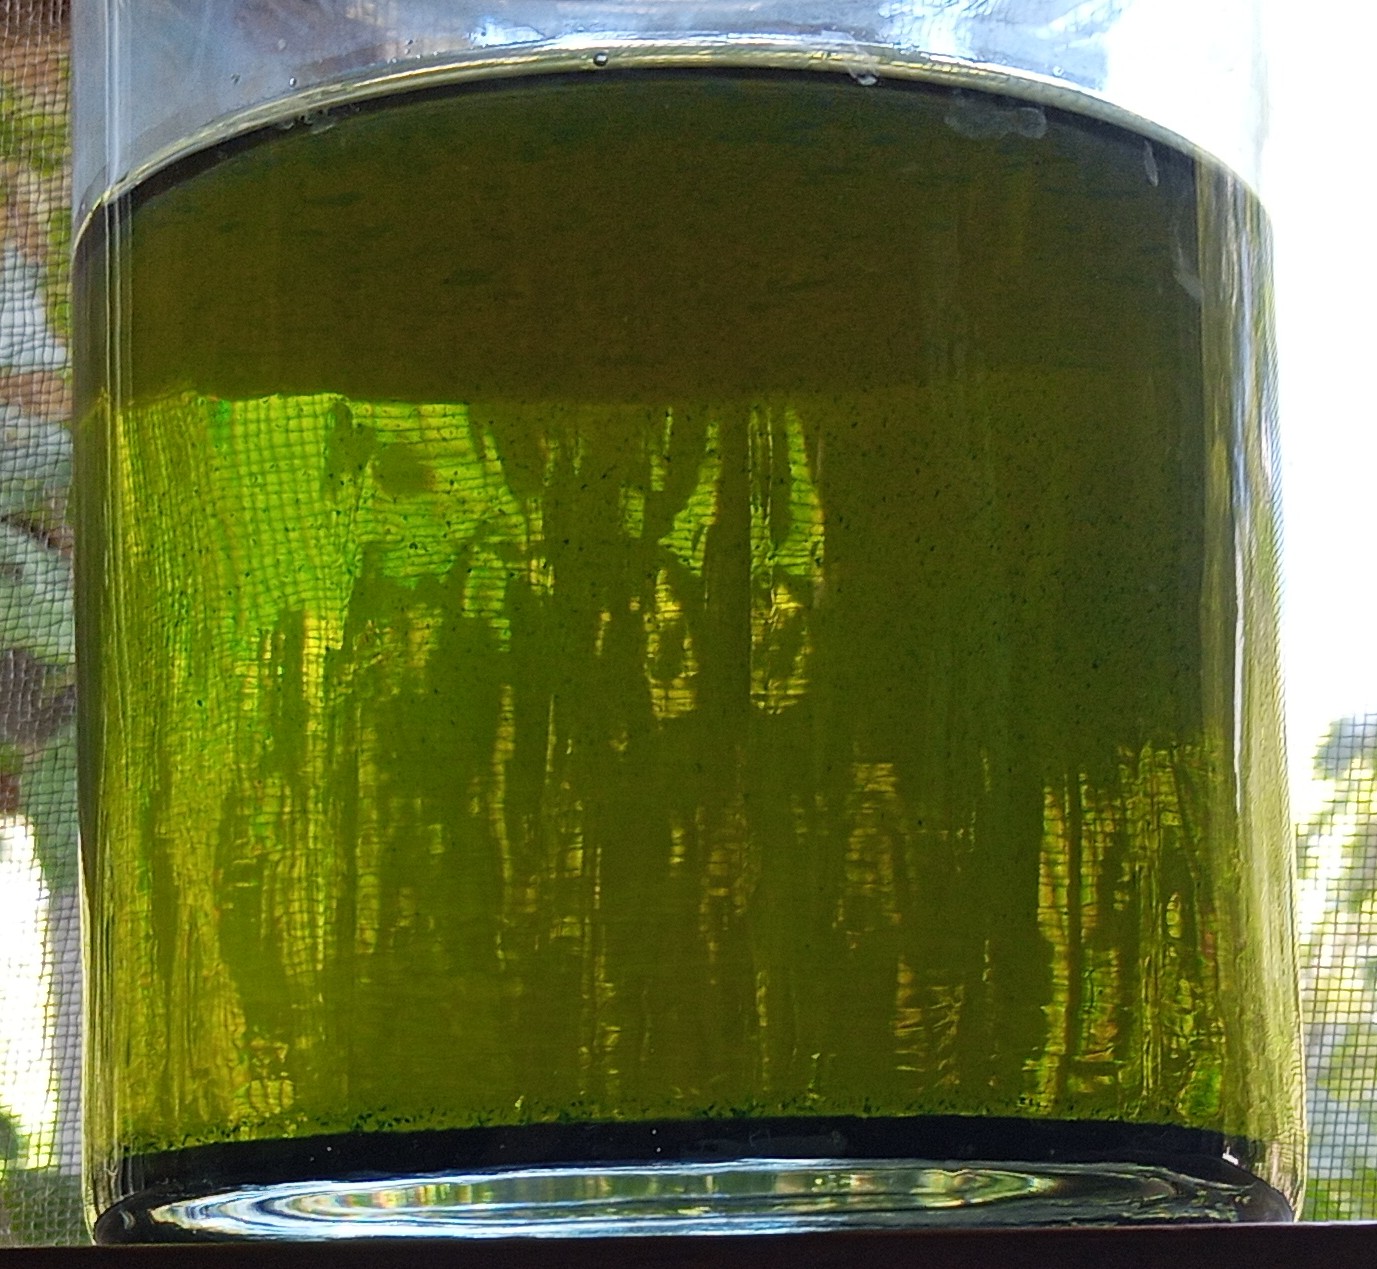
after four hours I thought the liquid looked clear enough so I'm straining out the pigment.

photo taken in the window so liquid has some reflections and background.
IMG_20260923_152244_761-2.jpg
four hours
four hours
IMG_20260923_164816_727-2.jpg
straining pigment
straining pigment
 
Judith Browning
Posts: 10823
Location: a temperate, clay/loam spot on planet earth, the universe
4050
4
  • Likes 8
  • Mark post as helpful
  • send pies
    Number of slices to send:
    Optional 'thank-you' note:
  • Quote
  • Report post to moderator
third batch...following May's guidelines while I'm learning.

This time the blue seems more opaque after aerating...I used slightly more leaves to water, slightly less washing soda and 15 minutes aerating rather than 10 since I was pouring jar to jar and thought that wasn't adding as much air as a whisk or electric beater would.
About to add dissolved calcium.

Next year...will plant early and will just pinch tips....and I'll need some larger vats and a whisk on my electric drill...........
IMG_20260927_160454_386-2.jpg
[Thumbnail for IMG_20260927_160454_386-2.jpg]
after 15 minutes aerating
IMG_20260928_045031_914-4.jpg
[Thumbnail for IMG_20260928_045031_914-4.jpg]
24 hours to settle
 
May Lotito
gardener
Posts: 2330
Location: Zone 6b
1577
forest garden fungi books chicken fiber arts ungarbage
  • Likes 12
  • Mark post as helpful
  • send pies
    Number of slices to send:
    Optional 'thank-you' note:
  • Quote
  • Report post to moderator
For fellow permies interested in this thread, I am working on simplifying the steps and coming up with some demonstration pictures. There are a few things to watch out for and each batch can vary. The numbers are not fixed. I will post on the main thread some time next week.
 
Judith Browning
Posts: 10823
Location: a temperate, clay/loam spot on planet earth, the universe
4050
4
  • Likes 3
  • Mark post as helpful
  • send pies
    Number of slices to send:
    Optional 'thank-you' note:
  • Quote
  • Report post to moderator
Follow May's excellent techniques and guidelines
HERE

Dyeing with indigo has been something I've wanted to do for years and May's guidelines and tips opened the door to finally try😊
 
gardener
Posts: 3961
Location: Western Slope Colorado.
1093
5
goat dog food preservation medical herbs solar greening the desert
  • Likes 4
  • Mark post as helpful
  • send pies
    Number of slices to send:
    Optional 'thank-you' note:
  • Quote
  • Report post to moderator

Judith Brown I once managed several bushes of [i wrote:Indigofera [/i]at a place I worked in Wales, and they were never very happy there. No deer, but too wet I imagine, so they were very sparse on foliage and rarely tried to flower. I never did manage to use any. At least Persicaria usually has no problem with rain


I might have clipped the quote to the wrong writer, if so, sorry.  It’s kind of tricky.

I wanted to comment on the rain situation.  A person could make an herb spiral to raise the plant up out of too wet soil conditions.  It would also warm the roots if that’s contributing to the problem for the plant.  And if the plant wants brighter light, reflectors might help.

I know that’s a lot of trouble to go to, to grow a plant that’s not happy in the local environment, but 🤷🏻‍♀️ there are some plants worth working that hard for!  Like a dye plant!  Blue is blue after all.  
 
Judith Browning
Posts: 10823
Location: a temperate, clay/loam spot on planet earth, the universe
4050
4
  • Likes 4
  • Mark post as helpful
  • send pies
    Number of slices to send:
    Optional 'thank-you' note:
  • Quote
  • Report post to moderator
Thekla, that was Stina May's comment that you quoted, not mine😊

One of the reasons to grow japanese indigo rather than Indigofera tinctoria  is because it is easier to grow in a shorter season and quite prolific if pinching tips as May suggests..
I did have to water frequently during our drought and the plants would probably love rainier weather.
I'm sure there are subtle differences in the blues produced although I'm very pleased with my results.

I do plan to grow a larger space next year and will have water available.

 
Thekla McDaniels
gardener
Posts: 3961
Location: Western Slope Colorado.
1093
5
goat dog food preservation medical herbs solar greening the desert
  • Likes 4
  • Mark post as helpful
  • send pies
    Number of slices to send:
    Optional 'thank-you' note:
  • Quote
  • Report post to moderator
Yeah, I did make a mess of that quote…

I wanted to add that there are lavender growers in the Pacific Northwest that cover the ground beneath and around their lavender plants with oyster shell, to reflect the light.  

I thought that was an ingenious strategy.
 
this llama doesn't want your drama, he just wants this tiny ad for his mama
a new overhaul of the freeheat page - need feedbacks for world domination
https://permies.com/t/389799/overhaul-freeheat-page-feedbacks-world
reply
    Bookmark Topic Watch Topic
  • New Topic