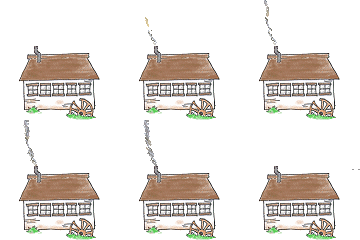
(There are a couple "replace a roof" BBs in homesteading, but I didn't replace a roof, I built one from scratch. And I can't wait and submit the whole job because most of the original framing was done in partnership with my brother-in-law, a professional carpenter..)
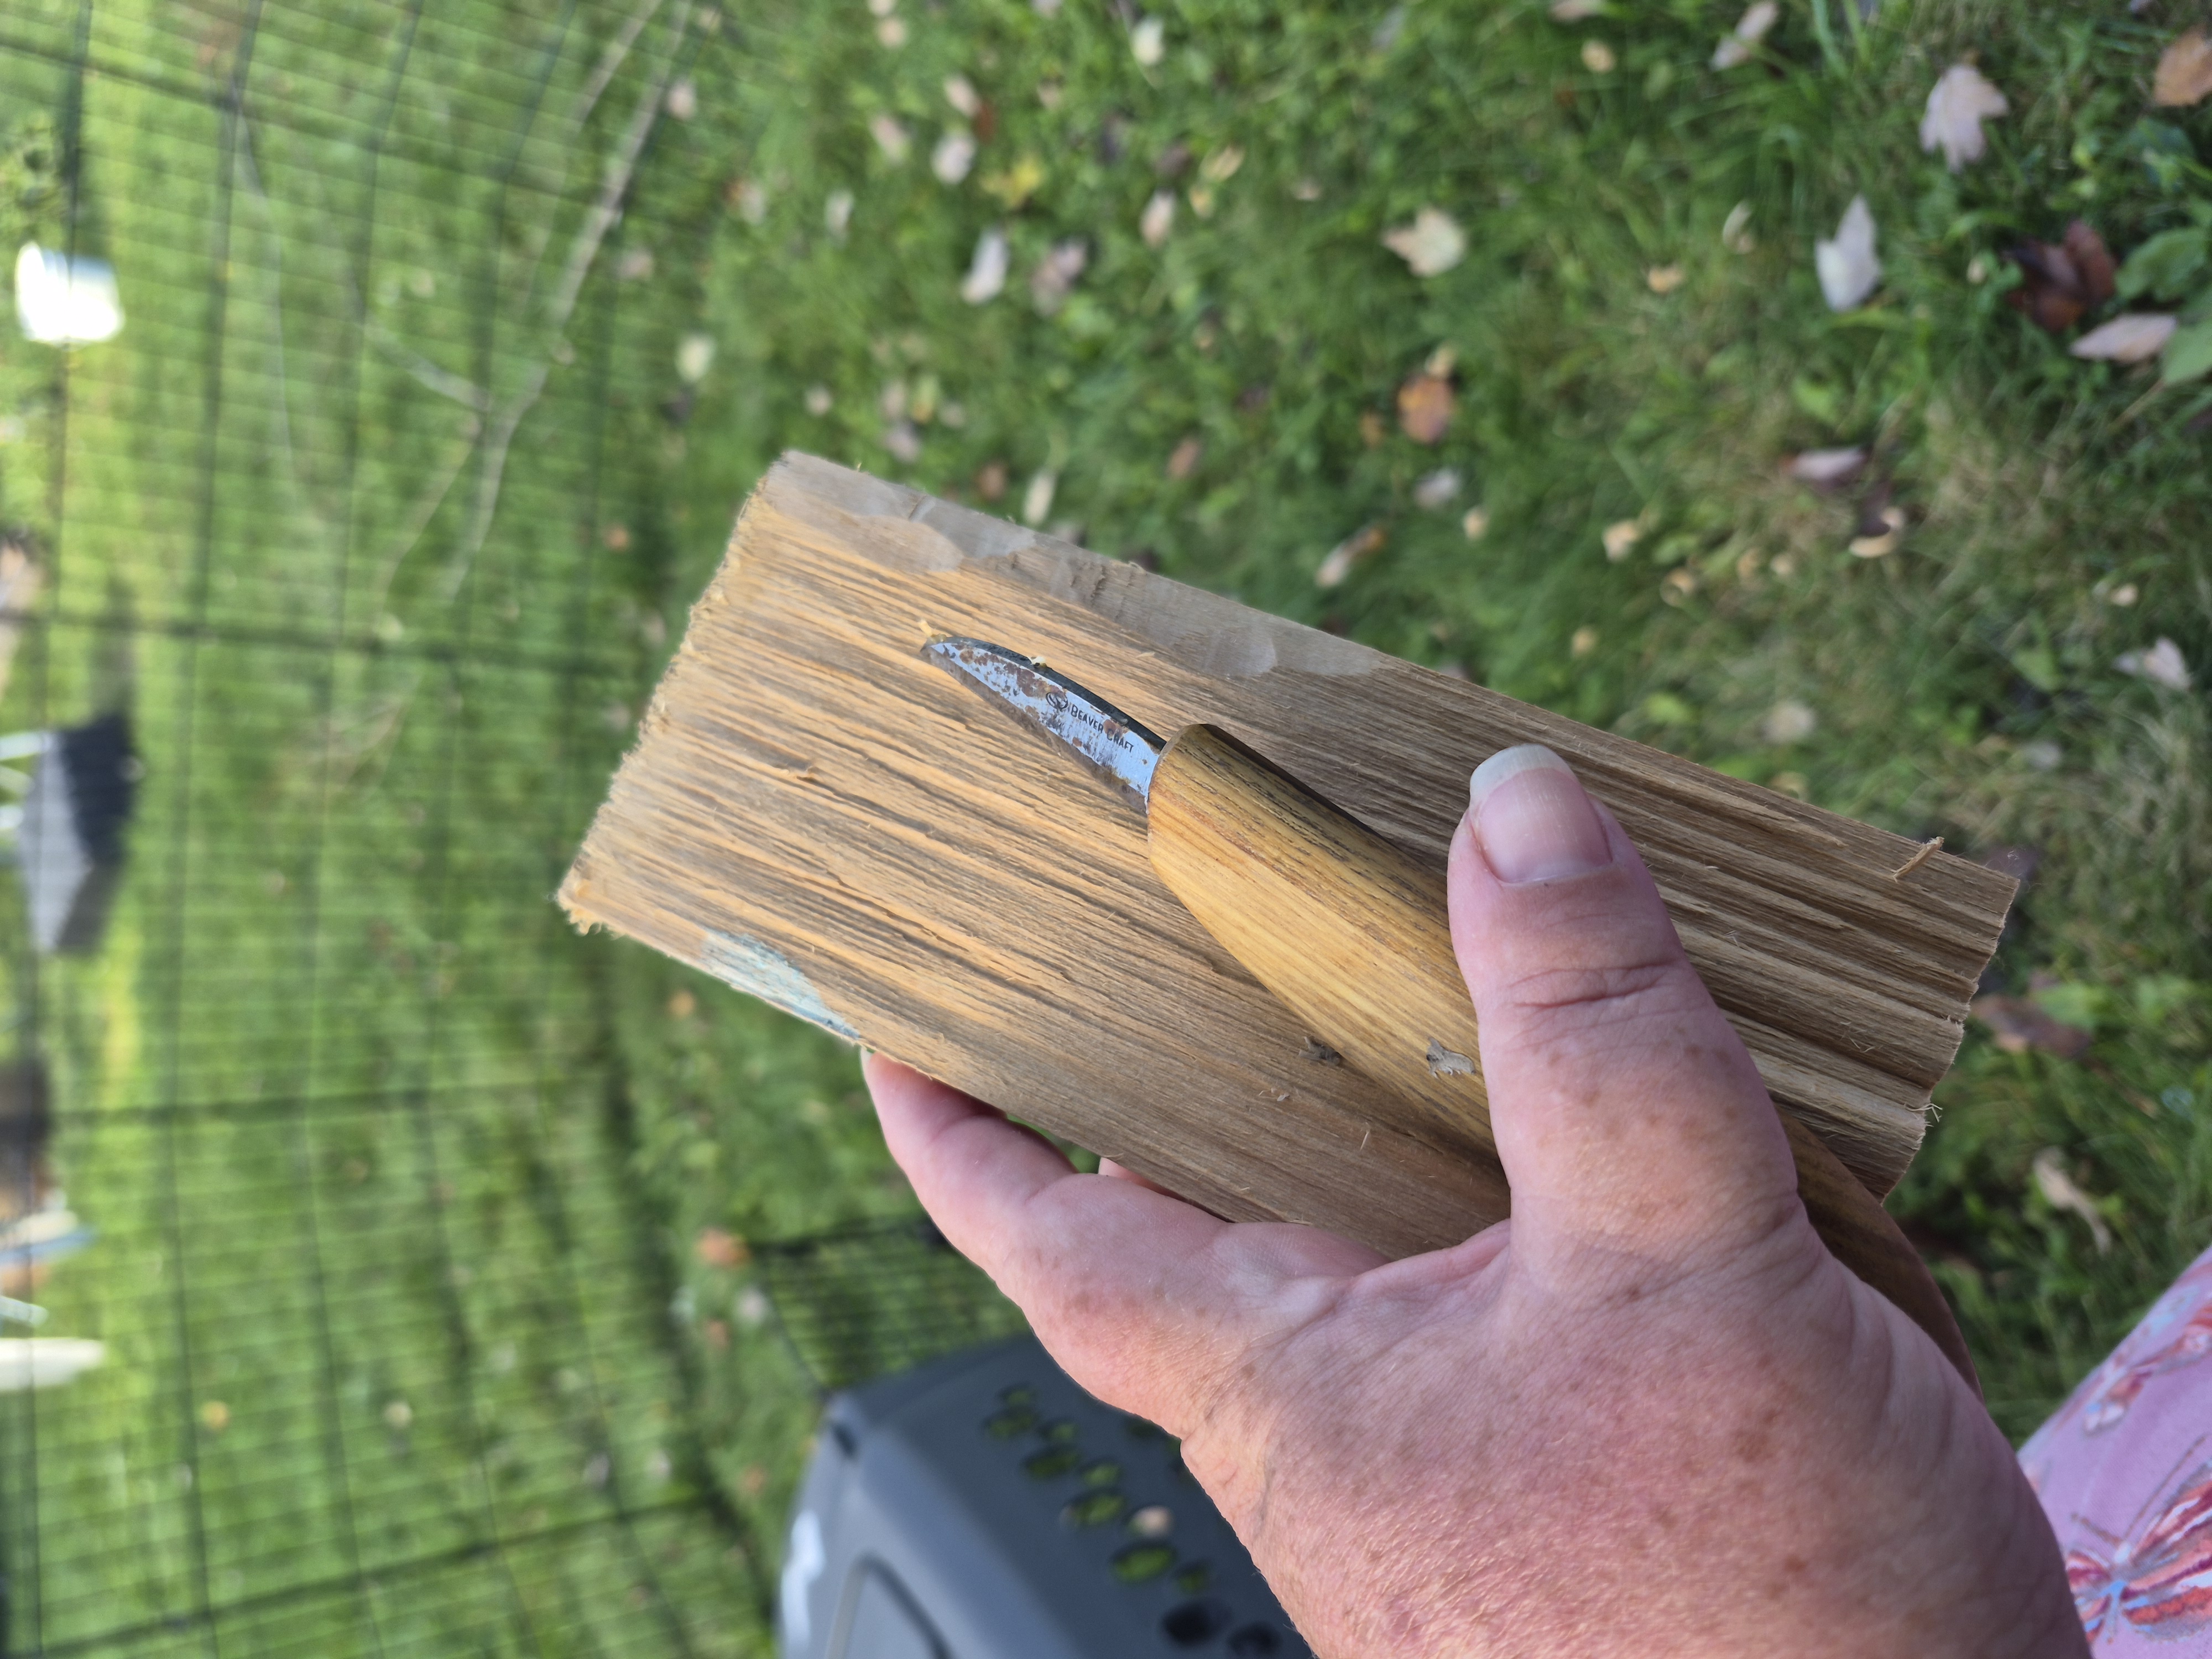
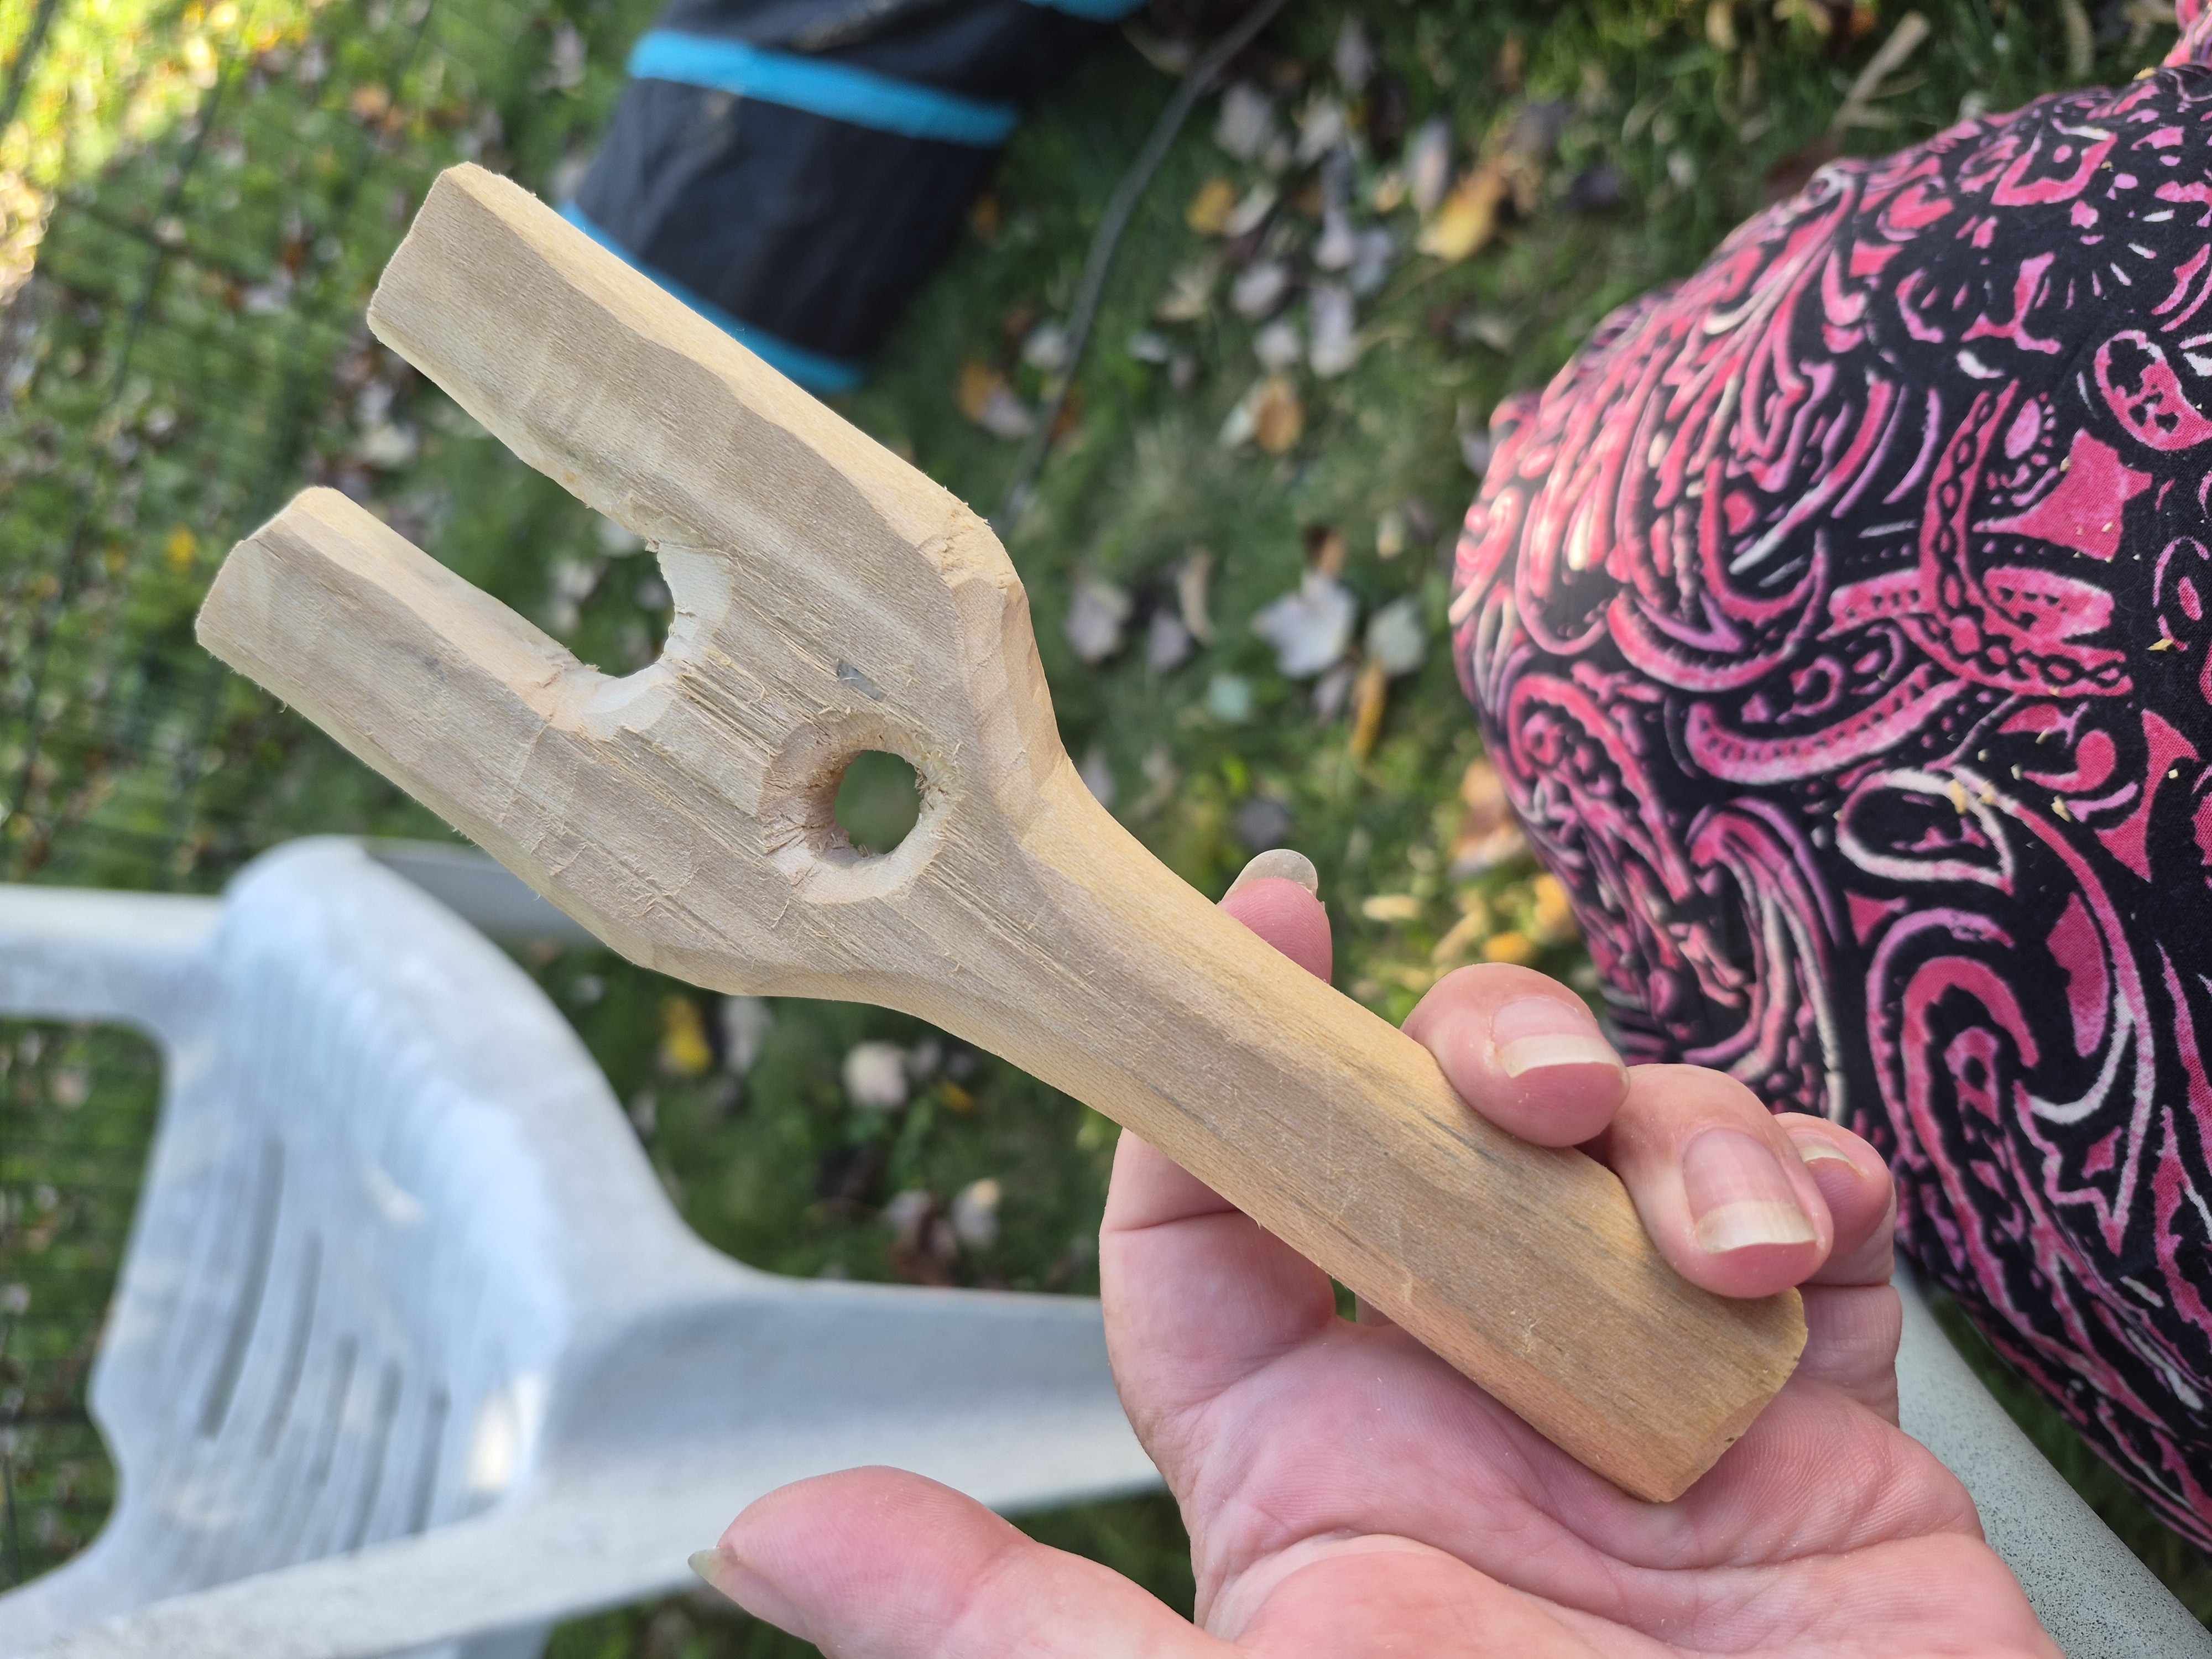
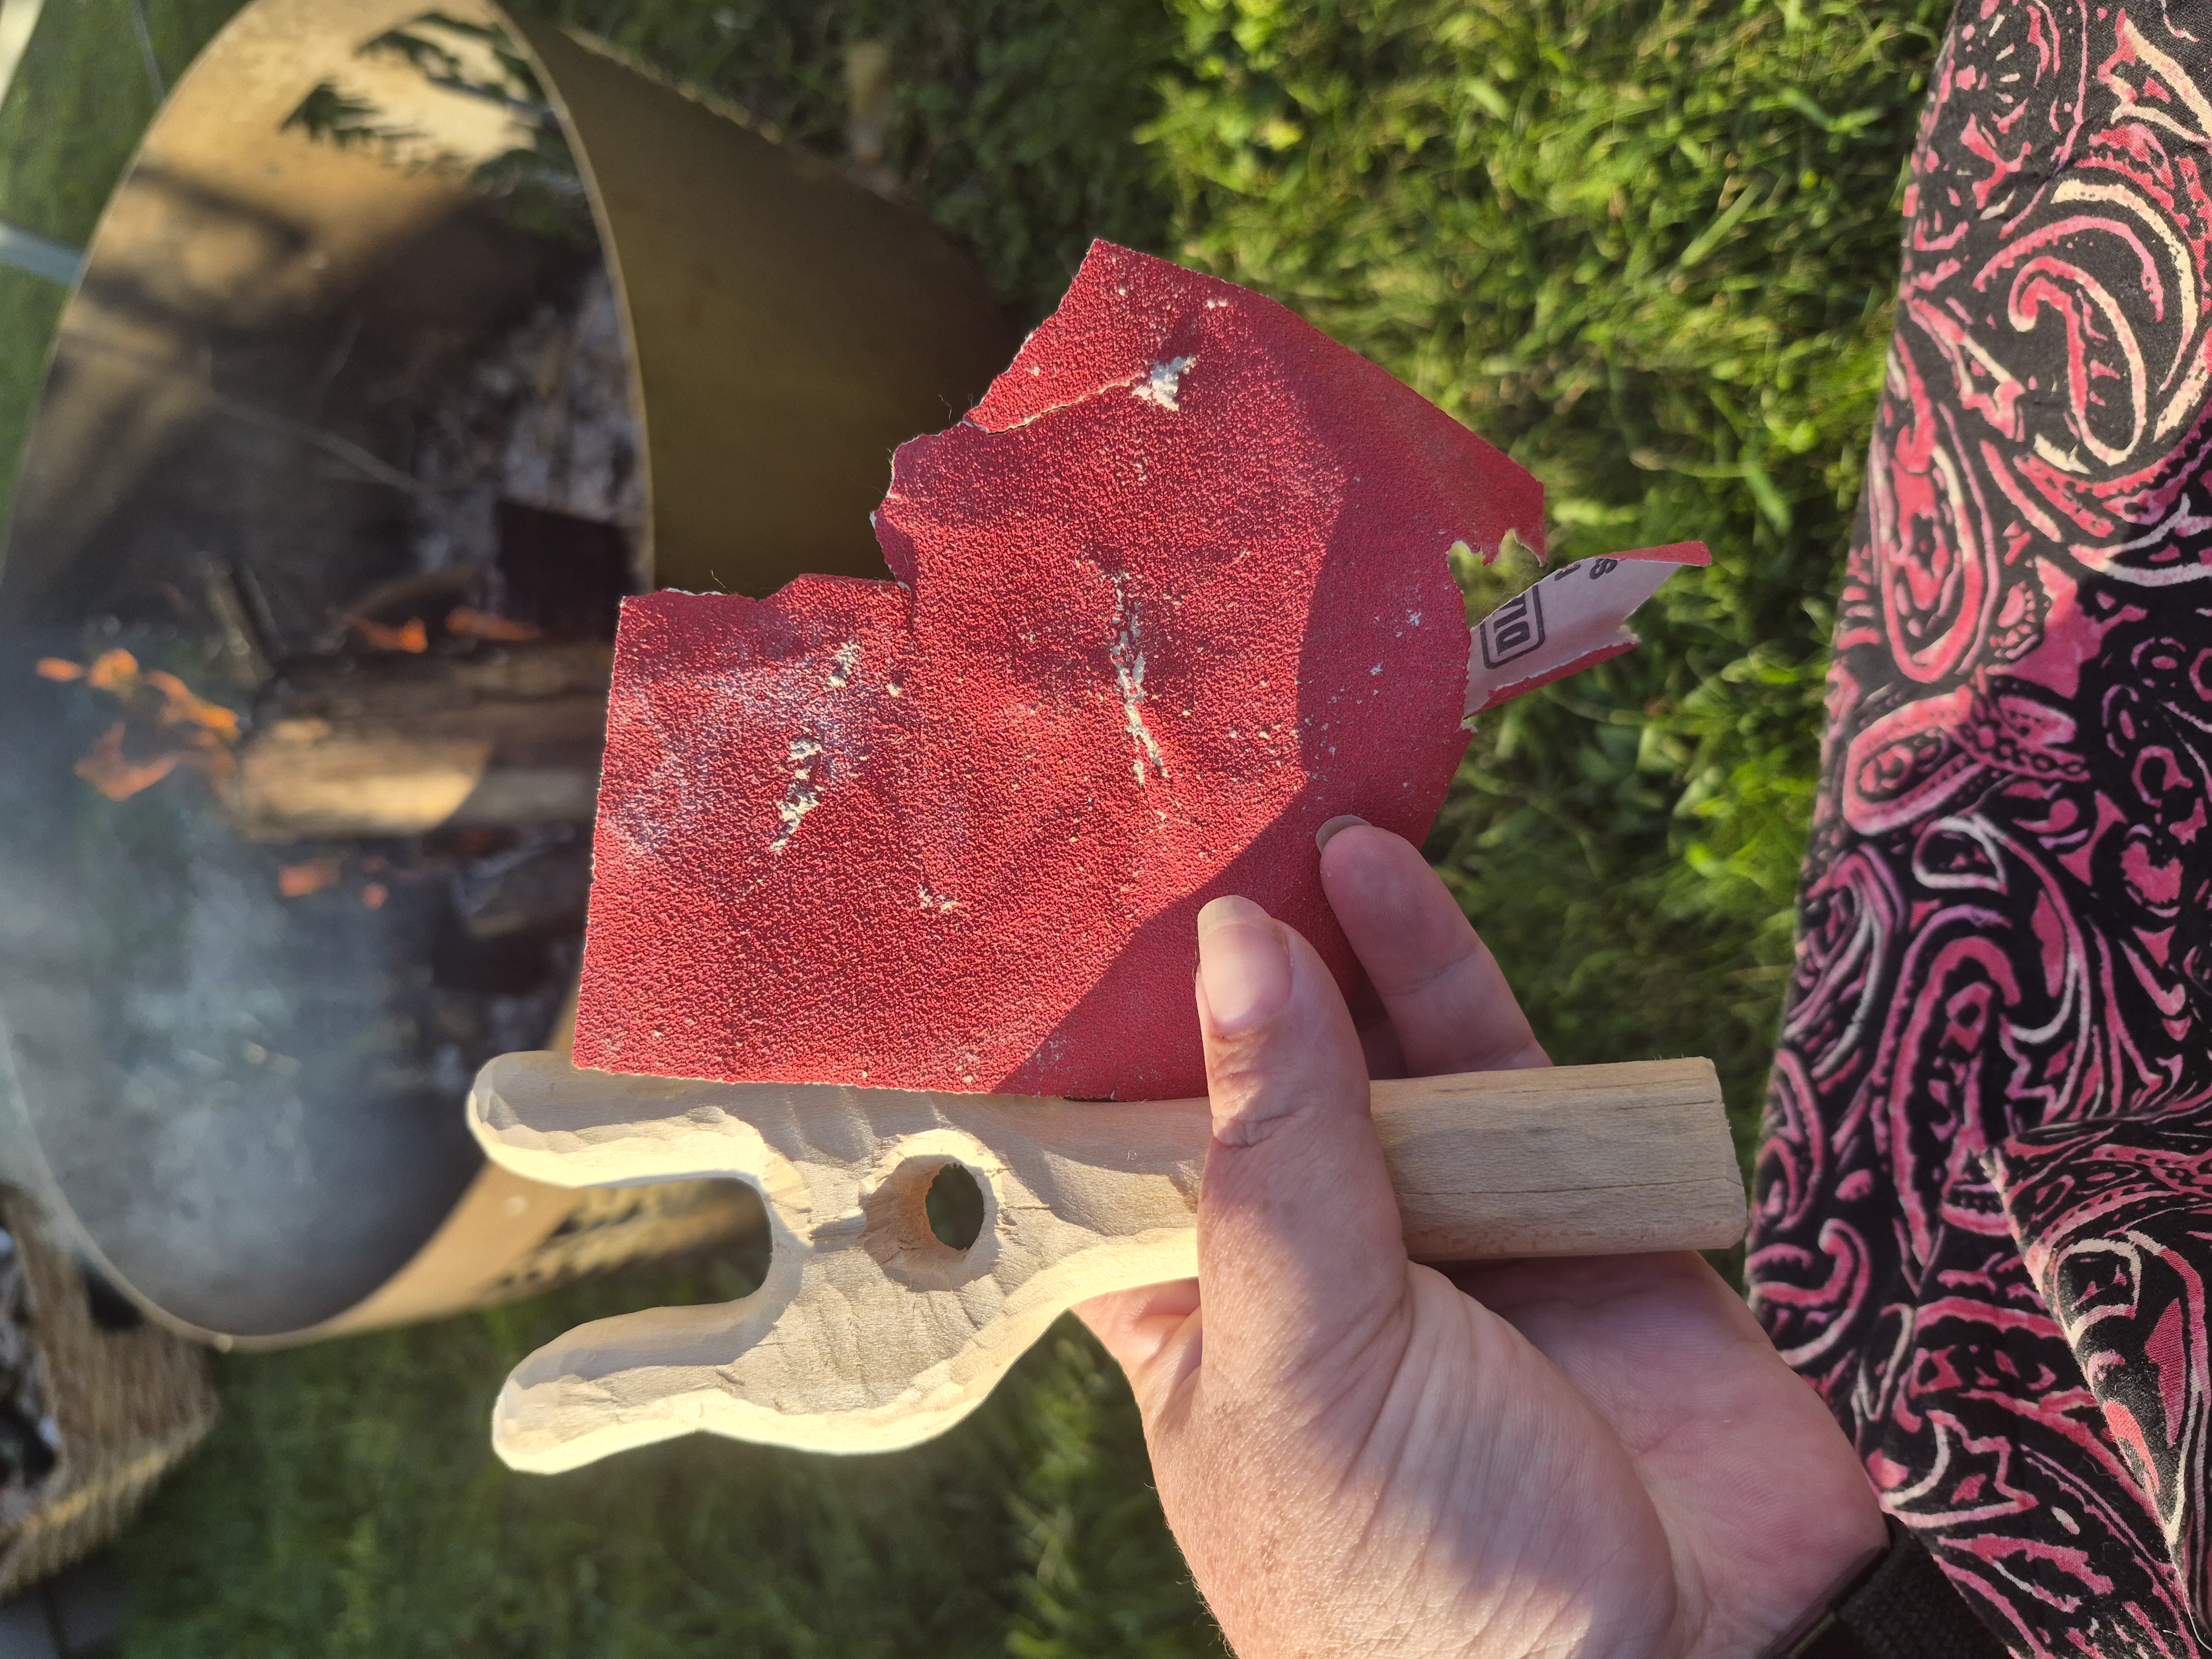
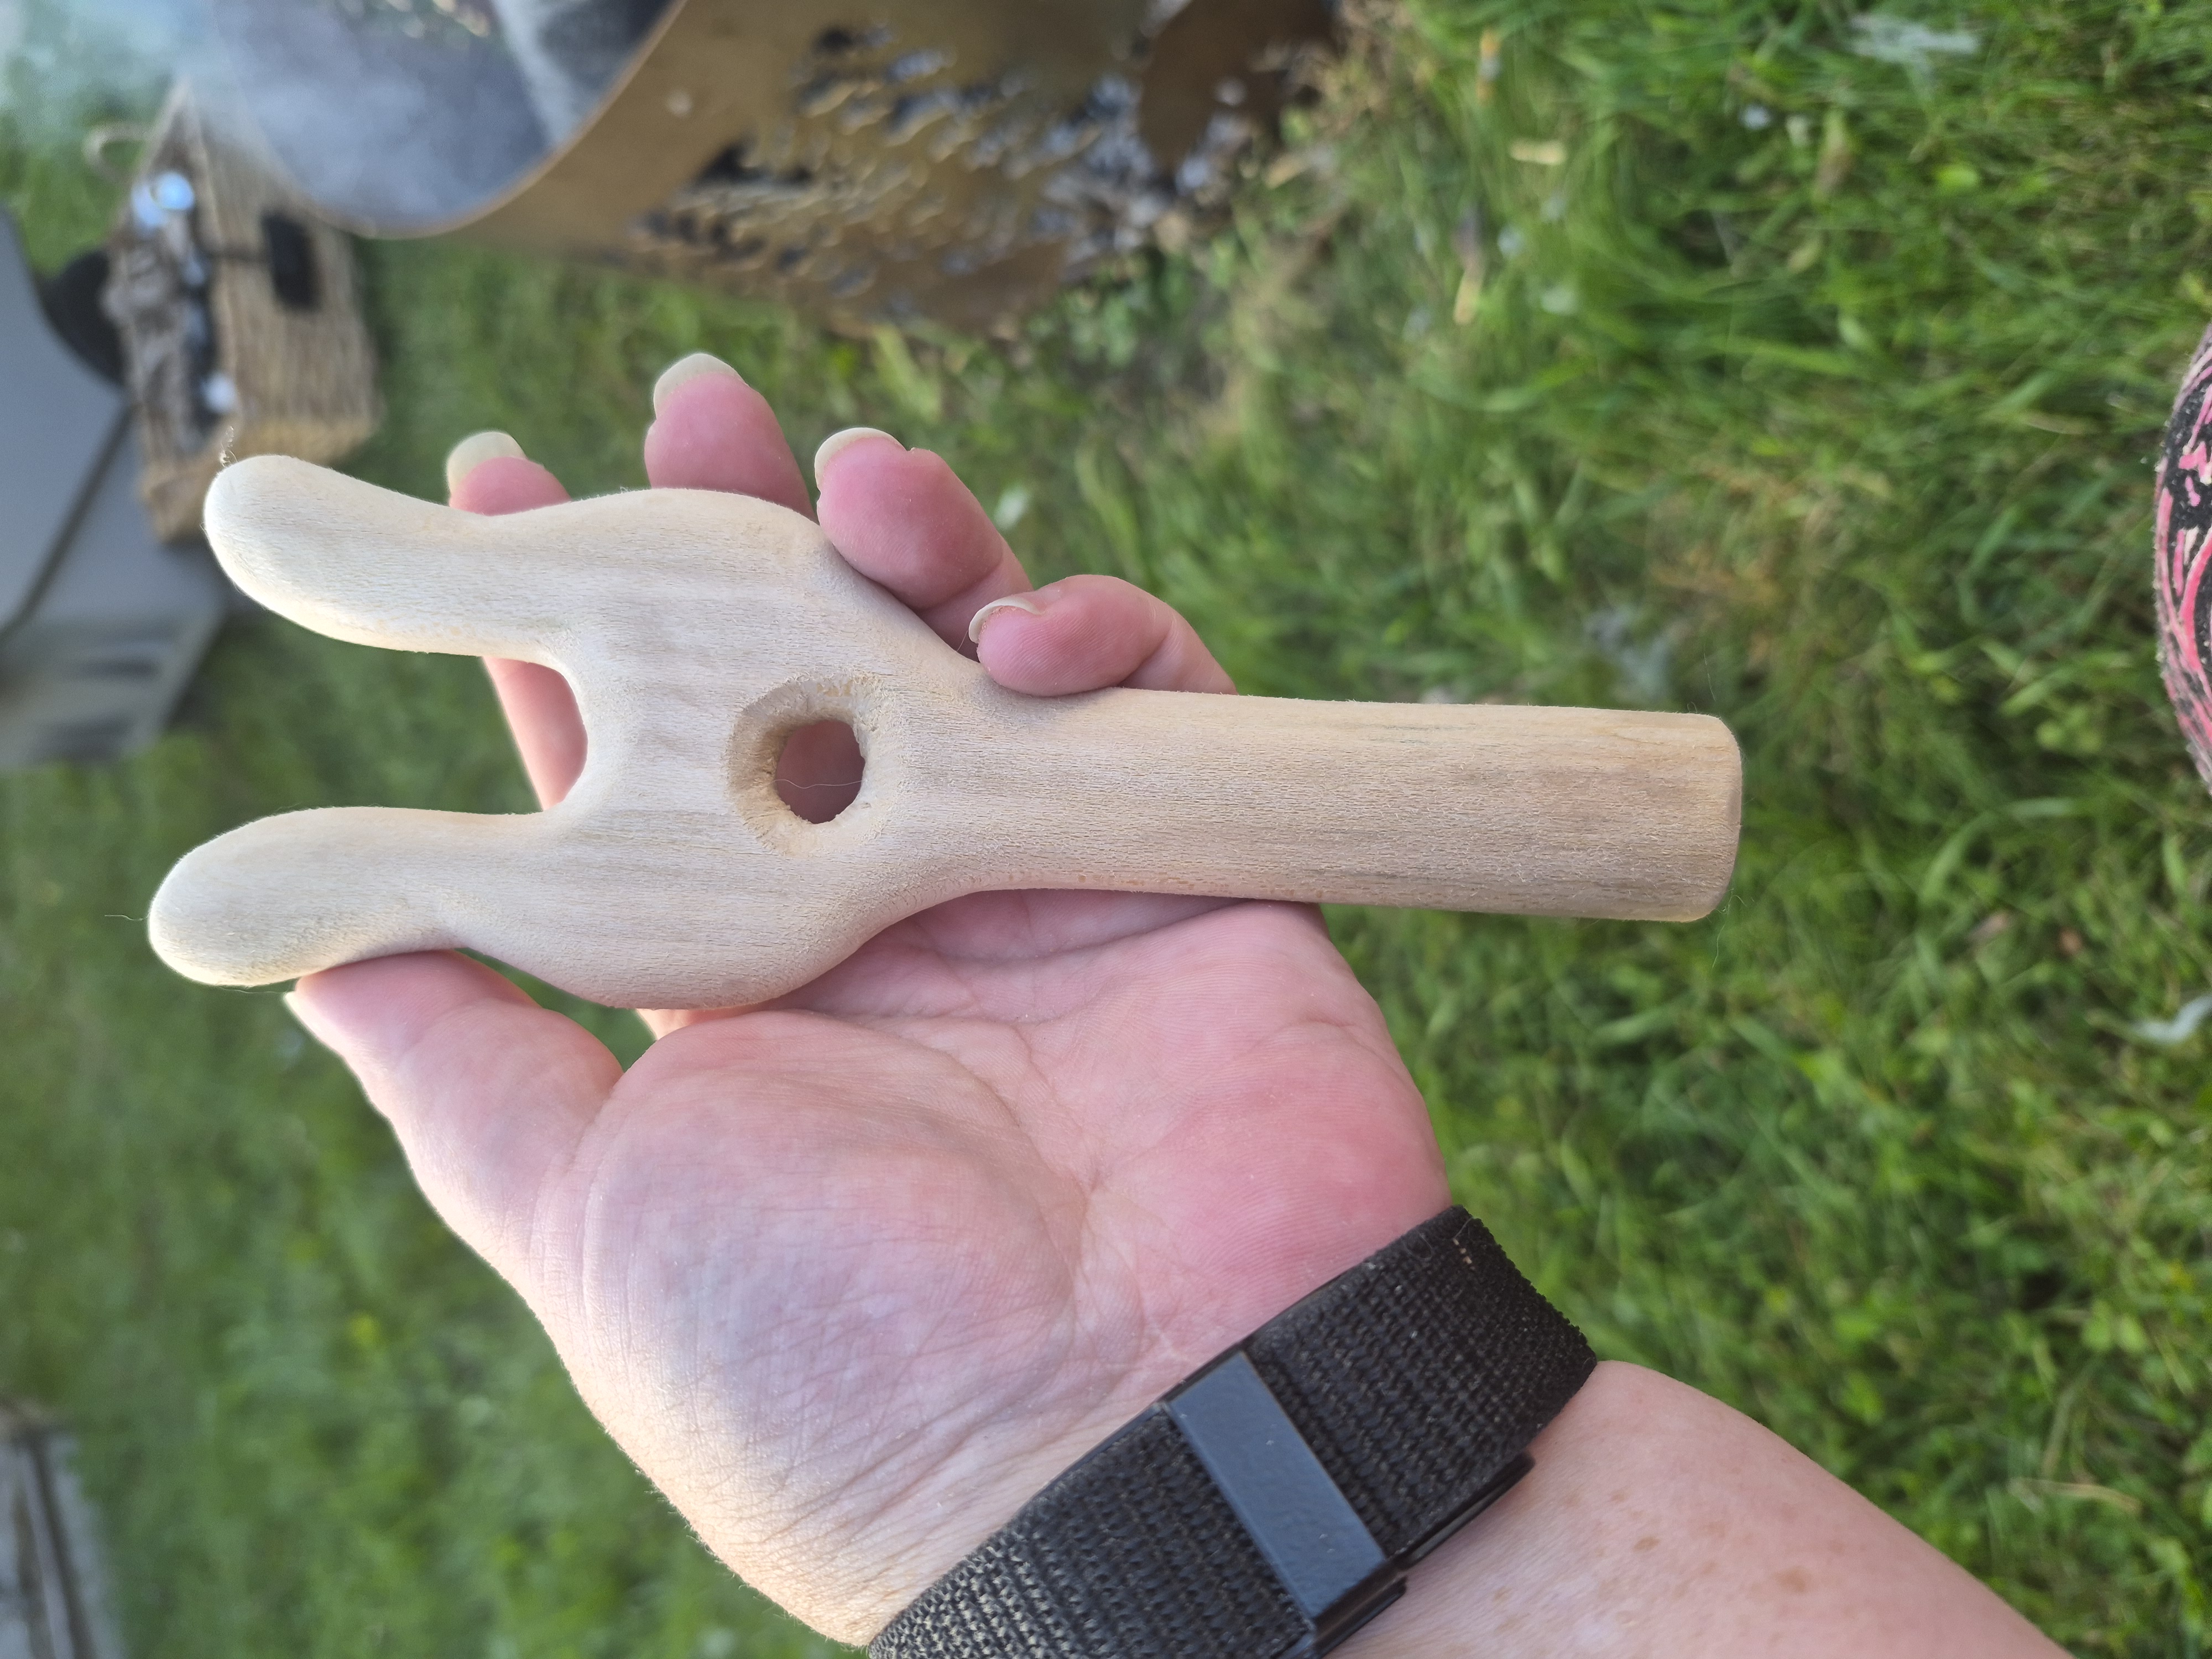
I decided that I needed a lucet for cord making. I carved and sanded the tool from basswood my uncle gave me. I spent about 4 hours on it but I was just enjoying the process while bunny sitting and later around the campfire.
20261021_161146.jpg
Wood and tool I'm starting with
20261024_144413.jpg
Here's my basic shape
20261024_162056.jpg
Beginning to sand
20261024_170526.jpg
Completed lucet with no rough edges to snag my materials
"The winter will ask what we did all summer" - Henry David Thoreau
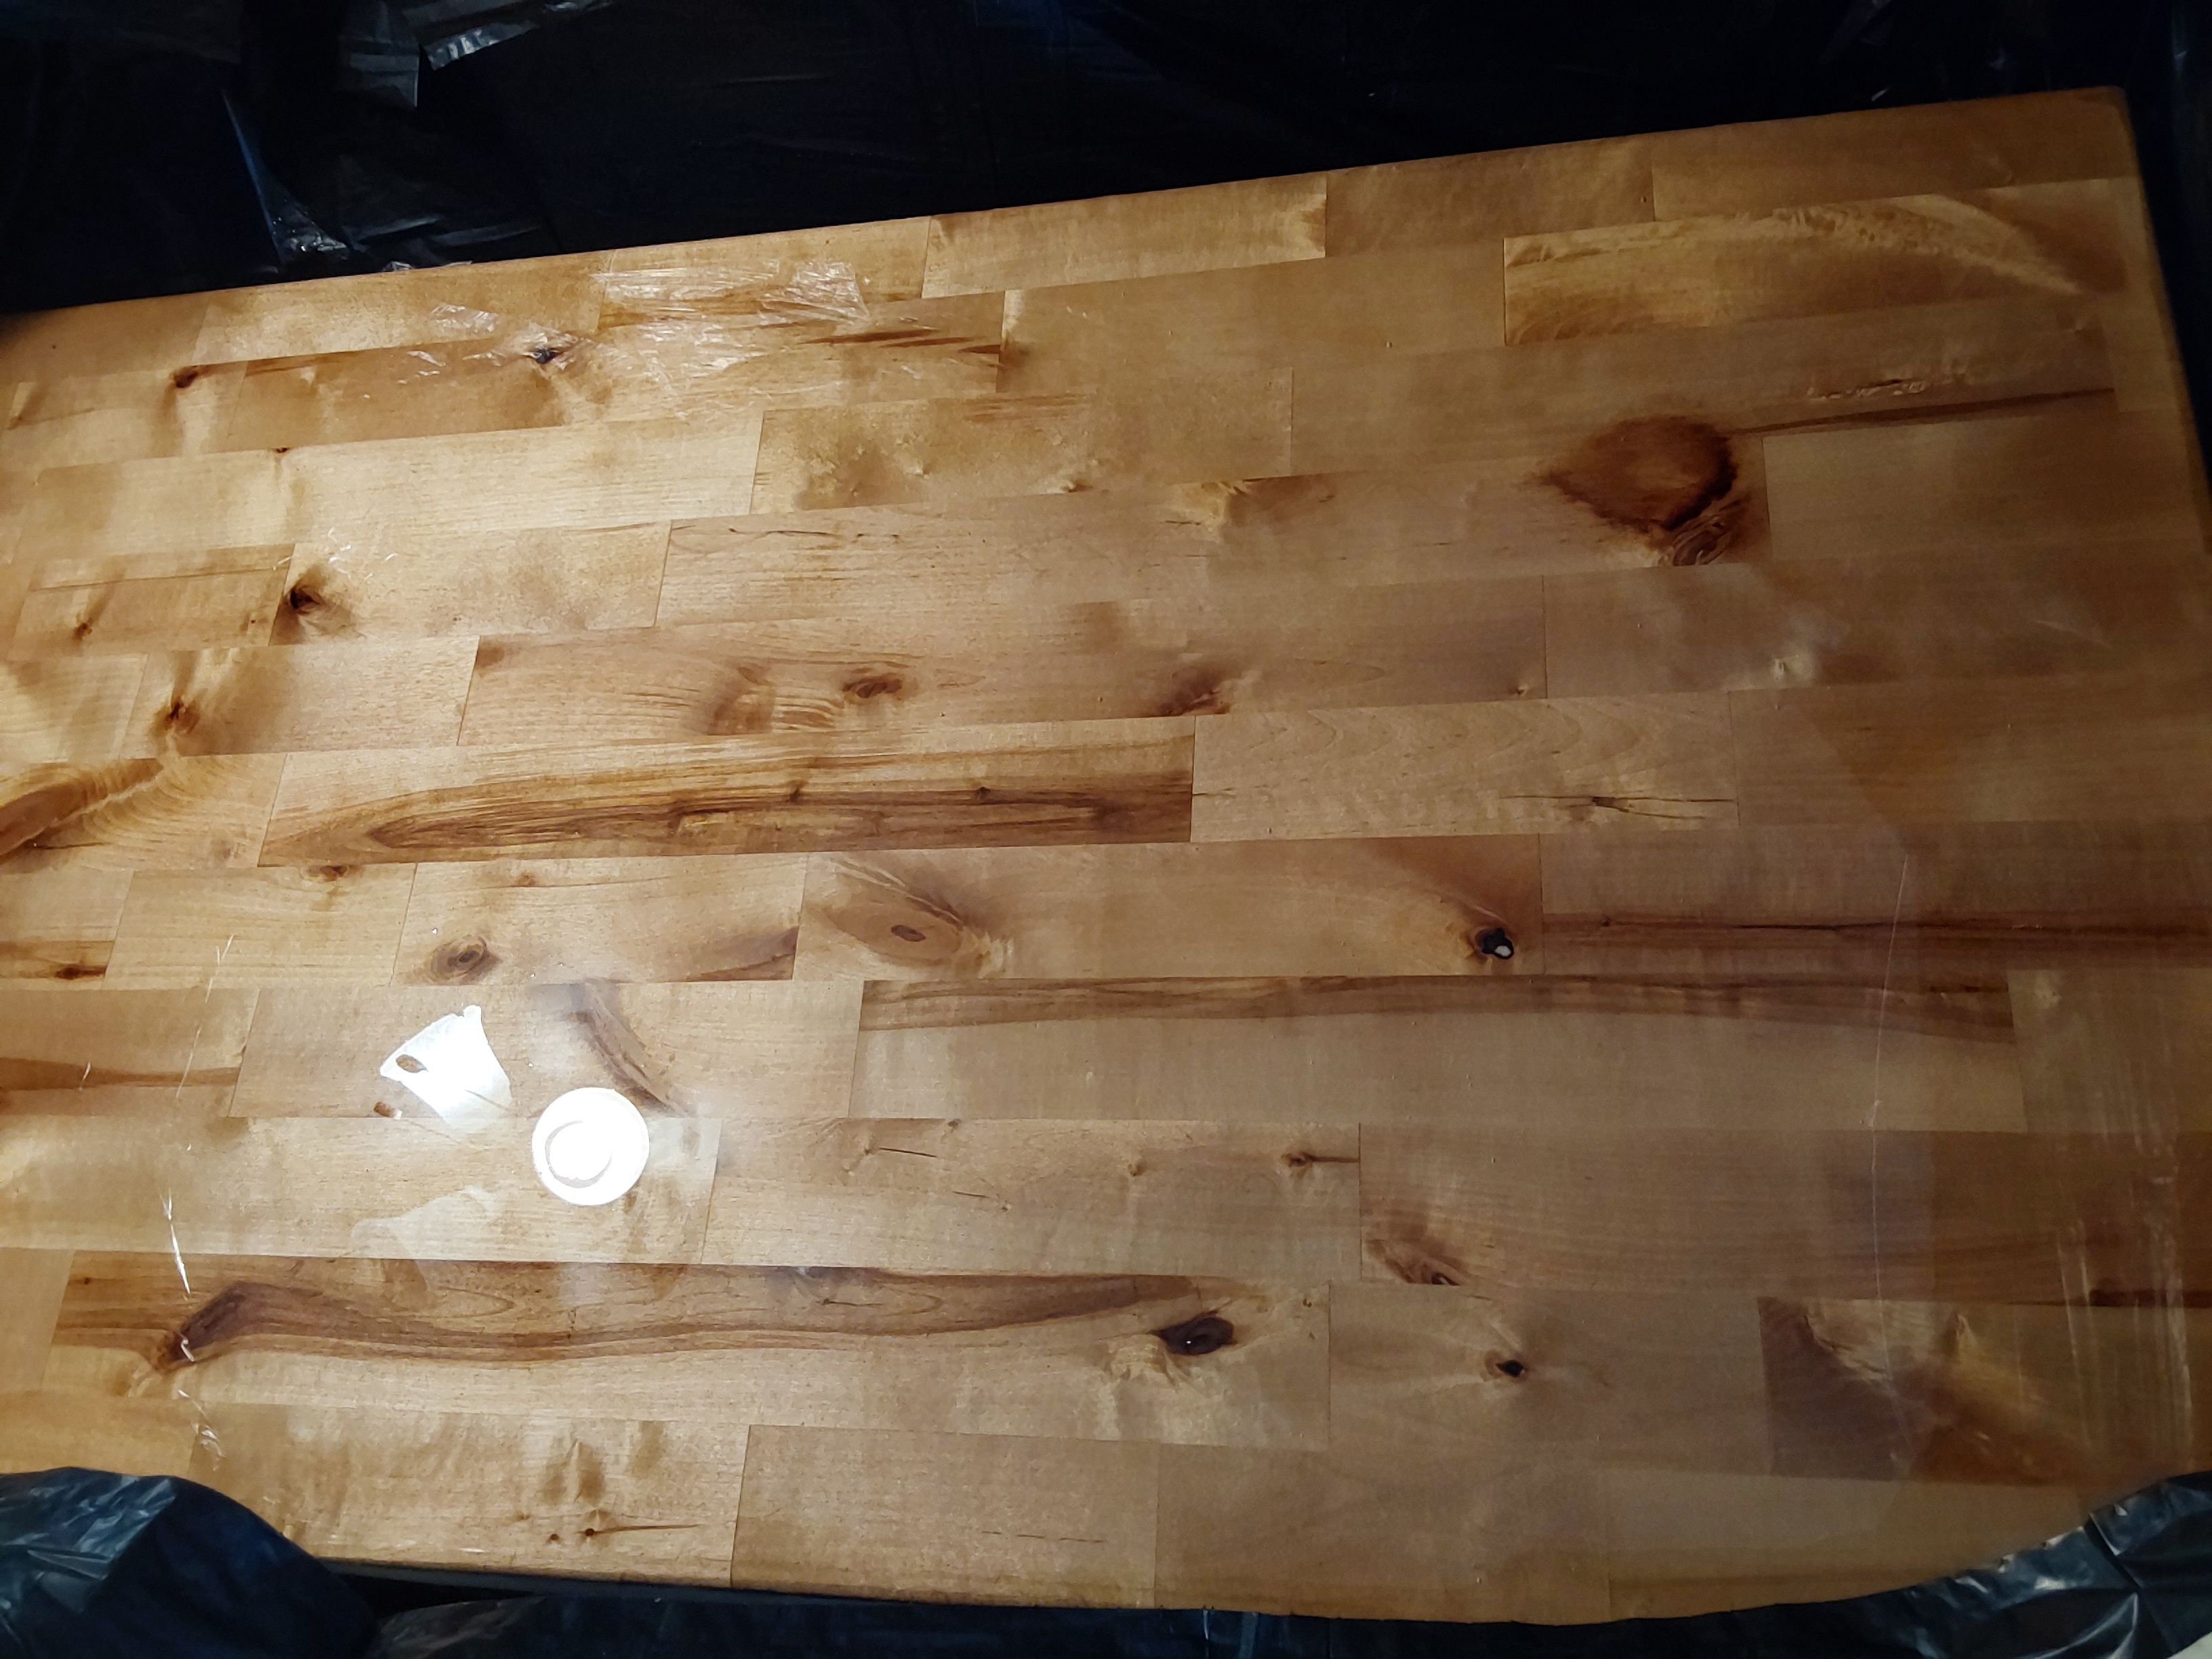
I'm not sure if this fits the theme of permies.com, but it's worth a try, primarily because I believe "Otis" would see value in renewing a piece of furniture, instead of tossing it out and replacing it. It's NOT press wood or particle board, it's a nice butcher block maple, nearly 2 inches thick, so I thought it worth saving.
My baby sister has a table in her kitchen that has a beautiful maple top, but it's unfinished, and she doesn't feel comfortable with her ability to effectively clean it... She's said she will toss it if I can't come up with a solution that she feels like she can reliably clean/sanitize.
All I can come up with that's reliable under her specific use, is the same kind of acrylic/polyurethane coating that they use on commercial bar tops.
I know it's not anywhere close to tung oil or ANY natural finish, but it's very durable and it saved this gorgeous real wood topped table a new lease on life.
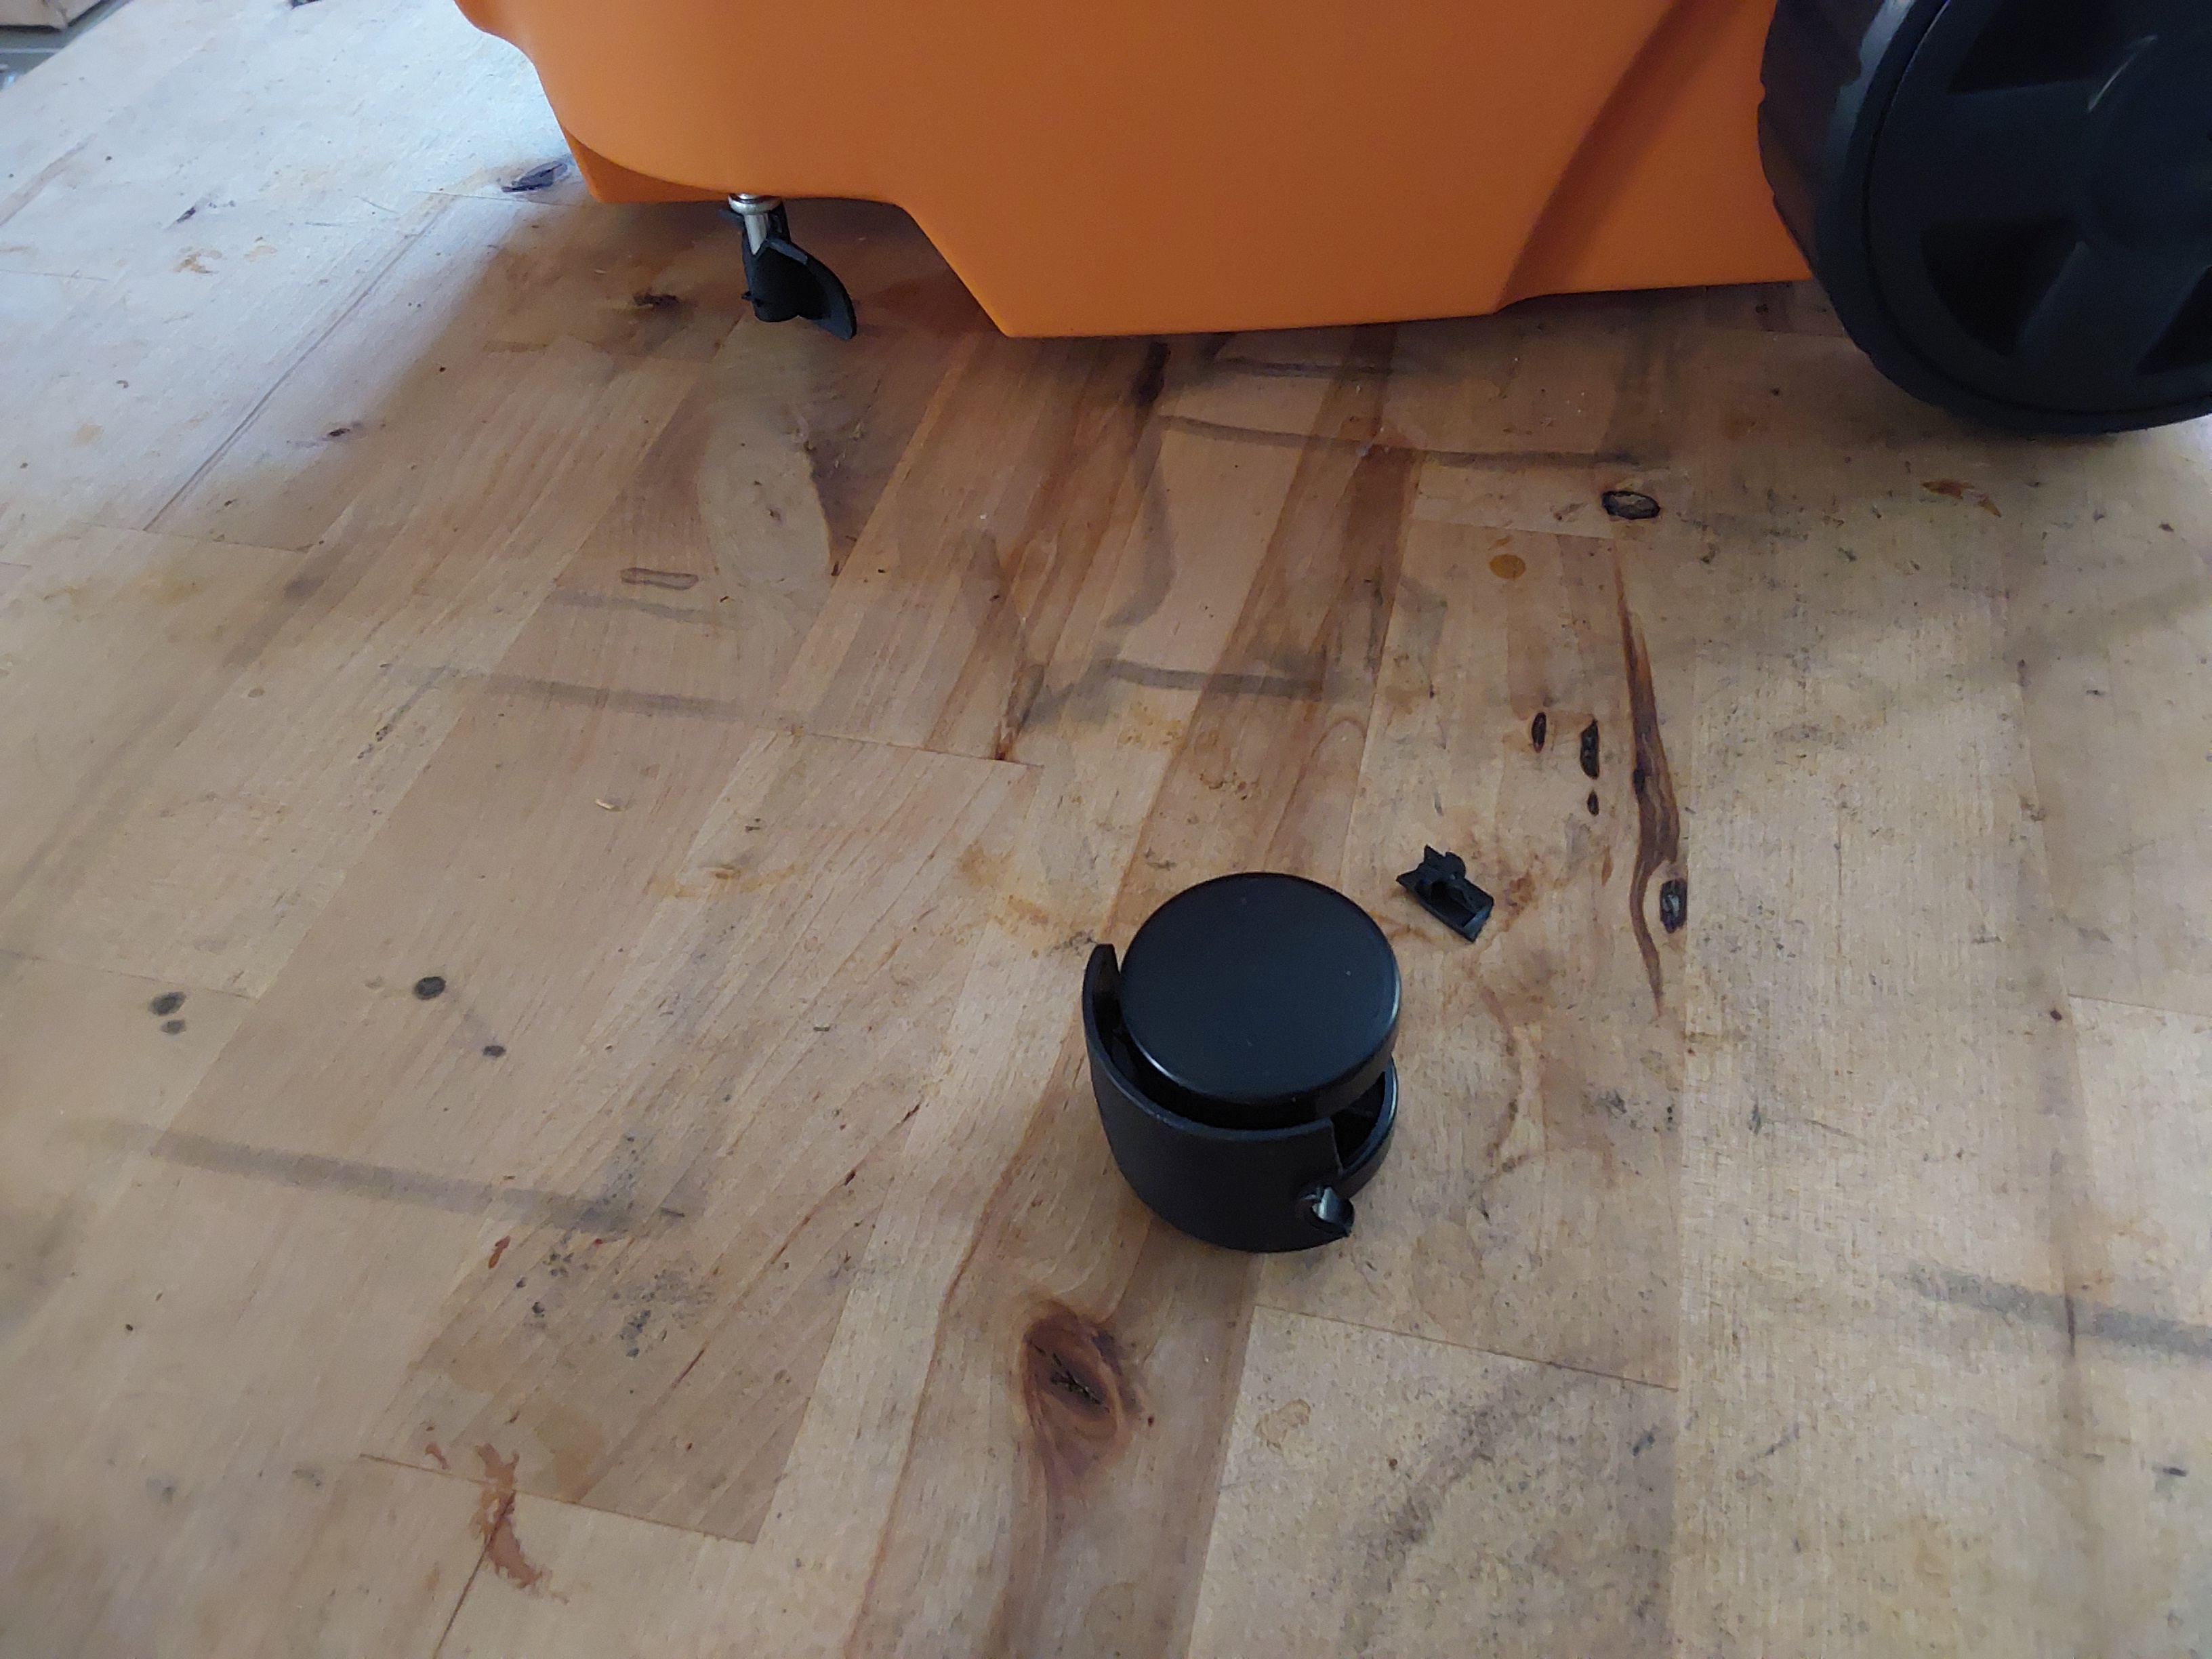
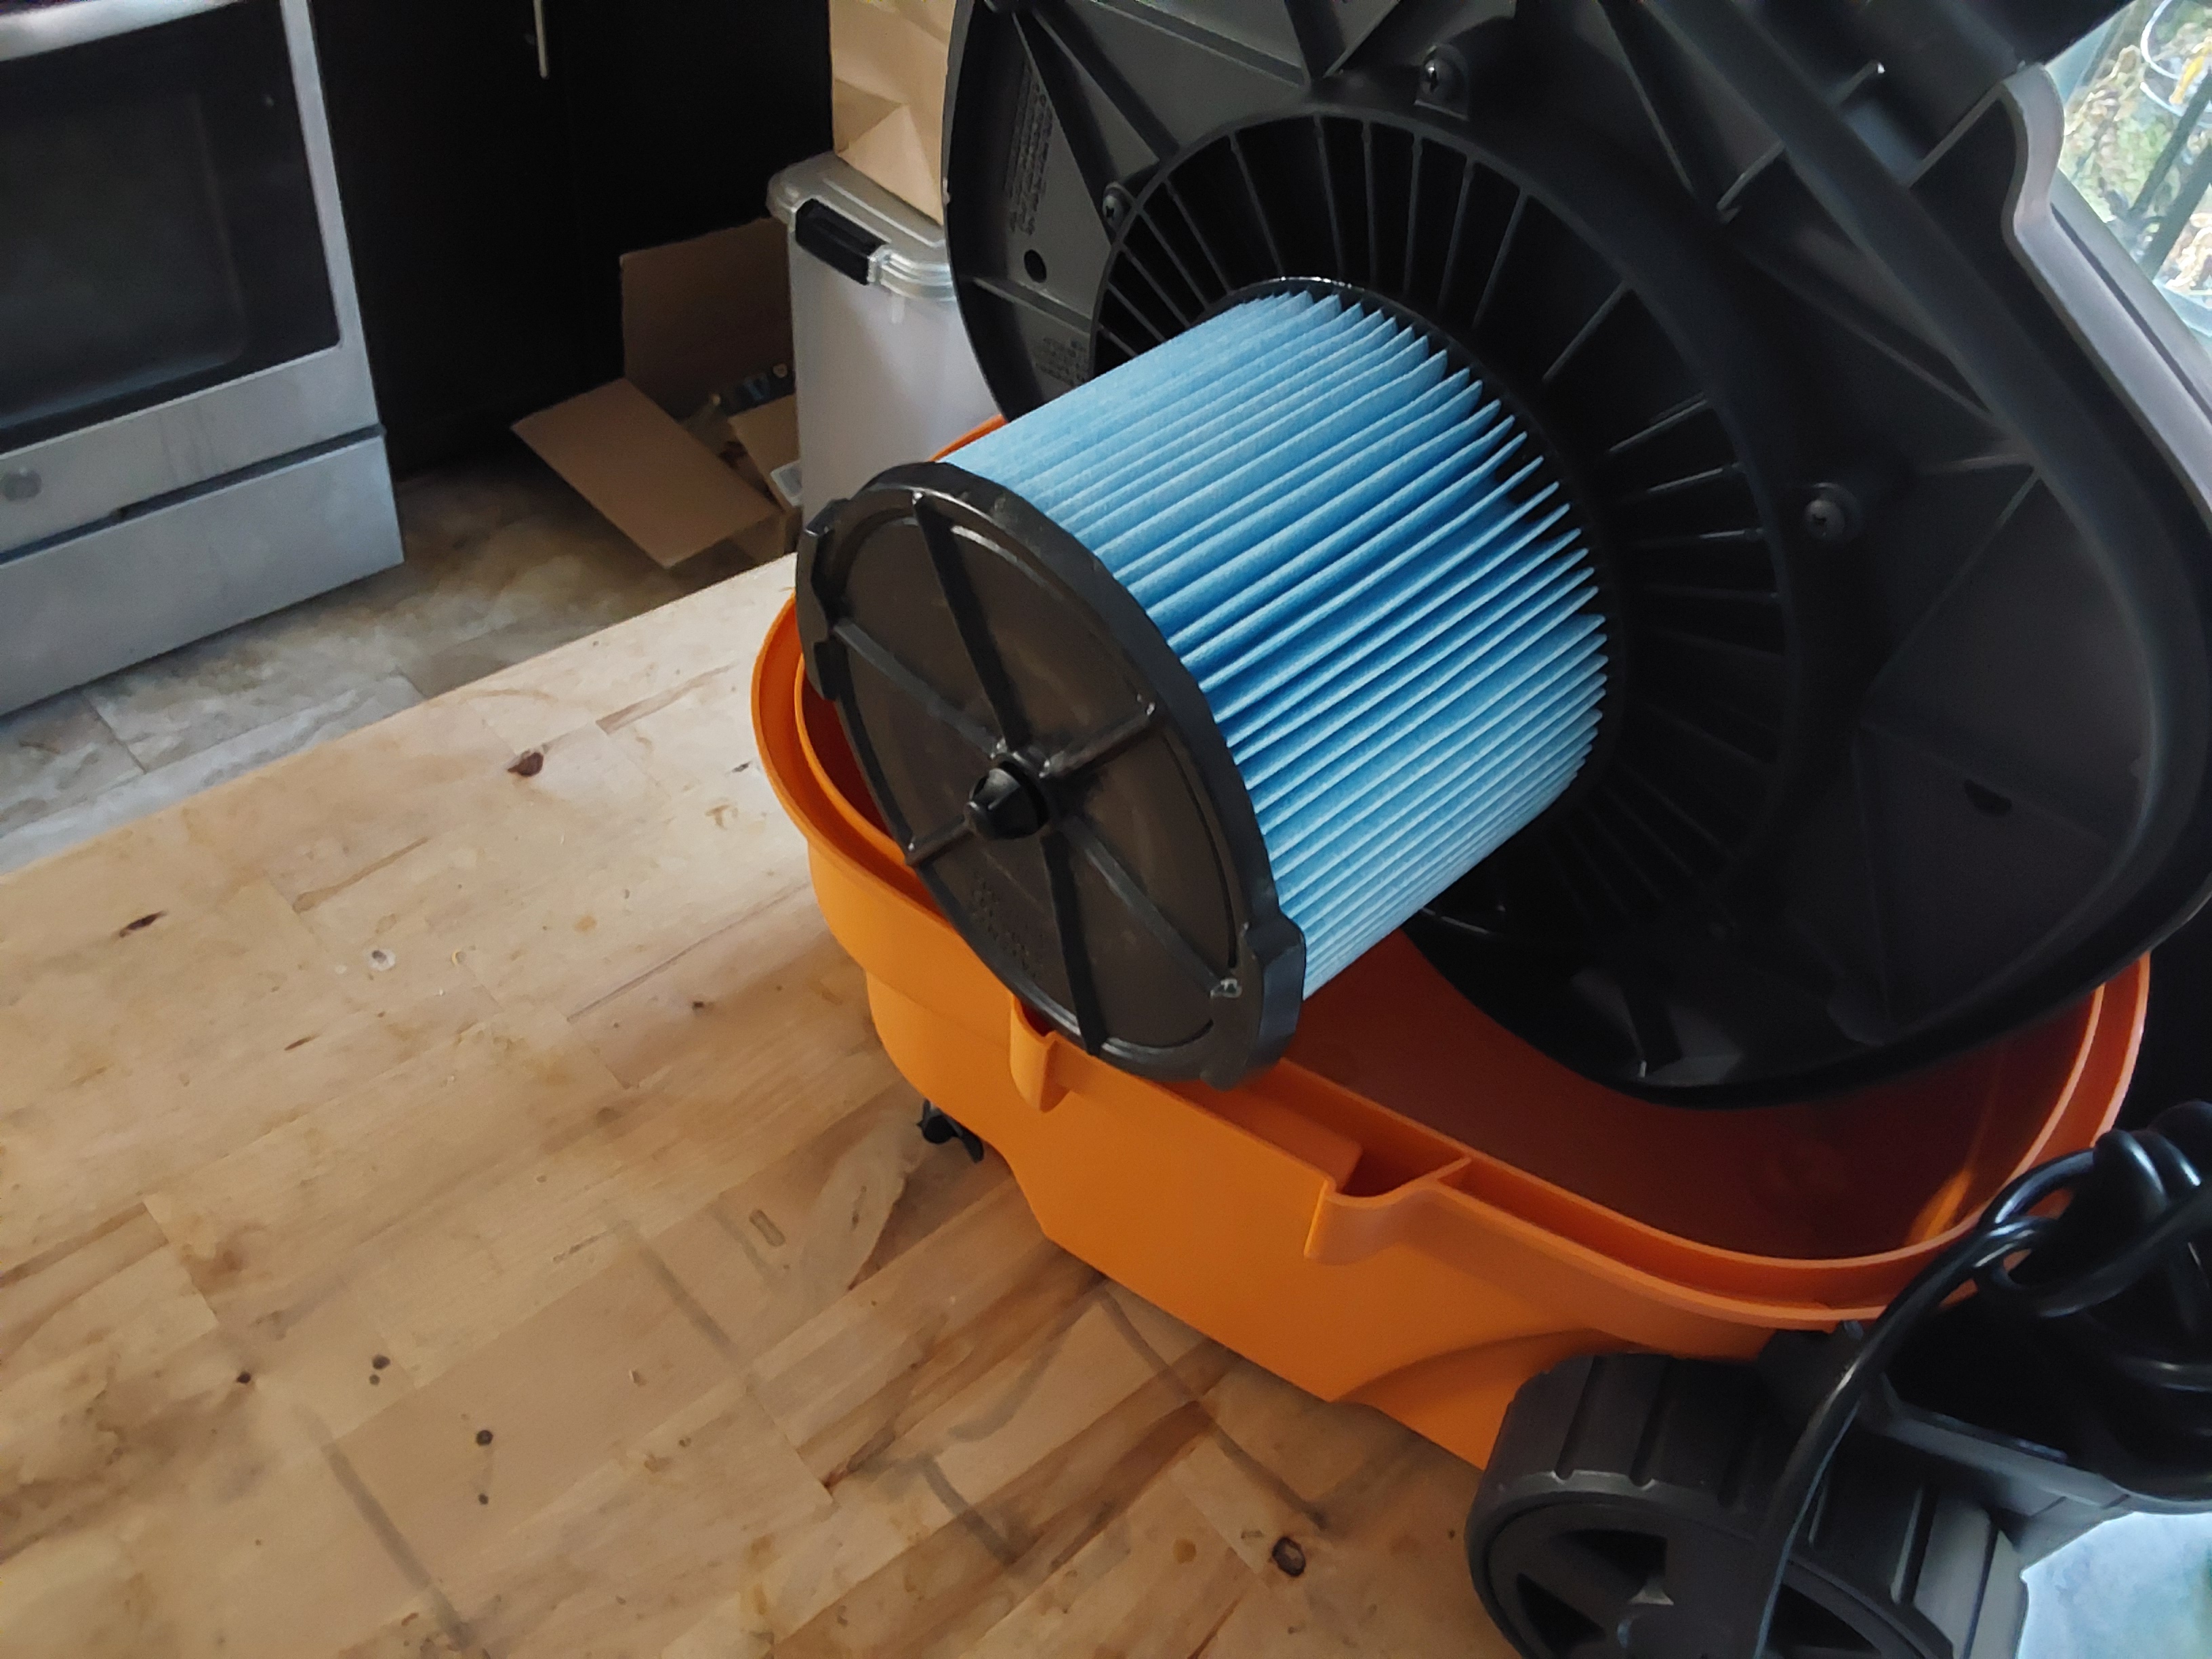
First I sanded down the surface (and that's where I have the fewest pics, but a wheel on my shop vac broke, and I took pictures of it on the table - the vac was under warranty and I wanted to file a warranty claim on it).
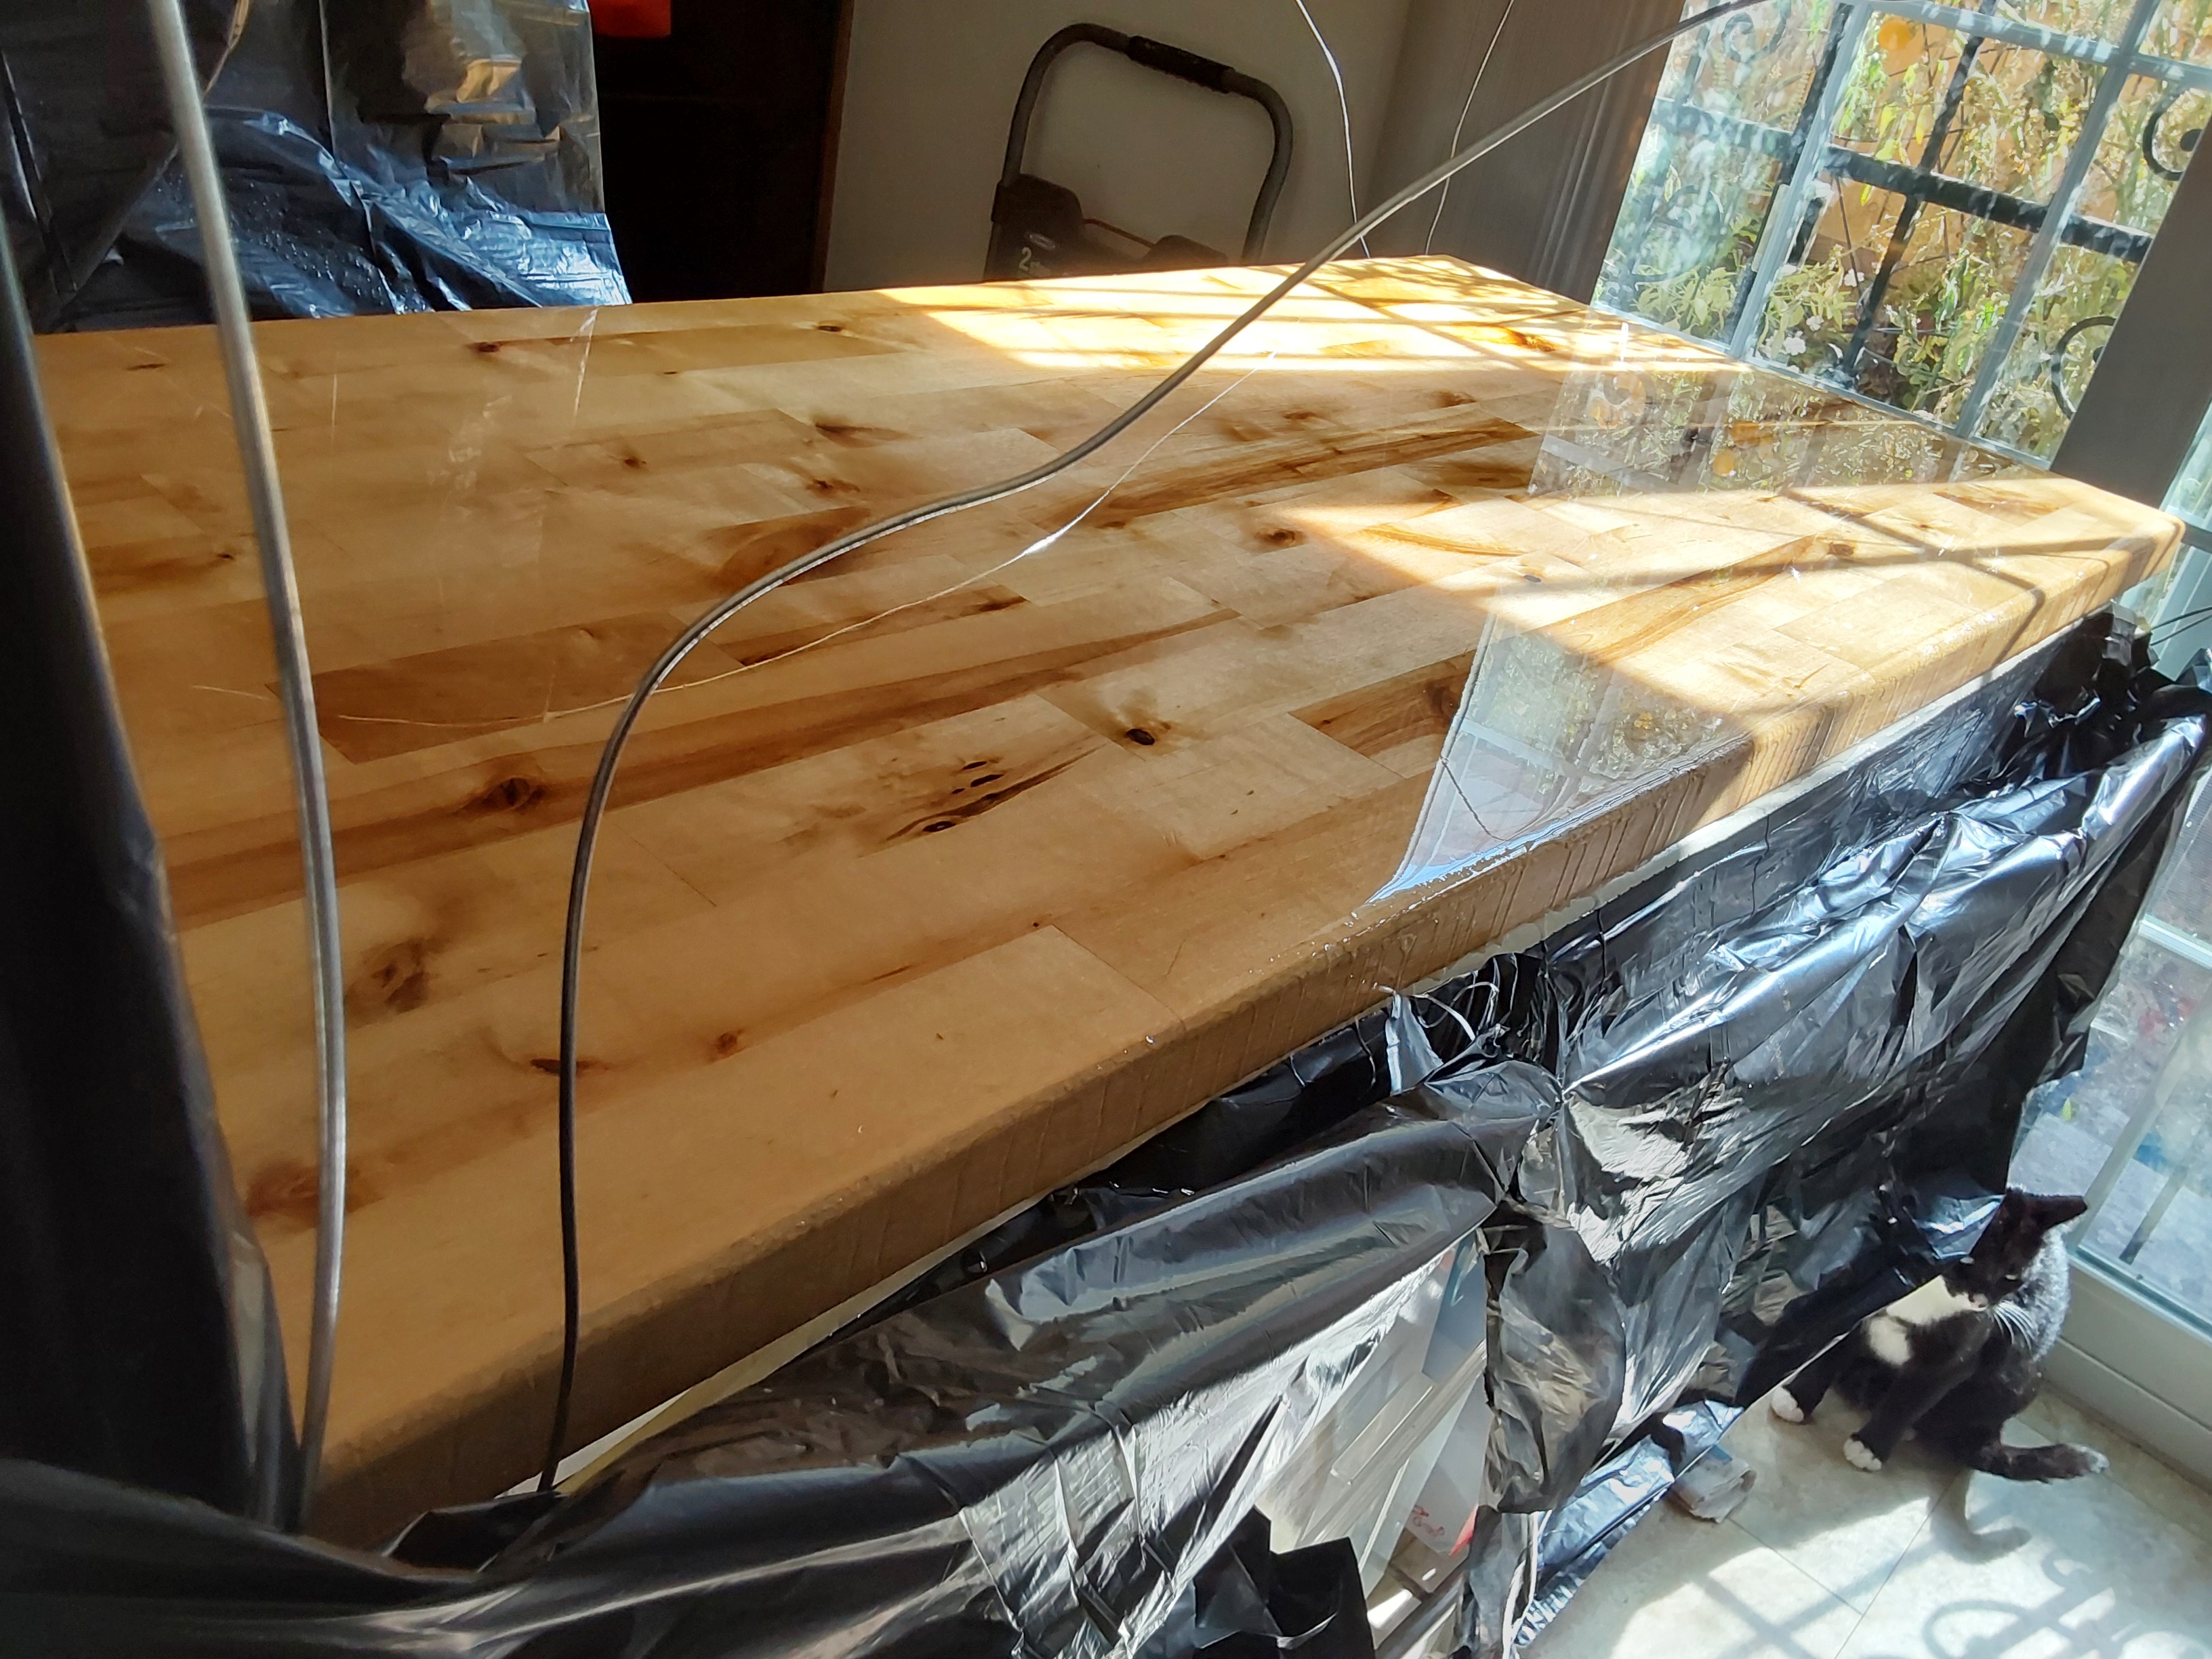
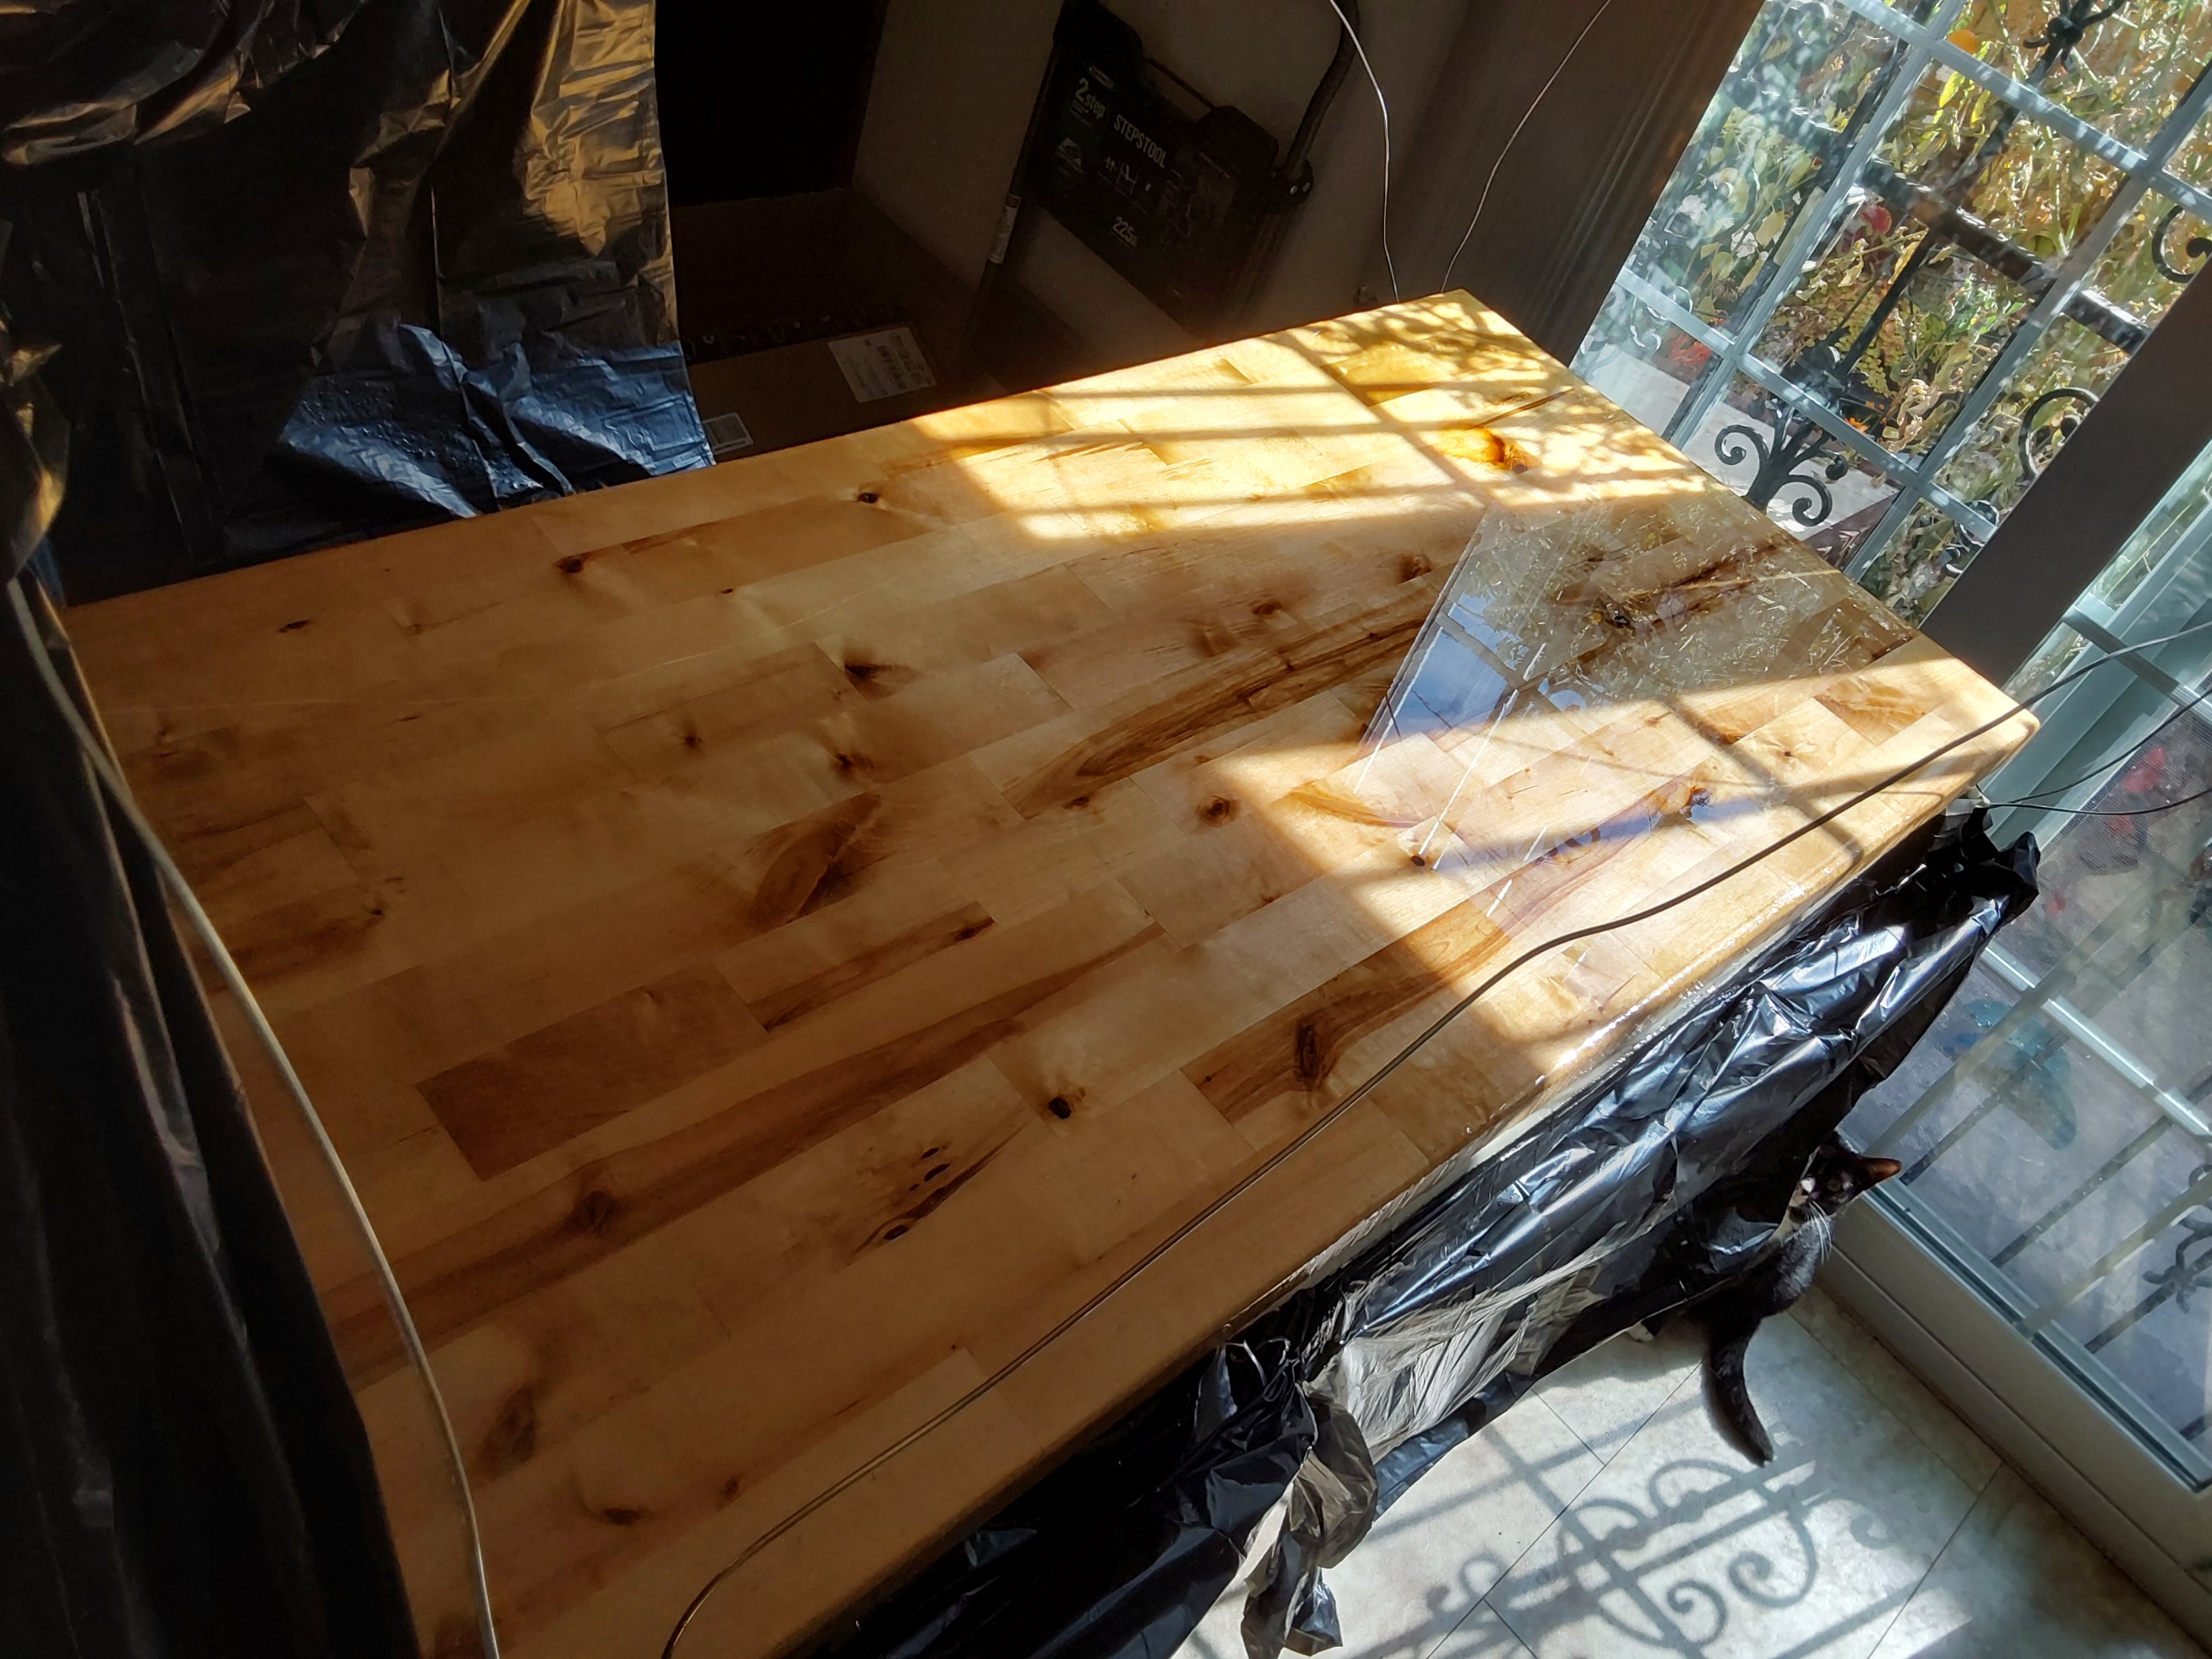
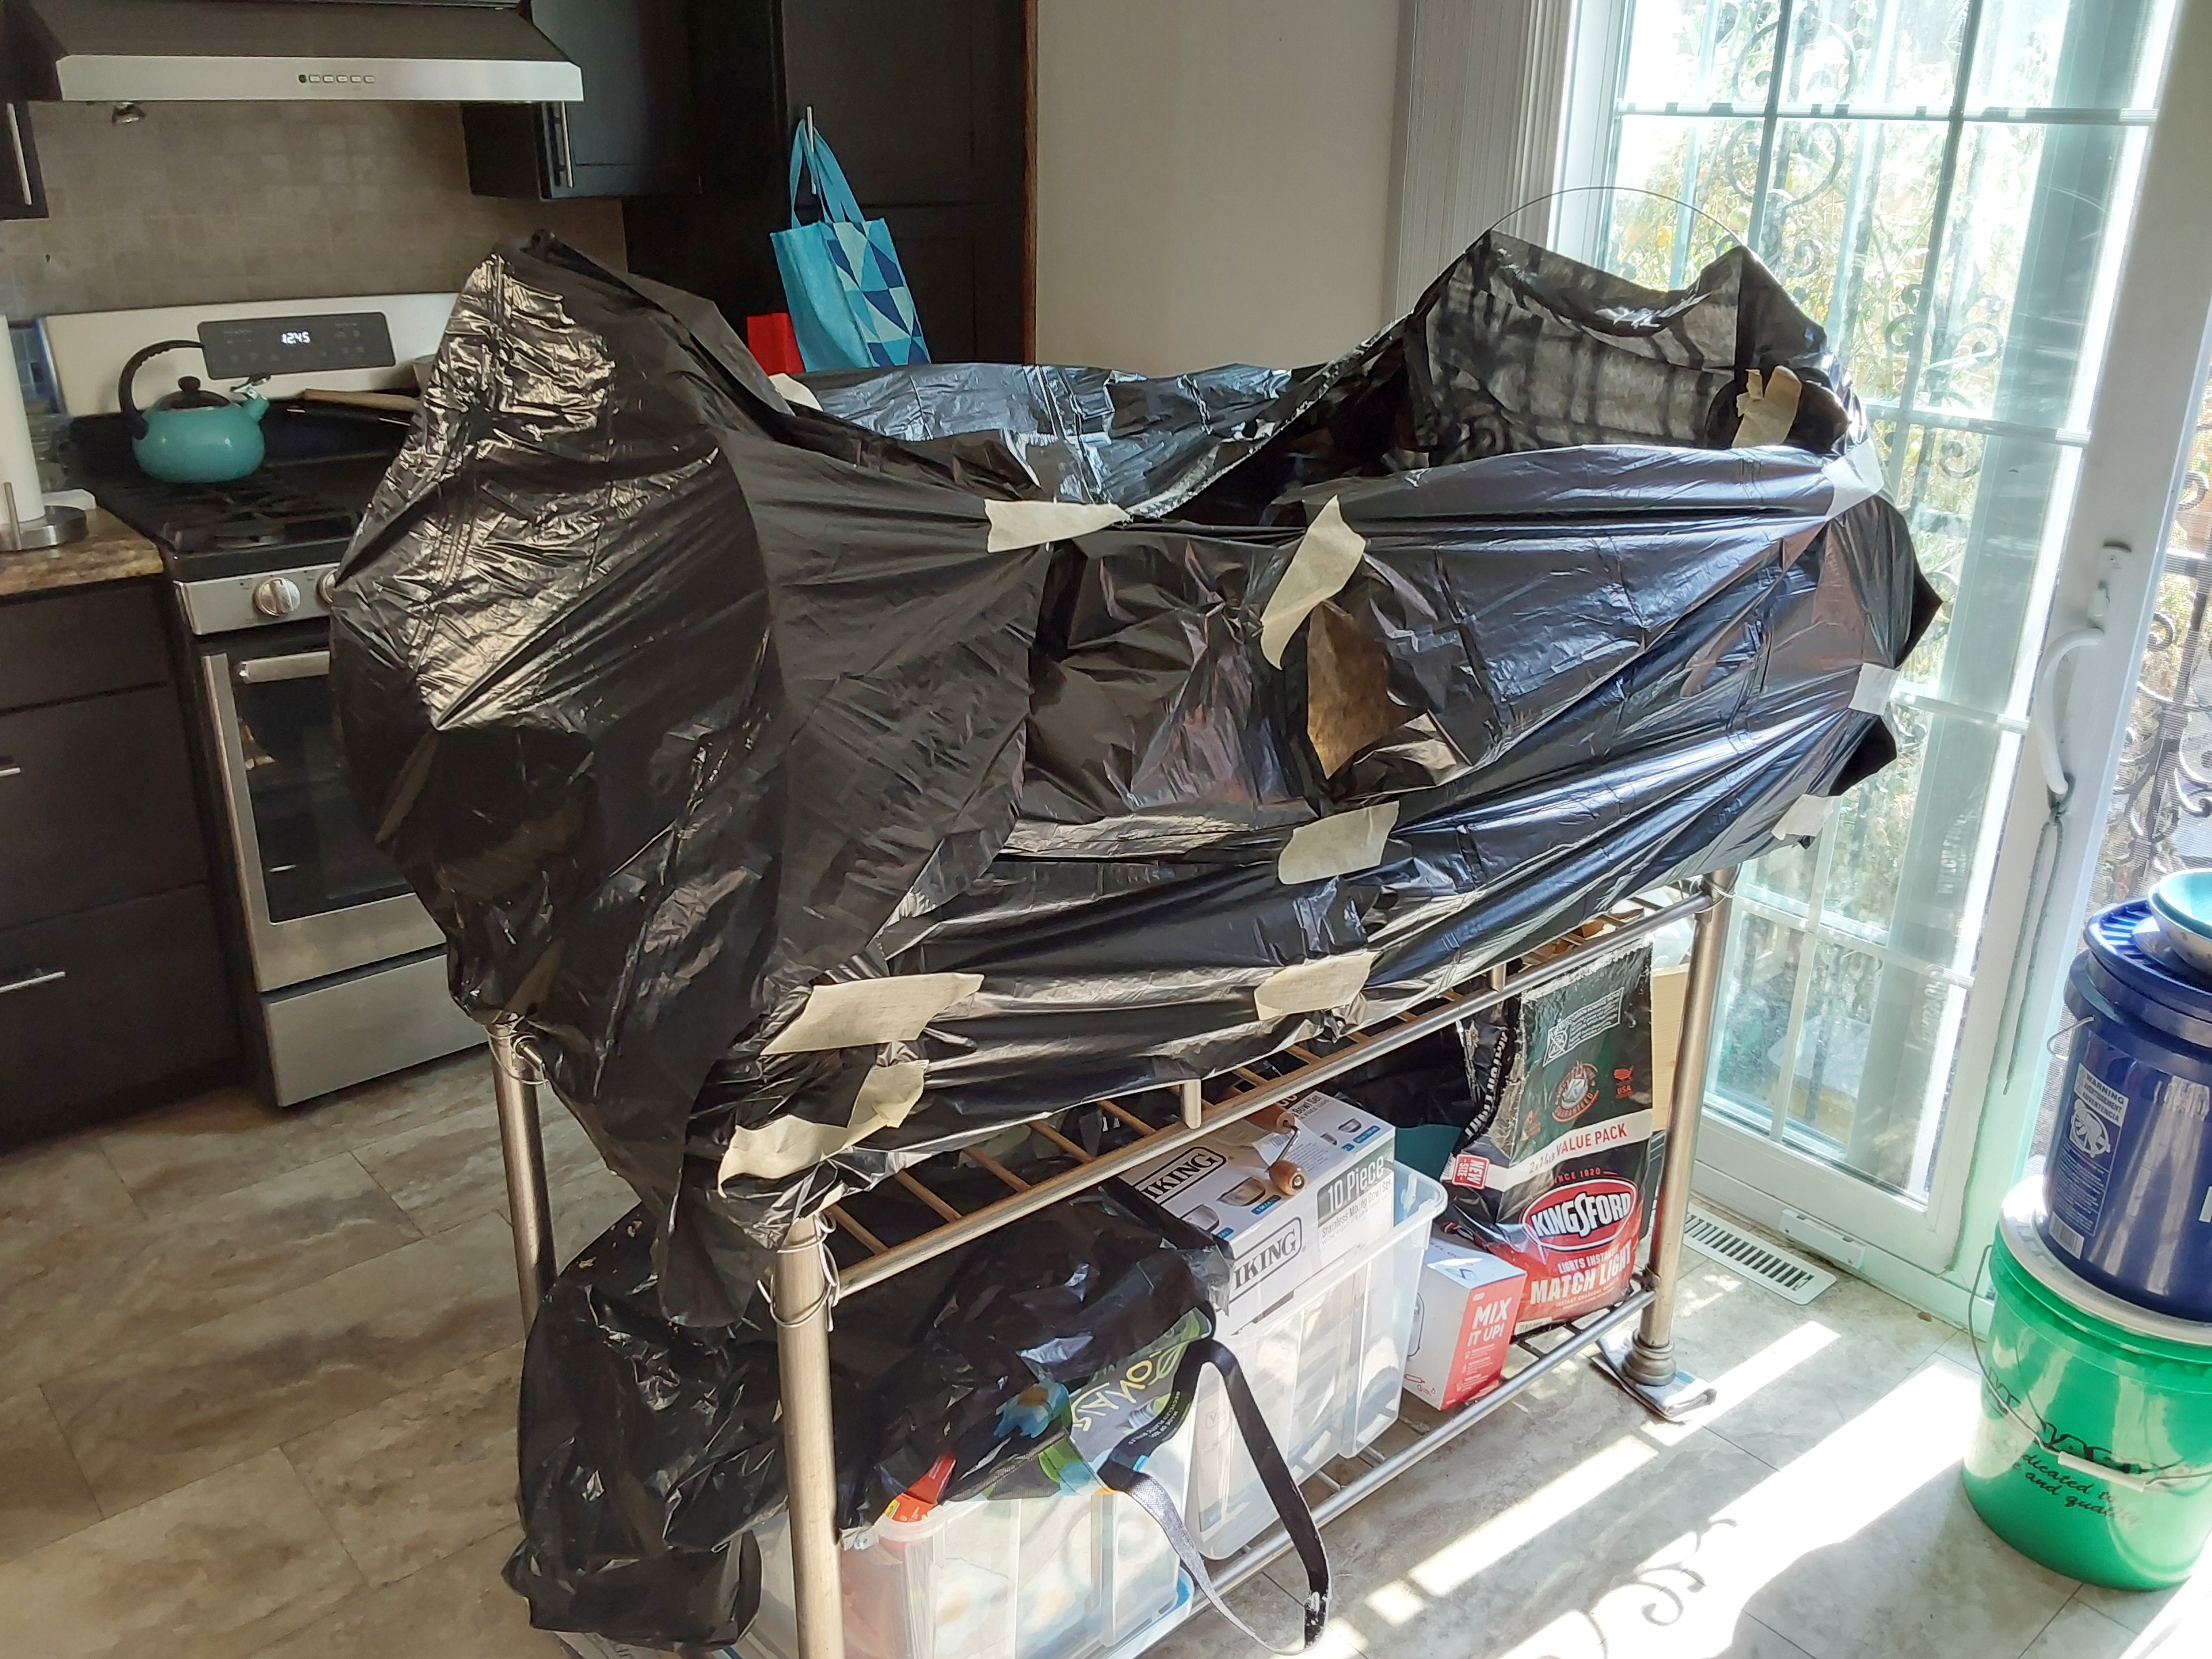
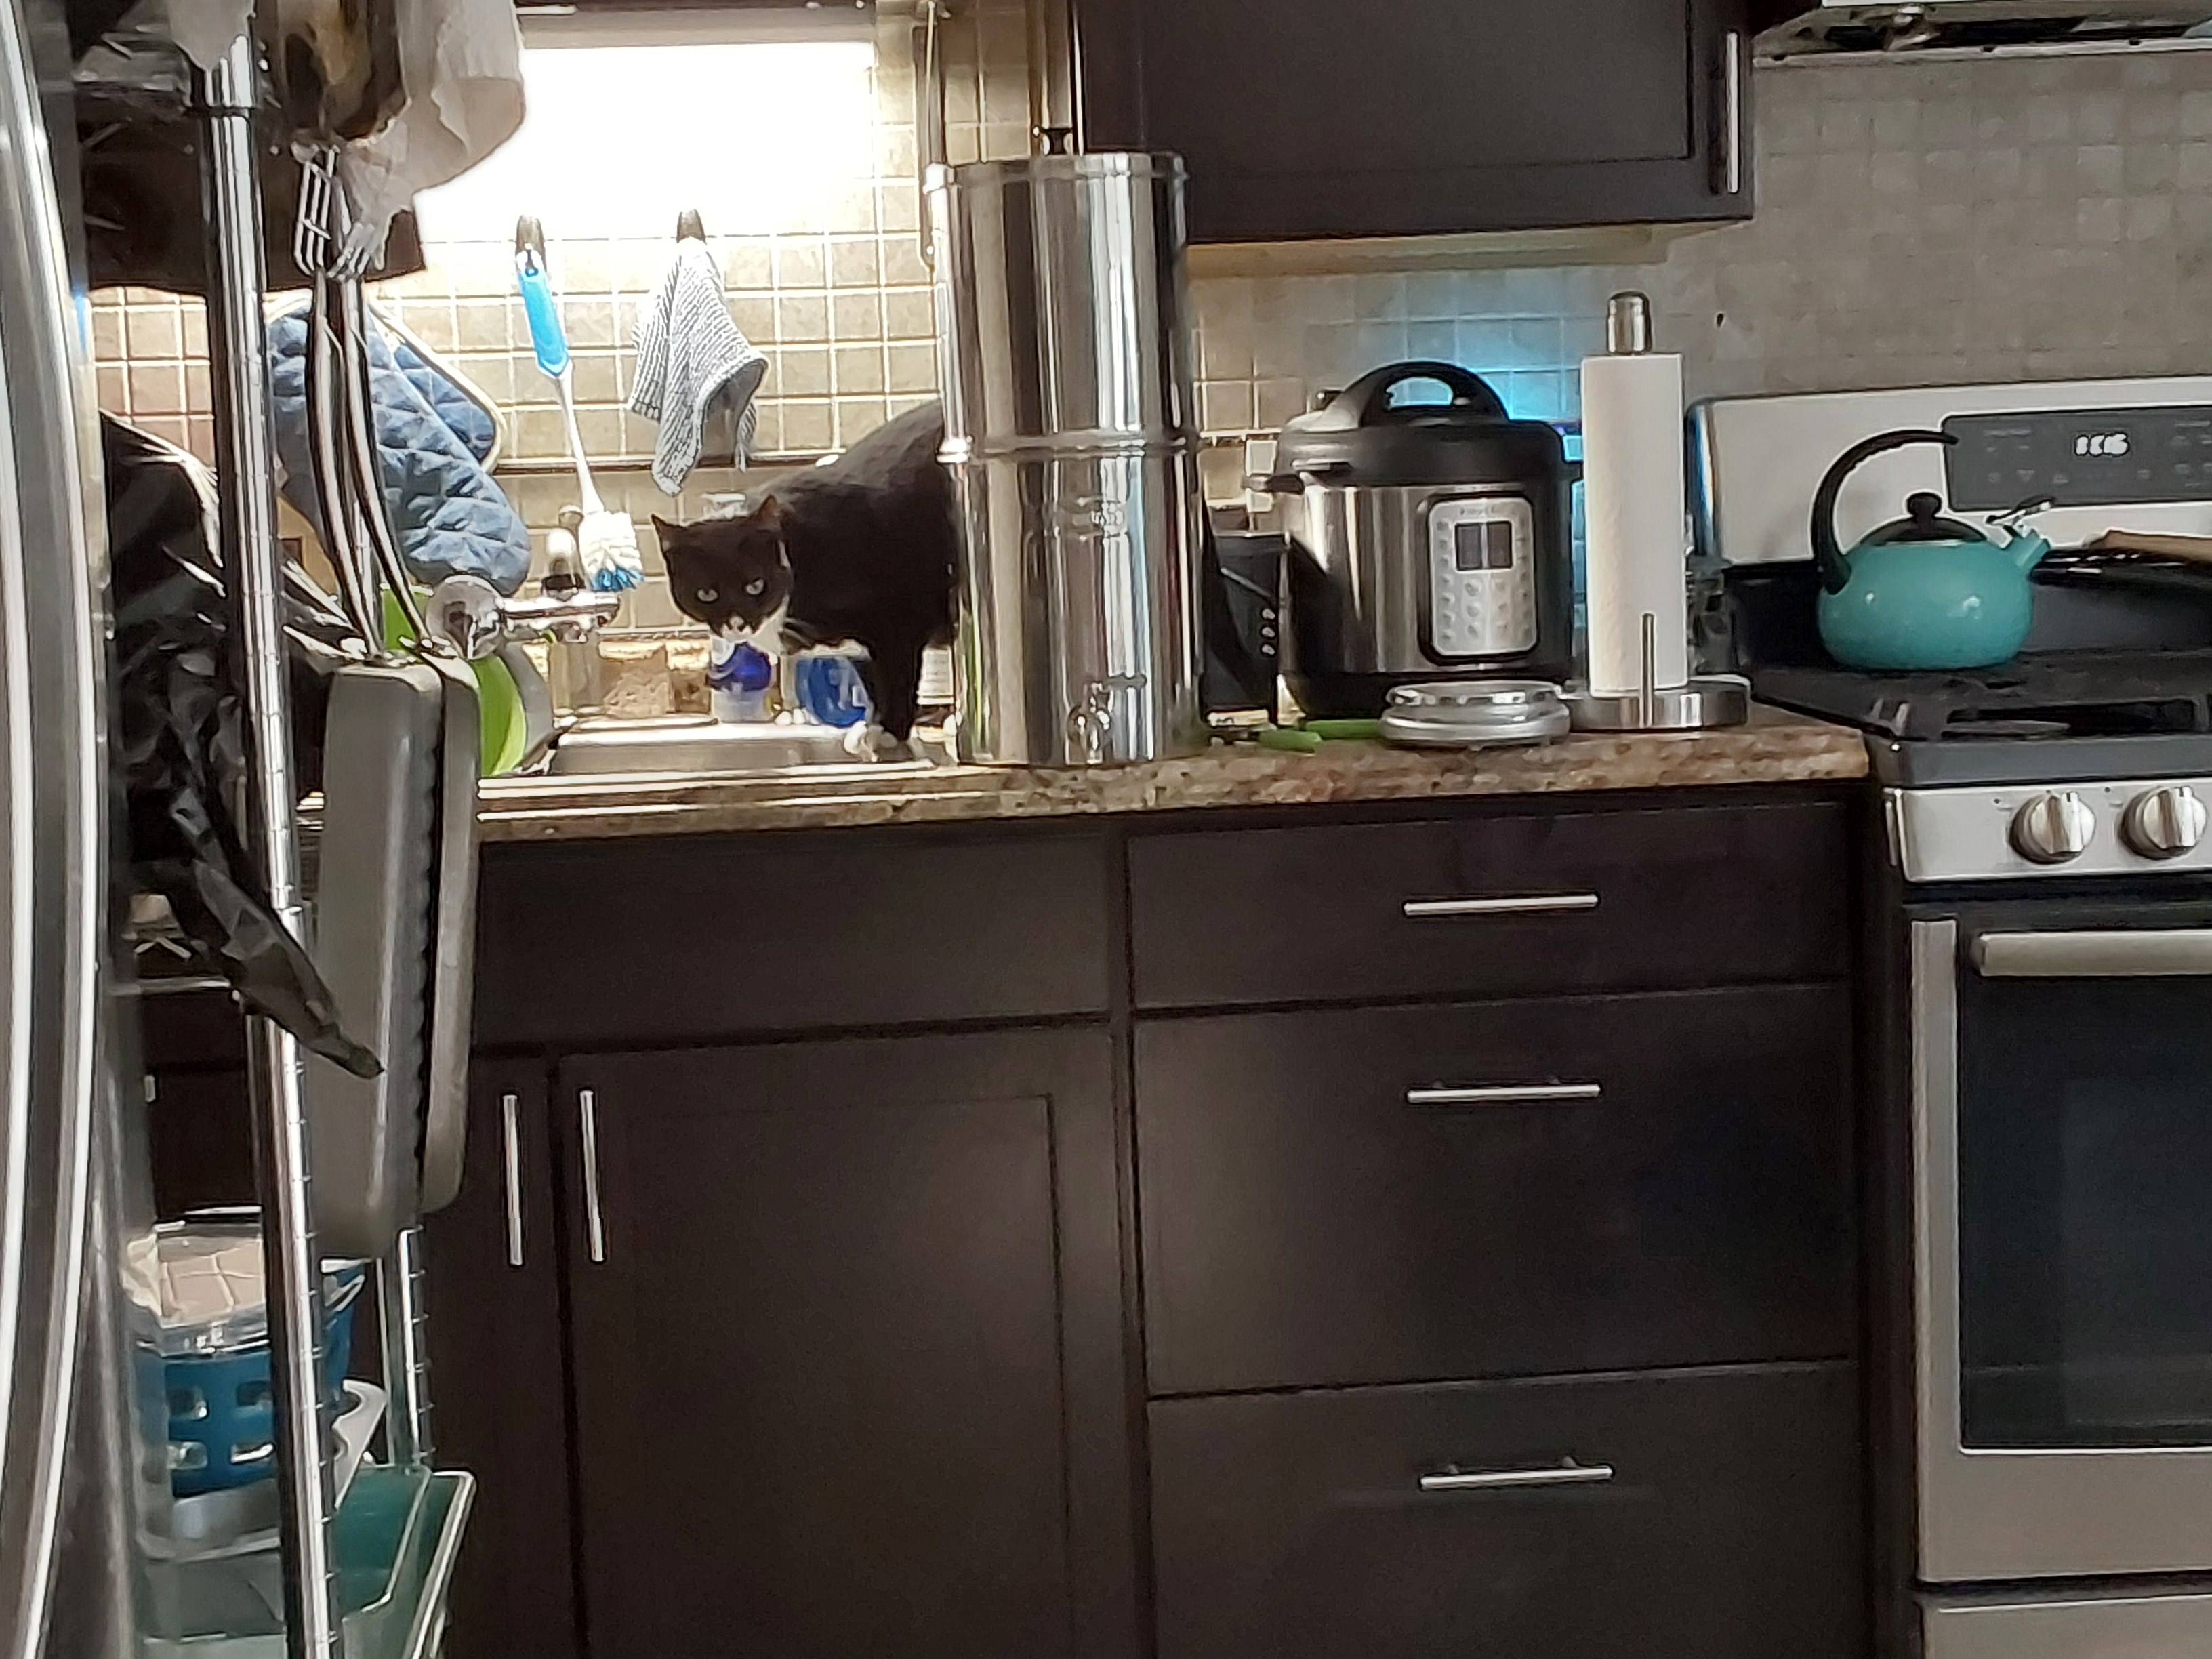
I put the initial seal coat on, then I had to "tent" the table, to keep the cat off of the table for the 3-5 days recommended.
The table also need to be perfectly level for the next step, so there was lots of shimming with sometimes a sheet of newspaper at a time.
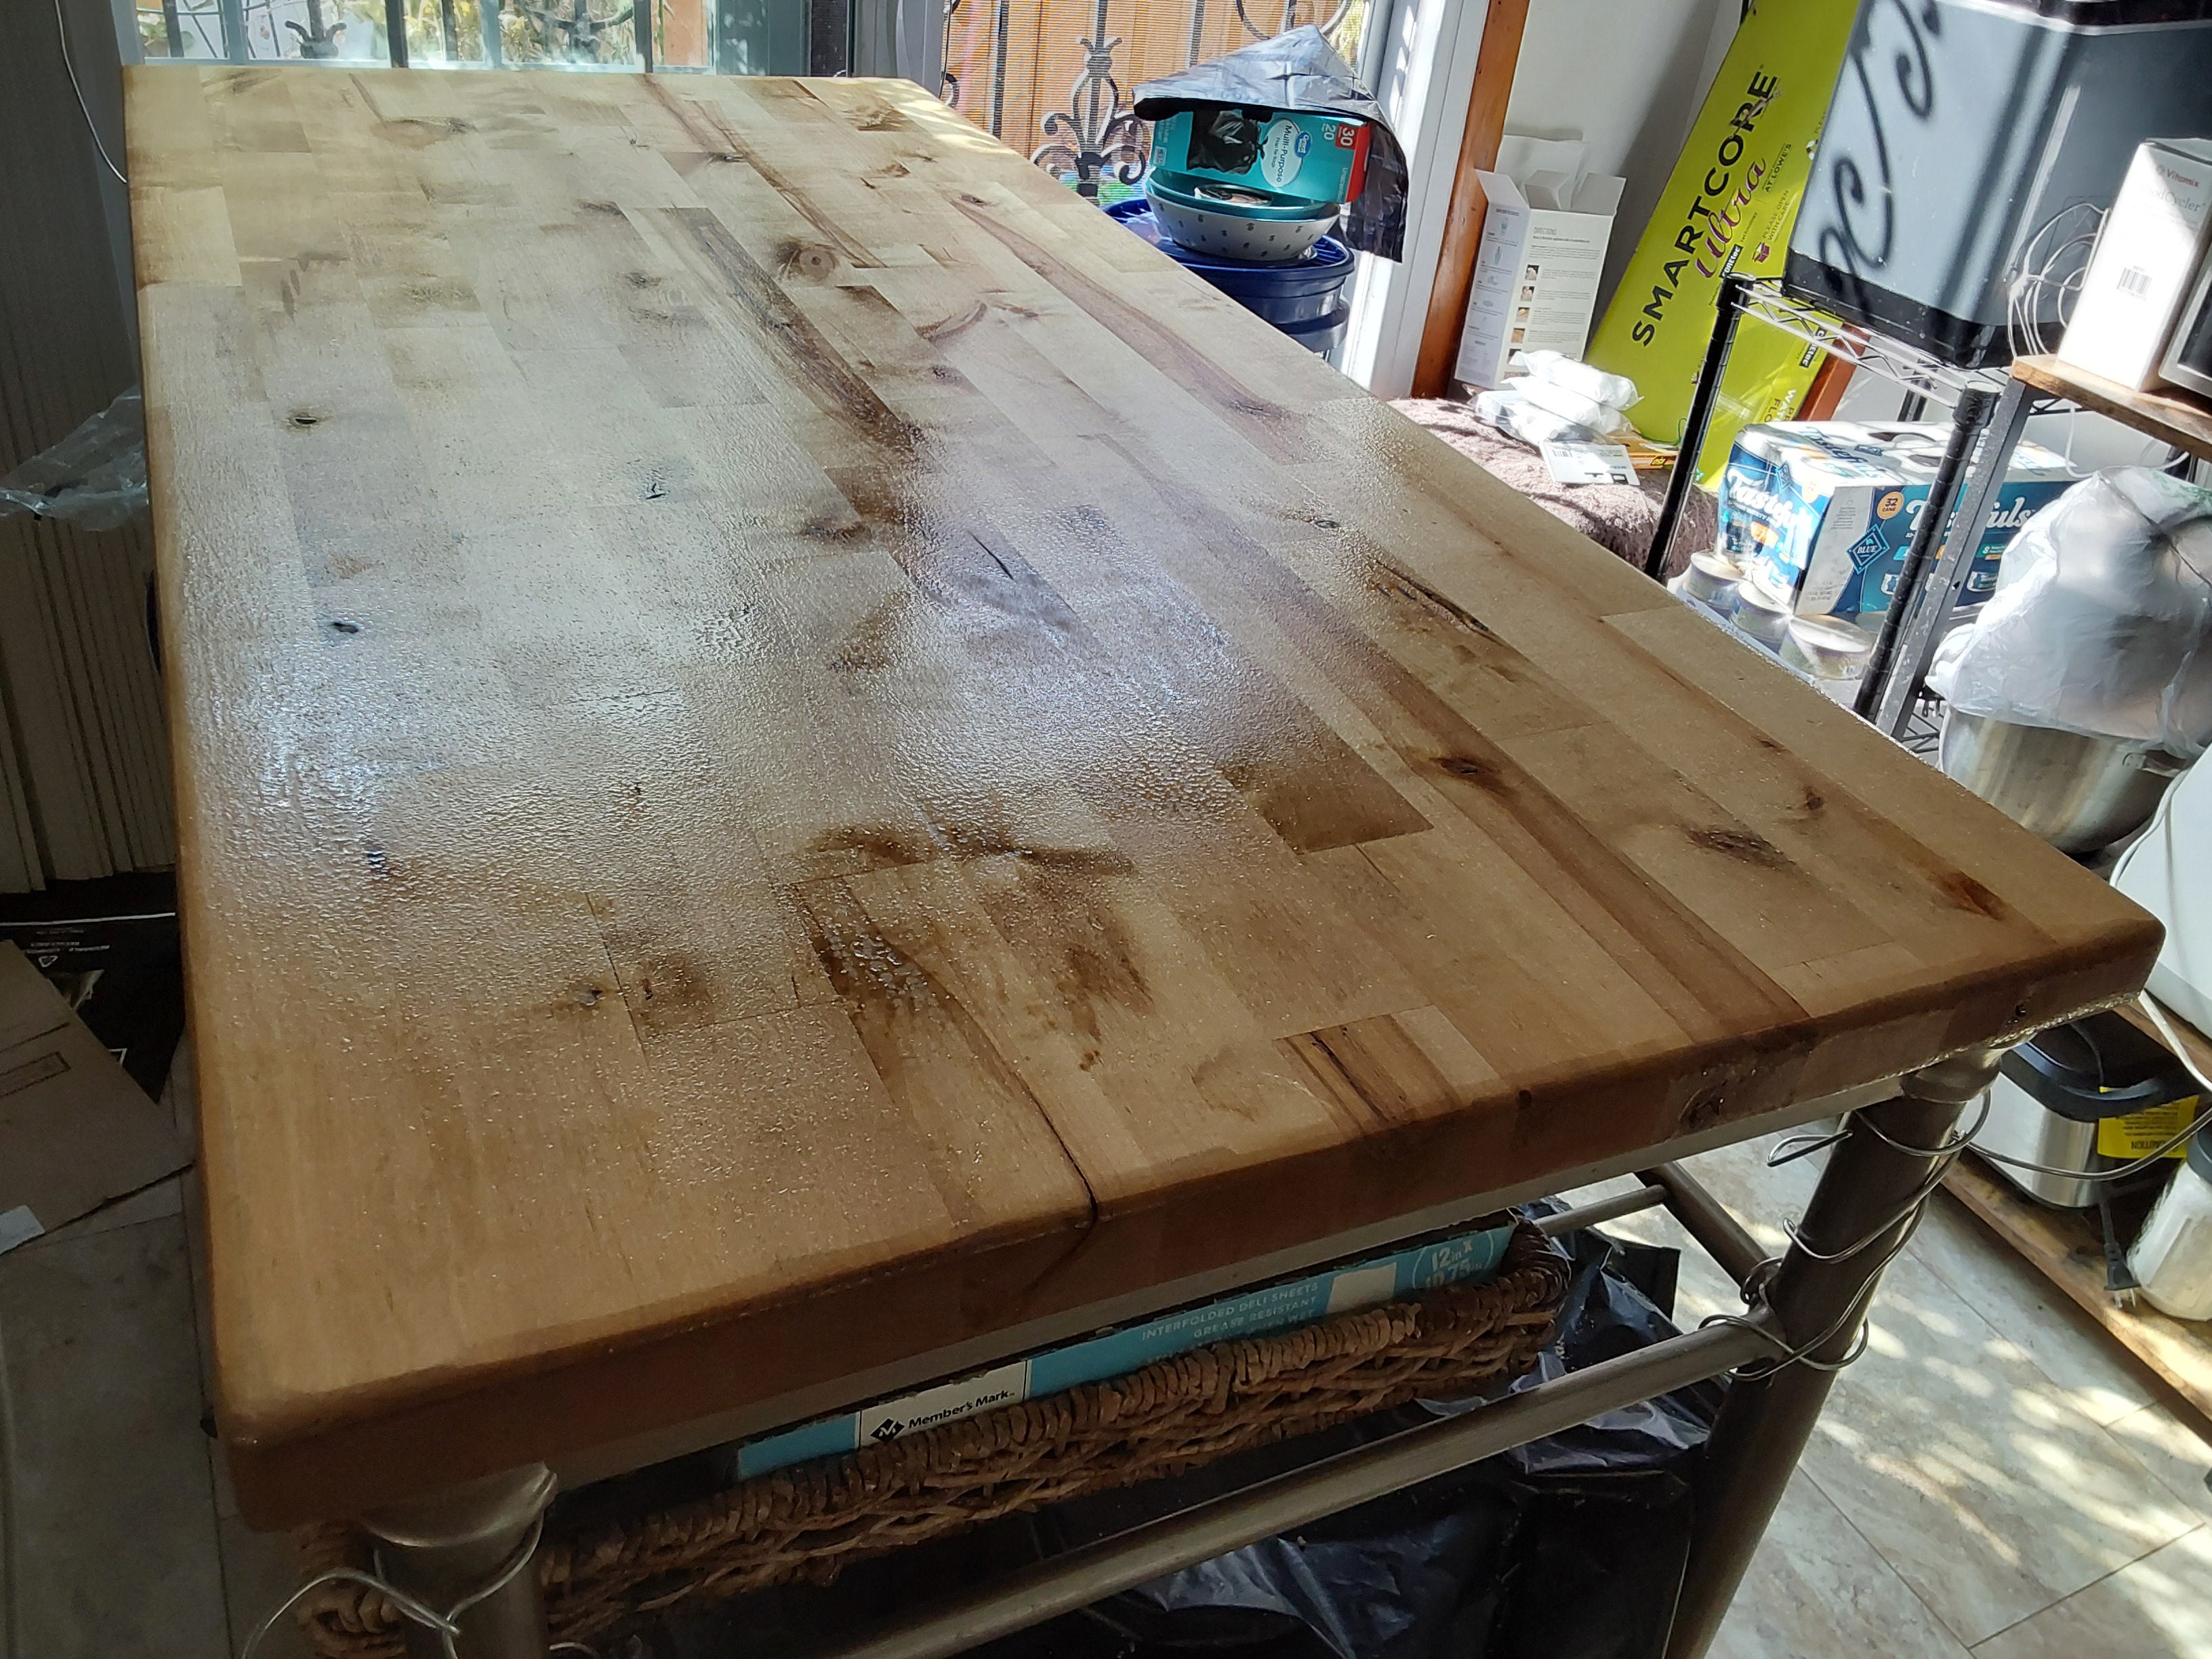
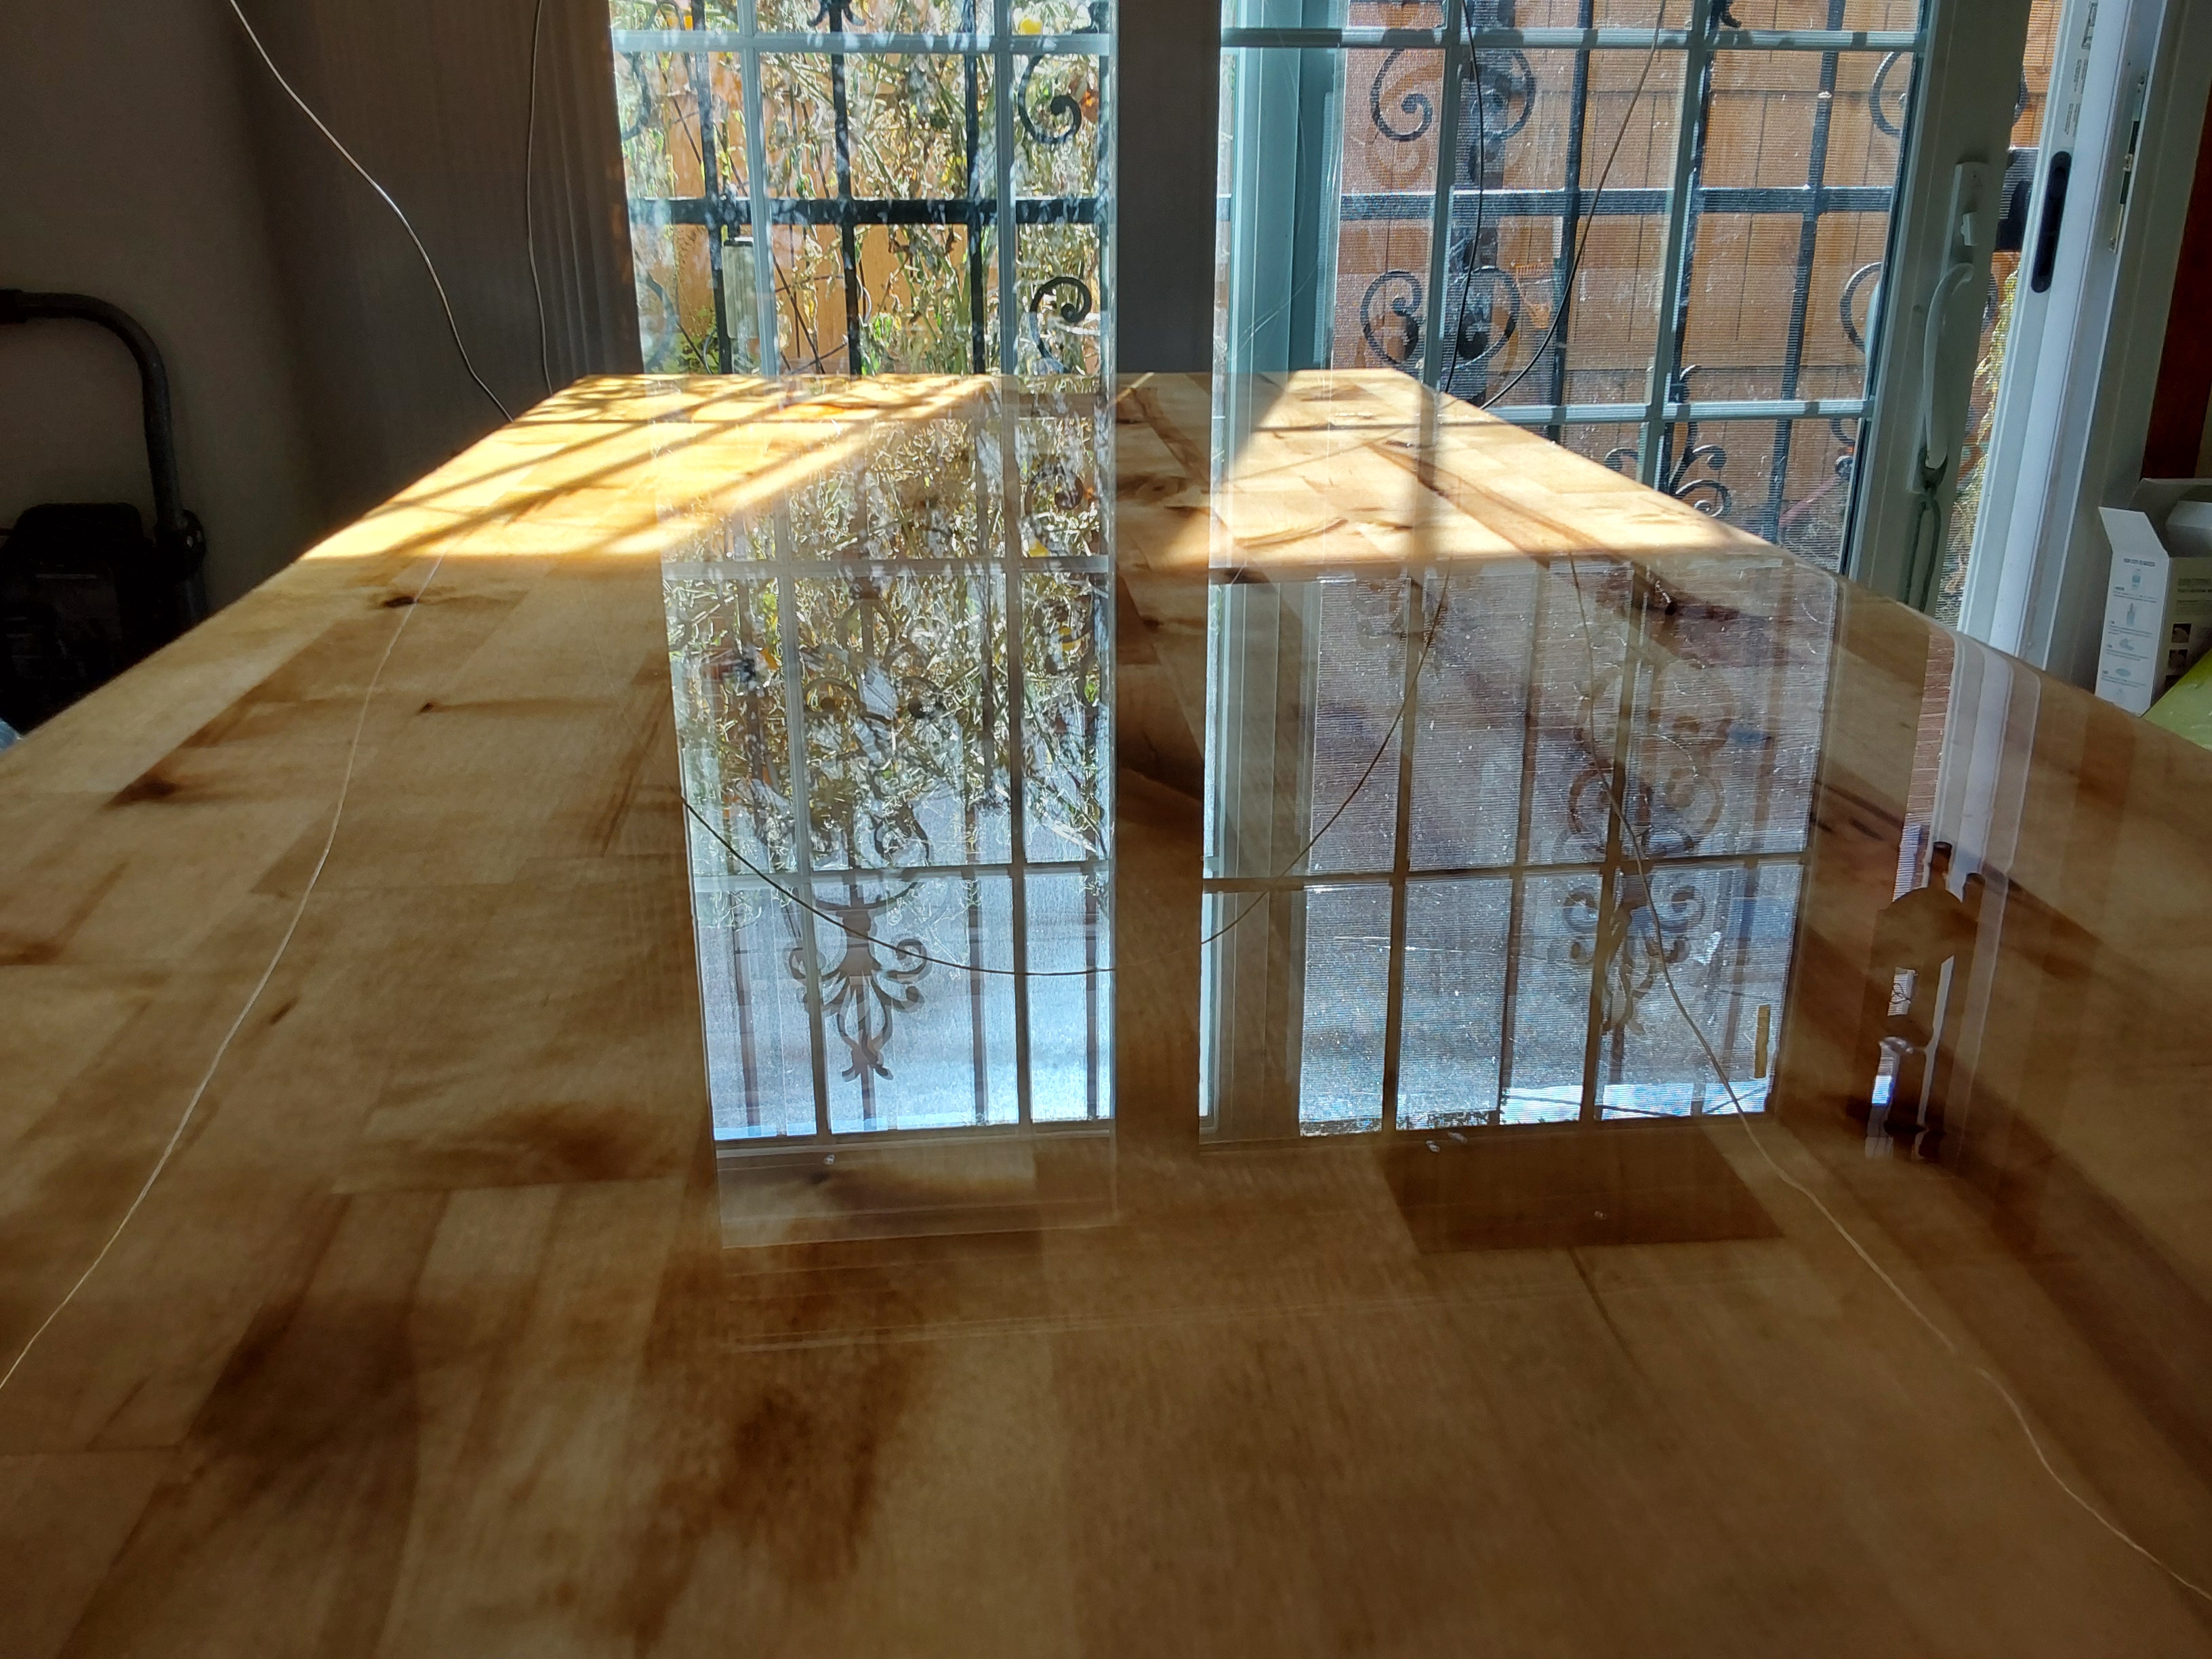
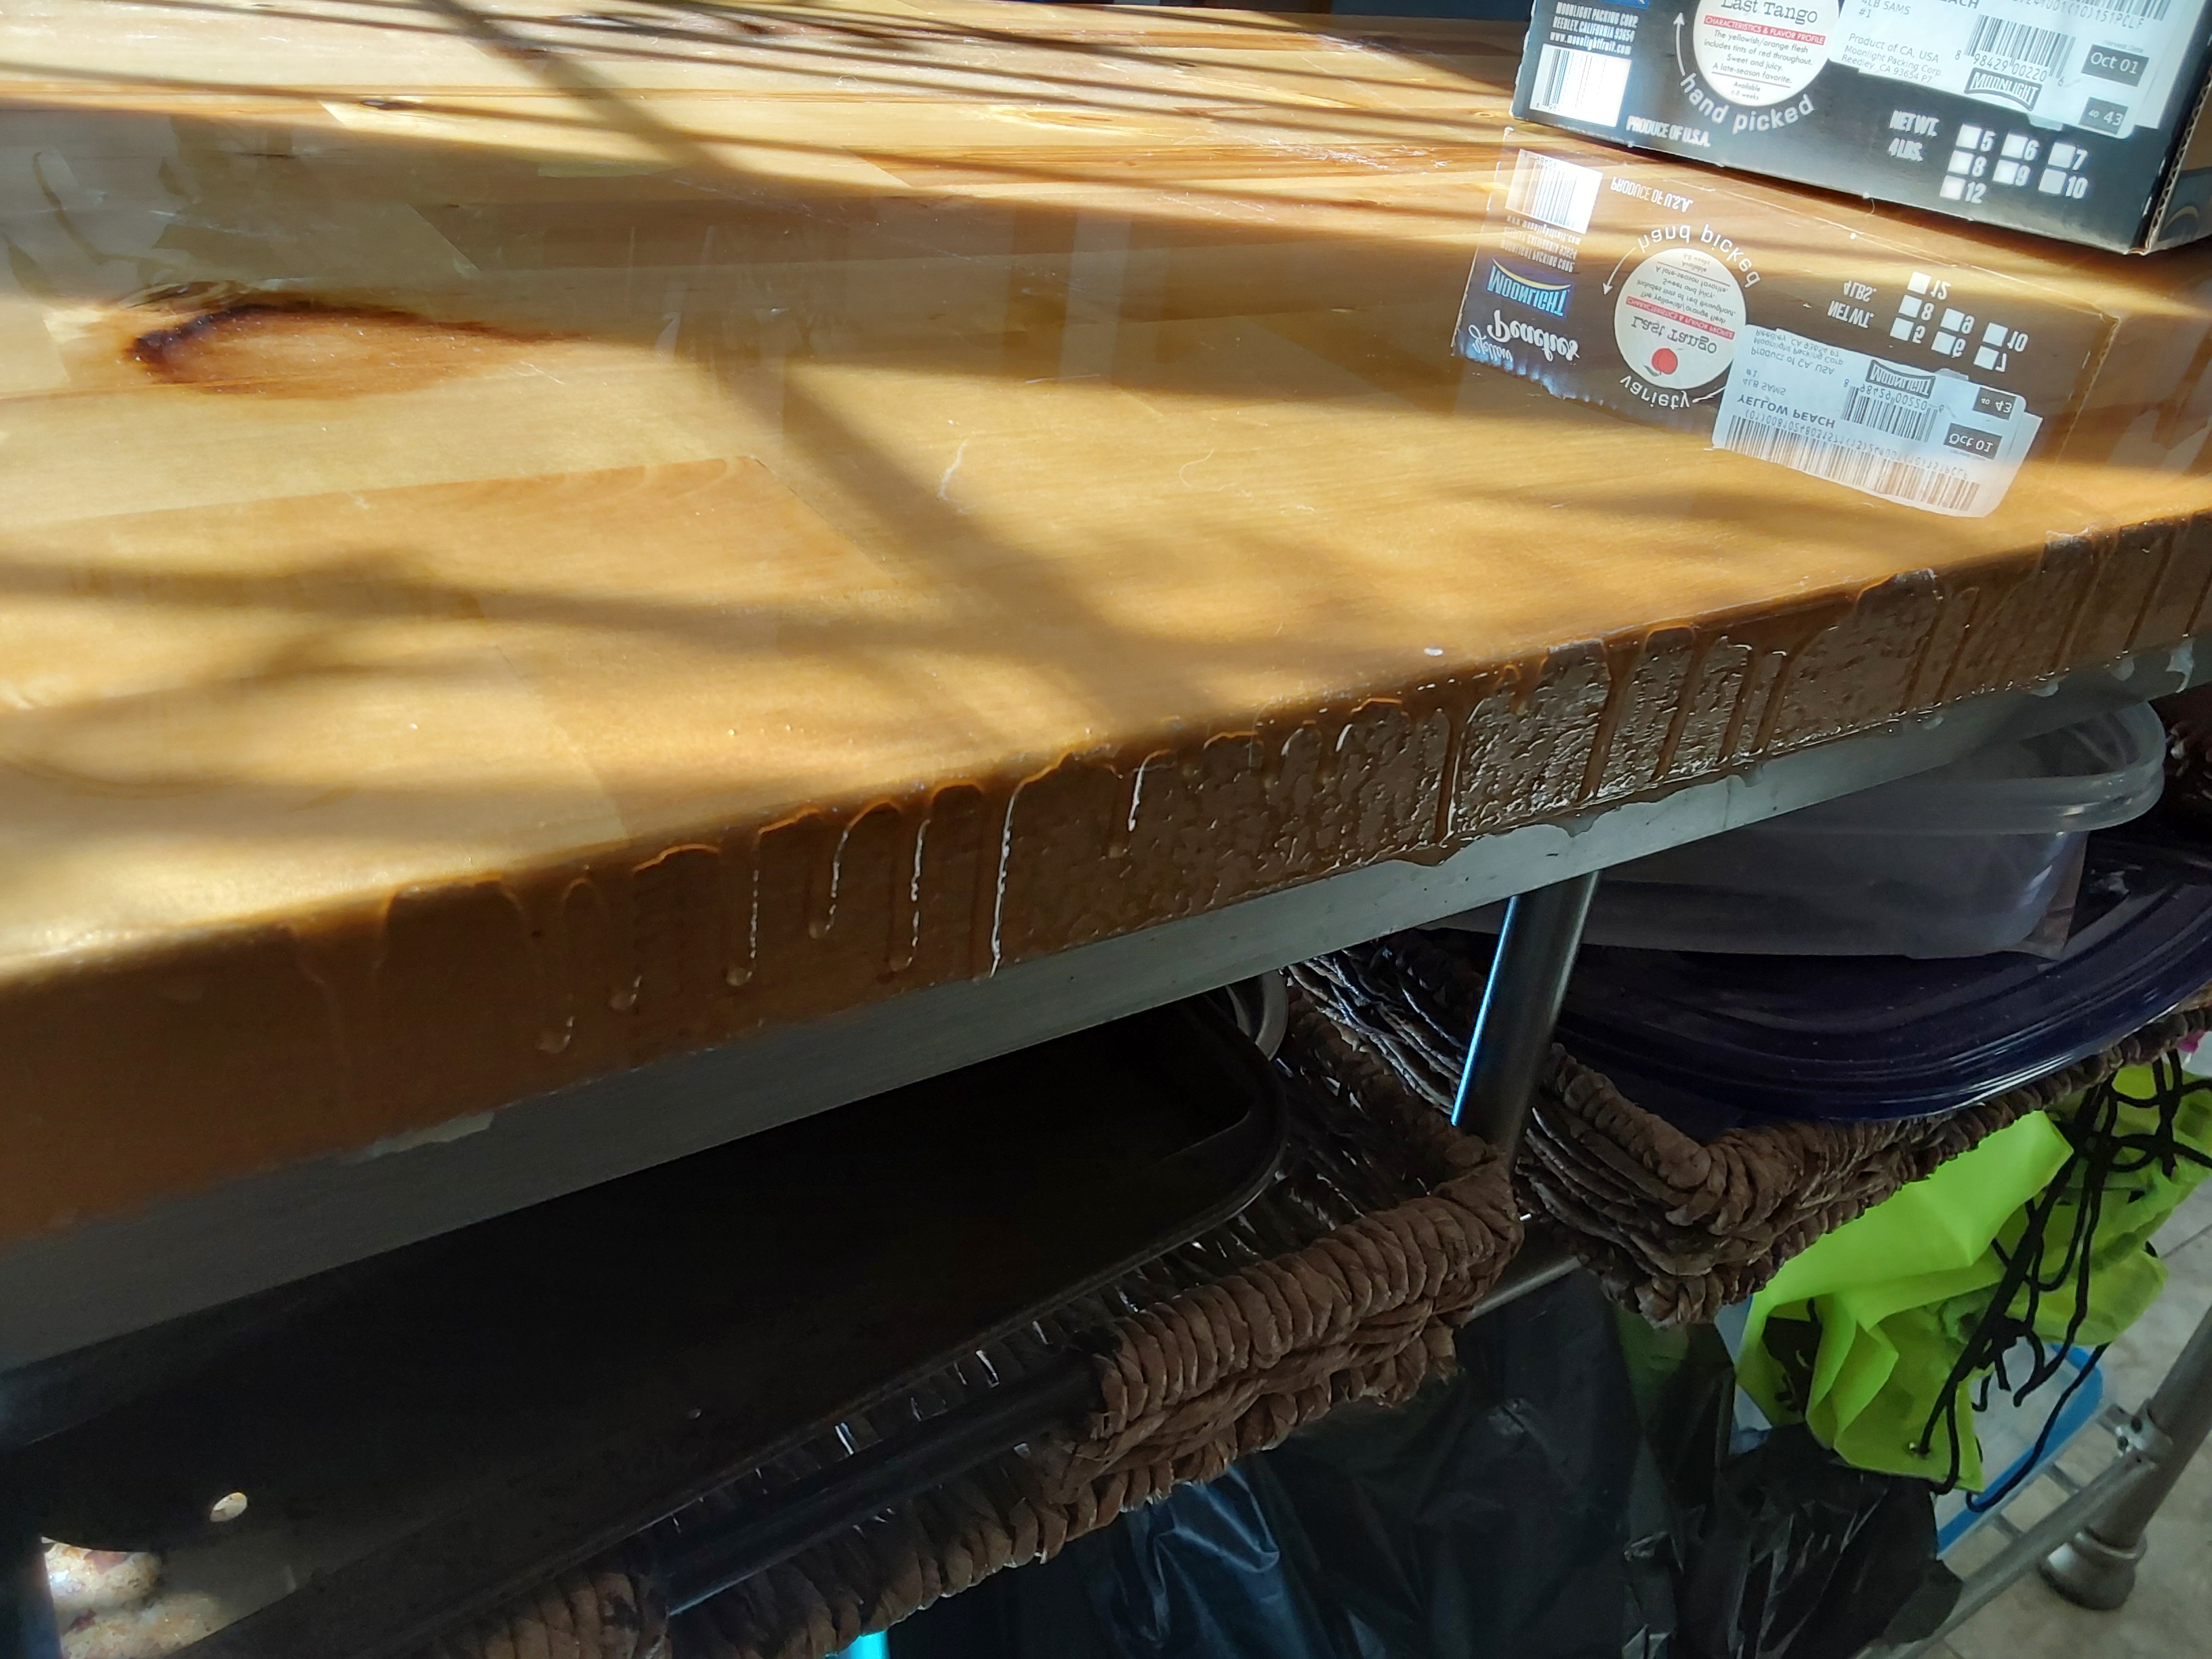
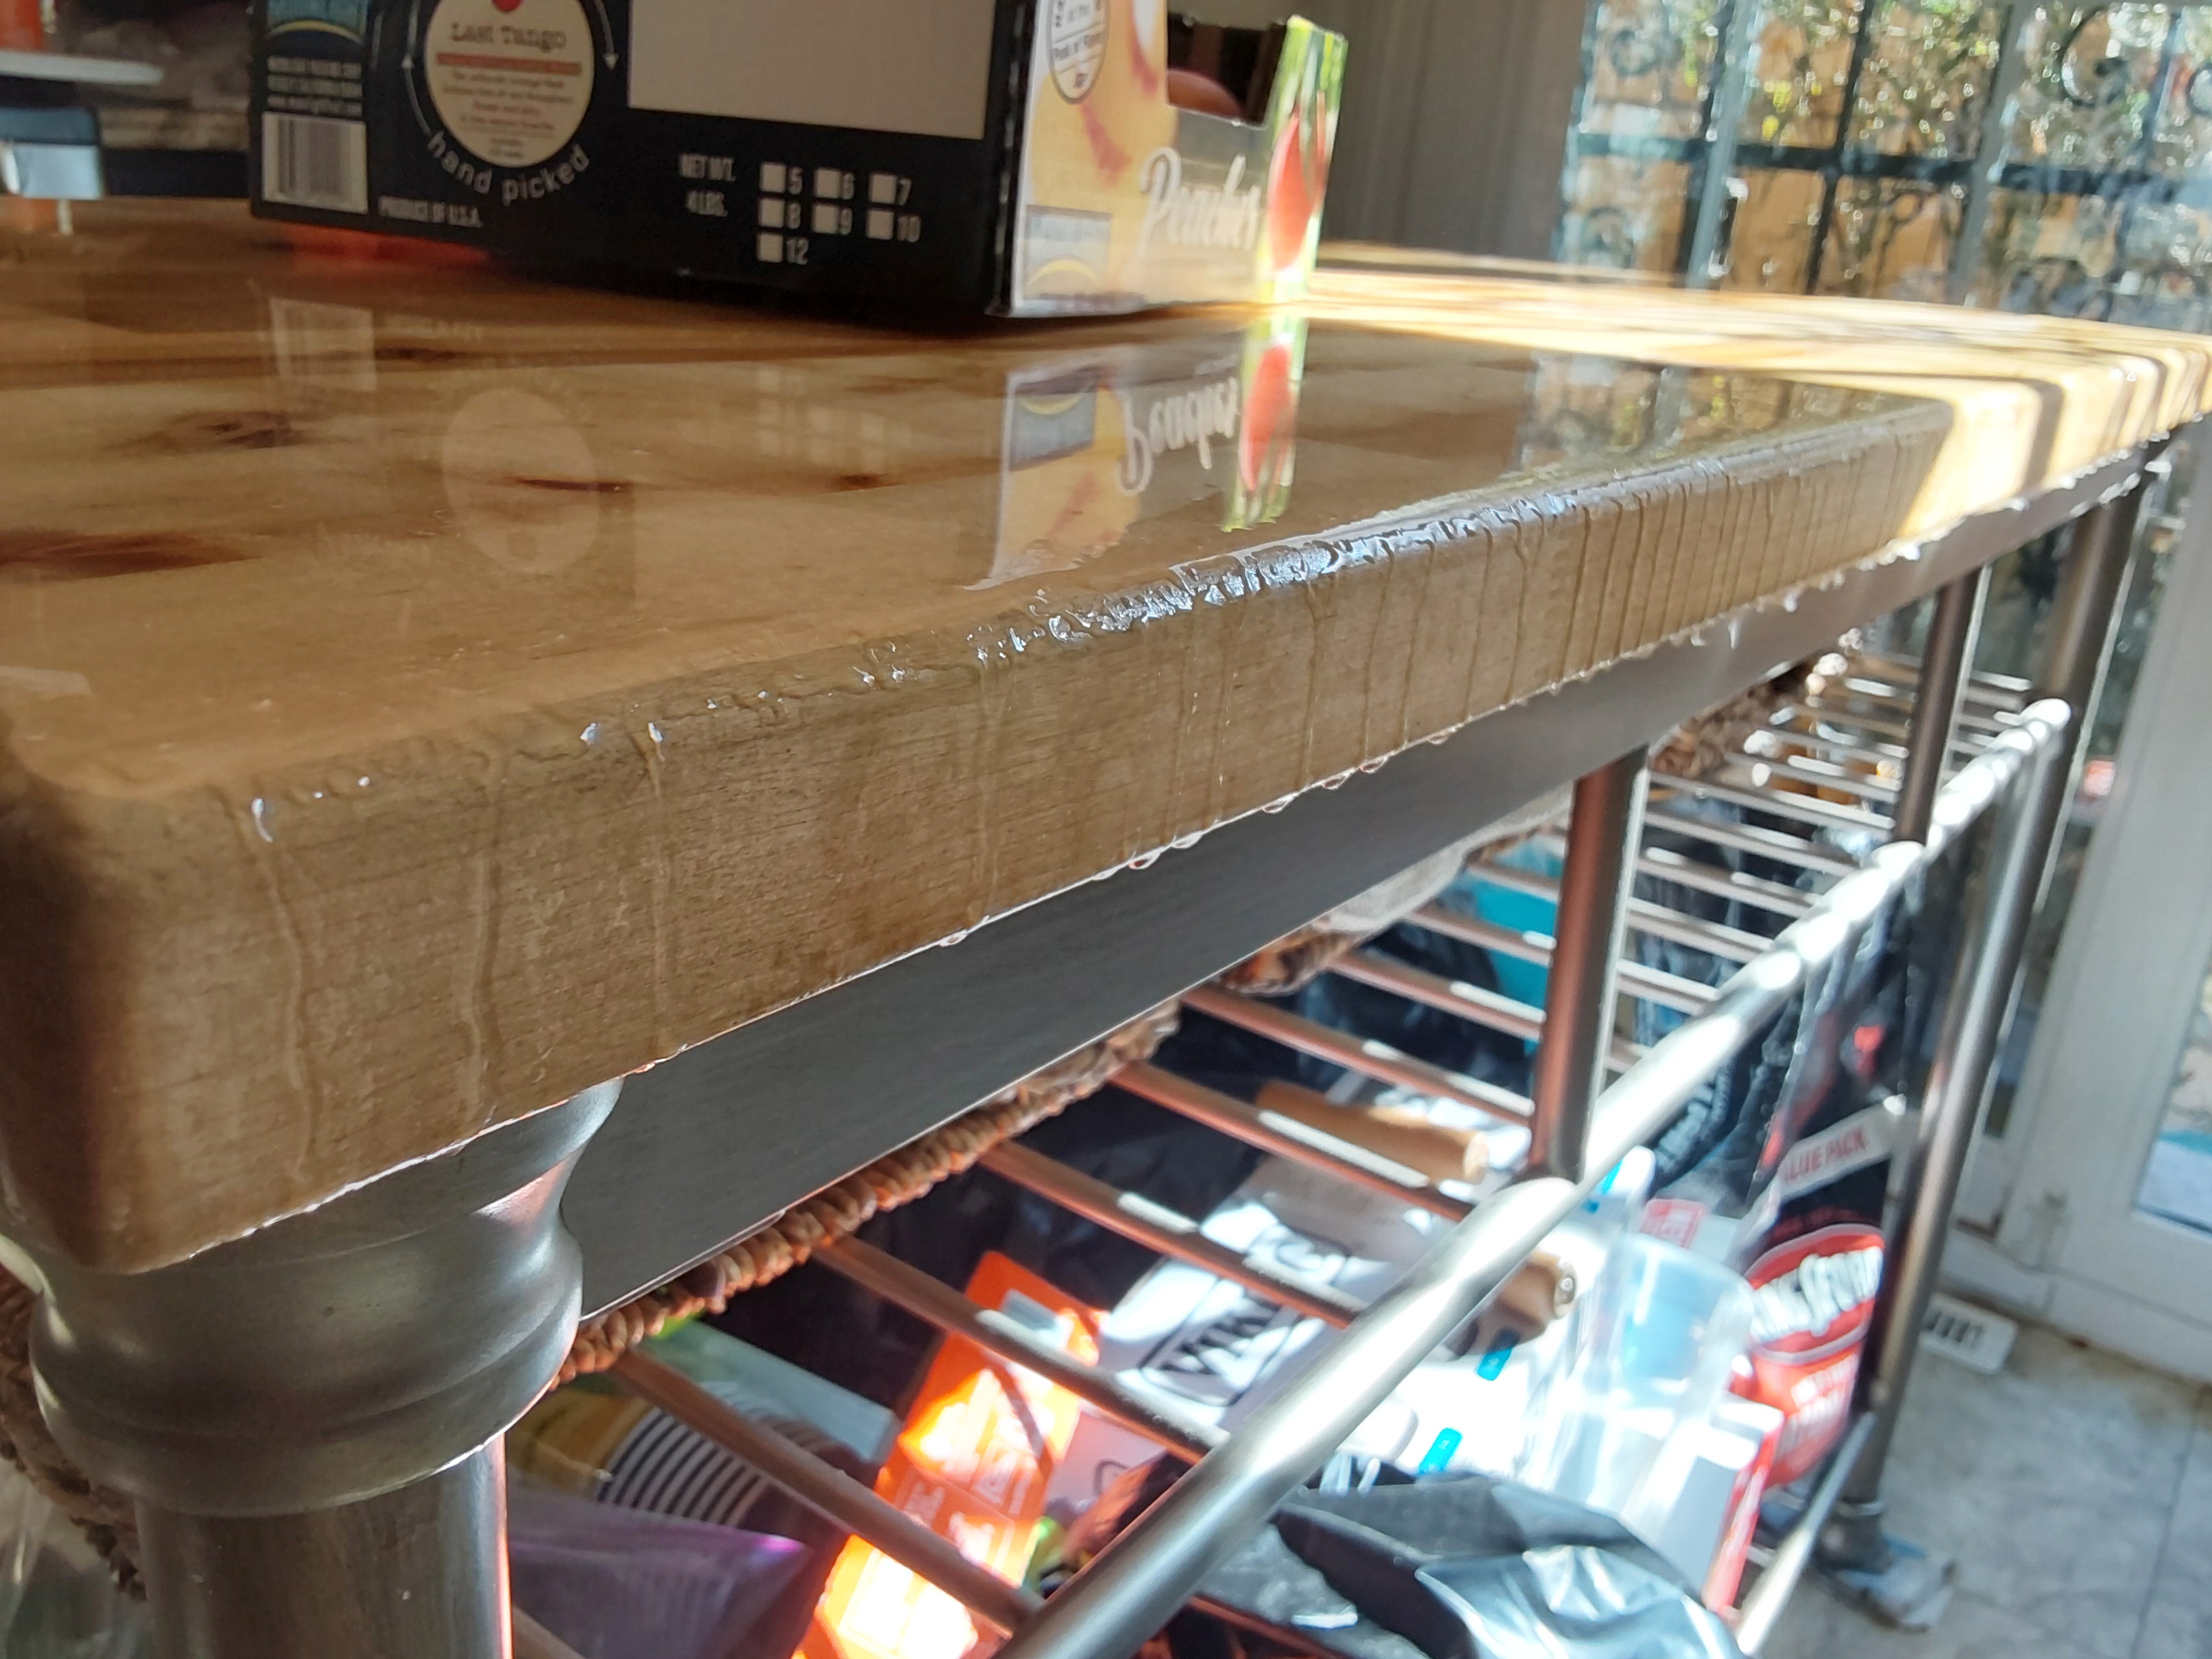
After the first coat had cured, it was sanded again, then I did the "pour" coat, which is where you literally pour a puddle on the middle of the table and encourage the puddle to spread out to the edges. It will end up dripping off the edges eventually, if you get it right (the bottom edge of the table, the trash bags are actually attached to the bottom of the table, so the edge is not covered up and available to be coated.
The product pool is self-leveling, so if you got the surface perfectly level beforehand, it won't drain off, it will puddle, for the most part, although there will still be some messy stuff on the edges to clean up a few days later.
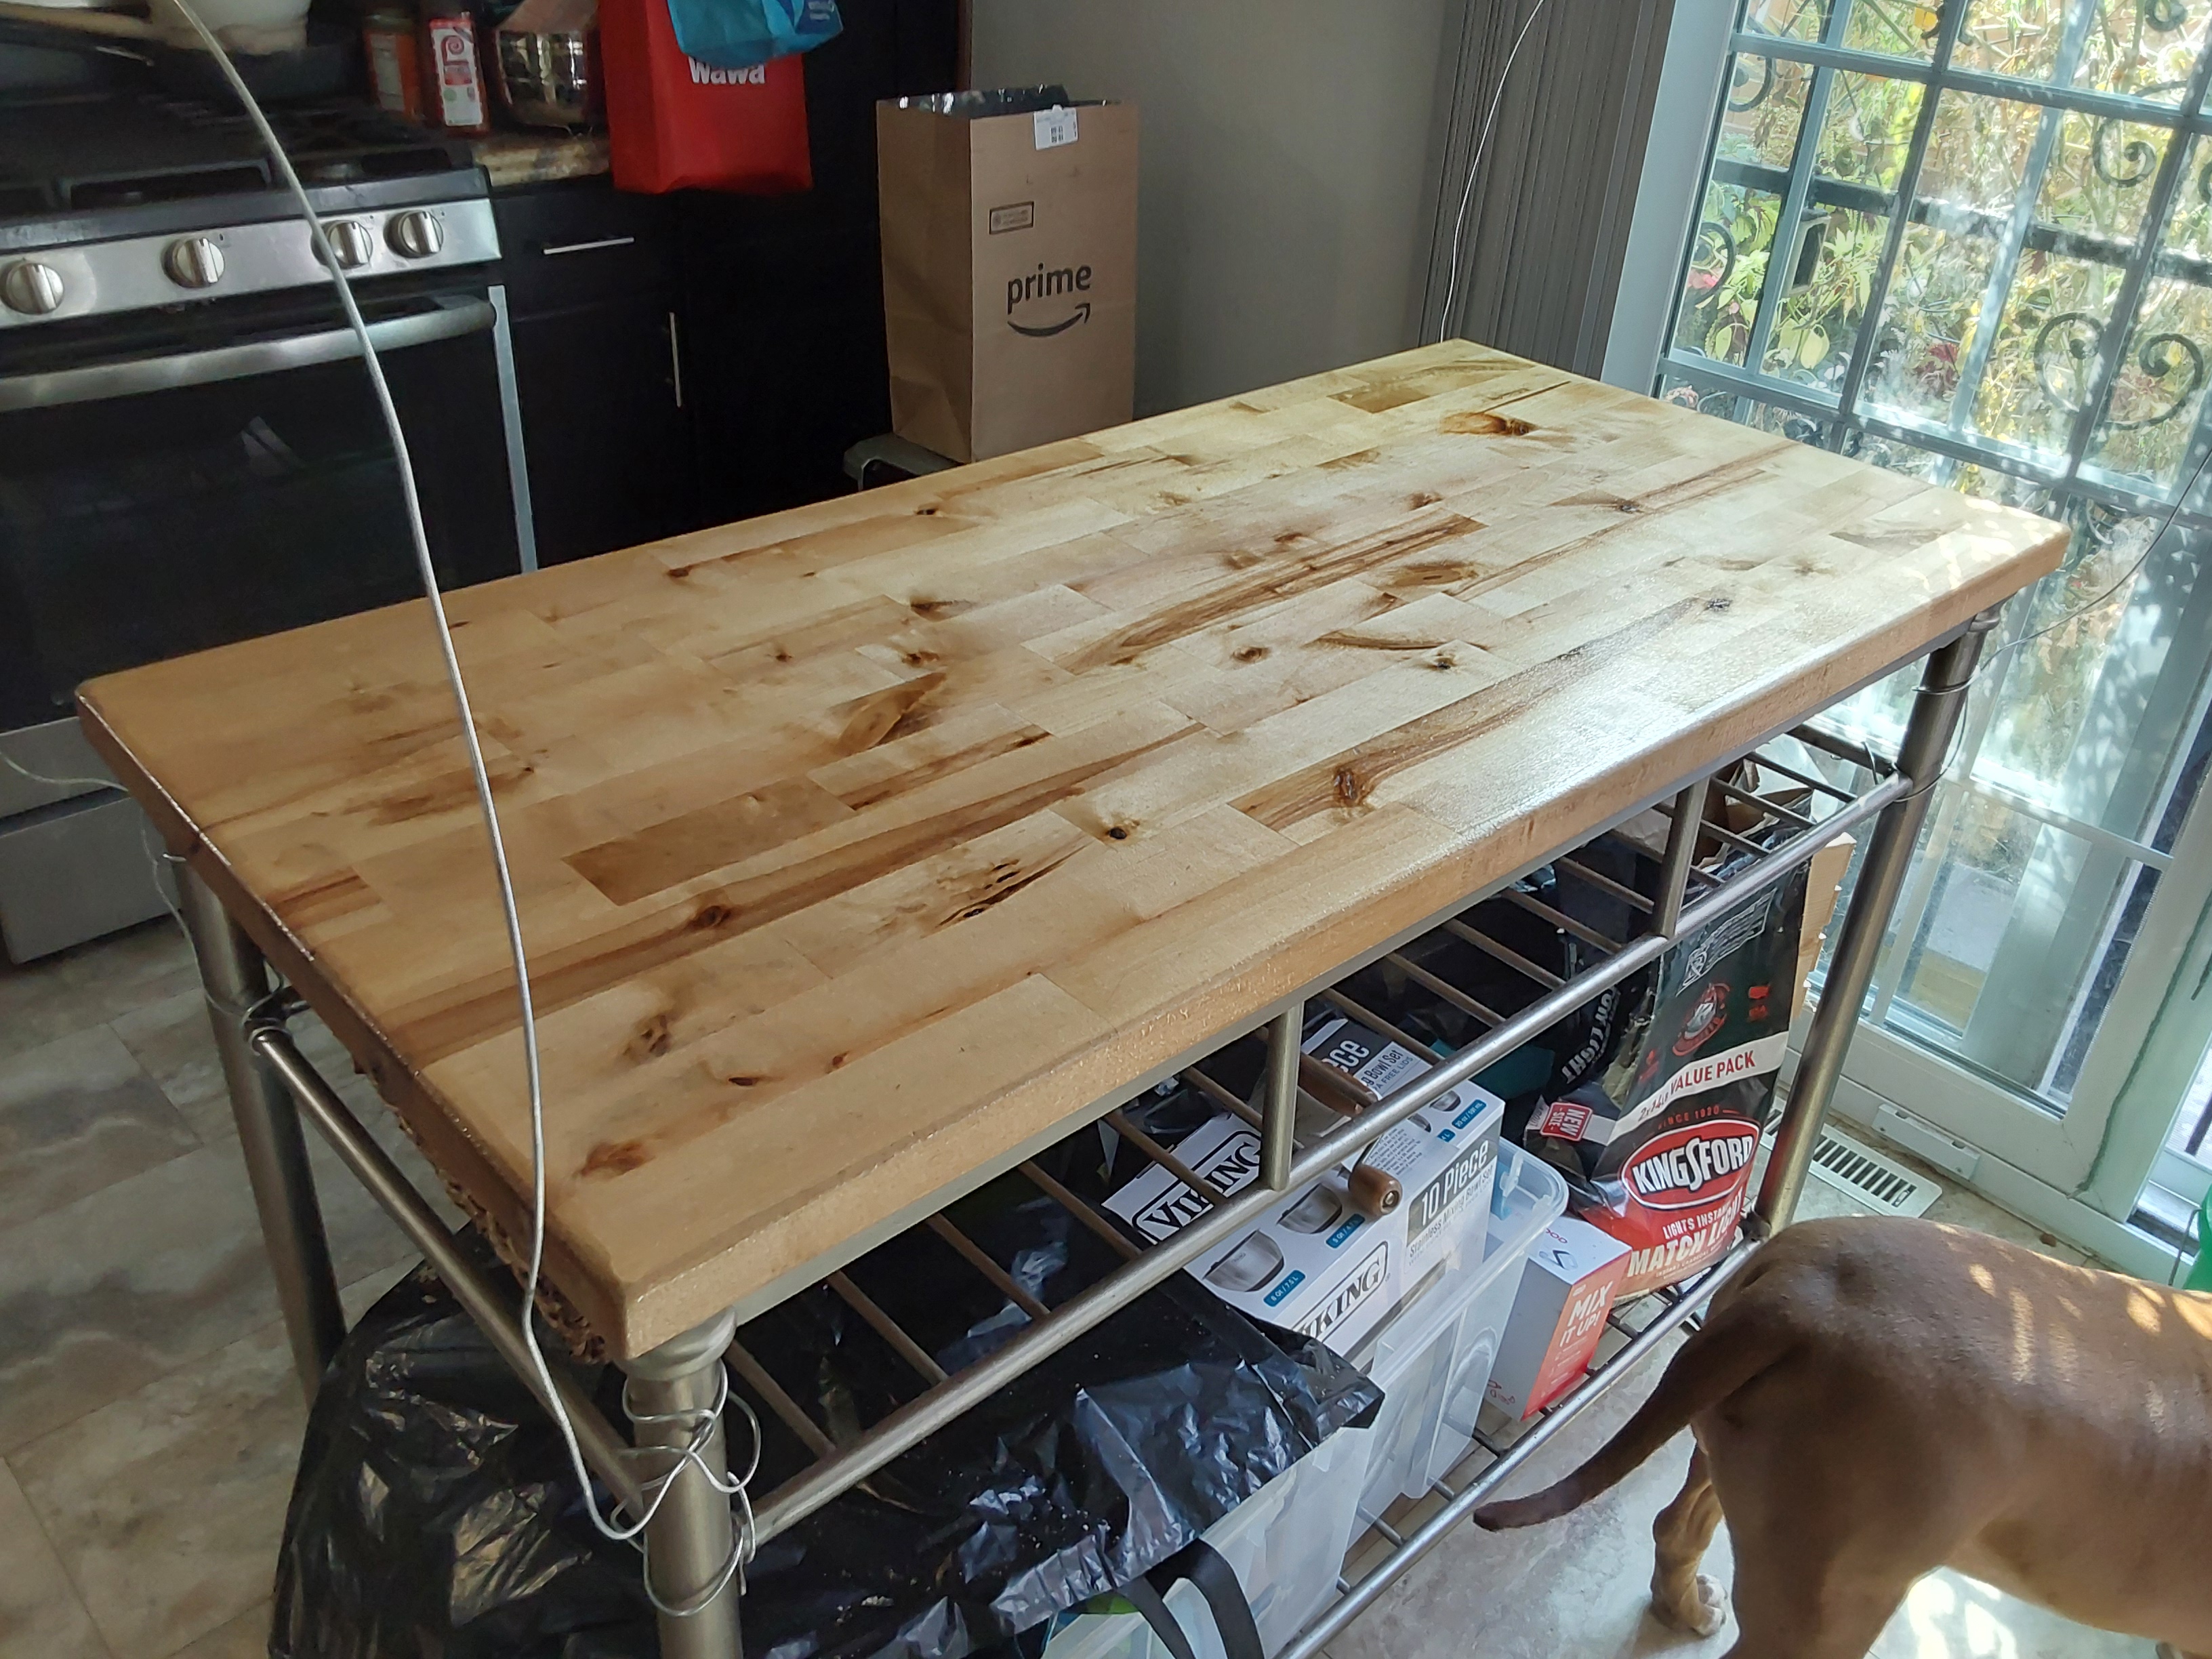
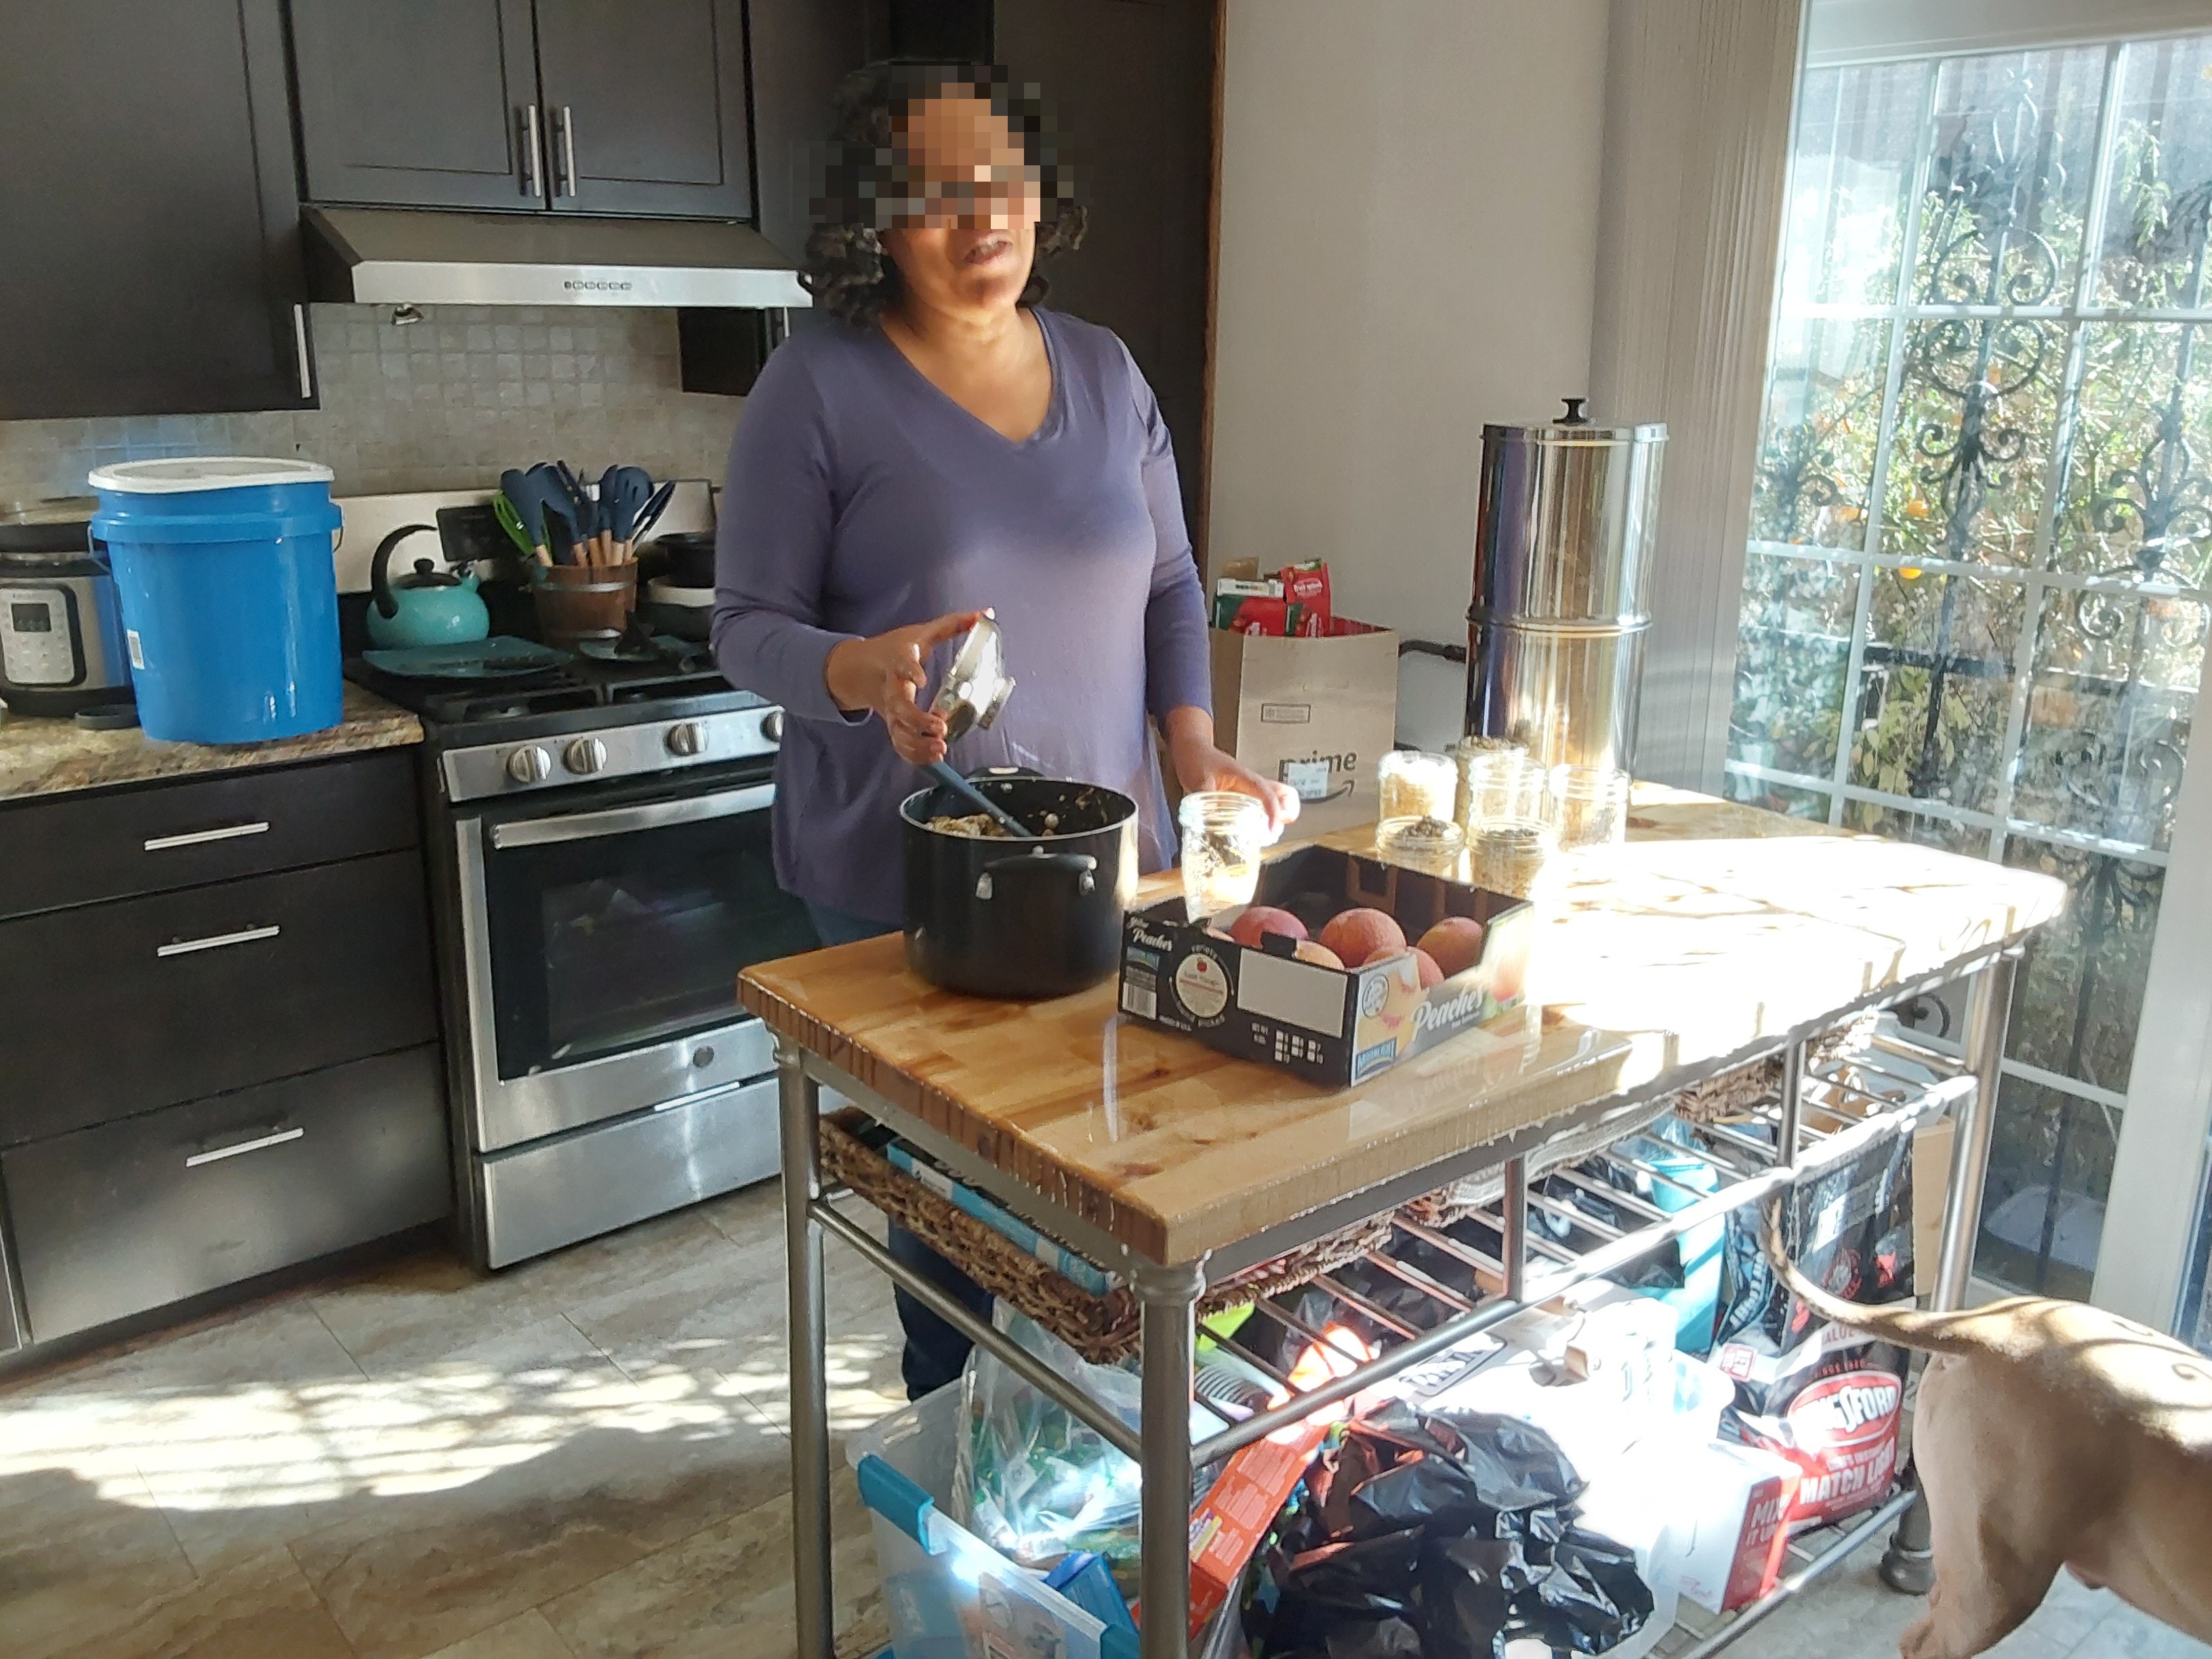
After another week, it's no longer tacky to the touch, and it's safe to remove the tenting/cat guards. The edges were chiseled and sanded and then several more light brush coats were applied to the edges. The instructions say if there's any bubbling or imperfections in the surface, they can be sanded down and more can be applied. I found a few spots I wasn't perfectly happy with, but my sister was so thrilled with the table top, that she wouldn't let me make it "perfect"...
1000013102.jpg
The table after sanding, but before coating
1000013104.jpg
(and the shop vac with the broken wheel)
1000013106.jpg
After the first seal coat is applied
1000013105.jpg
1000013113.jpg
After the flood coat has cured
1000013117.jpg
1000013118.jpg
1000013120.jpg
1000013135.jpg
The edges need some cleanup
1000013137.jpg
1000015735.jpg
My sister's thrilled and won't allow me to keep working on it...












 PEP Badge: Oddball


 1