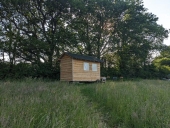
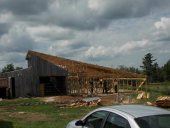
At the beginning of the year, we moved house. The new place has no outbuildings, no garage and no space for our workshop or to store our growing equipment. Unfortunately, due to it being an old house, in an old town, we have a tiny garden and no space to put up new buildings so we had to think of an alternative plan...
We decided to build a shepherd's hut for our land (which is 15 minutes drive from our house). The hut would serve, for now, as a storage shed and workshop. One day, we would like to re-fit it with a bed and a log stove, when we have built our barn, but that's a few years off.
Shepherd's huts, for those unfamiliar with the term, are a bit like caravans: they are small shelters, on wheels, that can be towed onto a field for a shepherd to use whilst lambing or watching their flock. The term has become a bit muddied recently as making luxury shepherd's huts, for Airbnb or other holiday use, has become very popular. Our will fall somewhere in the middle!
The shed was started back on January when, with the help of a friend's sawmill and another friend to operate it with us, we milled 5 large, Douglas Fir logs into a big stack of timber. We then carted that back to our land and stacked it, covering it with tarp.
Towards the end of February, house move complete, we had a bit more time to throw at the project and we both took a week off work. In hindsight, this was laughable optimistic: we really thought we could have a usable structure in that time.
We had bought a baling trailer from a local farmer to use as the chassis. We had, previously, got our hands on an old caravan chassis but it felt woefully undersized for the amount of timber we had milled. The trailer needed a little modification, some rust removal and a good paint, but it was solidly made and more than capable.
We don't know exactly how much weight the trailer is capable of holding but it seems to be built from 4mm C-section steel, for the most part. The wheel bearings aren't marked but I suspect those will be the weak link. Regardless, we don't expect it to move much but we dodge a planning issue if it
can move.
We then spent the next week levelling the chassis, bolting it together, painting it and installing joists (using stainless bolts) to form the framework. We then started to build up the stud frames for each of the walls.
The joists we used were 2x4. The studs were 2x2 and we used 2x3 for the rafters. The ridge beam was another 2x4. Each of the four corner posts were 4x4 and we oriented the sections of studwork so that there were effectively 2x4s spaced one-third of the way along each long side.
As is often the case with home-milled wood, a few of the pieces were a little out of square, or tapered, or not quite nominal sizes. We also had a few pieces crack where knots were unfortunately placed. All of this took a bit of time and head-scratching to fix but it has worked out pretty well. I think we are never more than 1cm out of square.
We used some housewrap (Tyvek) as a vapour barrier around the exterior of the stud framing. This was sourced second-hand - it was the end of someone's roll that they had bought for an extension. We did have to buy a second piece as we didn't have quite enough but, thankfully, another friend had an offcut to sell us.
The cladding is 20mm (3/4") waney/live edge boards with a healthy overlap. These are fixed with stainless nails (annular ring shank nails, as they don't pull out as easily as wire nails). The overlap covers any sapwood so hopefully it should last a good long time. The roof also has a large overhang to try and keep as much of the rain off the building as possible.
Another friend salvaged us some timber-framed, double-glazed windows. He works as a joiner and noticed a stack of them in the skip one day (apparently the order had been for the wrong size - the company throws them out, rather than reusing anything) and saved them for us. We fitted these with screws and made up a timber frame to seal the gaps. We squeezed some silicone in there too, just in case.
We then rushed to get the roof up to seal the building and get it dried out. We decided to use metal roofing sheets as these are a good compromise on longevity, price and carbon footprint (the other options in my area being slates/tiles, which are expensive and heavy, plastic roofing sheets or bitumen roofing felt). The install was quite difficult and we definitely learned some lessons about how to do it better, next time, but it's watertight and secure and it looks OK. It will give us a good area to collect water from when we finally put up some guttering.
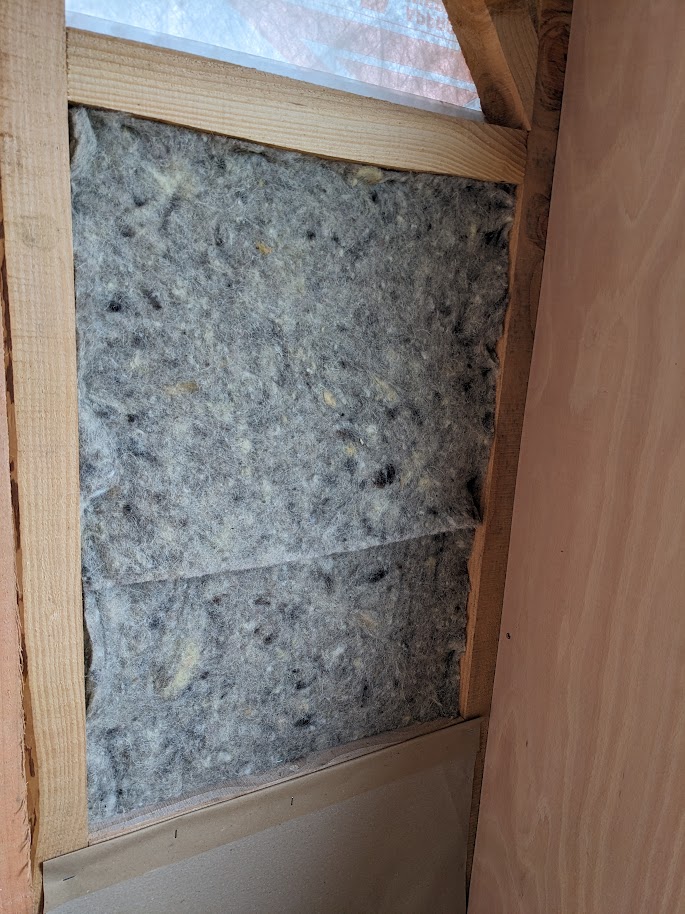
Much later (as the summer caught up with us), we begun working on the interior cladding. We had collected some unwanted insulation made from recycled, flocked newspaper and wanted to use that between the studs. We used brown packing paper, secured with staples, to seal this in and added the insulation behind this. It's a pretty dusty, messy job but it feels good to be reusing the material (its now been recycled
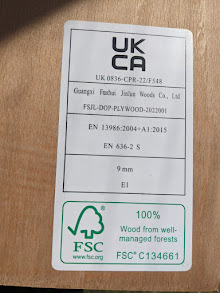
and reused). We then screwed down 9mm structural ply to form the interior walls. The plywood, by the way, is as eco as we could find - it's FSC marked, meaning there is some effort at sustainably managing the woodlands and it is, at the very least, replanted once felled.
The flocked newspaper ran out before we could finish the walls so we bought some
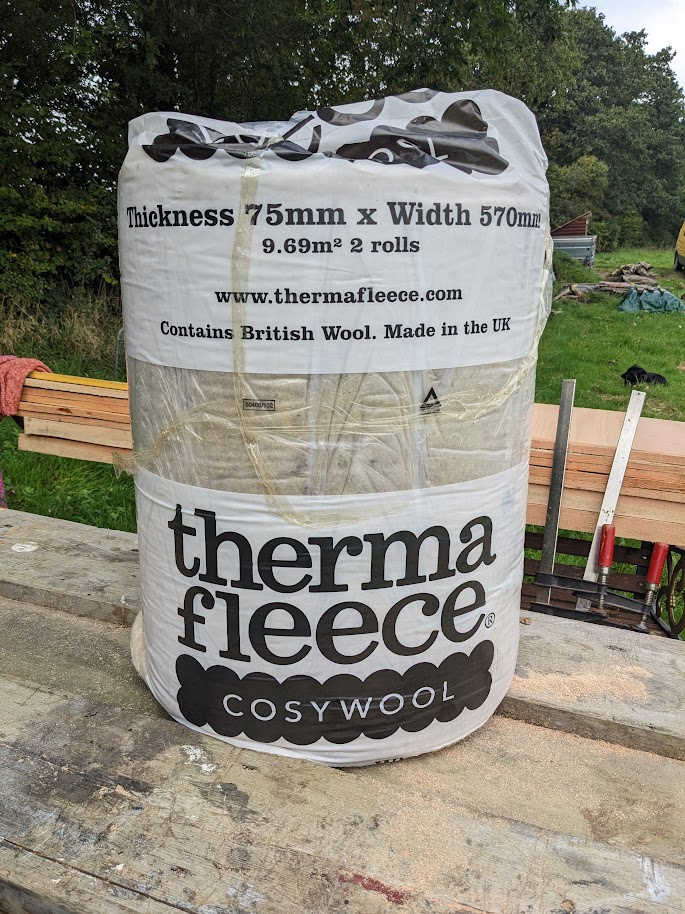
Thermafleece - sheeps' wool insulation with a small percentage of recycled plastic. We finished the walls with 50mm wool and lined the ceiling with 75mm. It was much easier to work with that the flocked insulation.
The cladding and insulating took us much longer than we anticipated, about 3.5 days in total. A lot of that time was spent ripping down the boards, cutting out notches for the rafters and accommodating for the slight out-of-square of the building (we are blaming the rough-sawn, waney timbers!). It is very quiet, warm and cosy inside though.
We picked up a hardwood door from a friend who was clearing out a workshop and built a frame for that from heartwood 2x4s that fix into the 2x2 framing. With the ply lining and the external cladding boards the whole thing feels very rigid and stable.
A few fascia boards (in anticipating for gutters and to protect the end-grain of the rafters) and the exterior is finished! Hopefully we will set up the water storage before the end of winter but, as ever, there are other projects now vying for attention.
Next up, building the racking and workbenches inside!
Hopefully this is helpful or interesting to some of you. I should, perhaps, have shared this sooner as I could have benefited from suggestions or advice - if you have any, feel free to send it my way as we are building a much larger barn next summer.

 14
14


 7
7


 7
7


 4
4


 1
1


